Week10 - Molding and Casting
Group Assignment:
Review the safety data sheets for each of your molding and casting materials, then make and compare tests with each of them.
Individual Assignment:
Design a 3D mold around the stock and tooling that you’ll be using, machine it, and use it to cast parts. ✔
This week assignment content:
Group Assignment:
The Group Assignment For the group assignment we recorded the specs for each of the listed boards.
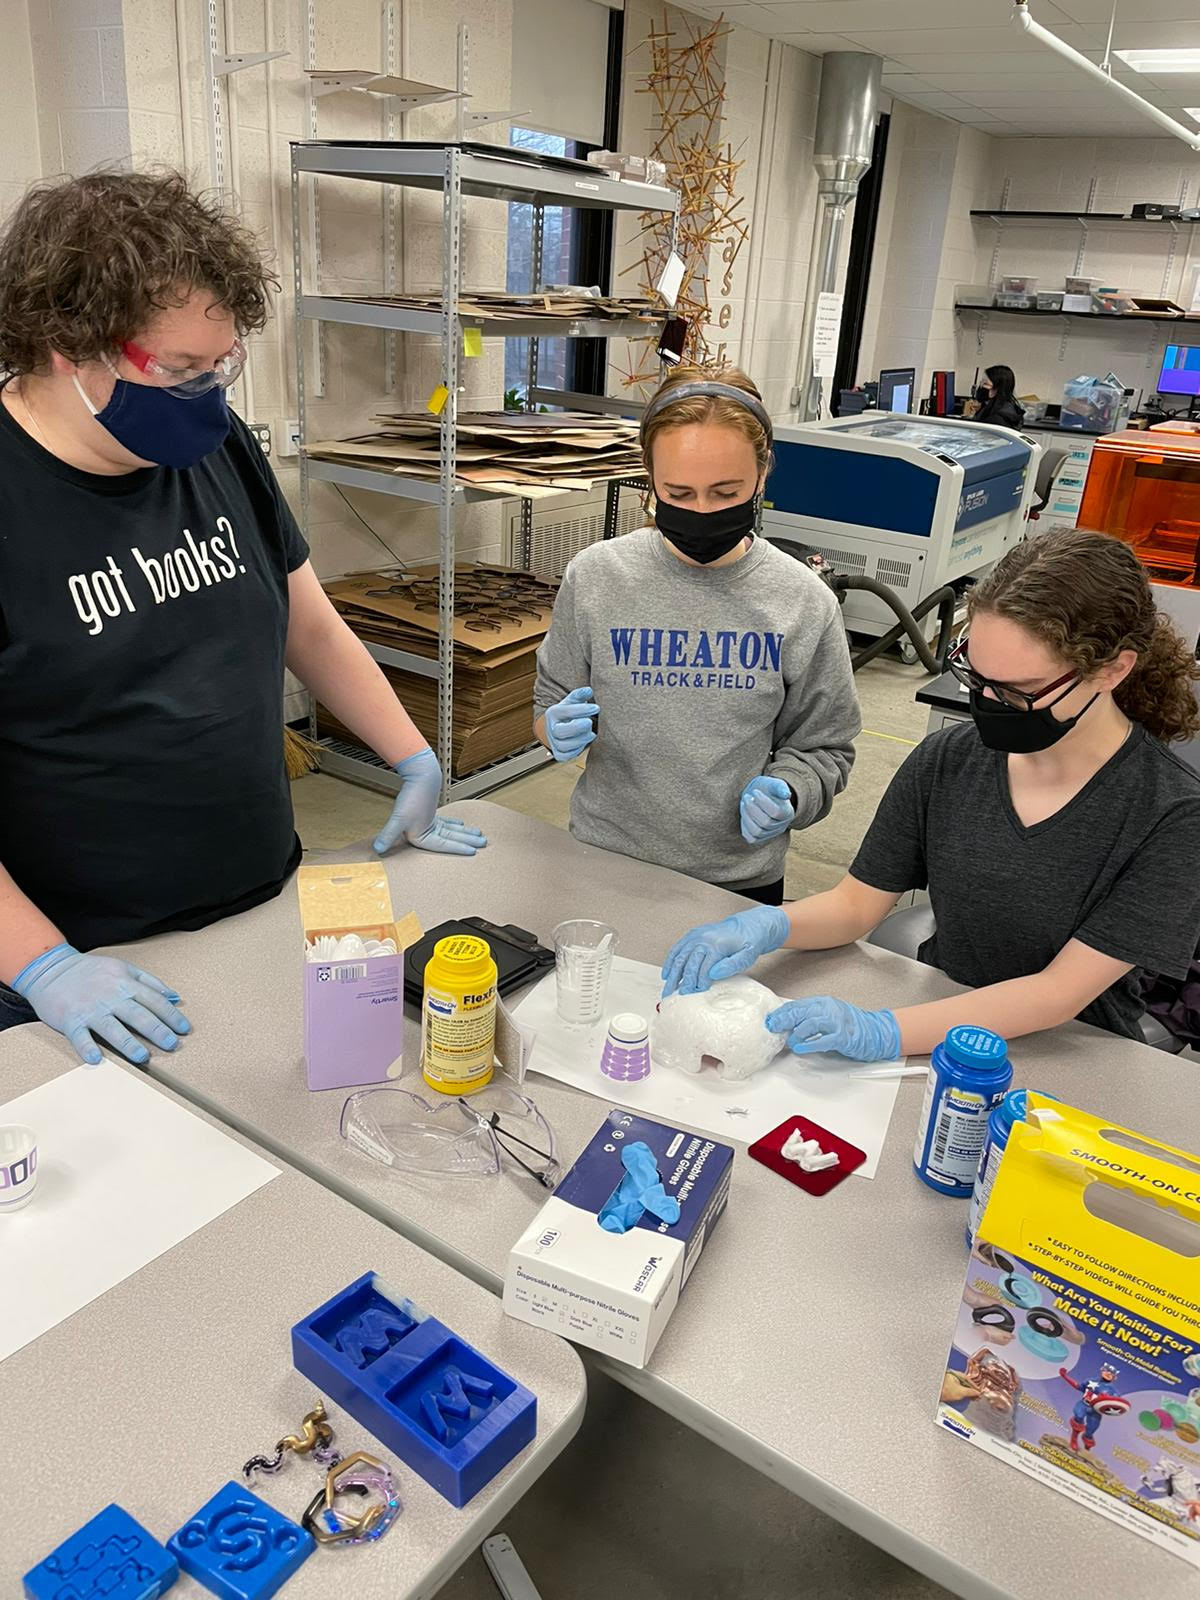
For the group prject we Review the safety data sheets for each of your molding and casting materials, then made and compared test casts with each of them. Here is a link to our data sheet link
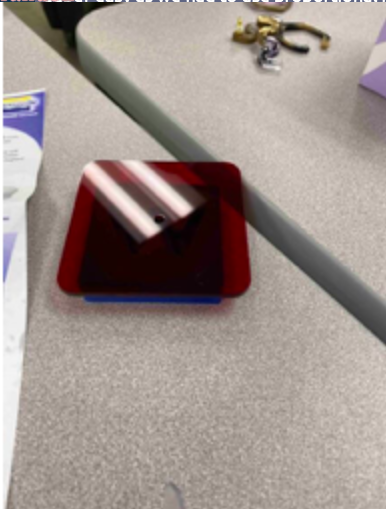
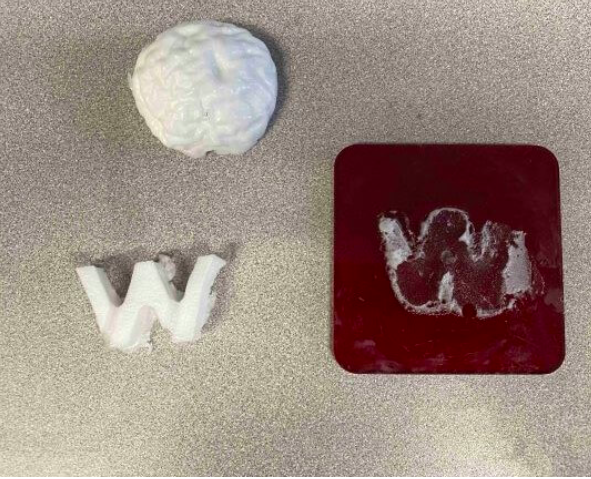
For our groups first test mold, we used an existing wax mold to model the Wheaton Logo using Flex Foam-iT III. it has a 35-second Pot Life, 25-minute Handling Time, and 57.5A:100B by Weight Ratio
Pot Life means that we had 35 seconds to mix the correct ratio and pour.
The Handling Time means that after 25-minutes, we could handle the final result.
The Weight Ratio means that the ratio of substance A to substance B had to be equivalent to 57.5:100.
Using the Flex-foam-it we found the mold had an issue sticking to the material and it also expanded a lot larger than expected. We also realised that groves are a nessesity with the amount of expantion of the foam
Individual Assignment
Design a 3D mold around the stock and tooling that you’ll be using, machine it, and use it to cast parts.I decided to create a set of earings made out of resin from my machinable wax cast and mold
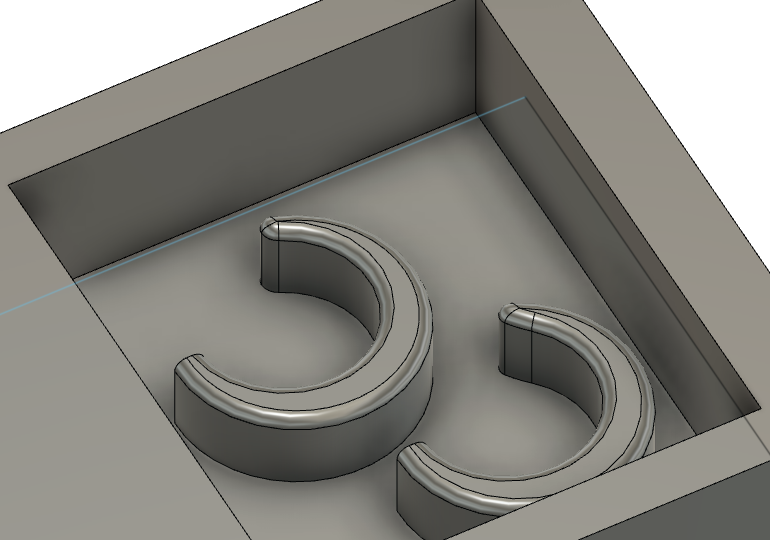
Design
I started creating my design in fusion 360. For this week's assignment we were quarantined so I was not able to leave my room and go into the lab to measure the dimensions of my machinable wax. A team member gave me their machinable wax dimension which then ended up causing me to have issues in my milling process since it turned out my wax was considerably smaller. 1.5" x3"x7"
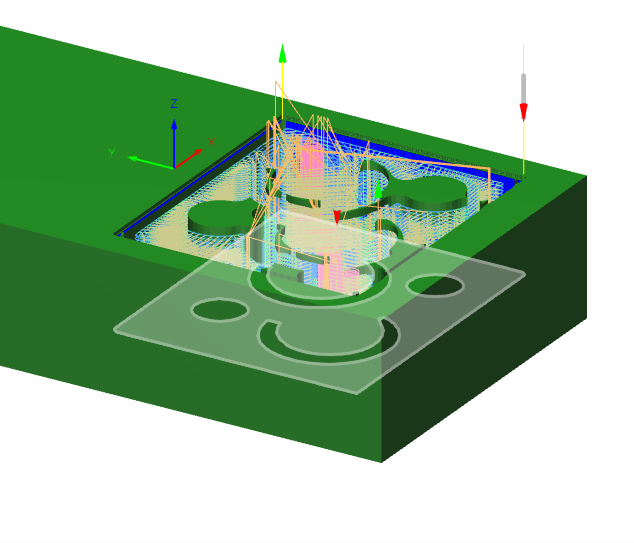
manufacturing
manufacturing under the manufacturing tool bar I set up my milling process.

Here I am selecting the proper bit based on the bits we have in our lab and set the machine to be the roland end mill rml
Then I created simulation to observe the tool path and realized the rings were too close together so the filament between the pieces would be interconnected
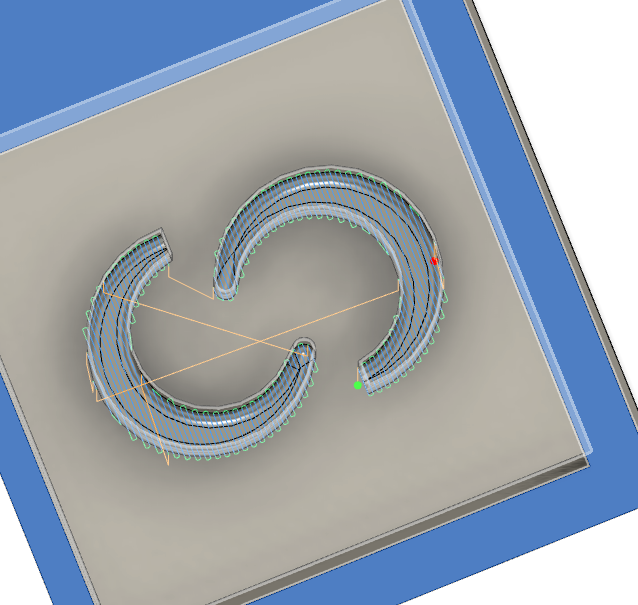
So I had to go back to my design process and spread out the shapes more to avoid connecting them repeated the same process again in manufacturing and once again realized my tool path was going to connect to the edges of my ground and was too close to another surface. So once again I went back and moved my parts farther away so they wouldn't interconnect. finally once it looked good, I went to manufacturing and created the simulation.
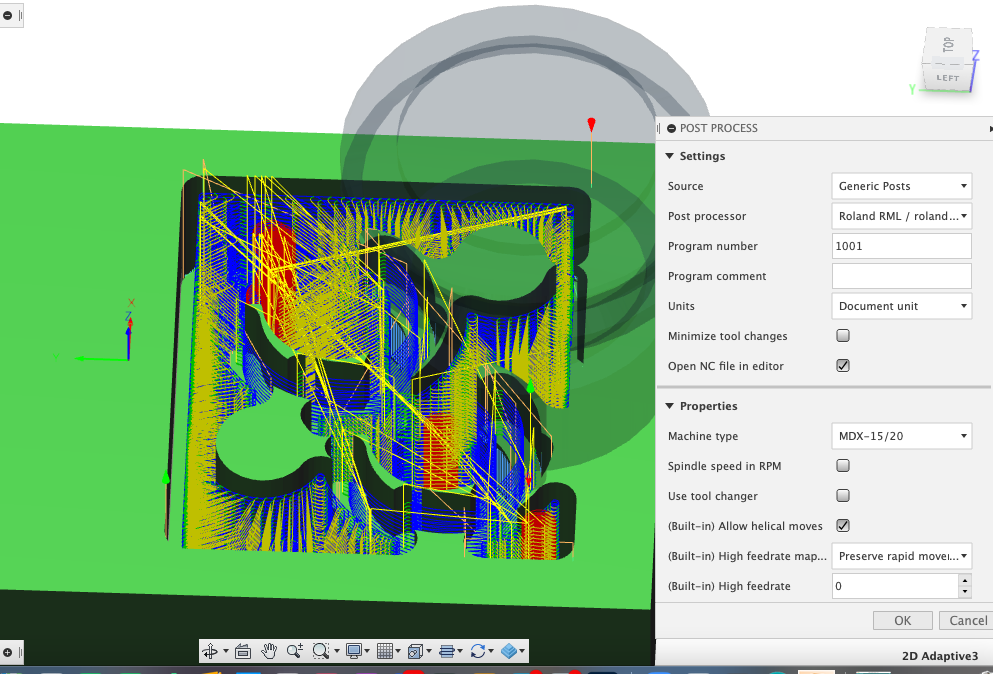
exporting file to roland
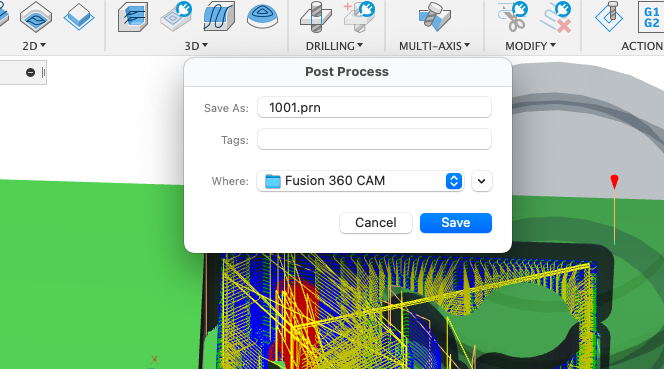
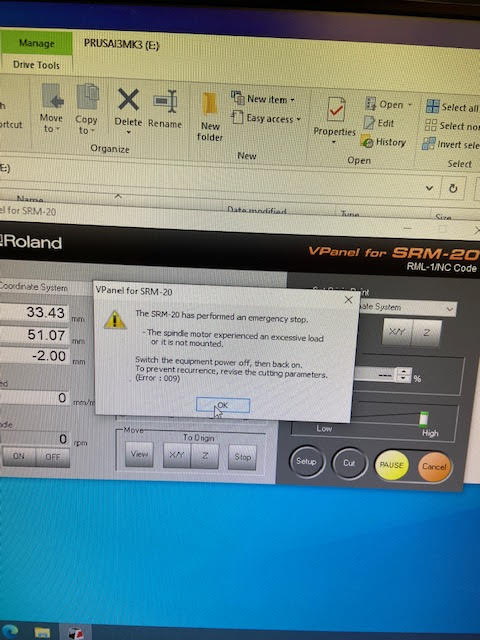
Once the tool path looked good, I selected post process and created a file to download to export to the roland mill. On the roland I Realigned the roland x and y and z coordinates so they would fit on my machinable wax. Then pressed cut! As soon as it cut, I realized there was an issue, the size of my wax block was the incorrect dimensions that I had put into my design file into fusion. After this, I readjusted my dimensions in fusion to match the size of my block. Oh and around this time I also dropped my bit and it broke. Then after this the roland reported an error and I had to restart the whole machine twice.
Finally after restarting the roland and resetting my design files I was able to mill out my my mold without any problems
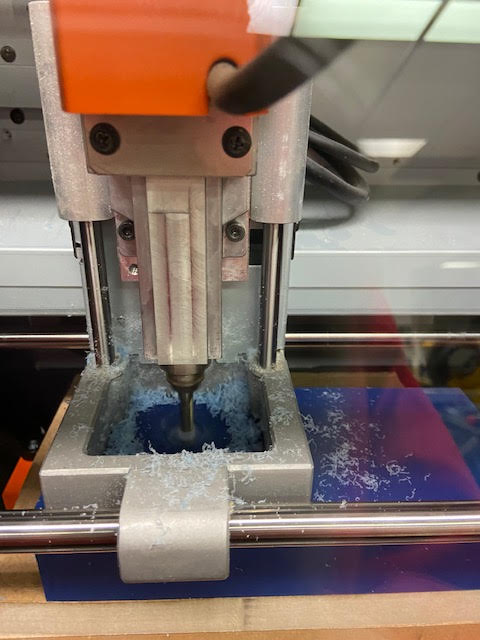
finally it is cutting correctly!
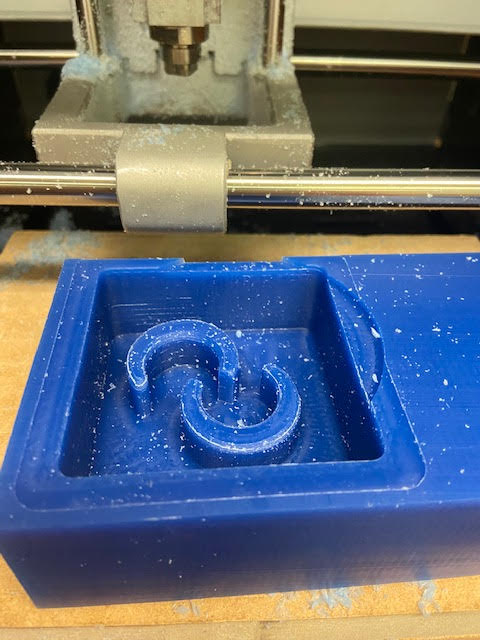
earing milled mold complete!
creating the plastic mold
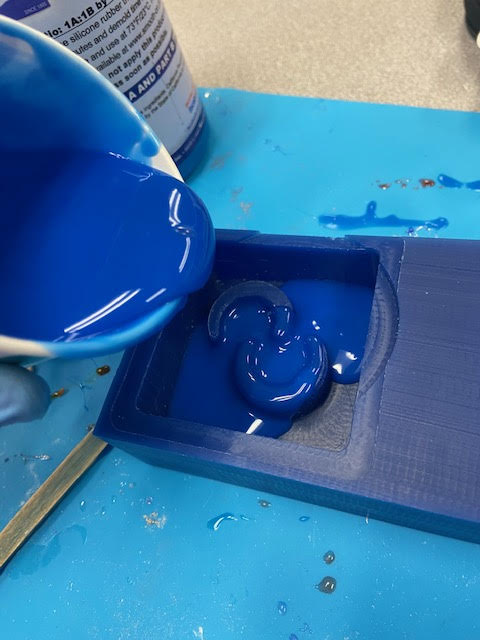
Here I am pouring in the mold
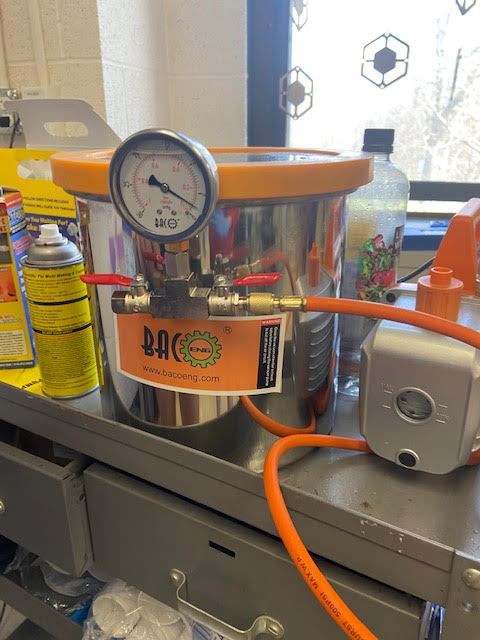
Using the compression machine
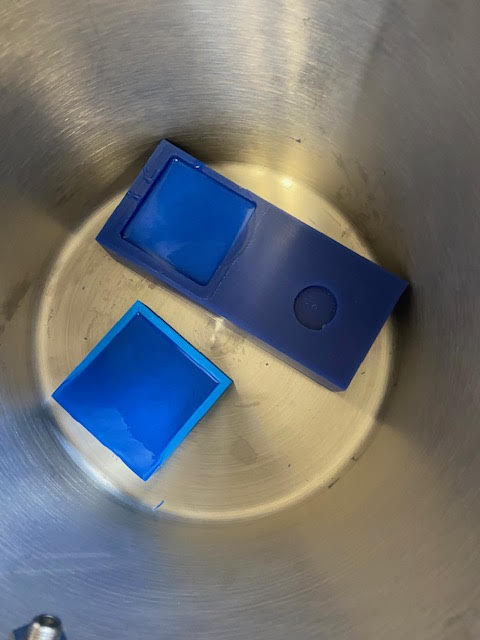
letting it set for 24 hours
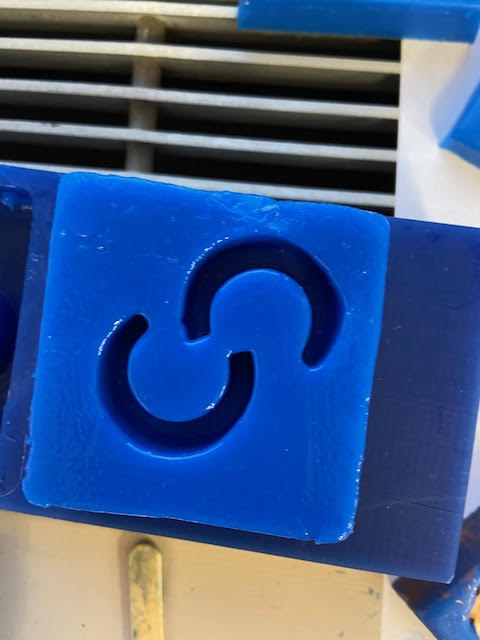
earing mold dry!
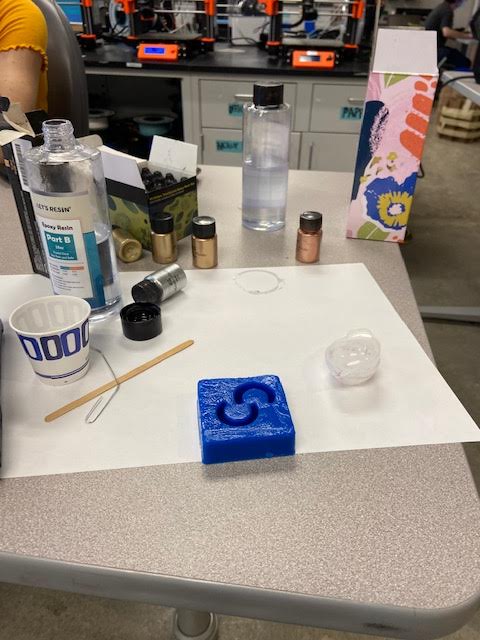
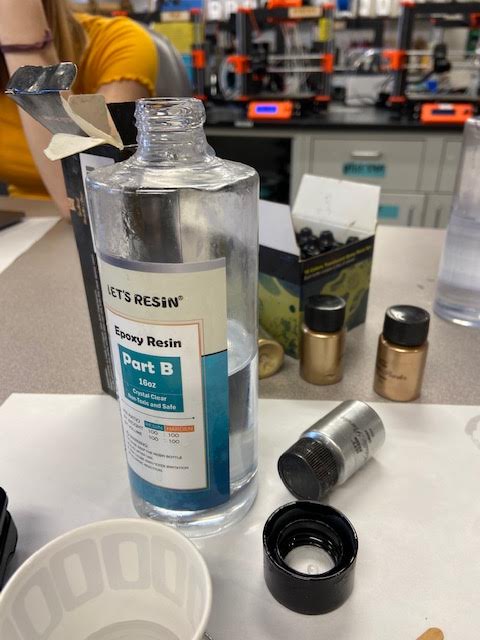
adding resin using the weighted one to one even ratio
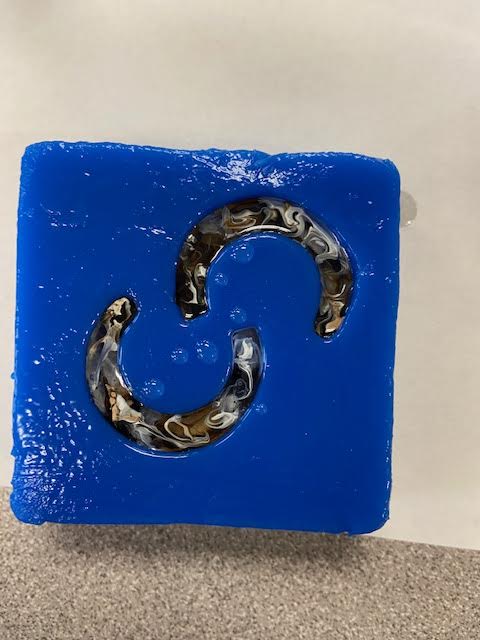
earings filled! I also added some pretty inks for some fun color contrast.
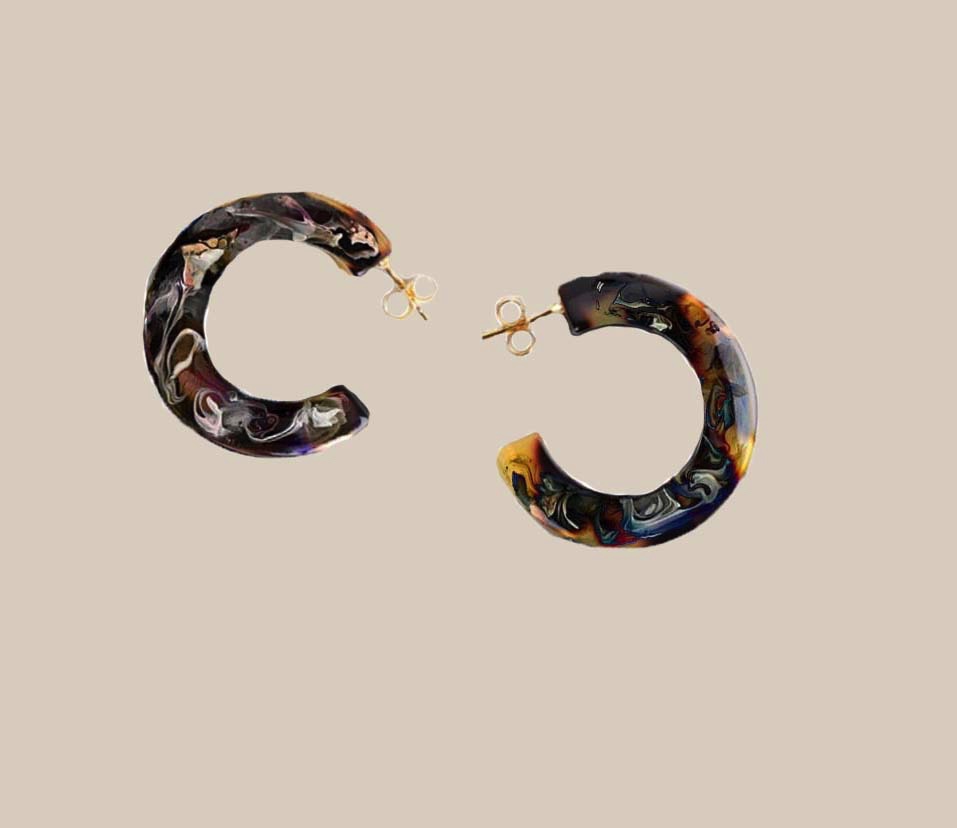
Here are the earings once they came out of the mold and I added the jewelry attachment peices