Jacob Libby
Week 2

Computer-Aided Design (CAD)
A week dedicated to working with numerous CAD softwares to help us when designing our final project
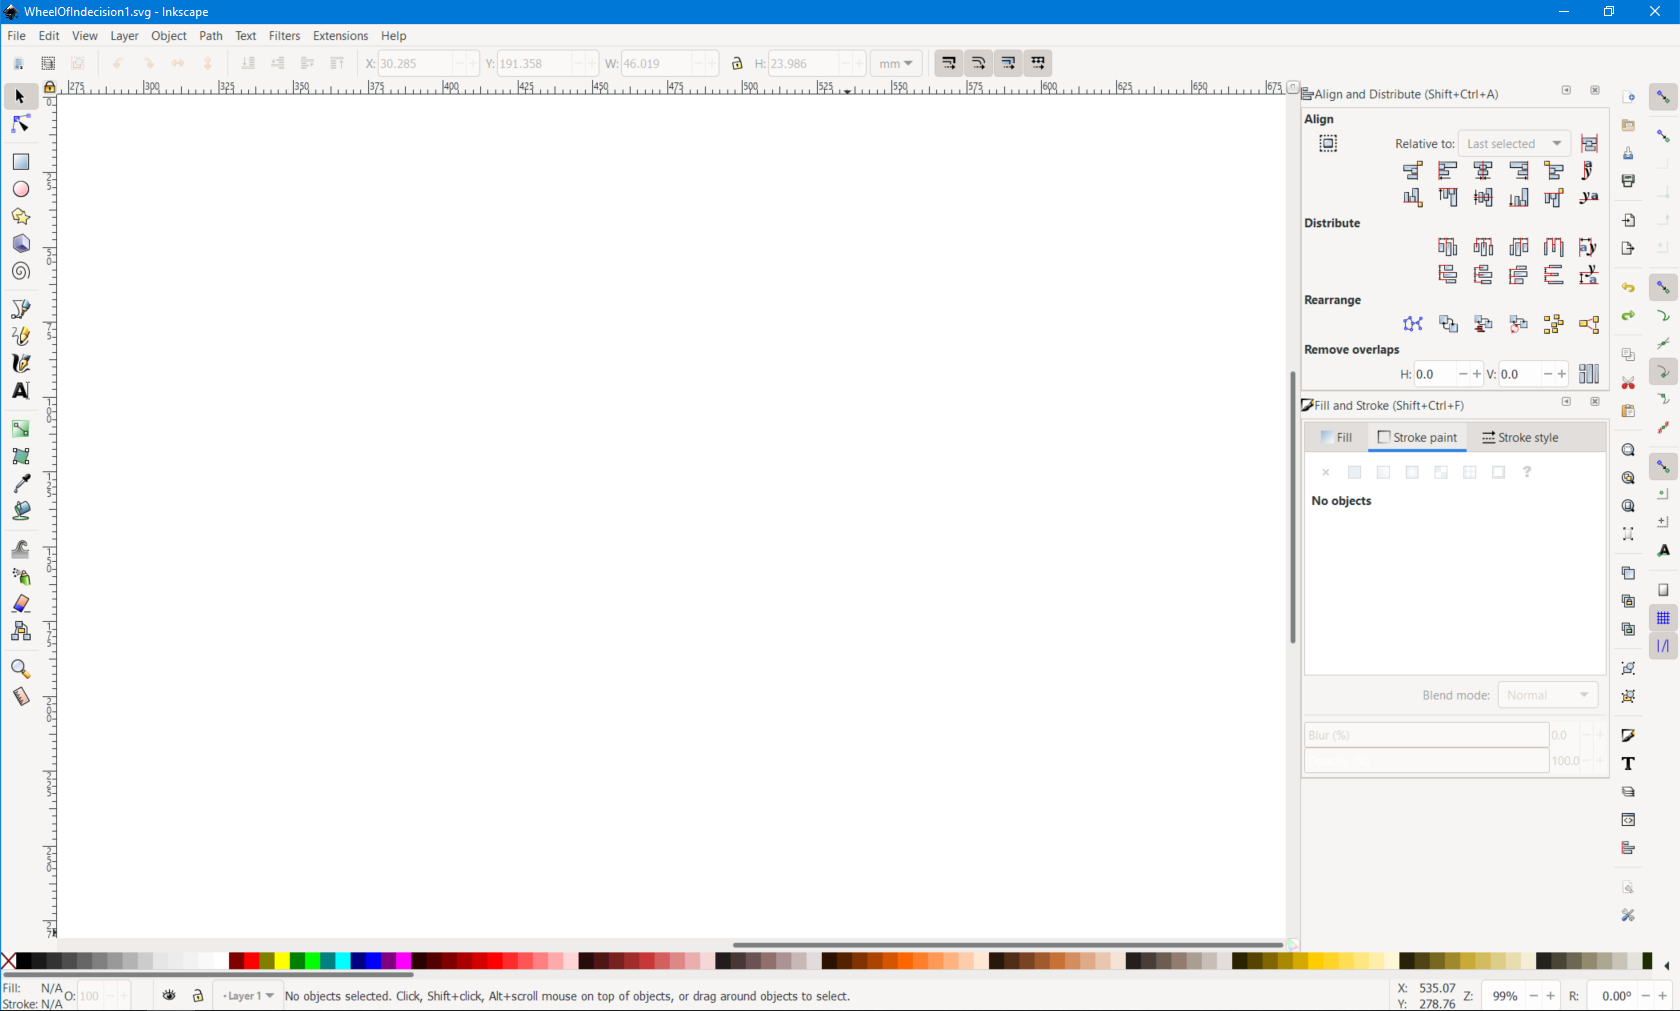
One of the softwares that I chose to work with is the 2D-design software "Inkscape". I have worked with Inkscape since highschool, due to it being a great free substitute for Adobe Illustrator. I was able to create a rough sketch using the supplied tools. When creating a more in-depth and complex design, I will use the node tools/view more frequently.
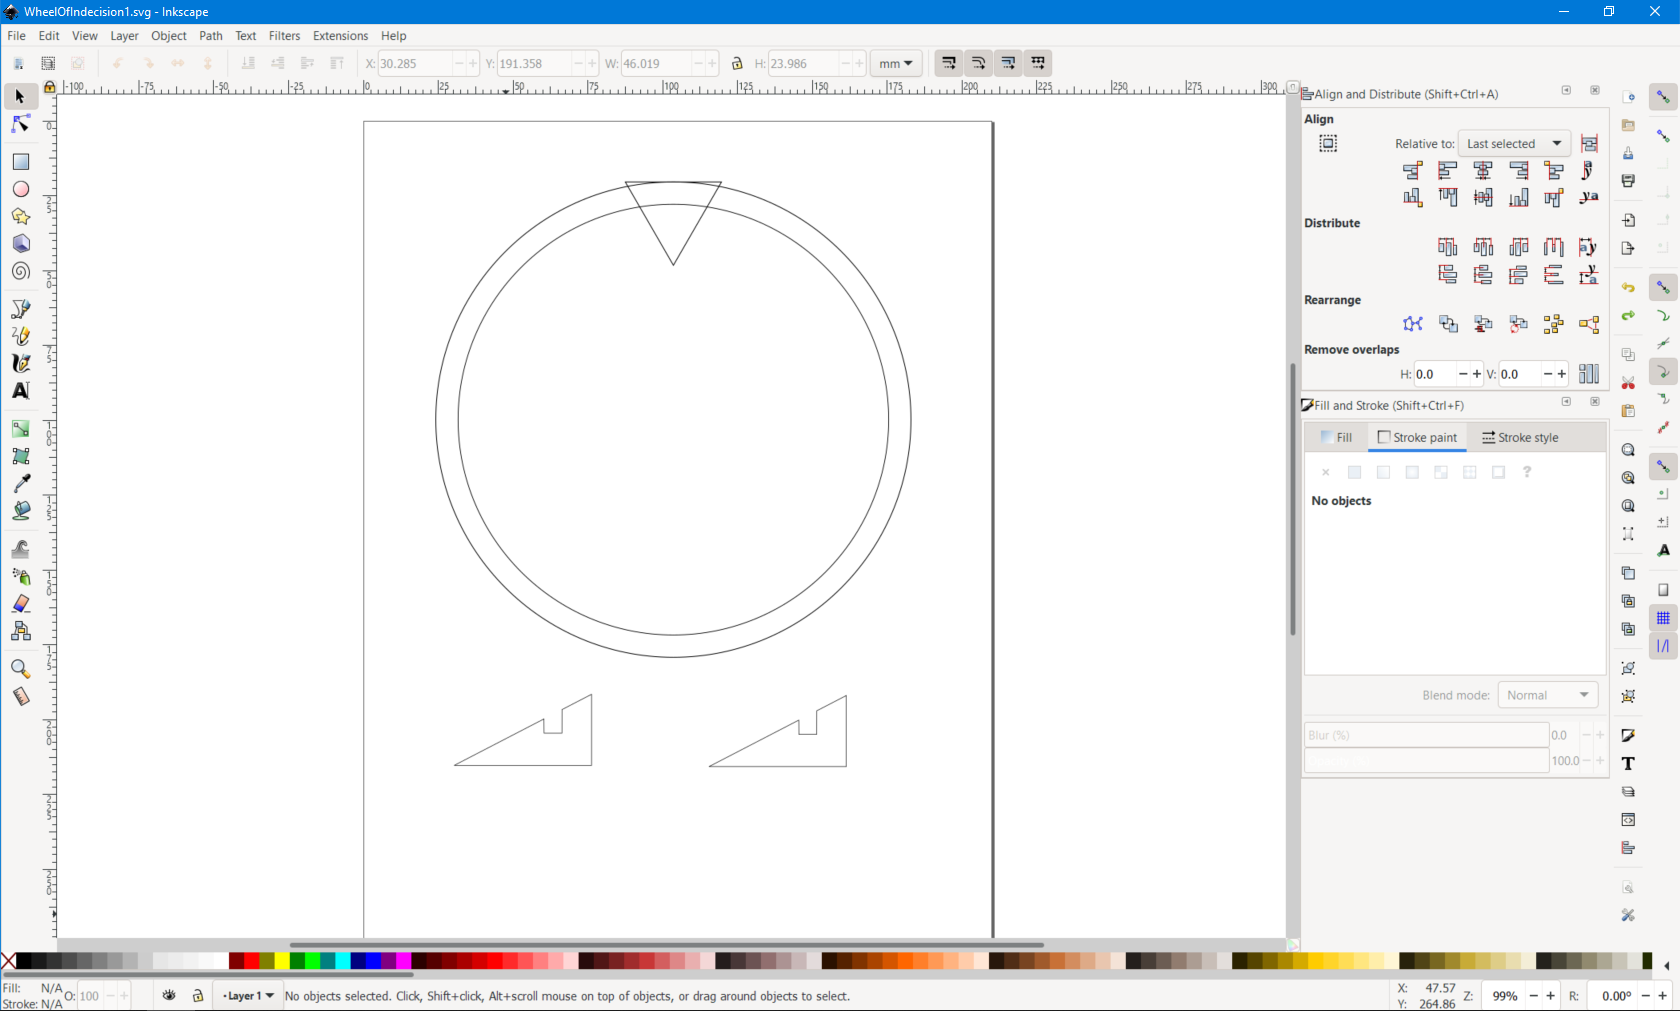
As I am still considering whether or not to use 3D additive fabrication (i.e. 3D Printing) or 2D subtractive fabrication (i.e. lasercutting or CNC), I created a rough design of how the fundamentals of the project could look. I am planning to create a wheel that spins, and locate the electronics on the device so that it can read which section of the wheel ends up at the top after it is done spinning. In the above Inkscape design, I used a circle tool to create the larger and smaller circle and the polygon tool to create the downward-pointing triangle. I used the rectangle tool to create a rectangle and navigated to Path->Object To Path in order to give the rectangles nodes. I then deleted on corner node and forced the new curved line to become a straight line, creating a right triangle. I used the node tool to create nodes and moved said nodes to create a gap in which to support the wheel.
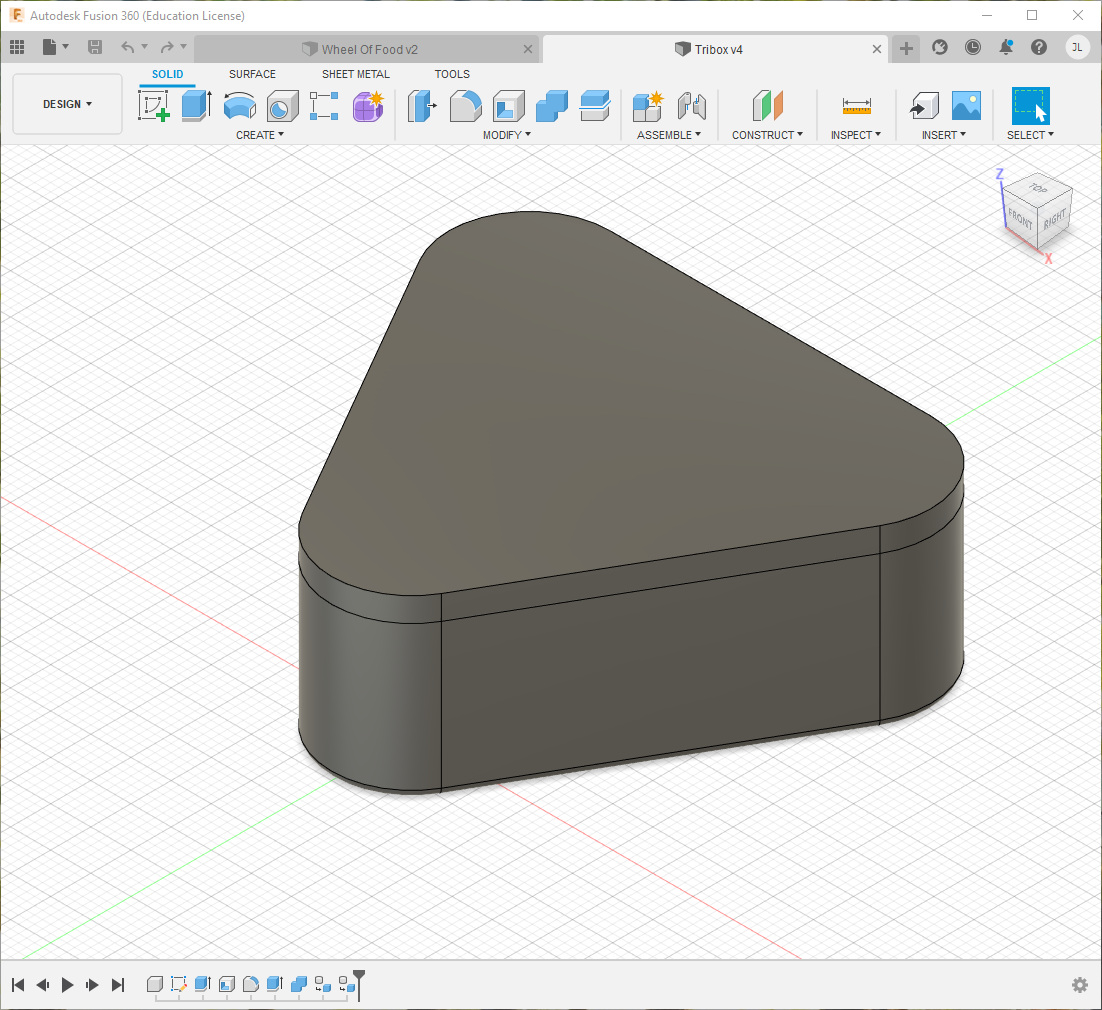
Another software that I explored was Autodesk Fusion360. I have used this software briefly in the past, but when partaking in a tutorial led by a professor at my college, I began to feel more comfortable with the software. Professor Goodman led us through the tools and workflow of Fusion360, first having us create a sketch and then extruding our sketch into the third dimension. We then made a plethora of edits and he showed us how helpful constraints can be. I had never used constraints before, and they were extremely helpful in creating a consistent design, which helped in all stages of design. I also enjoyed the more precise aspects of the program, specifically the sketch view, measurements, and multitude of modifications that can be made to components and bodies. I was also impressed by the organization of the software, with the dropdown menu of components, bodies, sketches, etc.
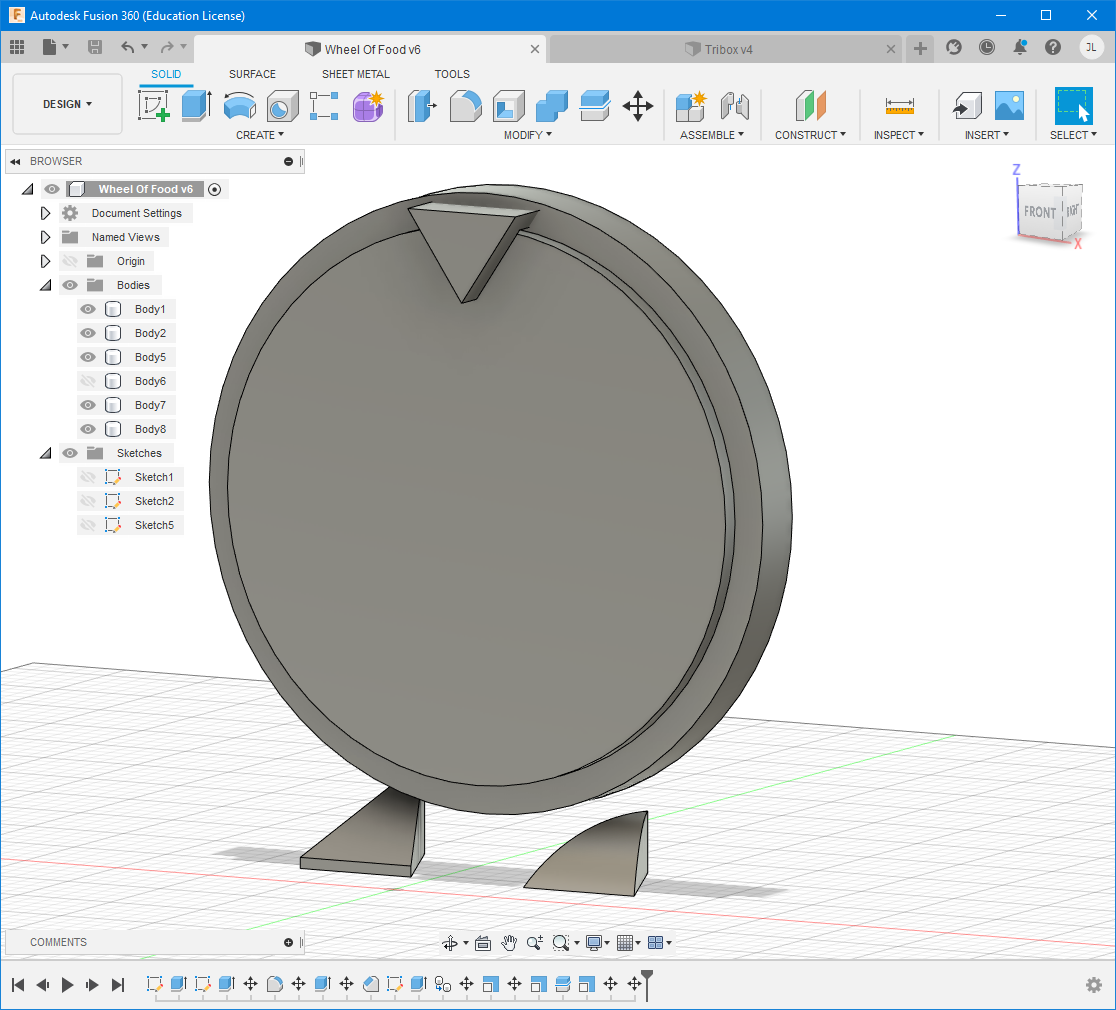
After the workshop, I began a rough design of my project in Fusion360. I played around with the cut functions and offset the pointer from the rest of the wheel. I also played with chafering, filleting, and press/pulling to get a more unique and streamlined look for the legs of the wheel. While this is a very rough example to show, it illustrates how helpful (and difficult) it is to move an idea from an abstract cloud of thoughts to a more tangible design. I also watched some videos on using topography to create objects with optimal support, and may explore this idea to create artistic feet or housing for the electronics. I am still determining which software would be best used to make the feet versus the rest of the design. So far, I am planning on using Fusion360 for the feet and electrical housing, and am looking into using InkScape or Adobe Illustrator for the wheel itself and the pointer.
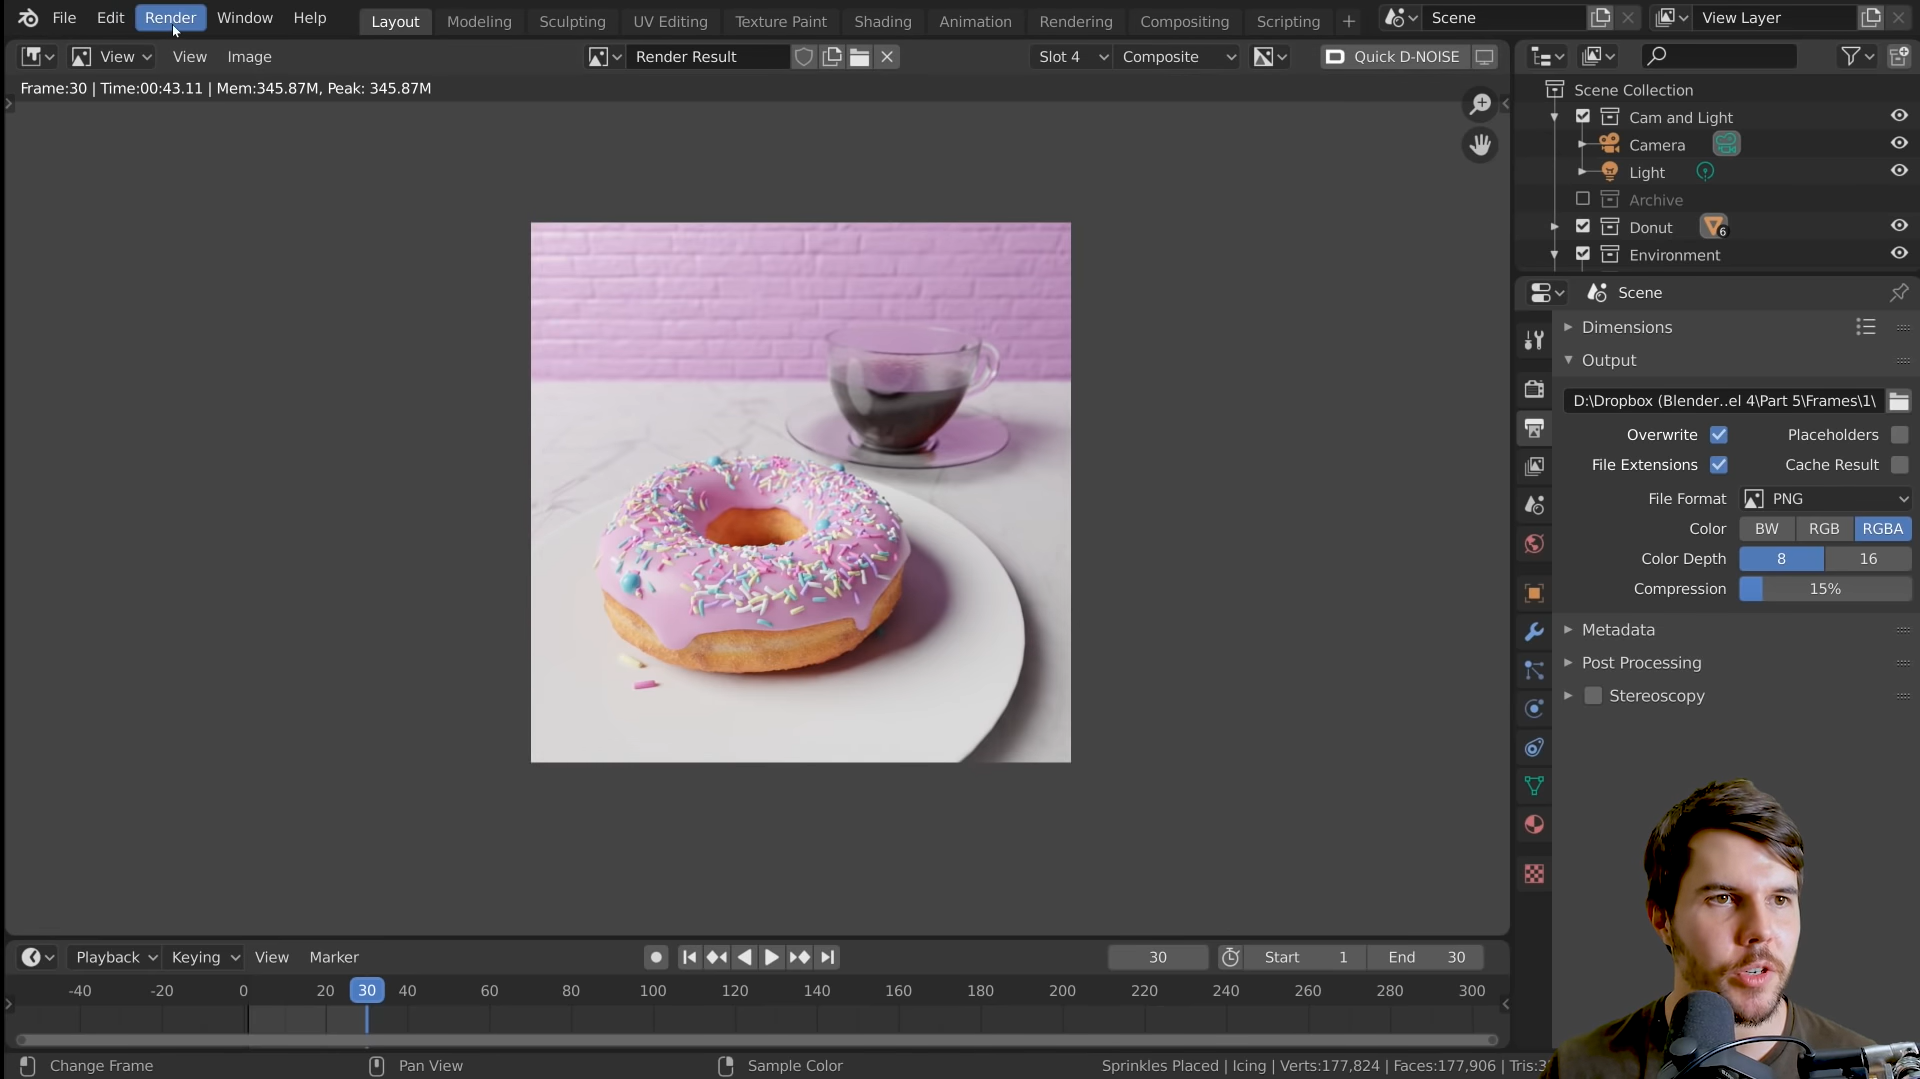
I then decided to do some work in Blender, a program that I had spent many hours in during highschool and my first years of college. Blender is an open-source 3D software that is primarily known for its rendering, physics, modeling, and animation. I had spent a good amount of time figuring out the software in highschool and freshman year of college with an earlier version, and had to spend a bit of time relearning the UI. I had followed a tutorial by BlenderGuru on Youtube to create a donut with a cup of coffee and found it very helpful and enlightening to go through all of the steps of Blender design from meshes to rendering. This is a tool that feels much more natural for me to navigate around in, as I found myself remembering the binds in Blender far easier than those in Fusion360. The ease of creating high-quality renders made this tool extremely fun for me and I will use this tool in the future, even if only for final project renderings.
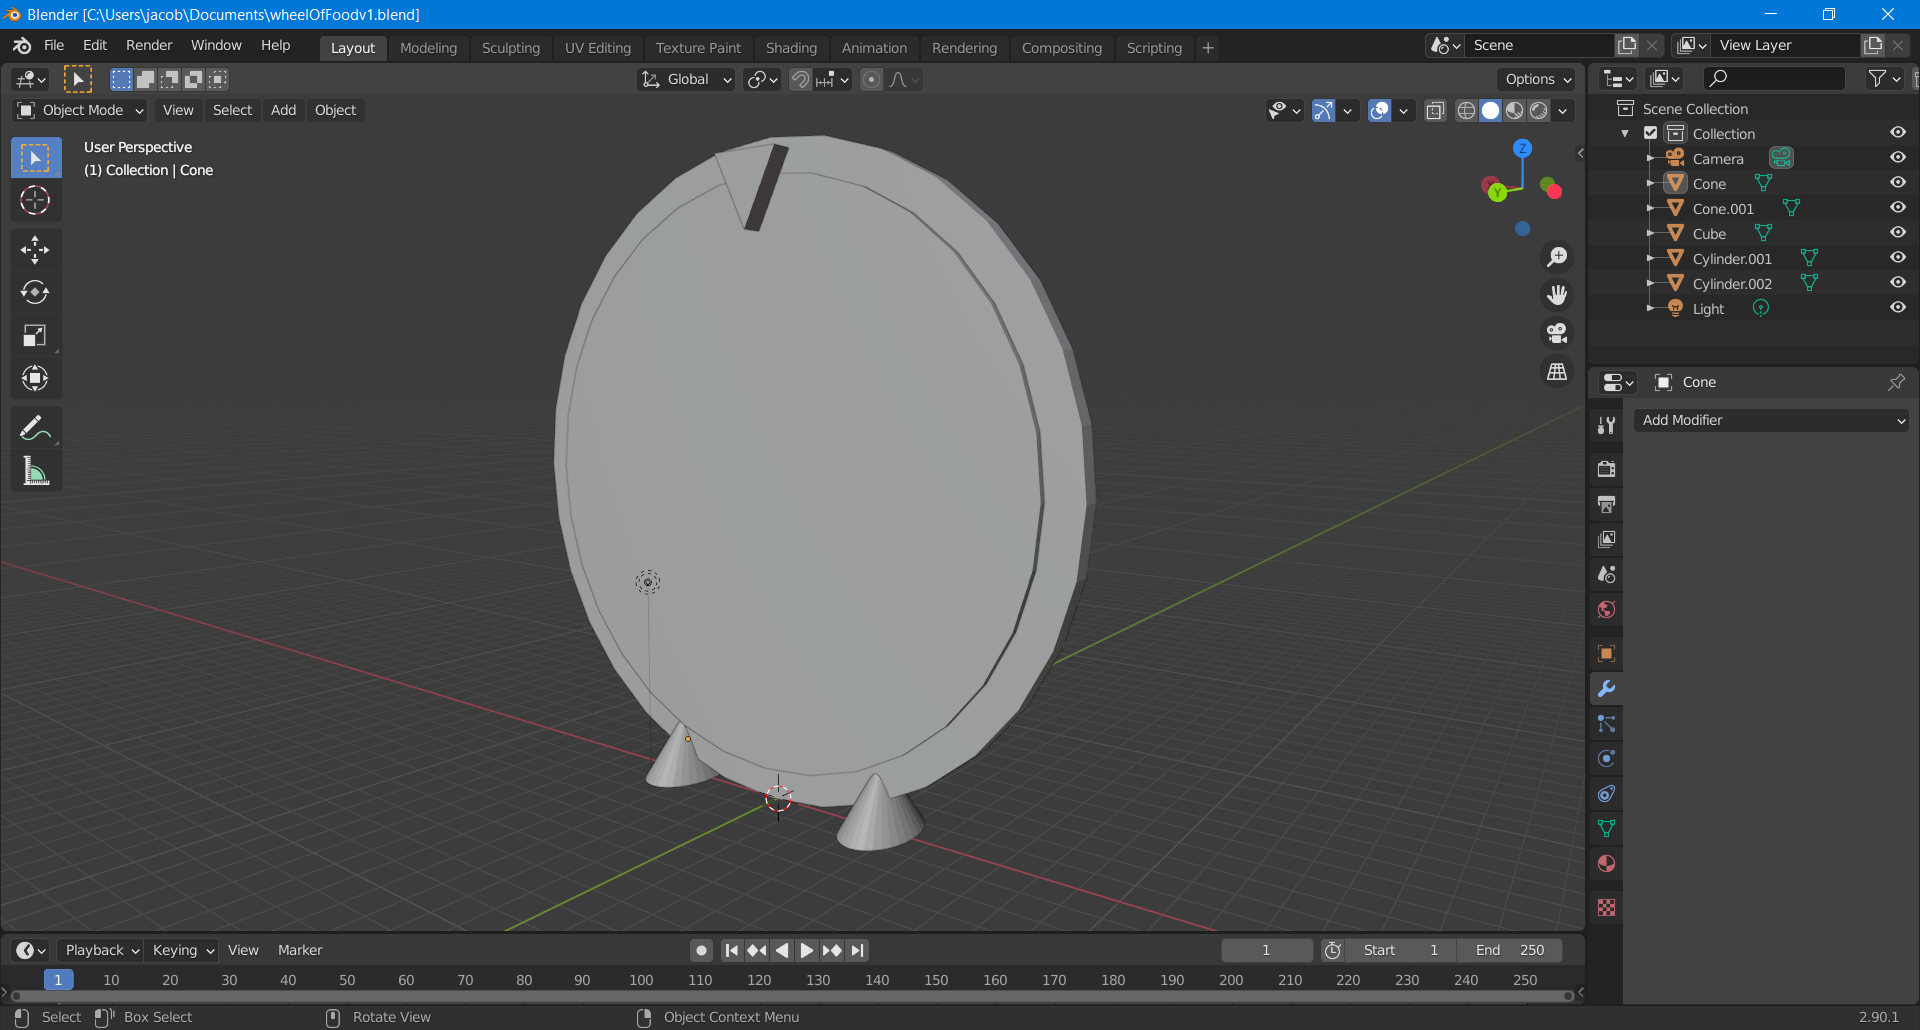
I wanted to try to make a similar design to the one I made in Fusion360 while relearing the Blender UI. I started with primitive meshes, resizing circles for the main wheel and creating a cube and deleting vertices and resizing in order to create the pointer at the top. I found it was far easier to create feet for the wheel in Blender with the scaling tool on the top edges of cylinders while constricting the axises. I also made sure to do similar boolean functions as I did in Fusion360 in this software, and found it similarly straight-forward. Overall, I may end up using Fusion360 for the majority of my project because of how measurement-based the program feels. Blender has a more artistic and creative feel which may be helpful in designing the feet for the wheel, however the wheel and electronic housing I will need to design might be simpler to design in Fusion360.
Files:
Blender File
Fusion File