Jacob Libby
Week 7
Computer-Controlled Machining
A week dedicated to learning more about Axiom CNCing, and building something big
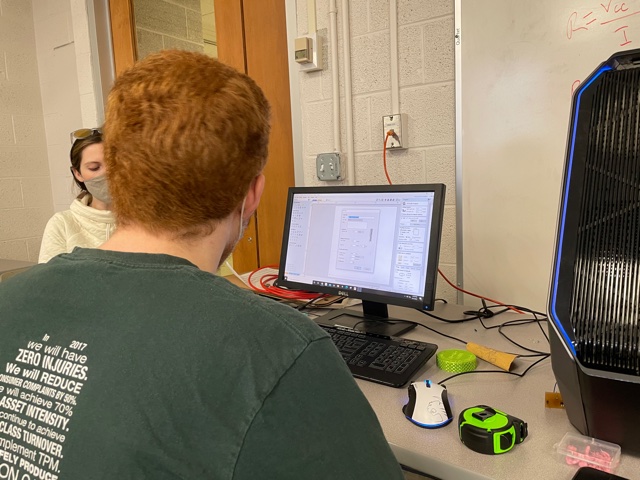
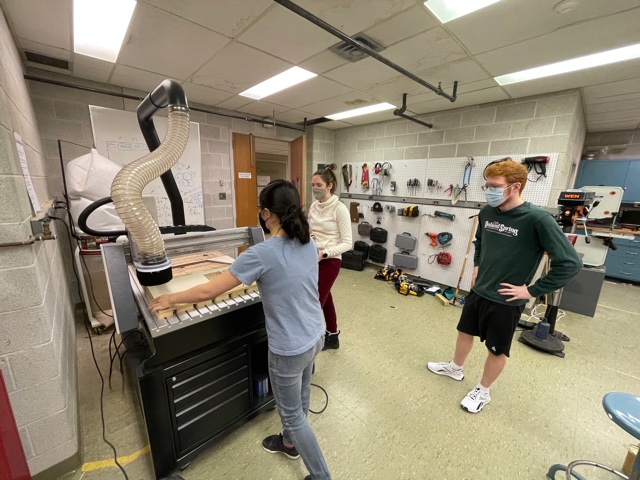
We began this week with the group project of exploring the ins and outs of our school's Axiom CNC. This machine is incredibly dangerous and was far larger than any other machine in the fablab. We explored terms such as feed rate, spindle speed, and the movement of the gantry, which all was very similar to working with the Roland SRM-20 in weeks prior.
We cut out multiple designs, tinkering with the feed rate, changing it from 2.6 to 4. This seemed to not have a drastic effect on the cutting process (the Axiom sounded quite normal and the cut came out as expected) and we (including our instructor) were a little uneasy about switching too many settings since the machine is so dangerous.
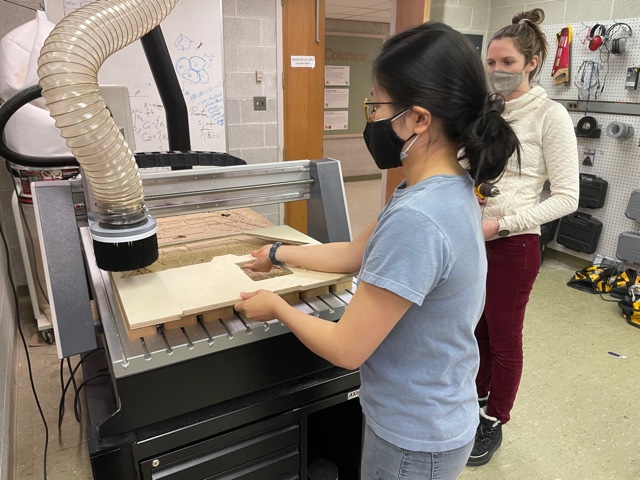
To test our machine and how it cuts, we decided to cut designs to see the depth of cut, kerfing, the machine's CNC's angle of cut/bit angle, and the overall quality of the cut.
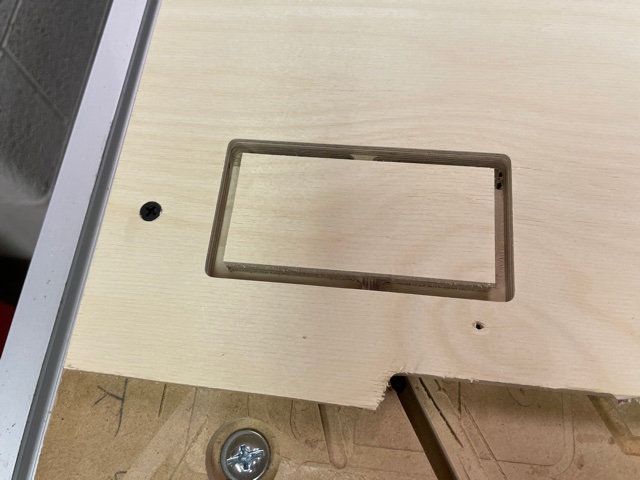
The first design was a simple rectangle with dimesions 2"x4".
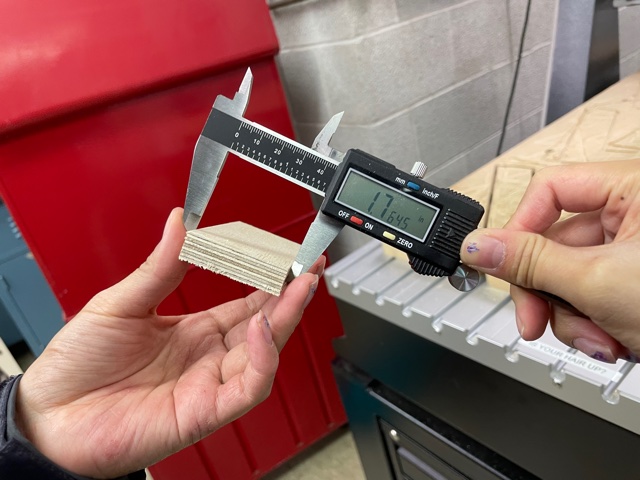
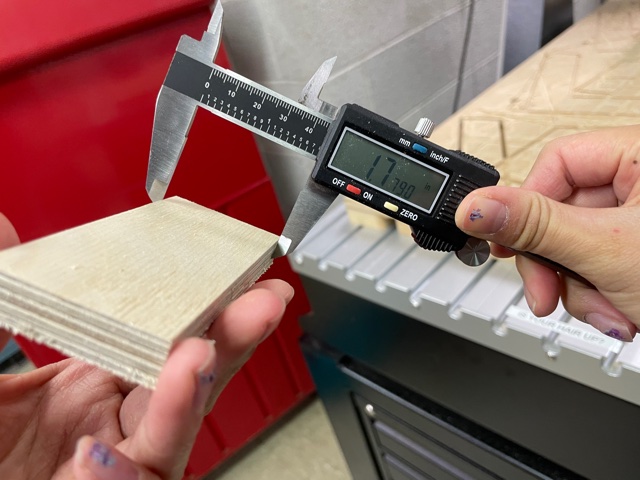
This design cut out well and the tabs performed well. The design was quite evenly cut across the x-axis, and was pretty close to 2". Since we had the tool set to cut on the rectangle's perimeter, this value is expected to be equal to the side of the rectangle minus the diameter of the bit (2 - .25 = 1.75), thus this value is expected (perhaps even larger than expected).

The second design was a circle profile cut with a small dot drilled near the perimeter to measure the angle of the bit to see if it was off kilter.
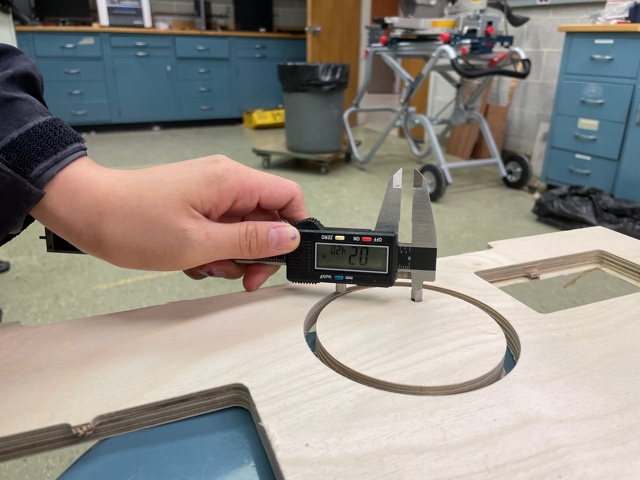
This design came out well and was cut to the desired parameters, with the expected difference in size, similar to the above section. We also needed to check the diameter of the smaller drill hole, in order to see if the drill bit is properly oriented, and to see if the machine needs some help being calibrated. We wanted the hole to be .25 inches in diameter, which (using the calipers) it turned out to be quite close to.

For the individual project, I was trying to decide what to create for quite some time. My first idea was to use Slicerforfusion360 in order to slice a 3D model from TurboSquid of a heart. After asking my local instructors, they shared this design seemed too rudamentary for this far into the course, so this idea was scrapped.
For my next idea, I thought it would be really interesting to design Kryptos, a sculpture outside of the CIA Headquarters. I am currently in the secon semester of a Cryptography course and am fascinated by Kryptos, so I thought it would be really cool to be able to recreate this, especially making it big. However, it seemed very planar to them, so this was scrapped as well. MY first thought was to use slicerforfusion360, but as you can see, the best product I can get from this is quite disgusting. The next idea was to either incorporate hinges, or mill the pieces with a curve before connecting them. This seemed to be shoe-horning an idea into a fabrication process, so I was okay with scrapping this idea and moving on to something that I can better demonstrate my learning.
Another idea I had was to create either an icosahedron or sphere. I really like creating 3D geometric shapes from 2D materials, so this wood (hahaha) have been a cool idea. My instructors agreed, and this idea was definitely a finalist. Had I known what was going to happen with my next idea, I probably would have chosen this one....

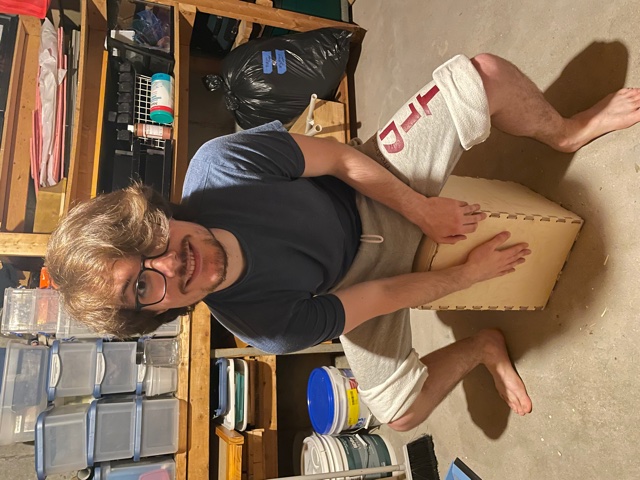
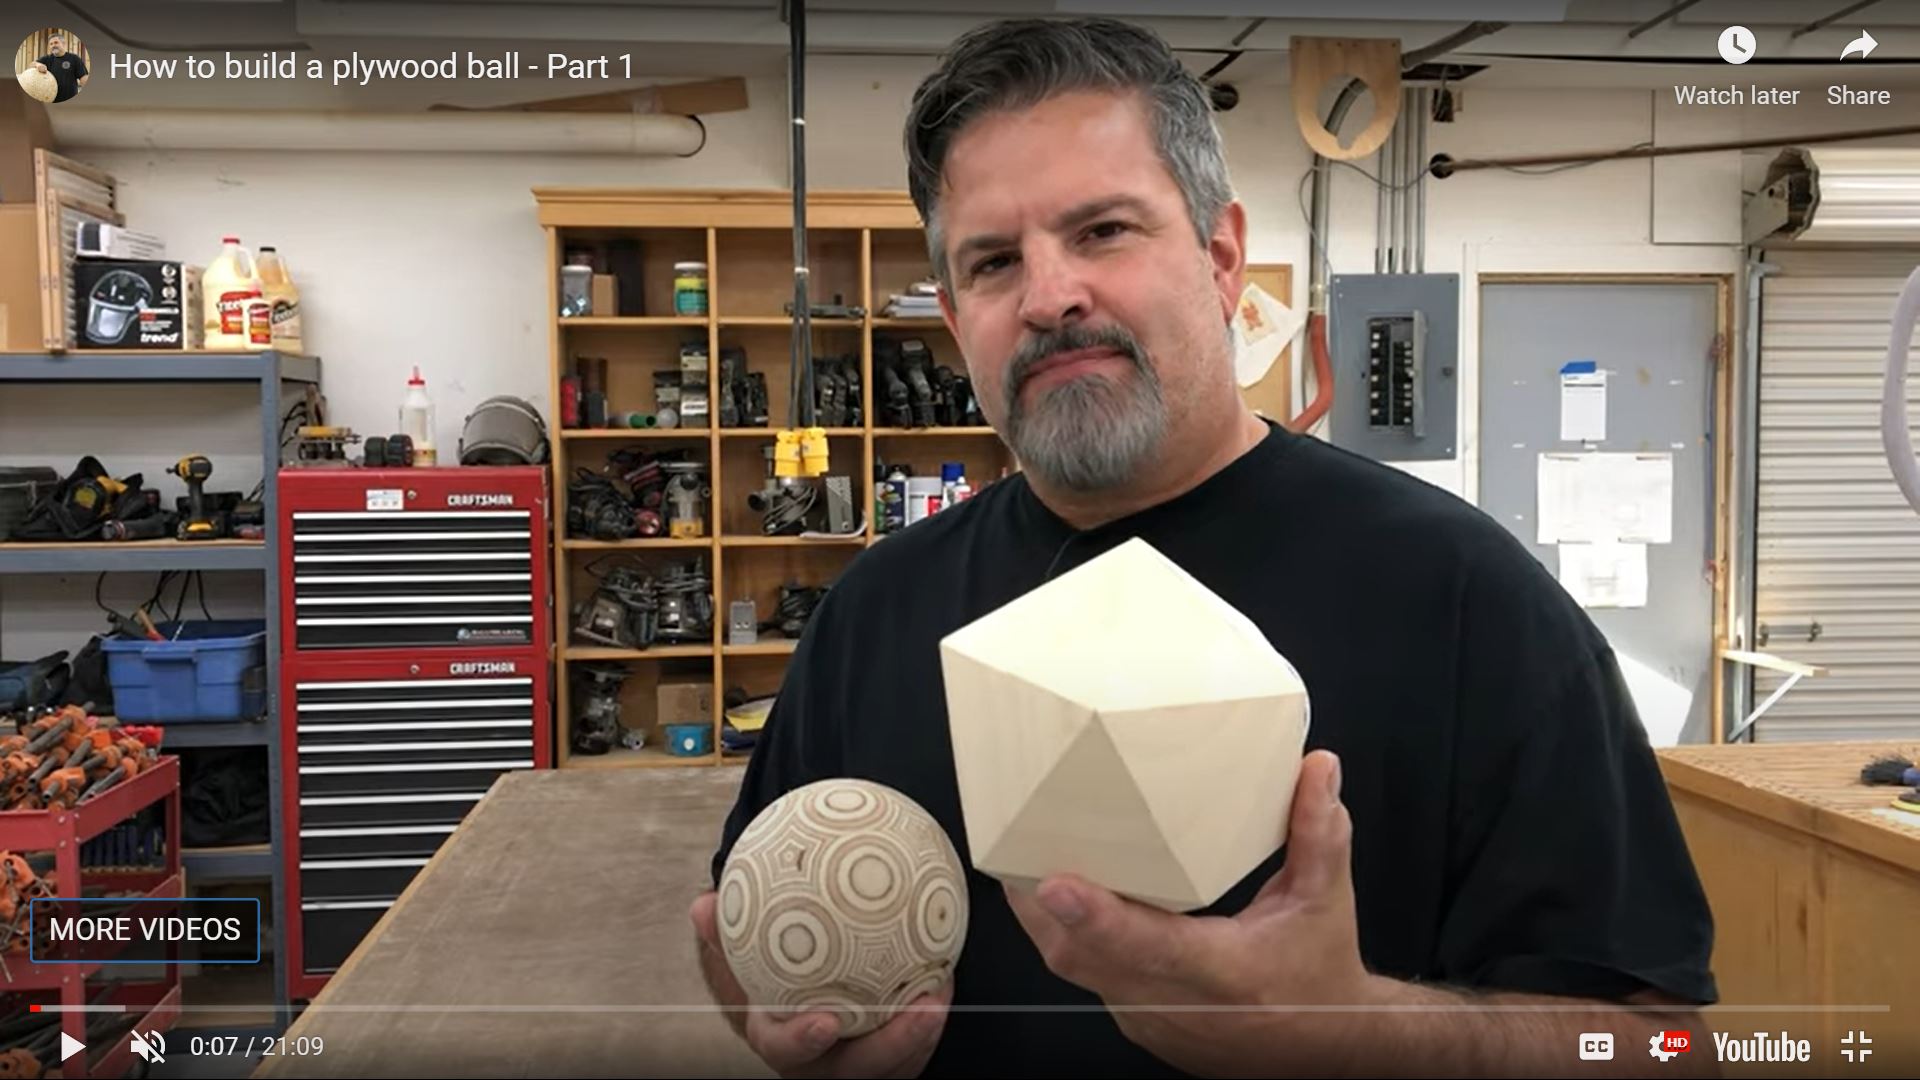
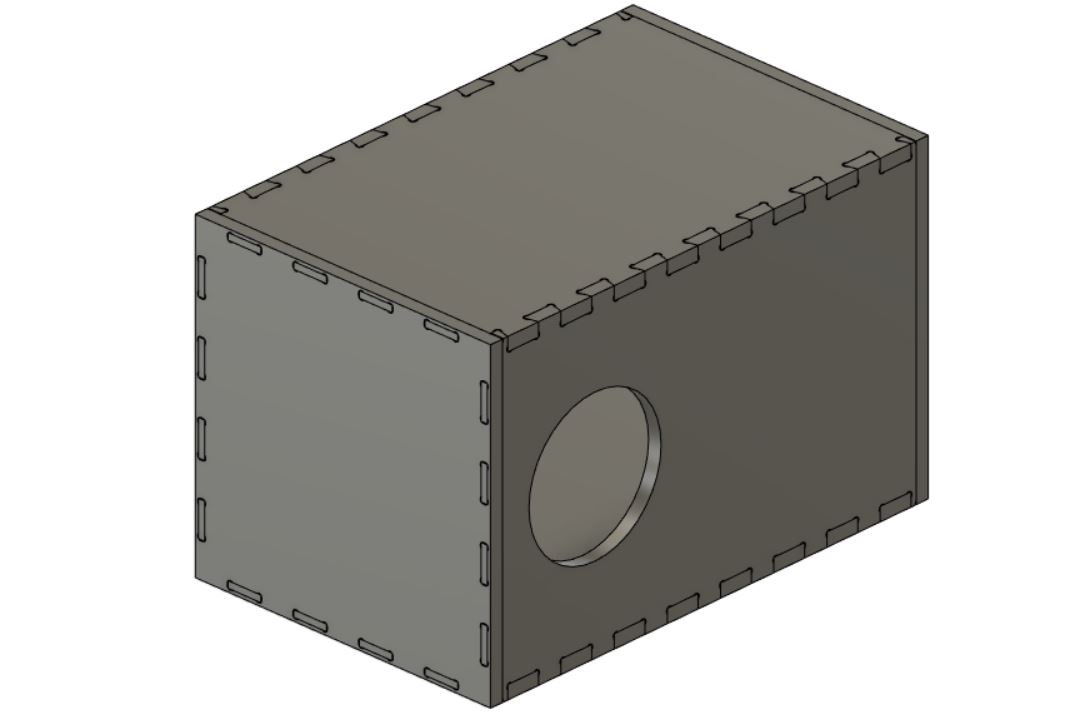
My final idea, and the one that I chose was to create a cajon, or box drum. To do this, I planned on using fusion, and desiging the cajon from scratch. I included a royalty free image above of a young man using a similar drum for your reference.
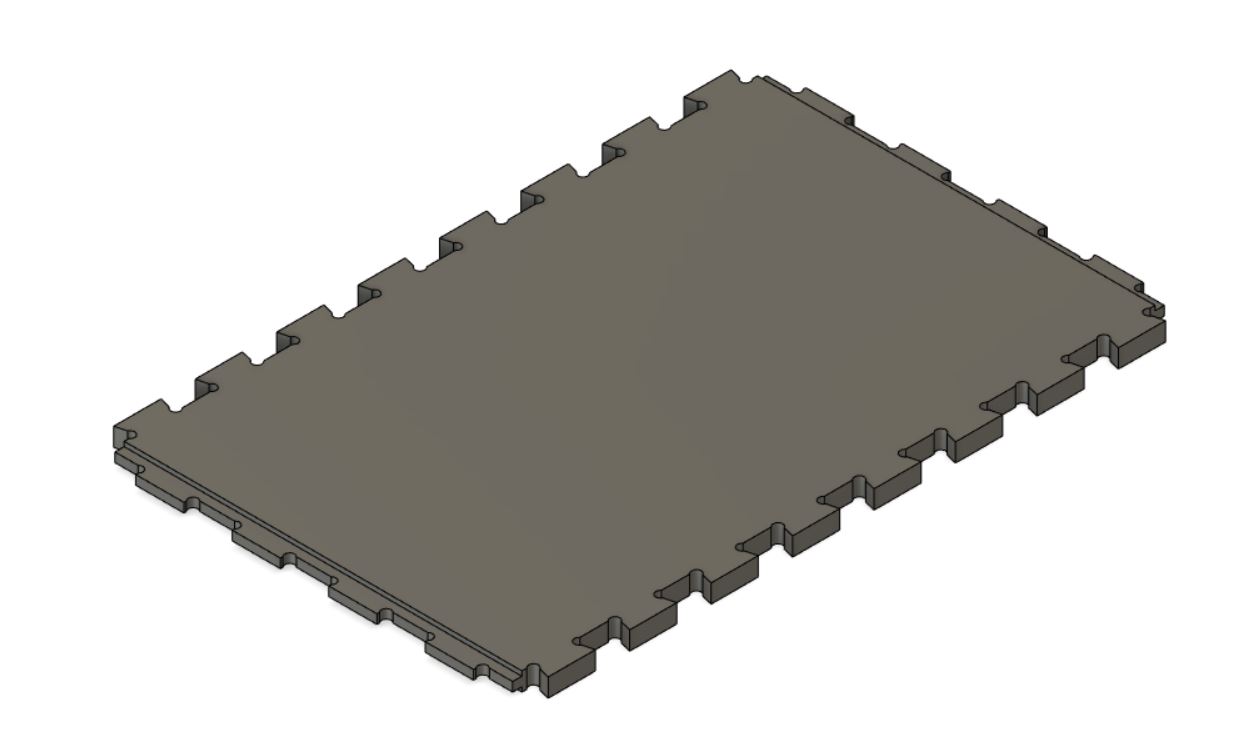
I began designing the drum in Fusion parametrically in order to organize my work flow and keep me sane. I started by designing the front of the box, which was a simple rectangle, but spent the majority of the weekend nights looking into joints with some friends (I know, my mom should be worried about my rowdy partying habits). I landed on dovetail joints connecting the sides together and a rail and peg design to connect the bottom and top to the sides.
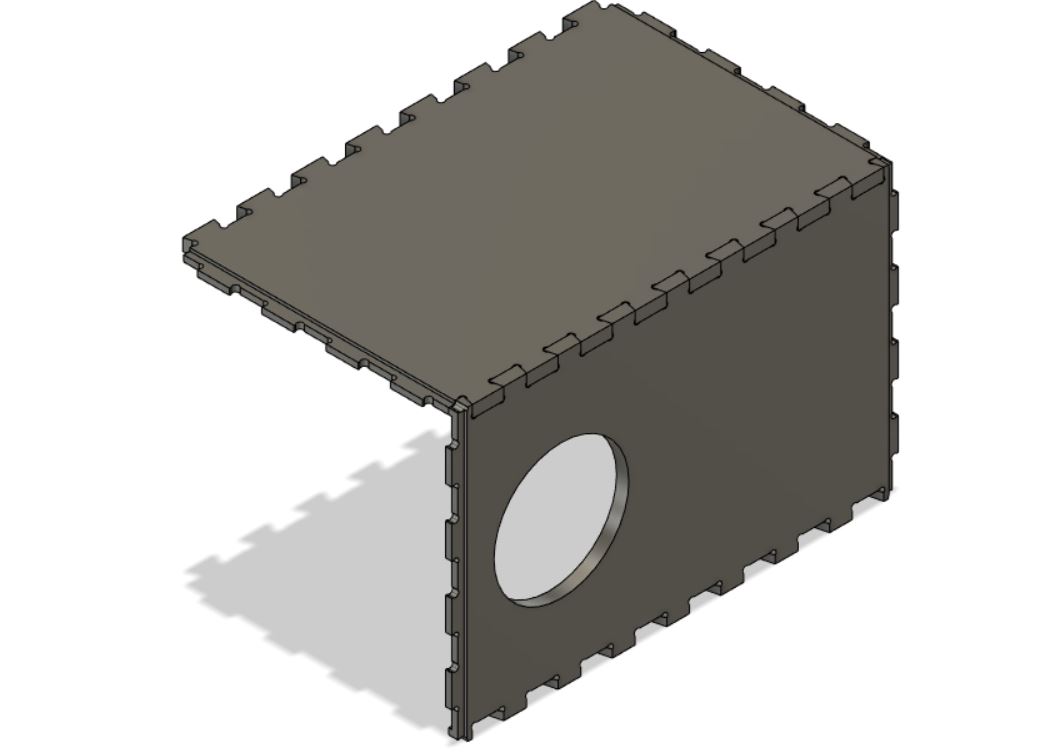
These joints took far longer than I was expecting, making use of grounding, joints, and other tools within Fusion that I had not heard of before, much less used. As my design was developing, I became super proud of how it was turning out. On top of this, I figured that I needed to create dogbones on the interior angles, thus beginning the arguous journey between github and help pages, trying to figure out how to create dogbones on not only vertical cuts, but for my angles dovetail cuts as well. I ended up extruding cuts in order for the dogbones to go all the way through the material, and was quite happy with the results. after adding a hole to the design, it was all coming together.
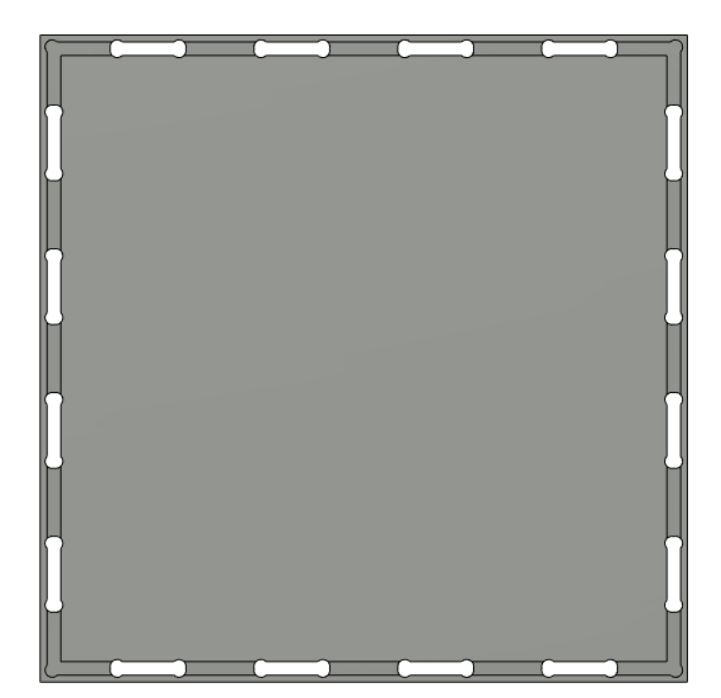
The next hurdle was creating the joints for the bottom and top of the design, which I also had to end up making the dogbones for. I was also proud of this, and felt that I could actually create a pretty rad final project.
I arrived at my fablab around 3:30, ready to get to work. The "final" design was finally together, all I ended up needing to do was spend the next 6 hours at the lab getting the tool paths set, realise that it would be near impossible to cut the angles of the dovetails, and almost cry a little. After listening to some hype music, I pulled myself up from my croc-straps and got everything set up for cutting.
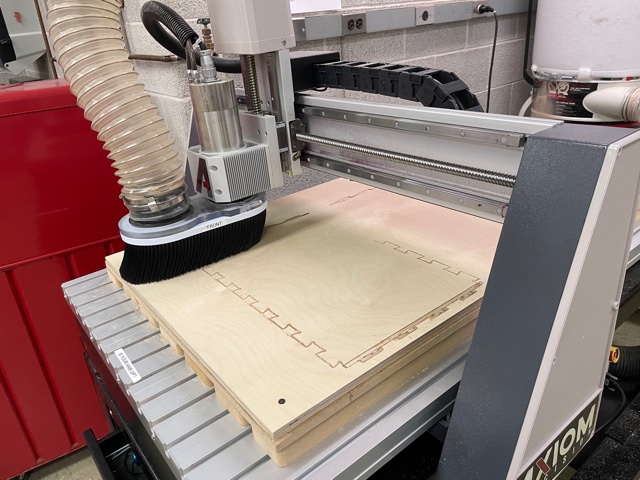
I set up everything for cutting, however I realized after a while that I did not set my cut origin in Fusion correctly, as the CNC was cutting 10mm above the board, rather than, ya know, into it. After fixing this, the design began cutting. I cut the first few sides, and only noticed small imperfections in the cut with the depth of the pocket cuts and realized that (foreshadowing) the depth of the cuts seemed a little too shallow (although I had double-checked that they were the depth of the material).
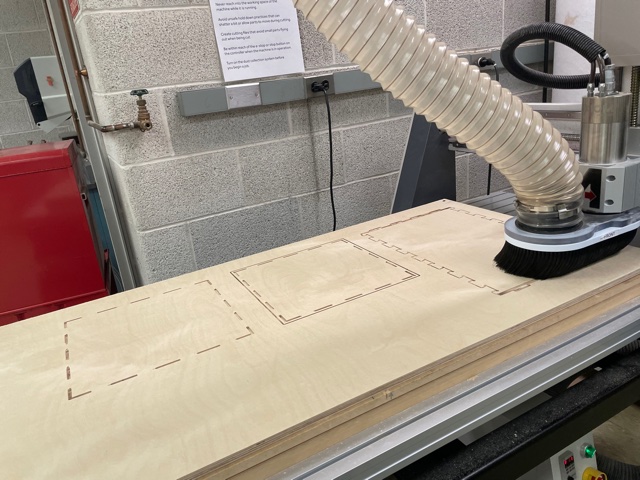
The second cut went pretty well for the surface cut, but I again noticed that the cuts seemed to not be deep enough as well.
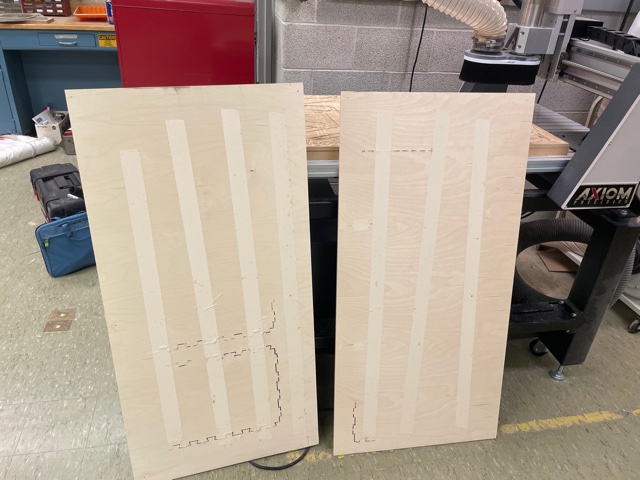
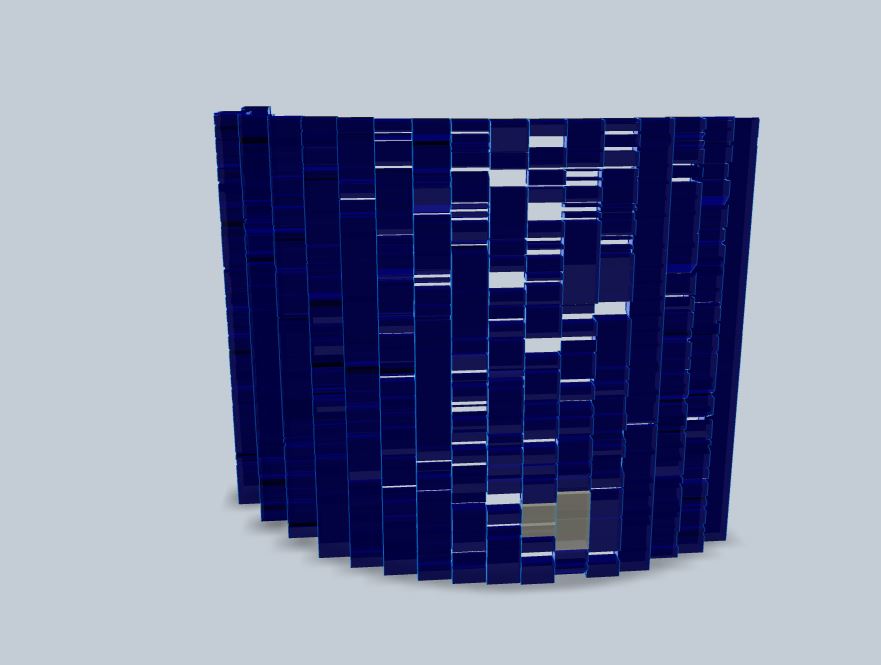
When I turned over the sheets, alas, the CNC had completely and utterly failed me, and I stood shocked at how little the CNC had actually cut through the material. I was checking the CNC's handheld monitor device throughout the cut and made sure that it was cutting all the way through, and the z values were consistent with what should have cut all the way through the material. I was a bit overwhelmed after working so hard on a design and expecting the fabrication step to be the most seamless, and stood there for a while. I began the tiresome process of chiseling out and sawing out the jigsaw shape with the few tools that actually fit within the gap and the small shapes needing to be cut out. I passive-aggressively thought that a CNC with a 1/8" bit would be a perfect too for this as I took a few very disappointed glances towards the Axiom. I had a friend drop of dinner around 11PM, and after that decided that my idea of a beautiful cajon was in shambles. I am contemplating either just working on the final project, or getting my vengence with the Axiom and setting the cut depth to a couple feet deep just to be sure it cuts through (this is a joke and I realize that this is unsafe to do). Leave a comment below (not possible) telling me which you think I should do.
Fast forward a few weeks, and I am back home and continued the tedious task of chiseling, sanding, sawing, and smacking my hand with a hammer. After multiple hours of this, I was able to squeeze together the now finger joints, and create a beautiful cajon!
So here is a quick video of me testing it out, and please don't mind the desperation in my eyes.