Assignment 2.1
2D Design Concepts
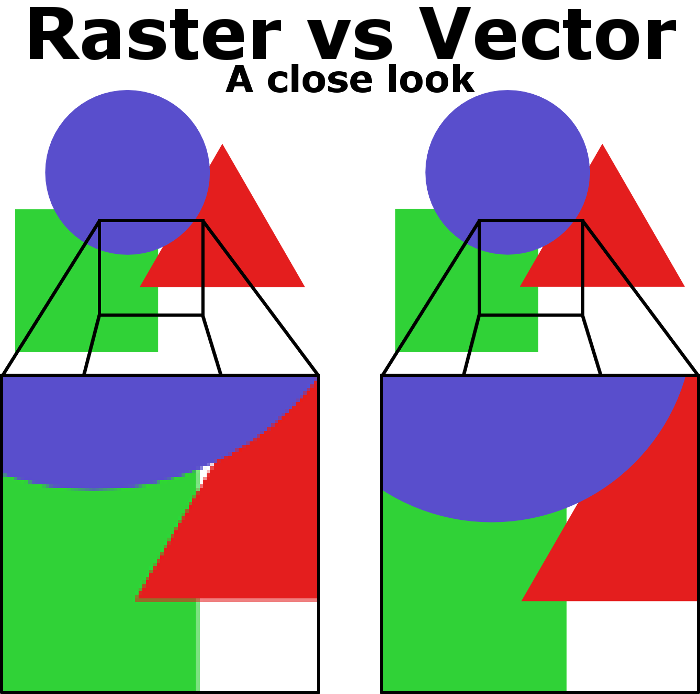
Before starting to design with 2D design tools, an explanation of two different concepts of 2D design is reasonable:
1. Raster-based images: A raster images uses different colored pixels, which are arranged in a manner to display an image.
Pro: image is very clear.
Contra: loss of quality when increasing the size and image in high resolution takes a lot of space.
2. Vector-based images: Image is made up of paths, also known as a vector, which describe how each part of the image is shaped, bordered and filled.
Pro: image is easy to scale and does not get unclear when it is scaled.
Contra: it is impossible to convey smooth color transitions, as in a raster.


2D Design: Gimp
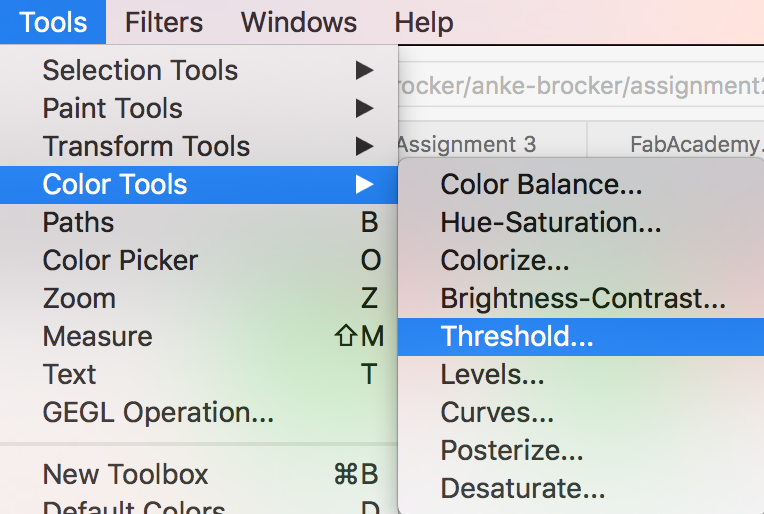
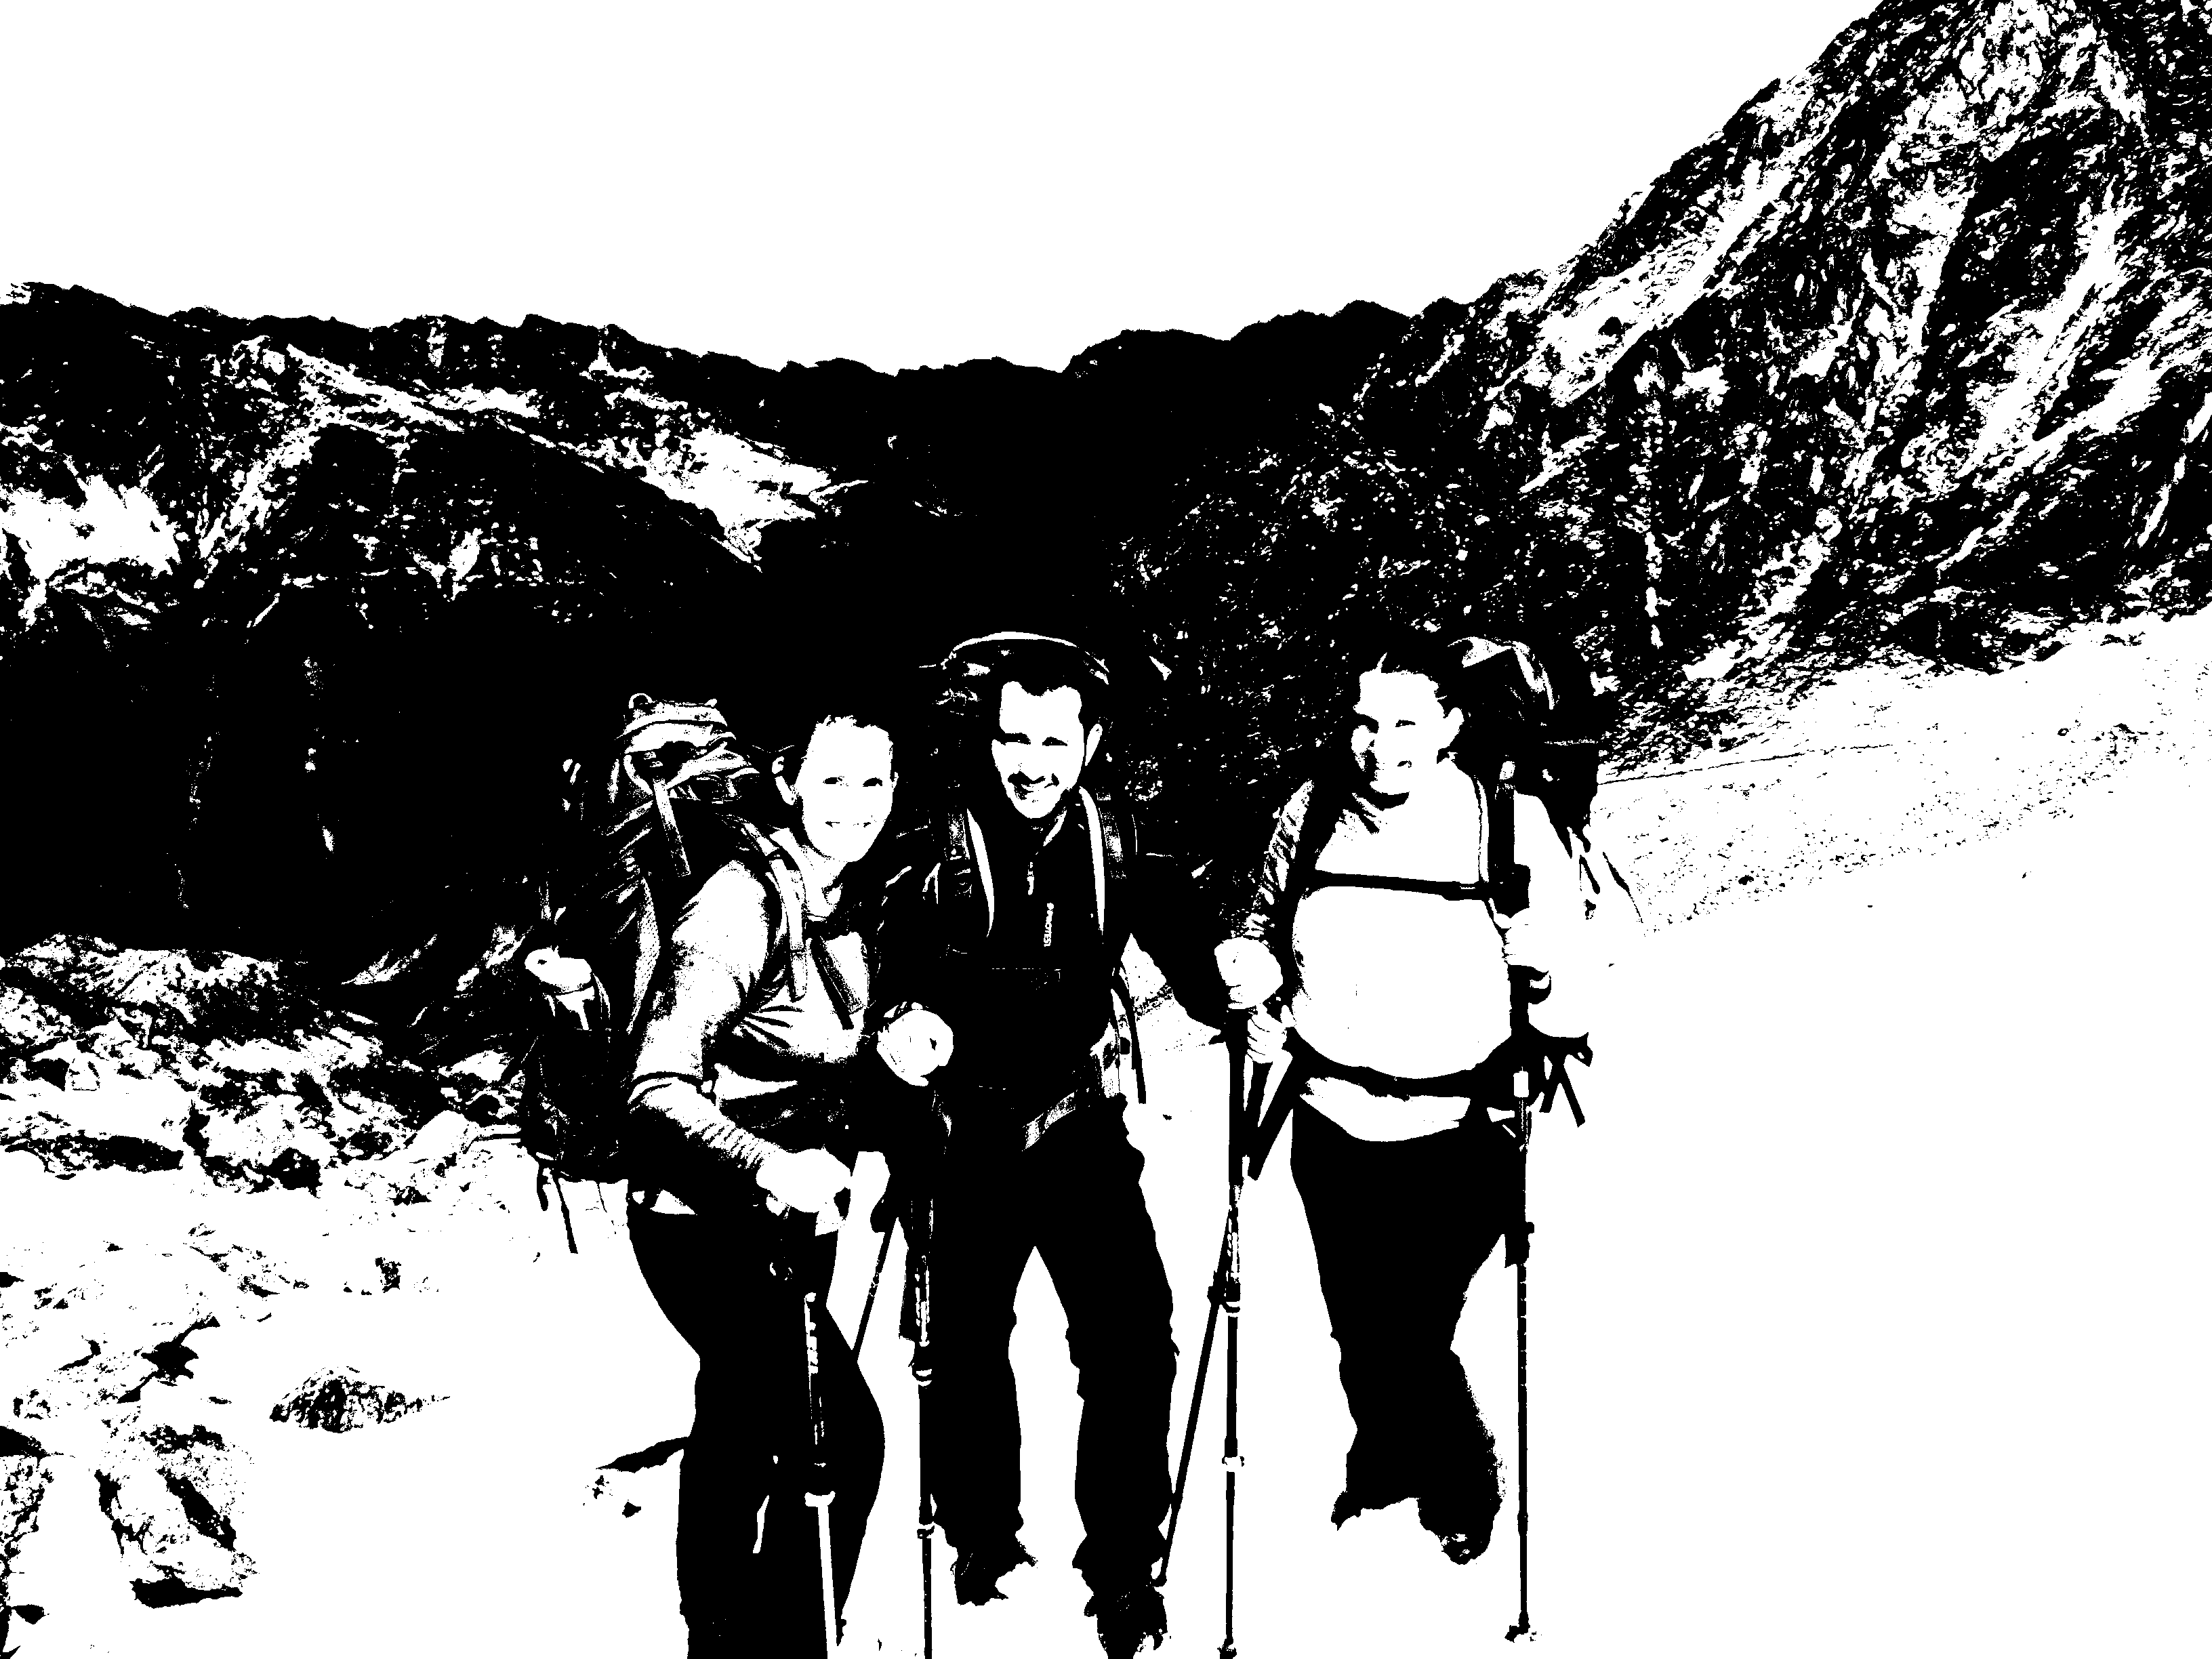
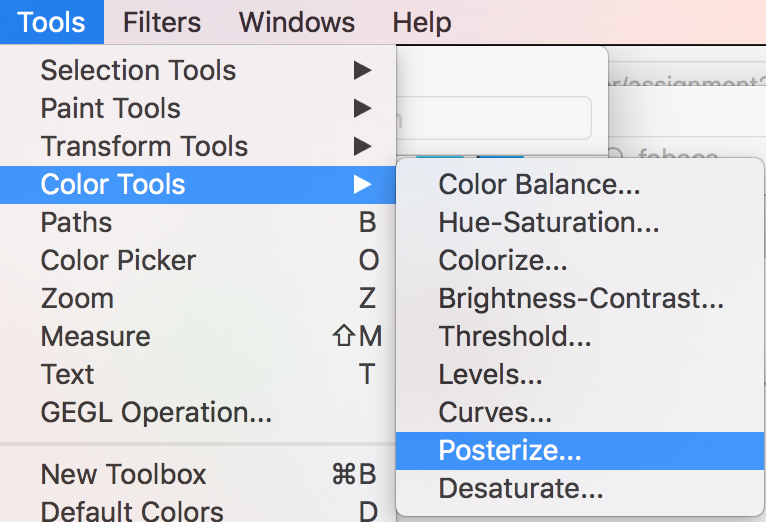
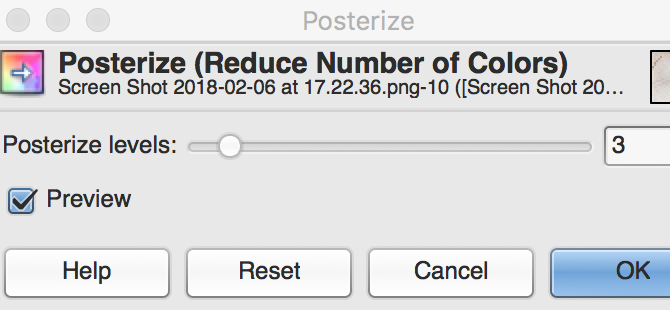
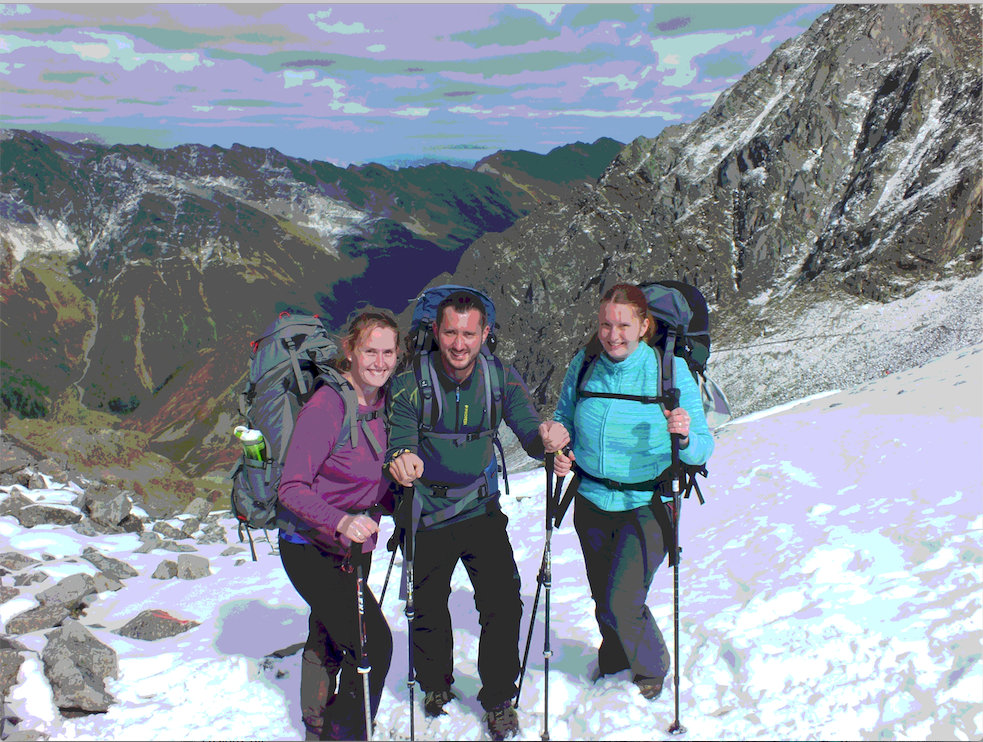
I have used the tool Gimp before, mostly I use it to edit pictures. Those pictures I usually prepare for drawing on a canvas, which often is a really nice present for beloved people =). Below some examples of using Gimp tools like the 'Threshold' or 'Posterize' I often use to redesign and edit my pictures. Also for the work with layers I used Gimp before.

2D Design: Inkscape
Inkscape is a very common tool used for 2D design. I have worked with it before, mostly to design pictures for my Bachelor and Master thesis. I do not have experience with all tools that Inkscape provides. Therefore, my goal is to get more into tools I have not used before.
As a first sketch I designed a point board for a game that is called 'Sackloch'. I plan on giving the game as a present and because I think the usual point board for this game are not so exciting I added some objects that can be engraved with the laser cutter. For this design I got familiar e.g. with the alignment-tool of objects and how to combine and separate objects again.
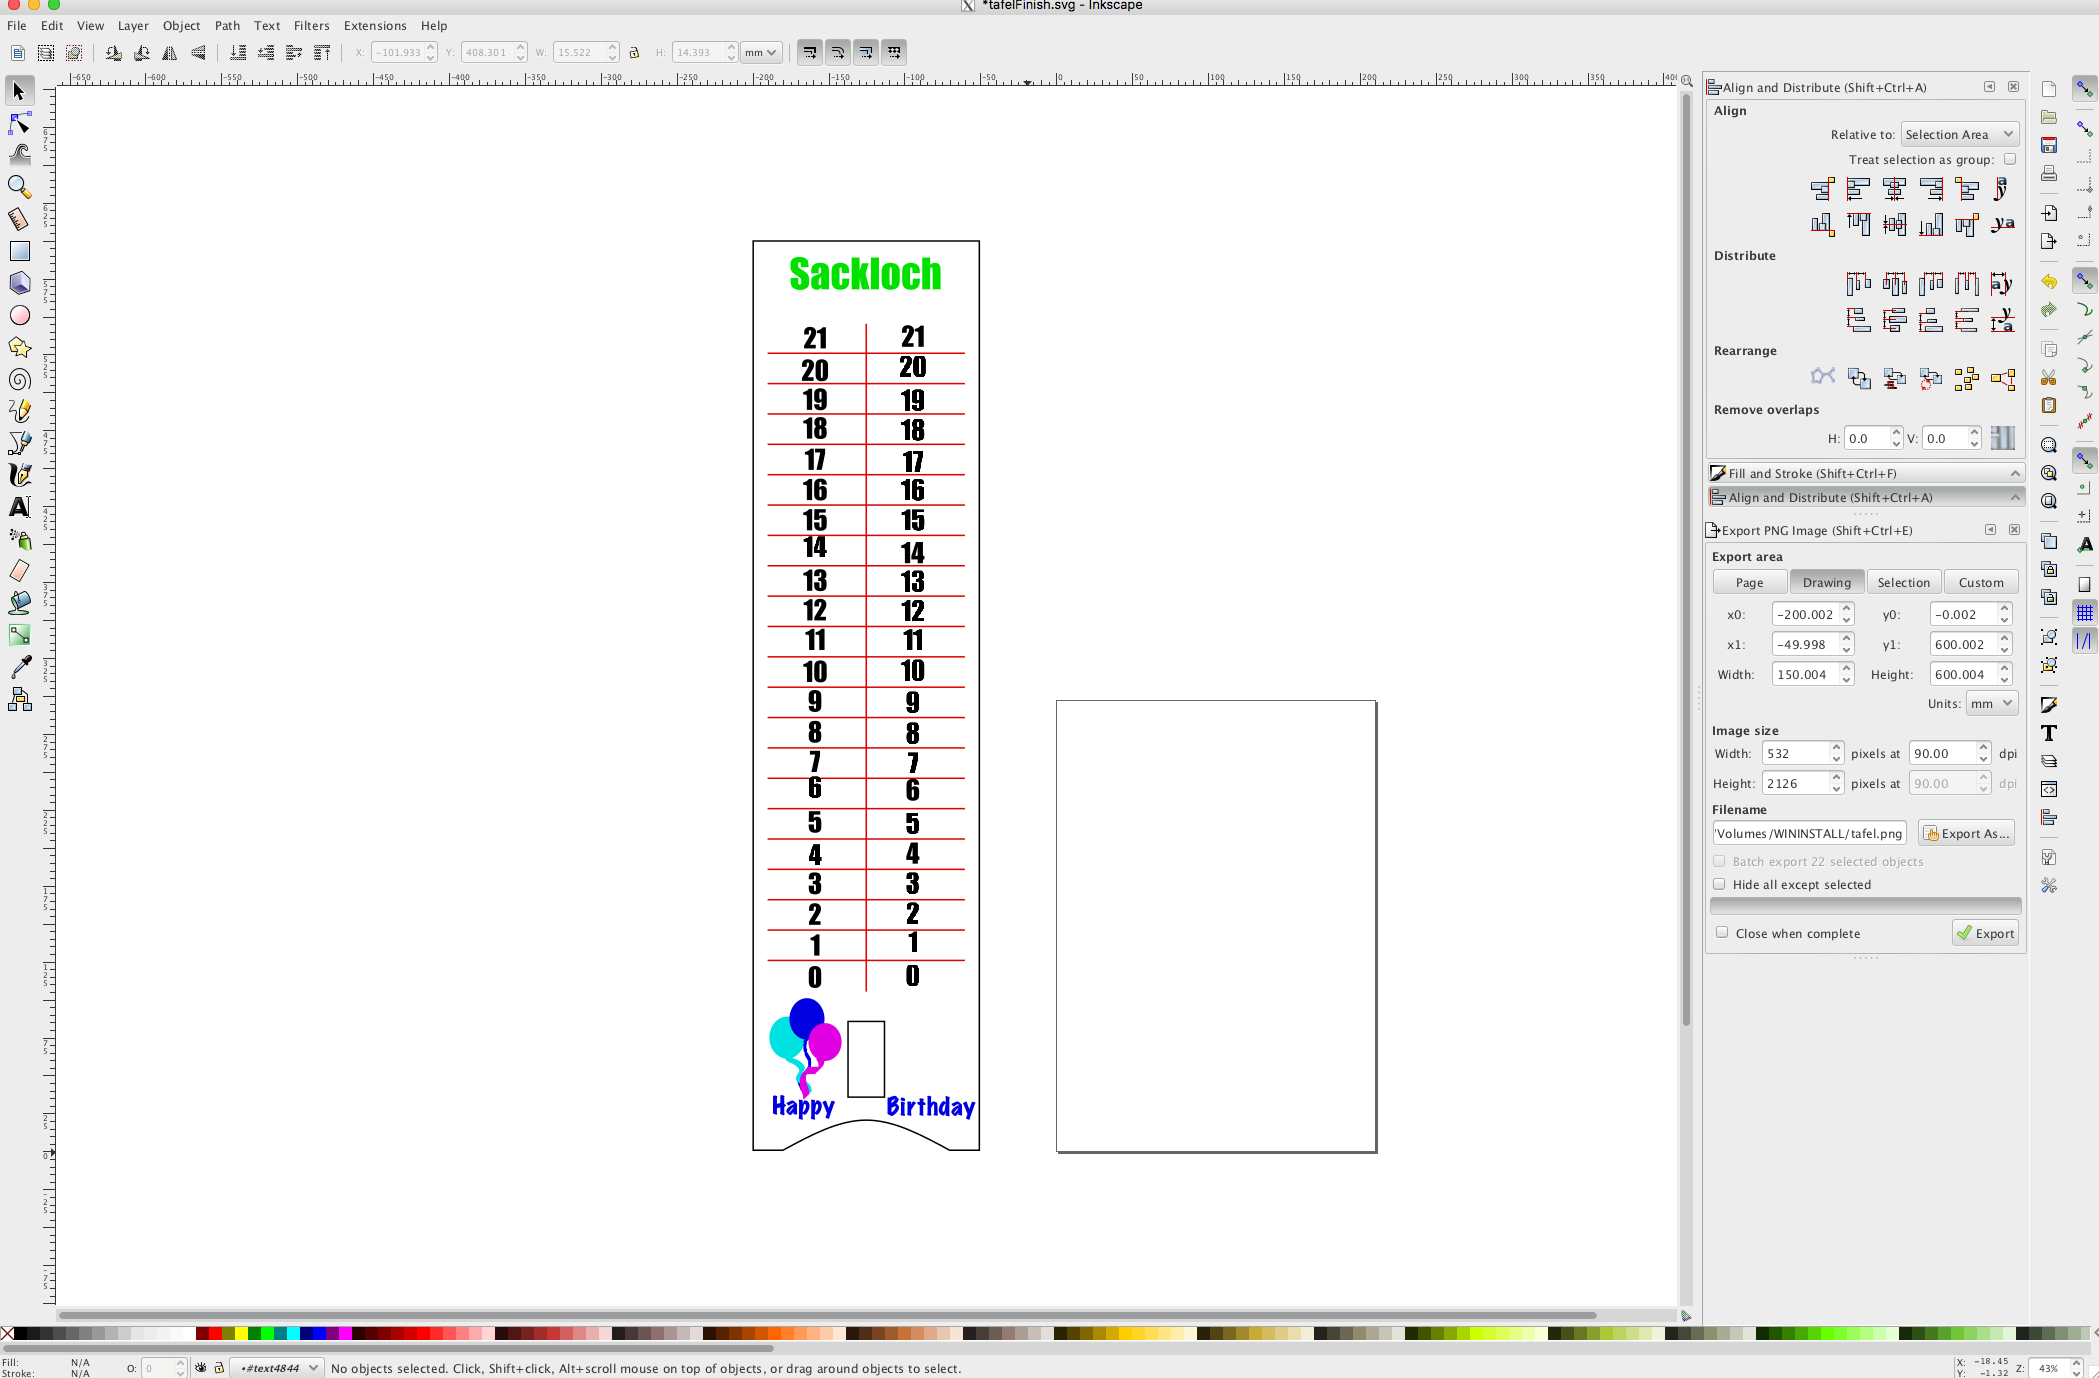
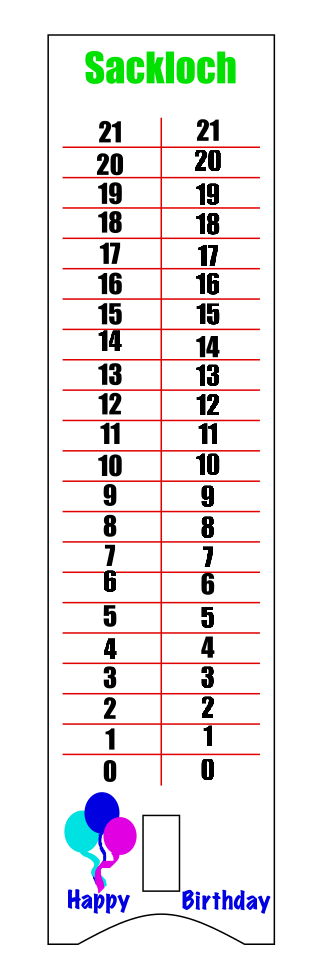
I also tried out raster and vector design while creating the point board. In the end now you can see vector-based numbers on the left points of the board and raster-based numbers. It will be interesting to test this with the laser cutter and see the difference. The different colours in the design are chosen because I want to use the laser cutter and wanna differentiate between cutting and engraving (with different intensity).The laser cutter does have options to make a difference between lines when they have different colours.
2D: OpenSCAD PressFit Kit
OpenSCAD is a new tool for me. Of course, I have heard the name but never thought about trying it before.
I liked to stick to tools I knew. I guess that is just a human habit. But I got to know that designing with OpenSCAD is a way of designing that
suits for me as I have a computer science background. I decided to design a basic shape for my final project as a first design step in OpenSCAD which
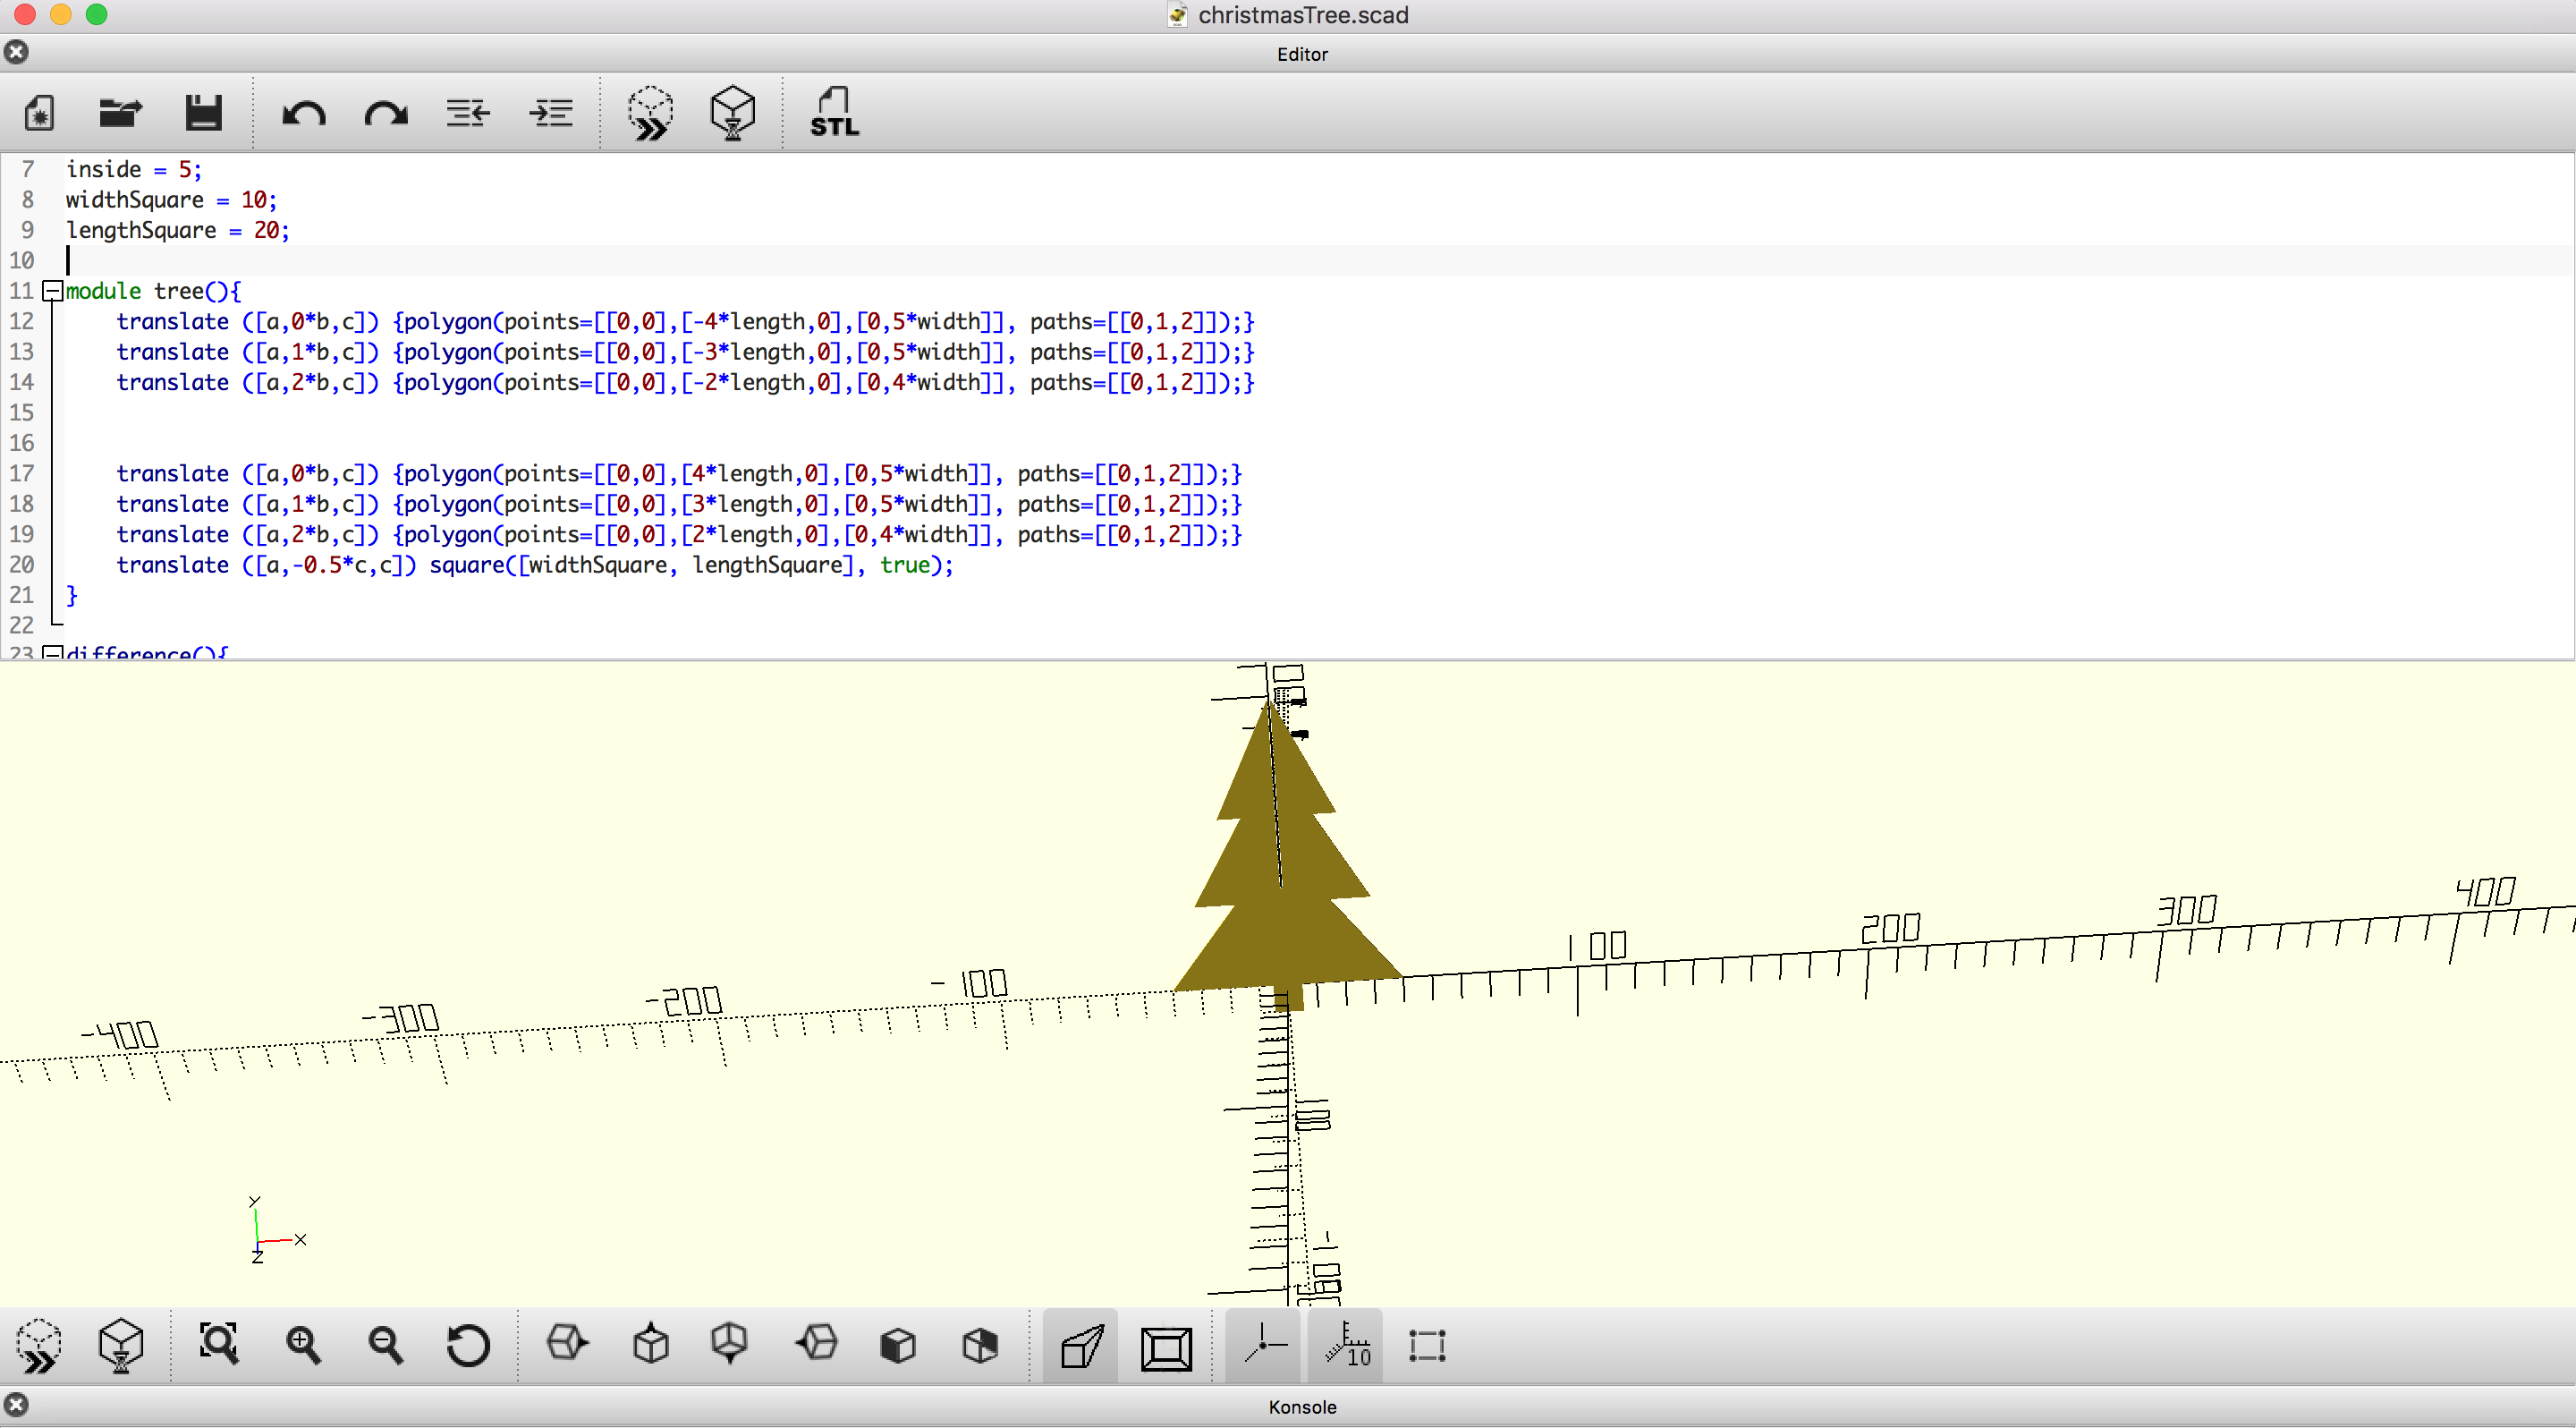
is a tree to decorate my crib.
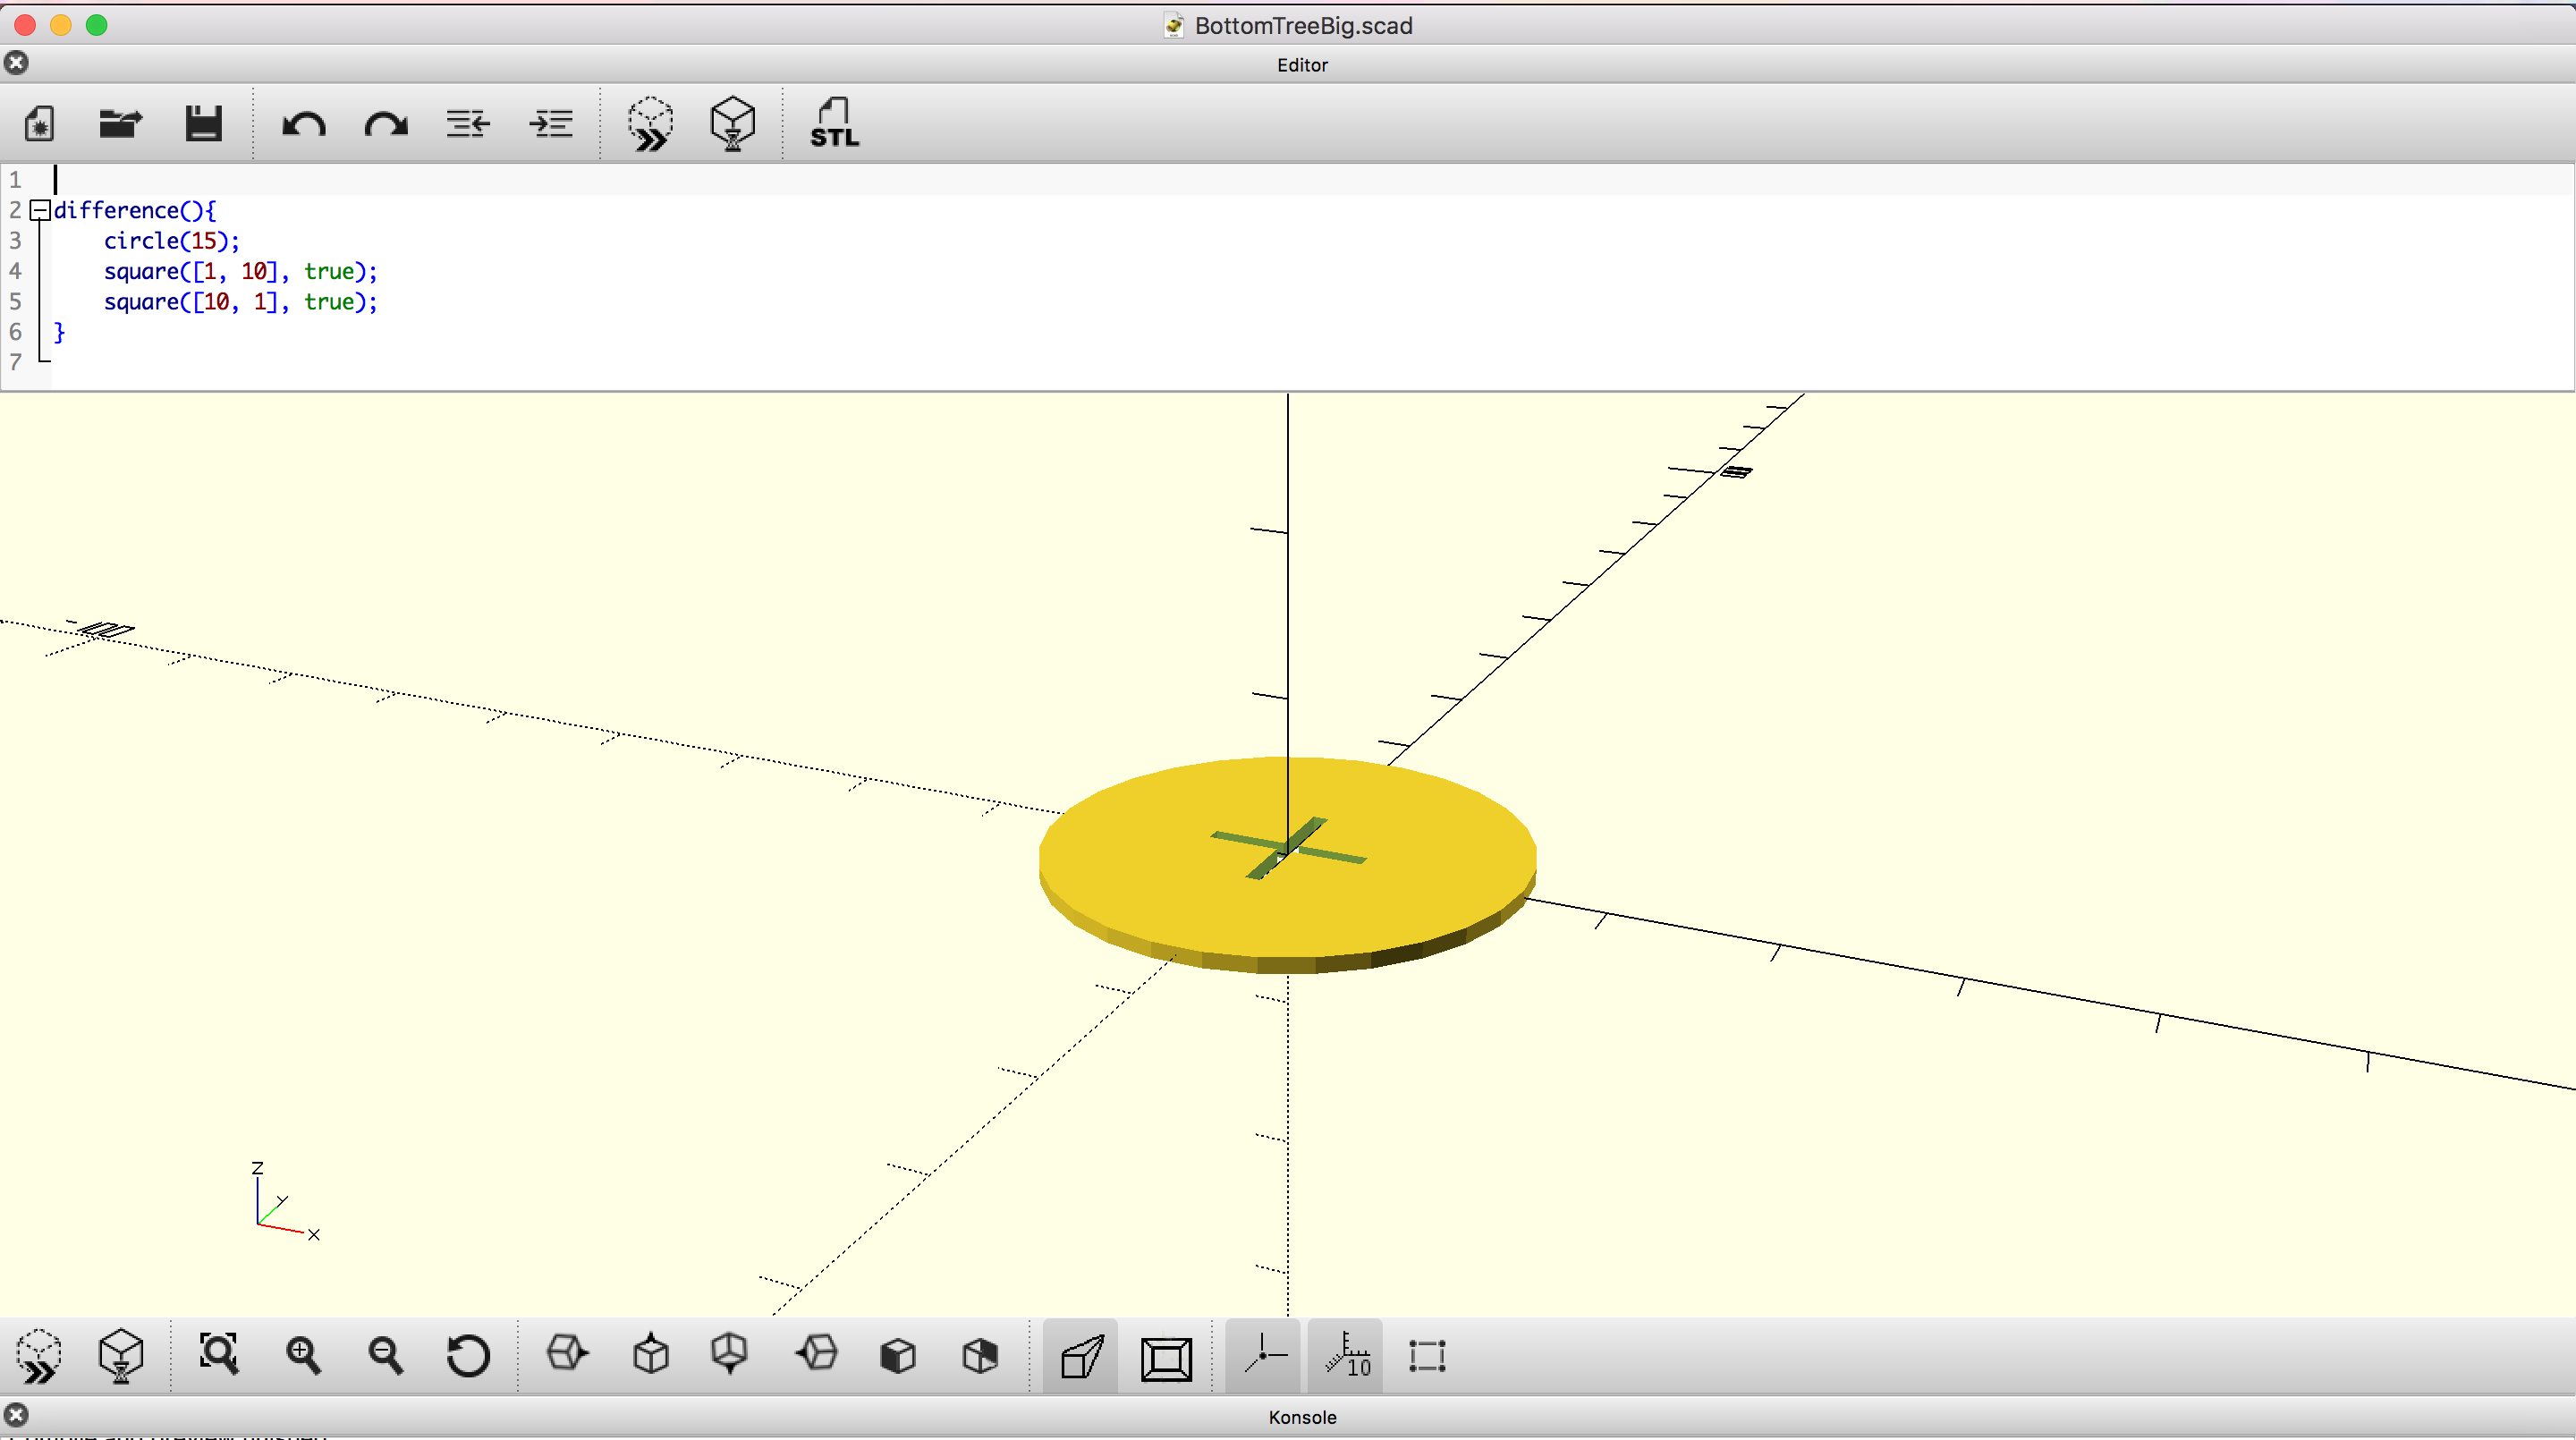
The tree itself consists of a lower and an upper part. Each has got a long joint in the middle
(upper: lower joint; lower: upper joint). Additionally, the model includes a stand in which the tree can be fitted to make it steady.