Molding and Casting
![]()
Introduction
This weeks assignment requires us to design a 3D mold, create it and then cast parts from it. As a Group assignment we were asked to review the safety data sheets for each of your molding and casting materials,then make and compare test casts with each of them.
Design the Mold
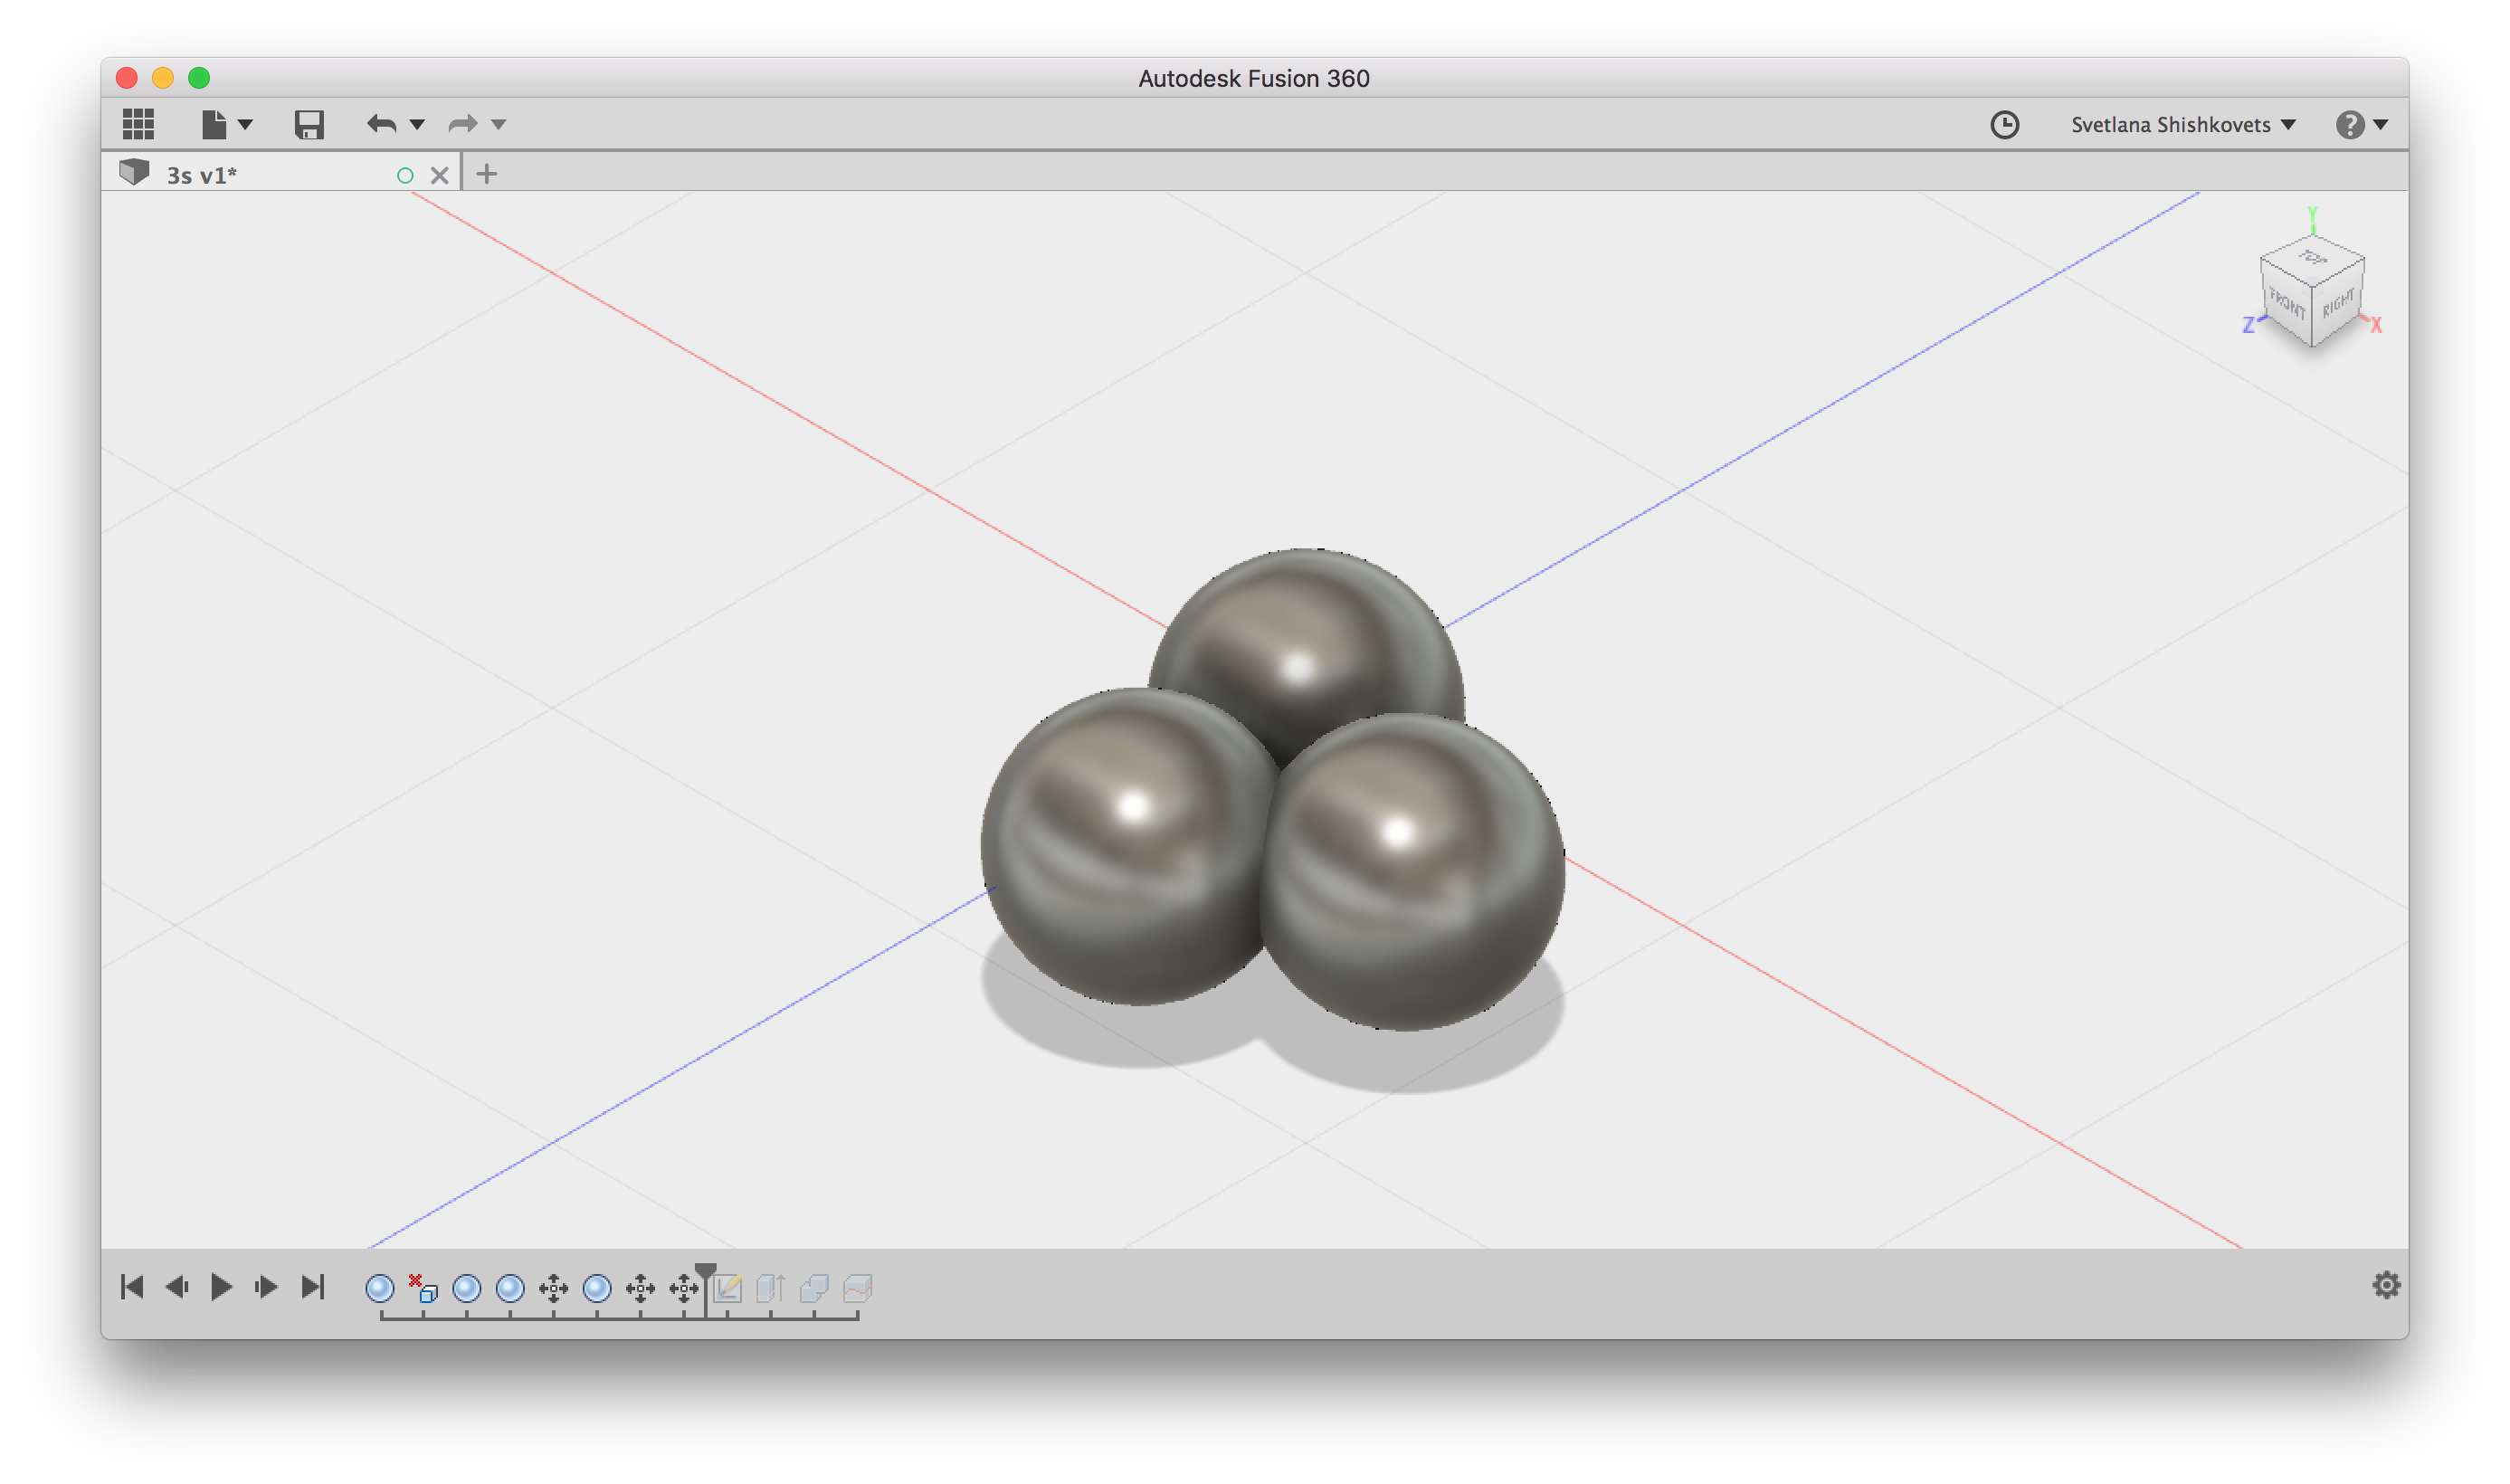
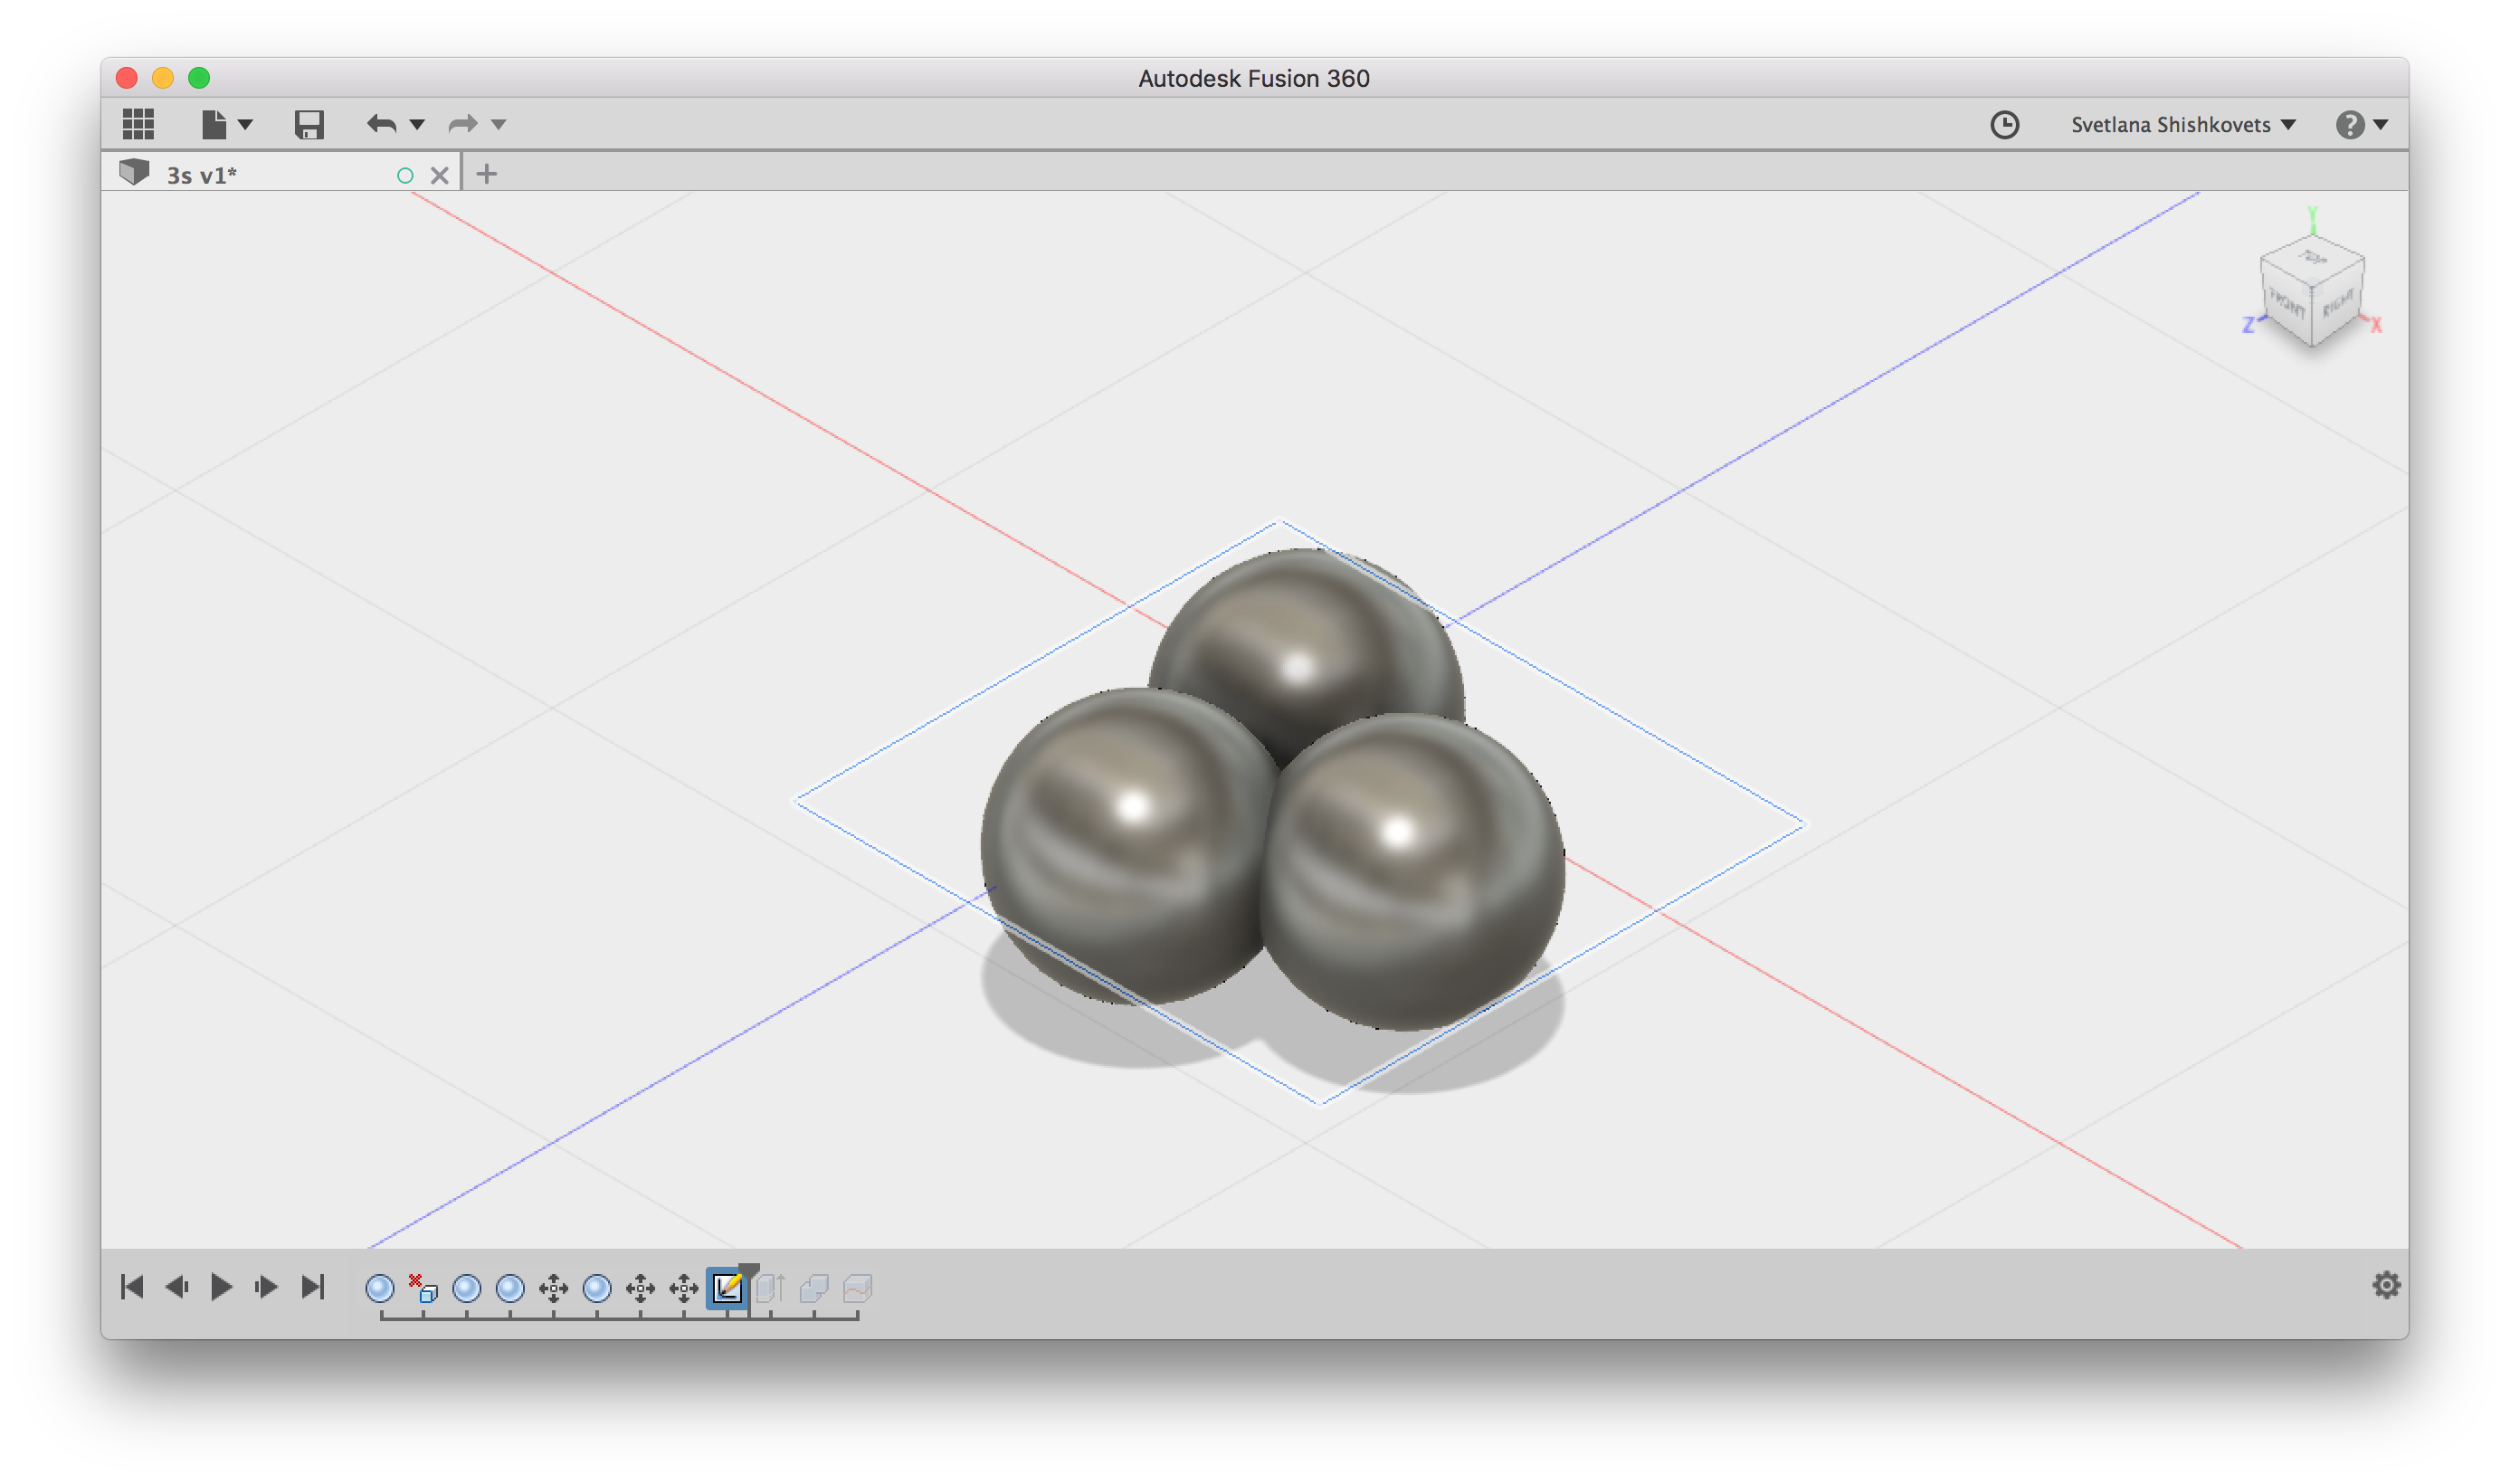
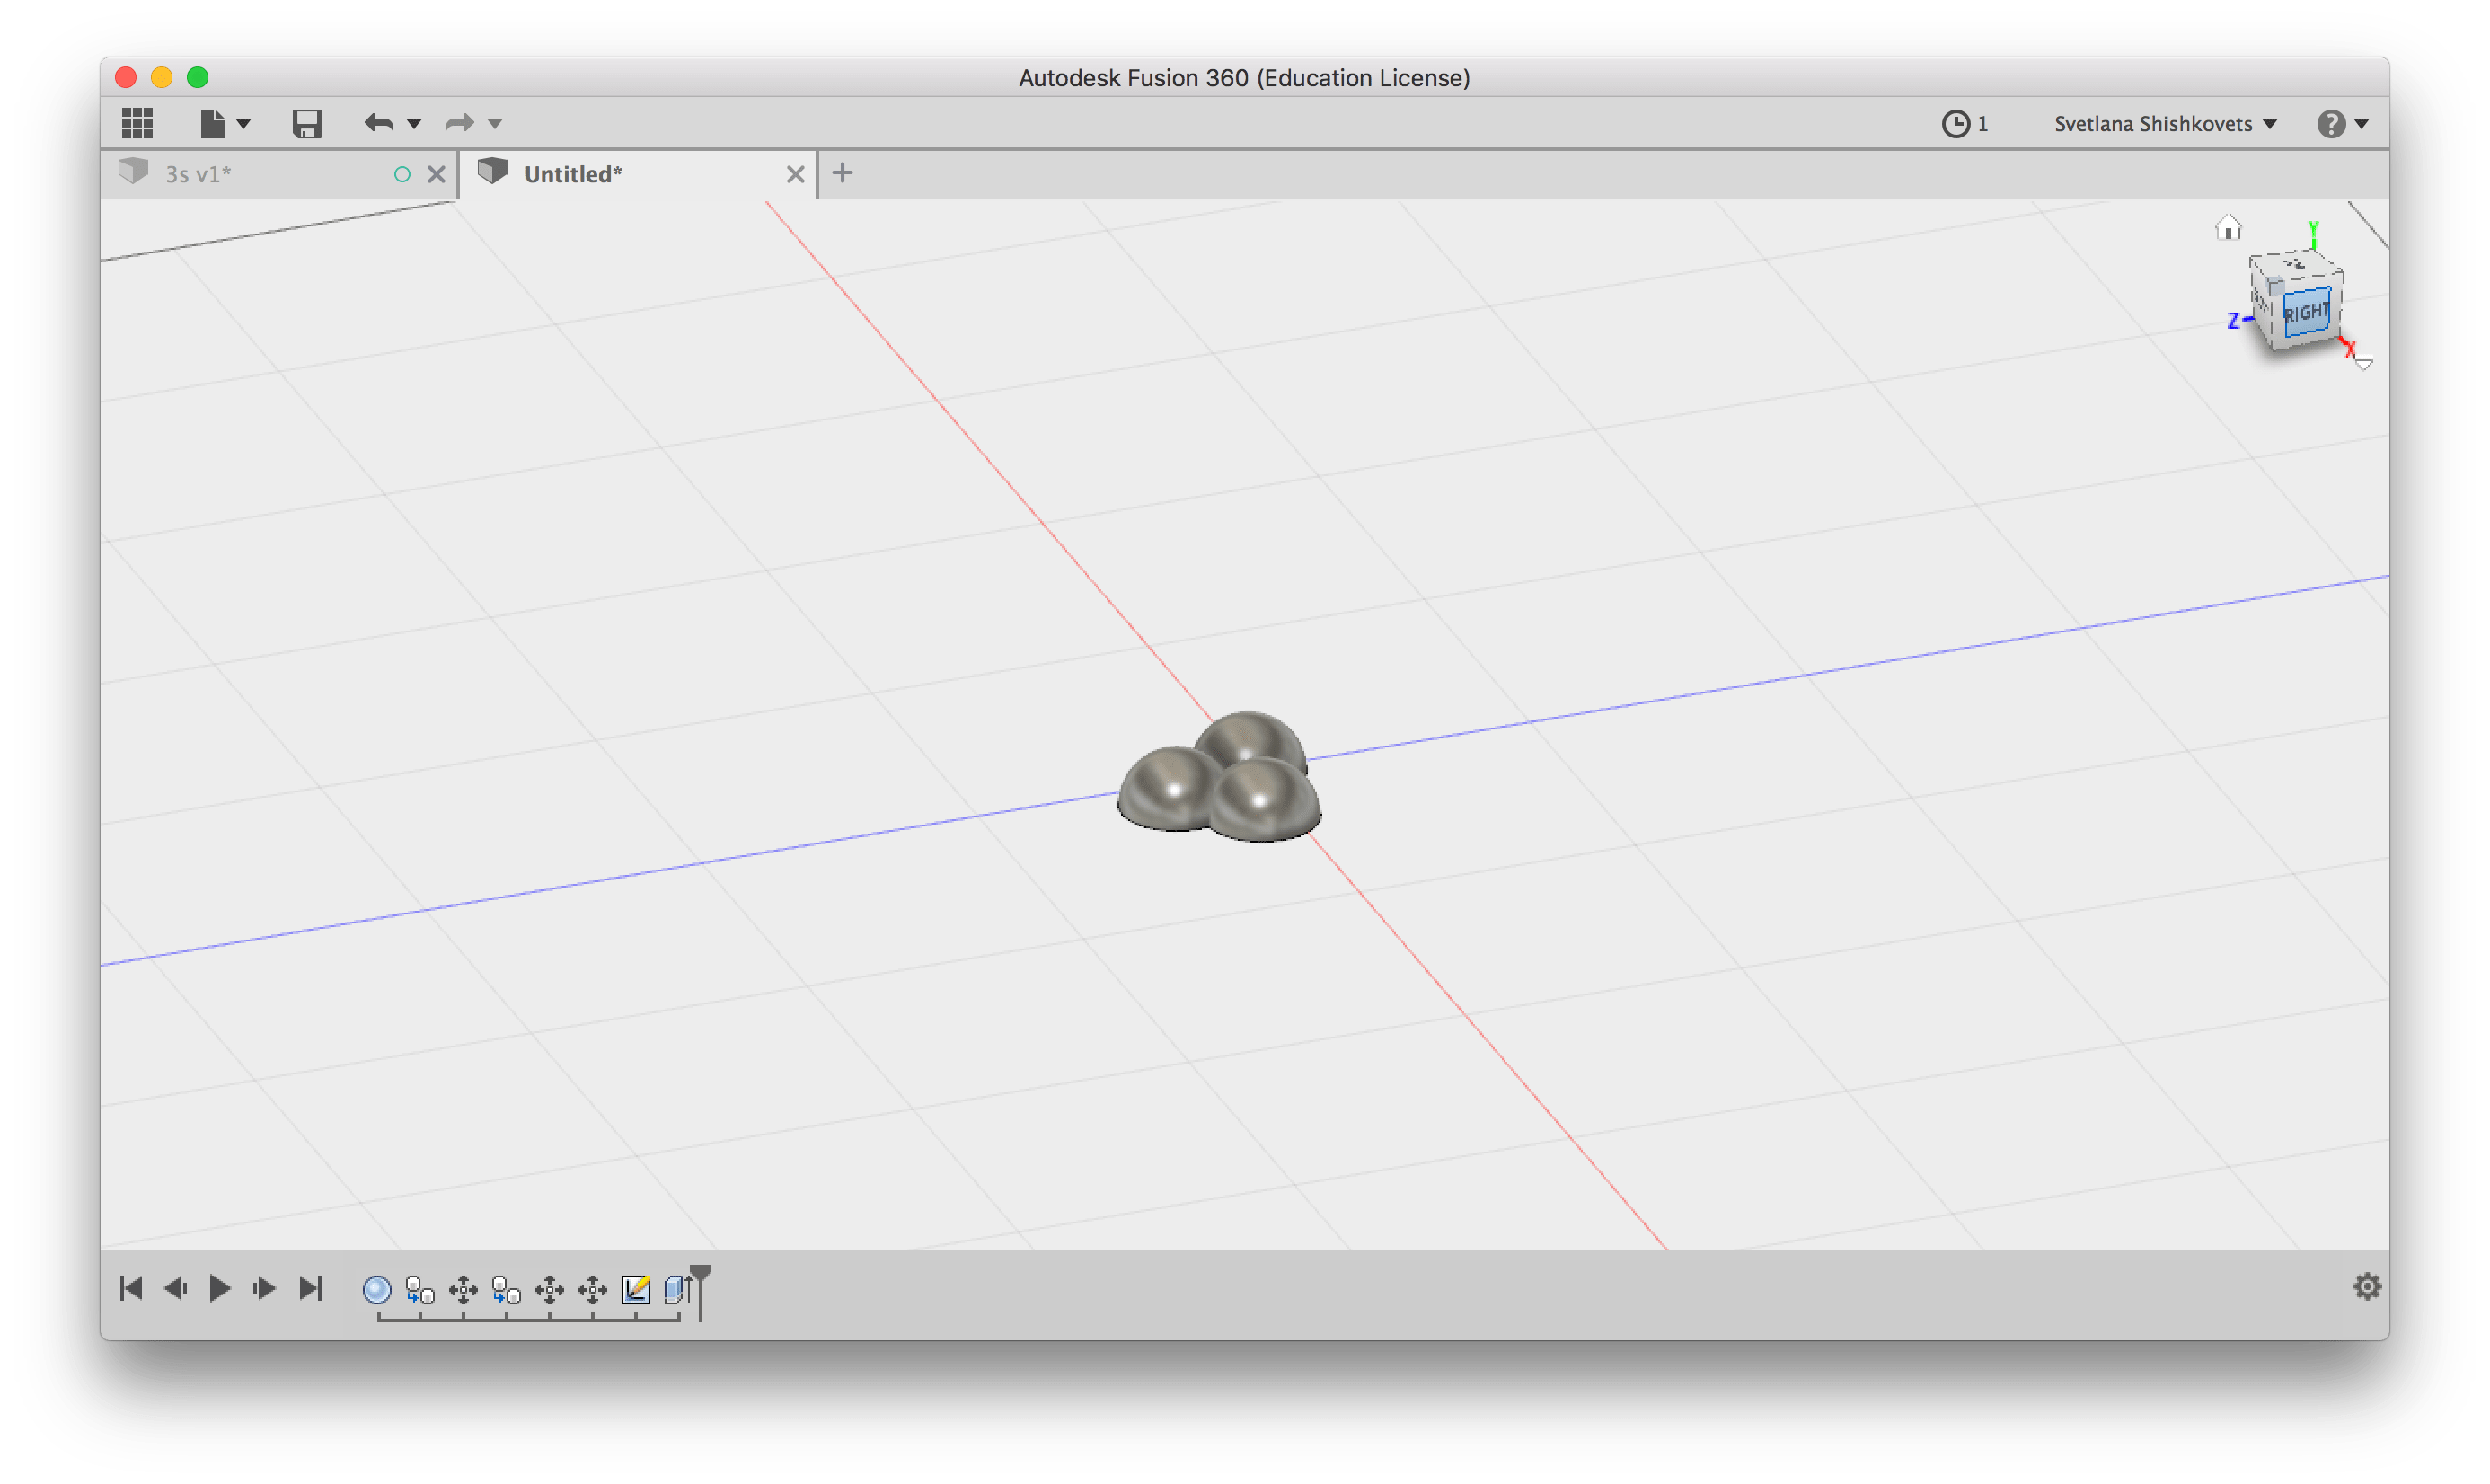
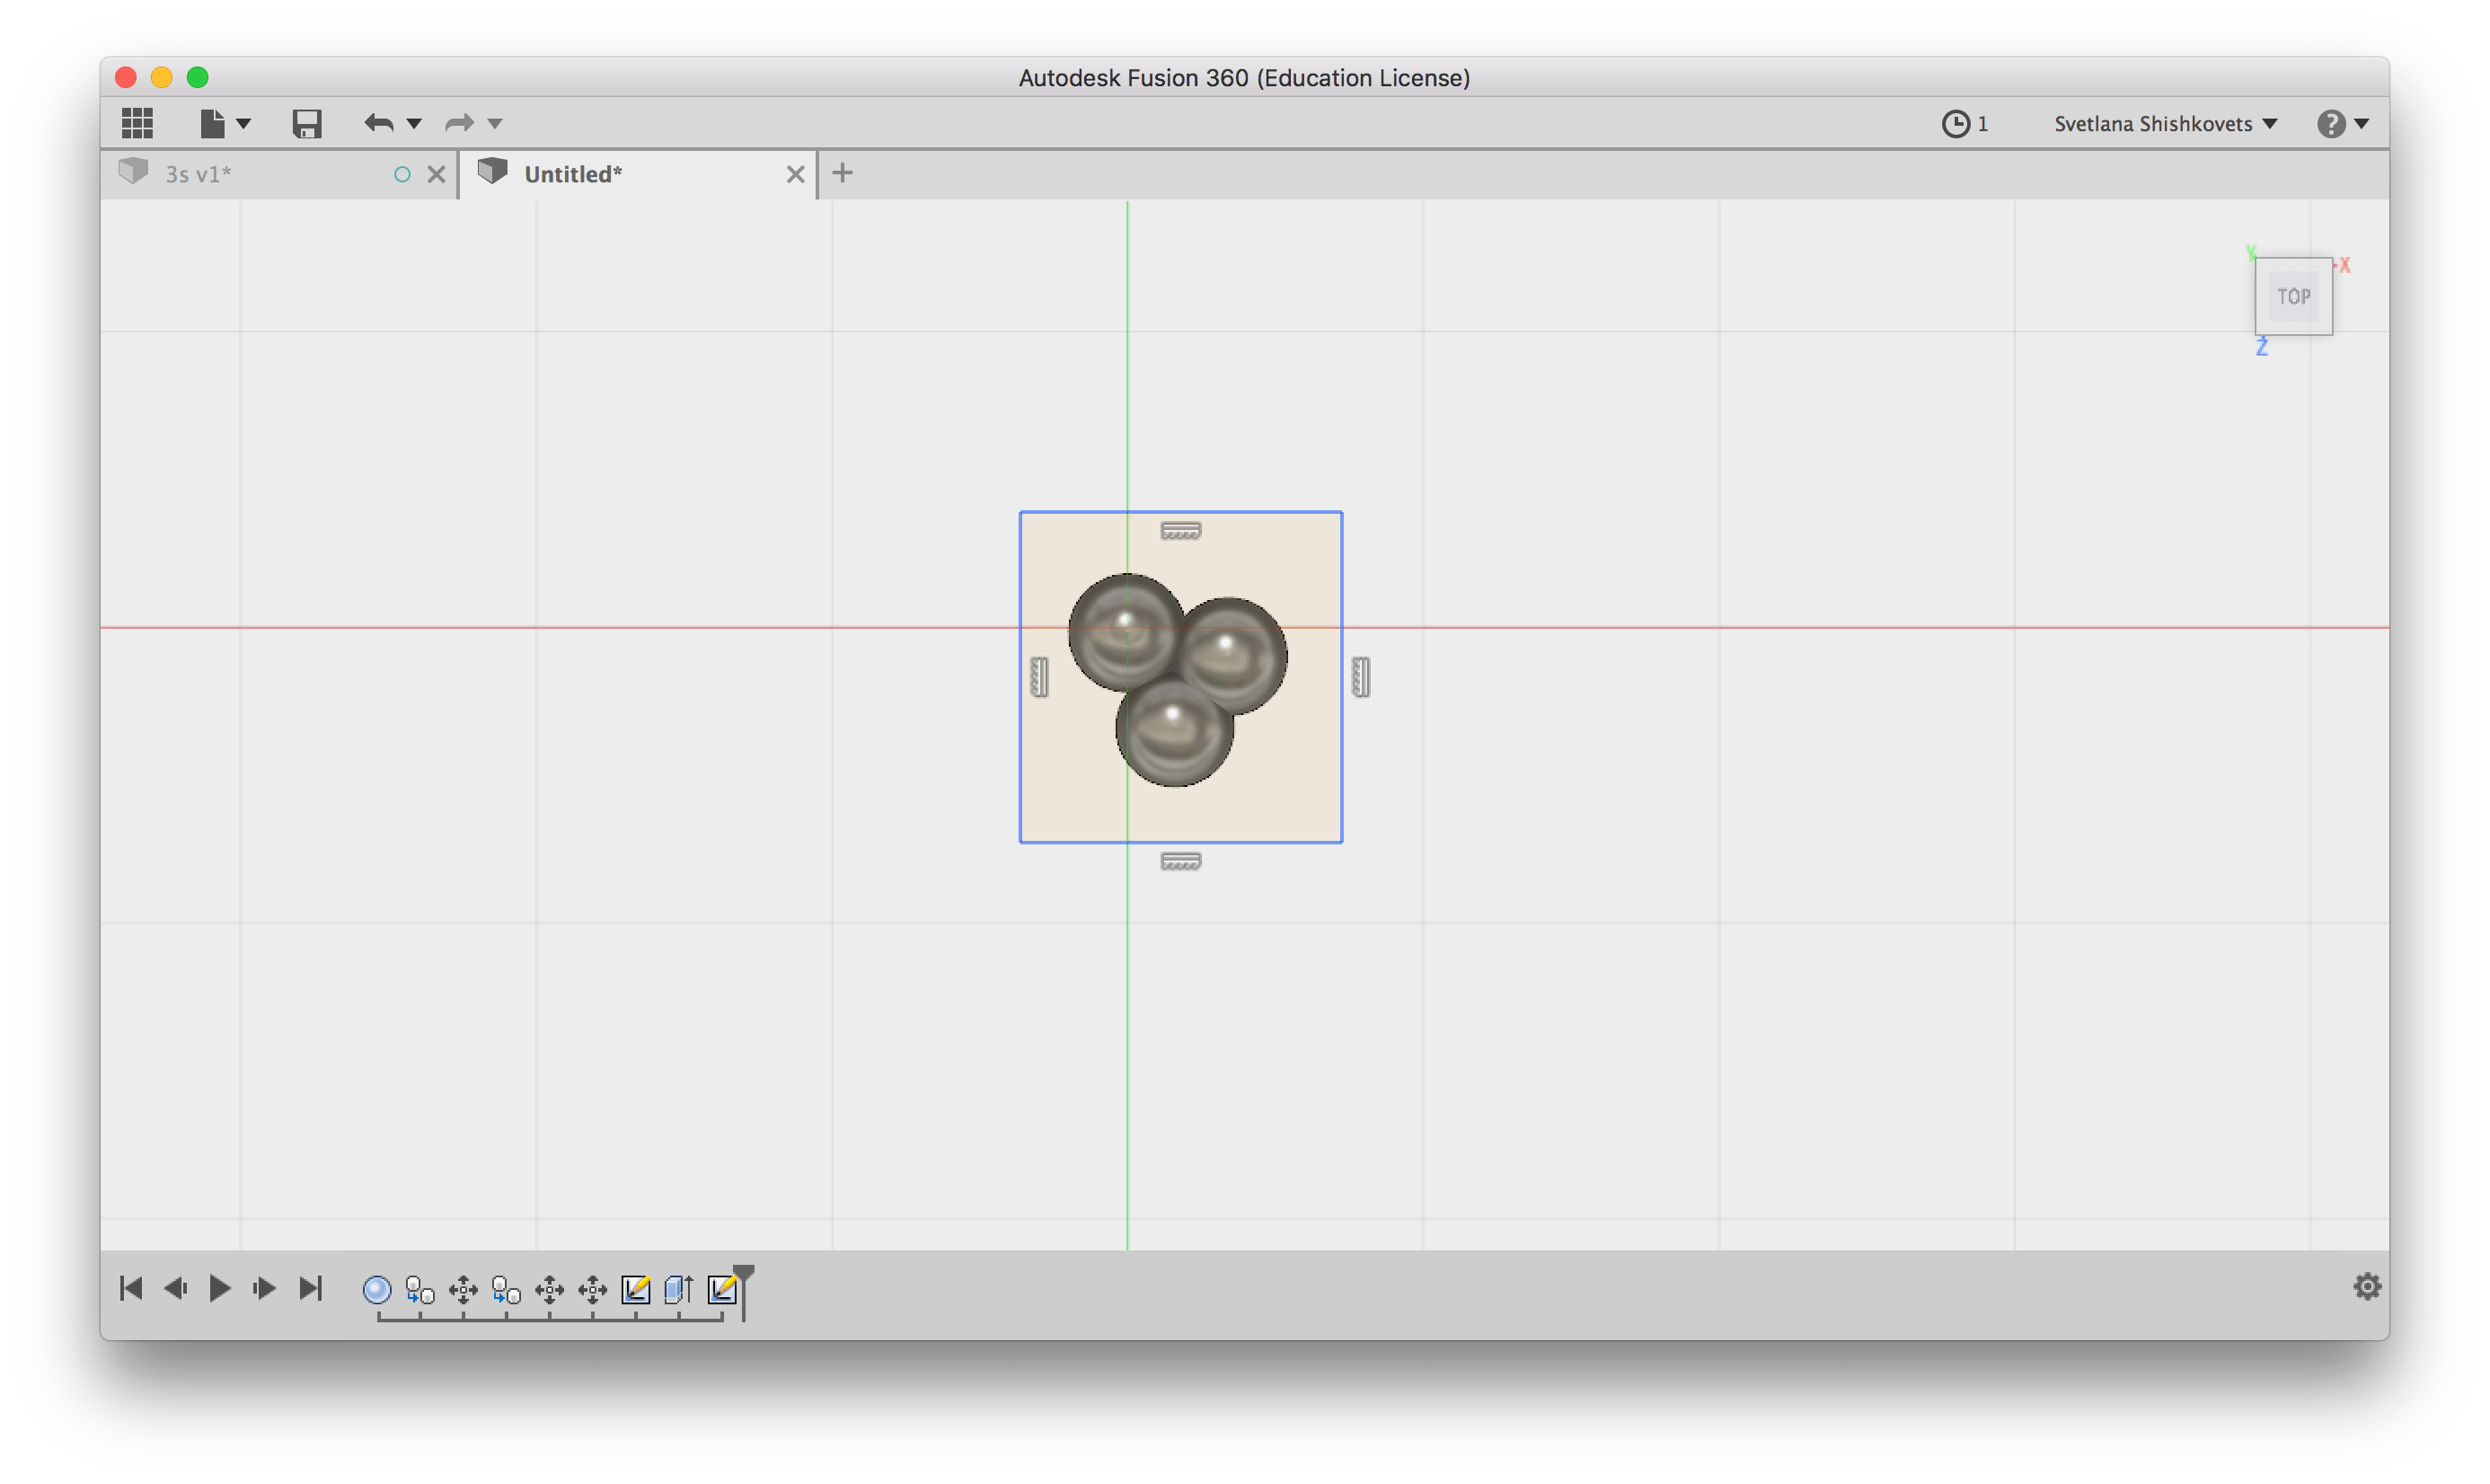
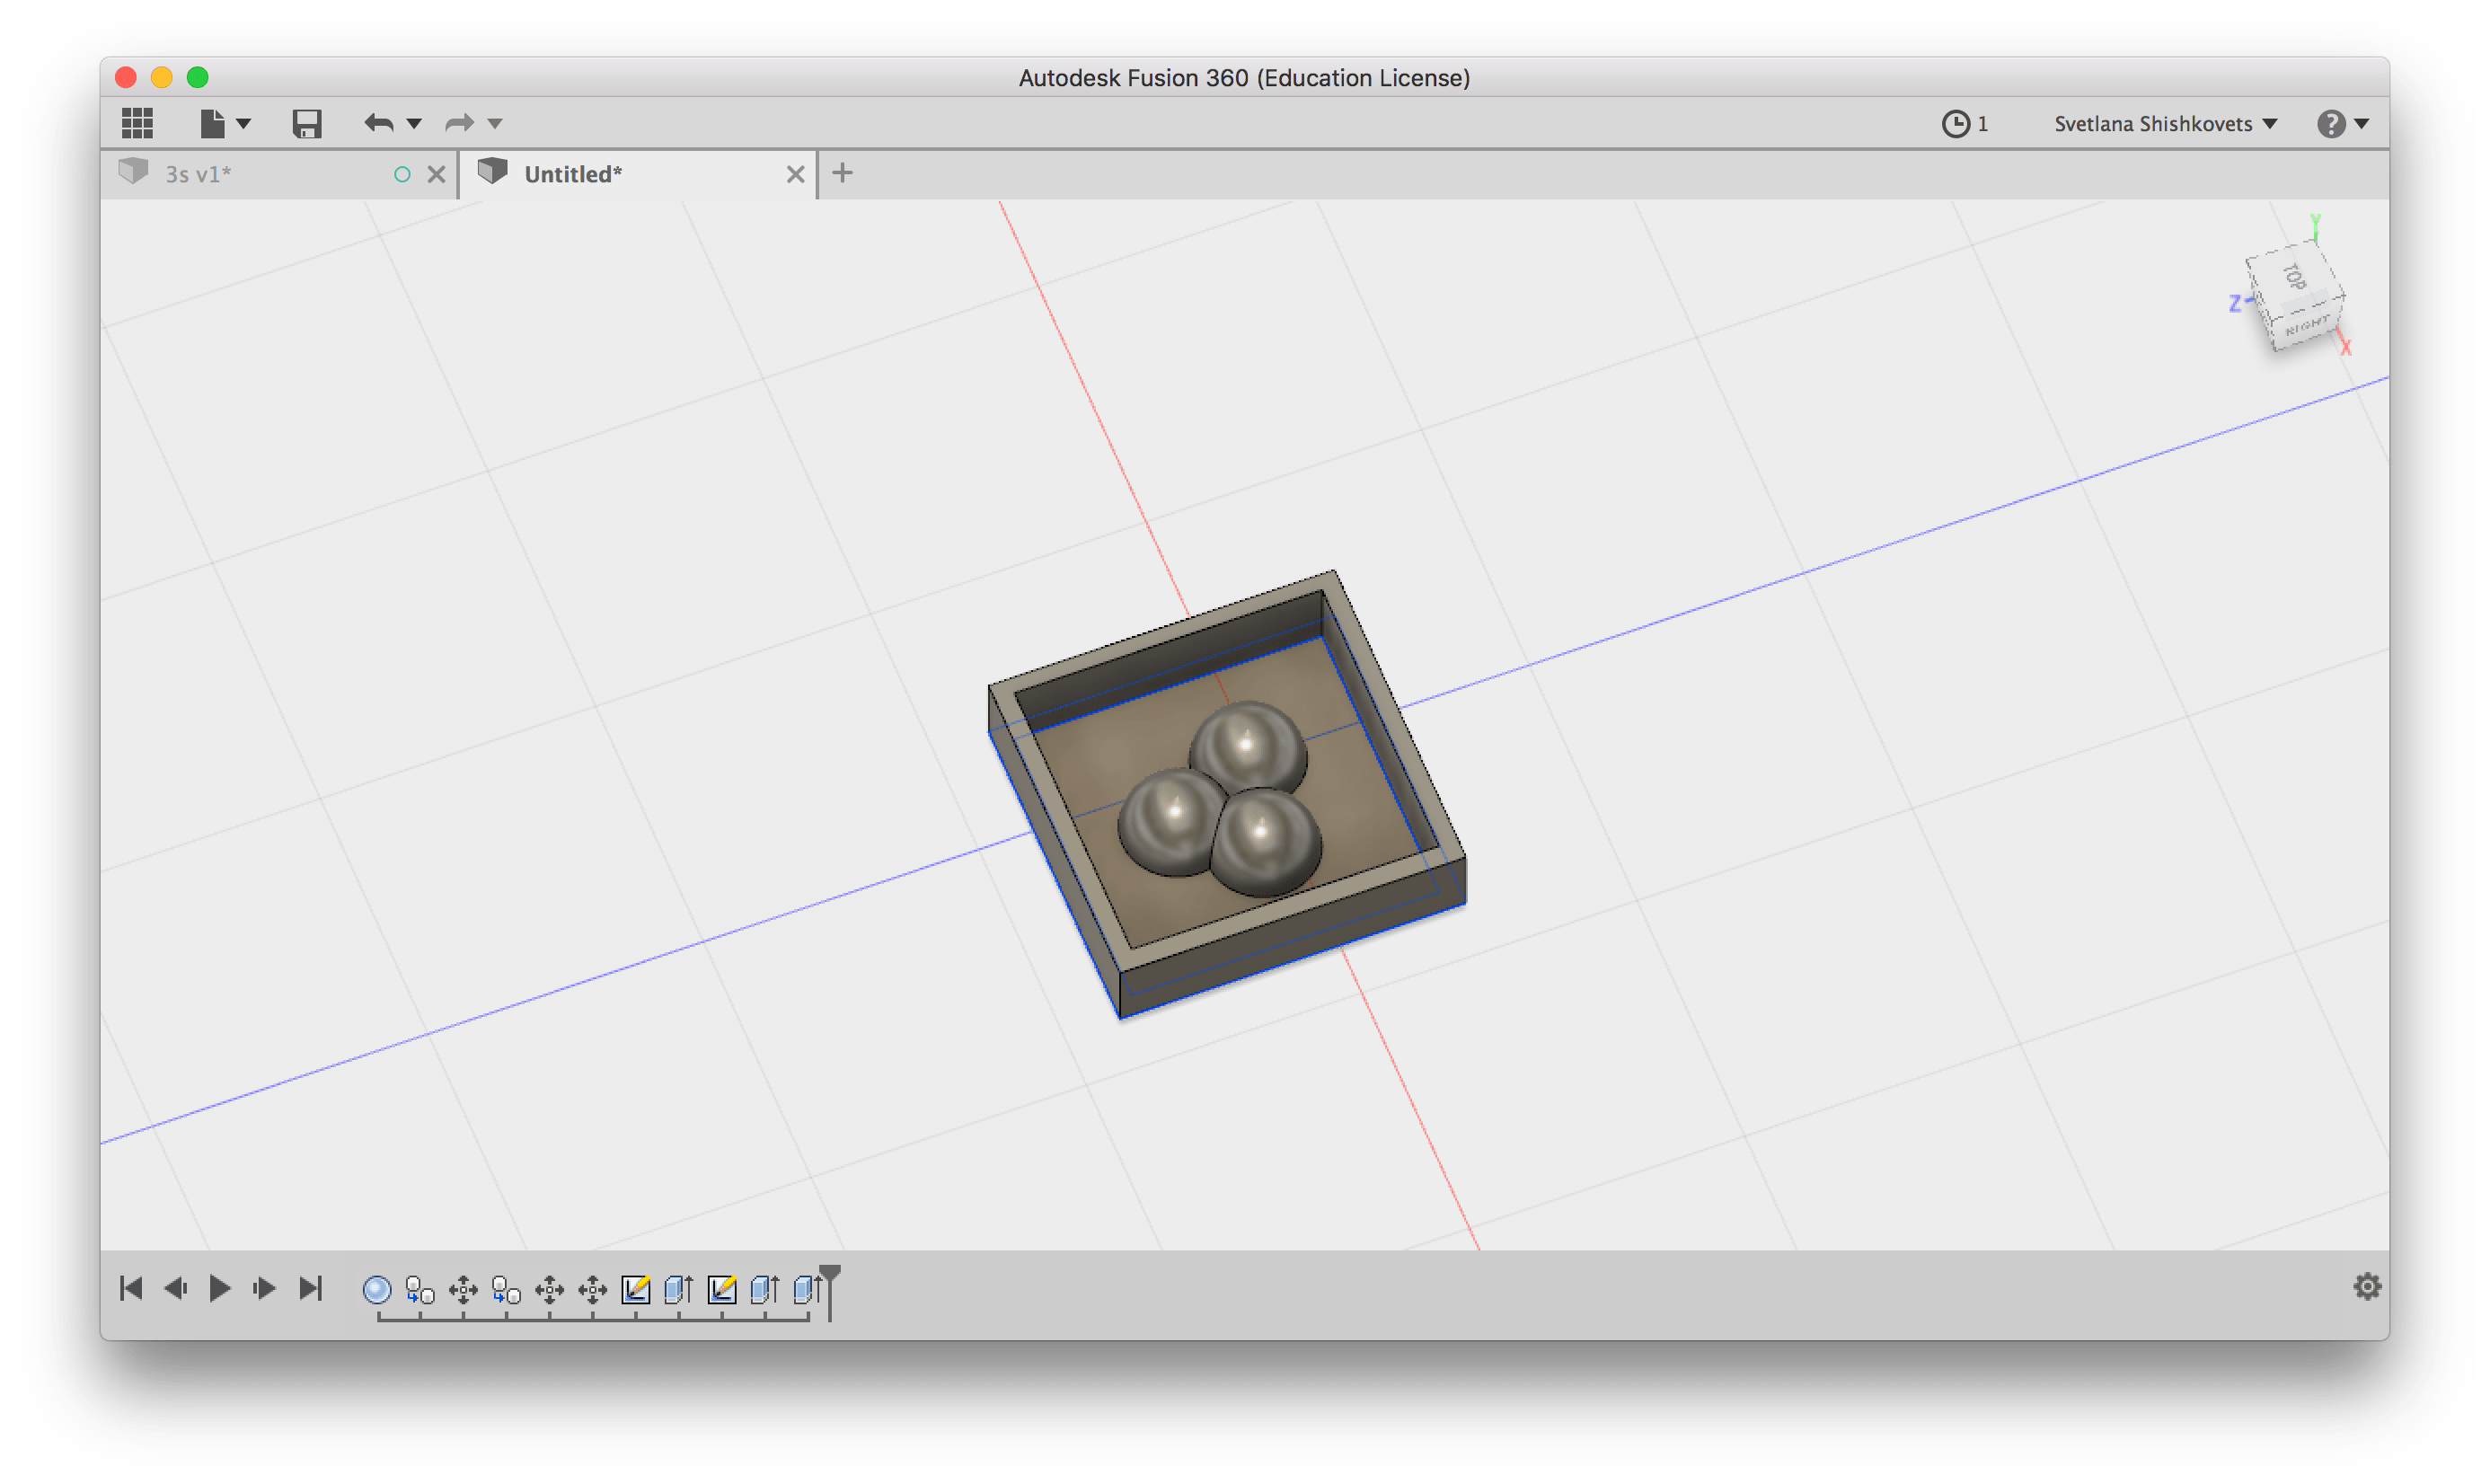
As you might already figure out from my previous assignments, I really love Mickey Mouse, so I used it as an inspiration for my future design. I did it Using Autodesk fusion, here is small recap of my steps for making a presse-papiers that has a Mickey shape :

Milling
As for the milling, all the steps are the same as in the Computer Controlled Machining assignment.

Casting
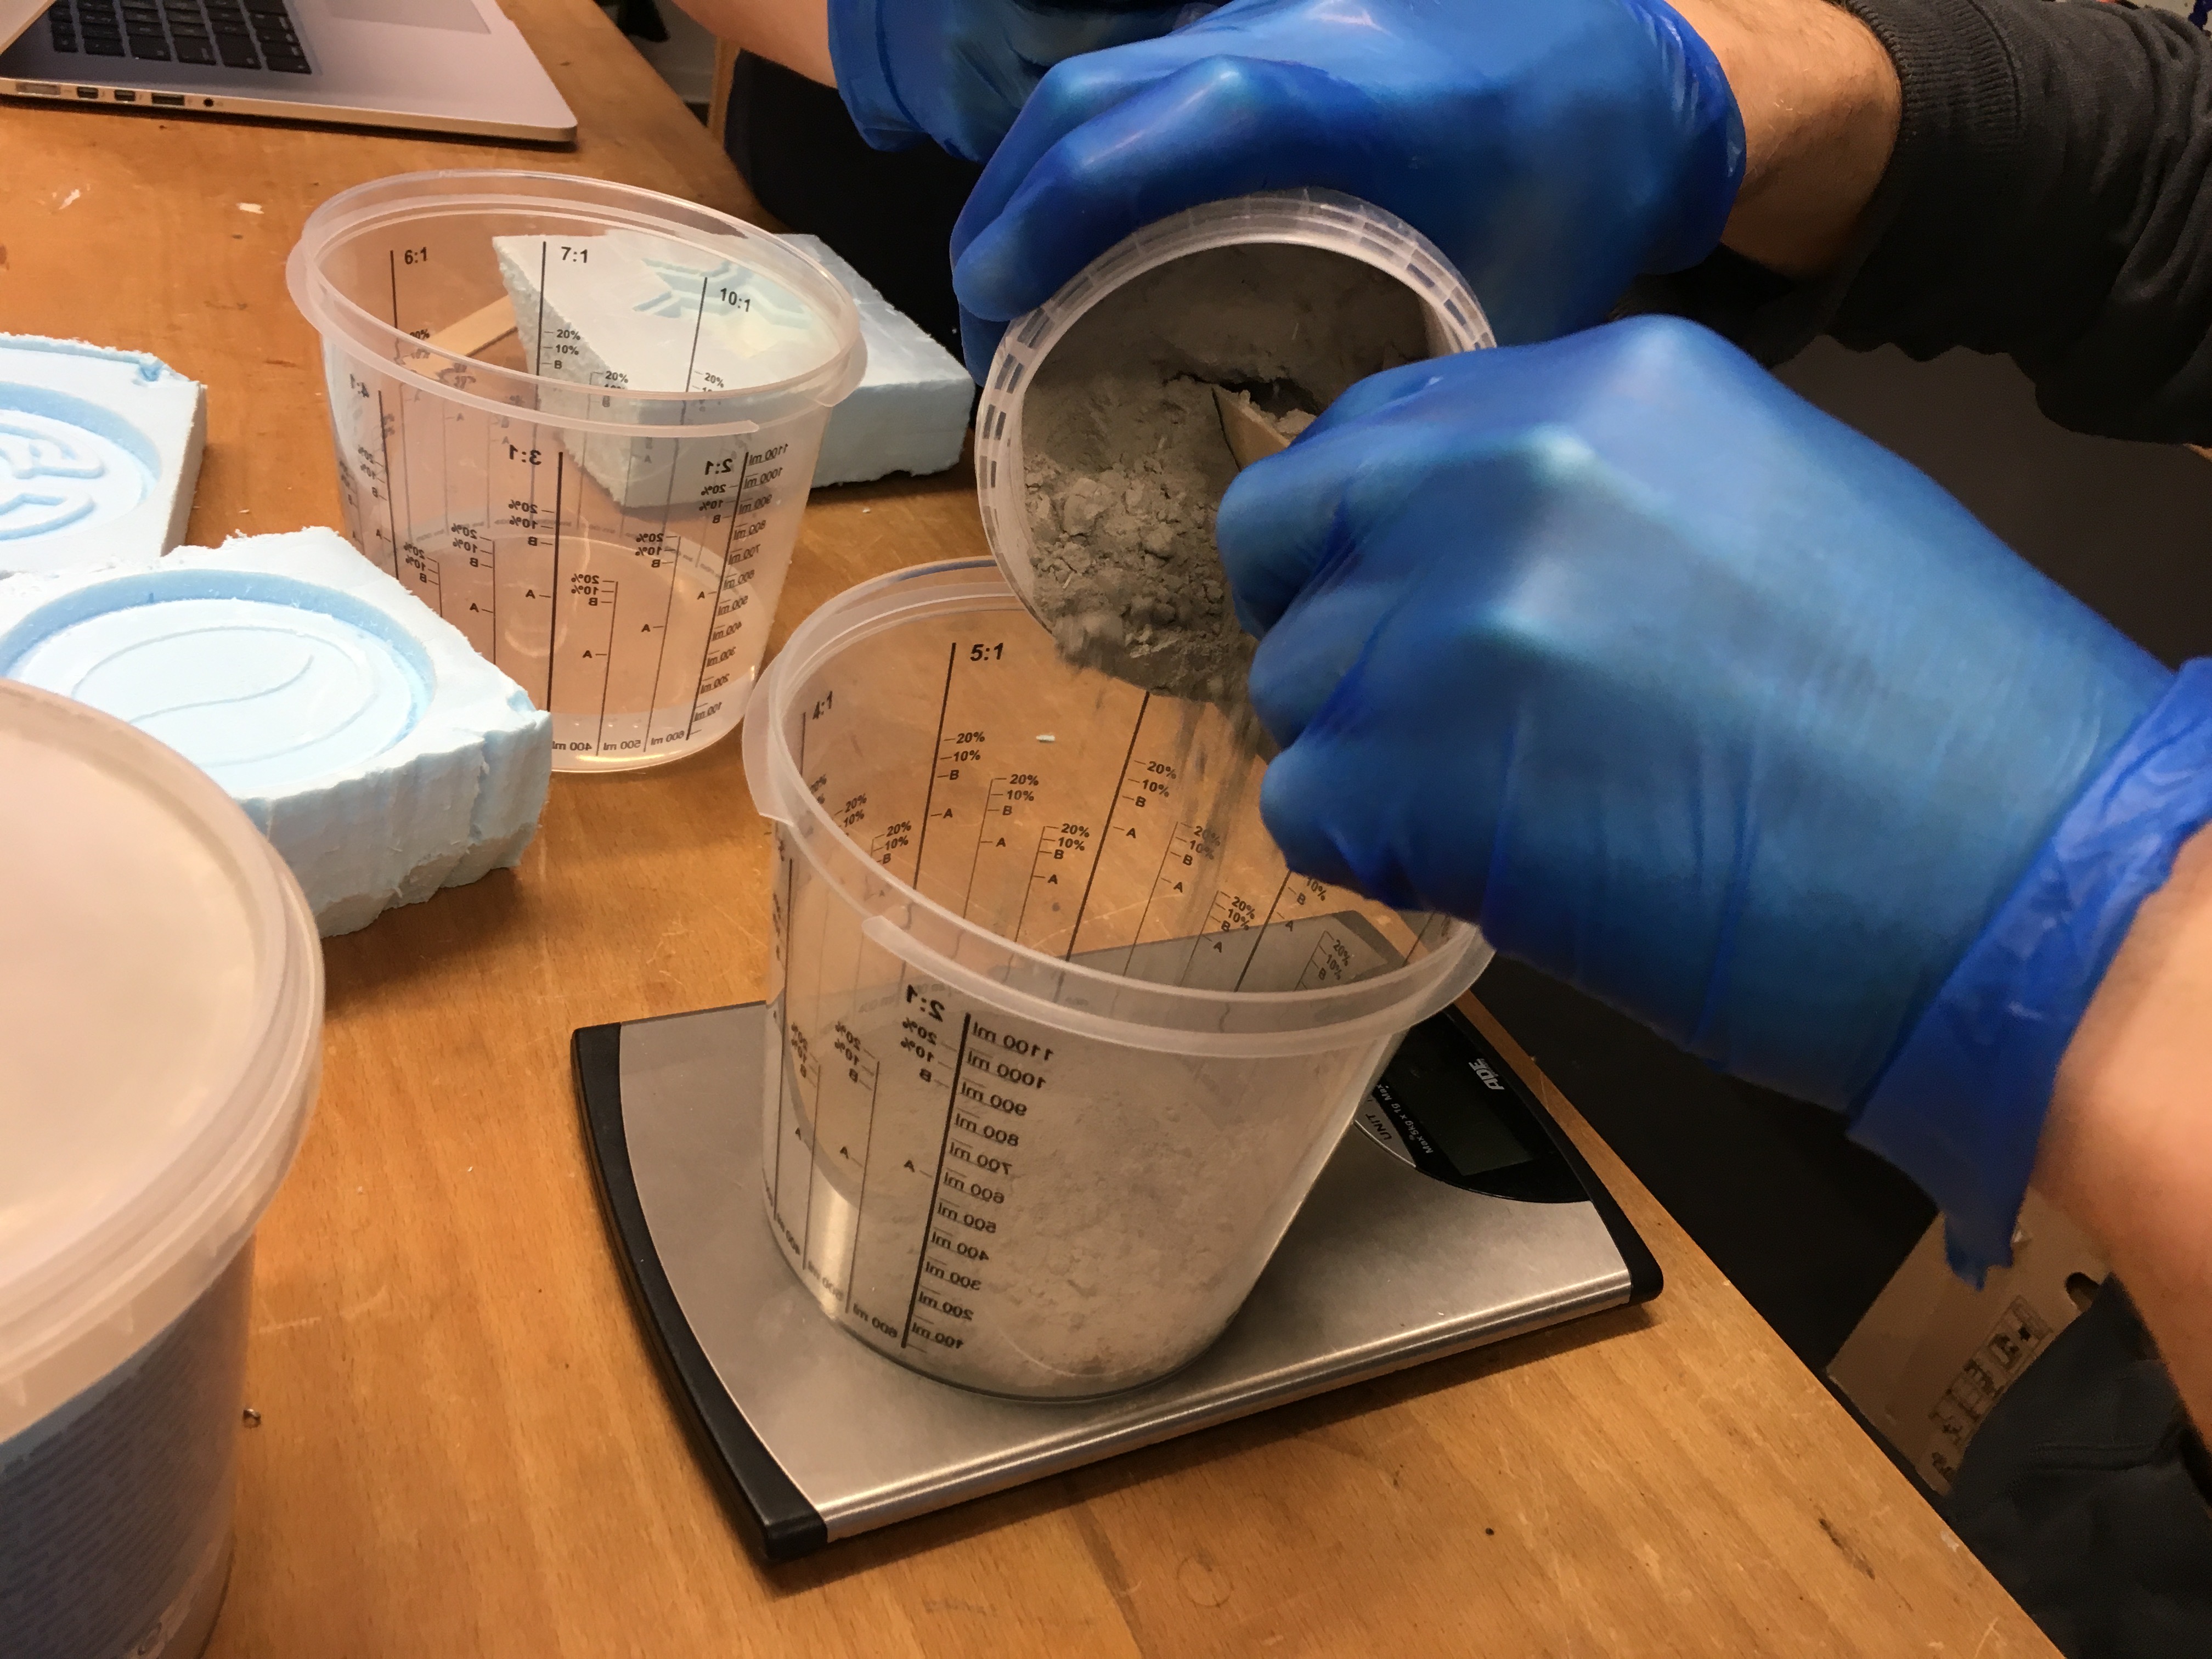
For casting I decided to choose concrete as a material, since the presse-papiers has to be heavy, since it should press papers against the wind, for example. I used scales in order to keep the proportions as accurate as possible.
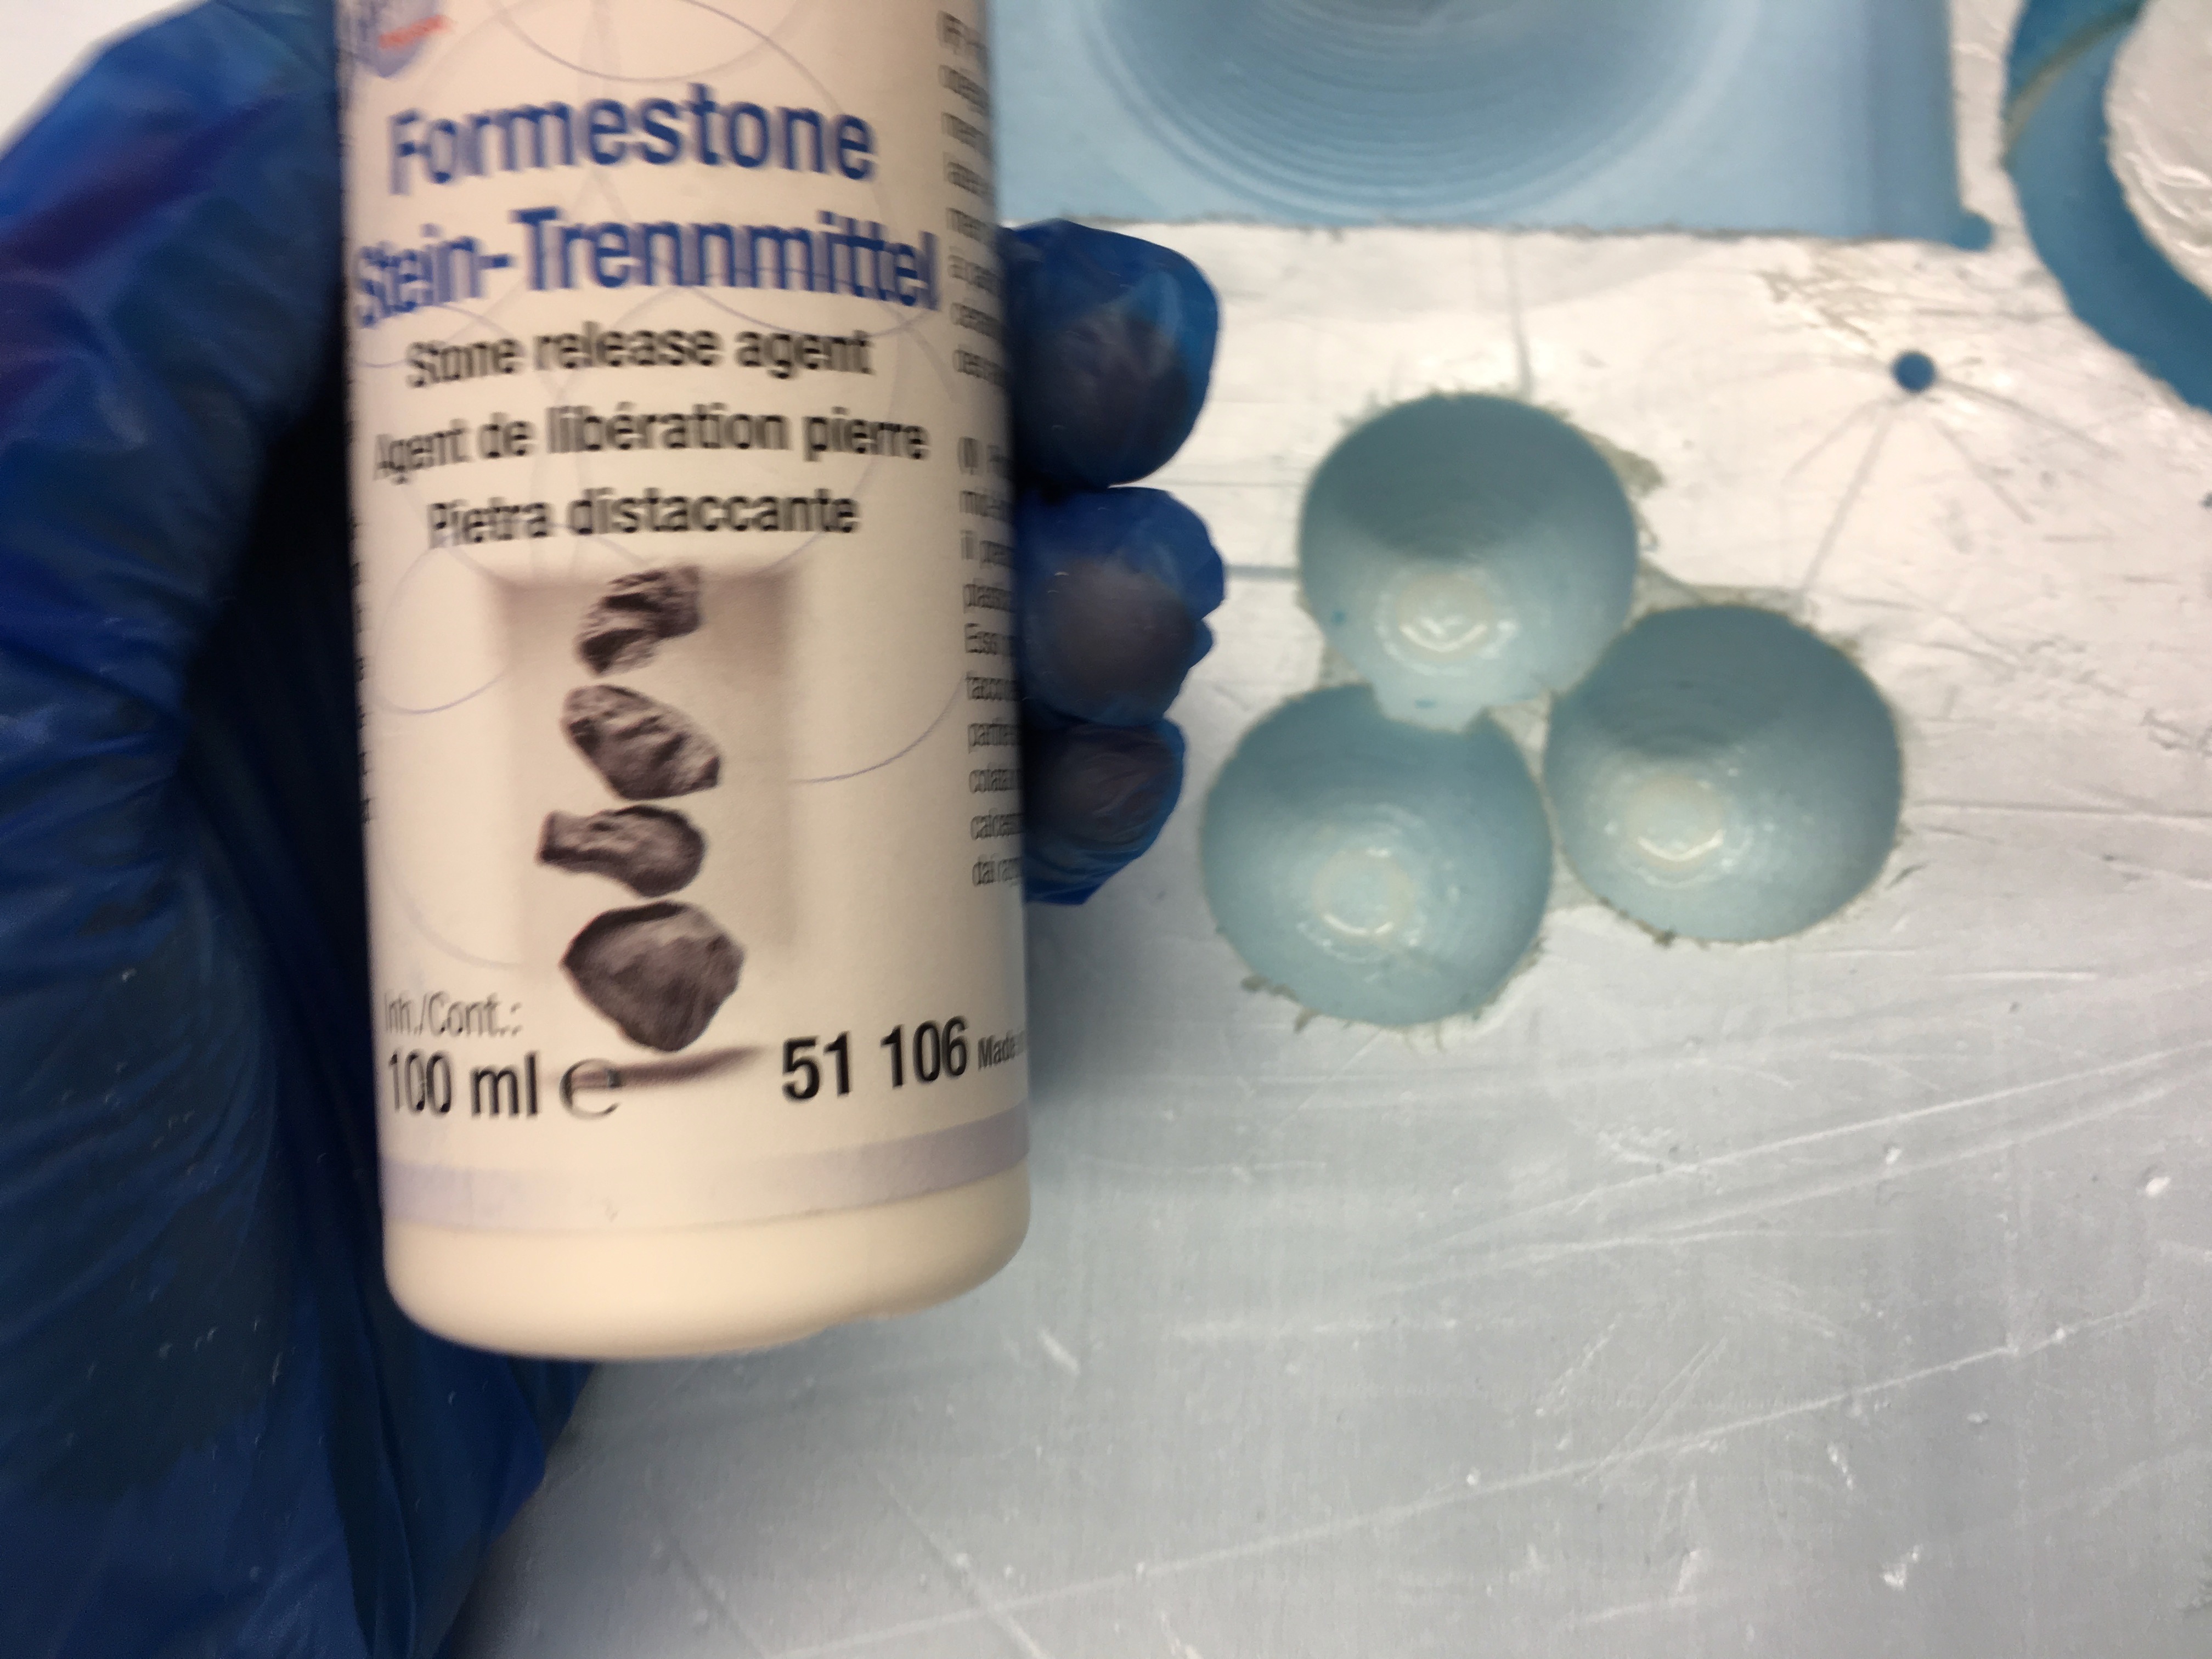
Before putting concrete into the mold, I would highly recommend to put stone release agent inside the mold and distribute it there. What is more, don't forget to use gloves and masks during the whole casting procedure.
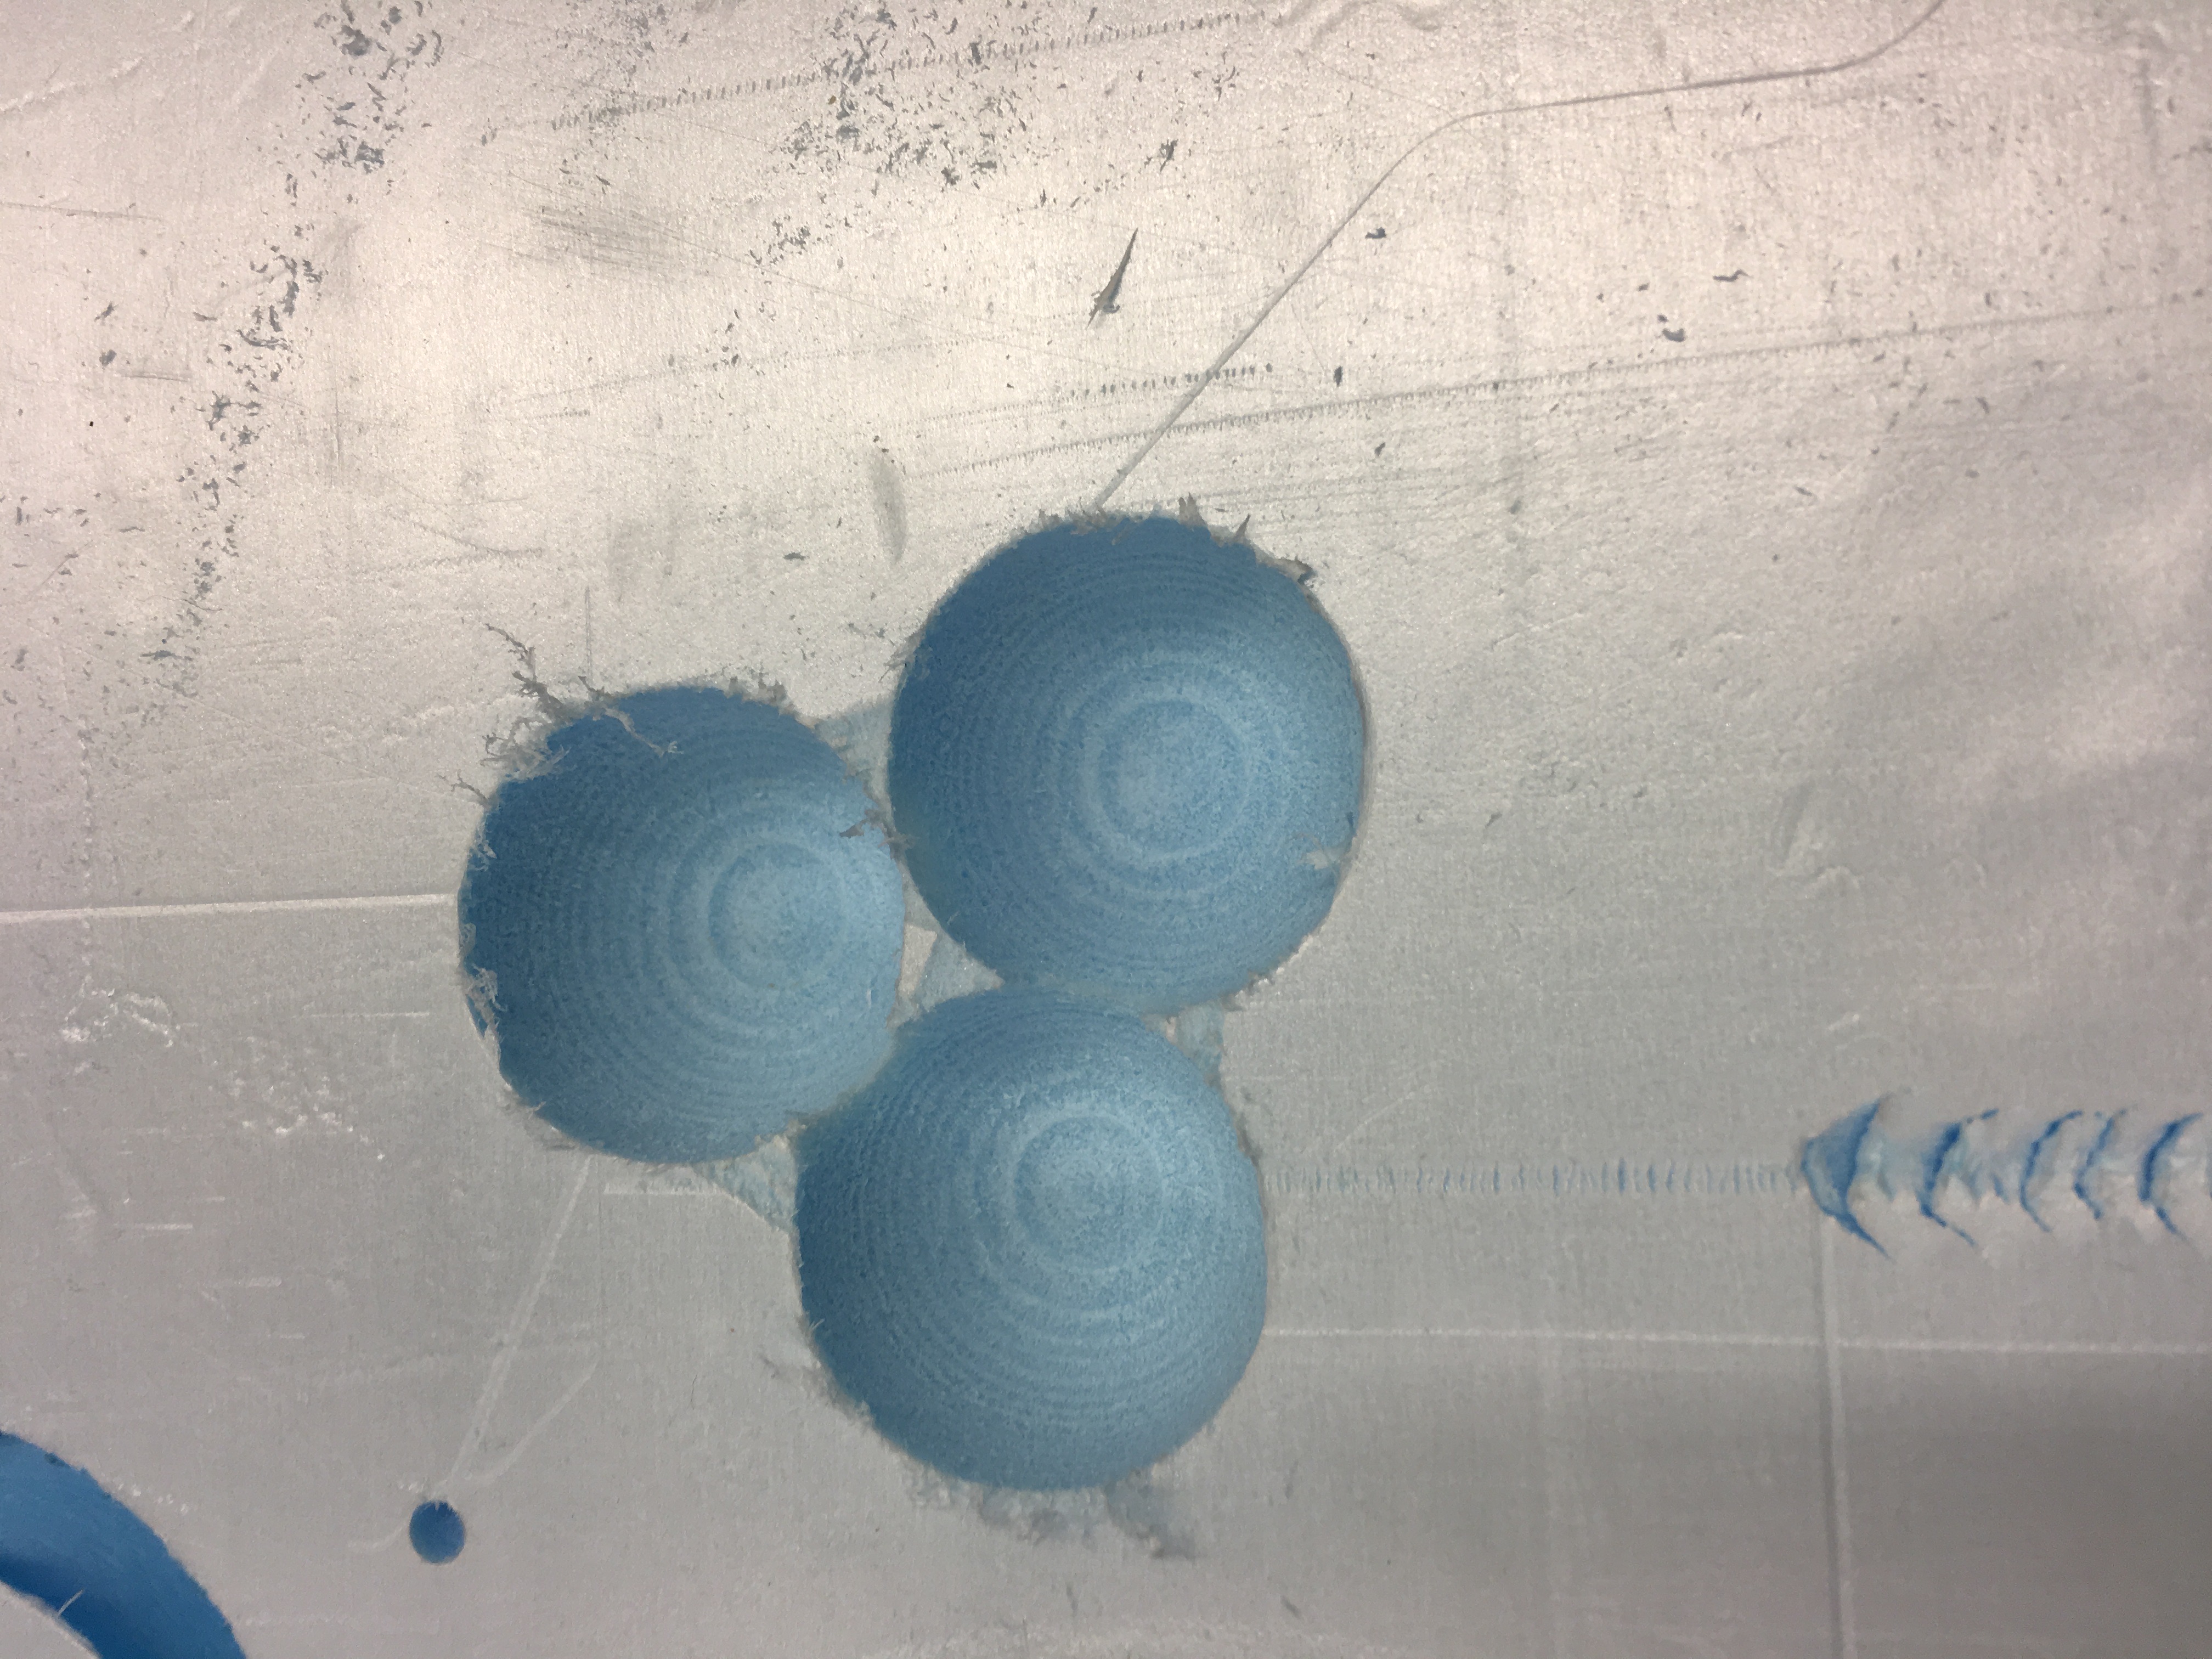
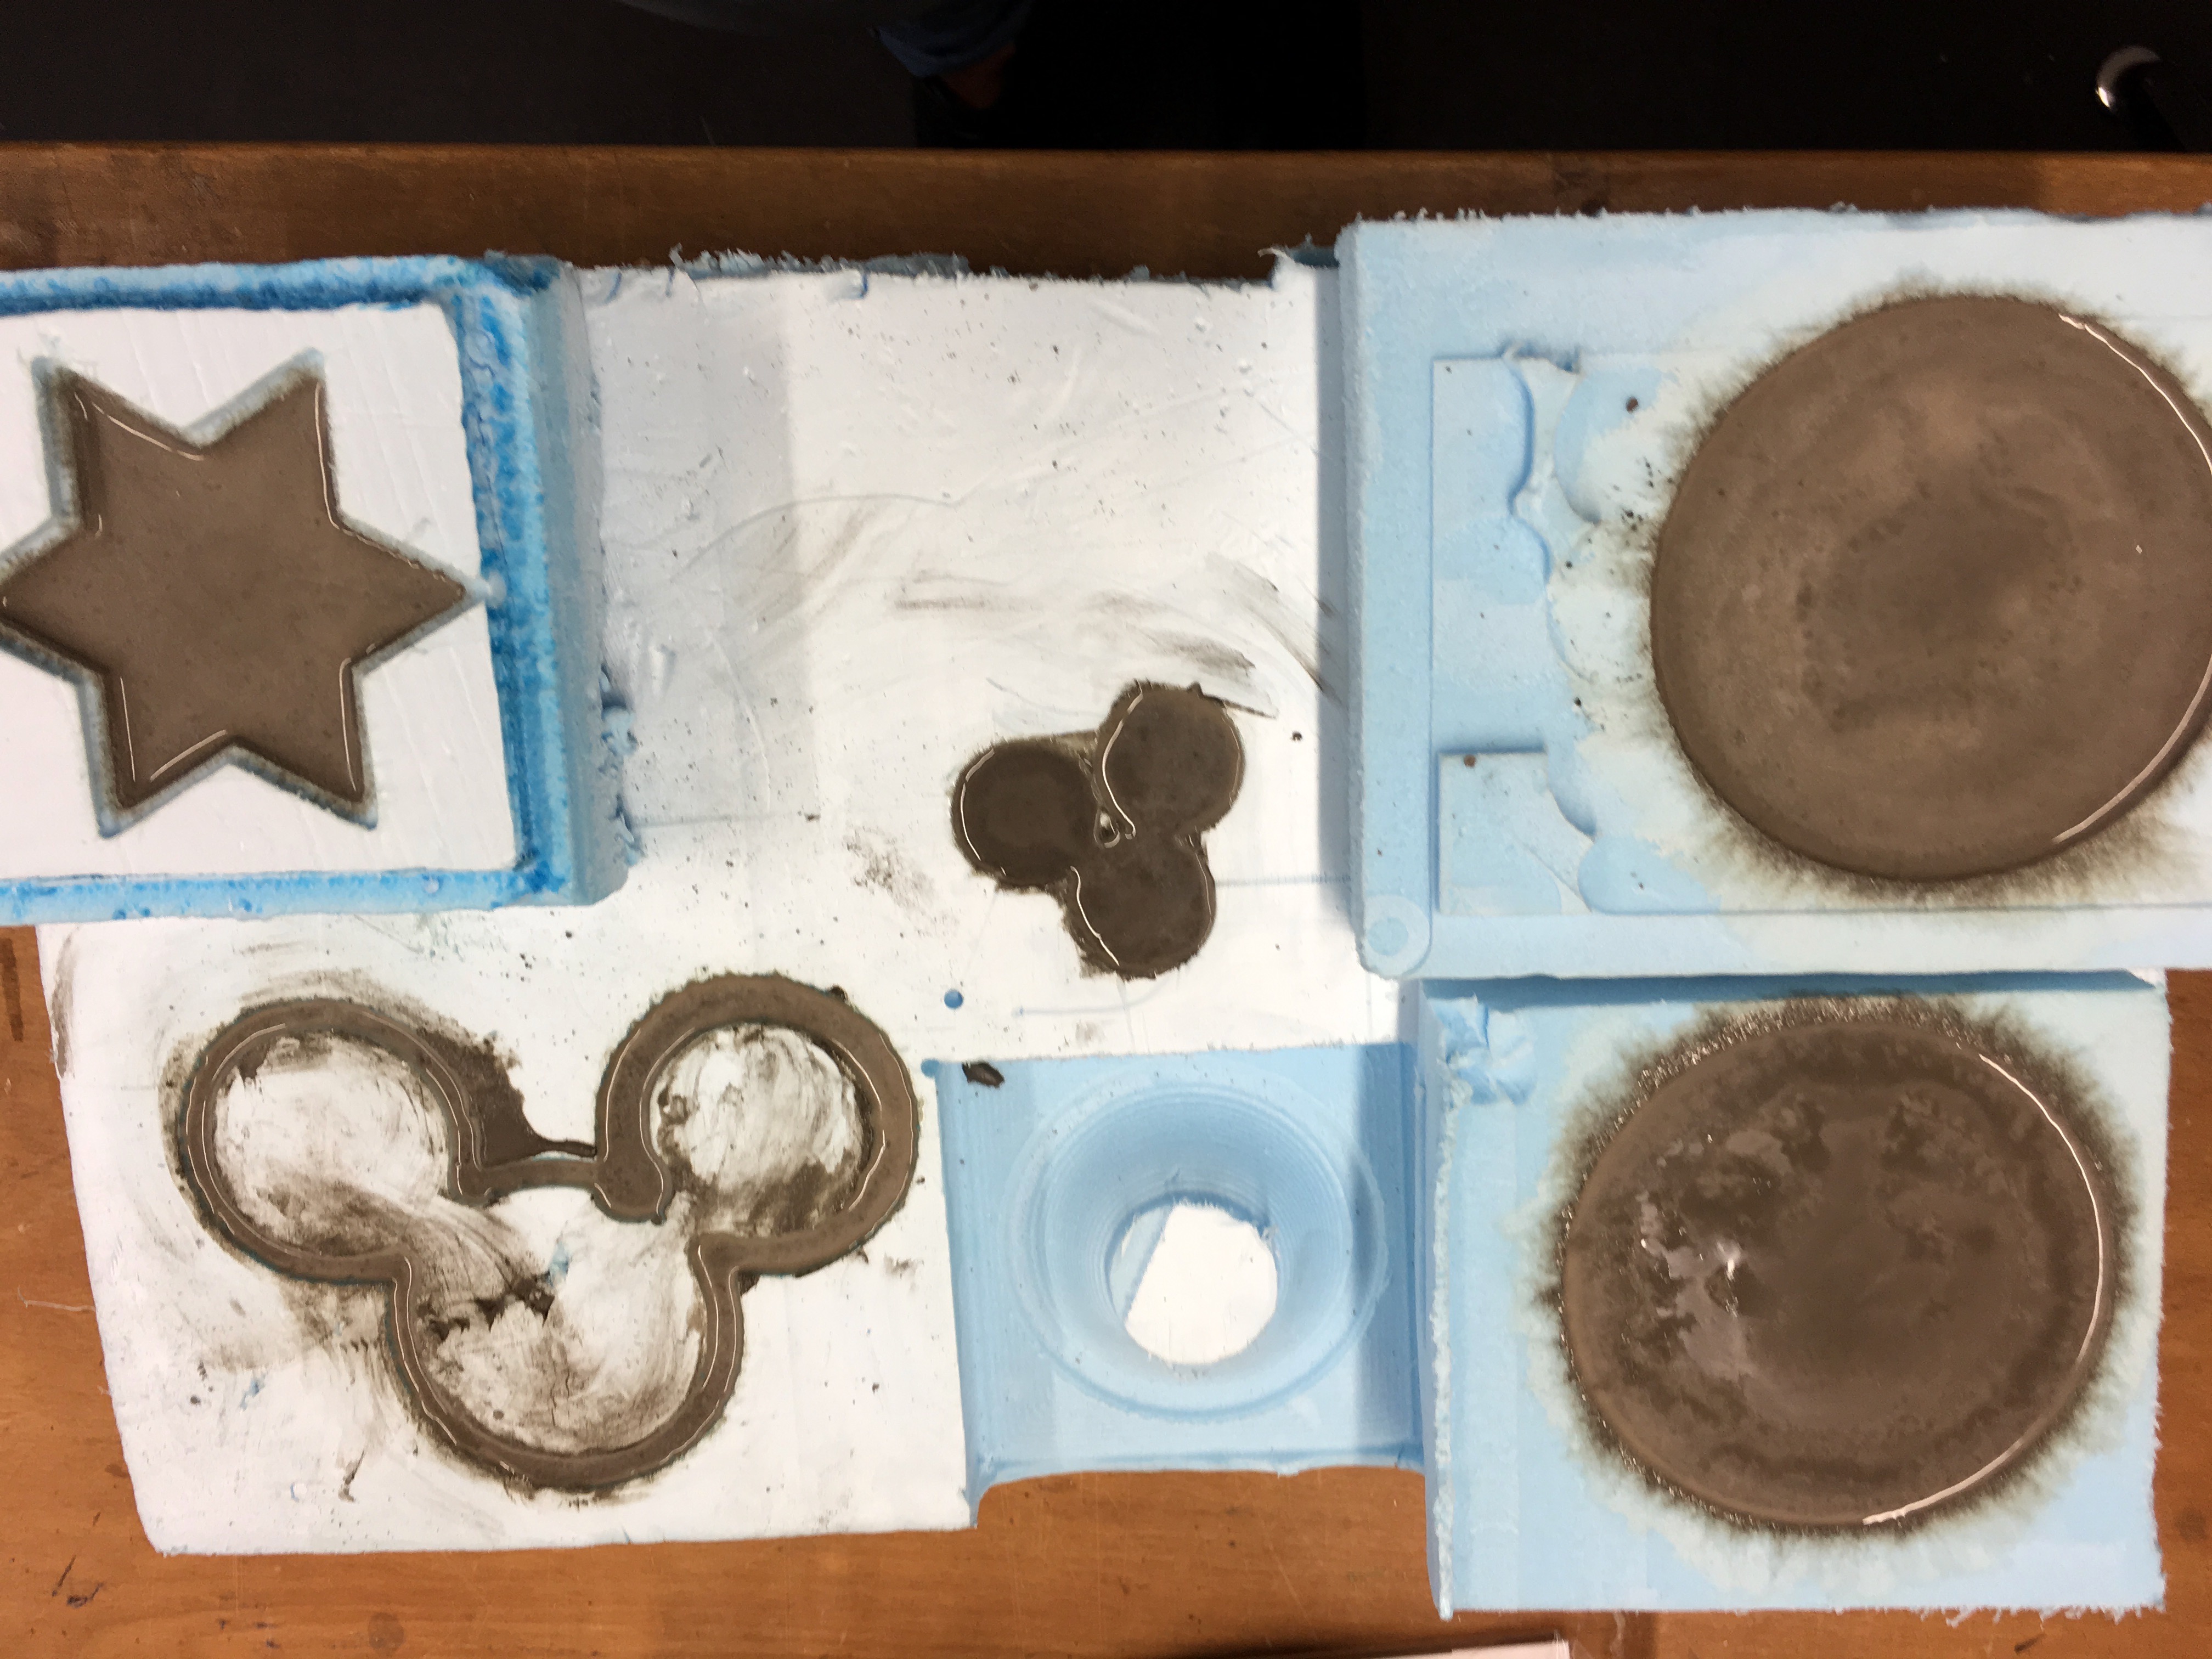
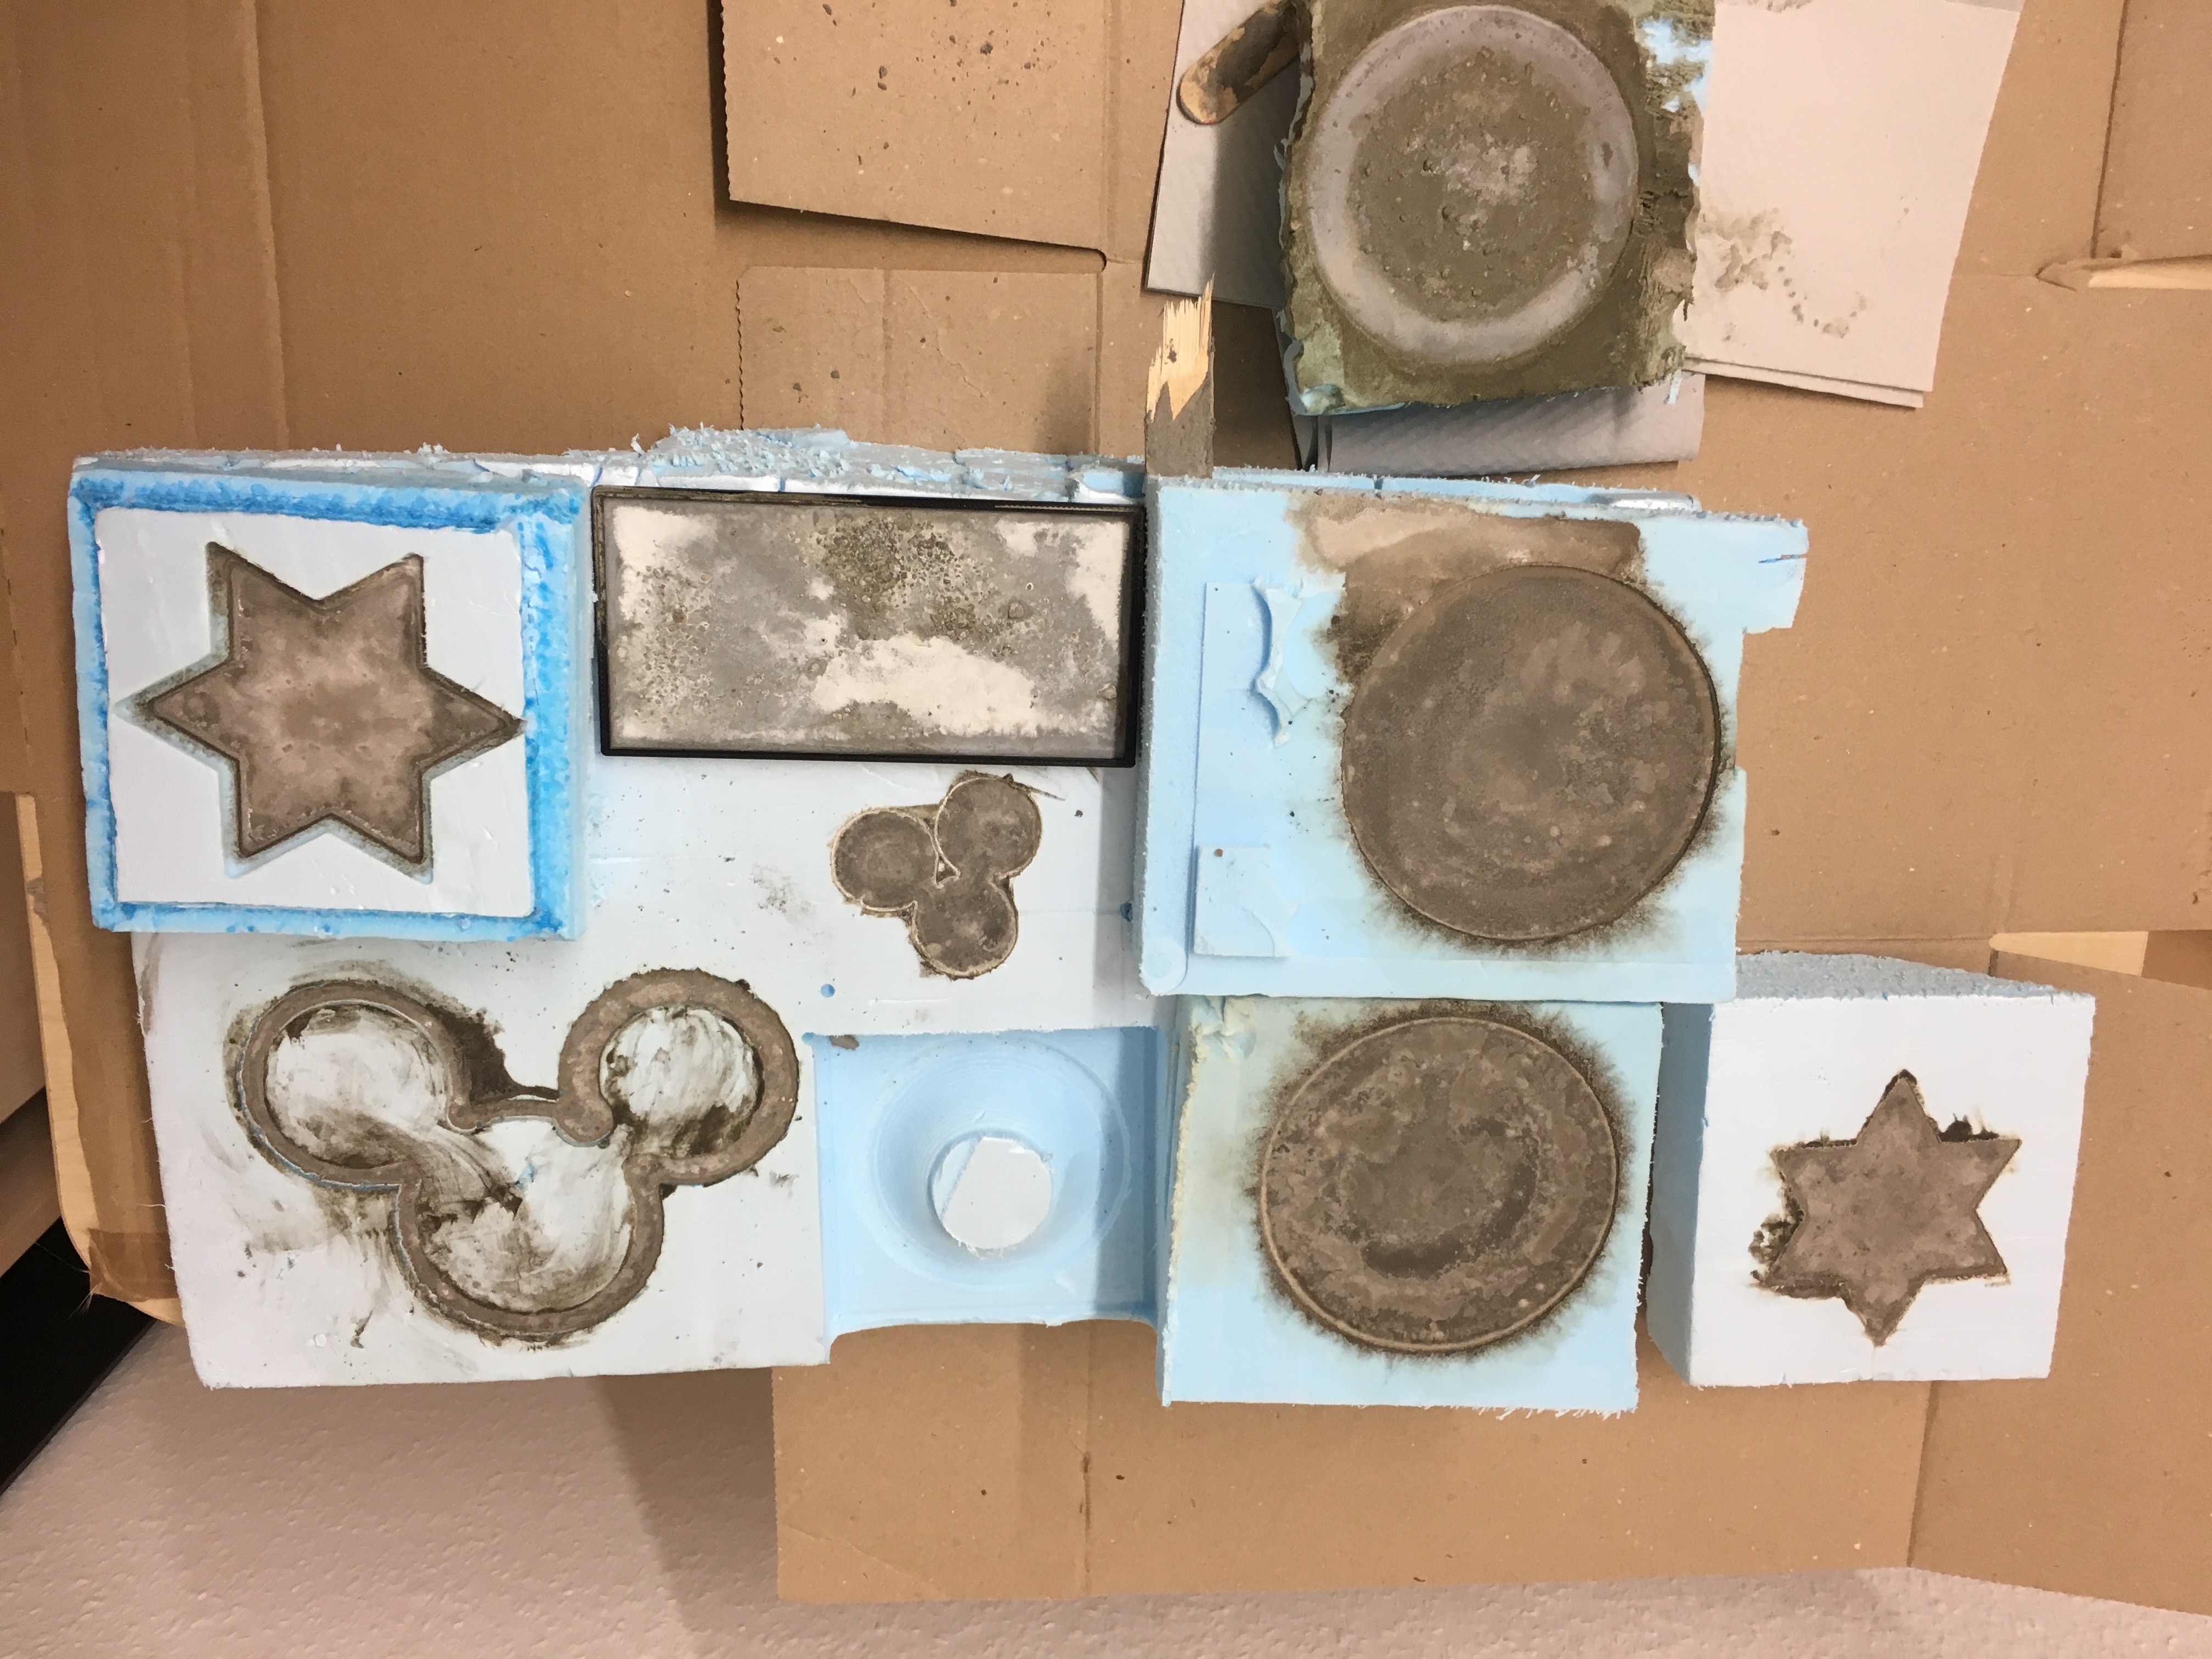
Since we made this assignment together, here is what we had among all the students from our lab(second picture is made after a few hours):
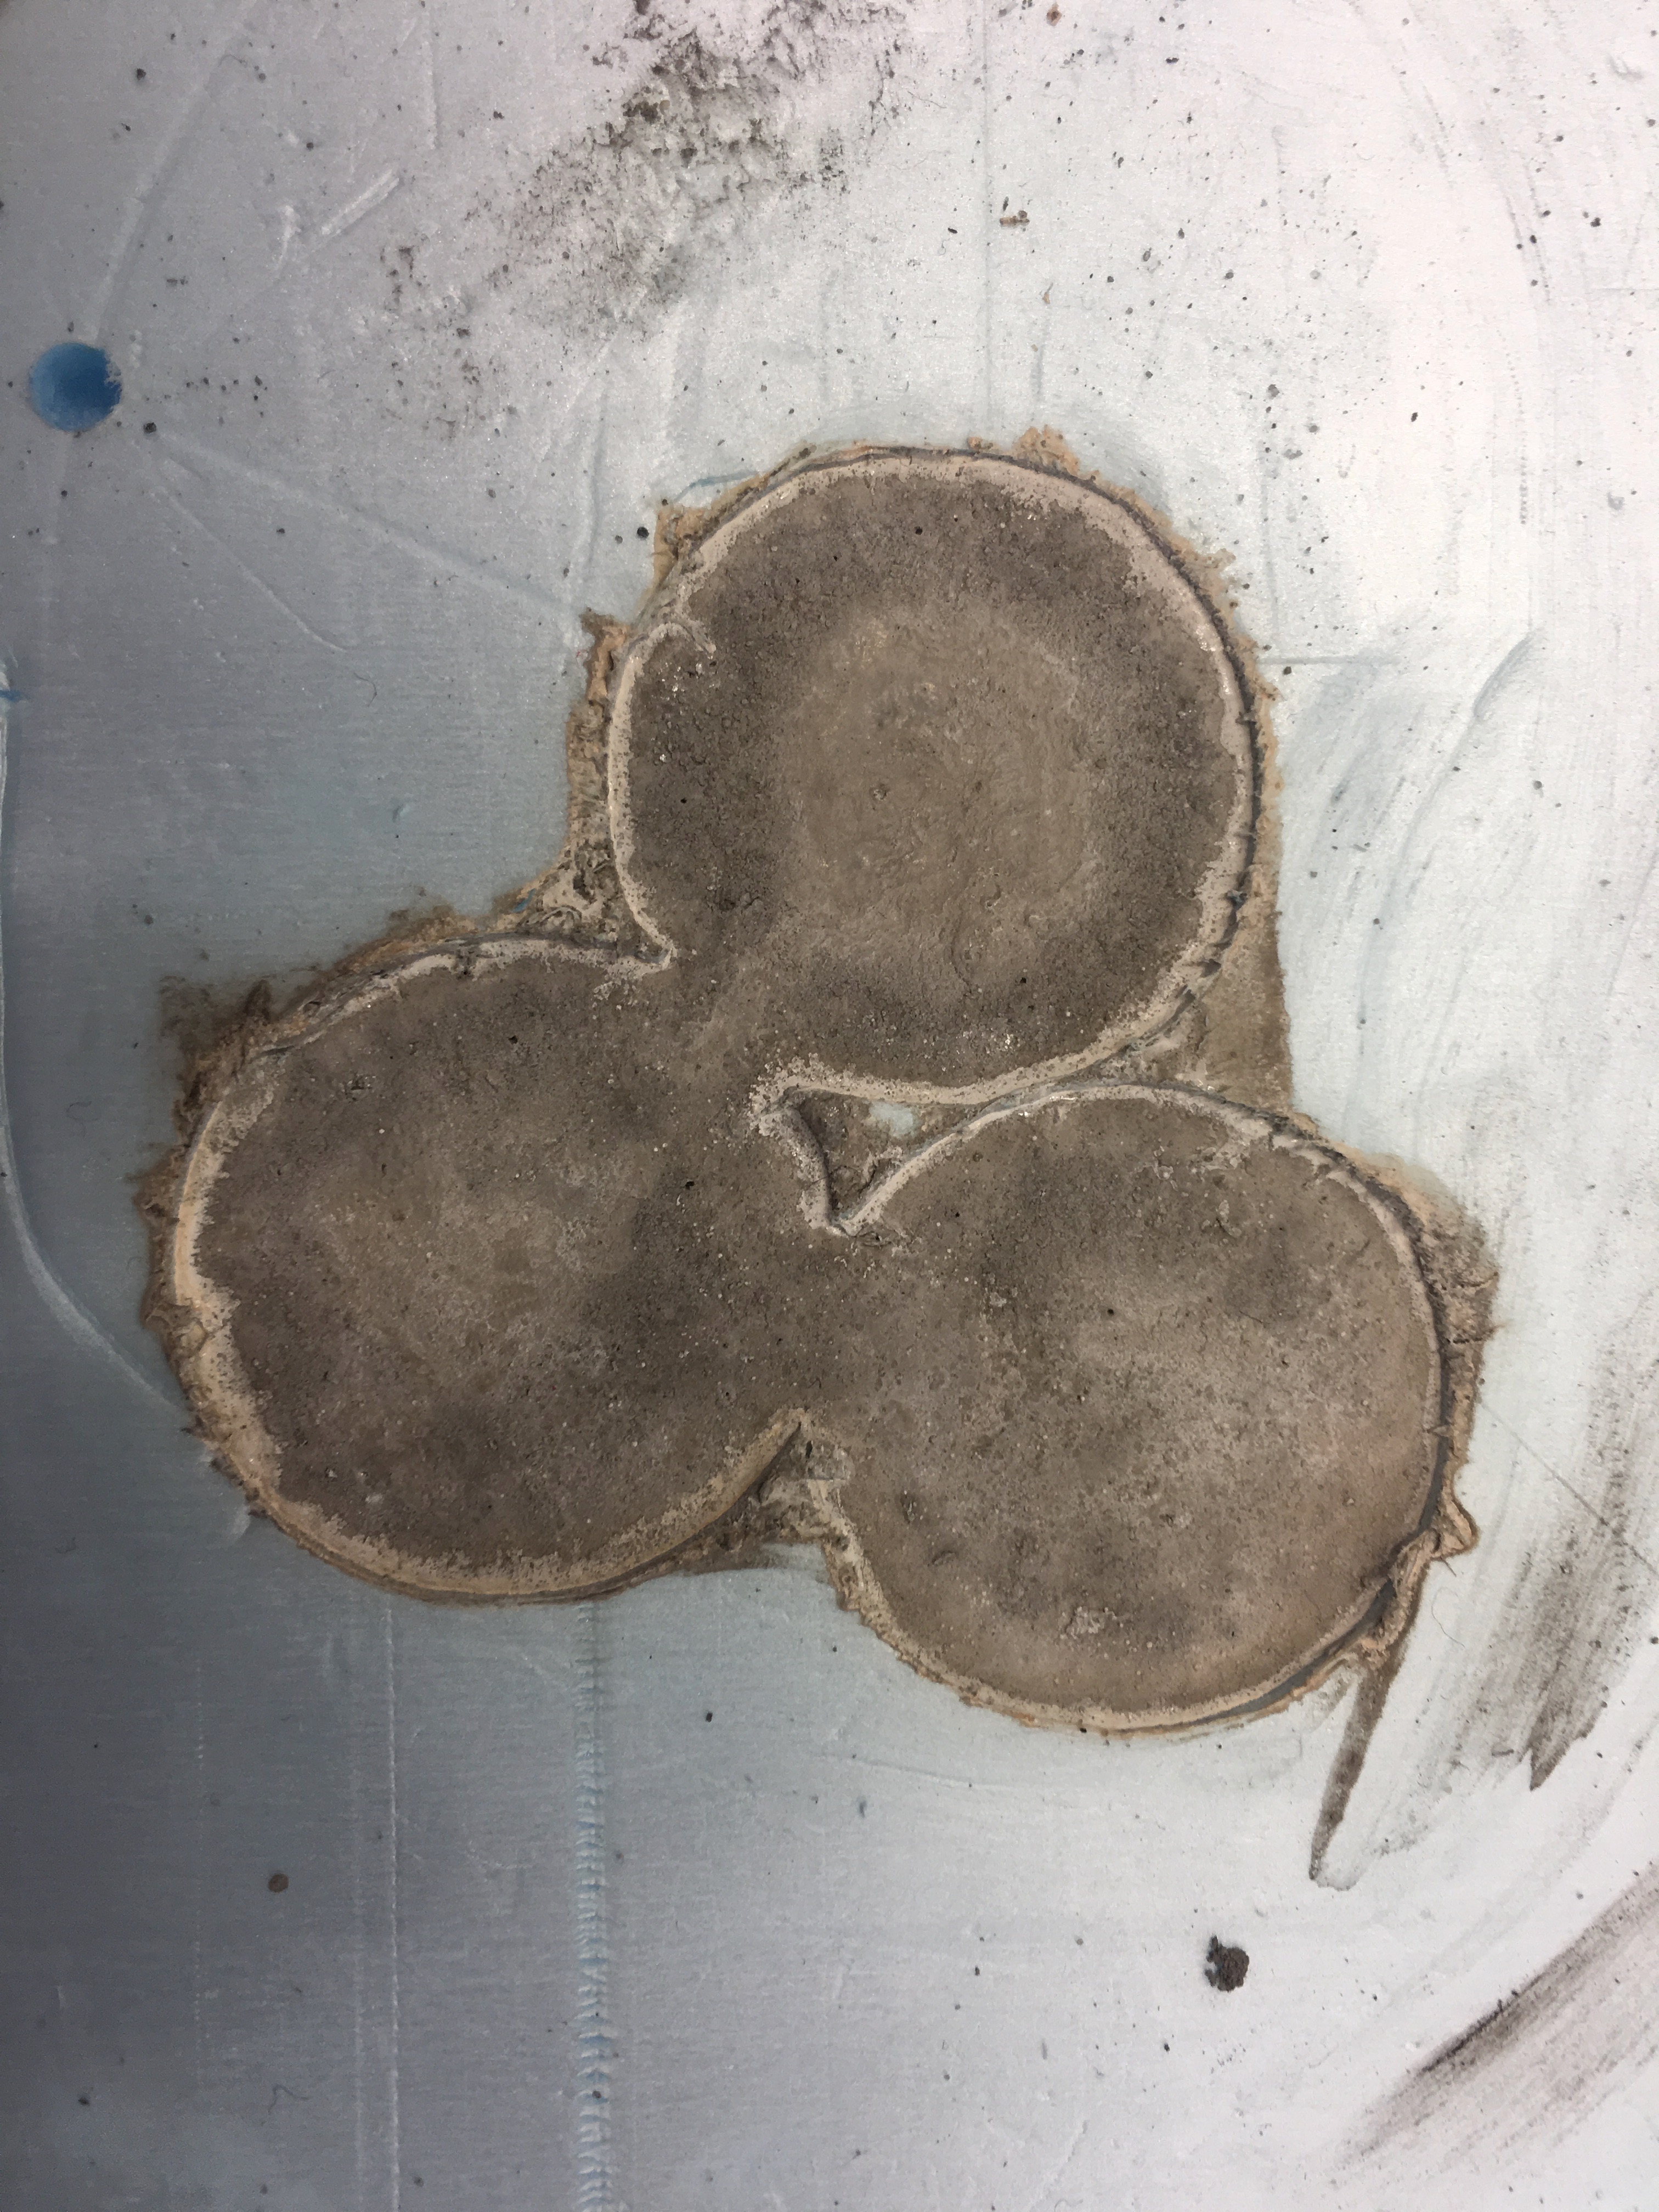
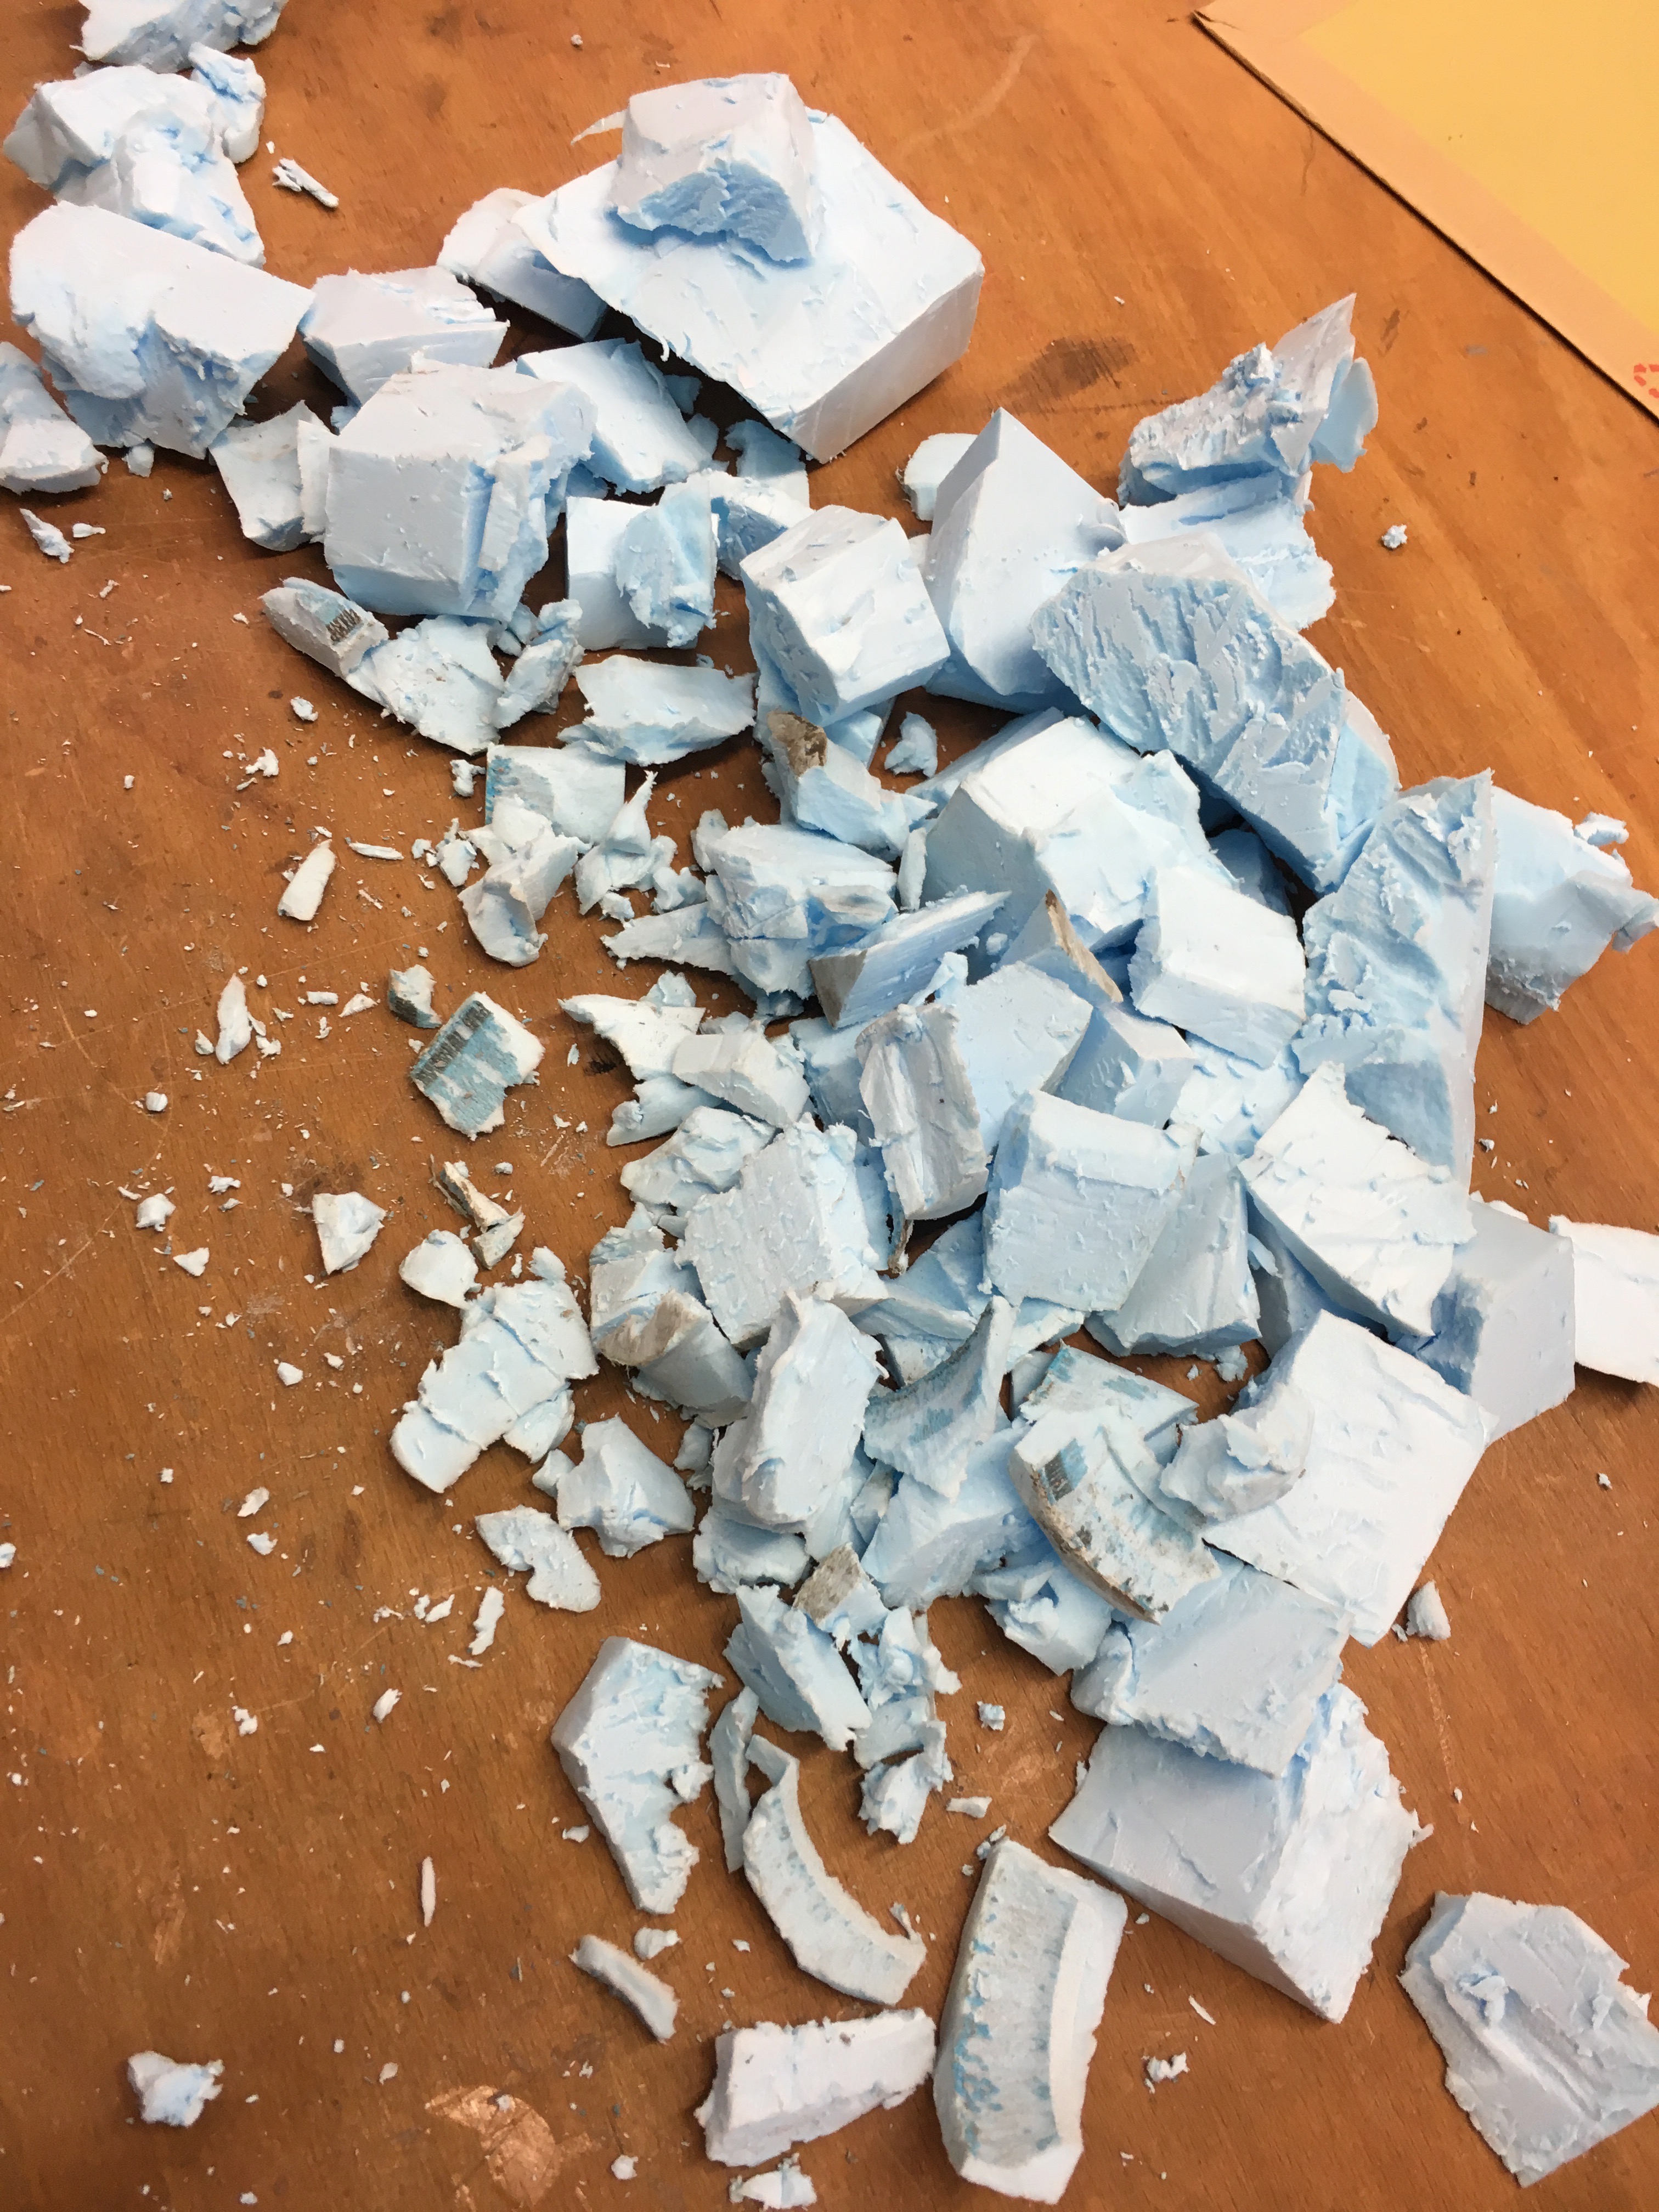
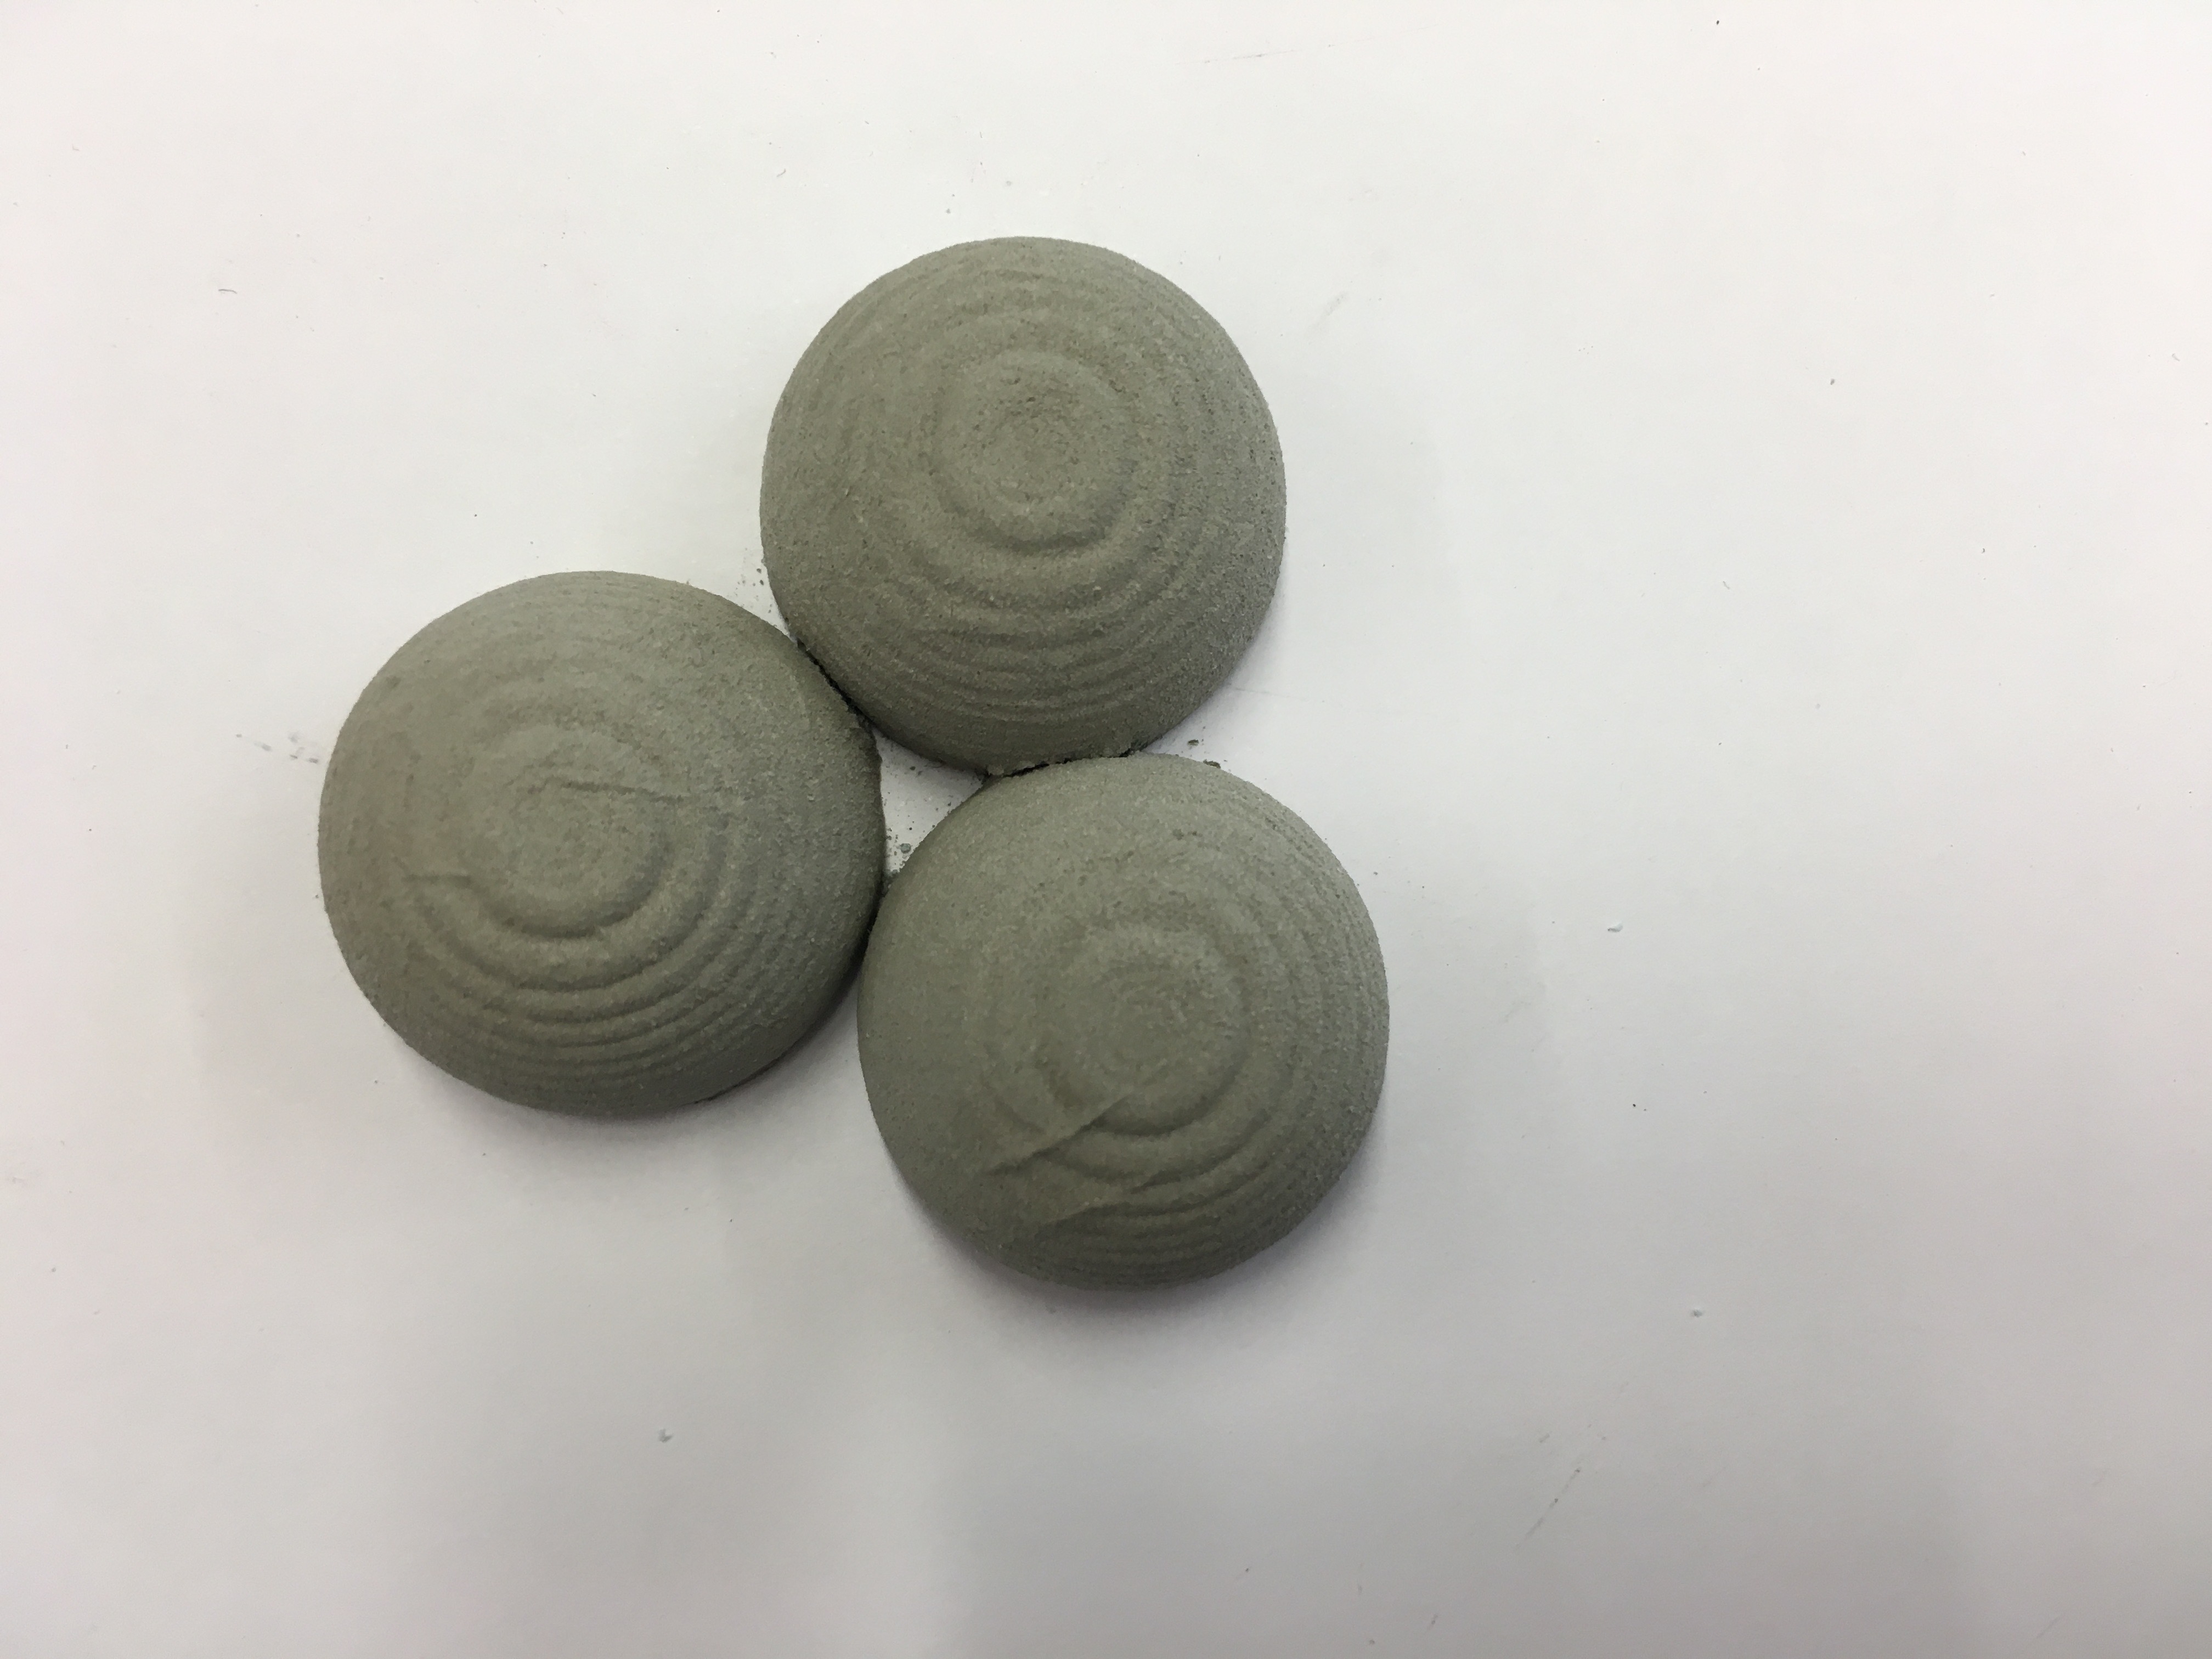
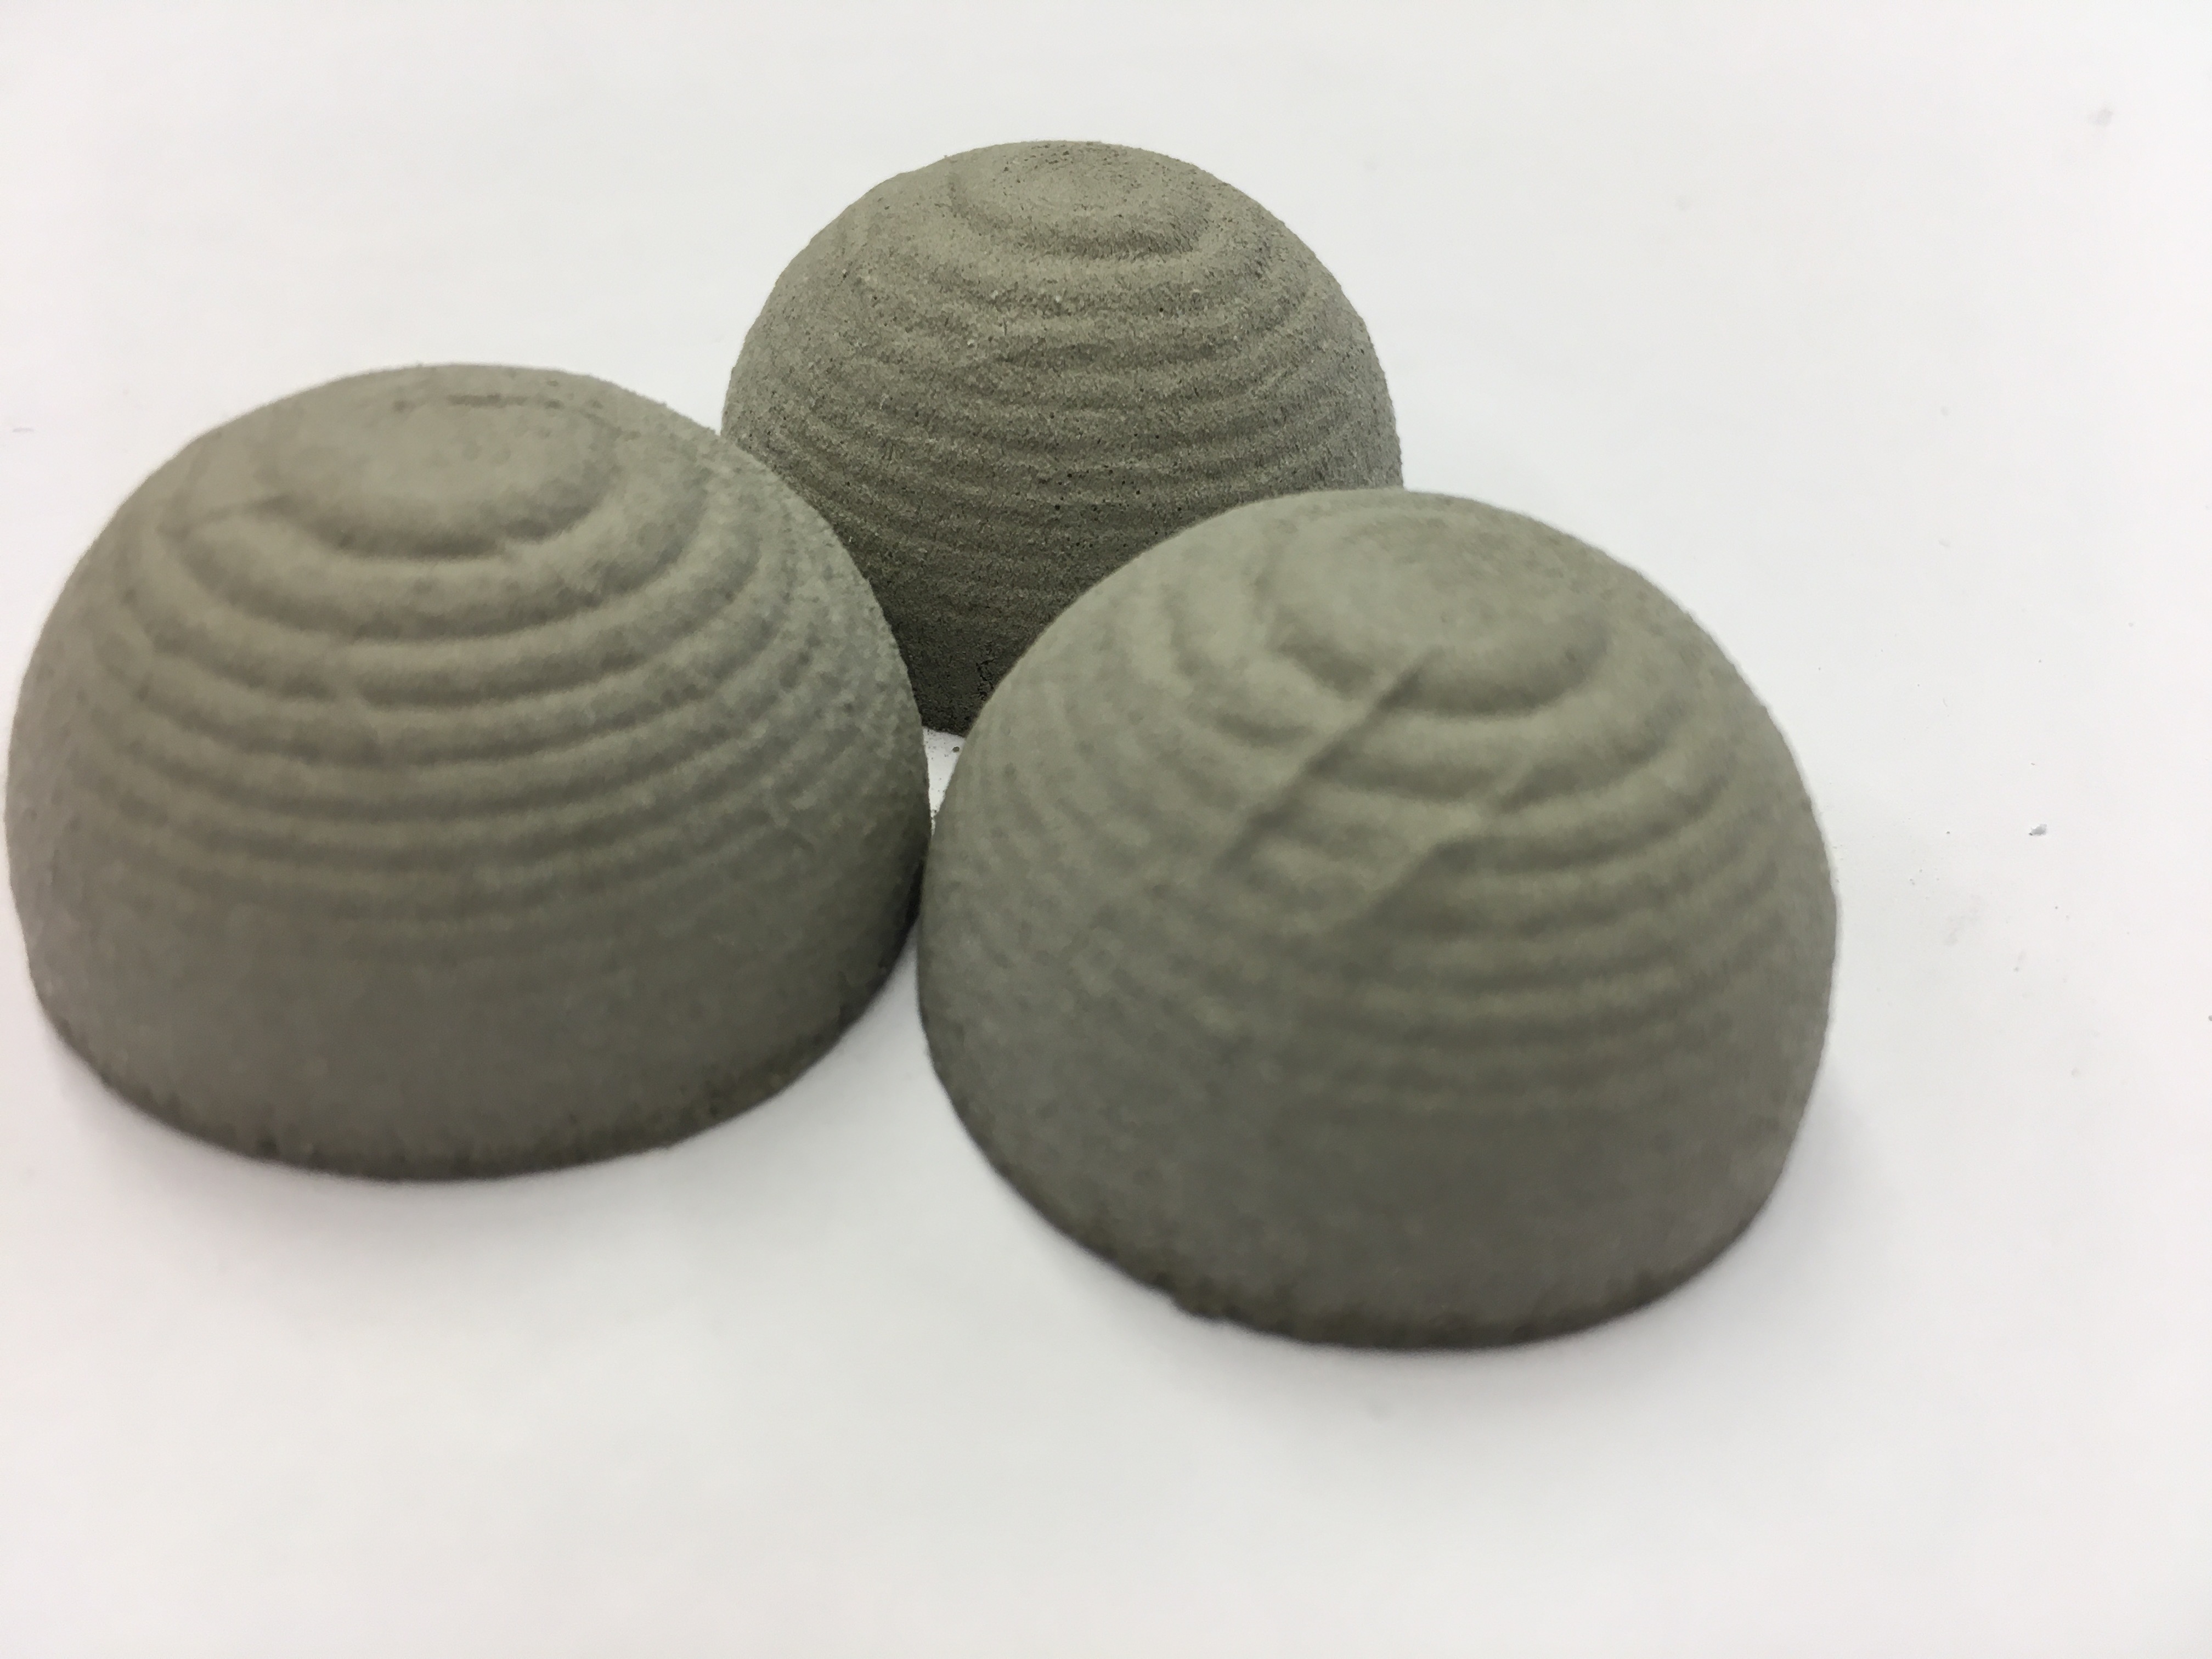
After a few days it was dry and I started getting out the cast. Unfortunately, the only way to do it was destroying the mold:
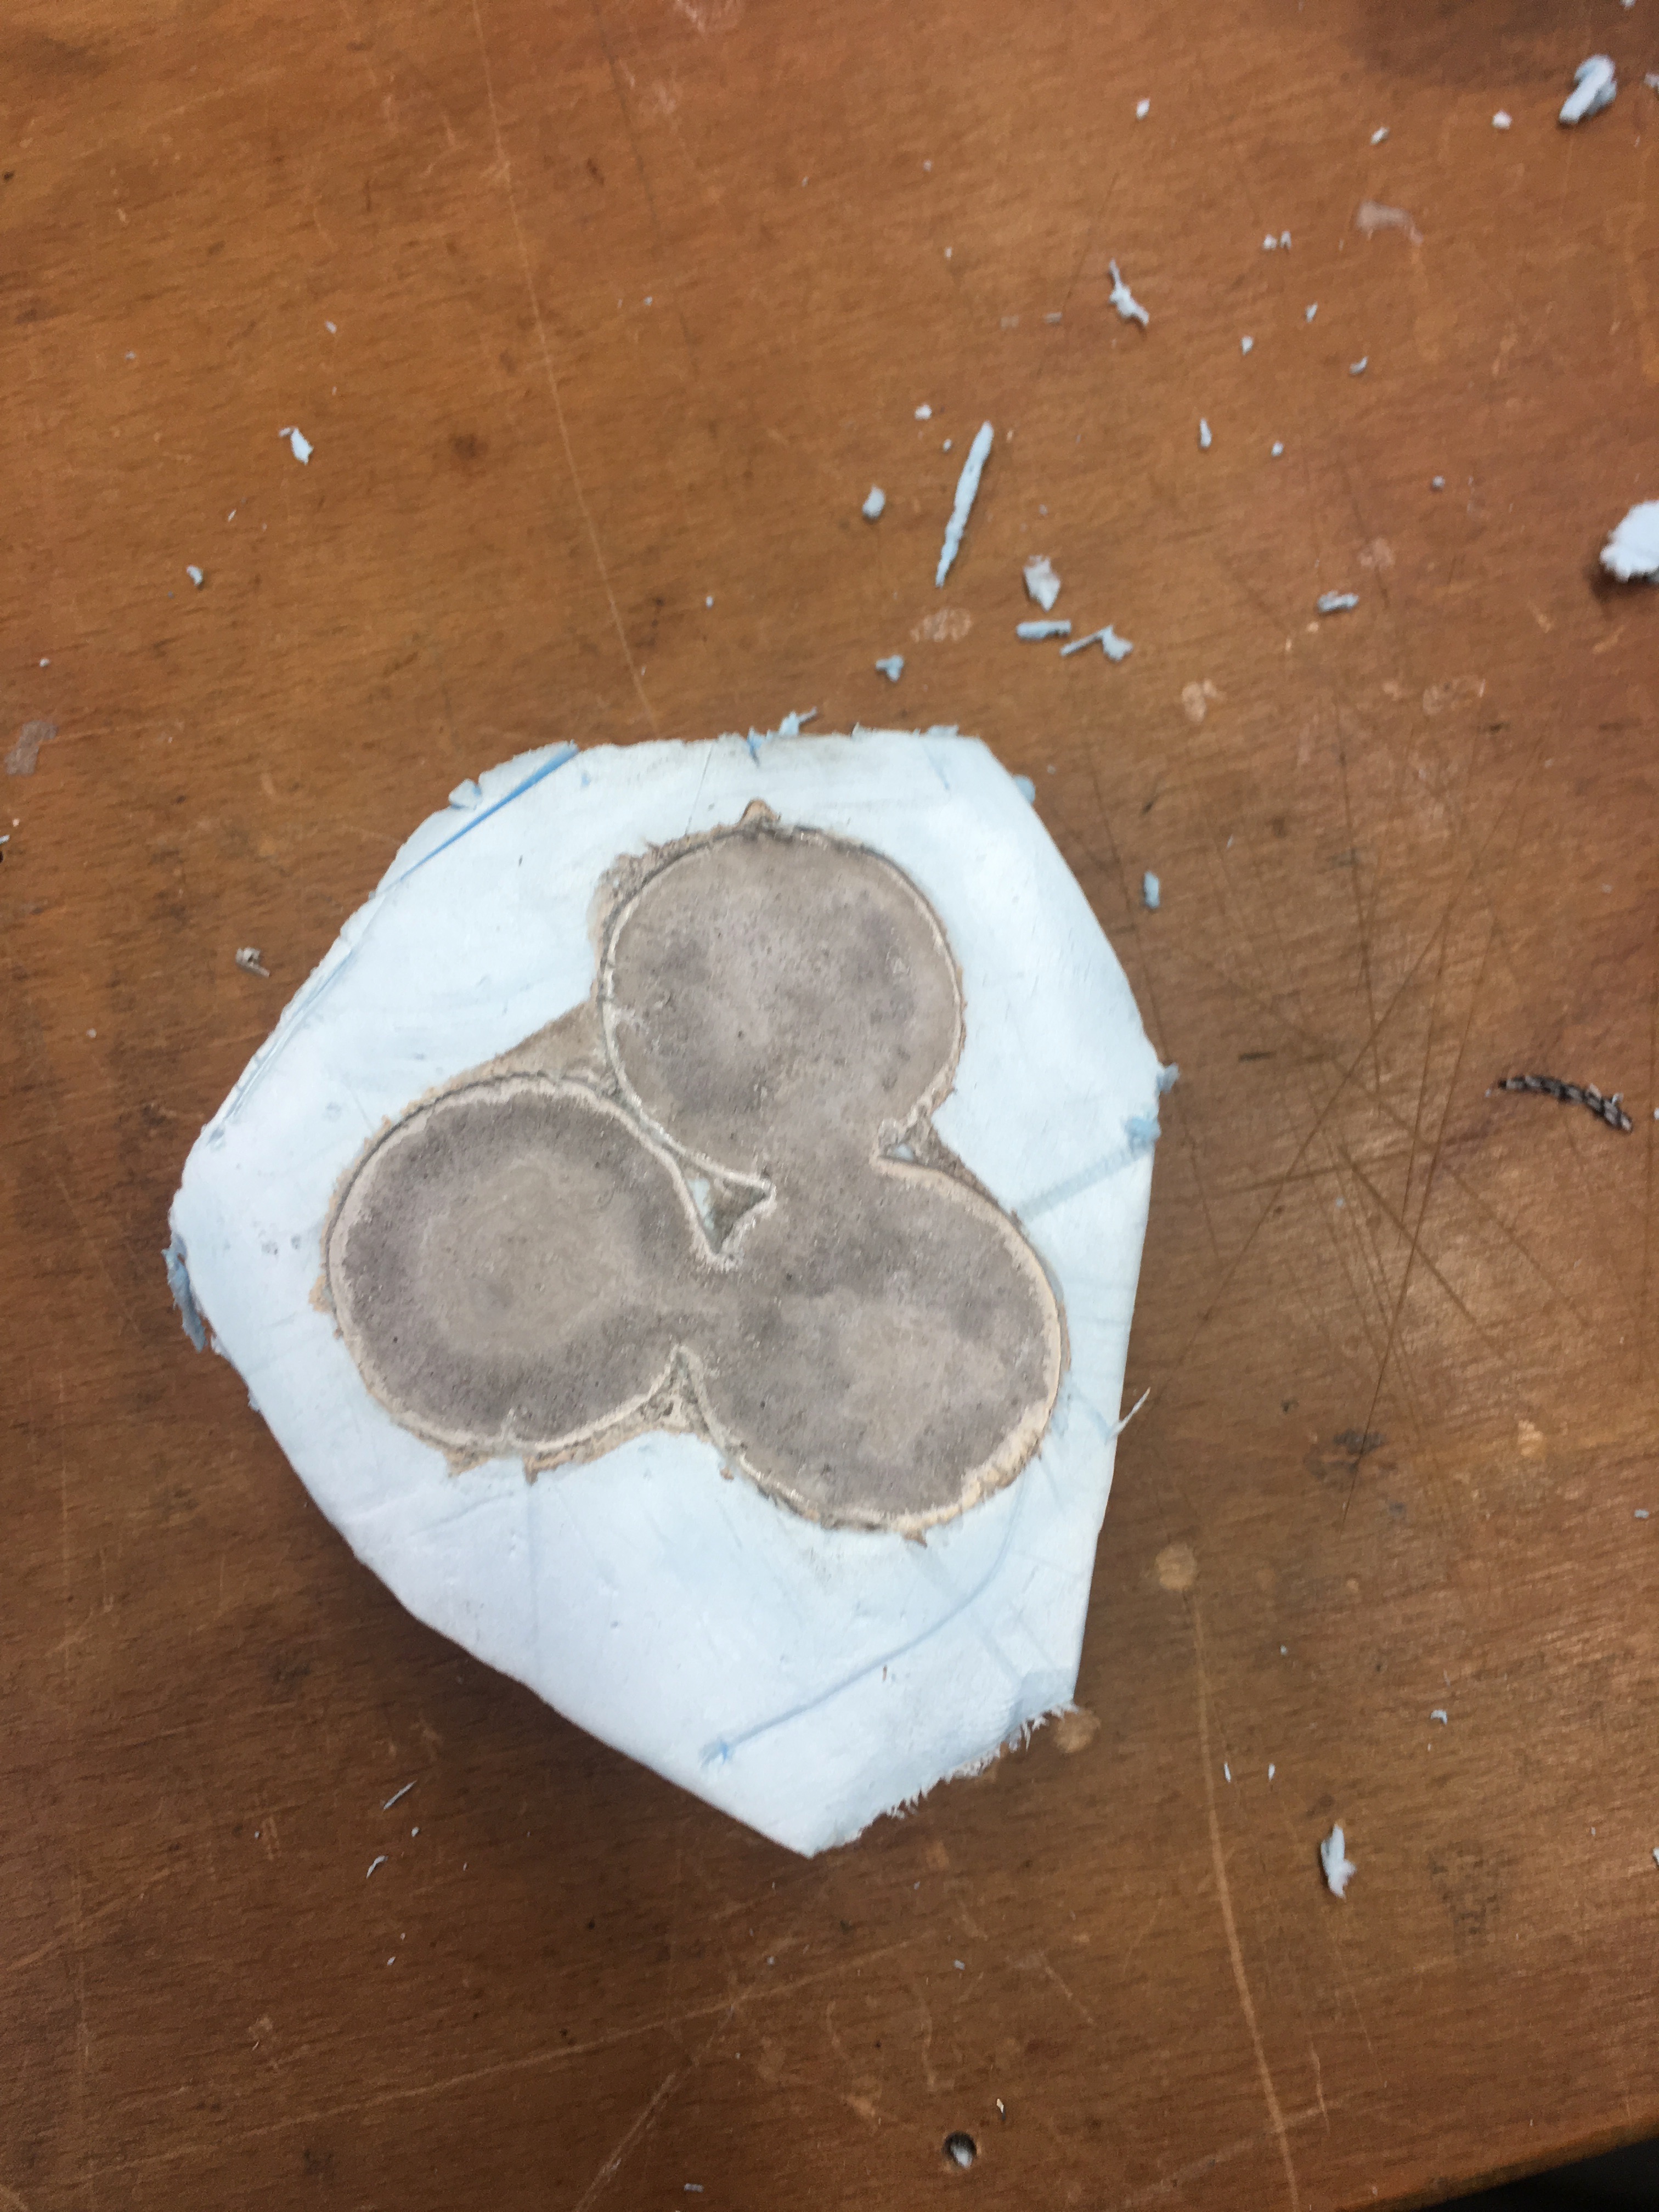
This is what my presse-papier looks like:
Mold of a Mold
In order to have a more reproducible way (a silicone mold using this model and then using the fabricated mold to produce a cast of the inside of this model's box) I also designed a mold of a mold. I designed the same part as I created before using Fusion 360. A quick and easy instruction of making it can be found below:
-
1. Designing the spare part.
-
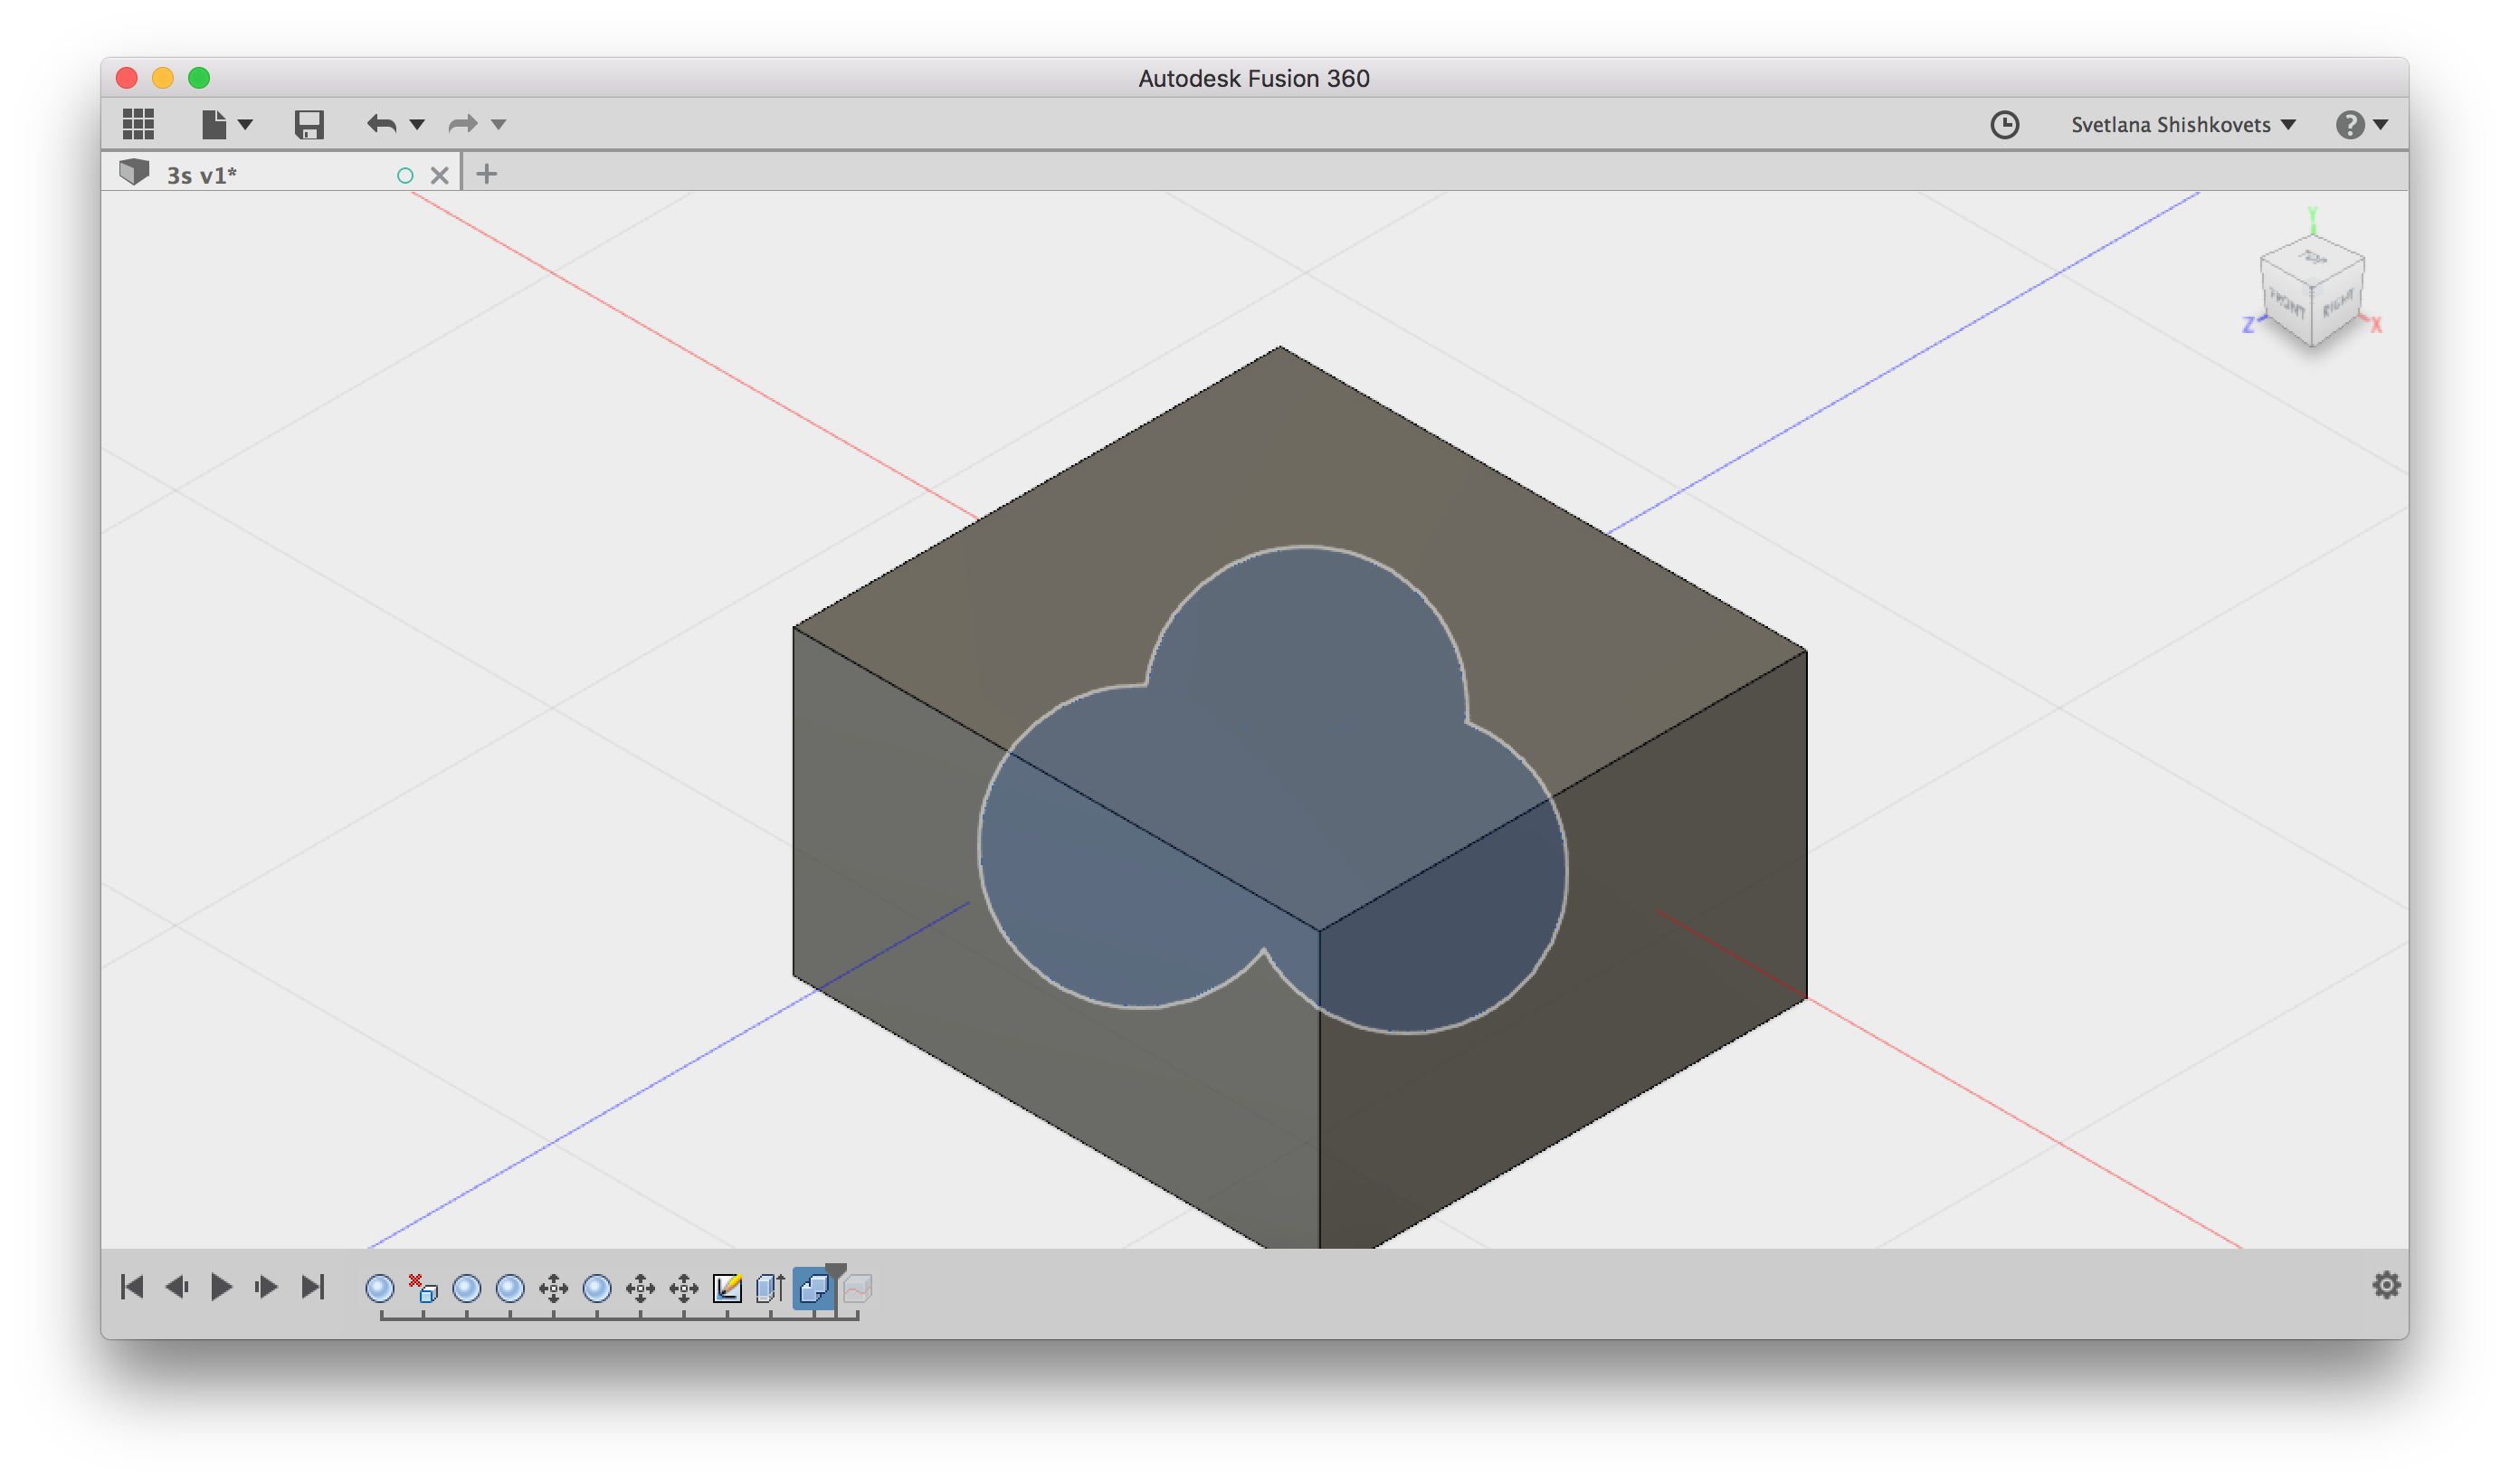
2. Add the walls and bottom part.
The second mold
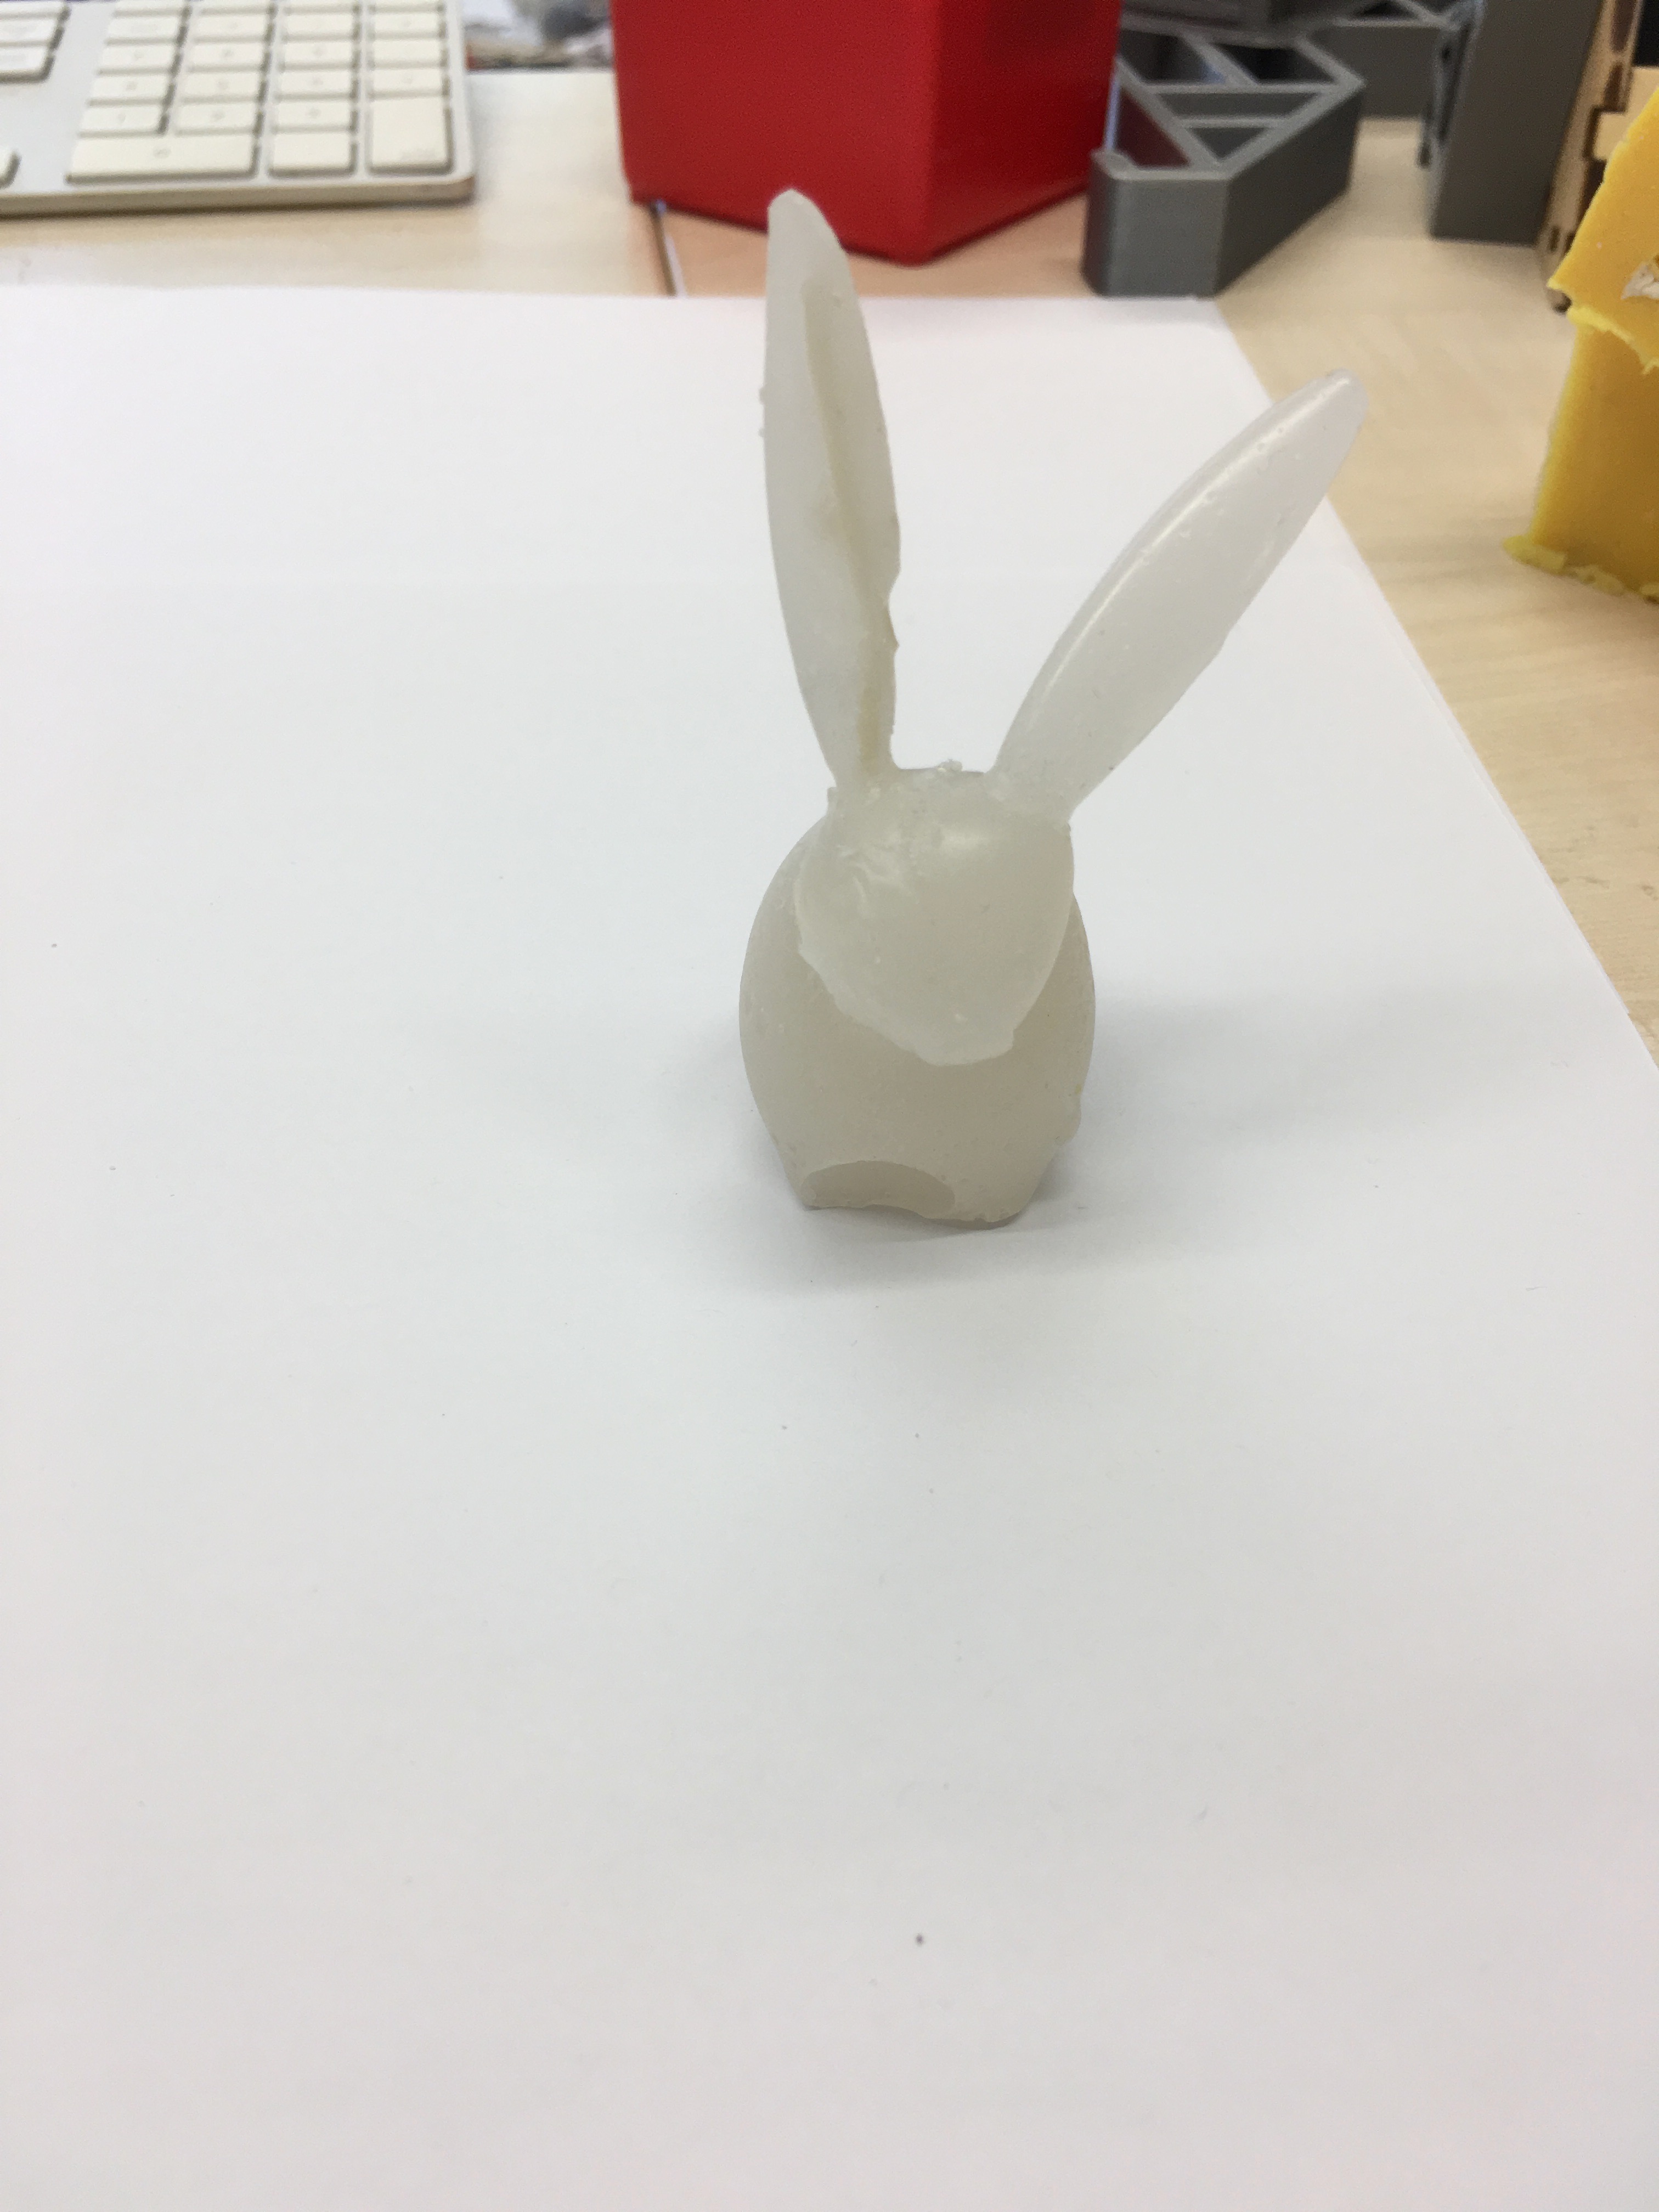
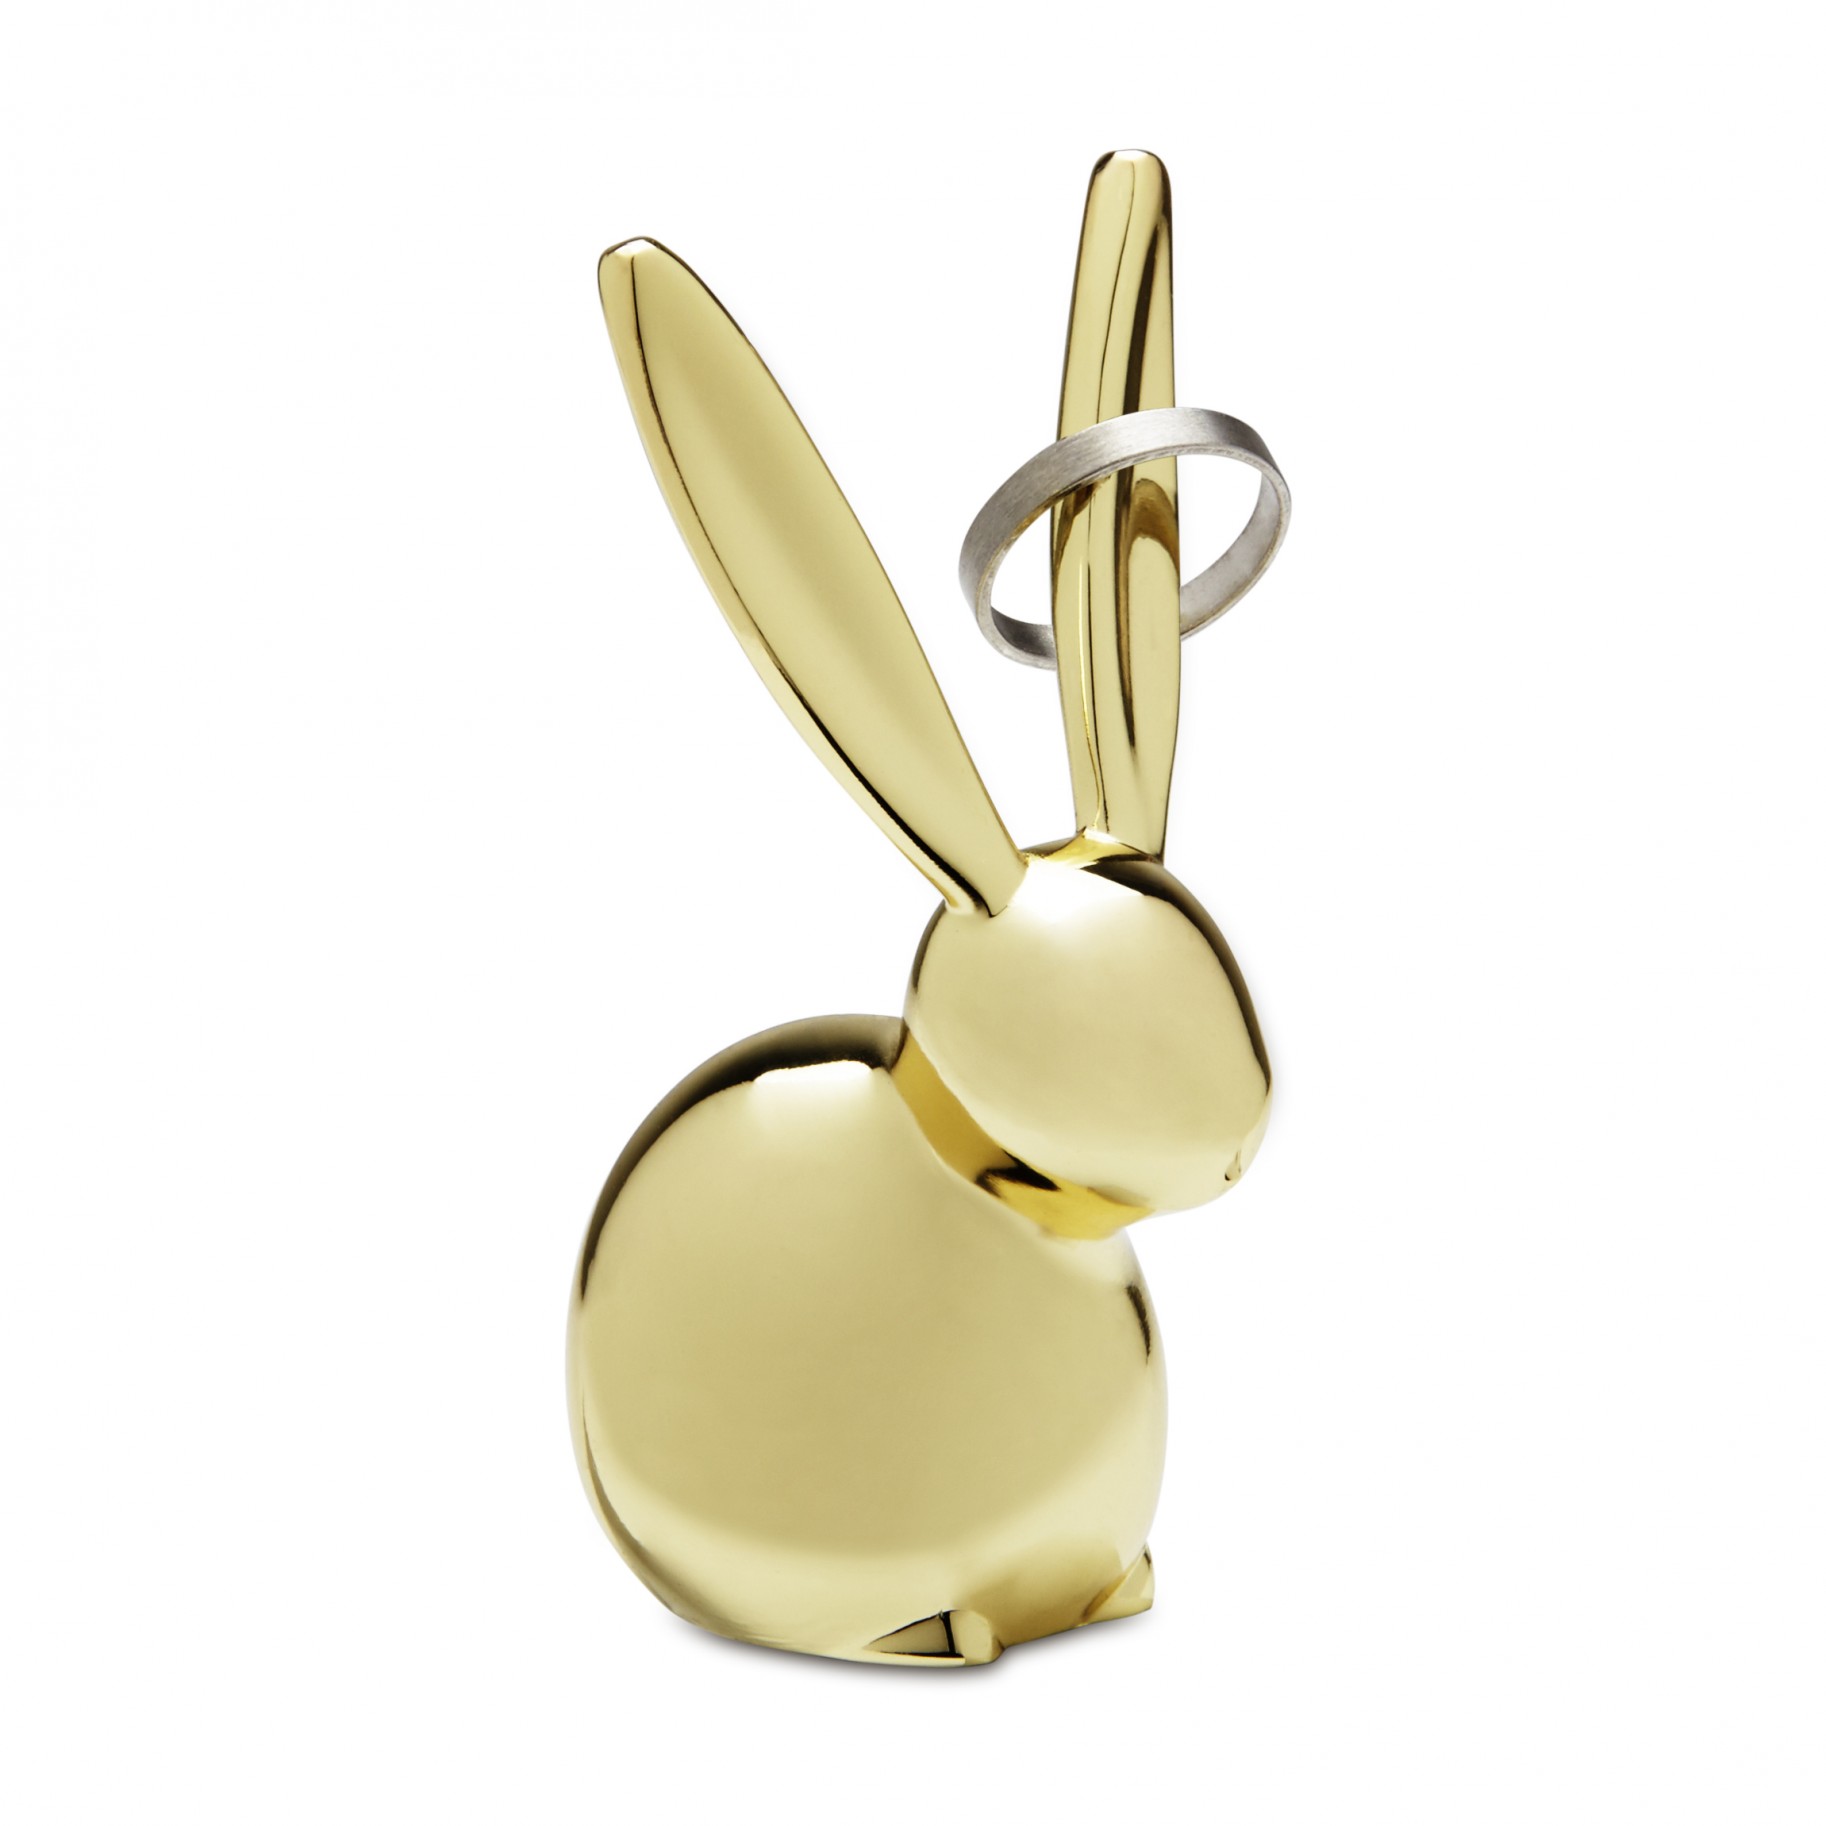
For the second mold I decided to make a rabbit candle from heavy rabbit ring holder:
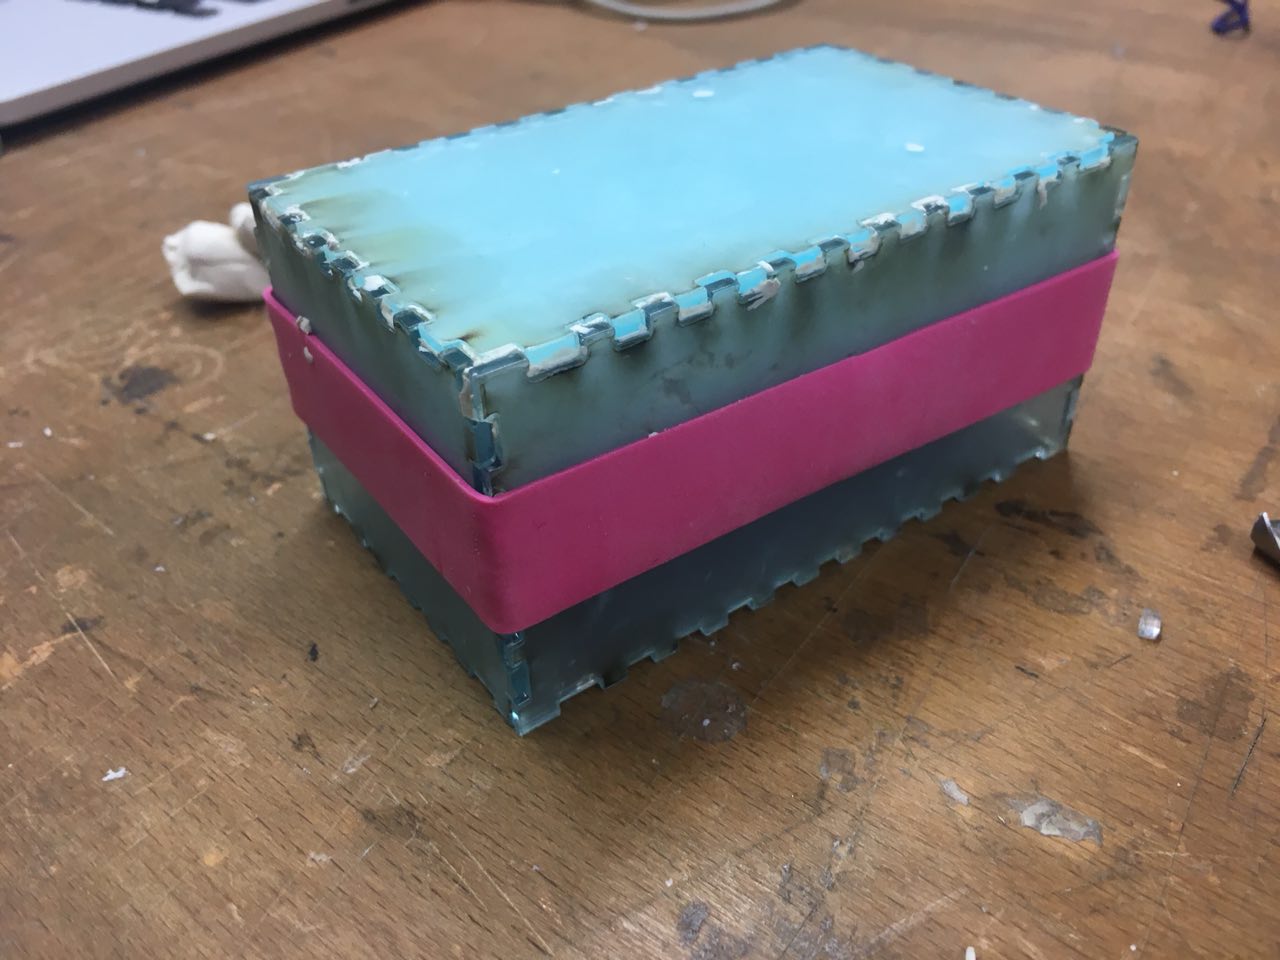
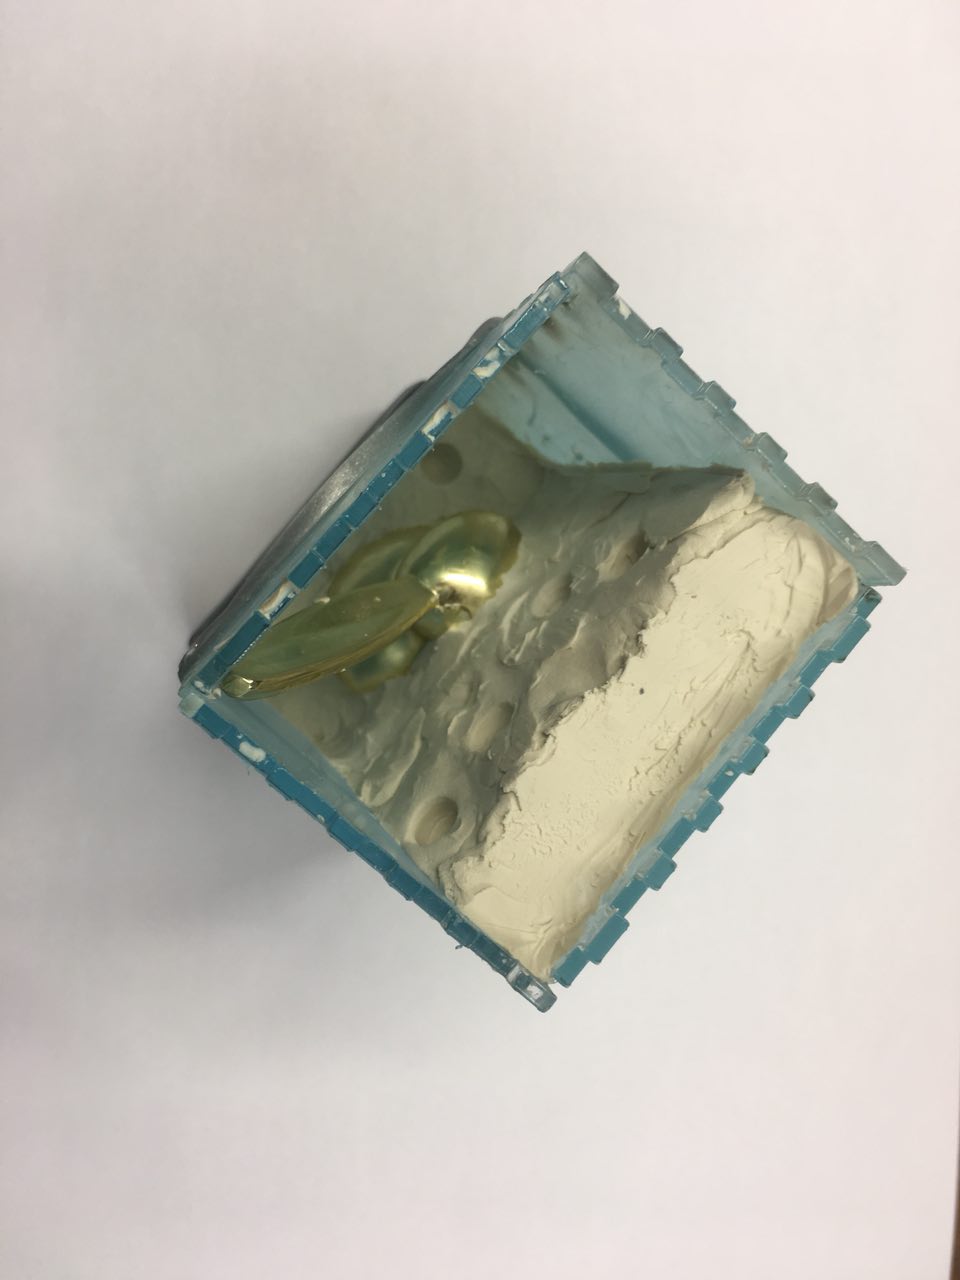
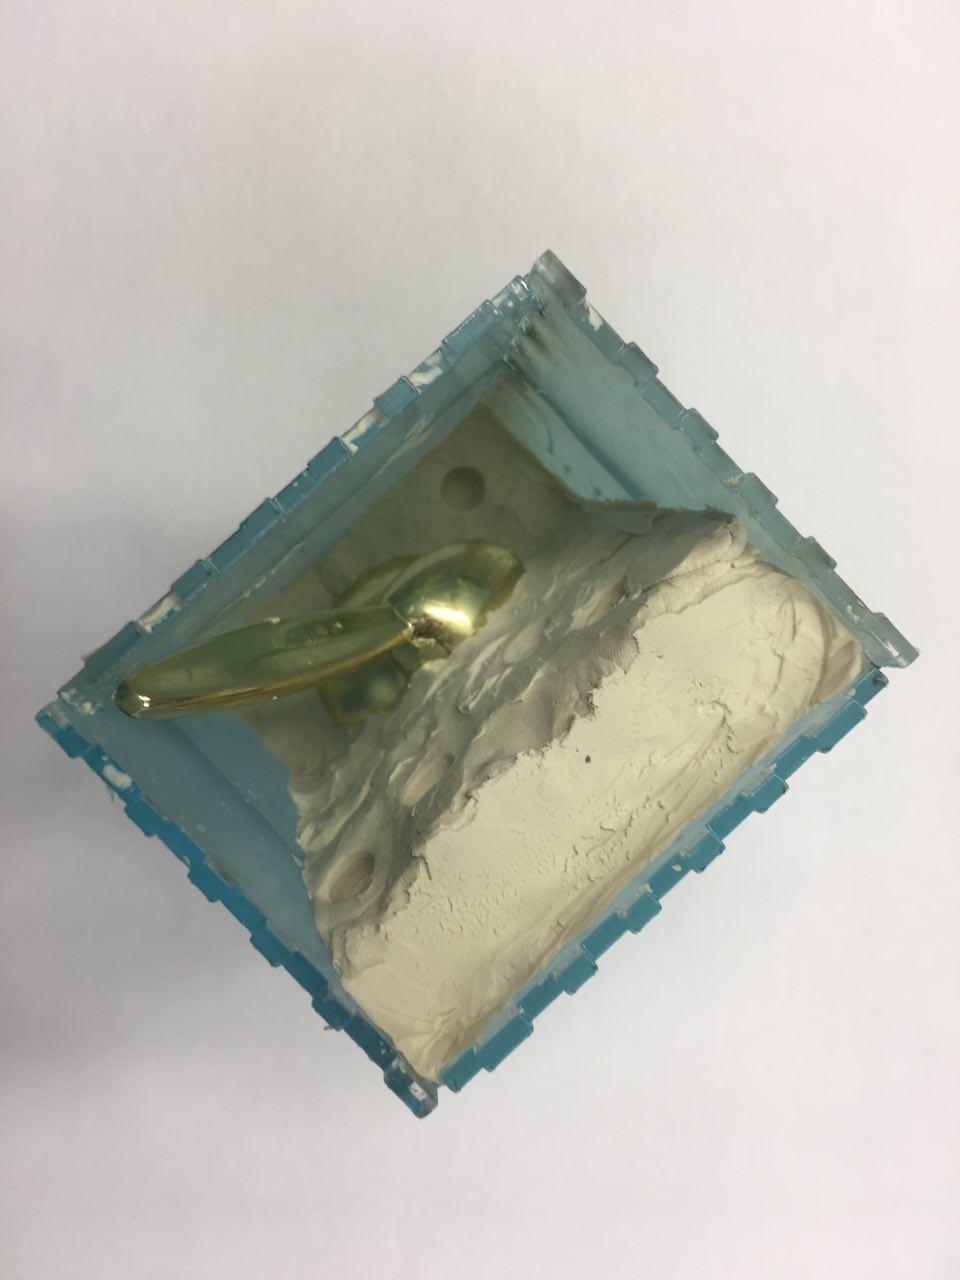
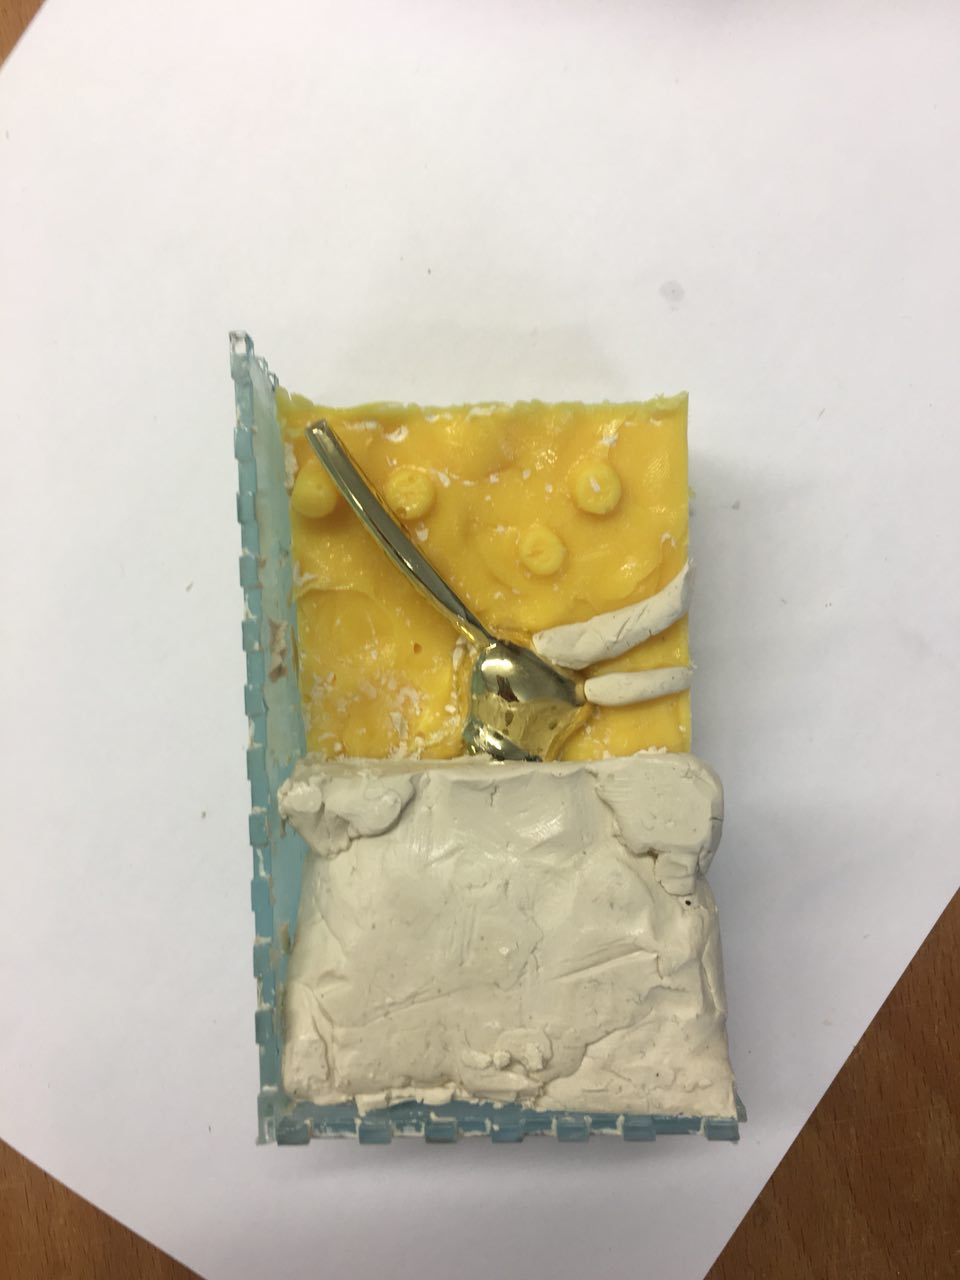
First I created a box using laser cutter. Then I put clay and my rabbit in it. You should make sure that the clay(white material) fixed properly and there are no holes between the clay and the object you want to cast.
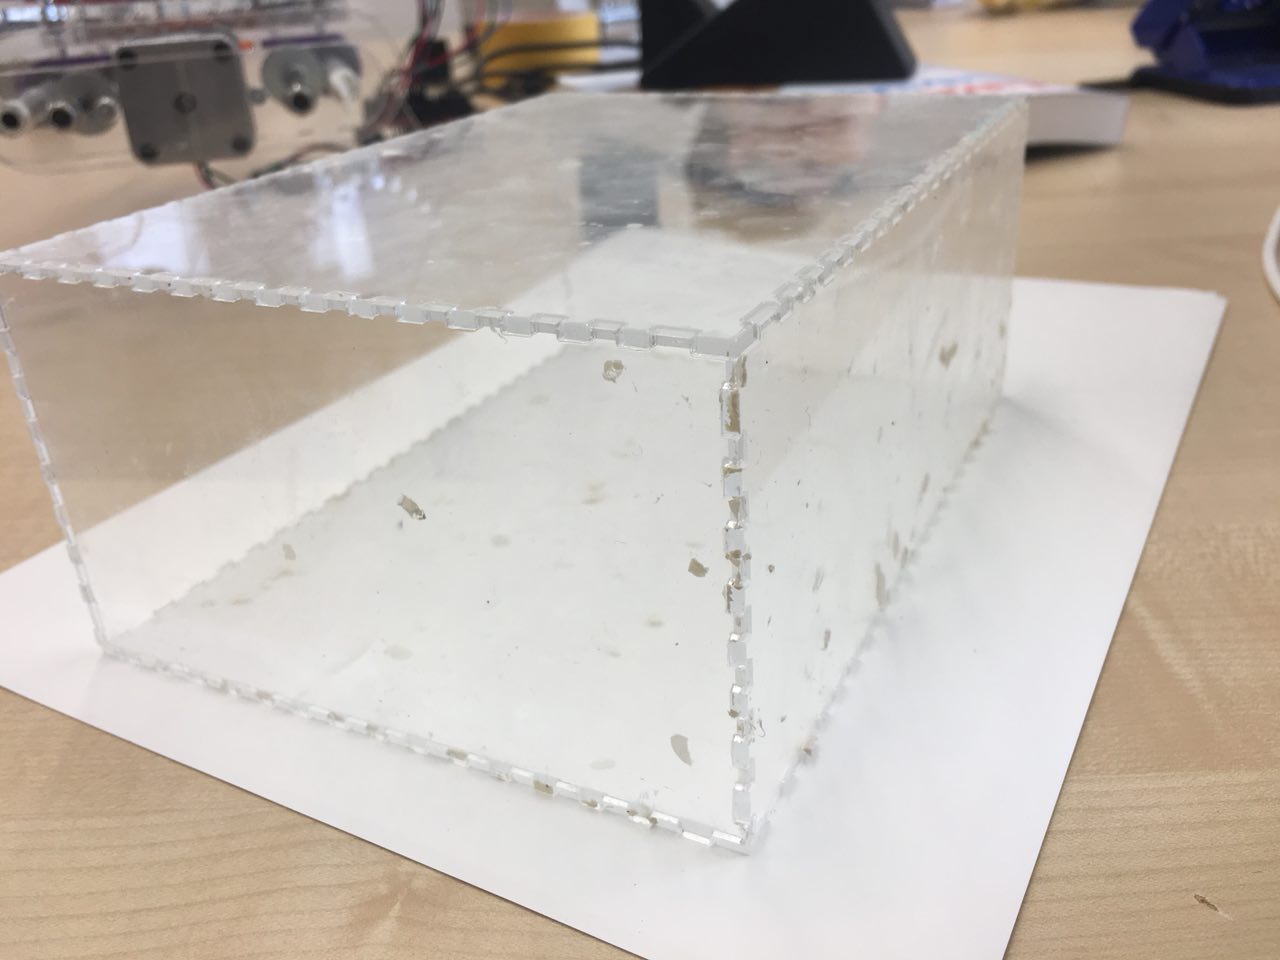
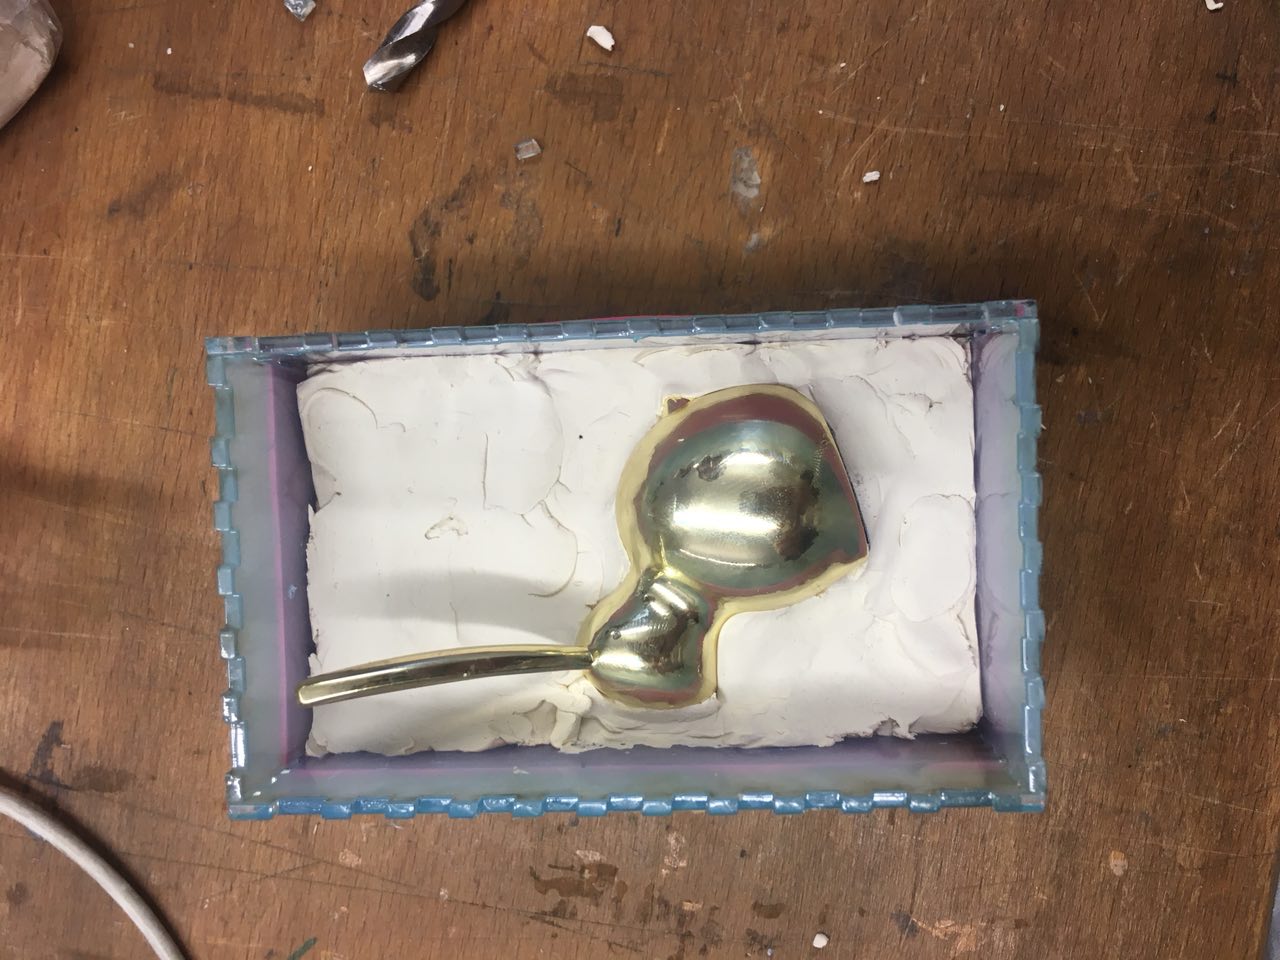
Thanks to our awesome Local Instructor Marcel, I figured out that with the position like above I could not make a proper cast, since I could not get the rabbit ears out. That is why I replace the clay and decided to do three pieces mold. So, one piece would be the body, and two more pieces would be half a head and an ear. What is more, I added "connectors", so that all the molds would stick to each other. Here is how the box for the first mold looks like:
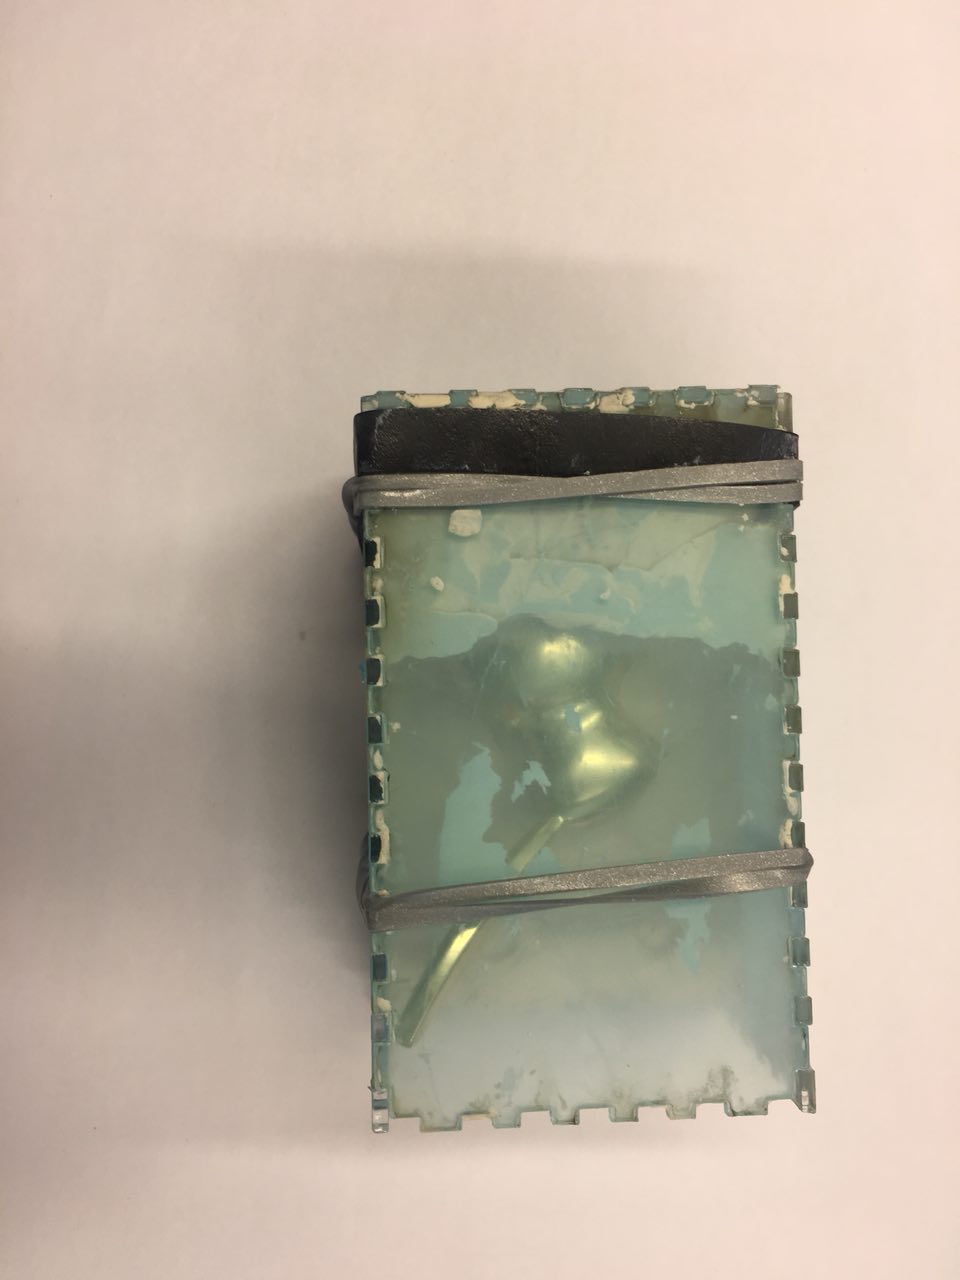
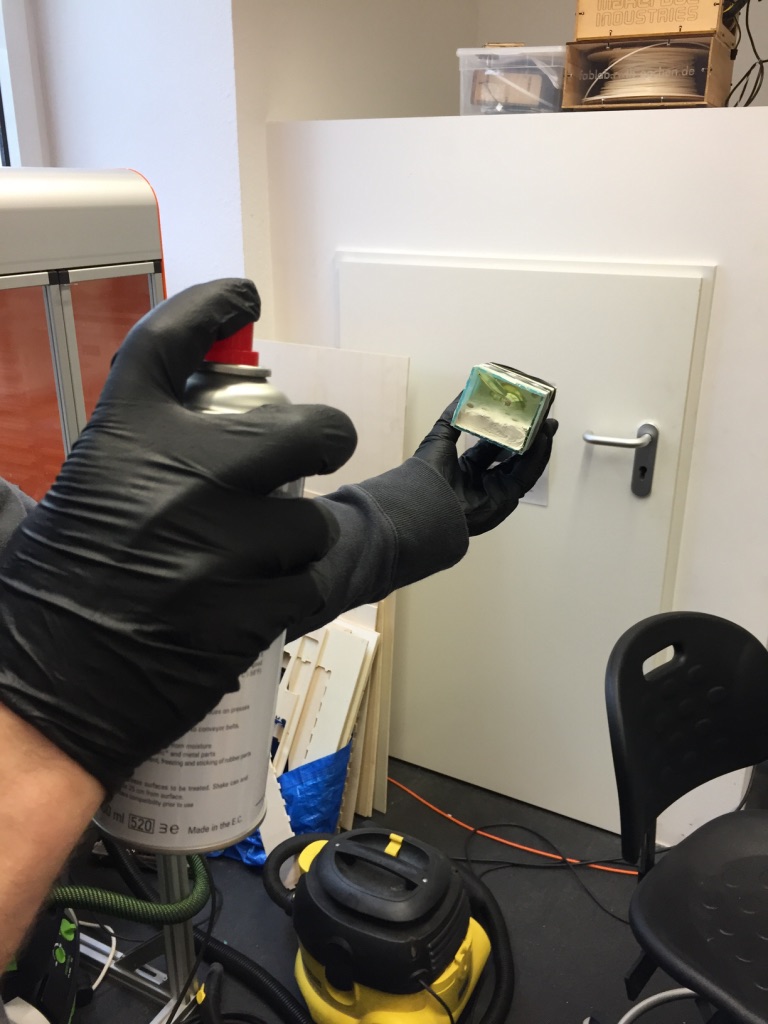
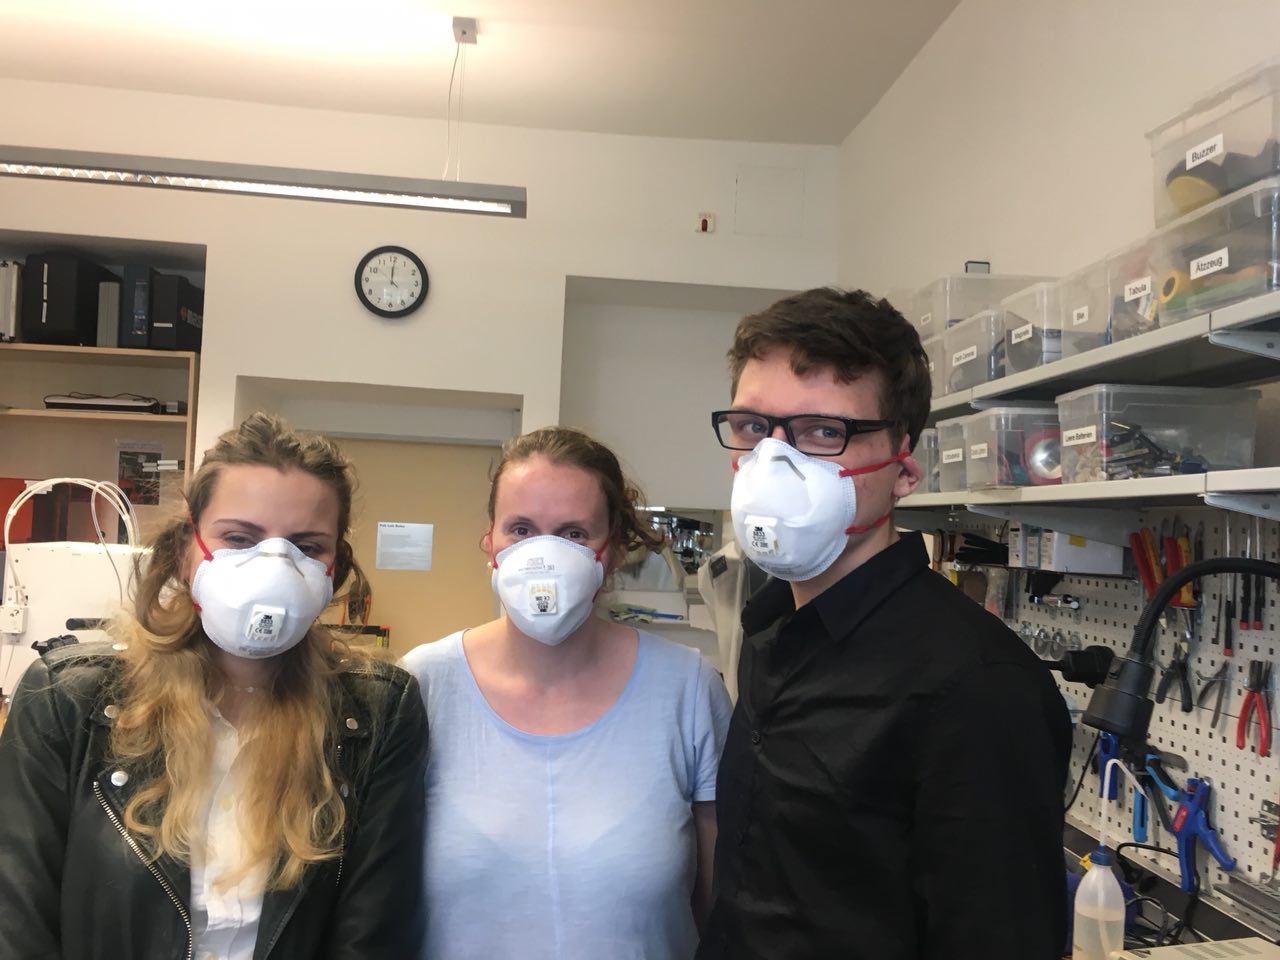
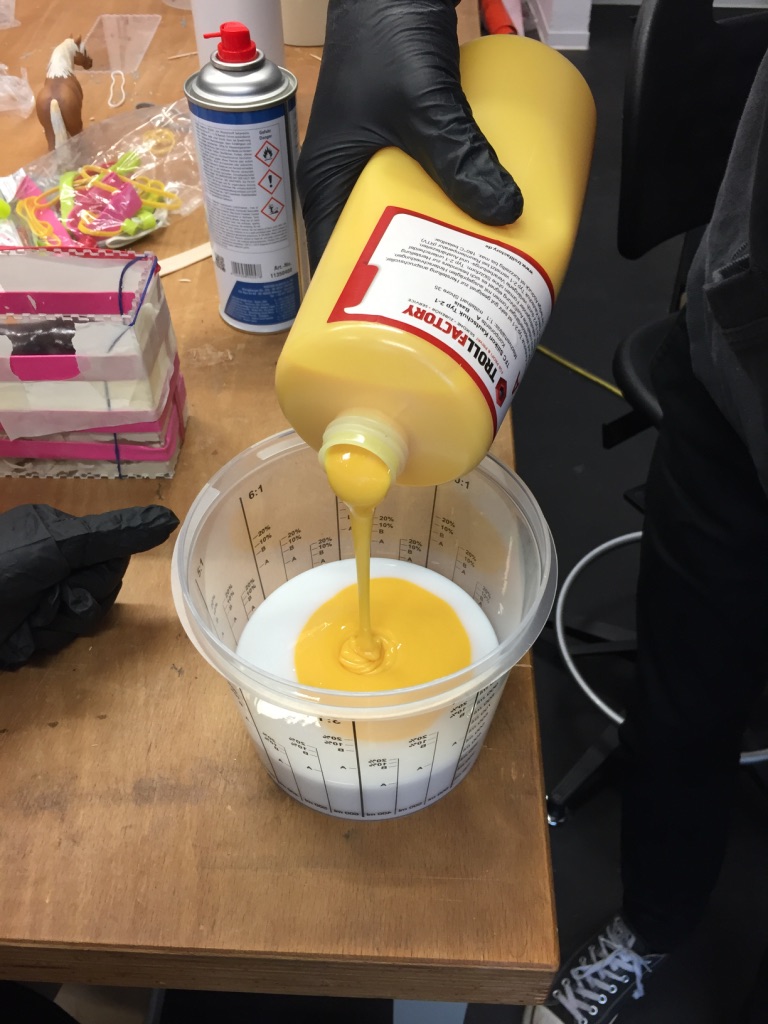
Then I did spray the box so that silicone would not stick to it. Attention here, you should use the mask and gloves for protection.
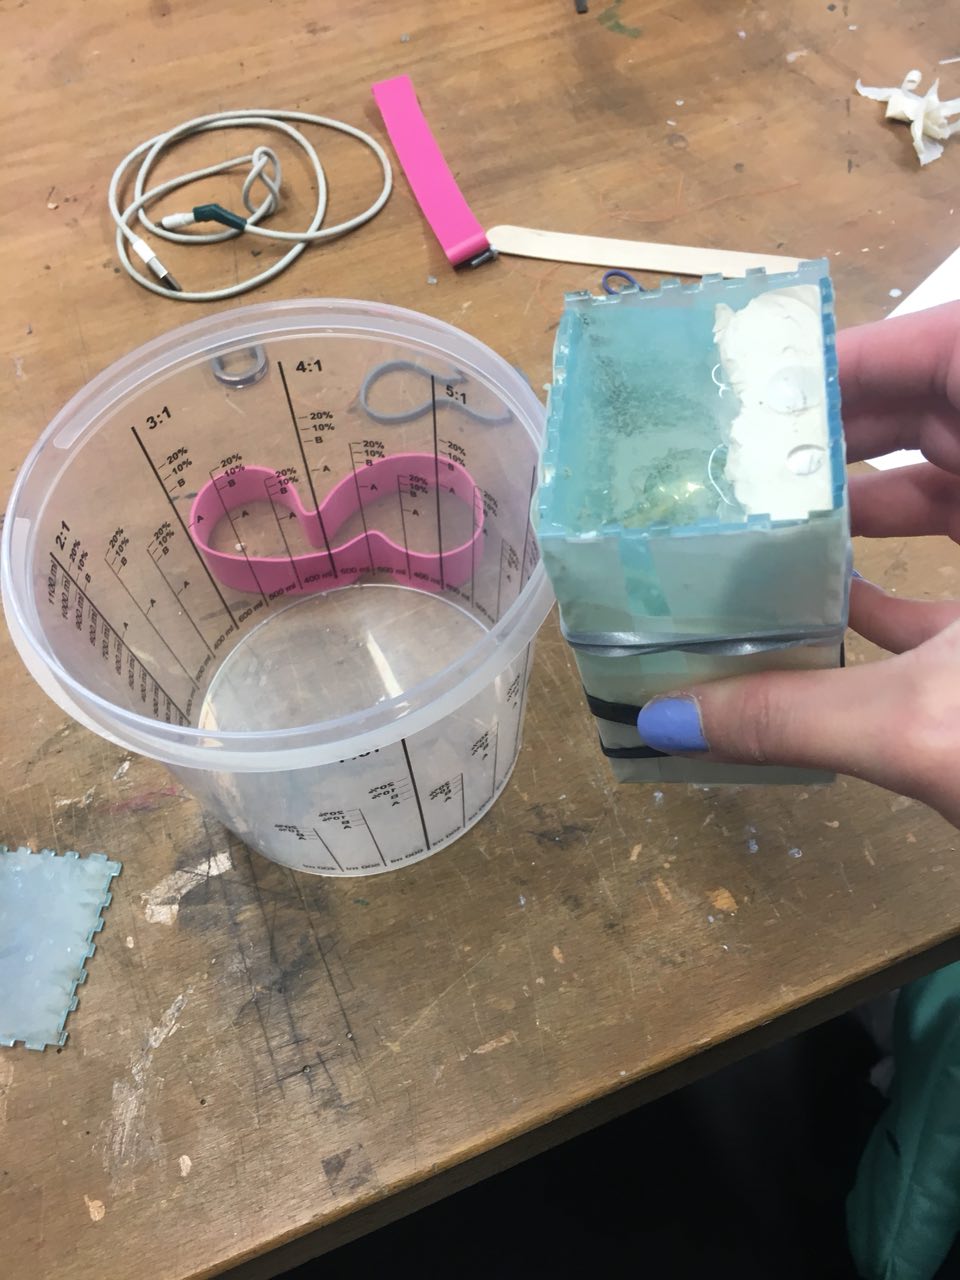
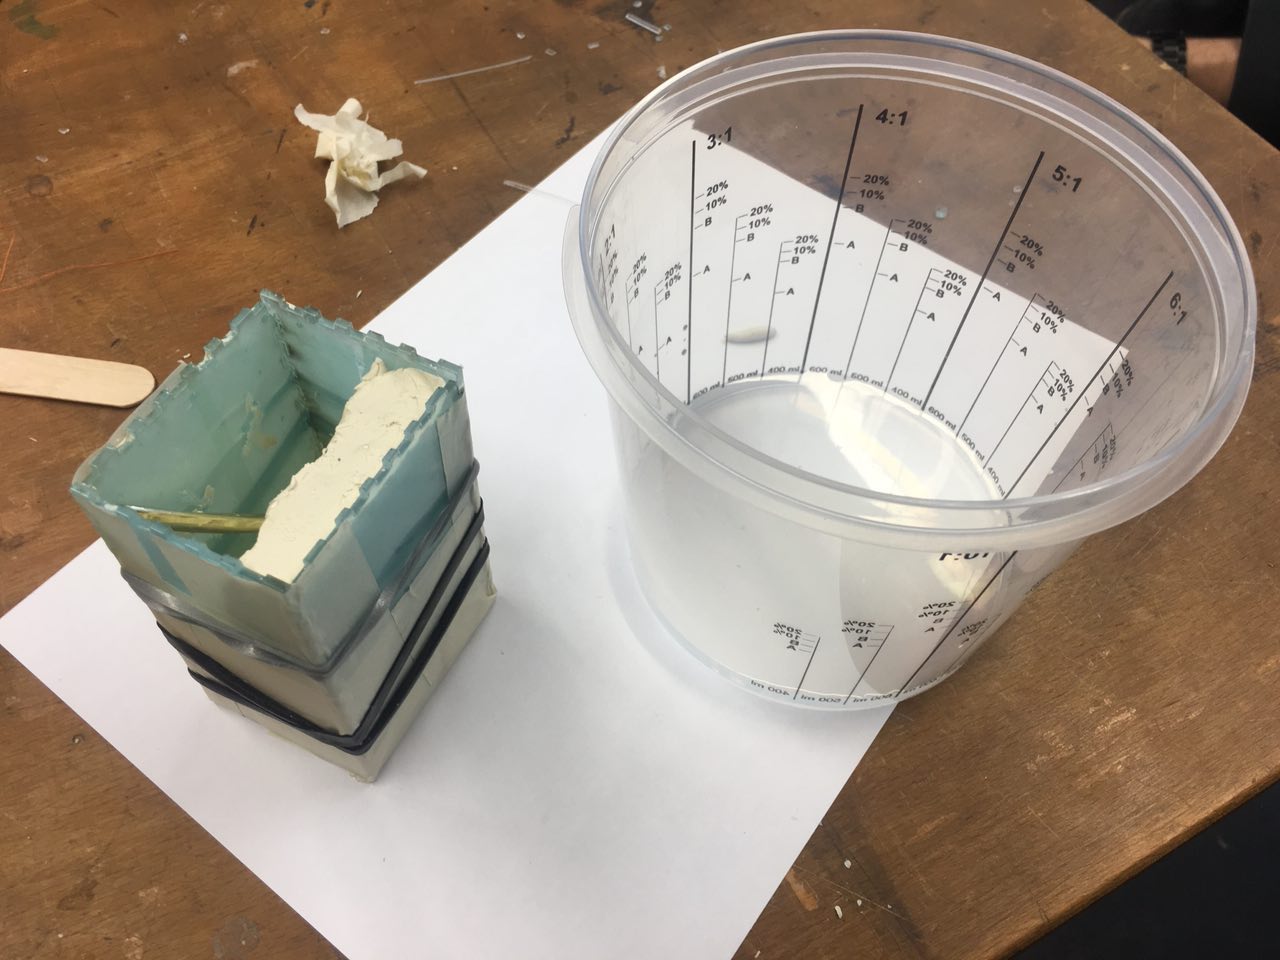
After that I mixed the silicone. In order to know, how much material I need to prepare, I first put the water inside and than put the water from the box to the measure glass.
1,5 hour later the silicone is dry and it was time to make the second cast. These step was almost the same as previous one, but I added two "tubes", so that to put the material in my cast and make the air get out:


After all the silicons parts were done I had to get the rabbit out from silicon. During these phase I realised that it is rather impossible, since its body is bigger in diameter than neck, so I cut the bottom part into two parts.
After all my molds were ready, I prepared the wax. I warmed it up to 60 degrees (the temperature of melting) and added aroma oil in it. I used the holes I left to put the wax inside. After an hour of cooling down, my candle was ready:
![]()