Week4 : Vinyl Cutter Project

For Week4 : laser cutting assignment goto:
Week4 page
Download files
Sticker for my mac
Design
When you want to get simple silhouette from complex raster image such as photographs, you may accomplish your purpose by using “trace image” feature in Adobe illustrator.
In this paragraph I am gonna briefly explain how to trace an image properly and retouch it to make a decent vector data out of raw photographs.
Making cut data on Adobe illustrator
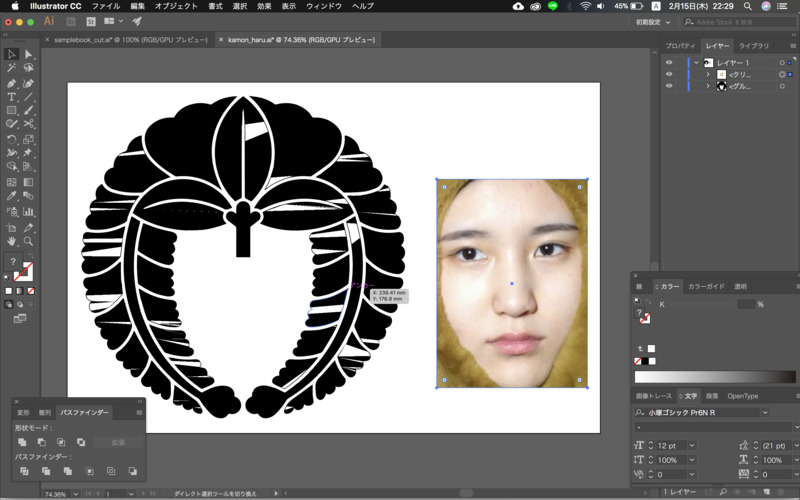
My sample design consist of two motif: my family emblem (each Japanese family has an crest) and my sister’s face.
- Extract vector from raster image
I got Naito crest in vector data, so simply open it to illustrator.
Then import image file of my sister’s face.
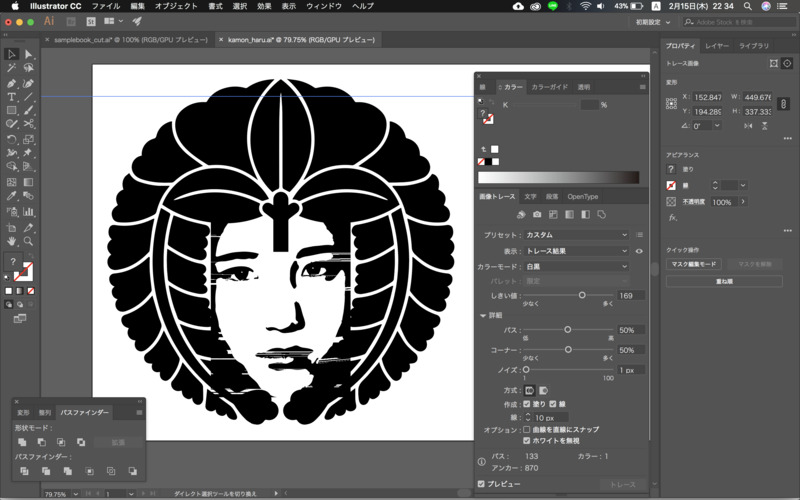
Trace image tool (オブジェクト>画像トレース>作成) will convert your raster image into vector image.
Adujust your parameters…
[Parameters]
プリセット (Presets):シルエット(Silhouette)もしくはカスタム(or custom)
カラーモード (Color mode):白黒 (Black and white)
しきい値 (Threshold):170
パス (Path):50%
コーナー (Corner):50%
ノイズ (Noise):1px
作成(Generate):塗りのみチェック (Check only fill)
-
Extend and ungroup
Use “Extension” feature(オブジェクト>画像トレース>拡張)
to get vector line, then ungroup(オブジェクト>グループ解除) to enable editing.
-
Editing
First vector lines you get from image trace tool would be something like above, but it should look like this to get all cut properly done.

To do this, after extending, make sure to ungroup groups and release multiple lines.
You may use Command+Y to change the view to outline mode to make it easier to do the edit. -
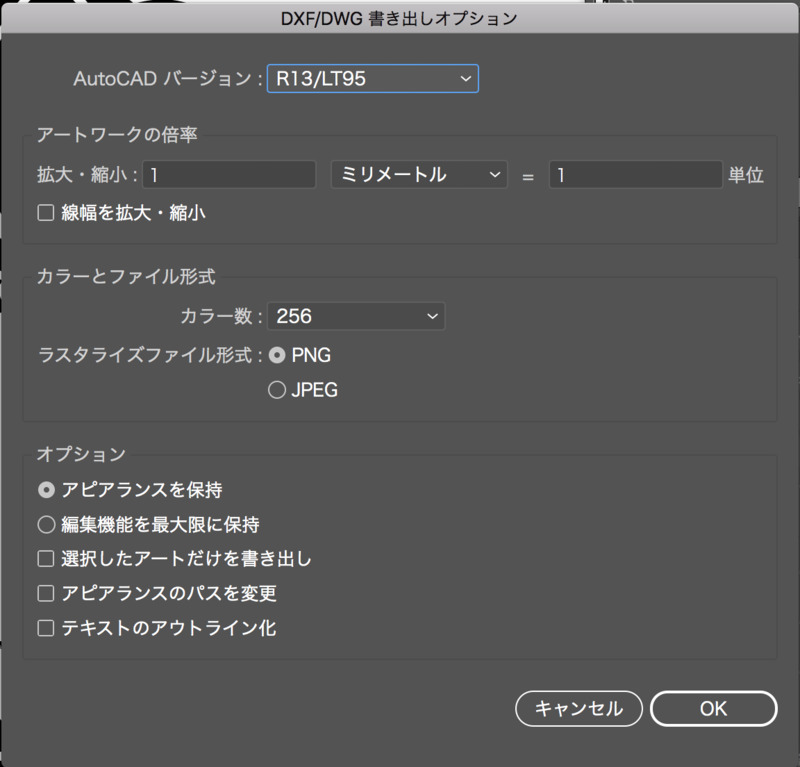
Export it in dxf format
Make sure to export in dxf! as silhouette studio only can read dxf for vectors. (ファイル>書き出し>書き出し形式)
Better to put every thing within one layer
Introducing data to vinyl cutter
| specification | |
|---|---|
| Hardware | Silhouette Cameo |
| Software | Silhouette Studio |
| data format | dxf and other img format |
-
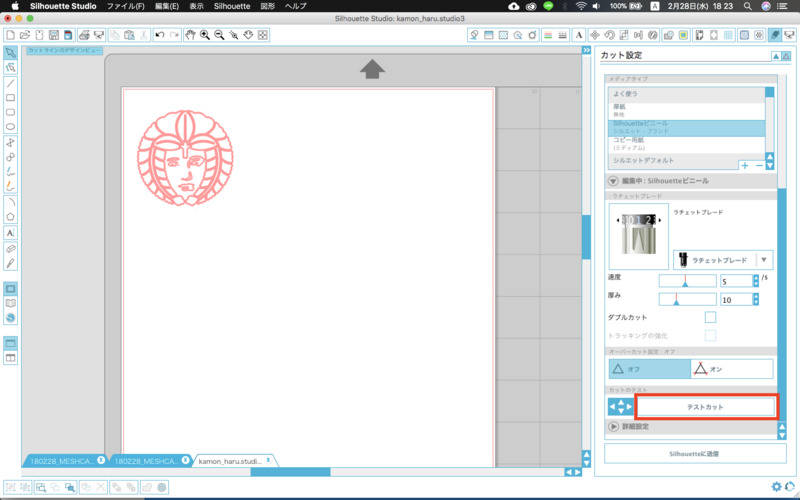
Setting
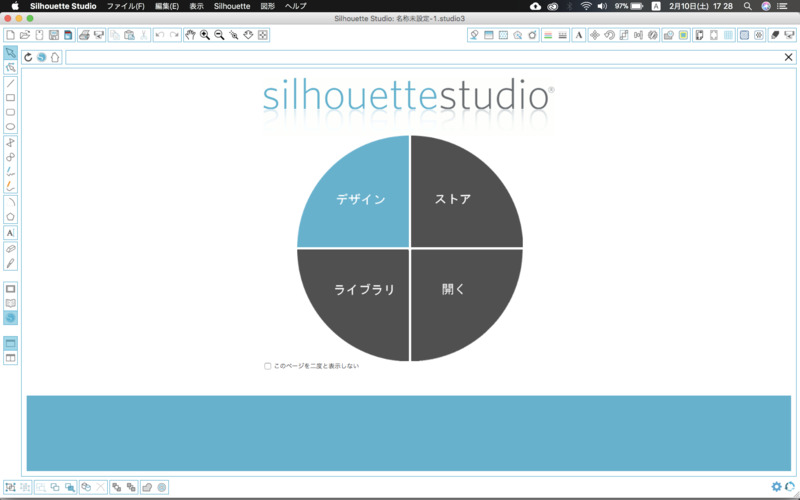
Start up page of Silhouette studio. Select “Design”.

Choose your media size on Design Page Setting and place your data in appropriate position with proper size.
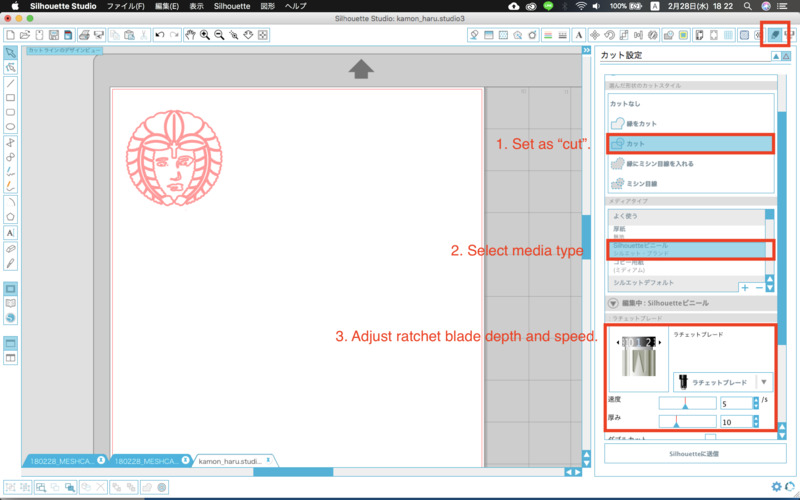
Then continue on Cut Setting, set cut style as “cut”, select your media type (in this case chose “Silhouette vinyl”) and adjust ratchet blade depth (how far the knife edge comes out from the ratchet), cutting speed and the thickness (how low the ratchet goes when cutting). -
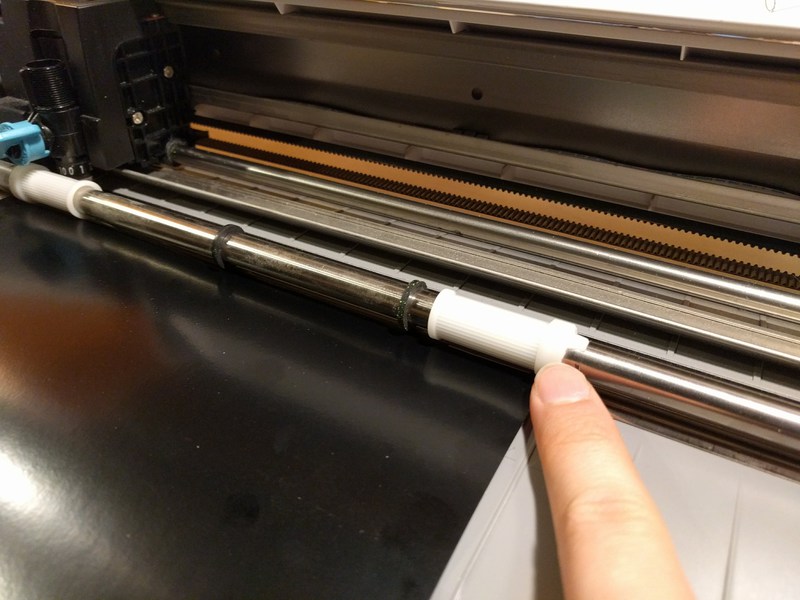
Change blade depth
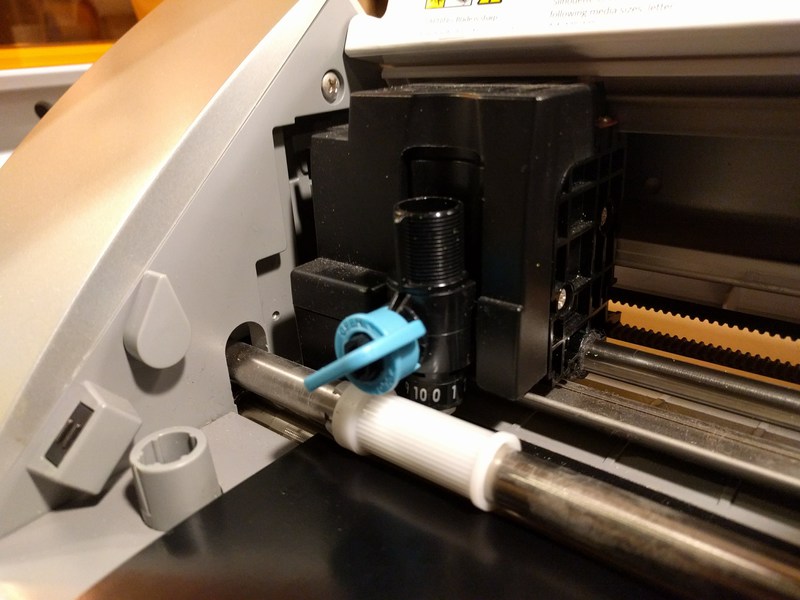
You need to change the blade depth to the same depth as your setting. Turn the blue handle knob to left to unlock the blade, then withdraw ratchet by pulling it upward. Use the gray tube right in front of the blue knob to change the blade depth. Simply, stick your blade in it (make sure that the red sign on the blade comes in the front) and twist it. -
Load media
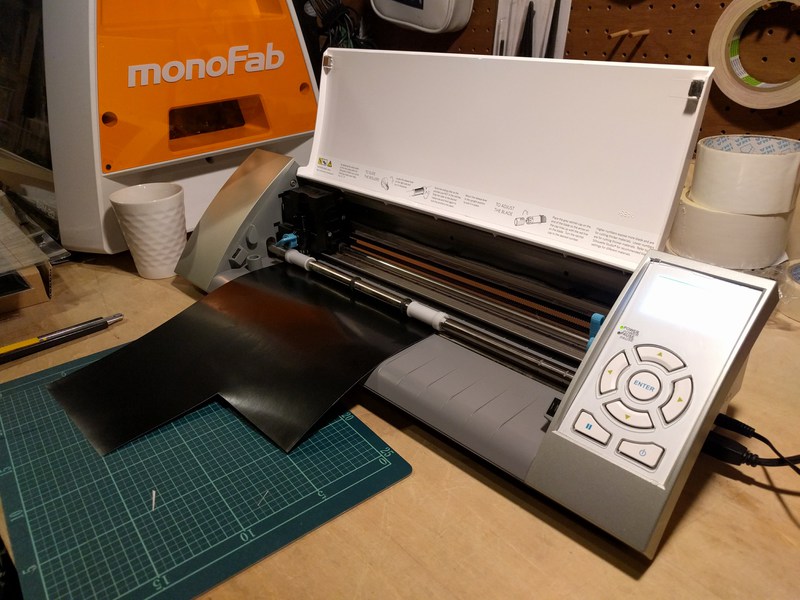
Now, place your media to Silhouette Cameo. On the console, select “load media” option (select “load cutting mat” if you are using single layer media) to load it.
You will need to change the extruder width if it didn’t suit the media size.
-
Test cut
Run test cut to see if your settings are OK.
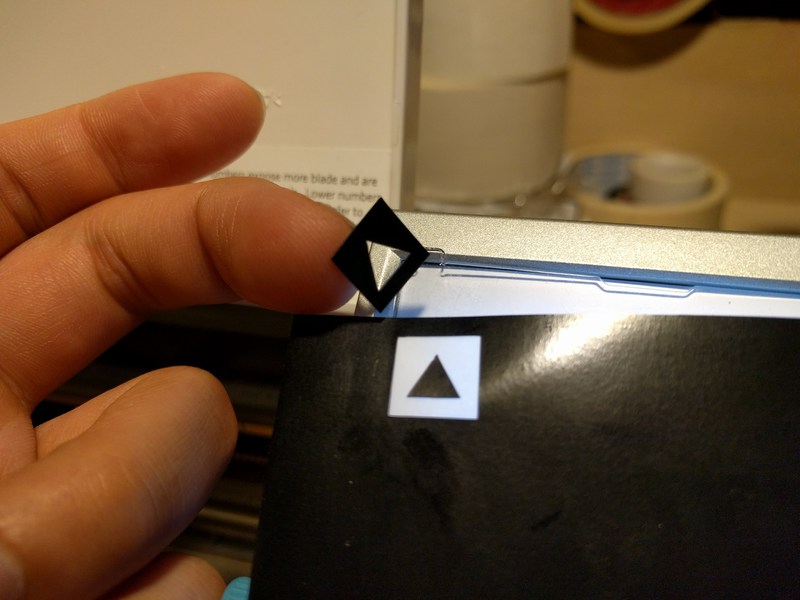
It seems OK. -
Cutting
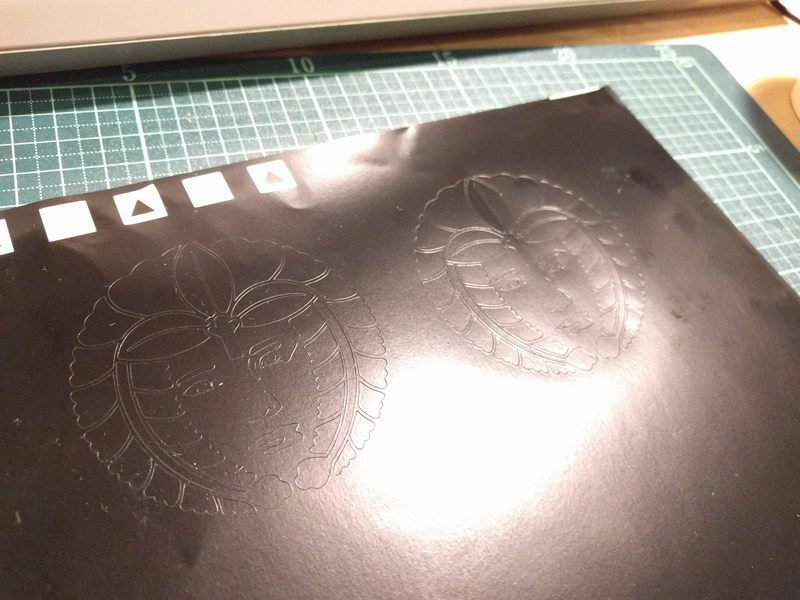
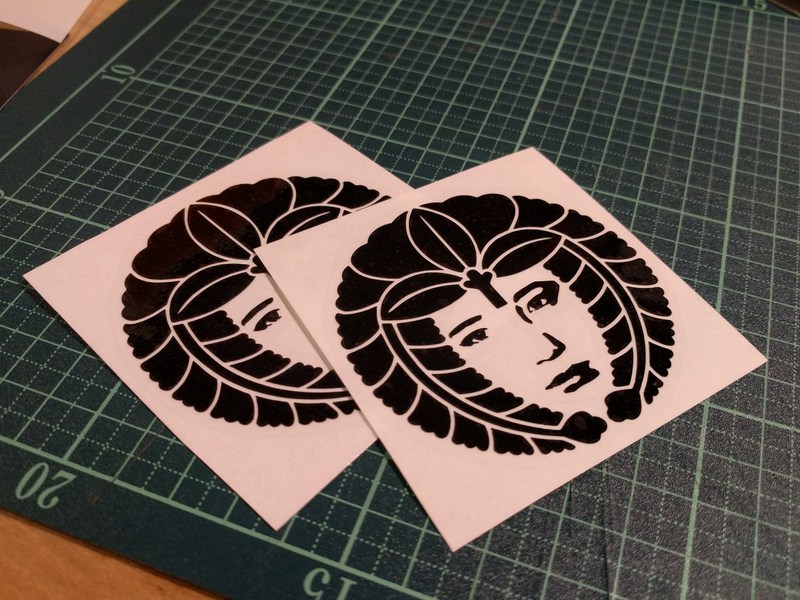
After cutting
- Remove unnecessary part of the seal.
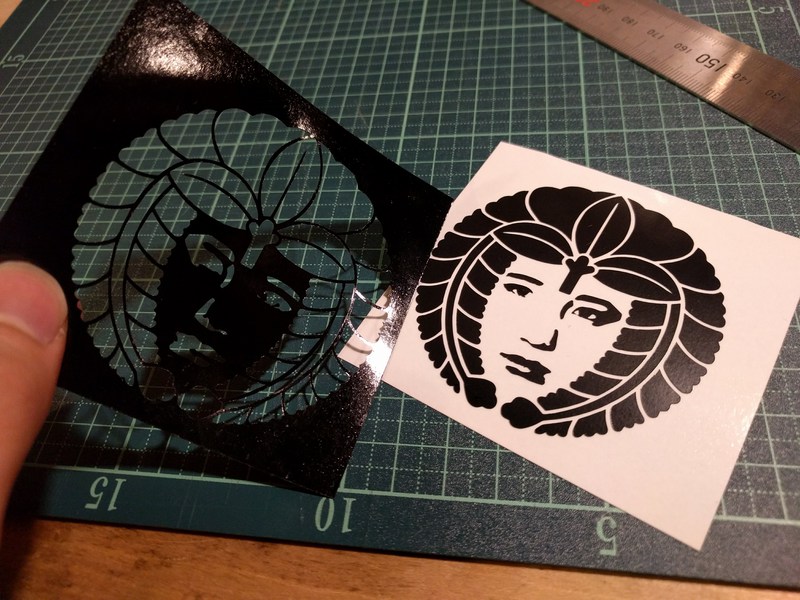
- Attach the transfer sheet to the seal.
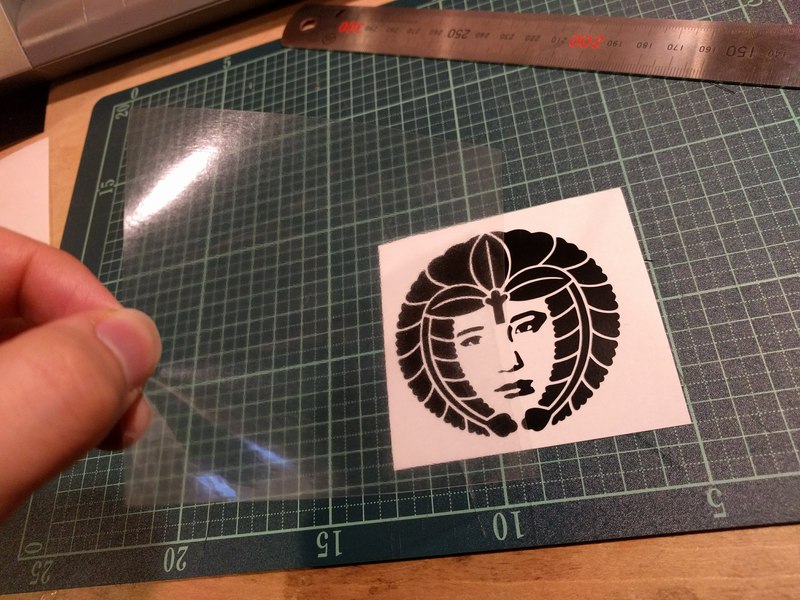
- Cut the edges and finish!