TASK TO DO:
- Write an application that interfaces with an input and/or output device that you made, comparing as many tool options as possible.
- Described my process using words/images/screenshots.
- Explained the the GUI that I made and how I did it
Individual Work -
WHAT I HAVE DONE:
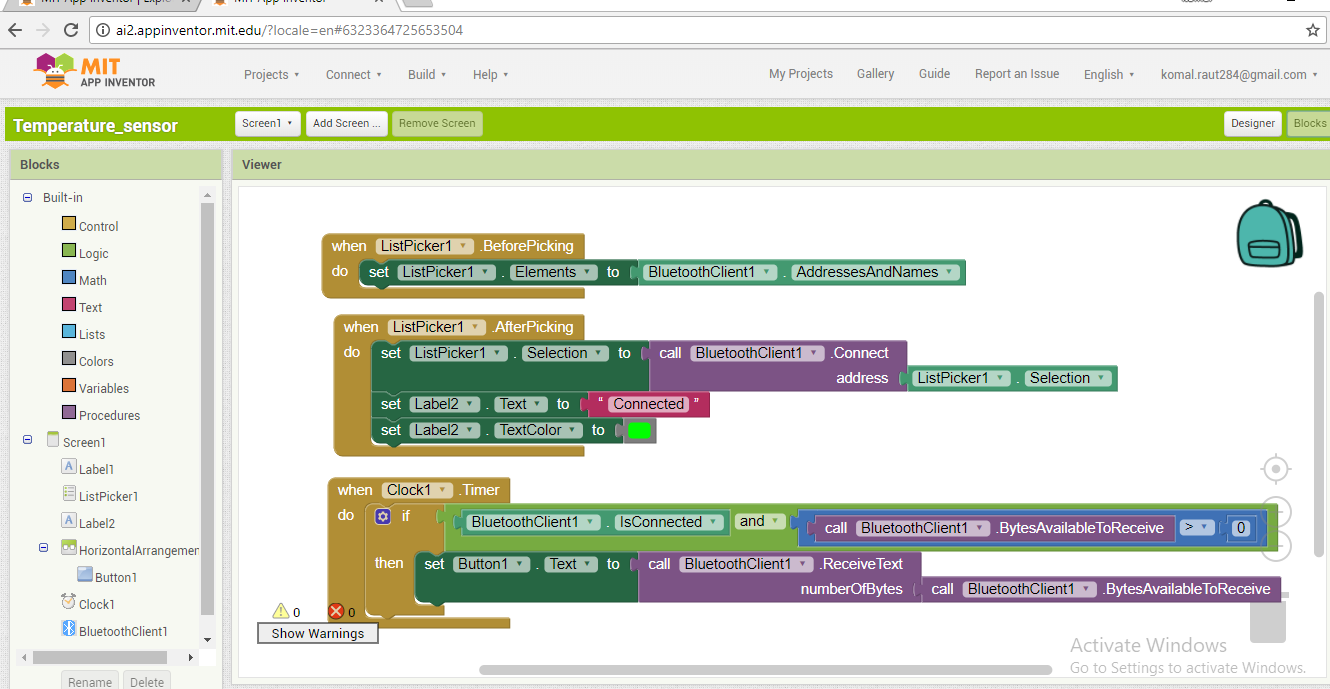
In This week we have to make an app. There are many options for making App but I choose easiest one i.e MIT App Inventor.
MIT App Inventor:

1. I searched the MIT app inventor on google and open it. For using it we need to sign in using Google Account. Then I moved forward by skipping survey. I create one new project. The layout of MIT app is very easy.
You can see the layout below:
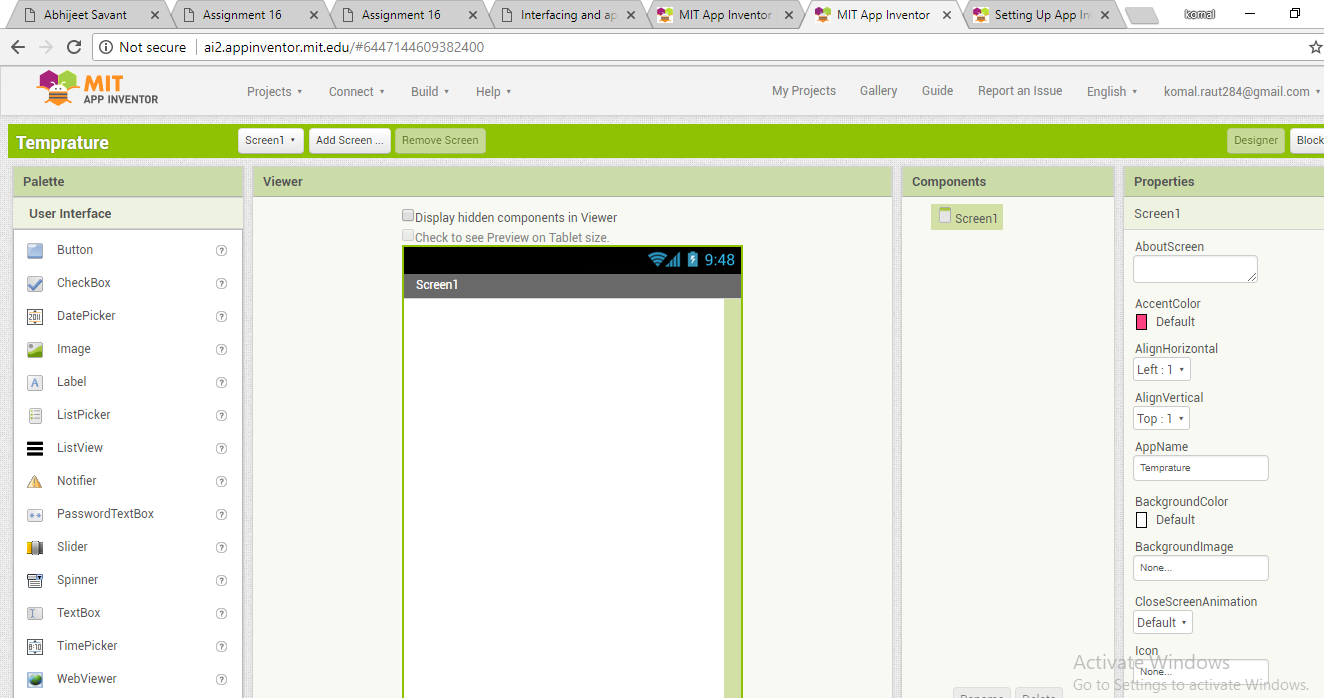
In this few things are important -
1. Active Screen - The app will look in the mobile phone. You can design it as you want.
2. Component Section
3. Component Properties - Here we specify the properties of the components such as the font, height and width, background colour or image etc.
Also we can make an app in more screen. for this there is option like add screen.
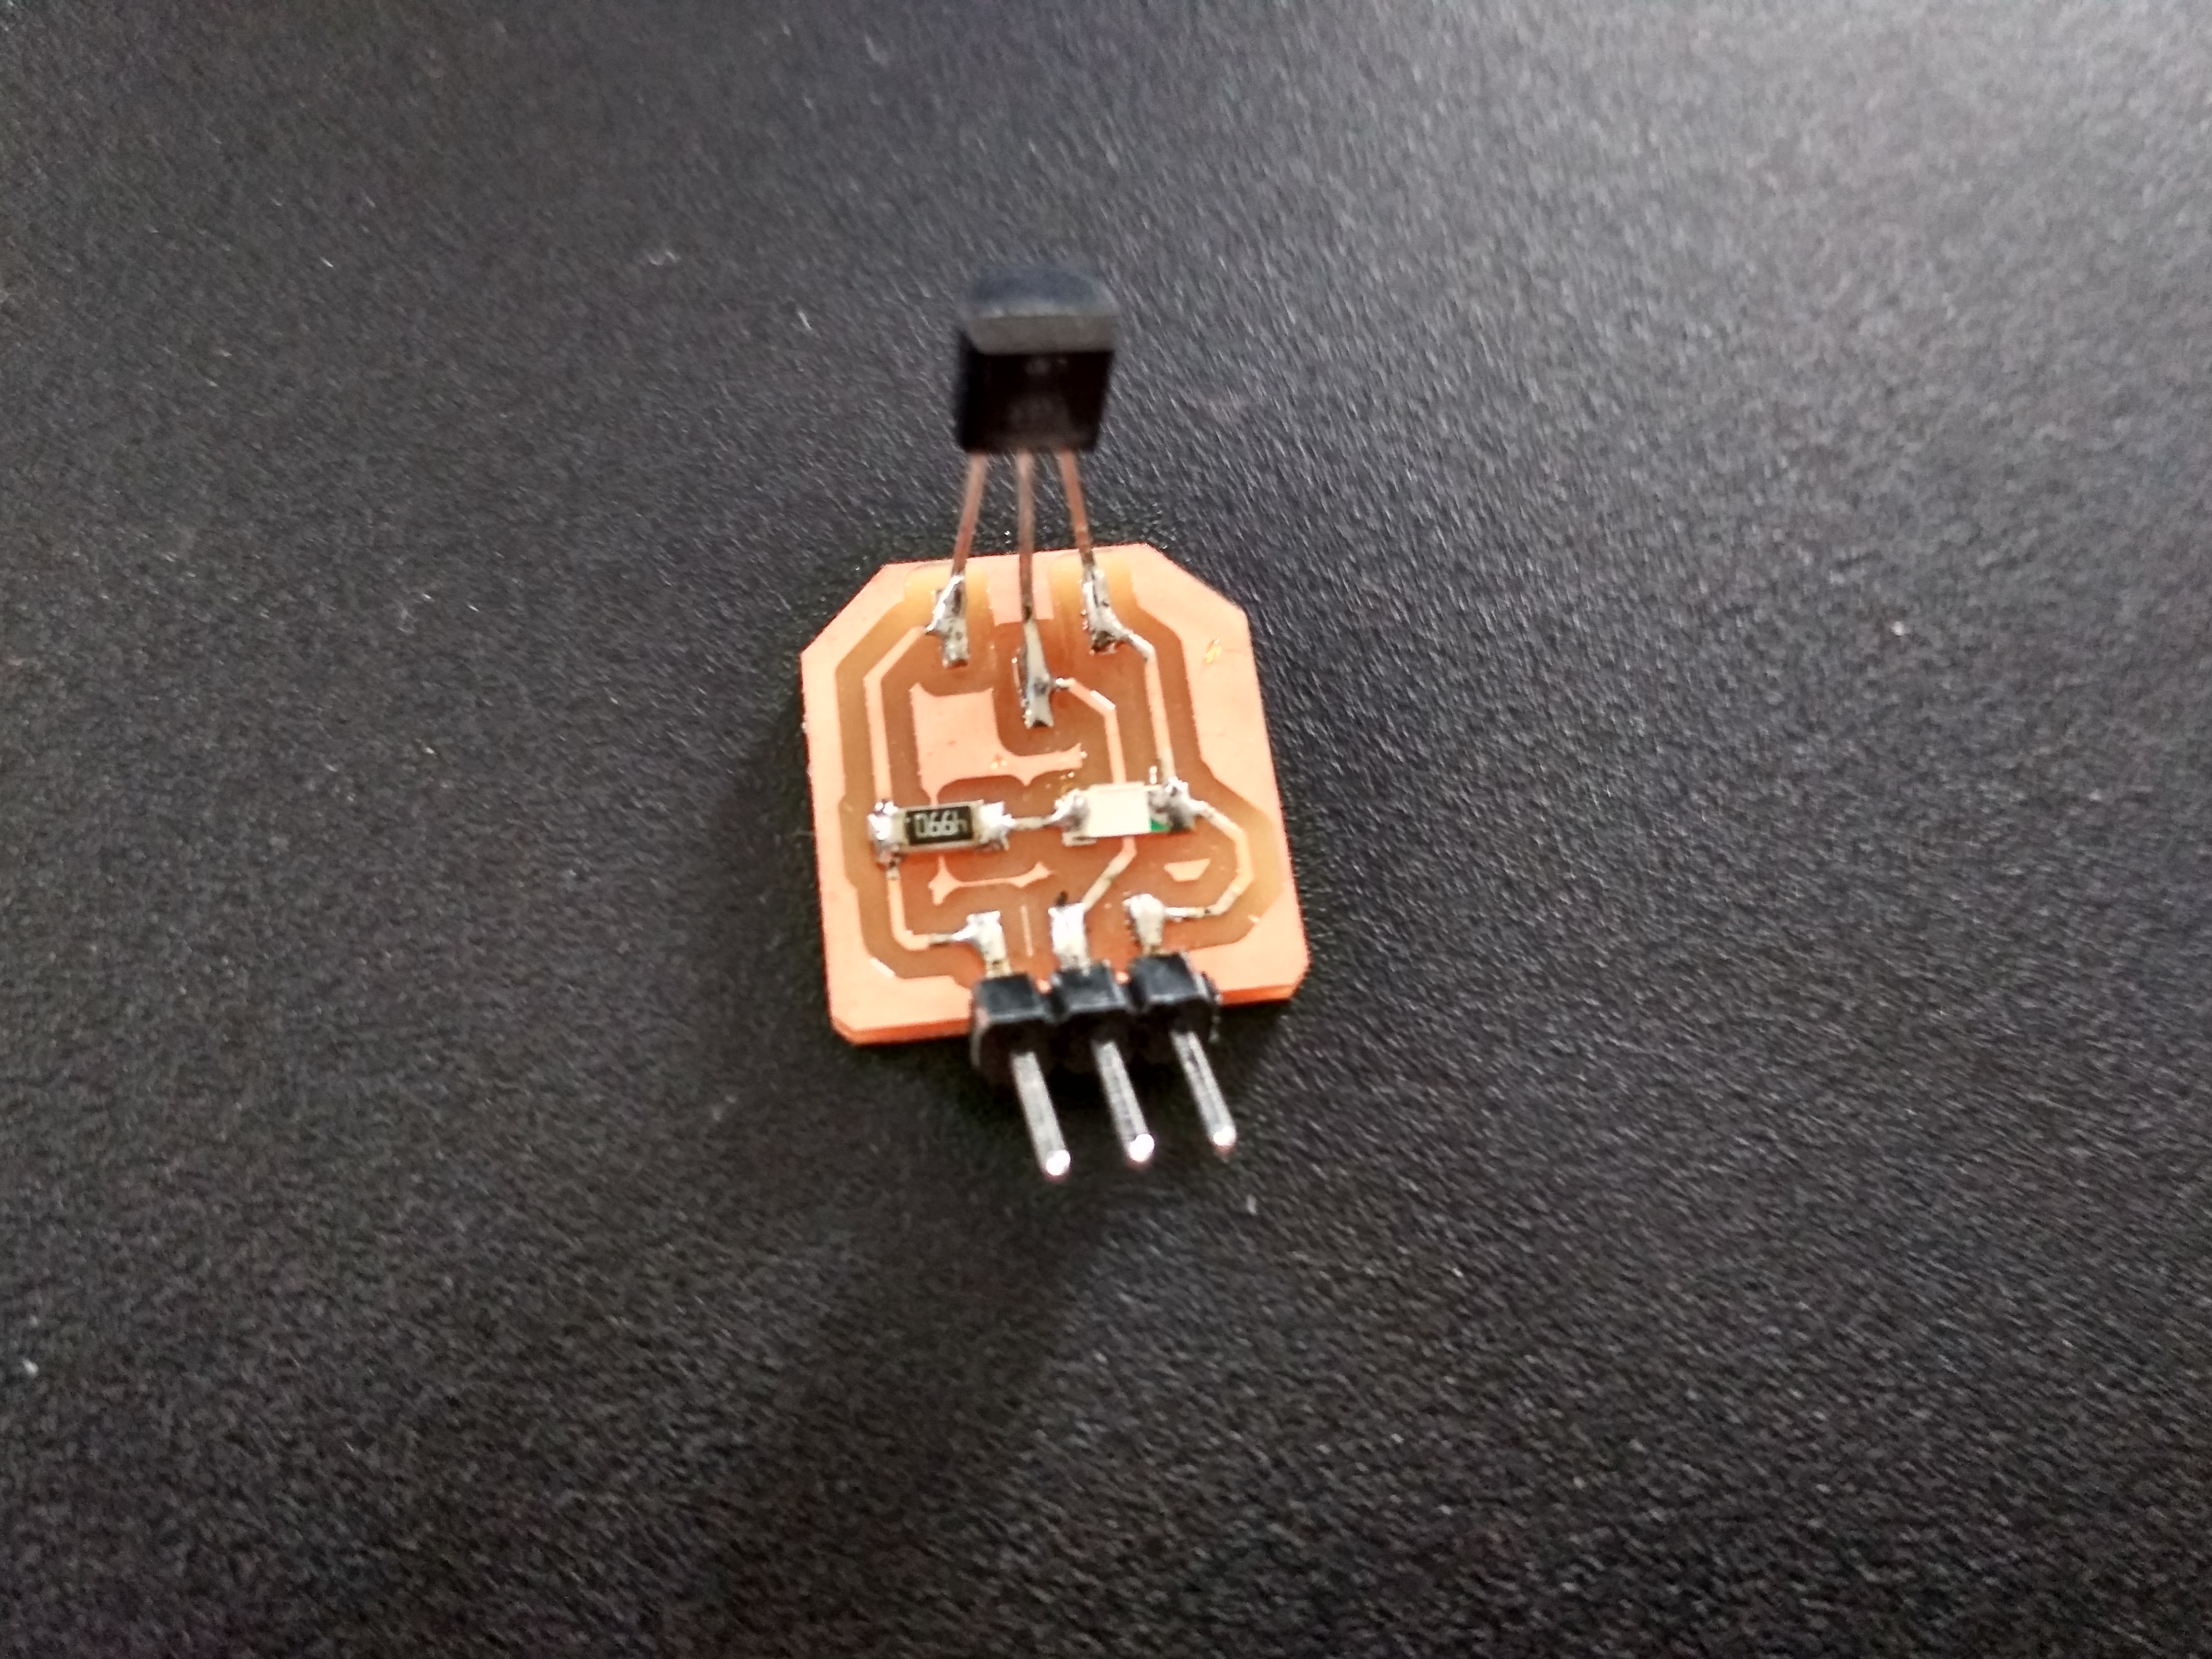
So, I decided to make an app to drive my input board. My input board having a temperature sensor i.e LM35. So, my app will show temperature on mobile phone.
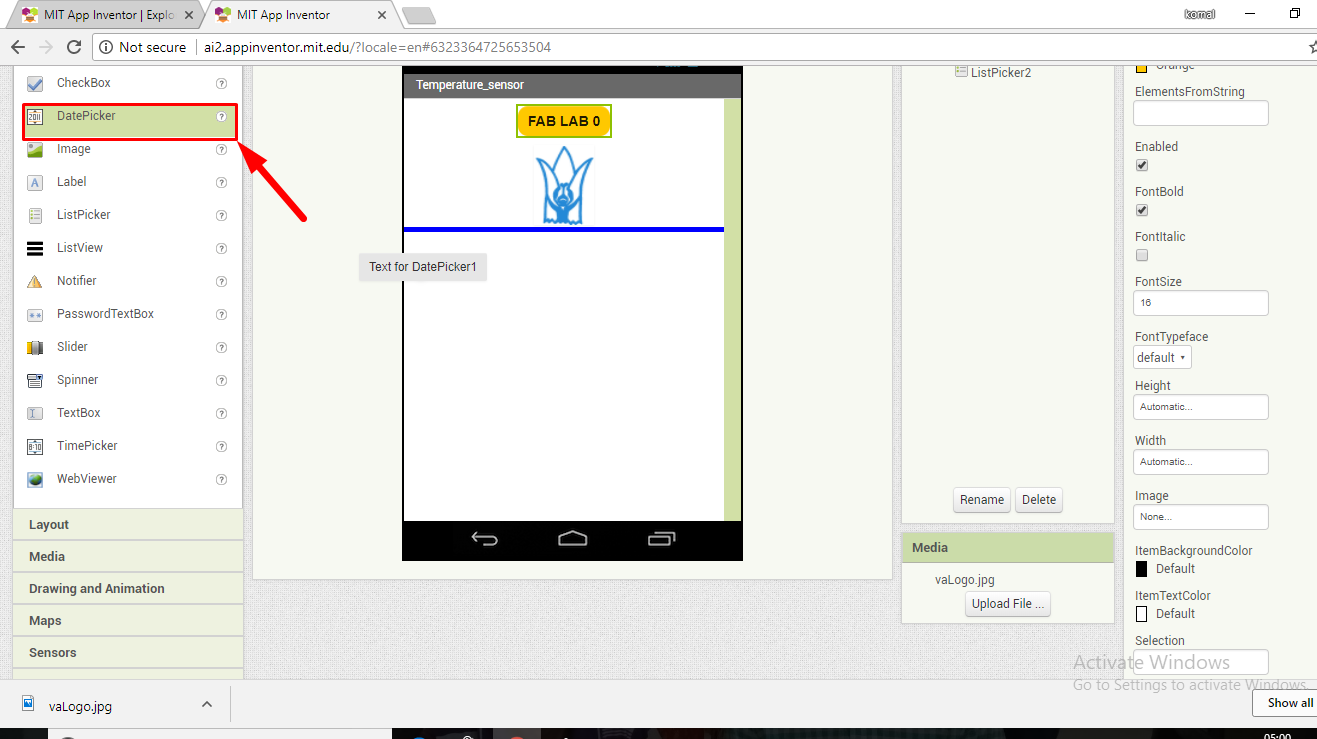
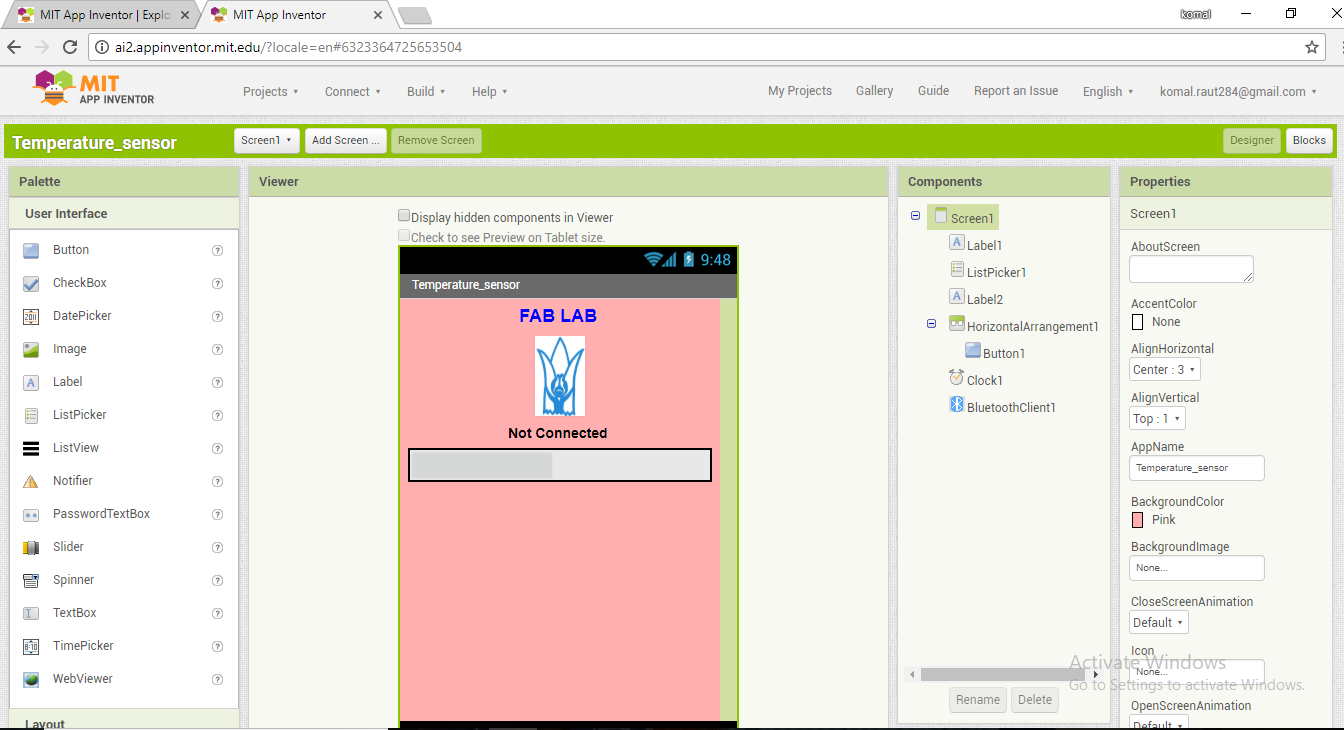
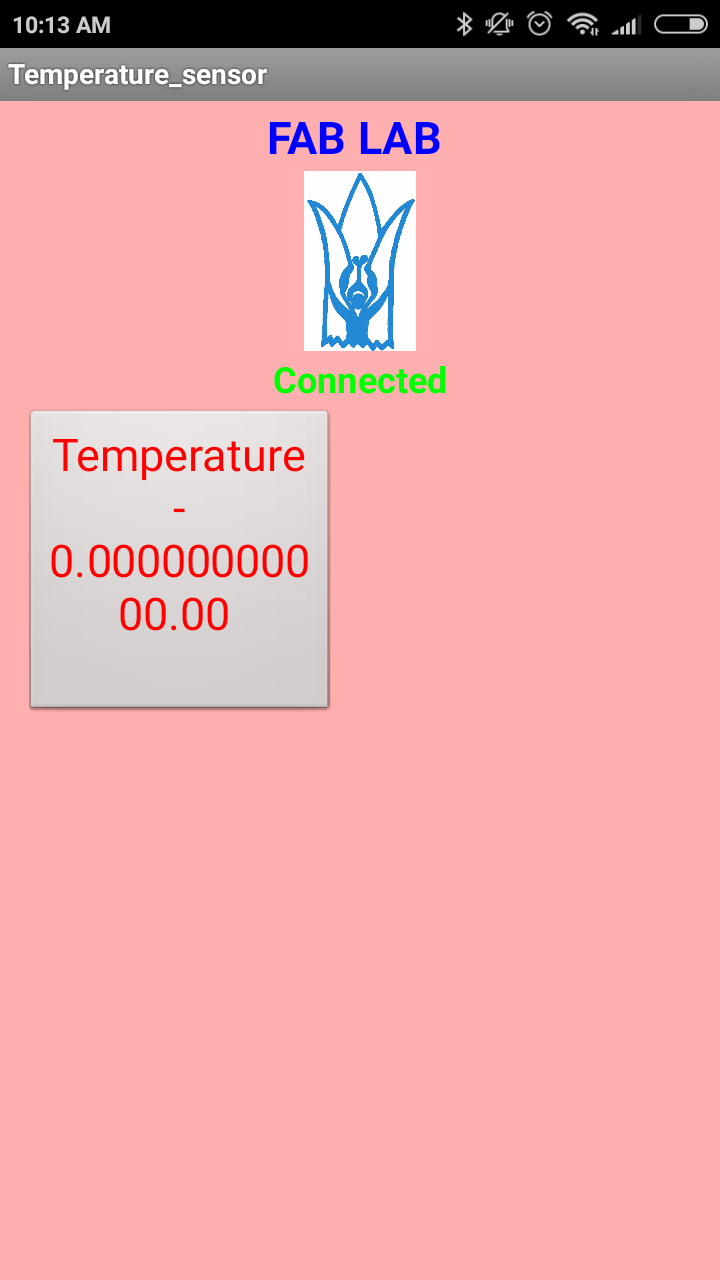
I stared by changing the screen name i.e "temperature_sensor". Then by selecting label, listpicker options I made simple design.
I am using bluetooth client because my app will use the blue connection to talk to my board. Thus I pick bluetooth client from the component section and also clock to give me the show me connection in real time. Both components are invisible components means they will not be shown on the active screen but they will be constantly working in the background.
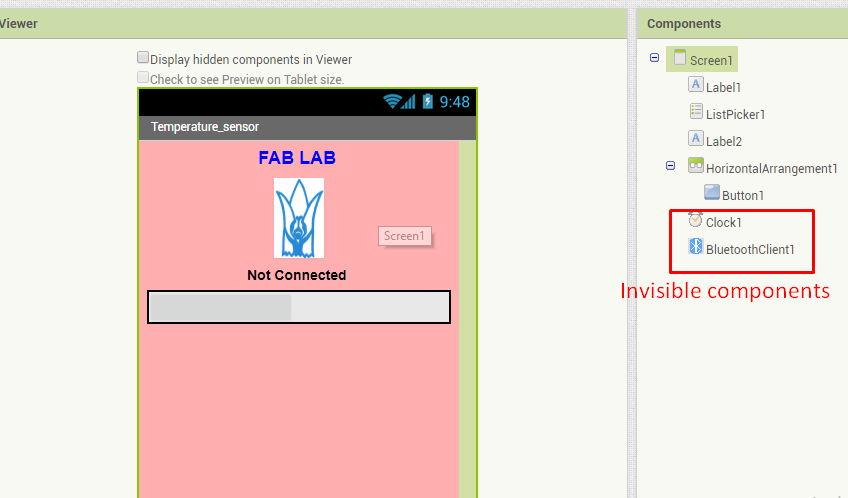
Now I select label, this will tell me the status of my device whether it is connected or not connected to the selected bluetooth device.
Then I add one button which will show the temperature reading.
Here the designer portion was completed.
Then I moved towards blocks editor.
The Blocks Editor is where you program the behavior of your app. There are Built-in blocks that handle things like math, logic, and text. Below that are the blocks that go with each of the components in your app.
In order to get the blocks for a certain component to show up in the Blocks Editor, you first have to add that component to your app through the Designer.
So, this is my blocks.
After the app is ready I saved it and made a .apk file, download the file. Then I installed this app on my android and checked the connectivity.

This is my code.
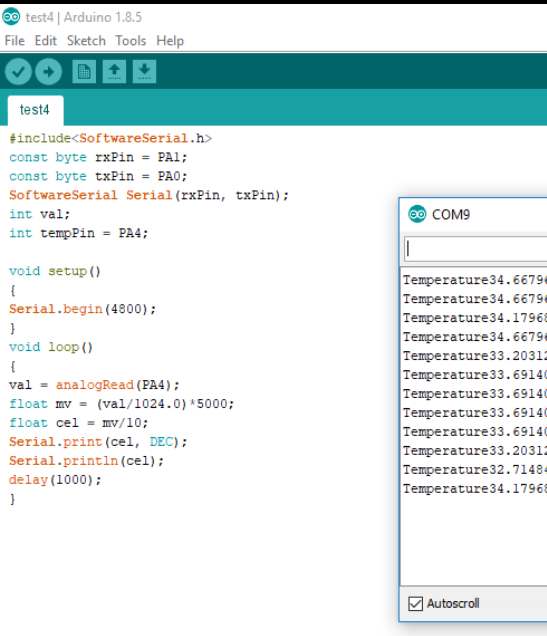
So, finally my app is on my android but I got error.
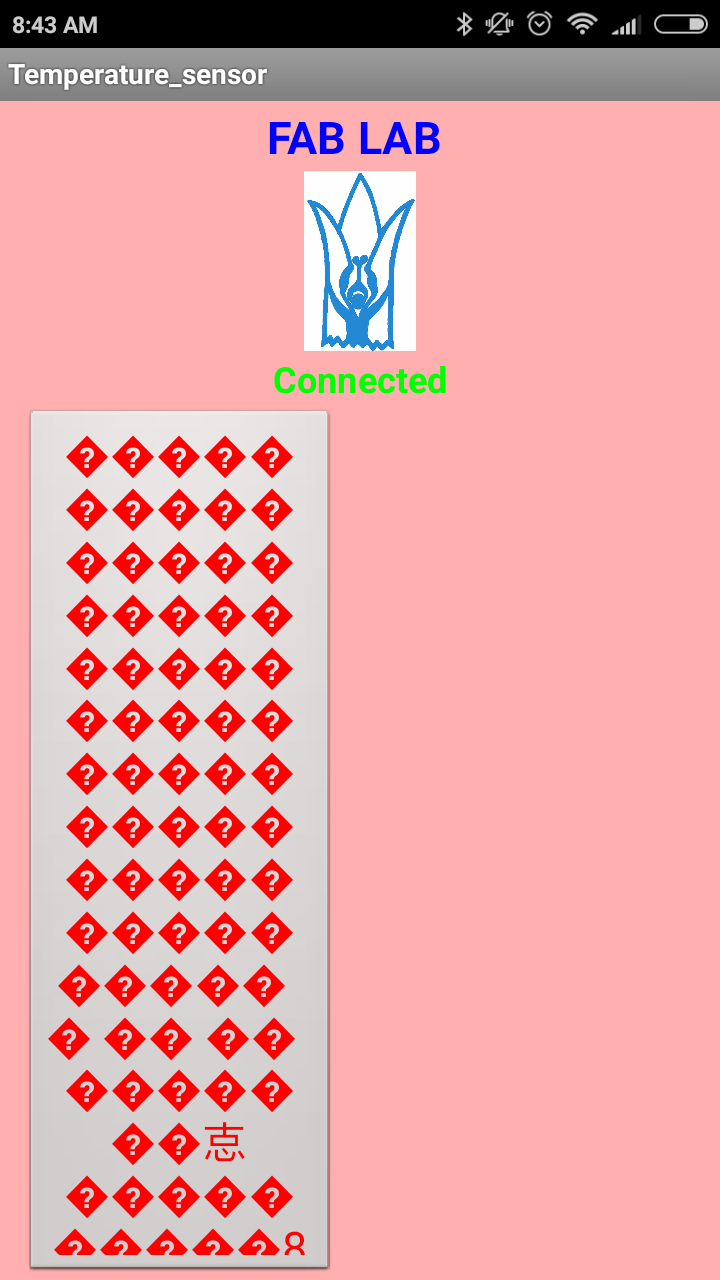
I changed the code for my app and again run the program and check the temperature.
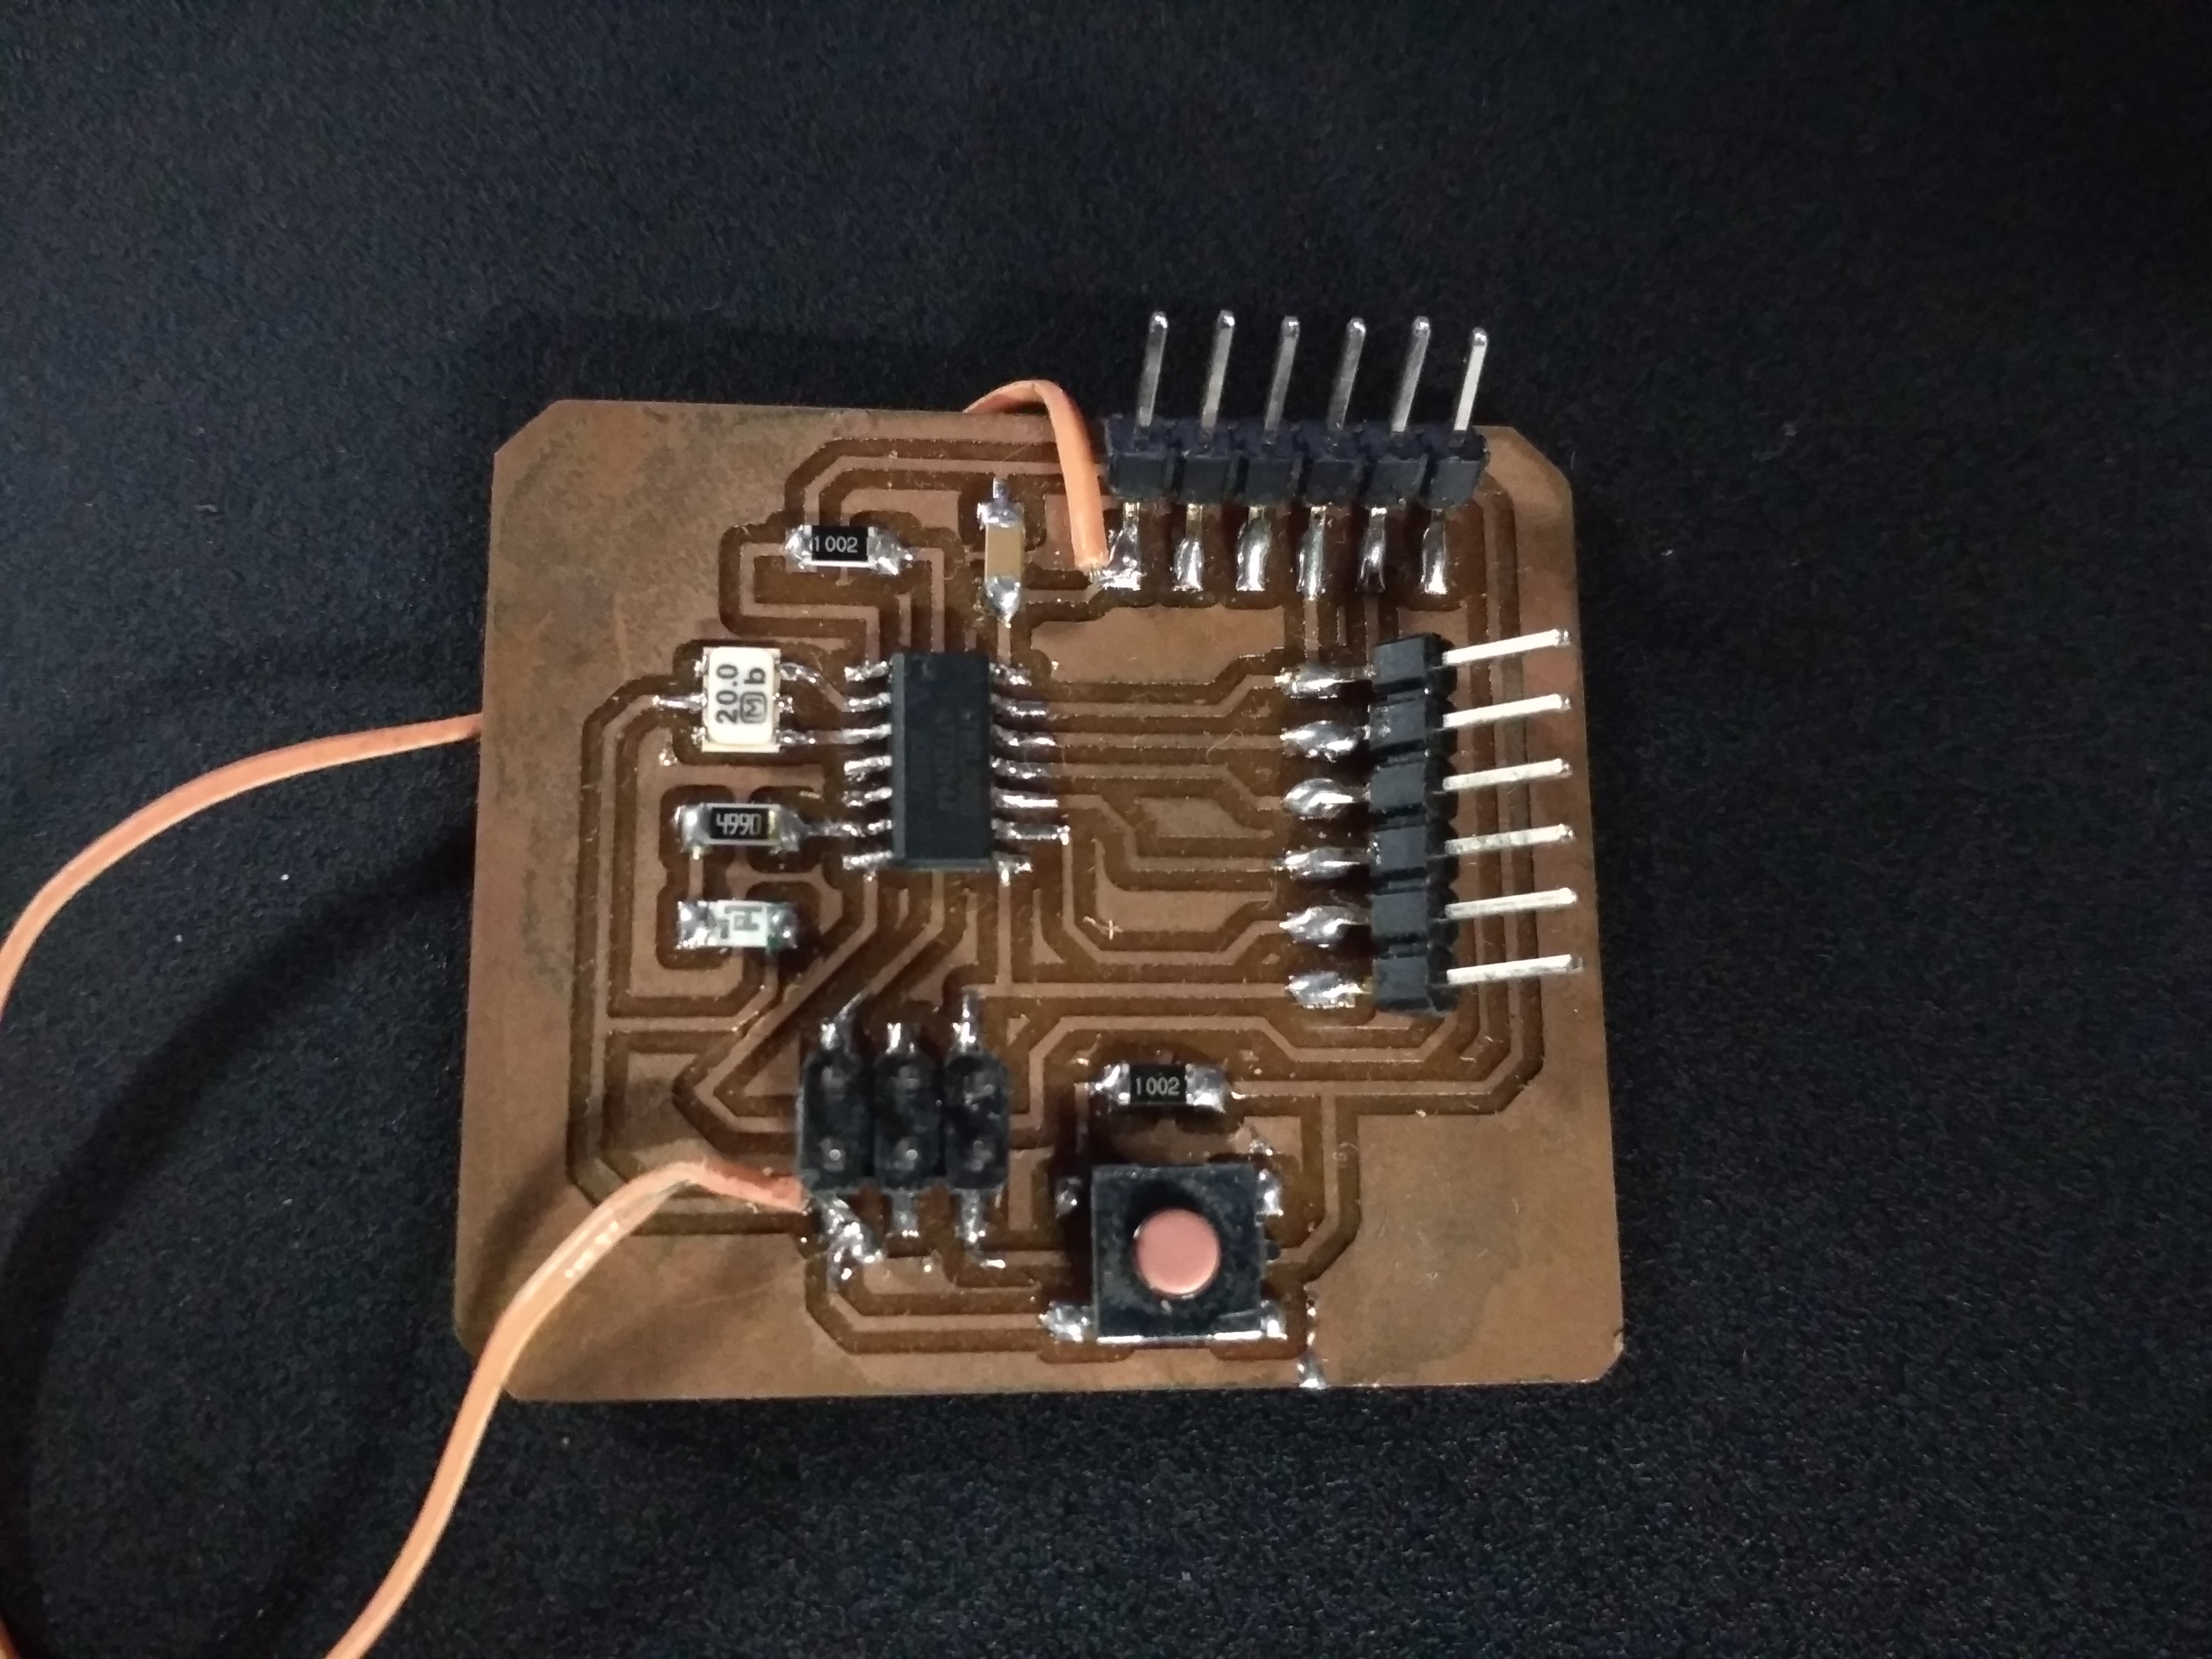
Here I used my project board and input board which is having temperature sensor.
Final (new) code:-
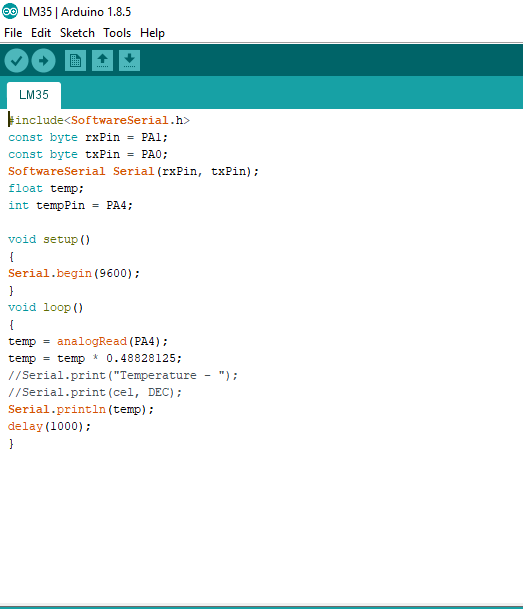
Here I got some garbage value but not exactly reading. so, I think it is an baud rate issue. Here I decide to try with different baud rate. Also I change the bluetooth module and try again.
After some time I set the baud rate 4800 and check my app.
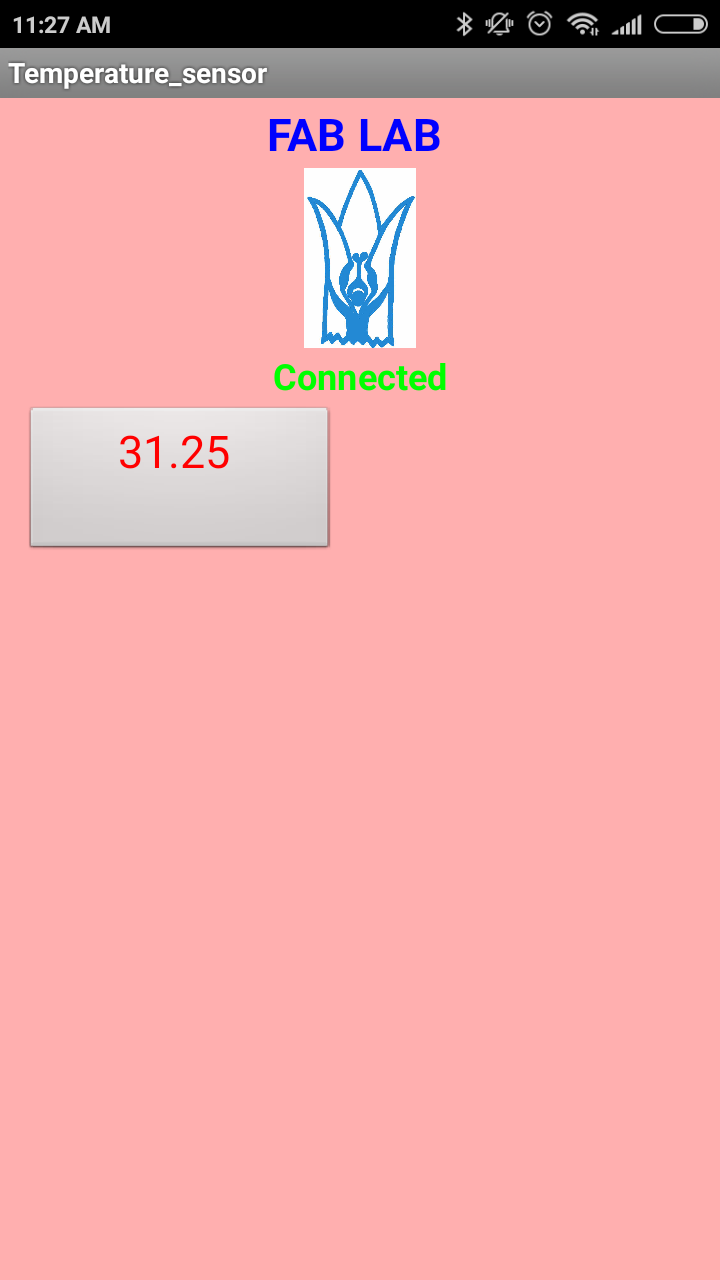
Ohh..finally I did it..!!
Processing
After completing the first task I want to do some difficult and new thing. Now I want to read the data from serial monitor and plot a graph that would vary with the change with data.
Initially I studied the language with my colleague chaitanya. Two important sketches are needed:
1. For initiating the communication need a sketch to be burnt on the controller.
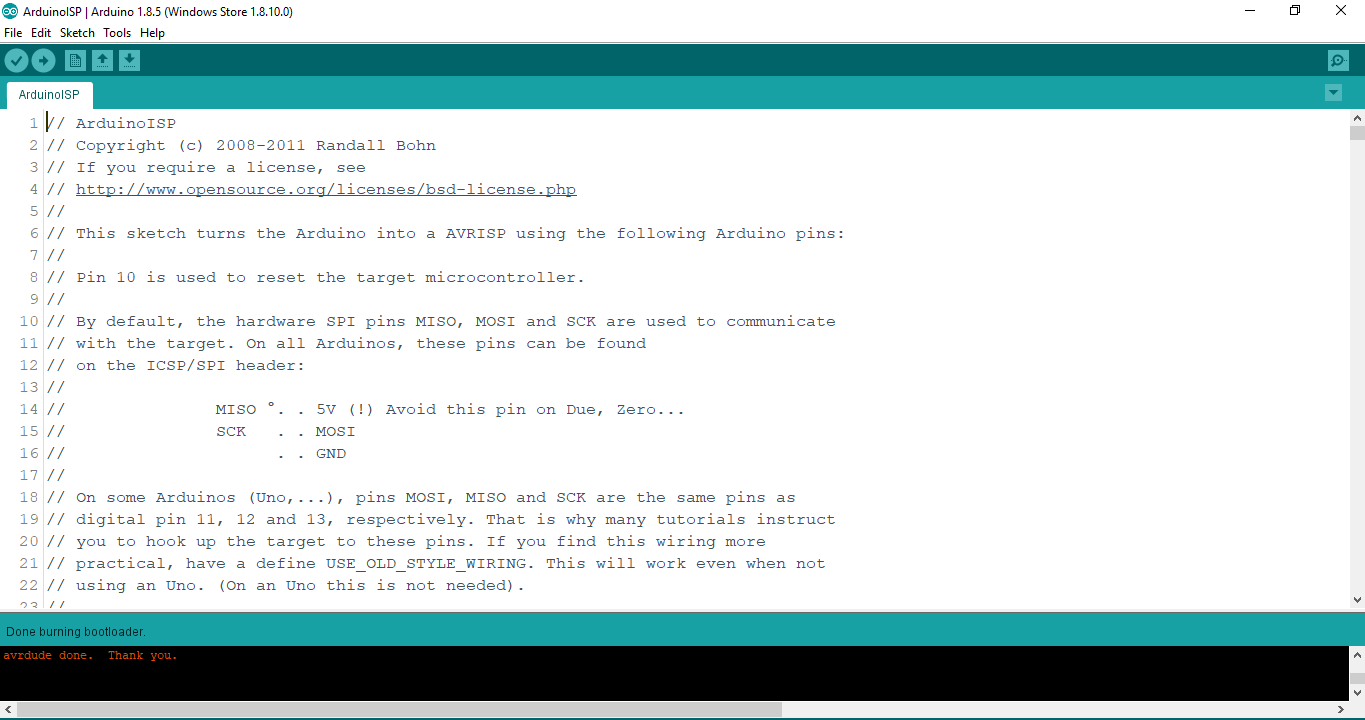
2. The second read inputs from the serial port.
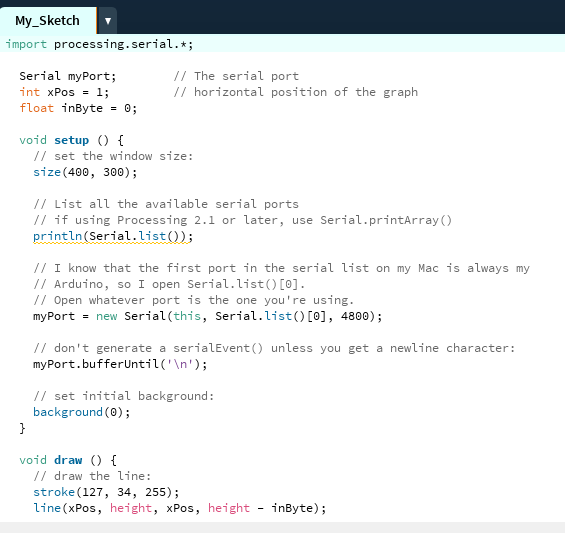
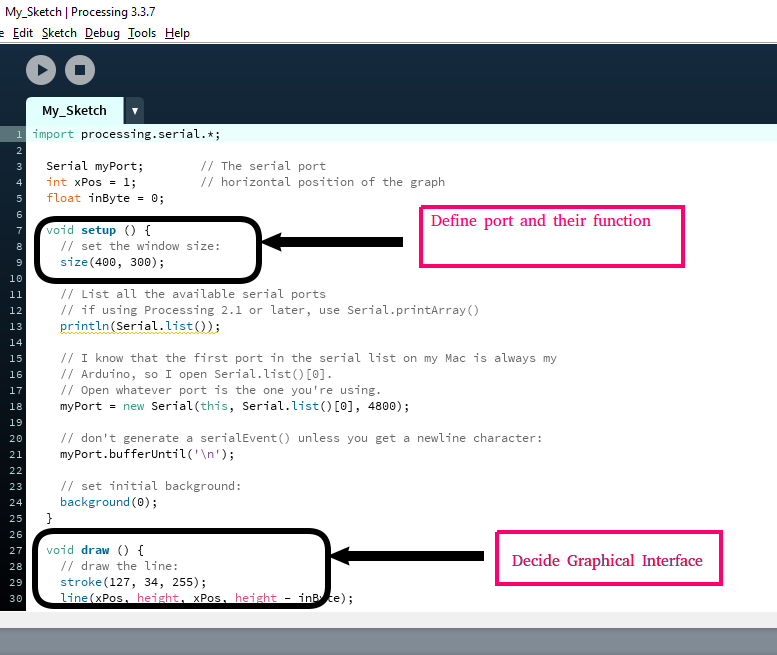
When he explained me processing, one thing I observed i.e the sktech is quite to arduino IDE. The structure of Arduino IDE has "Void setup and void loop" and the structure of processing has "void setup and void draw".
Here three commands I understand and important are as follows:
1. Serial communication command which directly communicate with the serial port data.
2. If and else - to add conditions
3. Void draw - to draw the graph (GUI)
For this, I need to use my project board and input board i.e temperature sensor
This is my code.
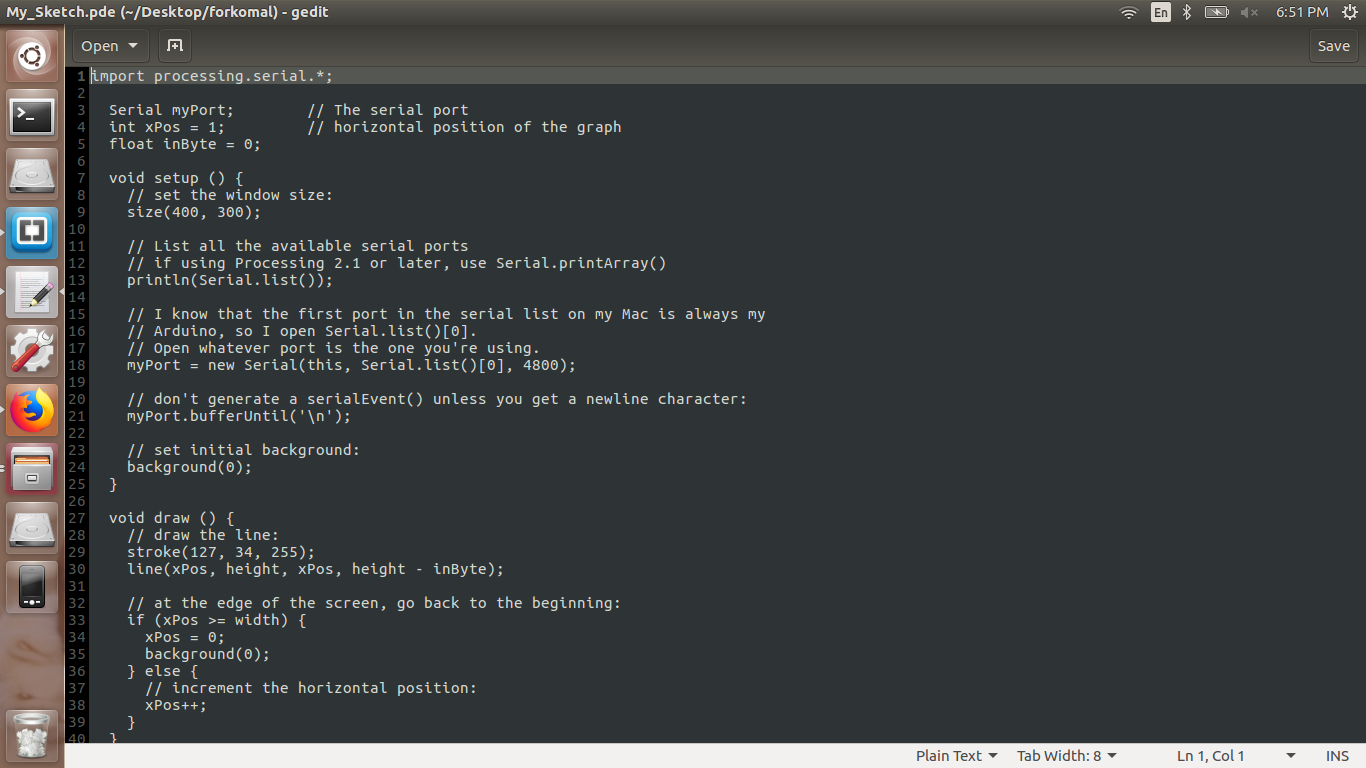
Then I connect the boards and run the program..
Here I used the heat gun to varying the temperature and you can see above the temperature changes..
You can download original code from here.
You can download original file from here.
Learning Outcomes-
In this week, I made MIT app and how to write the code. Also tried Processing code in which how the serial monitor send the data and we can see the data in graphical presentation. so, overall this week was little-bit difficult because I'm novice for these languages and coding also. But MIT app is quite simple for beginners.