Replicating an object
To learn molding and casting we started to replicate an object by creating a mold from this object and then casting a copy of this object in the mold. The object is made from wood and has an interesting shape. It will be enough to create a mold from two parts for this object, one will cover a half each.
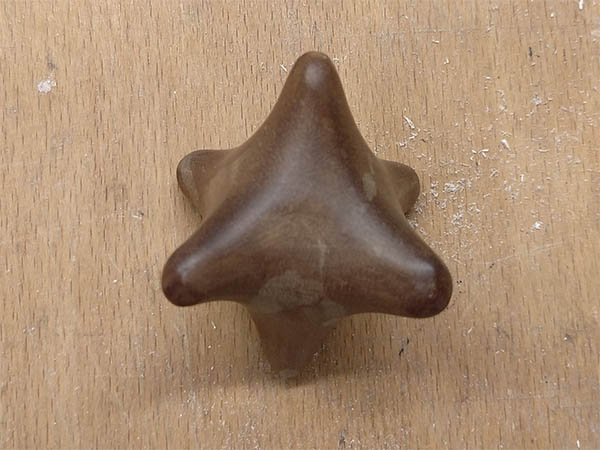
The object to replicate
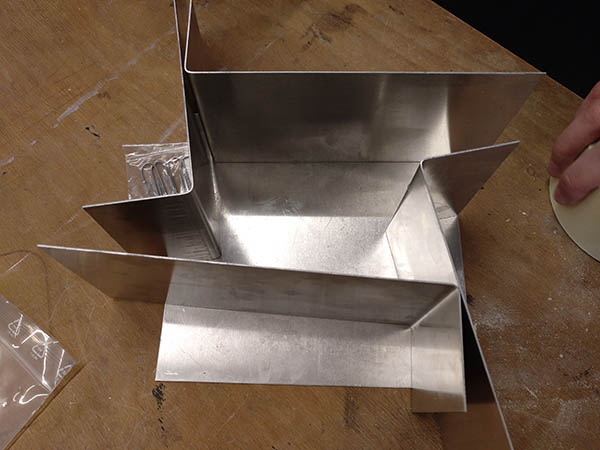
The box to create the mold in
Creating the first half of the mold
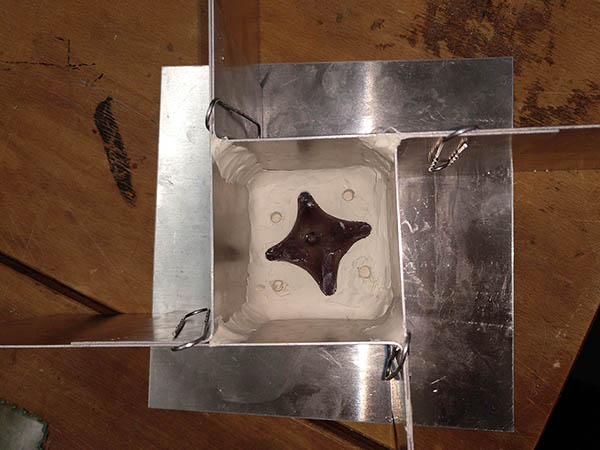
I started with modeling clay and put it in all the parts, where one half of the mold should be. Therefore I put it in the box, sealed the corners of the box, put clay in the lower half, pressed the object in and made holes to connect both mold parts.
Ready for pouring the silicone
I used silicone to create the mold. The one I used needs to be mixed 1:1 and has a hardness "shore" of 32. I was actually surprised how hard it is when it solidified. So I mixed the silicone and poured it into the box.
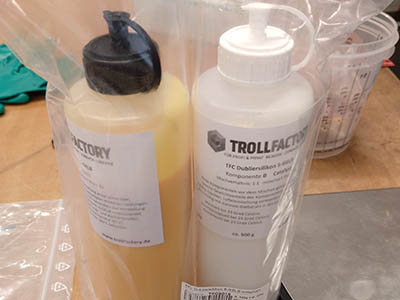
The silicone
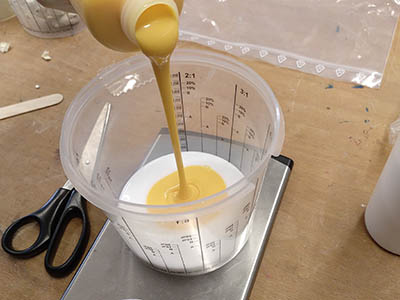
Mixing the silicone
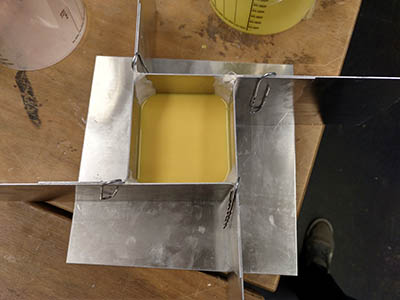
The silicone in the box
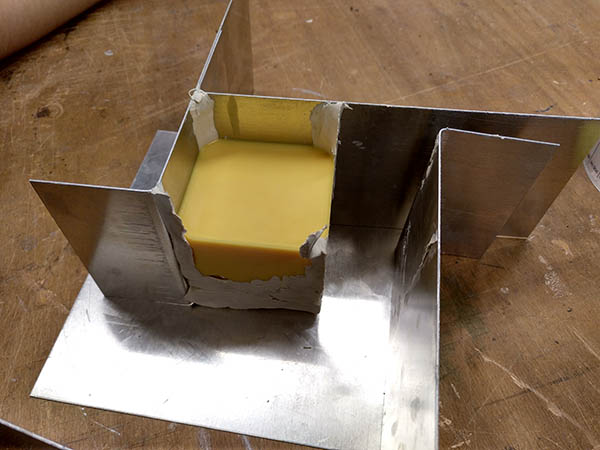
After letting it harden overnight I peeled the half of the mold out of the box and away from the modeling clay.
Opening the box
Half of the mold
Trying to create the second half of the mold
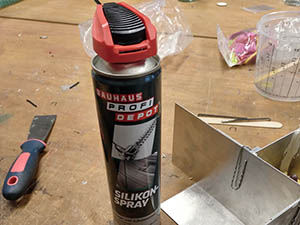
How NOT to do the second half of the mold. I sealed the box and put the mold with the model in, applied silicone spray so that the new silicone would be easily removed from the other half and poured the silicone in. I also added a stick so that I could pour the model in. In theory, this is fine, but I didn't seal the box good enough, so silicone leaked from one side. I fixed this side but thereby opened all the other sides. So I let the silicone run out completely and let it harden. Afterwards, I could easily pull the bad layer of silicone away from everything and start all over again.
Sealing the box

Putting the mold in
Silicone spray for separation
Poured silicone in
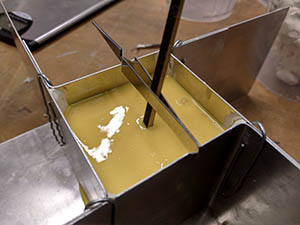
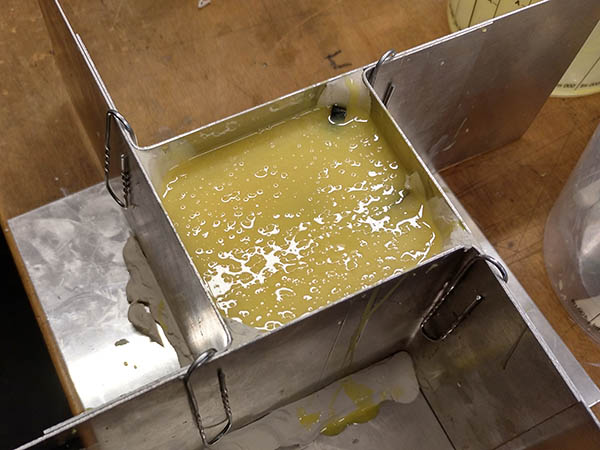
On the next time, I sealed the box properly, by starting with a complete layer of modeling clay on the ground plate. This worked out, so I added the silicone. Unfortunately, there was too less silicone in the bottle left, so I poured it and realized it was too less after it was on the model. Then I took a different silicone, added it and mixed it up. That is why the silicone is so bubbly in the second image. I tried to shake them away, which didn't really work, but they disappeared somehow.
Sealing the box (this time working)
The silicone
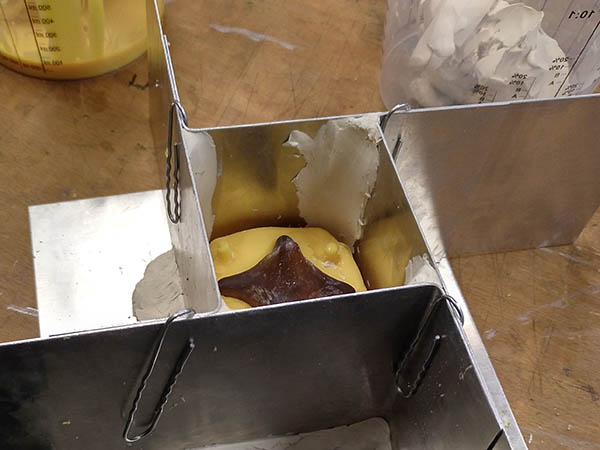
But I did some terrible other mistakes: In the stress of redoing the mold, I forgot to add silicone spray. Also wood floats, so my sticks to get a tunnel to the object floated up, so I had to cut the tunnel later. And after opening the mold I realized that my wooden object also floated up. I guess this was due to the shaking when I tried to get rid of the bubbles. So take my lessons: Seal your box properly, make sure you have enough silicone, don't take wood for tunnels and turn your half mold sideways so the object can't break free.
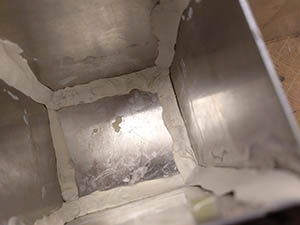
After this layer hardened I wanted to take it apart, but there were no two layers. I even did some cuts to find the second layer, but on neither side I could separate the layers. I think this is because I forgot the silicone spray. So all the work was for nothing and I had to cut the silicone block into two pieces to get a two-piece mold. This worked fine, but sadly I scratched my object.
The hardened silicone
Trying to find the second layer
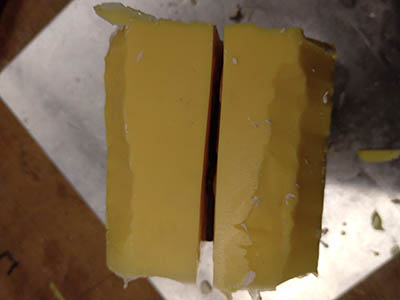
Cut the block in half
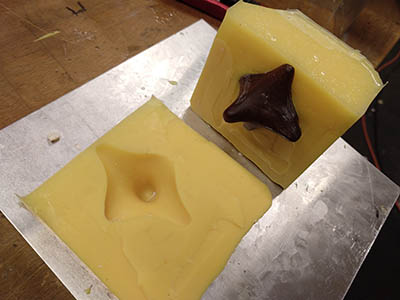
And also I realized that my object didn't only float up, it also turned in this process. So the object is not straight in the molds, it is turned on one axis which also made it hard to get out. Due to the cutting, I scratched my wooden object, so be sure to don't take an important object or be more careful when cutting the mold.
Opened the block
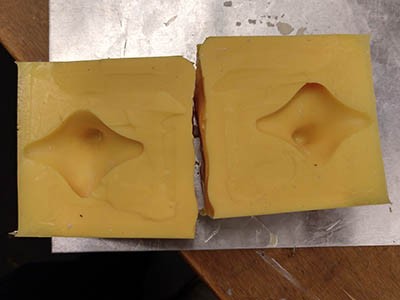
The mold, the object is turned
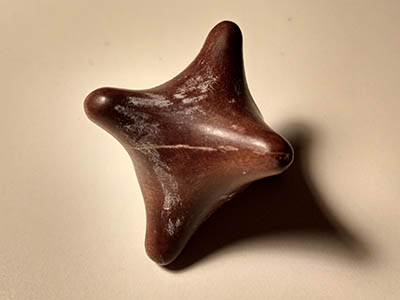
The scratched object
Casting Wax
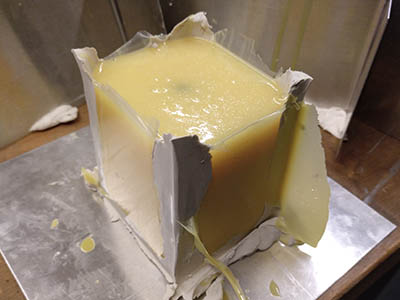
After I wasn't able to remove the silicone from the other one I decided to cast my object with wax. I also thought it would be cool to have a candle in this shape. First I had to cut some holes into the mold to be able to pour the wax into and hold the wick. I cut three holes in total: One for the wax to be poured in, one for the wick and one for the air to come out. But that was straightforward. I heated the wax in a normal pot and poured it into my mold.
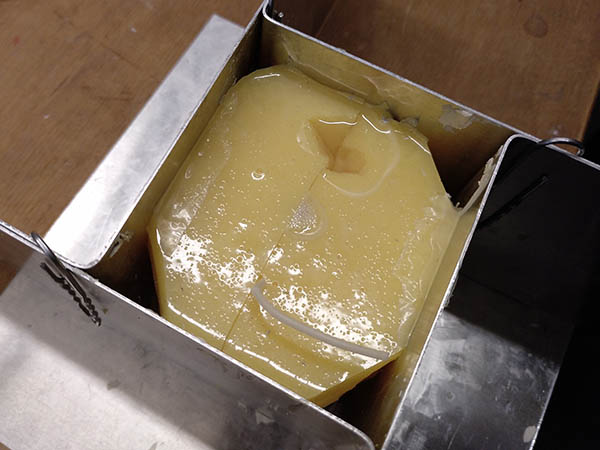
The wax poured in
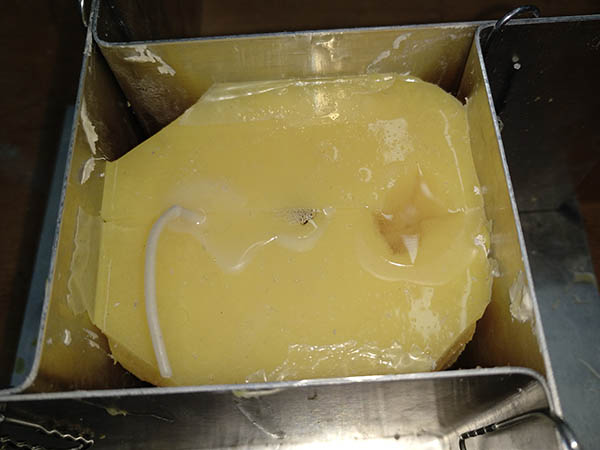
You can see the wick
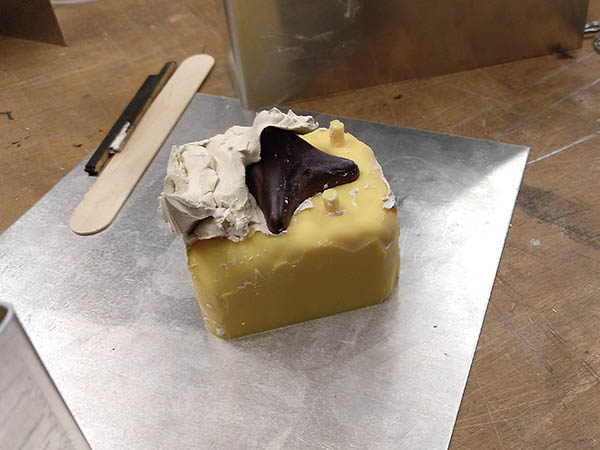
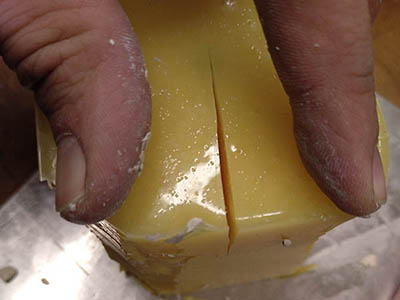
The casting worked fine, but after it hardened and I took the object out there was a gap on the topmost point. I think this is because wax expands a lot when warm and so it was too less material when it cooled down. So for the next time, I would make a longer shaft on top, where more wax is to sink down into the hole.
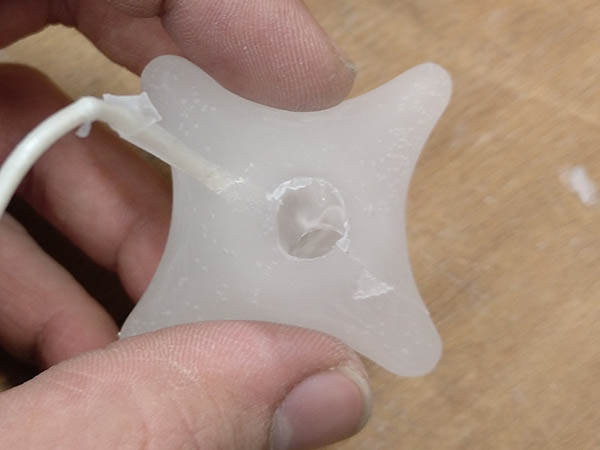
The finished star candle
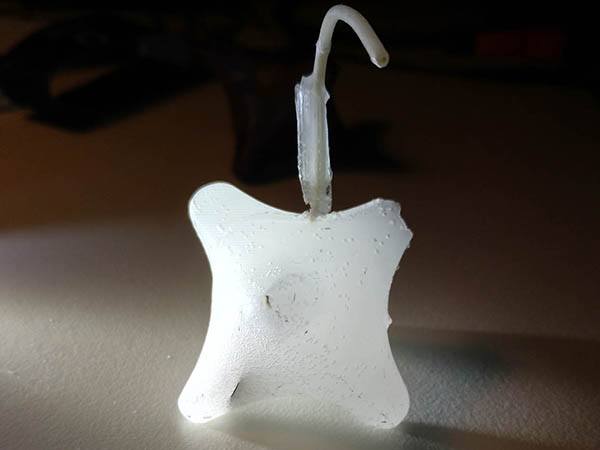
The finished star candle enlightened
Creating a mold with the CNC
To don't only copy objects you can also create a mold with the 3D printer or CNC mill. This extends your possibility very much. We went to create a mold with the CNC mill. We have a Roland monoFab SRM-20 in our Lab.
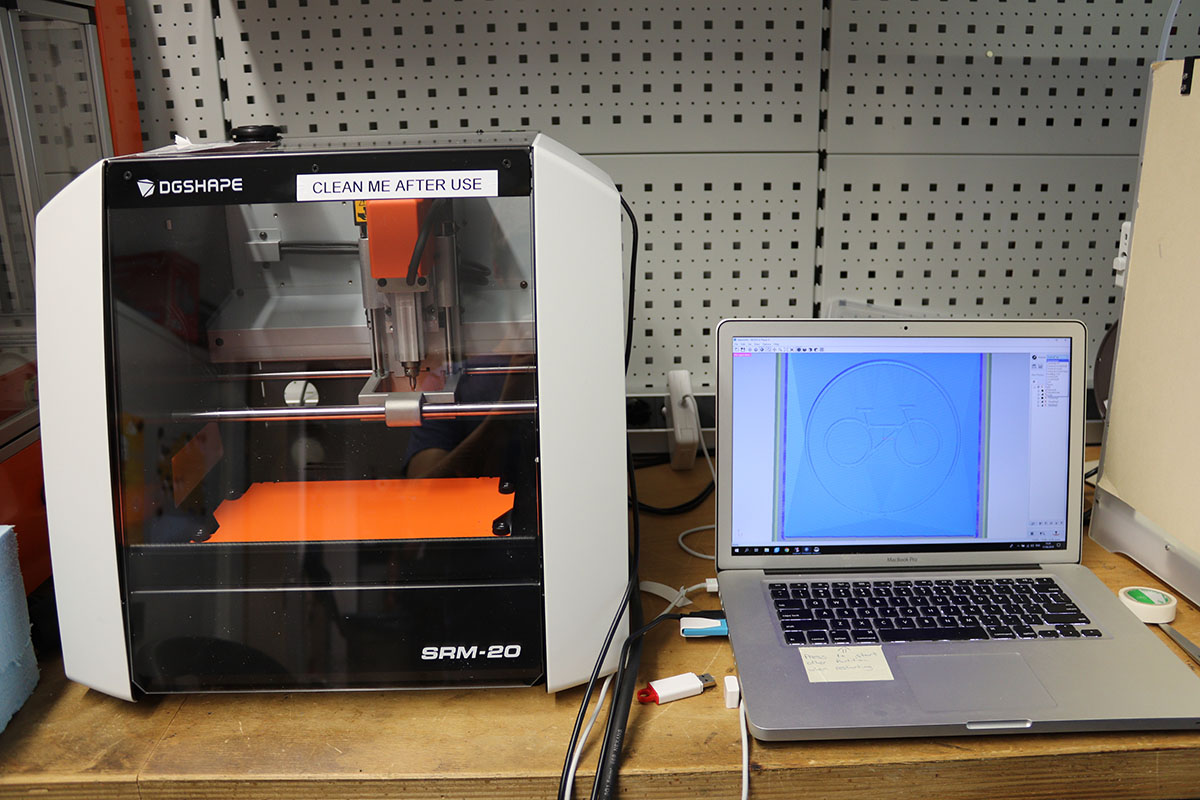
Roland monoFab SRM-20 CNC mill
Creating the model in Fusion
I wanted to create a flat object, so now it was enough to create a mold from only one part. I love bikes, so I created a plate with a nice inlay. In fusion I just created a cylinder and imported an svg file with the bike that I traced in Inkscape from an Image. Then I extruded this inwards and did the same with a circle.

The fusion model
Preparing the milling
To mill something you need to prepare your stl file or milling. With the SRM-20 there is a tutorial from our lab and another one is in the SRM-20 manual. We used VPanel to move the milling head where we wanted it and Modela Player 4 to generate the CAM files.
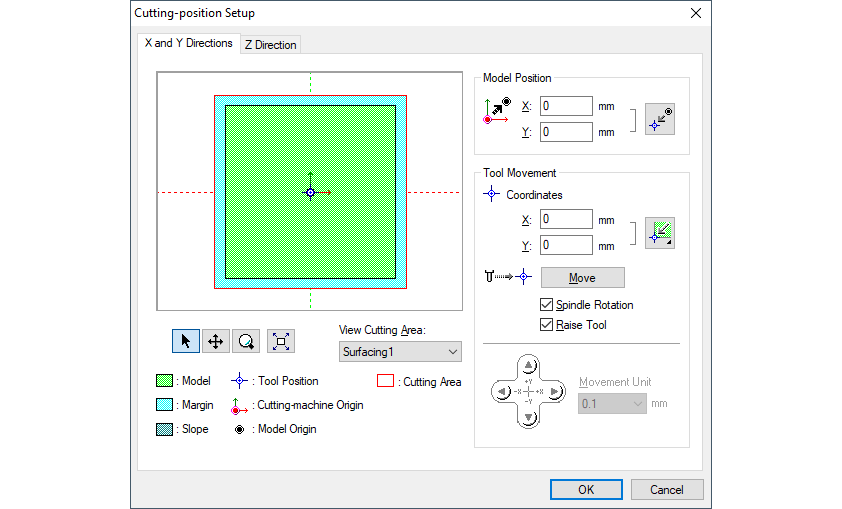
With VPanel you can move the cut head around and move it to the height and position you need. So you can move it to a corner of your workpiece where you want the milling to start. Then you can switch to User Coordinate System and set the origin point to the current position. When the milling is in process you can pause it to clean the workpiece if the cut material is not vacuumed away properly.
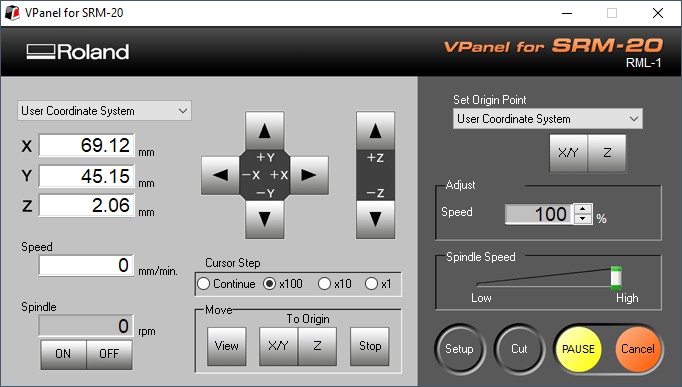
The VPanel Software
The first steps in Modela Player 4 to load the model are the following:
Importing the stl file, click on the red encircled button ..

.. to open the size and orientation dialog
Imported and turned model
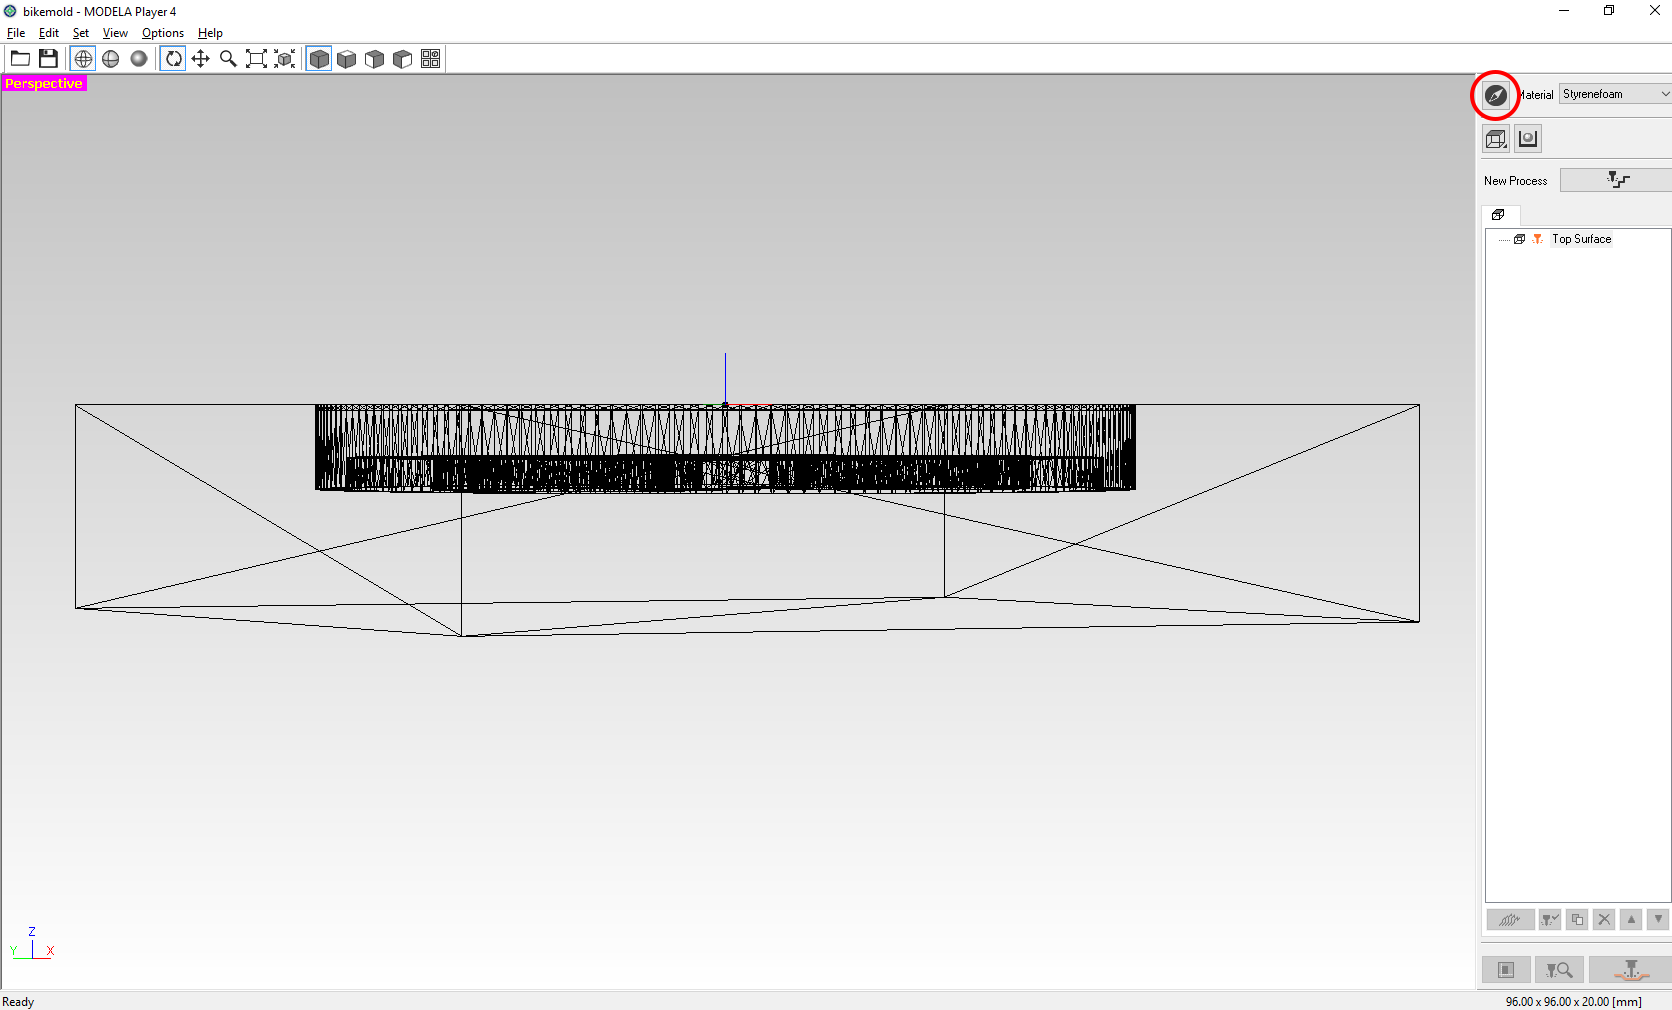
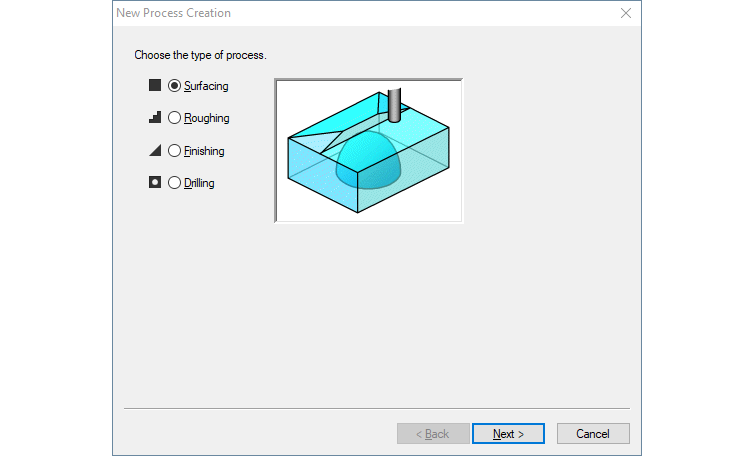
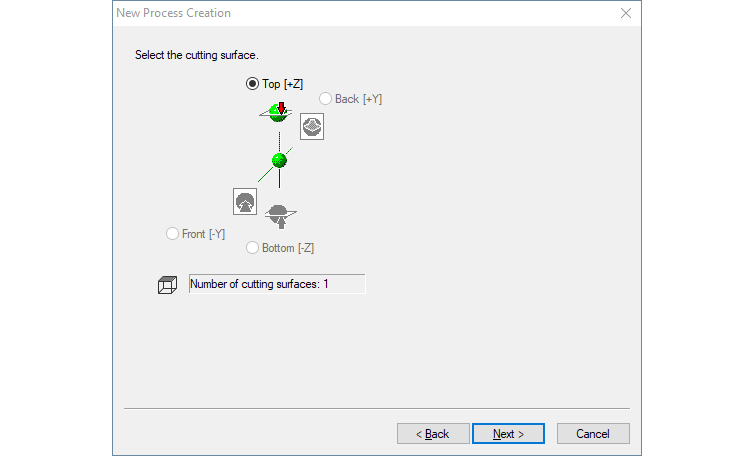
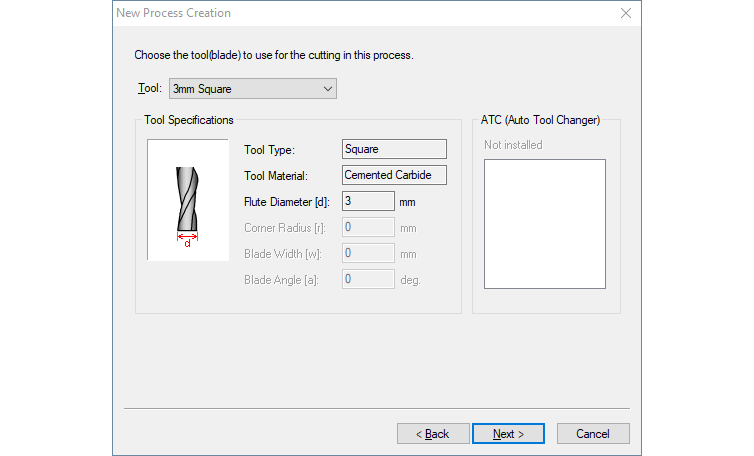
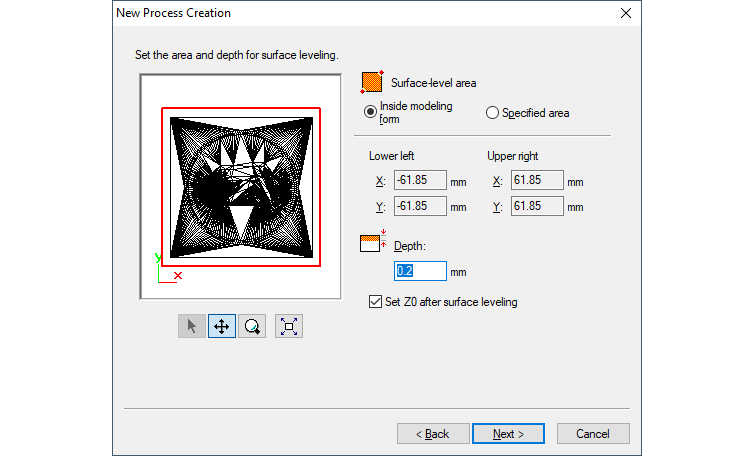
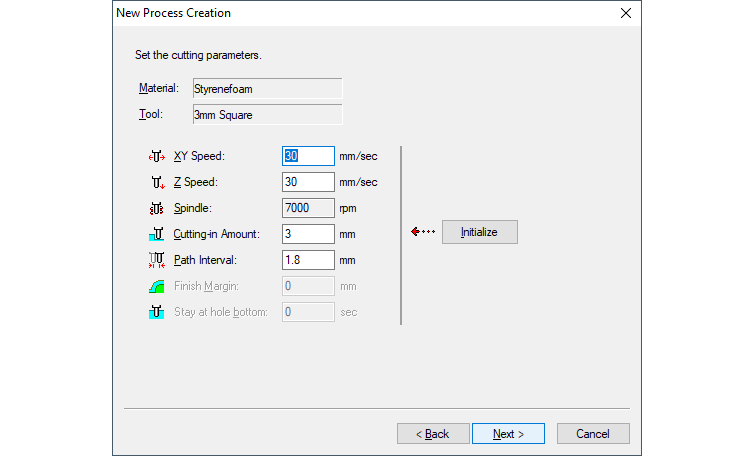
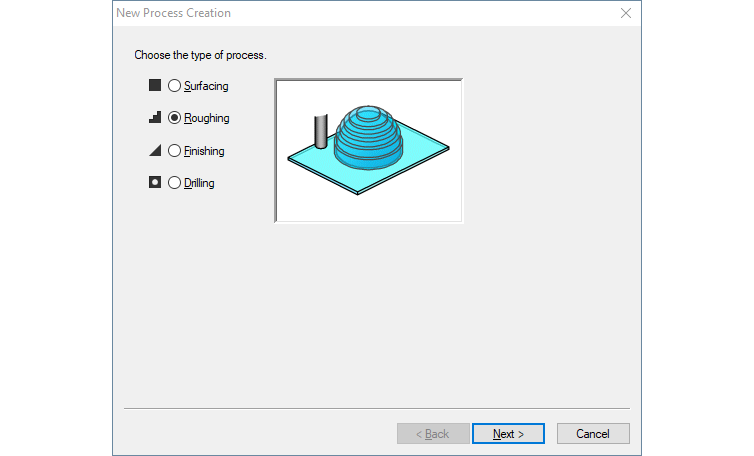
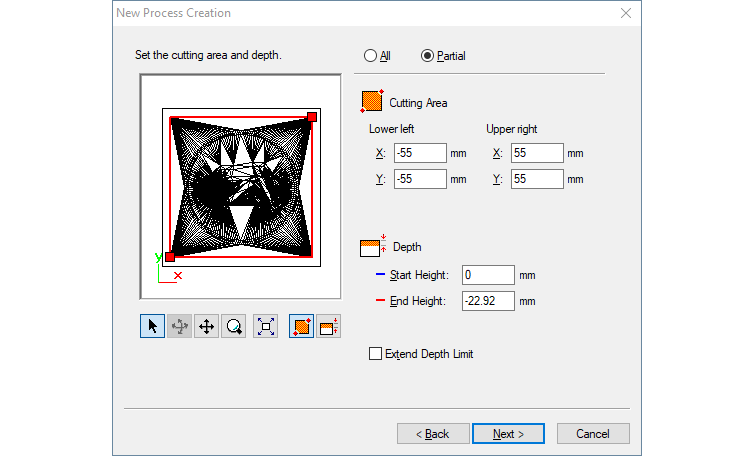
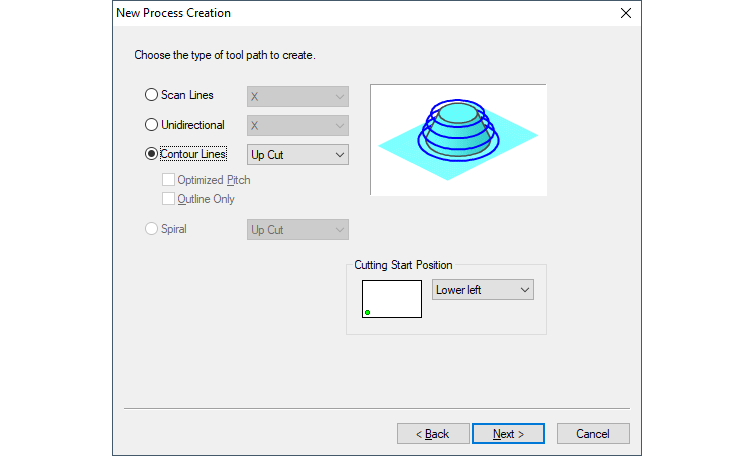
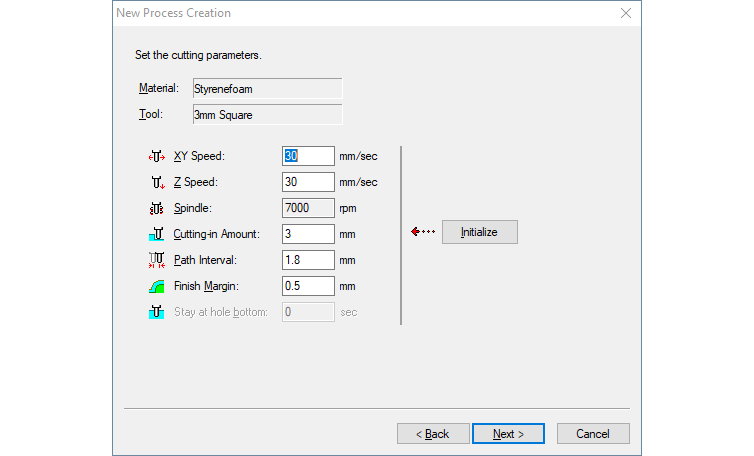
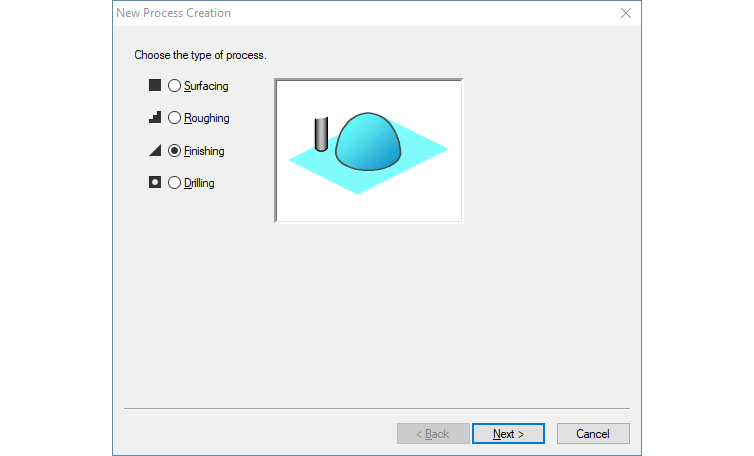
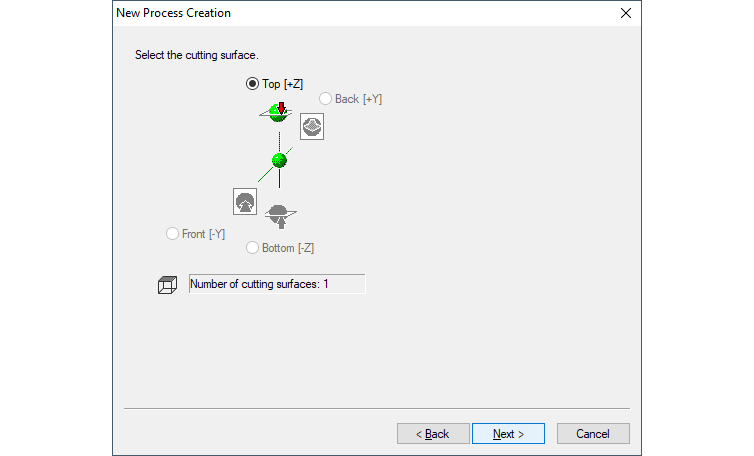
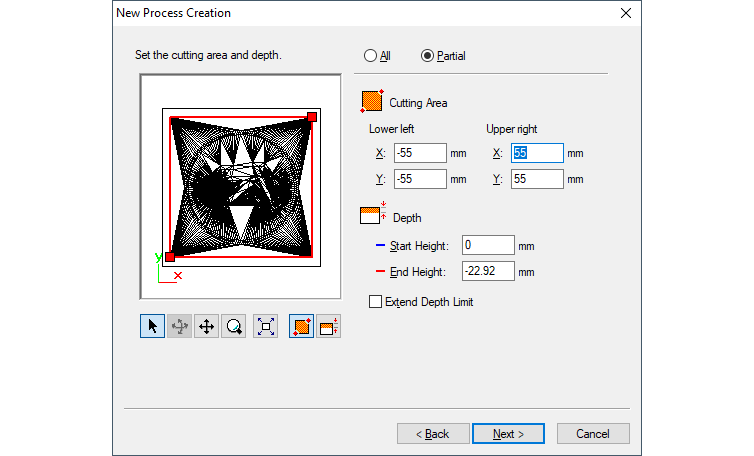
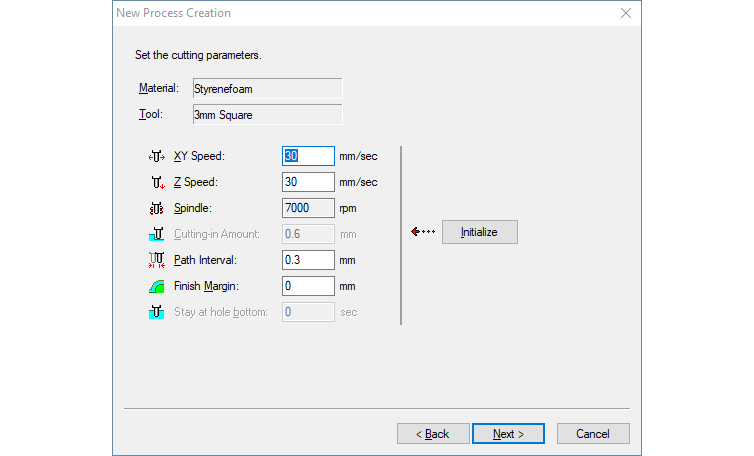
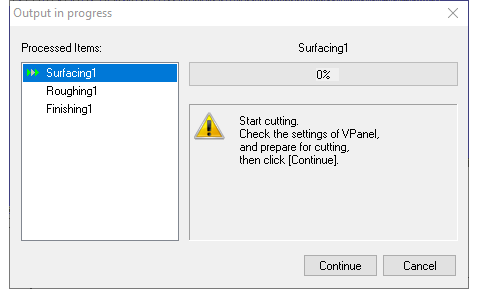
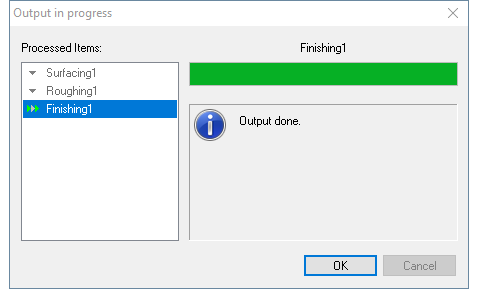
The next three steps are very similar. You need to add the process for surfacing, roughing and finishing. Surfacing will mill a flat surface, so you have a completely flat surface at exactly the height you expect. Roughing does cut everything roughly, while finishing takes away the rest of the material to get the desired model. First we add the surfacing process.
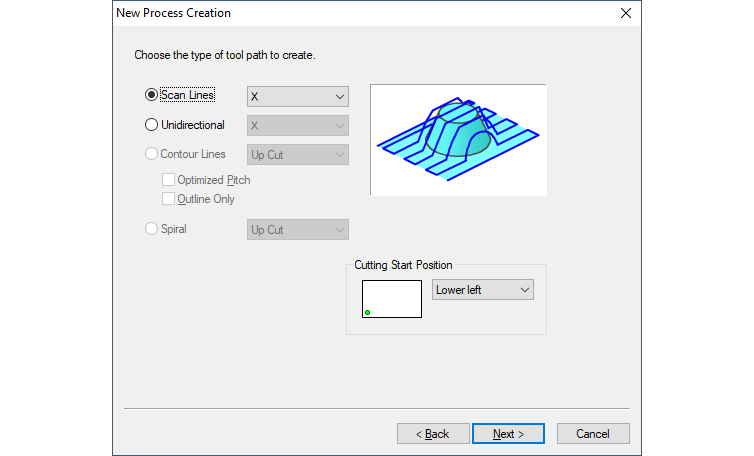

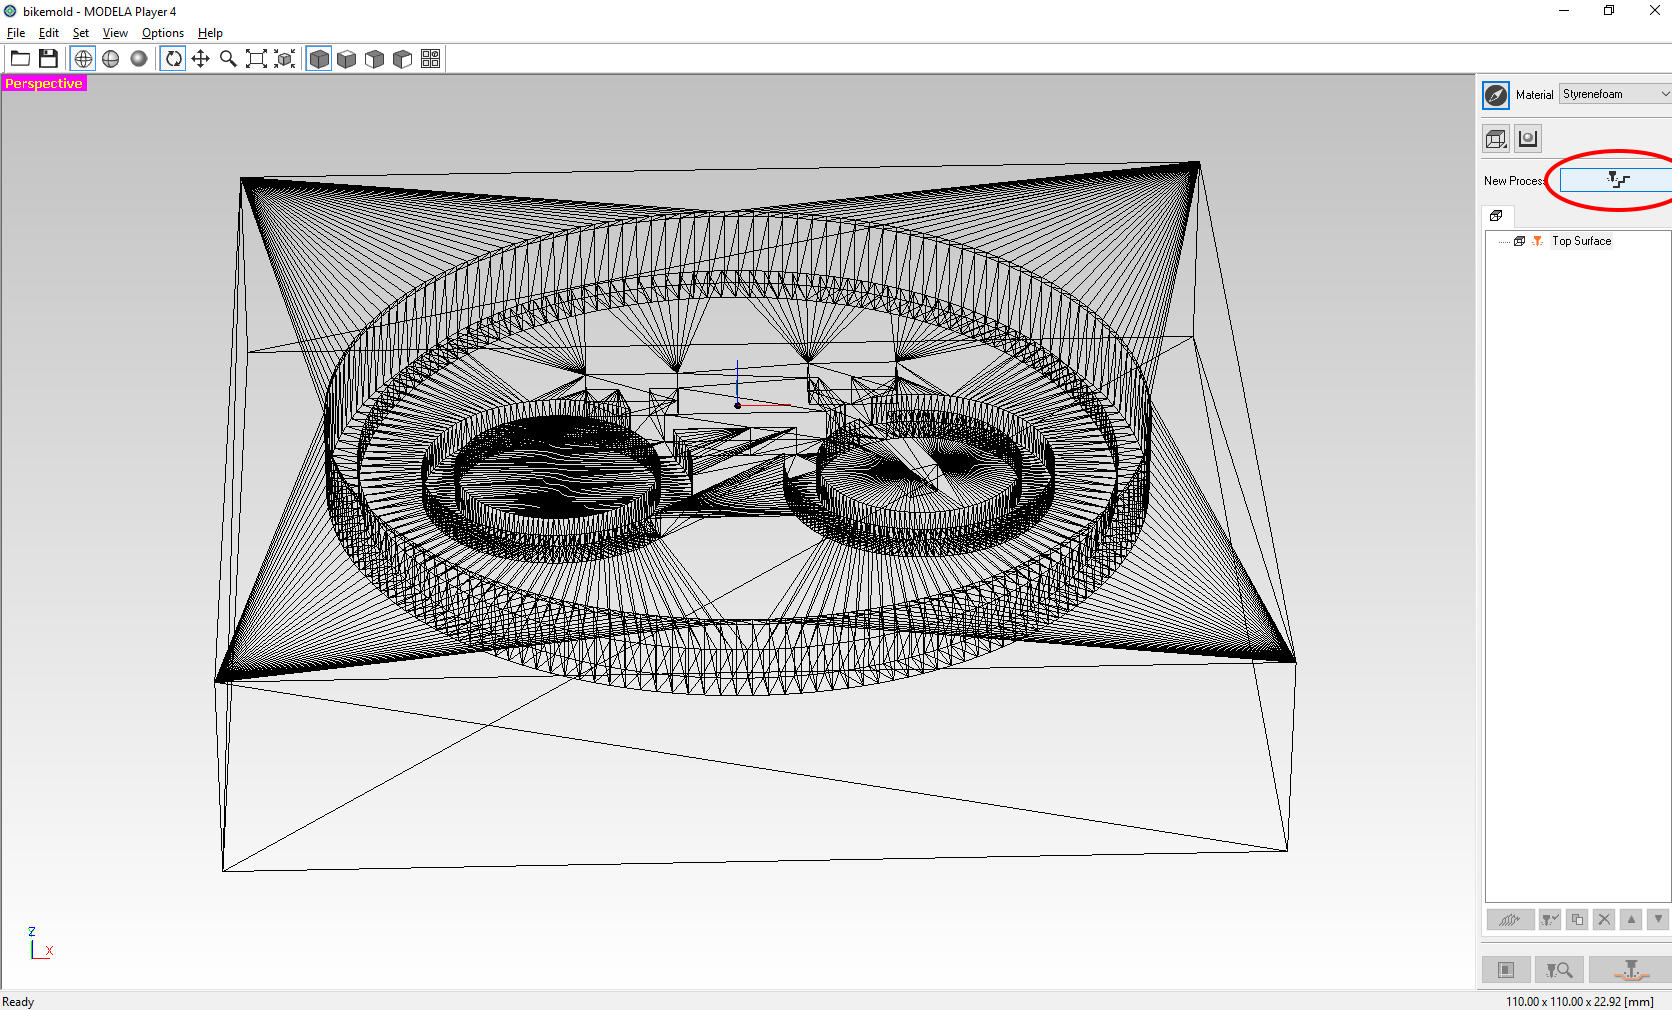
Now we need to add the roughing process.


At last we add the finishing process.


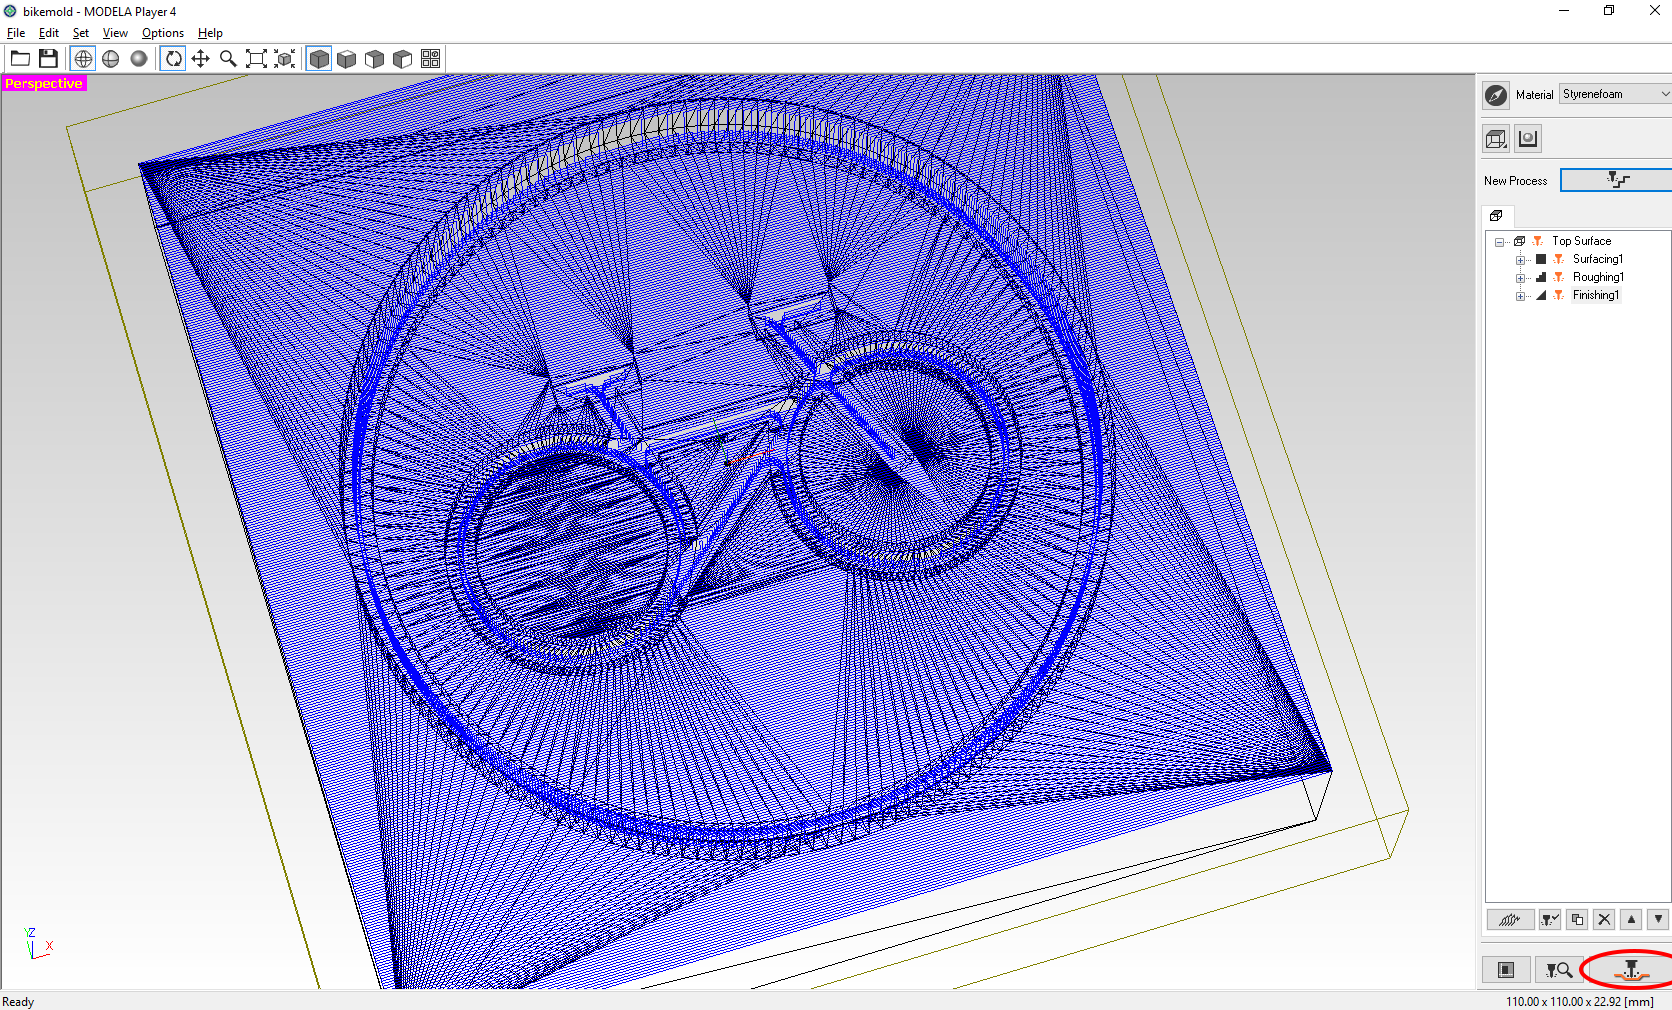
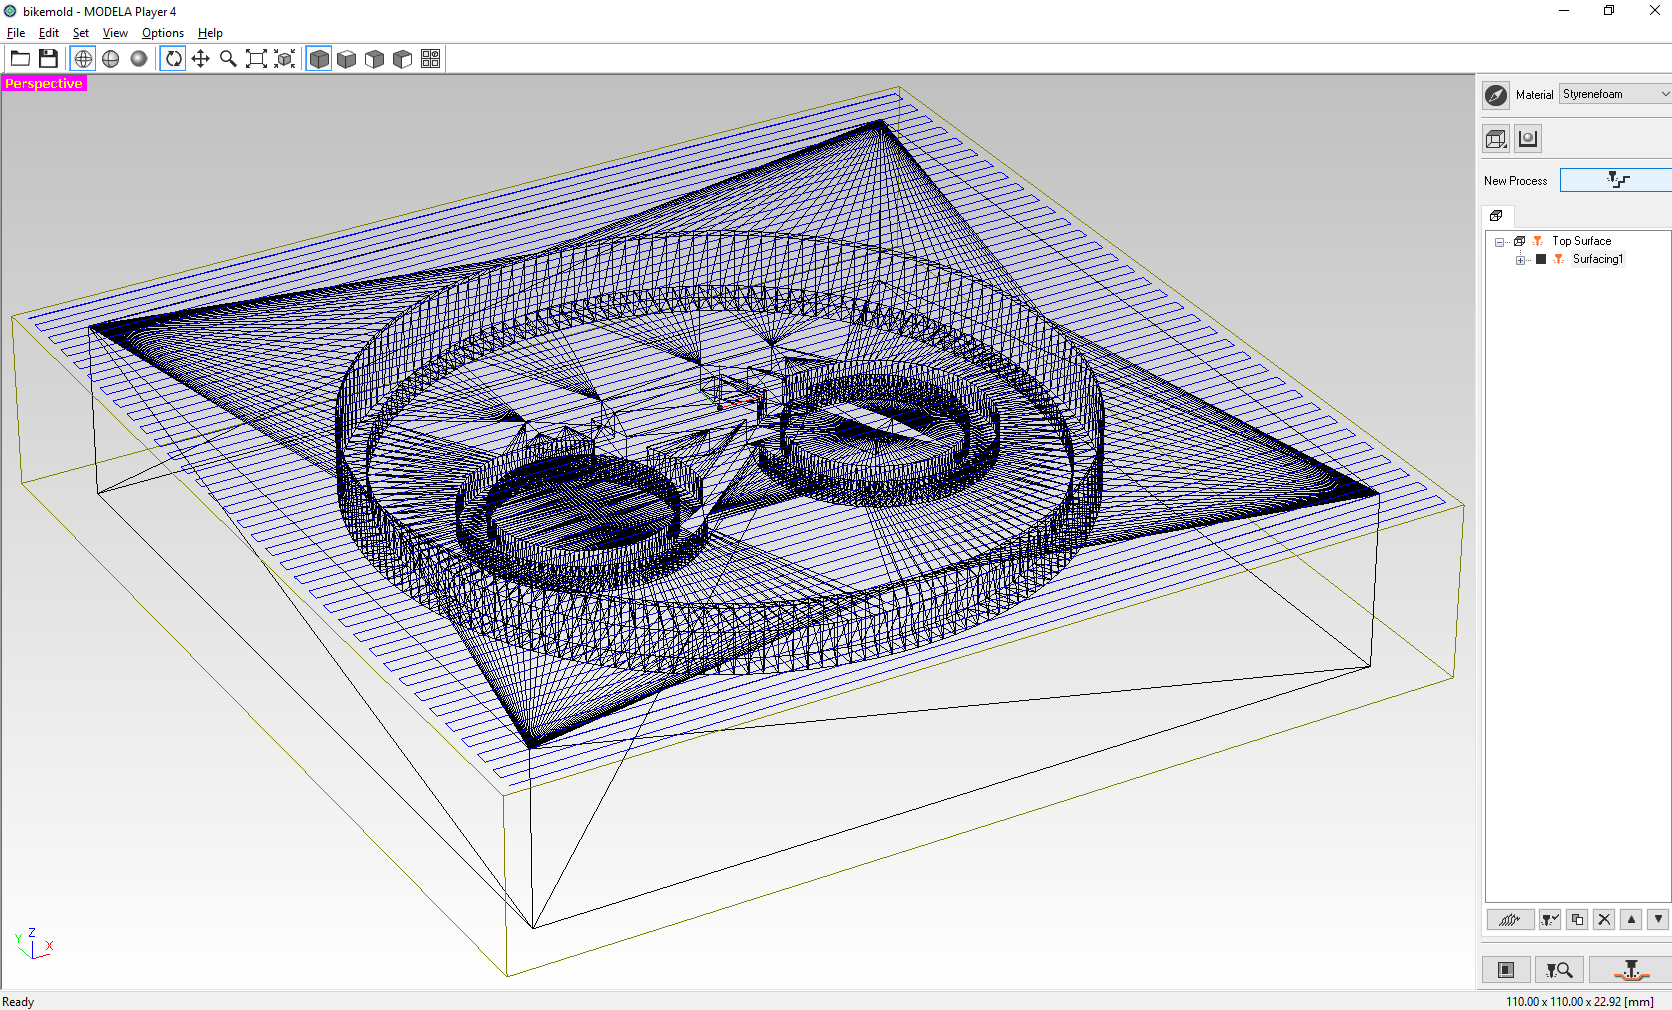
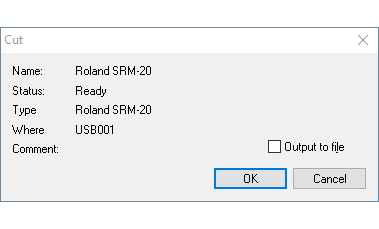
Now we can start the milling by clicking the encircled button below. Before you should also check if all the blue lines look allright. Because this is what will be milled.
Milling
Then I went to mill this model from foam because I wanted to cast concrete, so I needed something which is easy to break away. I cut the foam from a bigger block and taped it with double sided tape to the ground plate of the mill.
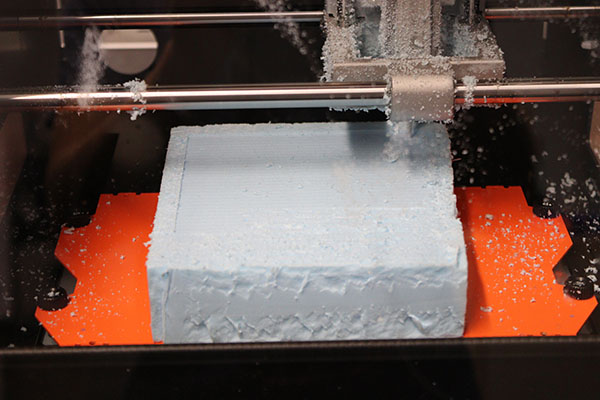
Starting with a flat plate
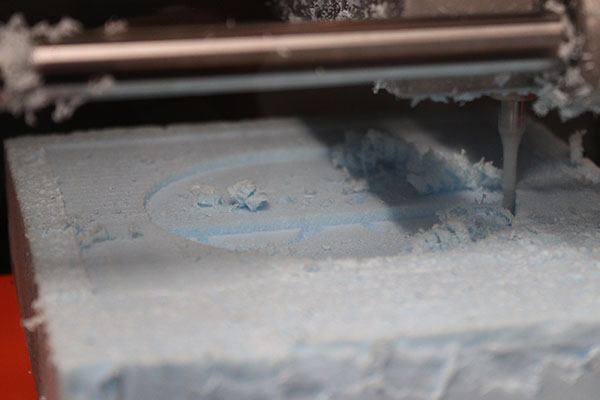
Halfway through milling
The finished mold already looked really good.
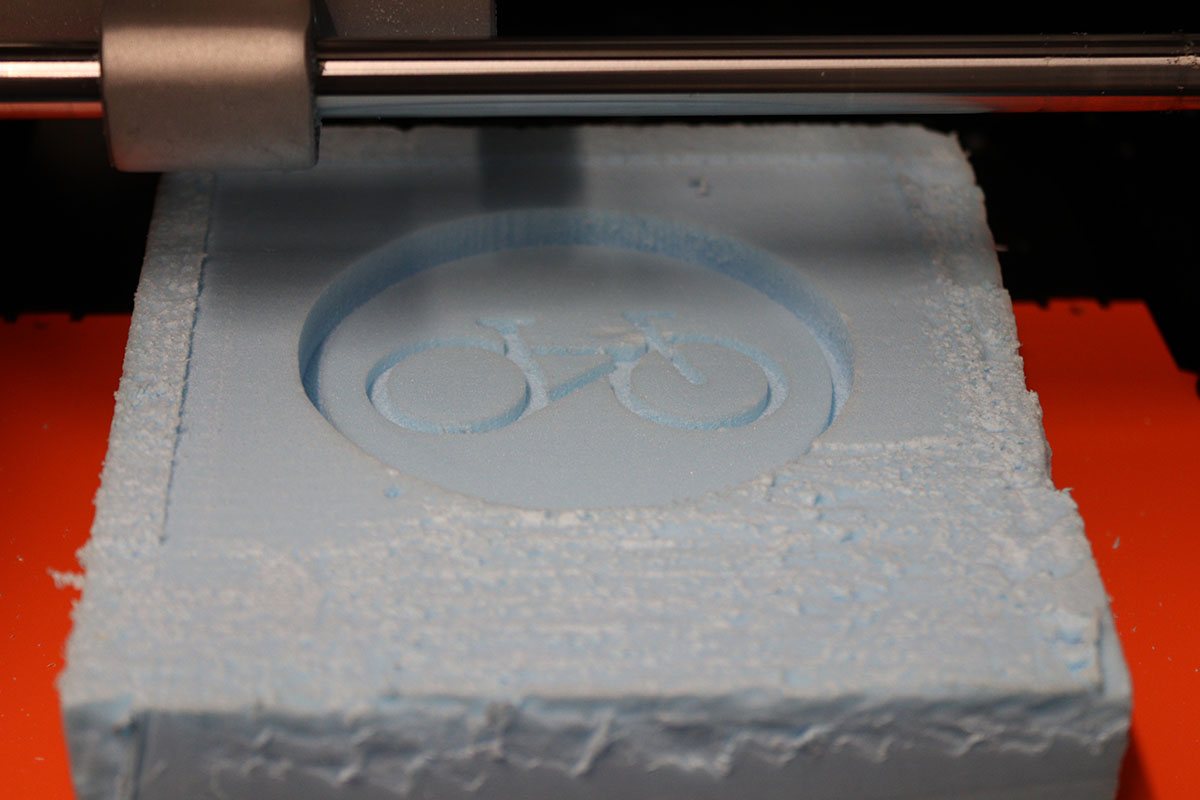
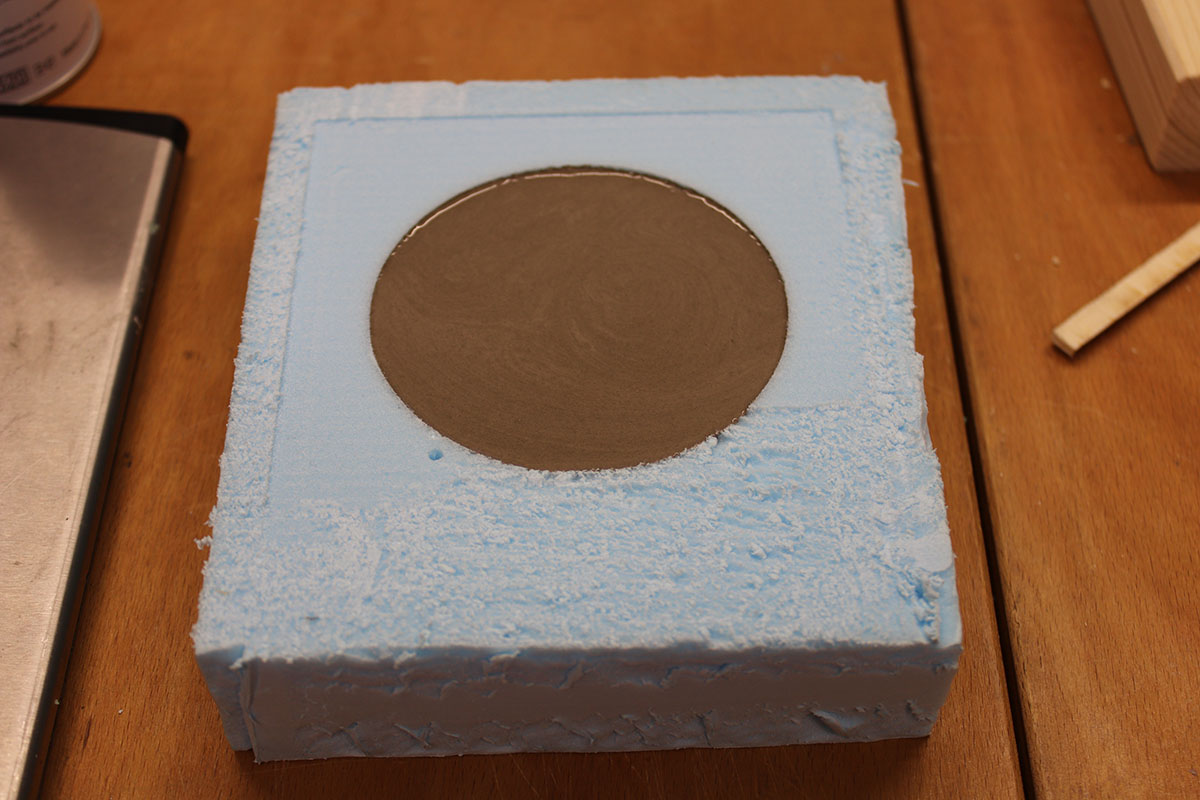
The finished mold
Casting objects
I mixed fine concrete with water 4:1 to get liquid concrete, which I could pour into the mold.
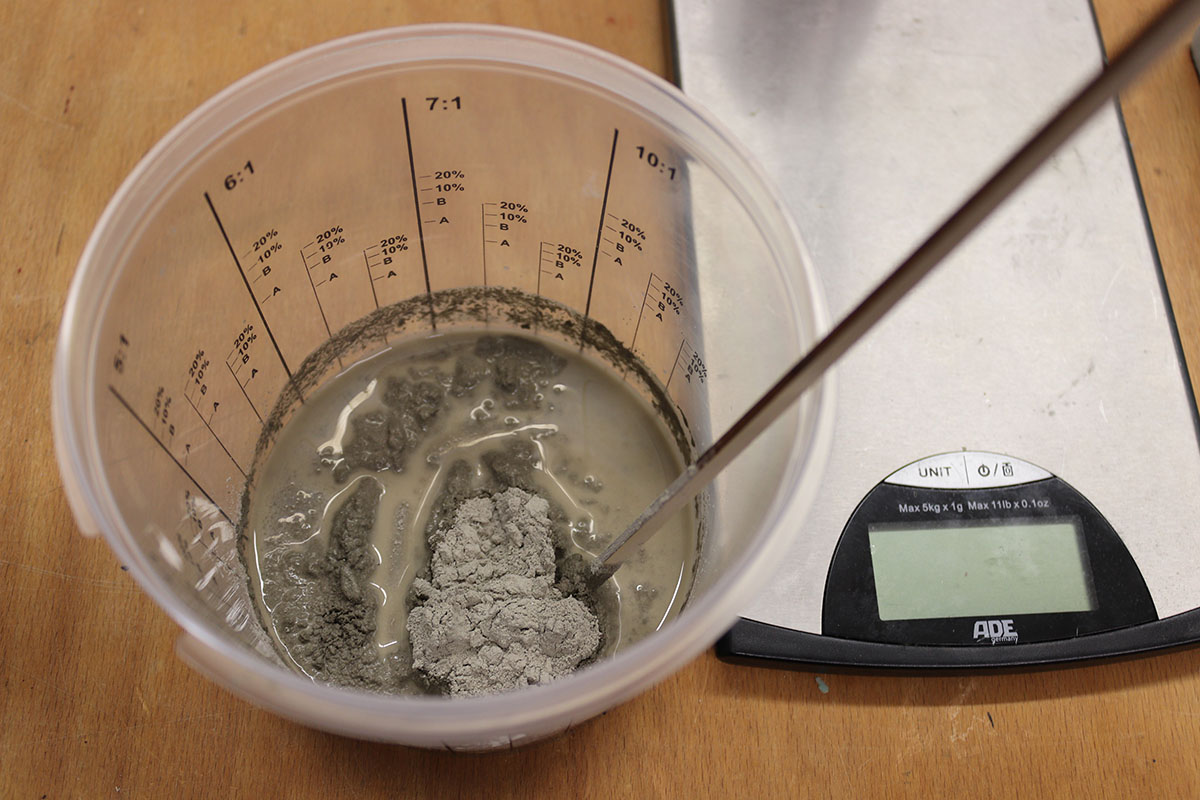
Mixing the concrete
Then I poured the concrete into the mold and was careful to be slow and get all air bubbles out that I found.
Concrete in the mold
Removing the styrofoam was harder than I expected, so I unluckily broke the cast while removing the foam. But it looks great anyways and I fixed it with glue. I really needed a cutter to remove the foam and scratch all the foam away from the concrete.
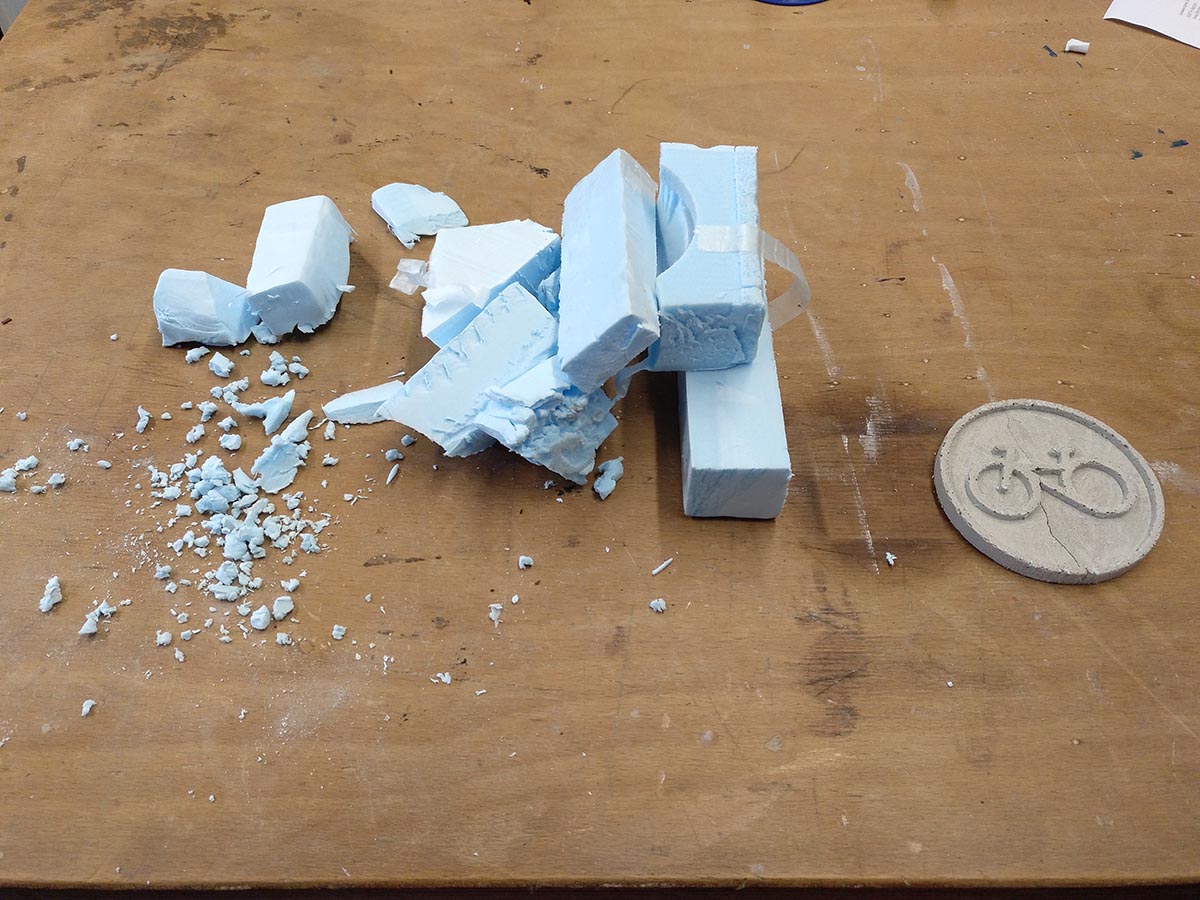
Getting the bike free
Hero Shot
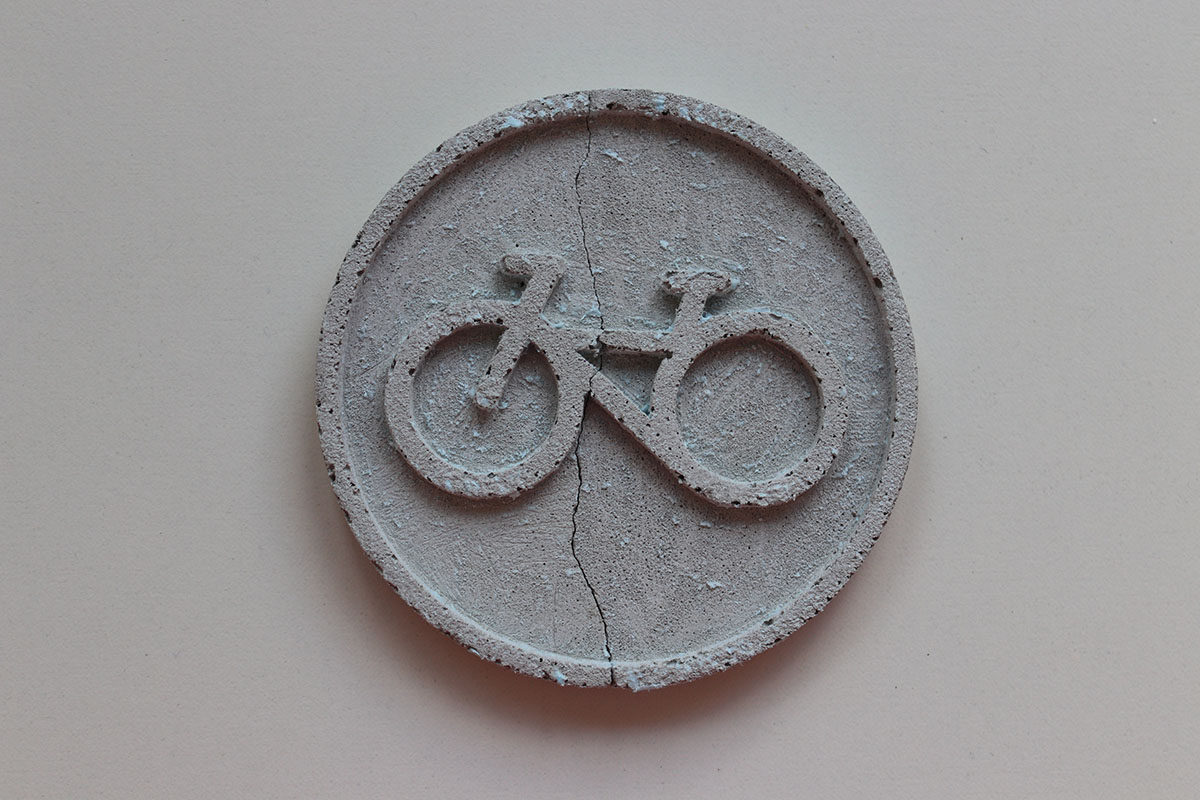
The finished cast
Files
Here you can download the files created during this week:
The fusion file for the bike