2.1. Course Management
On this assignment I will explain how is going to be the working documentation process. We were asked to create a personal website where all the work I will develop along the course about weekly assignments and the final project must be included.
This new personal website must be updated every week to show the working process and results of every exercise.
I will try different markdown editors and also HTML and CSS languages to create my website.
2.2. Working in Gitlab
All our work must be located on a global server that includes the Fabacademy community on GitLab.
Acording to them, GitLab started as an Open Source project to develop software in community. As Git, a version control system, you can manage, share, update, or package any project; but now it turned into an application that allows to make all this but even to work with operating devices, so it's become a big thing.
So far I'm just using this tool as a shared personal repository where I can host, update and publish the web documentation and files I'll be working on every week.
Here there is a nice tutorial to understand all the functions and how to work with git.
2.2.1. Creating my repository folder
For daily work I'll be using a local repository linked to the server repo created on FabAcademy folder on GitLab. In order to get acces and upload the work through this channel, I need an authentication SSH key generated on my computer and then add it on the GitLab's trusted keys.
And here there is a link to my repository.
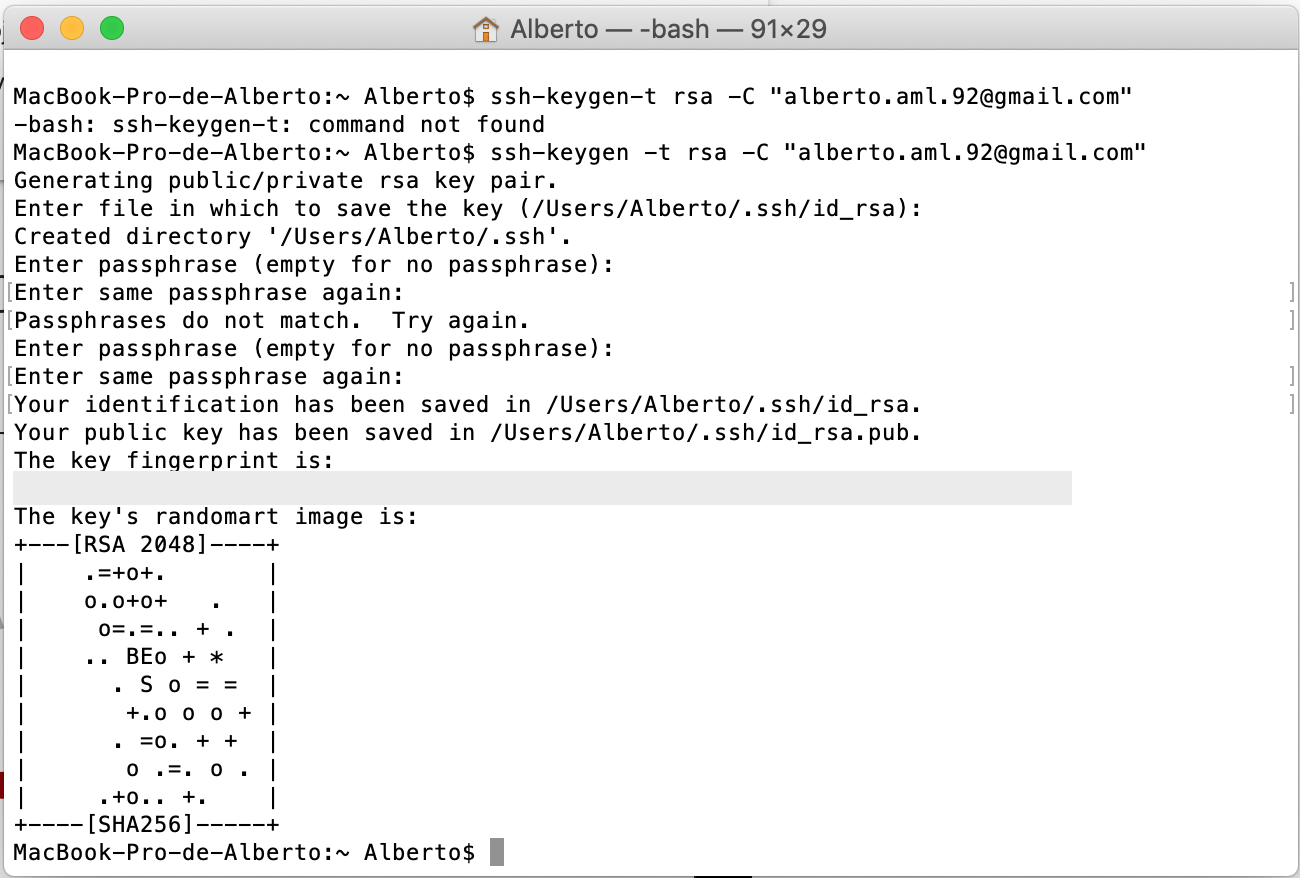
2.2.2. SSH Key generating
Then I created my SSH key on terminal. On MacOSx the Git is already installed so I just need to create it on the terminal with this commands:
git config --global user.name "YOUR_USERNAME"
git config --global user.mail "alberto.aml.92@gmail.com"
And to generate the key:
ssh-keygen -t rsa -C "<$your_email"
Then checking the SSH key:
cat ~/.ssh/id_rsa.pub
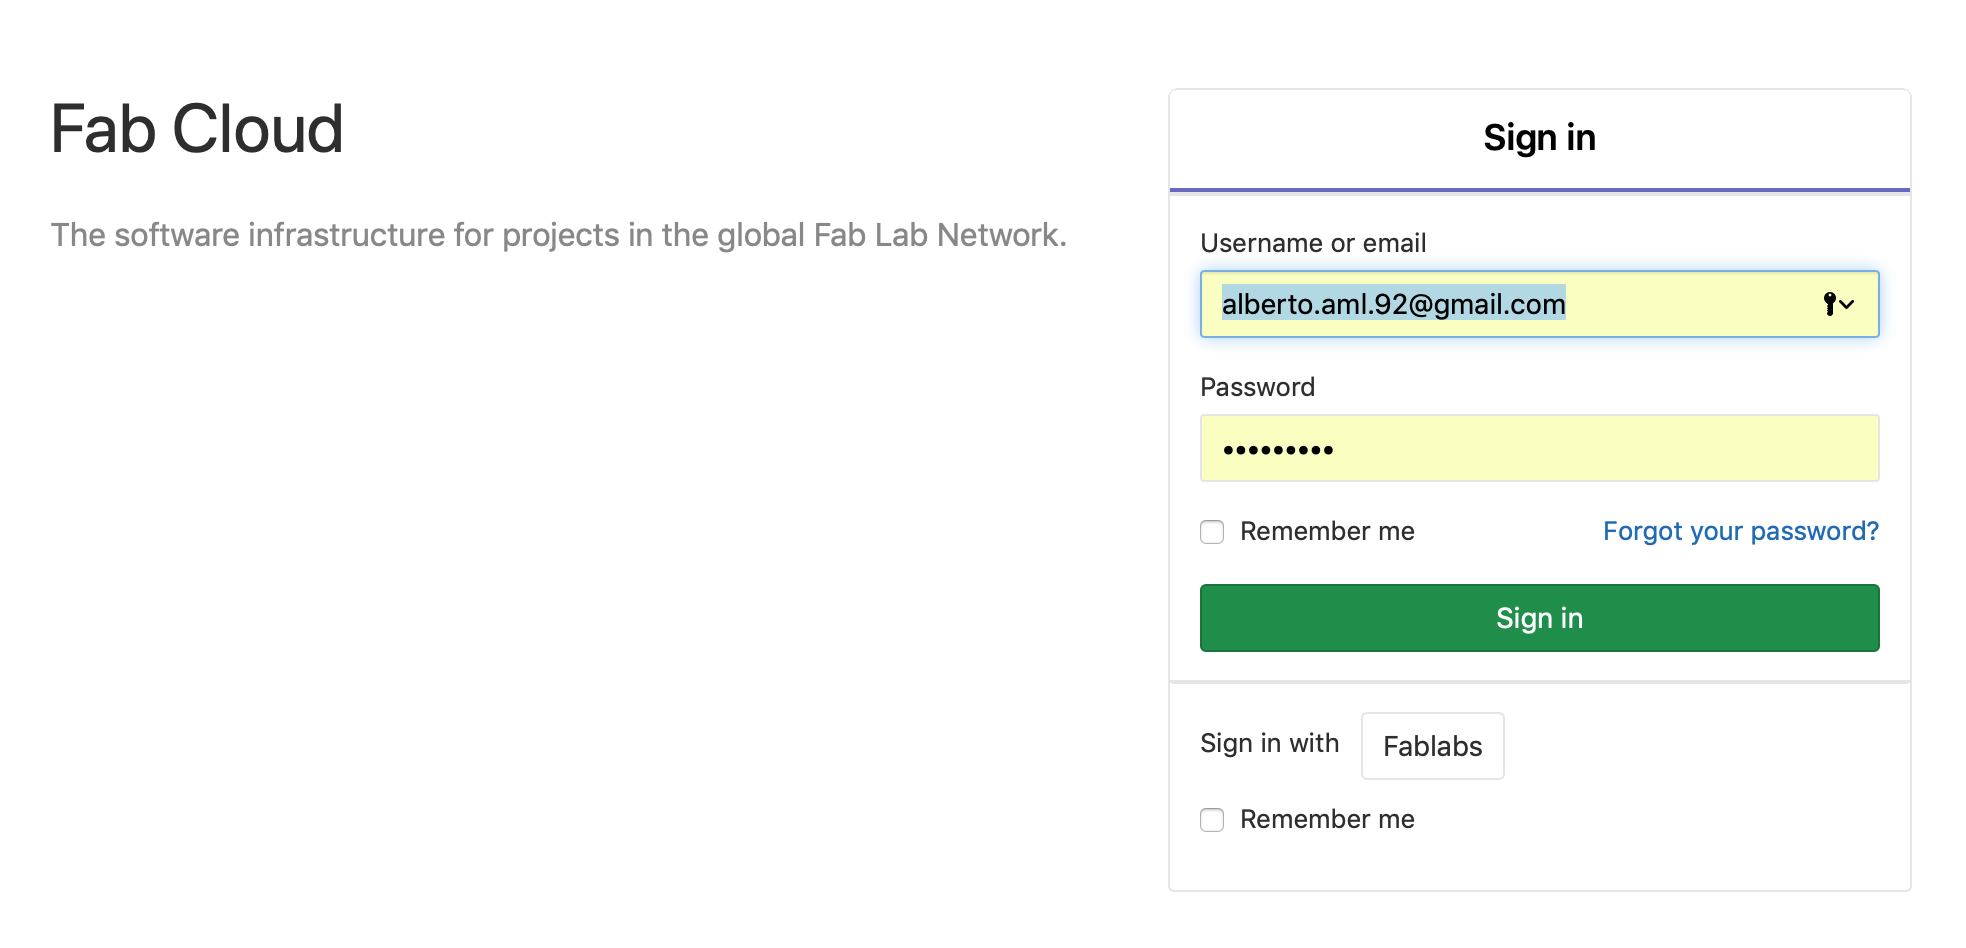
To add my SSH key to the Gitlab of Fab Academy so I can have access to clone it, first I need to log in on Git Lab:
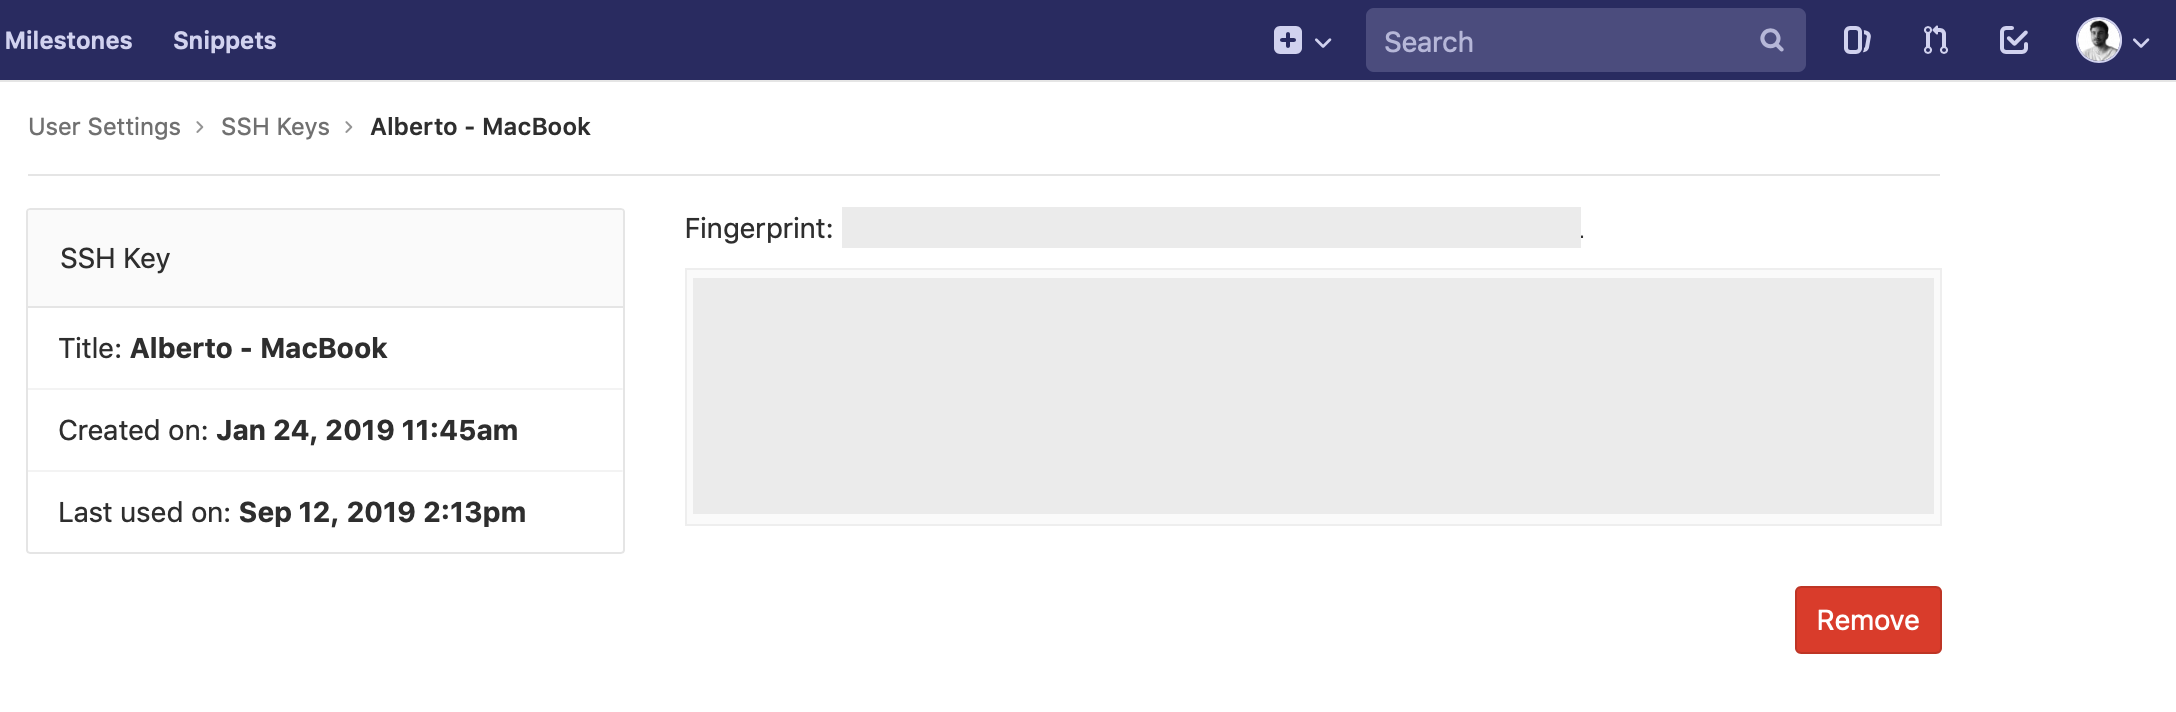
Then I enter my SSH key on my profile's settings:
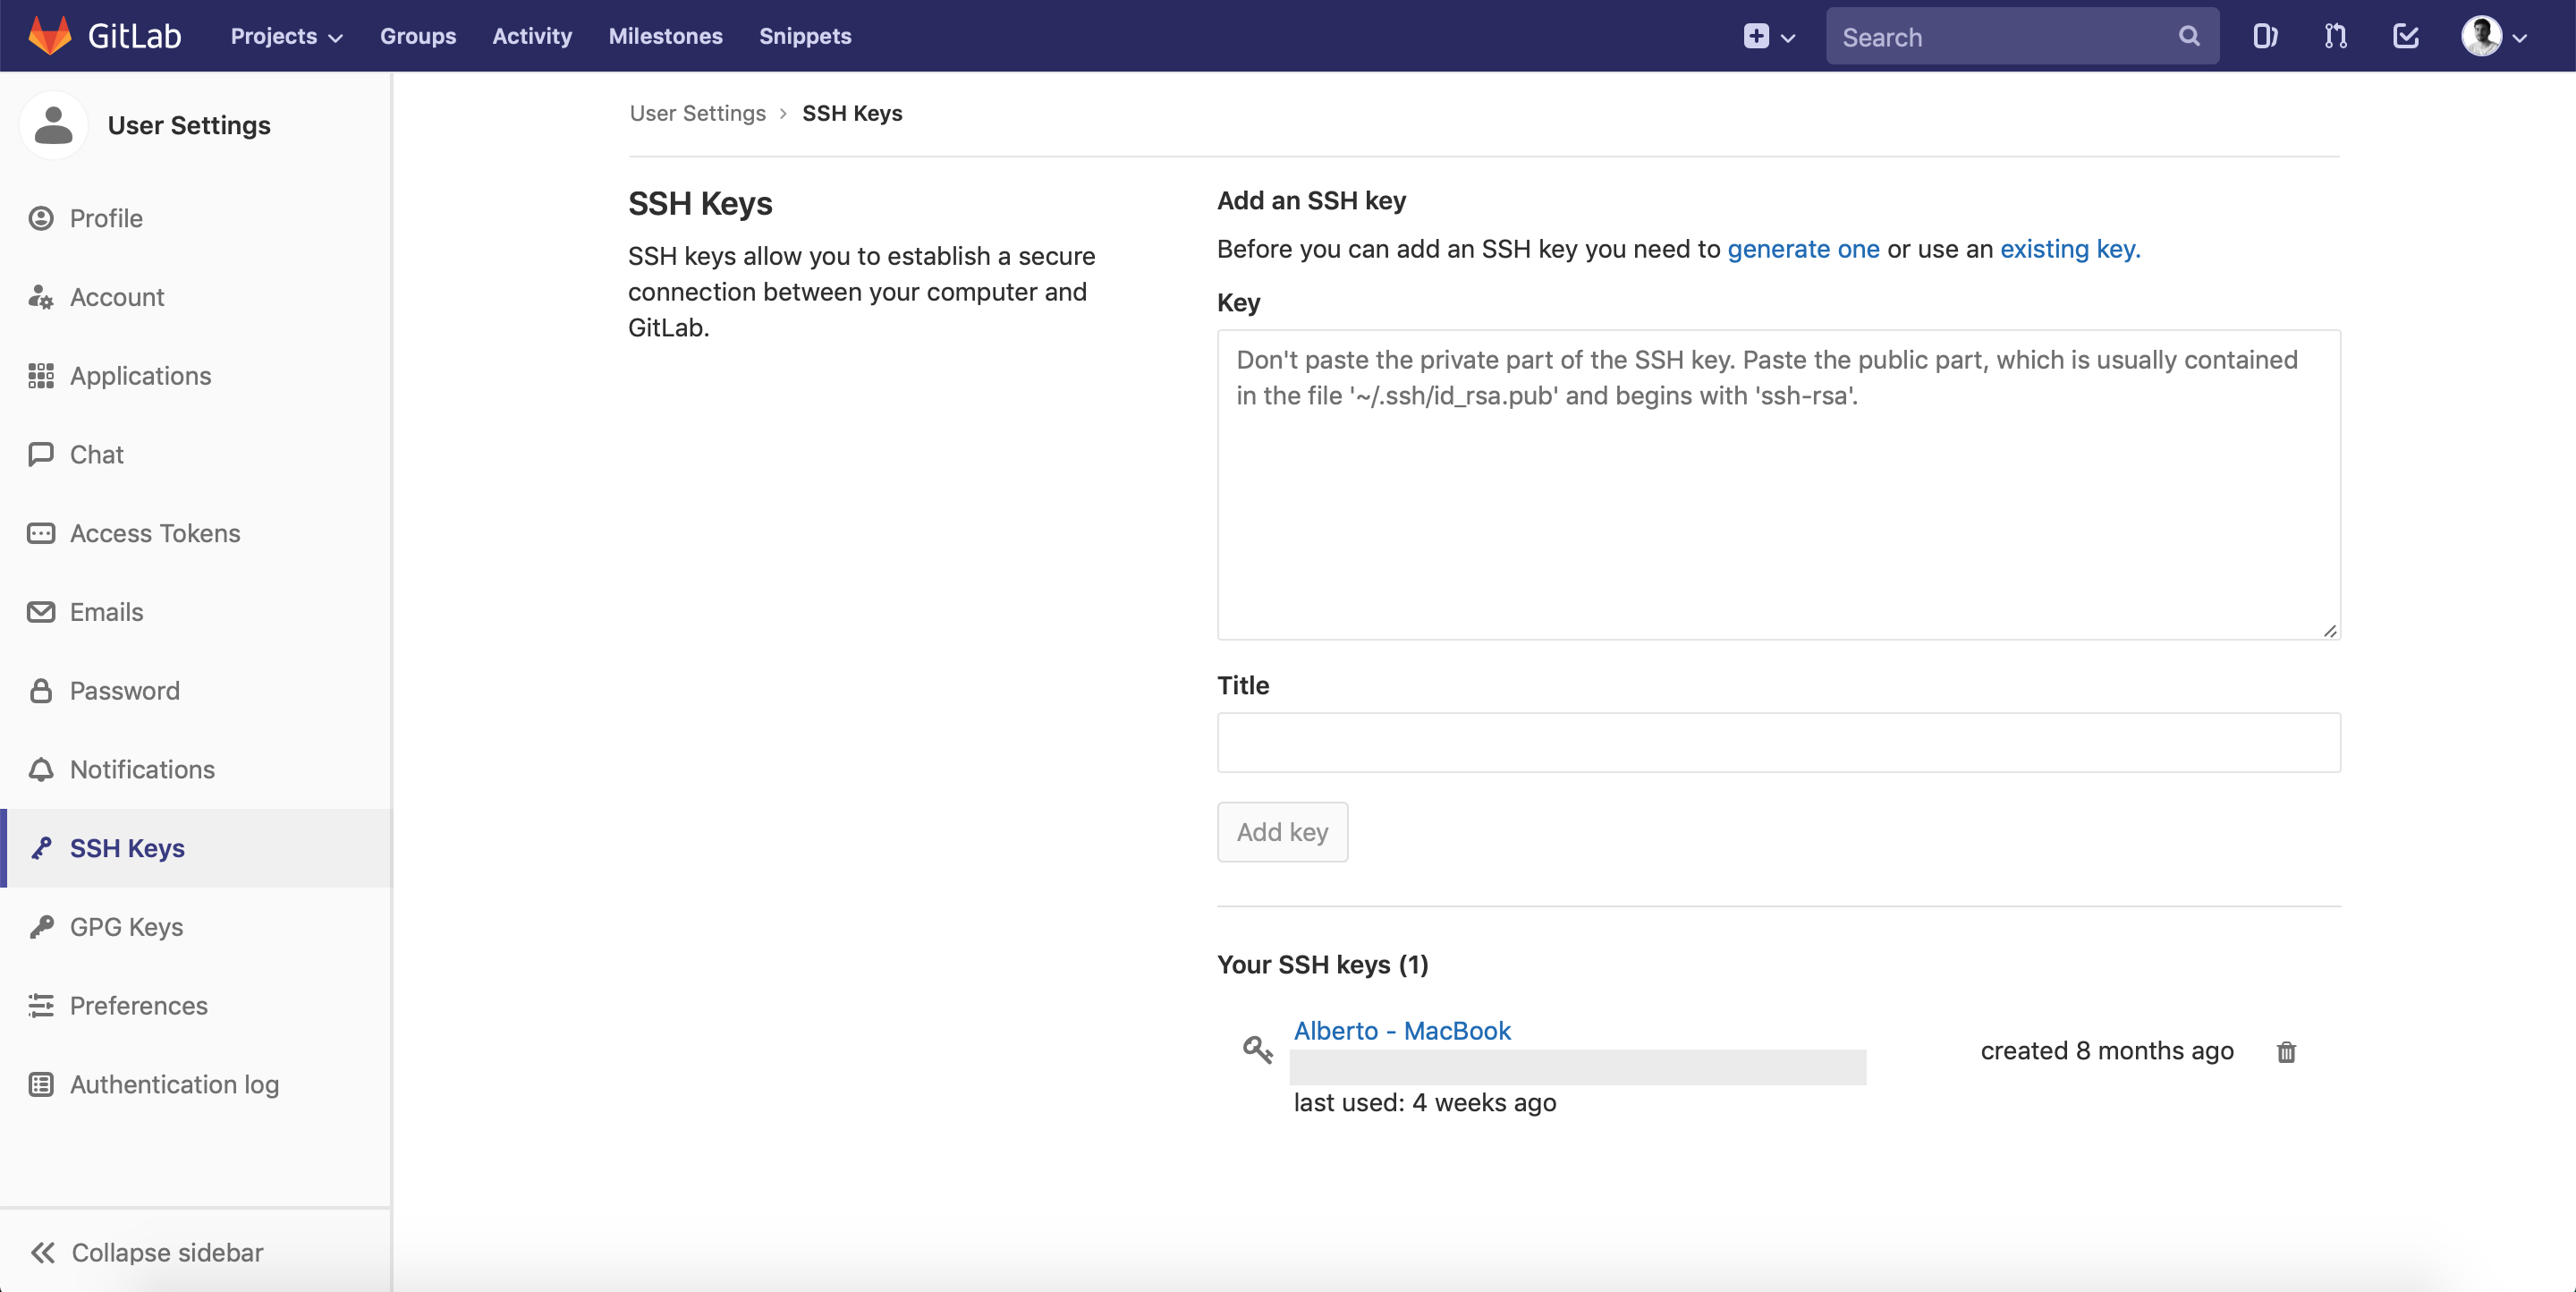
Clicking on the SSH key I can see the details:
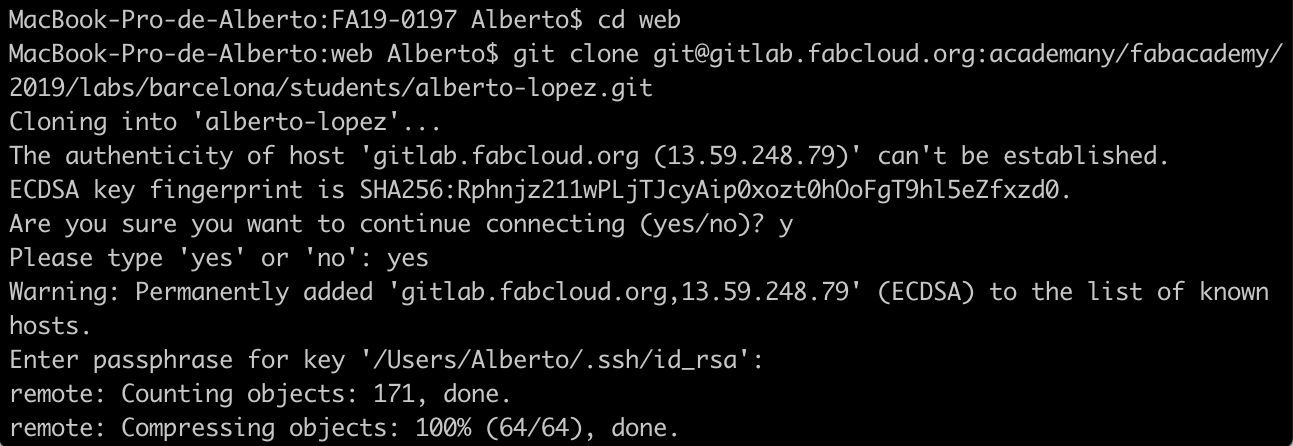
Then I clone my repo:
git clone git@git.fabacademy.org:fabacademy2019/yourlabname/yourstudentnumber.git
2.3. Working with my website
There are multiple ways to design my webpage. I can use layout templates, and using a Markdown texteditor, include the text and files easily on that layout and publish directly. So first I experimented working with Markdown softwares to learn writing processes.
First I installed MKDocs through Hombrew through the terminal. But I first needed to install Hombrew...:

Then installed MKDocs through Hombrew (also possible through python):
brew install mkdocs

I also wanted to play with Jekyll to try its functionality. But to install it I needed to use Ruby and its gems, so I installed everything again with Homebrew on terminal:
brew install ruby
ruby -v(to know ruby's versions)
gem -v(to know gem's versions)
gem update -system
export PATH=/usr/local/bin:$PATH"
gem install jekyll

After all this trials, I gave up searching for the best option of markdown text editors, so I switched and started with pure HTML and CSS langs to create my website from the beginning.
I know the hard goal it means to make a new website this way, but I chose to do it this way to understand every step and function of web design. Here also nice info about how to manage it. I assume the layout and interface on my webpage will be much more simple, but I hope I'll get new tips to develop it along the way.
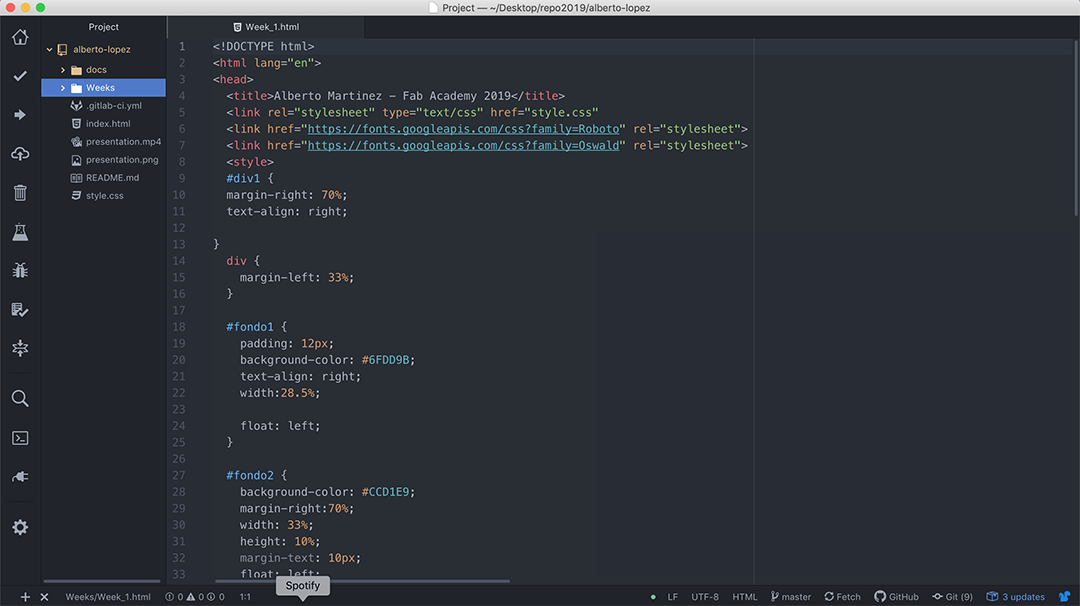
As recommended, I decided to use Atom to work with HTML and CSS to edit, update and publish my webpage.
2.3.1. Coding in HTML
As it is my first time coding either on HTML or CSS, it's important to make clear that html are the propper page where all the information is written, inluding different divisions, menus, links, and so. While CSS is the style document that will be referred to the .html page to define the format of texts, images, grids, layout, etc.
Therefore, I will make one .html document per exercise, including one for the home page and one for the final project. And one CSS document that will declare the style on every html doc.
All pages must be under the same root to get access from Atom and edit them all.
These are some functions I am using on html pages:
- < title >: Name of the webpage
- < head >: Webpage's properties and links to external related files
- < body >: Visible webpage part
- < div >: Container unit that encapsulates other page elements and divides the HTML document into sections.
- < a href="..." target="_blank" >: Hyperlink for web urls, files, and htmls.
- < a href="..." download >: Download files..
- < img src="..." >: Insert image.
- < iframe width="..." height="..." src="..." frameborder="0" allow="accelerometer; autoplay; encrypted-media; gyroscope; picture-in-picture" allowfullscreen >: Insert video frame link.
Some quick text formats:
- < b >: Bold text.
- < i >: Italic text.
- < u >: Underlined text.
- < br >: Line break.
There will be 3 kind of layouts on my webpage:
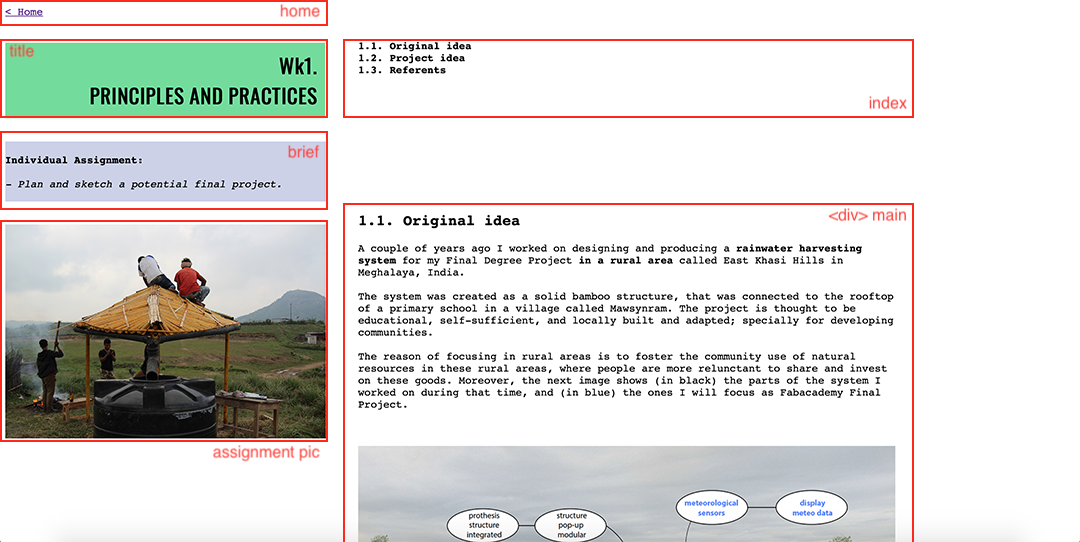
- Home page layout that includes one header and a grid with 20 images linked to each assingment plus the about and other links. It will be named as "index.html"
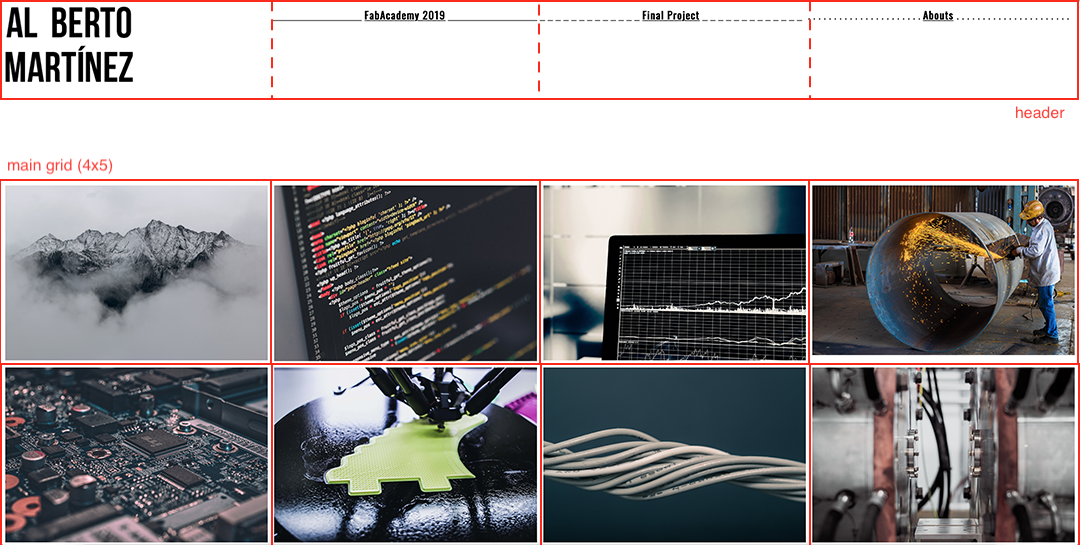
- Home page layout that includes one header and a grid with 20 images linked to each assingment plus the about and other links. Named as "about.html"
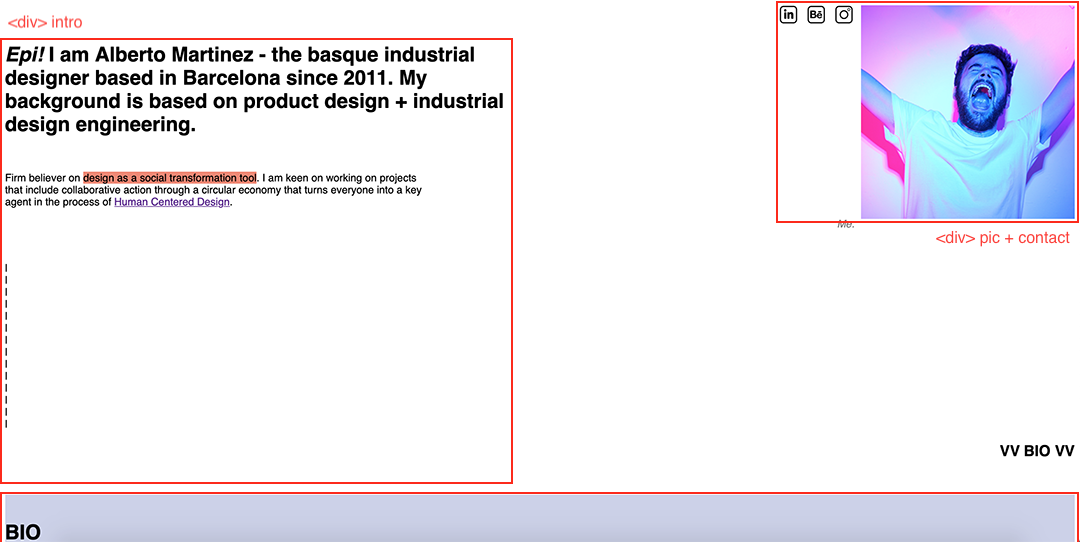
- Home page layout that includes one header and a grid with 20 images linked to each assingment plus the about and other links."Week_n.html"
Most of what I learned about html was thanks to the tutorials on W3Schools. Here you can test on different examples to learn how to edit, manage or add many kind of elements as texts, tables, pictures, videos, menus, etc.
2.3.2. Coding CSS
Also in W3Schools you can find many posts where it's explained how to give format and style to the elements included on the html files.
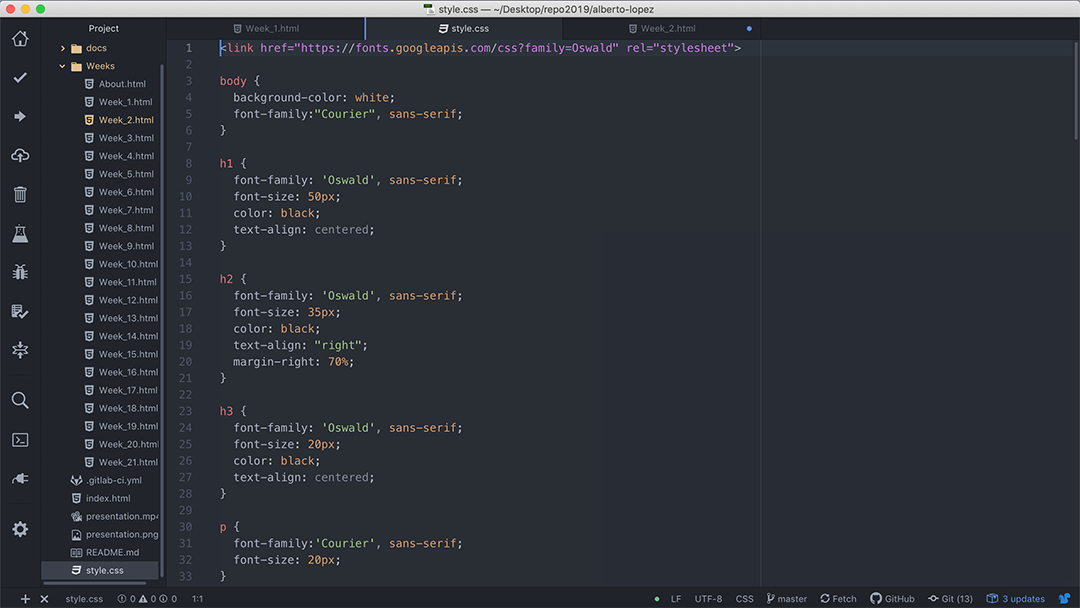
On the CSS file I'm defining format for:
- < body >: Whole text. (Font family, color, size and position).
- < h1 >: Main title. (Font family, color, size and position).
- < h2 >: Title. (Font family, color, size and position).
- < h3 >: Subtitle. (Font family, color, size and position).
- < p >: Paragraph. (Font family, color, size and position).
- . header: Header on homepage (background colors, columns, rows and span).
- . grid-header: Divisions on homepage's header (grid, background color, columns and rows).
- . main-grid: Homepage's pic grid (grid, bg color, columns, rows, grid template and grid gap).
- . image: Homepage's pic config (display, width and height).
- . overlay: Pic's overlay function (position, opacity, transition and bg color).
- . image container: Pic's area and function (float, position, width, font, text-align and color).
- . text: Text over the image (font, color, position, transform and text-align).
2.3.3. Uploading files
Everytime I need to upload my website, I follow the next steps on terminal:
git add .(to upload all the new files at once)
git pull(to download the last copy of my repo) (+ keyword)
git merge(to have a working repo)
git commit -m "what I changed"(to name the commitment)
git push(to upload my repo)(+ keyword)
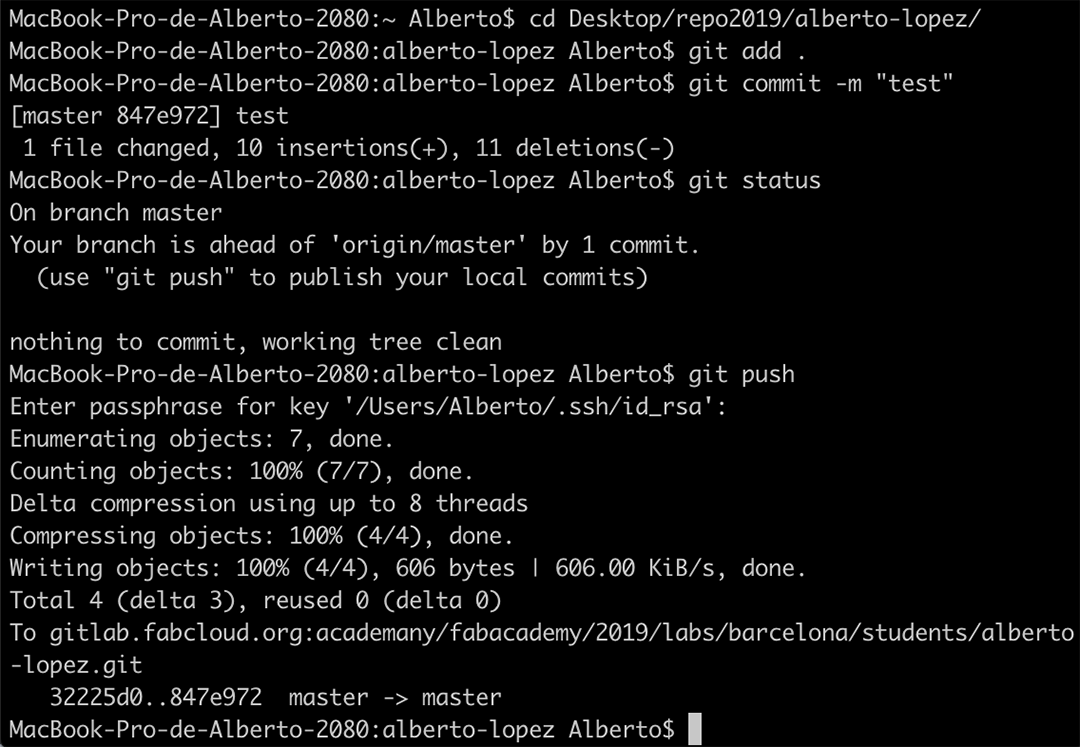
Then I need to check the commitment on GitLab.
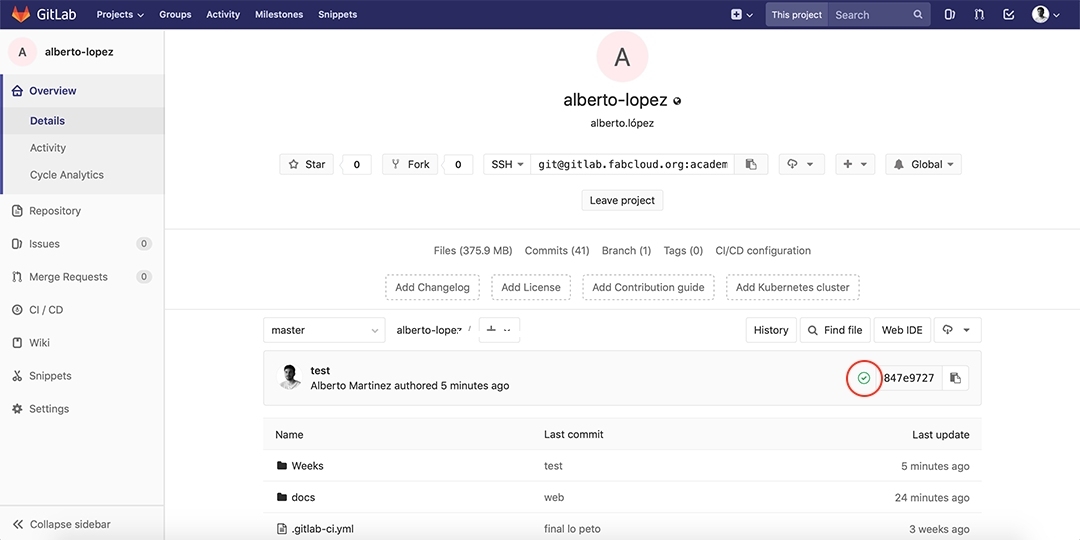
The commitment succeeded.
In case there is any failure on the process, just click on the error message and the work's pipeline will open to check the errors.
