Publishing video content
A plan is nothing, planing is everything
I'm not an expert (at all) in video but I tried a few things for previous projects and here are the topics you should consider:
- What do you want to share and who will benefit from it ?
- Why do you want to use video to share your content ? If you want to share highly detailed technical stuff with a lot of references, you should better write a text.
- Do not talk like you write. It has to be less formal, it has to be more friendly, the viewer wants to have fun ! You should still prepare your plan and you could even write down the entire script
Record
Room setup
Obviously, a quiet place is required. Turn your phone off, turn the outdoor bell off as well, tell others you are recording, especialy your children. Take weather into account: I remember a painful video recording experience where it was raining outside. When it rains, any vehicule on the street is noisy. Do not record the day the garbage is collected neither ! You could try a super-isolated room but I don't like it since there is some kind of echo and I do not feel very well inside the room. If you plan to record something outdoor, pay attention to the background. The big blue recycle bin is not the best background you should plan. Click here for more...
Camera
It depends on what you want to record. Do you want to show something you do (like soldering, ..). Then, the best approach is to build a small setup with a camera on the top. There are multiple videos on the web where the camera is always moving/shaking. It makes me sick. If you plan to record what you do on a computer while you do it
Sound
For the sound track, I tried portable microphones and a fixed one as well (Yeti). I like the fixed one, since you can tune it to capture in specific directions (just in front, front/lef/right, all). If you have a group of noisy users, you will probably try to filter that noise and the Yeti does a great job on that. Click here for more...
Light
I bought a nice kit last year. This is not pro stuff but it looks great. It help a lot to build a nice place with a lot of light and no dark areas. Click here for more...
Teleprompteur
It looks like TV-pro stuff but it is affordable. Using that device, you can read your text while looking into the camera. Click here for more...
Recording session size.
I prefer short sessions, a few minutes at maximum. It helps me to concentrate, I can start again when it fails and you can mount all the sequeneces in post production. Try to stay at the same place for each recording and .. do not change your clothes or cut your hairs between recordings !
Post processing
Content type file format and size
Help ! I plan to publish my videos on my website but those videos are not MP4 and, franquly, it does not meet the Fab Academy video size requirement neither. What should I do ?
First, videos captured on an iPhone are MOV files. (from Wikipedia) The format specifies a multimedia container file that contains one or more tracks, each of which stores a particular type of data: audio, video, or text (e.g. for subtitles). Each track either contains a digitally-encoded media stream (using a specific format) or a data reference to the media stream located in another file. Tracks are maintained in a hierarchical data structure consisting of objects called atoms. Because both the QuickTime and MP4 container formats can use the same MPEG-4 formats, they are mostly interchangeable in a QuickTime-only environment. MP4, being an international standard, has more support.
Thus, we need to convert the file to a less Apple specific format with ffmpeg. Click here for more info on ffmpeg usage..

HTML5 MP4 ffmpeg encoding
- variable bit rate 1080p MP3: ffmpeg -i input_video -vcodec libx264 -crf 25 -preset medium -vf scale=-1:1080 -acodec libmp3lame -q:a 4 -ar 48000 -ac 2 output_video.mp4
- fixed bit rate MP2: ffmpeg -i input_video -vcodec libx264 -b:v 1000k -vf scale=-1:1080 -acodec mp2 -b:a 256k -ar 48000 -ac 2 output_video.mp4
- no audio: ffmpeg -i input_video -vcodec libx264 -b:v 1000k -vf scale=-1:1080 -an output_video.mp4
- crop size (width:height:xoffset:yoffset): ffmpeg -i input_video -vf crop=1500:800:200:100 -vcodec libx264 -b:v 1000k -an output_video.mp4
- trim time (-ss start time, -t duration): ffmpeg -i input_video -vcodec libx264 -b:v 1000k -an -ss 00:00:10 -t 00:00:10 output_video.mp4
- mix audio and video: ffmpeg -i input_video -vcodec libx264 -b:v 1000k -vf crop=1120:876:0:100 -i input_audio -acodec mp2 -b:a 256k -ar 48000 -ac 2 -ss 00:00:20 -t 00:00:20 output_video.mp4
- crop, pan, composite: ffmpeg -i input_video_1 -i input_video_2 -filter_complex '[1:v]crop=175:95:930:860[cropout];[cropout]scale=350:190[scaleout];[0:v][scaleout]overlay=10:10[outv]' -map '[outv]' -vcodec libx264 -b:v 1000k -map 0:a -acodec mp2 -b:a 256k -ac 2 -t 00:00:05 output_video.mp4
The next step is to edit the video using KDenlive
Post processing tools
I'm used to Filmora on Windows. For my Fab Academy journey, I will give a try to Kdenlive tools. Let's start with a tutorial
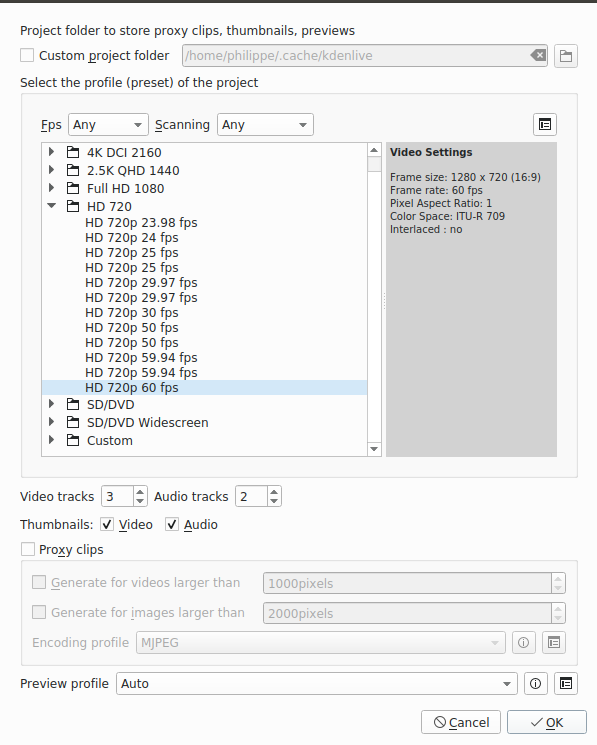
Create a Kdenlive project. Since we want to publish our video on Internet, HD 720p with 60 fps is a good compromise.
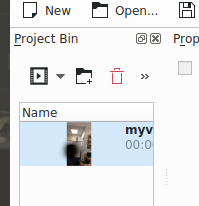
Drag our MP4 file into the project area, along with any other input we want to use in this project (images, sound tracks, other videos, ..)
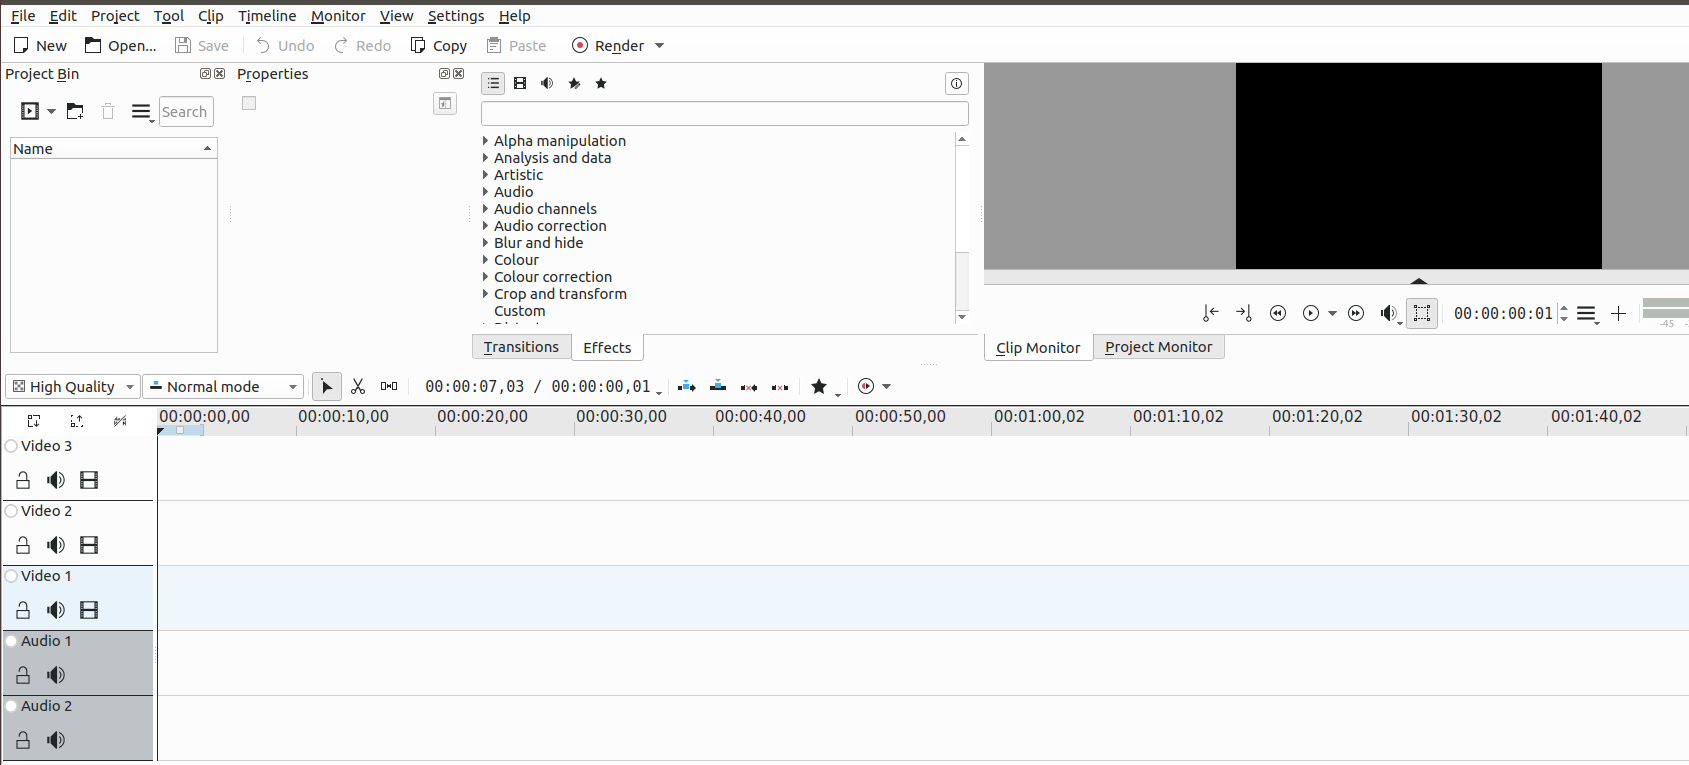
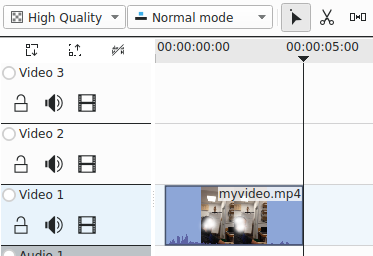
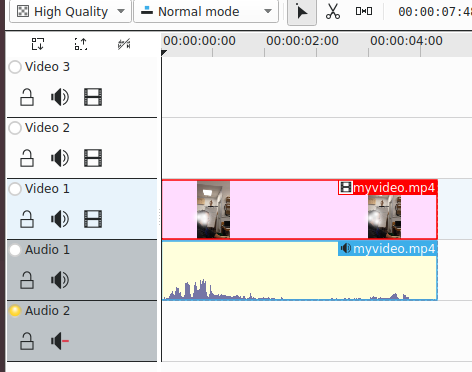
Now, drag the video to a timeline, on the "video 1" row
Remove any useless part of the video, like the first and last seconds. Use scissors to cut part of the video from the timeline. Click where you want to cut, then select the part you want to delete (by default, the part located on the right of the cut.
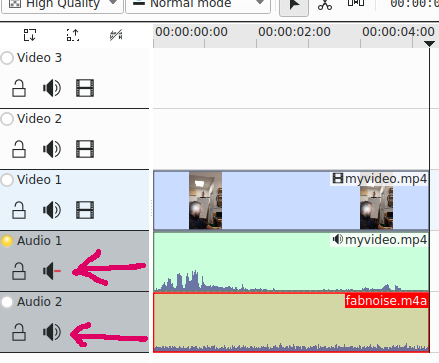
In our video, there is some background noise we don't want to keep. Right-click and select Split/Audio. You could decide to keep it for further use or delte it. If you click on the speaker icon, it will remain on the timeline but it will not play.
Drag a sound track to the project area and then to the timeline. We will use that soundtrack as a background
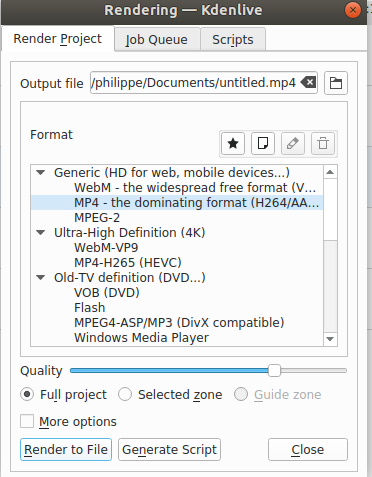
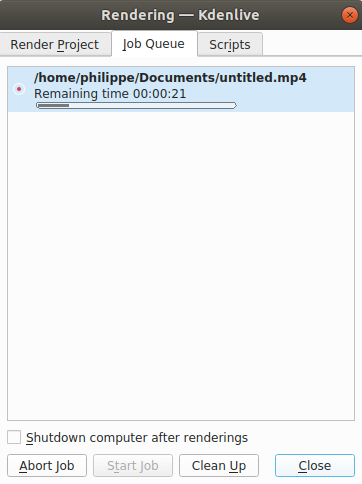
Once everything looks ok, the last step is to render it (i.e to create one single output file). Click on "render", select MP4 (or any other format supported by most web browsers) and click on "render to file"
Captions and embedded content
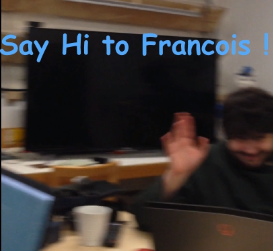
When you want to share detailed information (like a web site URL), add a caption and display the url at the bottom of the screen at the same moment you say it. It is easier and the viewers can always take a screenshot. With Kdenlive, titles are created on the project area and then added to the timeline. See this link to get more information on how to proceed
Publish
HTML standards
In HTML5, there are 3 supported video formats: MP4, WebM, and Ogg.. MP4 is supported by all web browsers. Here is a code sample:
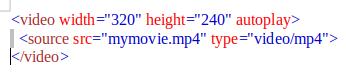
The autoplay attribute does not work in mobile devices like iPad and iPhone. There is nothing mandatory but I suggest to create a folder for videos, like we did for images.In the same way as for the img element, the src (source) attribute contains a path to the video you want to embed. It works in exactly the same way. Users must be able to control video and audio playback (it's especially critical for people who have epilepsy.) You must either use the controls attribute to include the browser's own control interface, or build your interface using the appropriate JavaScript API. At minimum, the interface must include a way to start and stop the media, and to adjust the volume.