.png)
Hi! Welcome to Week 6
This week’s assignment was to design and 3D print an object (small, few cm3, limited by printer time) that could not be made subtractively, and also to 3D scan an object (and optionally print it).
This week’s assignment was to design and 3D print an object (small, few cm3, limited by printer time) that could not be made subtractively, and also to 3D scan an object (and optionally print it).
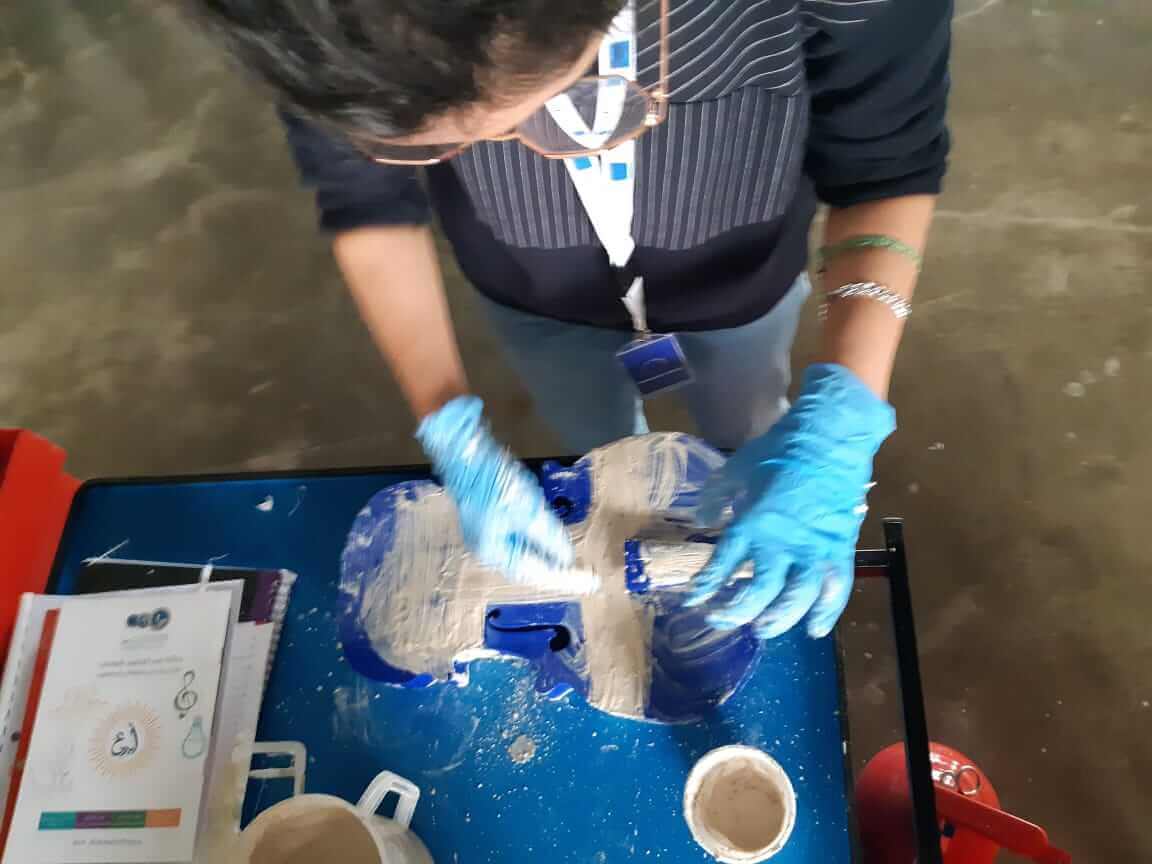
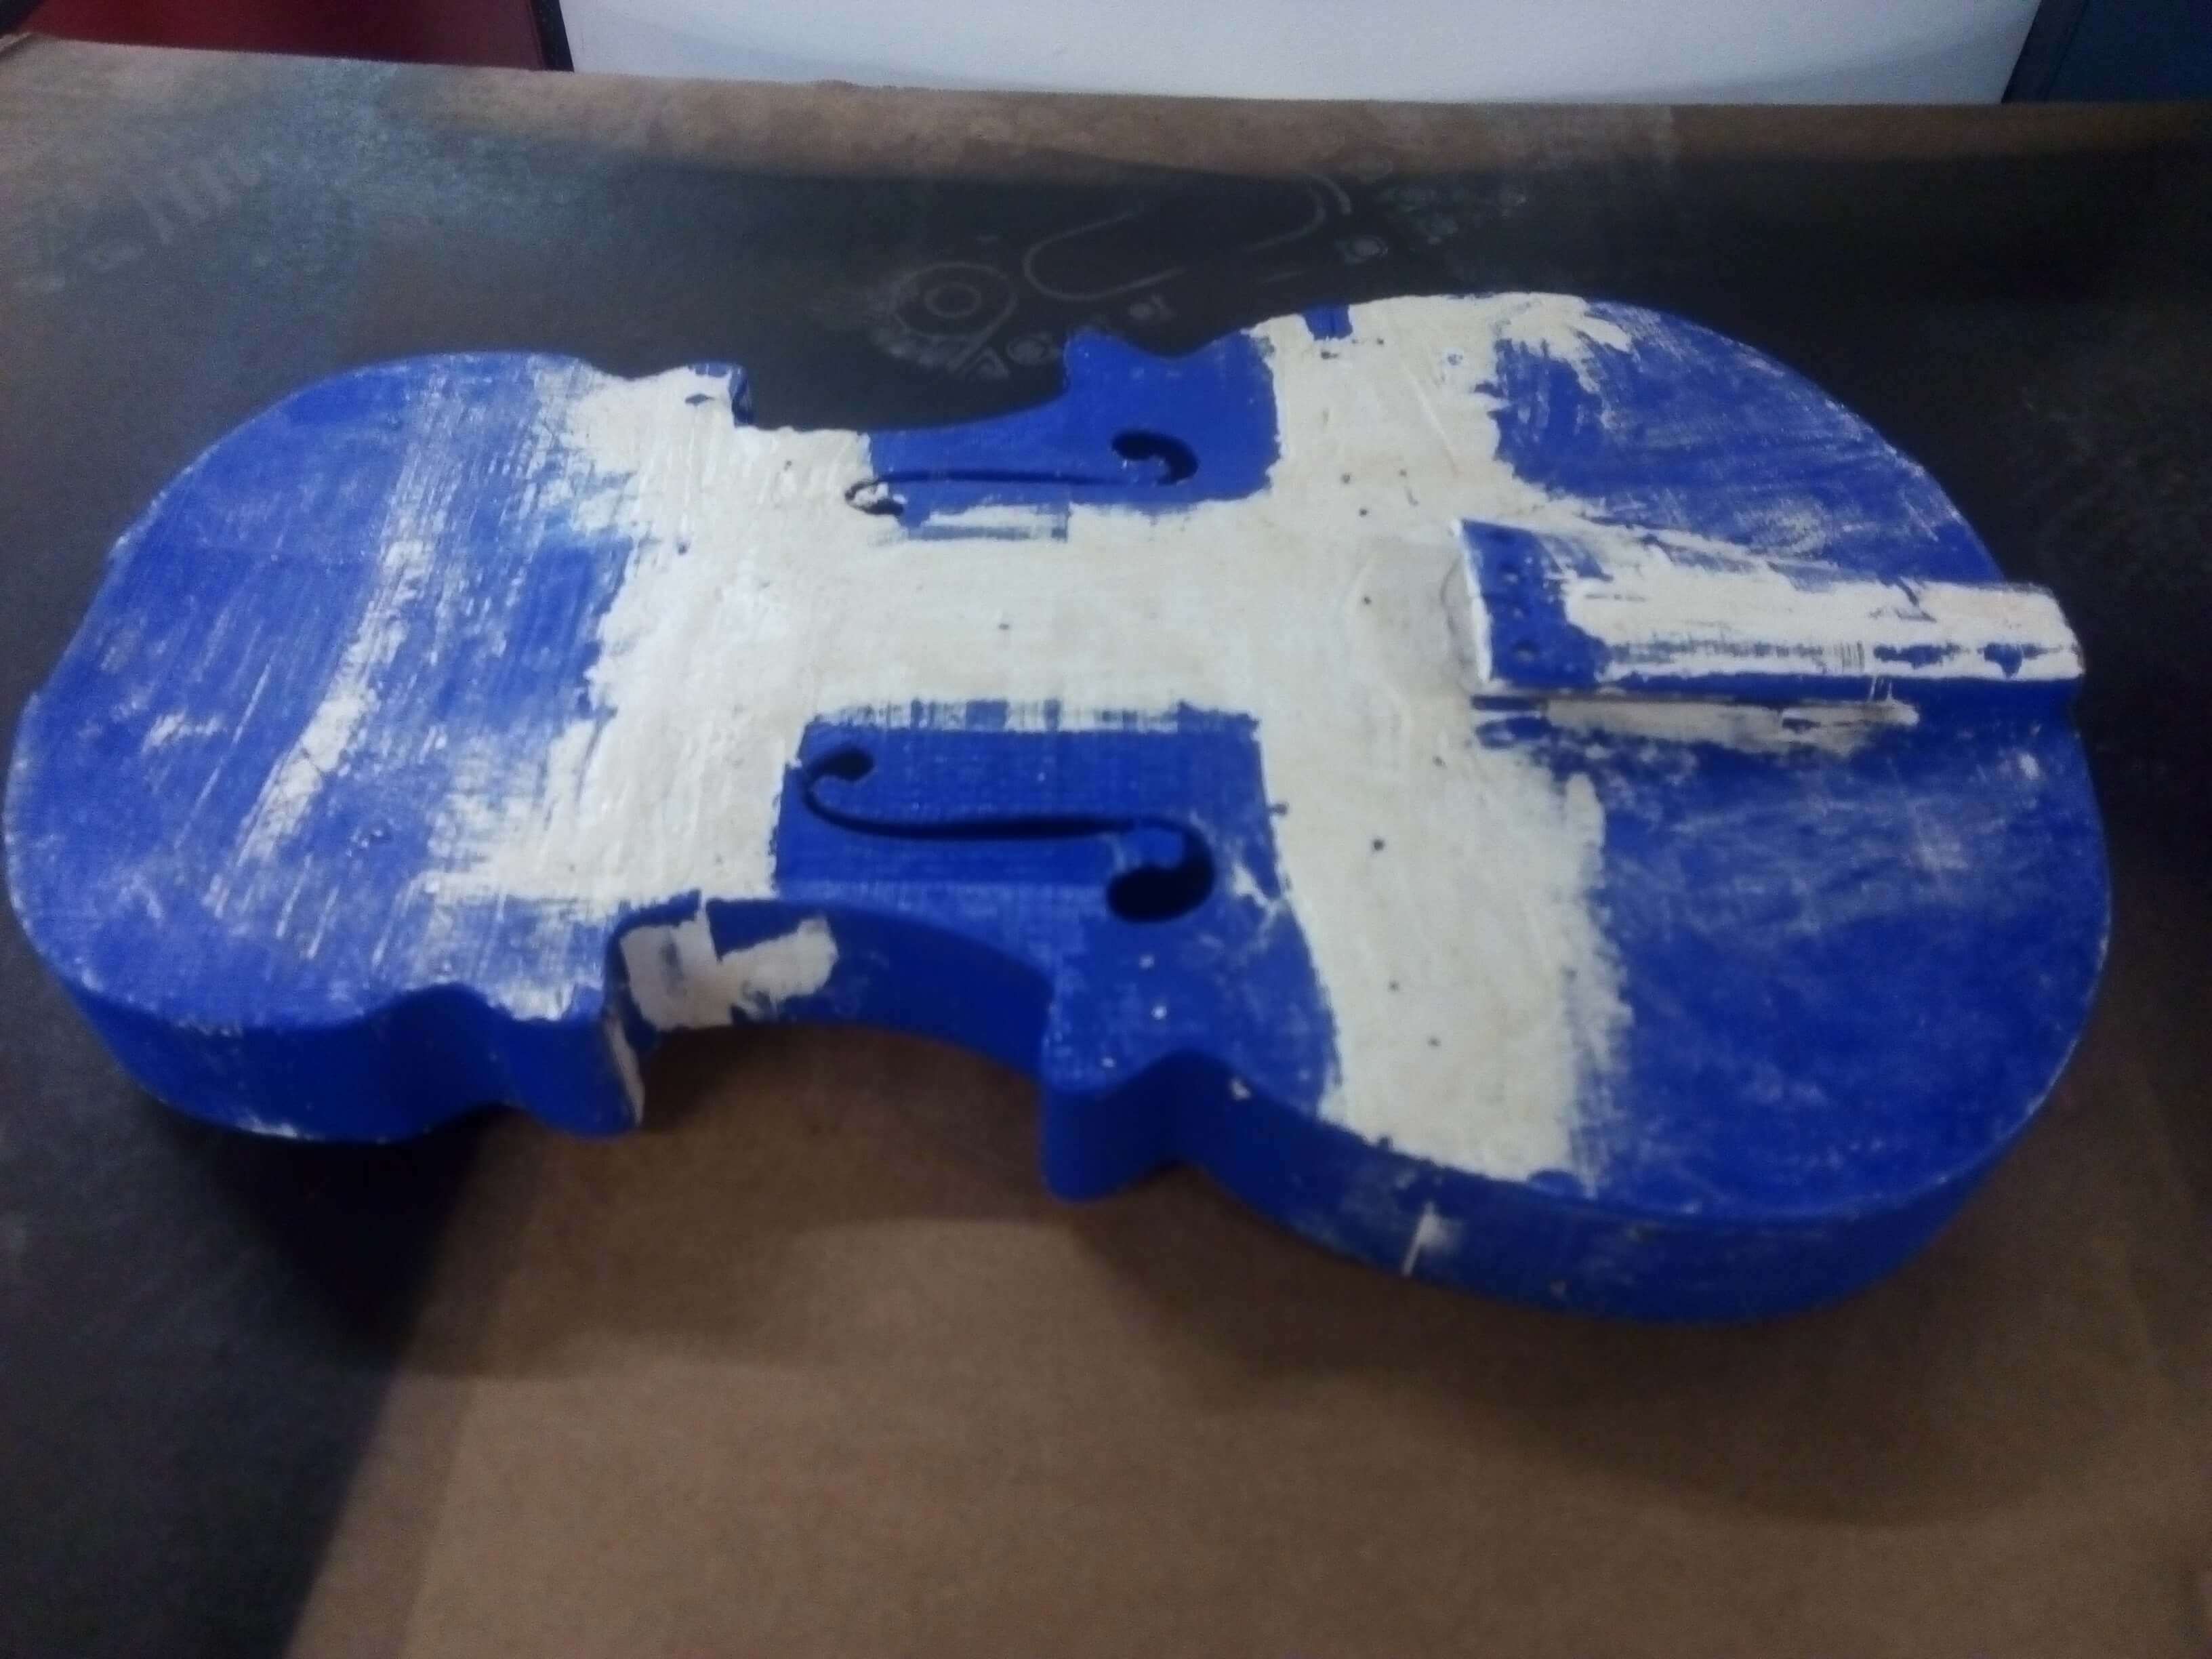
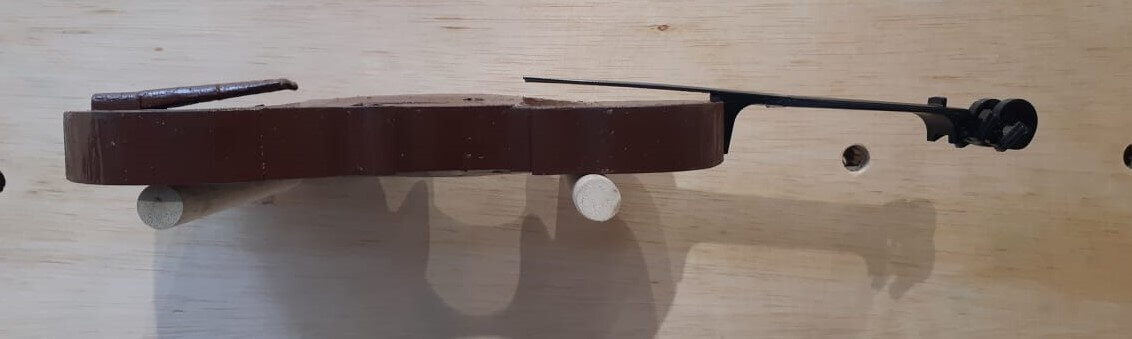
During my previous internship in FabLab, I got familiar with designing for 3d printing and its techniques. I have designed and printed a functional real size violin (which was a bit challenging due to its size) so divided it parts to fit the size on the printer’s bed, I then joined the pieces together, covered it with gypsum, and then sprayed it:


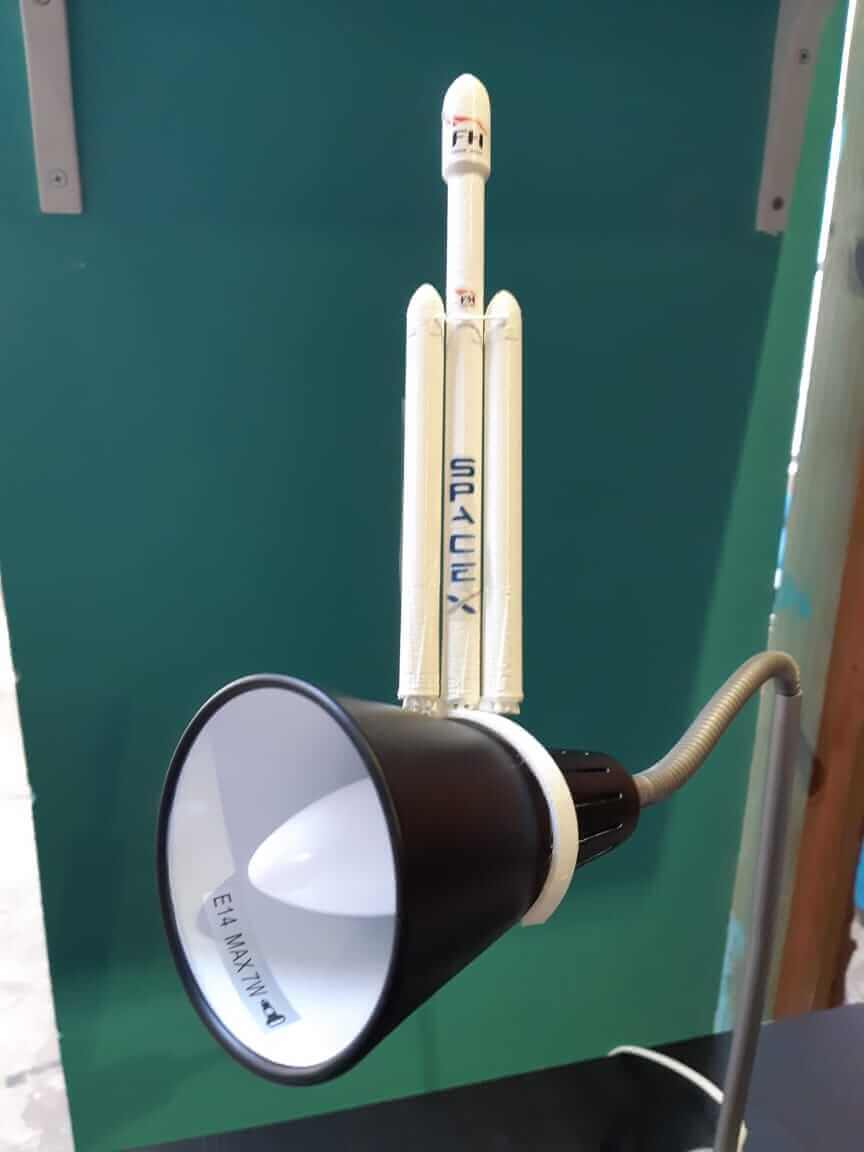
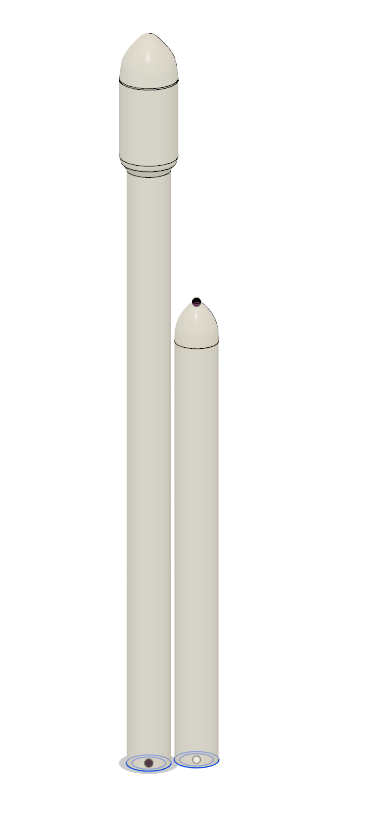
I have also once made a gift for a friend of mine who’s a huge fan of spaceX, which was a mini replica of the Falcon Heavy rocket. that can be used as an accessory for a table lamp. Here too, I designed it from scratch and worked my way into printing it:
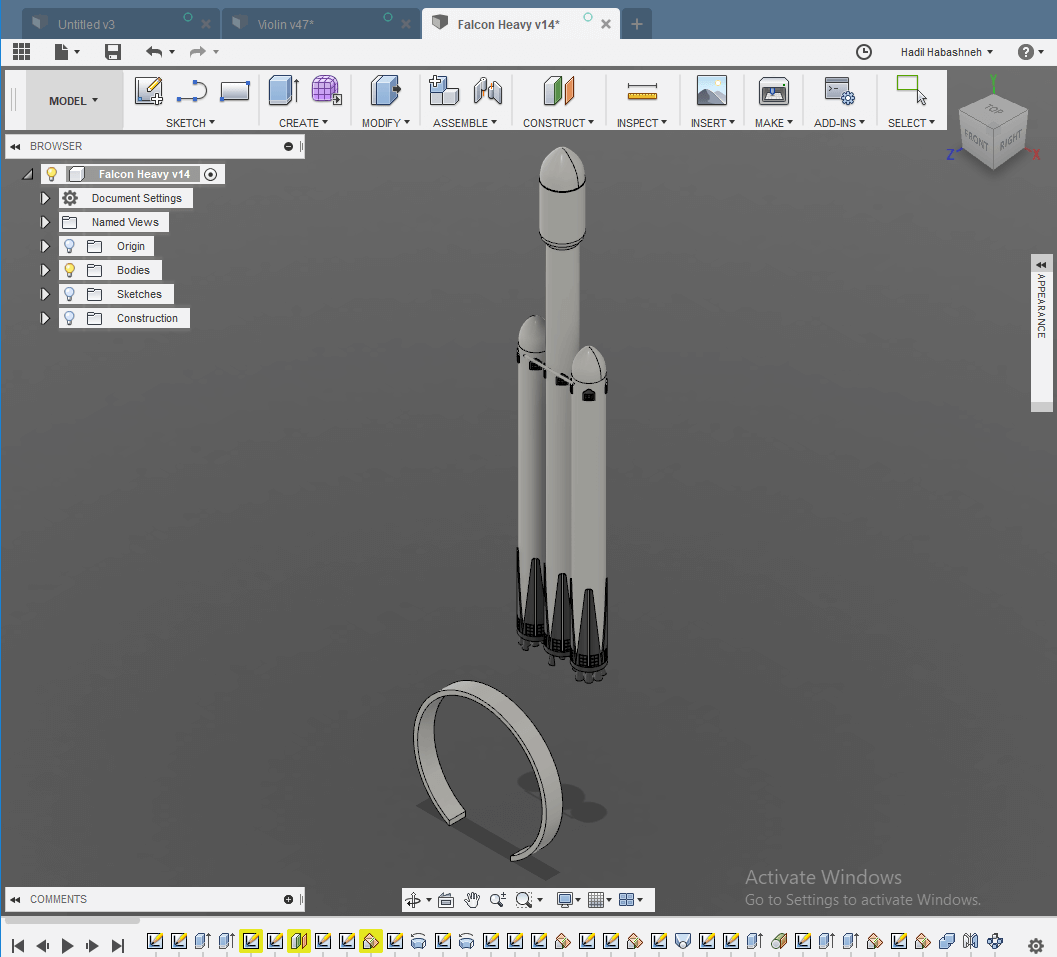
I made it by drawing the tubes on Fusion360, and then I drew the cross section on the parts on top, revolved it, and added the detailes on the bottom, mainly with creating a pattern.

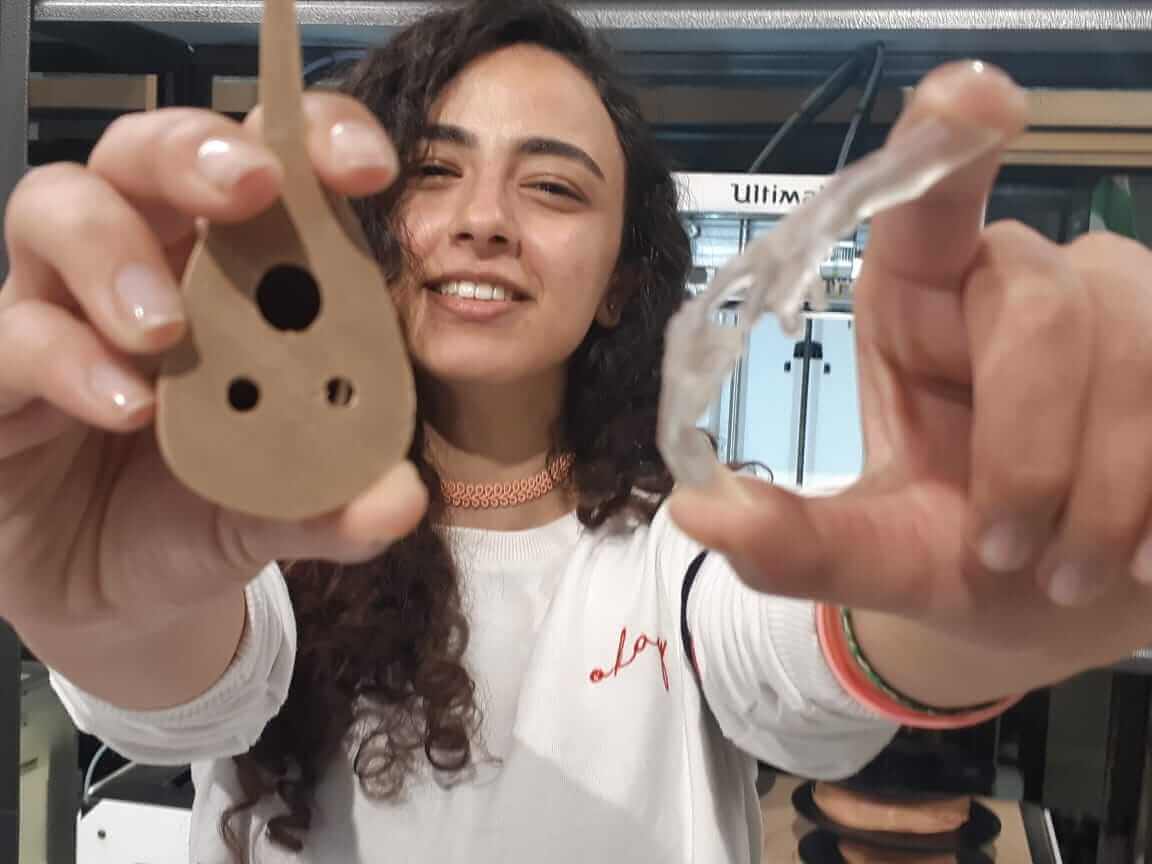
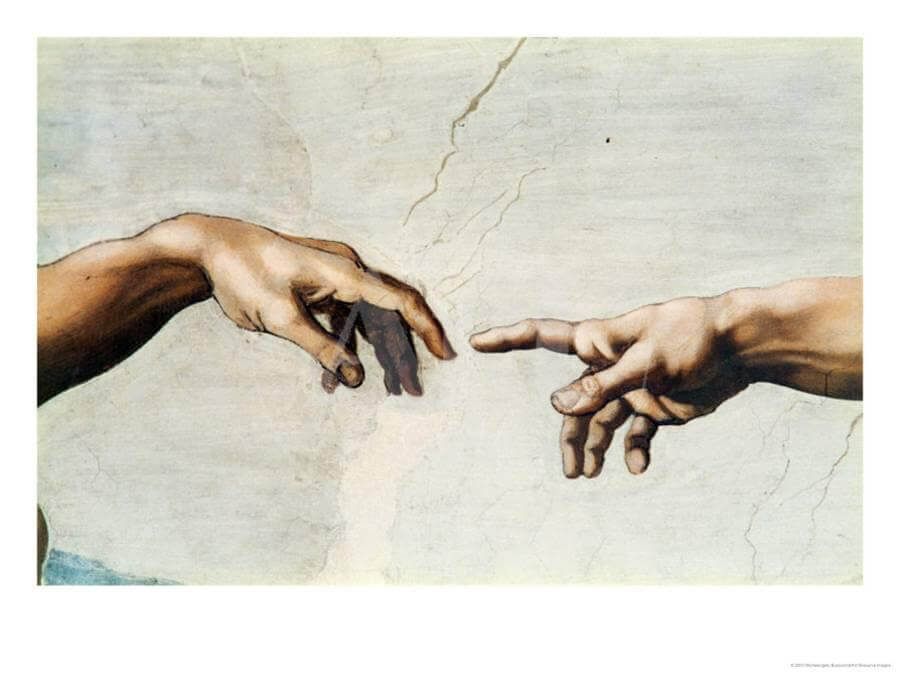
For this week, I wanted to make the printed objects about things that I like, and I settled on Oud and the Creation of Adam painting.
I have recently started practicing playing Oud, which is an oriental musical instrument.
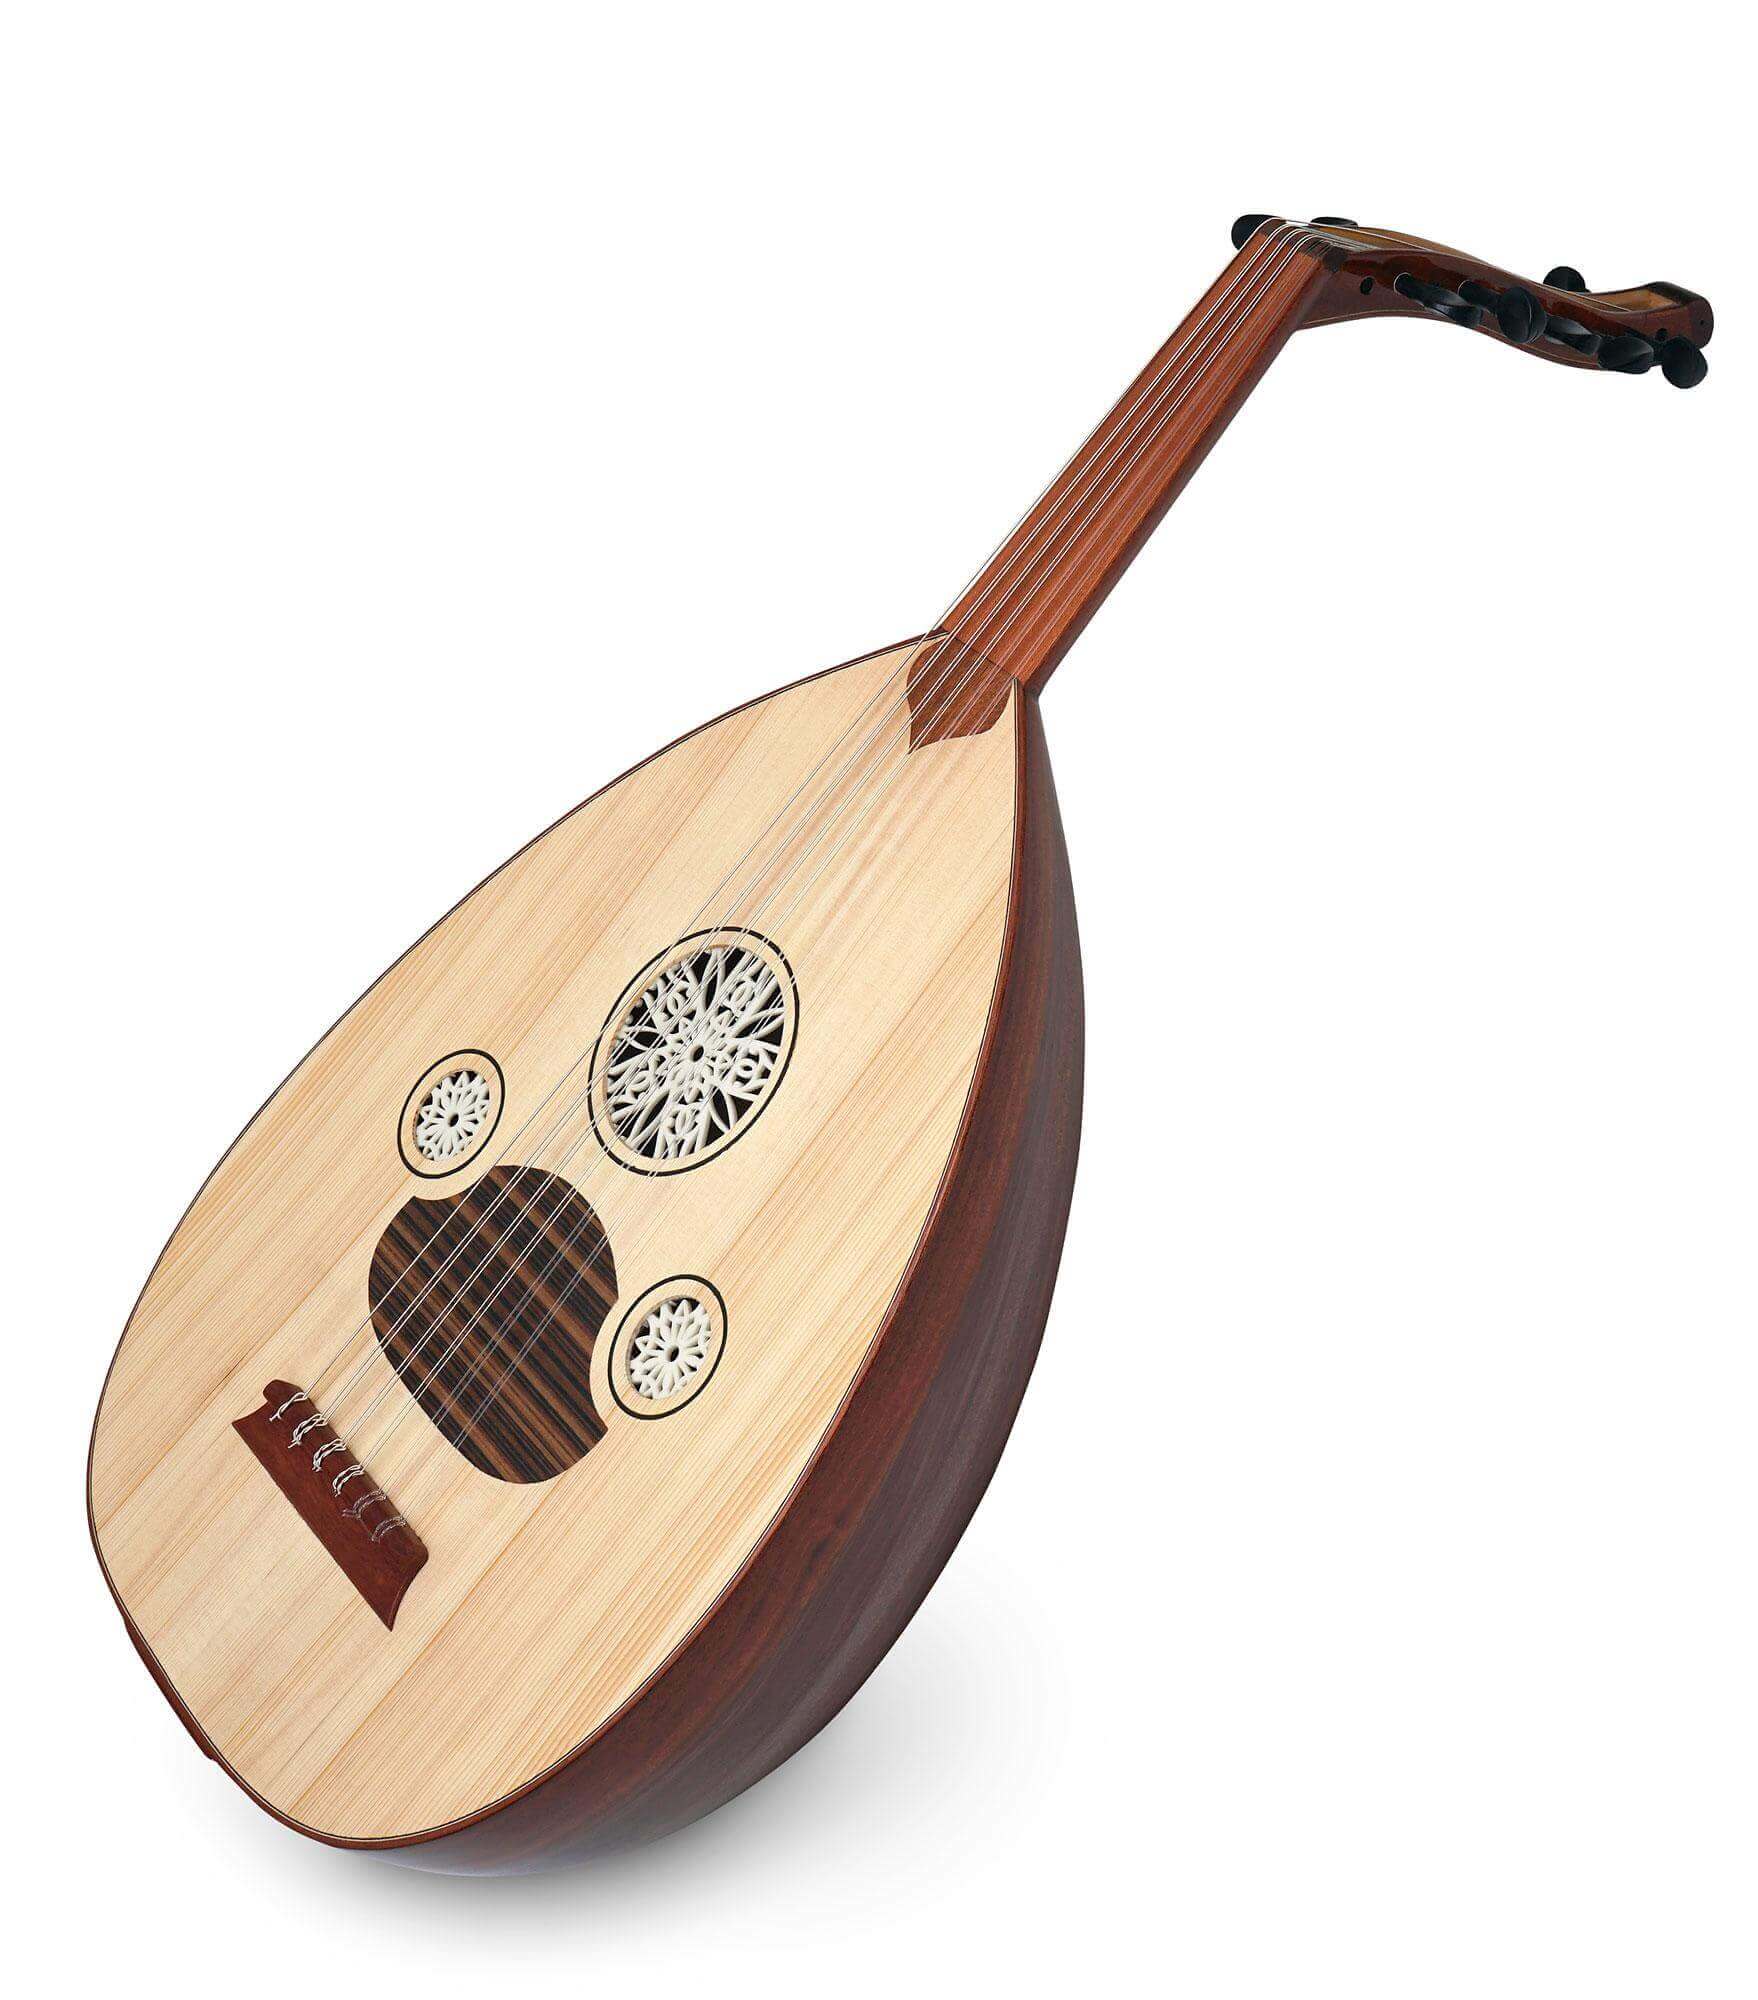
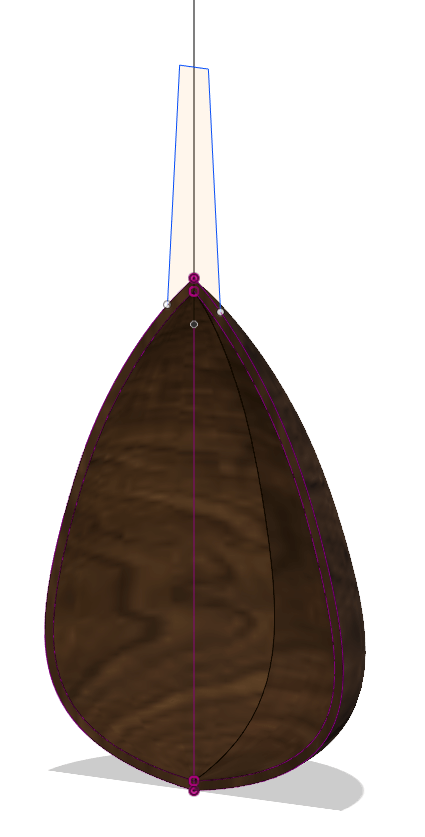
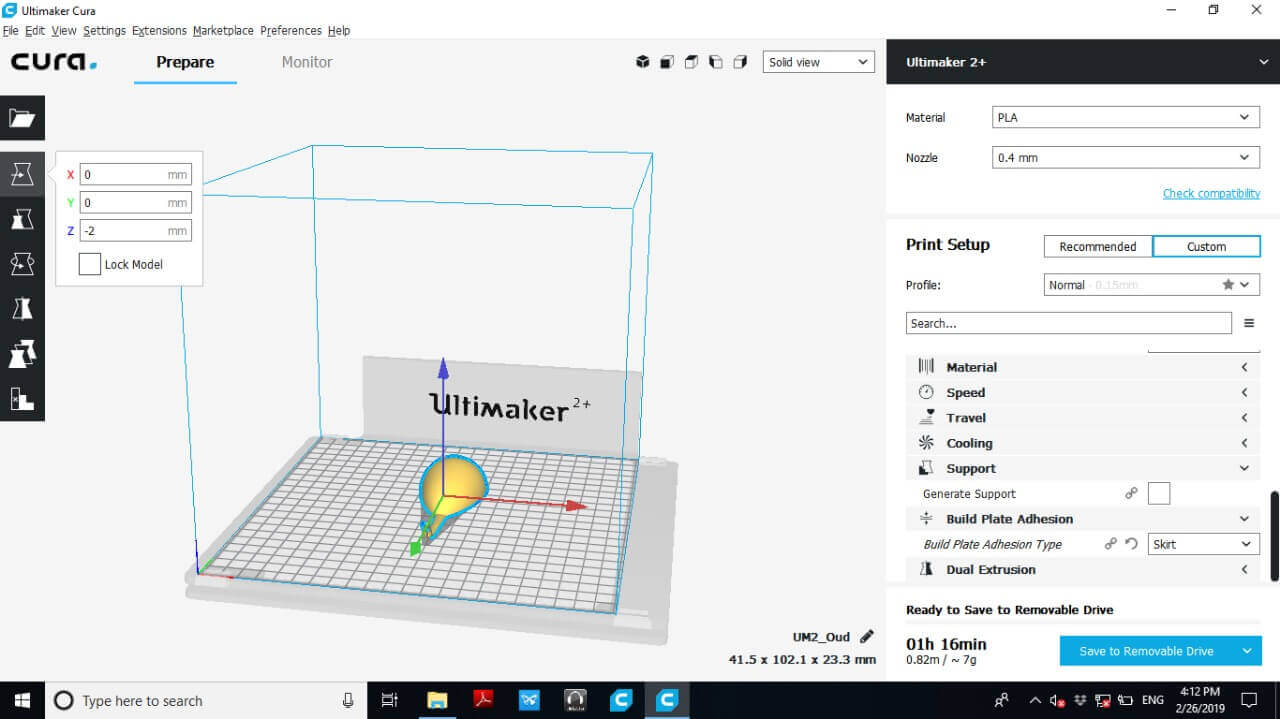
I am very much into it and I decided to design a little keychain of it. I designed it using Fusion 360 (you should know by now that it is my favorite 3D designing program :D ), and since it is only a mini print, the dimensions, curvature, and proportions didn’t have to be super accurate, and estimations would be absolutely fine.
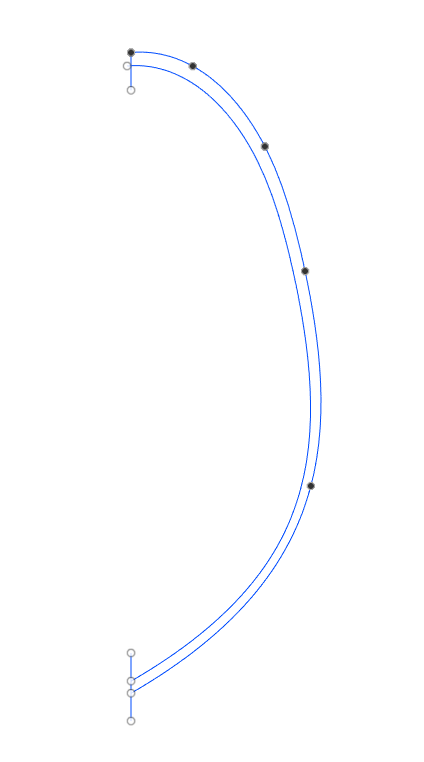
I started by drawing the cross section of the “belly”, which is the curvy back side of the oud, and then I revolved it for half a circle, then created the flat face on the edges of the belly, and added few details on it.
I then created an offset and drew the sectional shape of the bridge on both ends, and then lofted the drawing, and created the tuners.
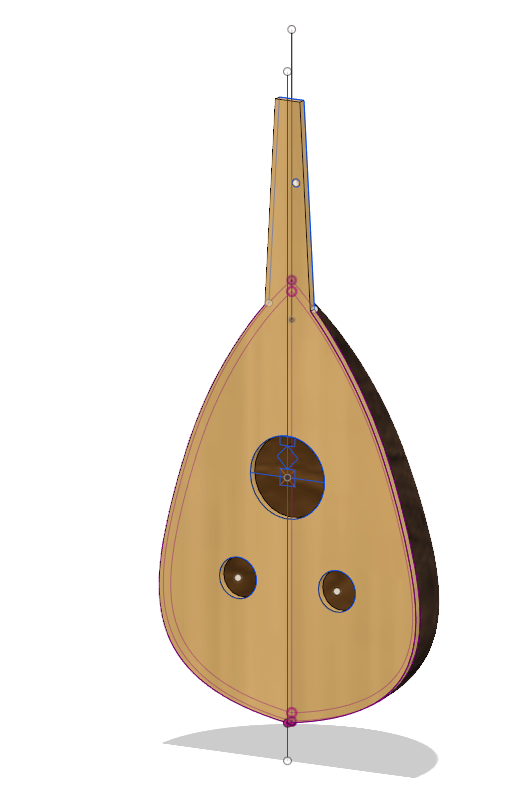
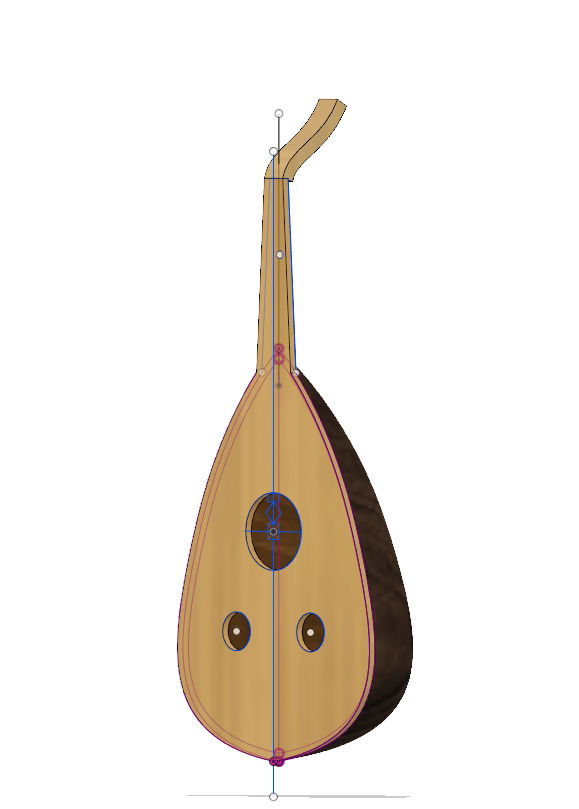
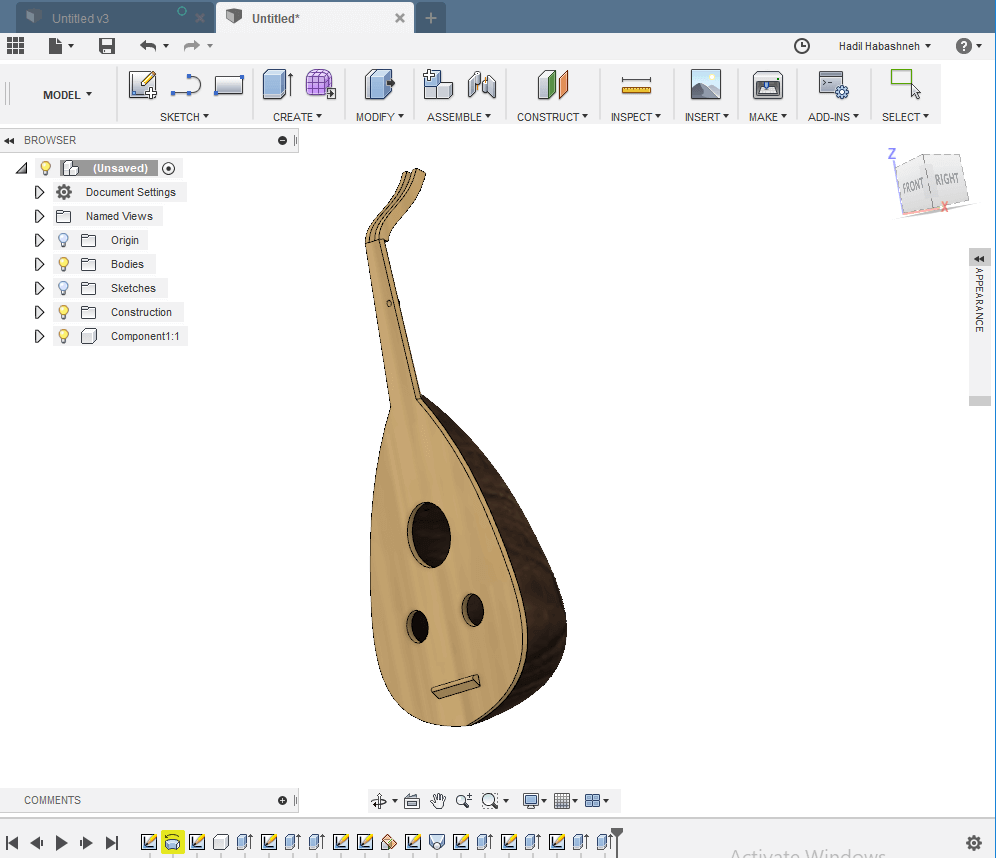
And here are my final results.

Next, I started on my scan and design of the Creation of Adam.
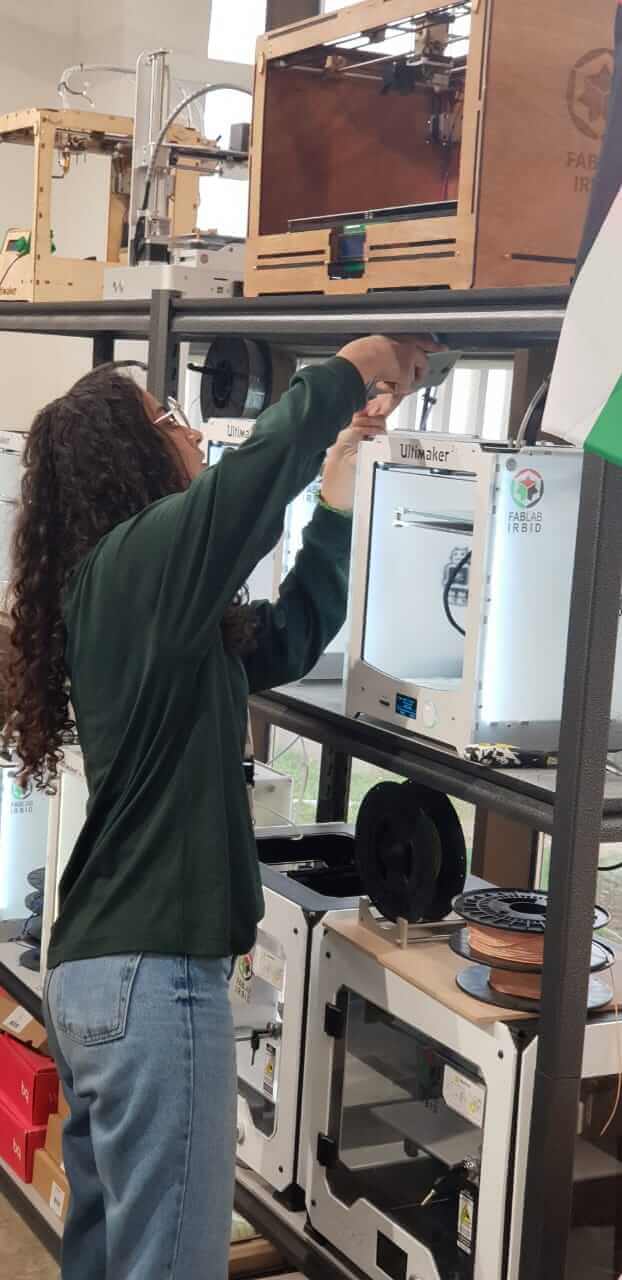
I brought a friend of mine and started the scan using Sense 3d scan.
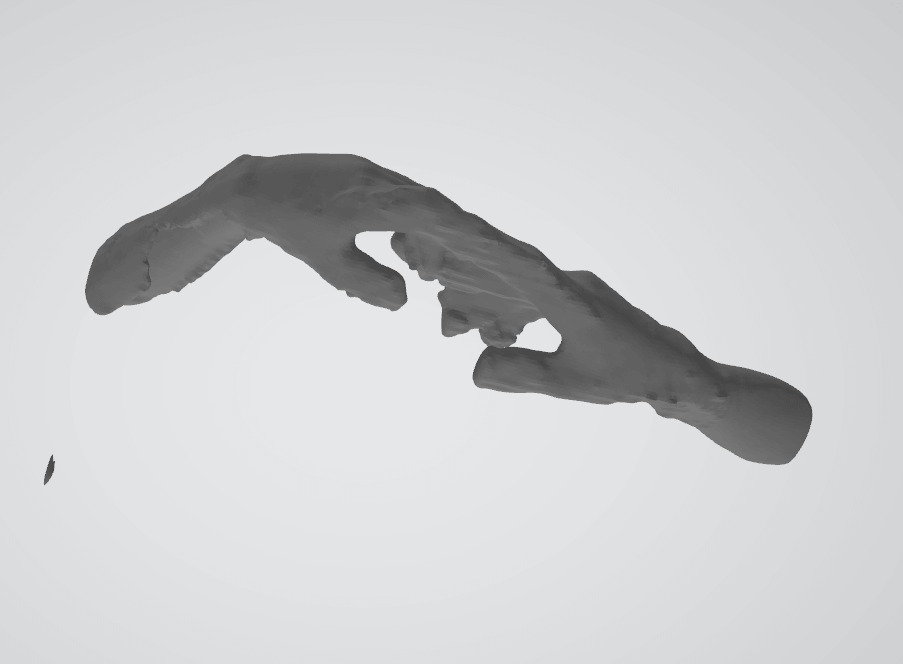
Unfortunatly, the results weren't as clear as I wanted them to be, here you can see the results I first got from the scan process:
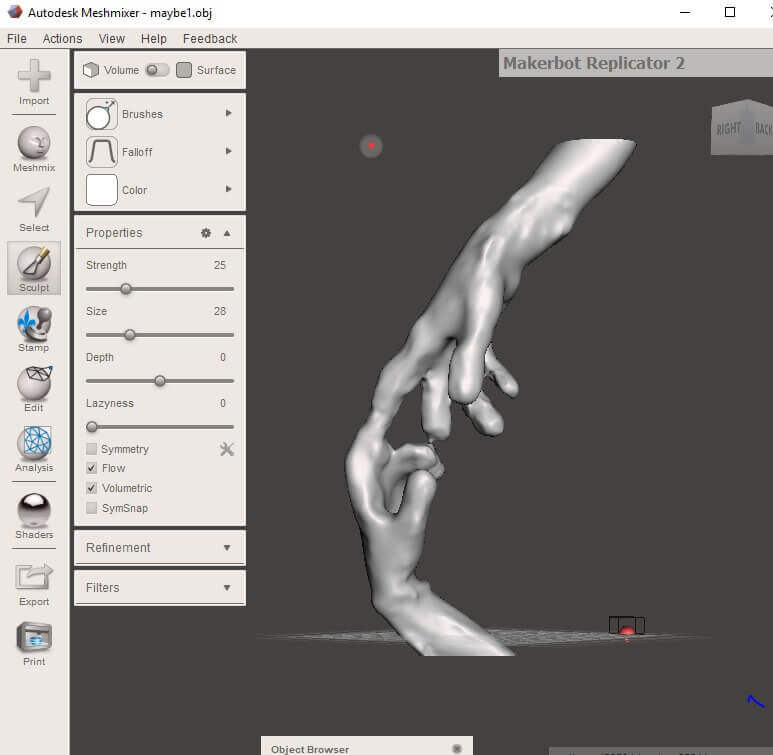
to over come this problem, I solidified and touched up my results on MishMixer, where I flattened the surfaces where I thought it will make the body more detailed.
Final by hadilhab on Sketchfab
you can download my file from here.
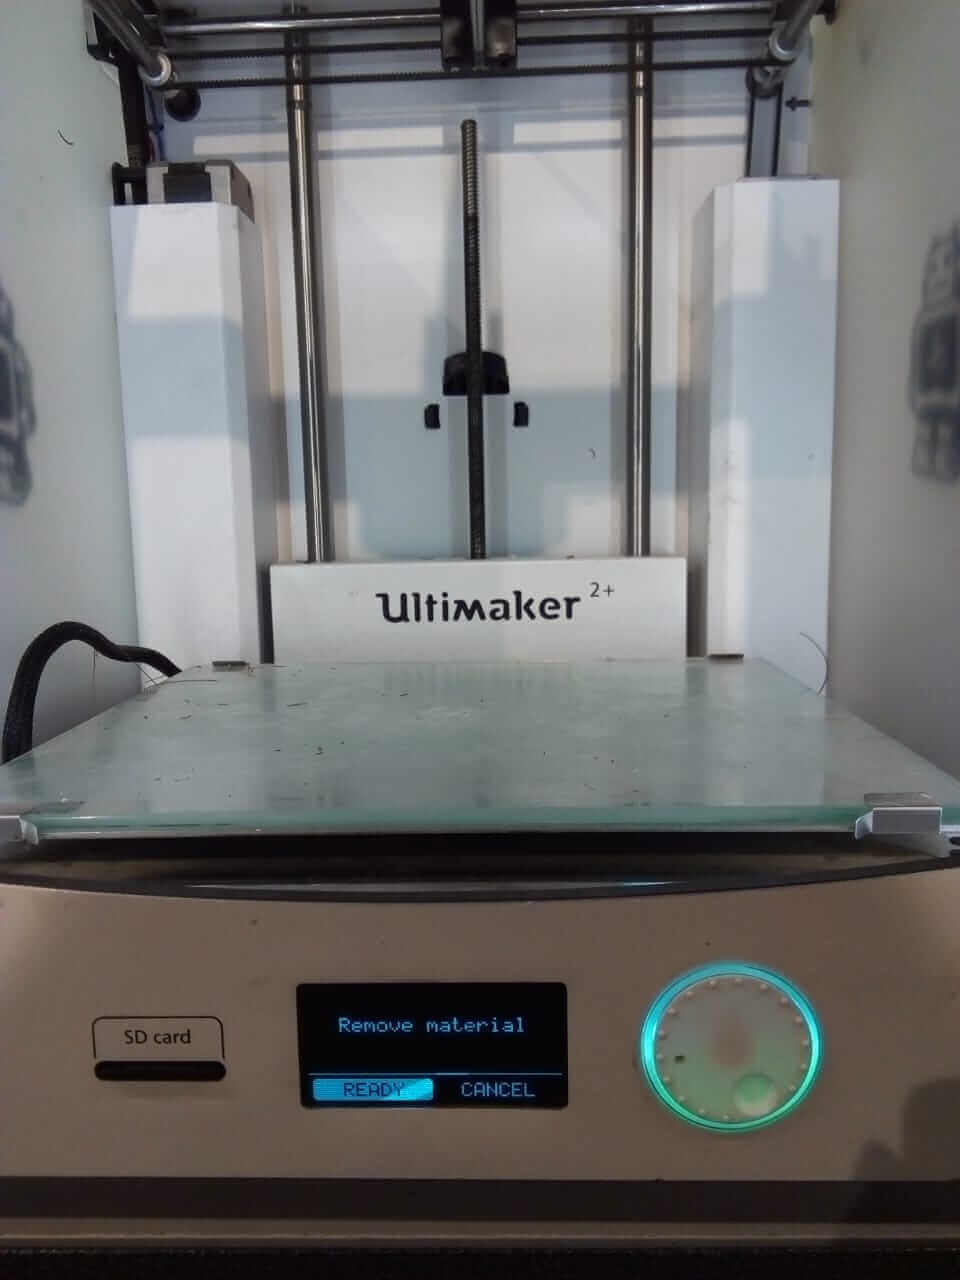
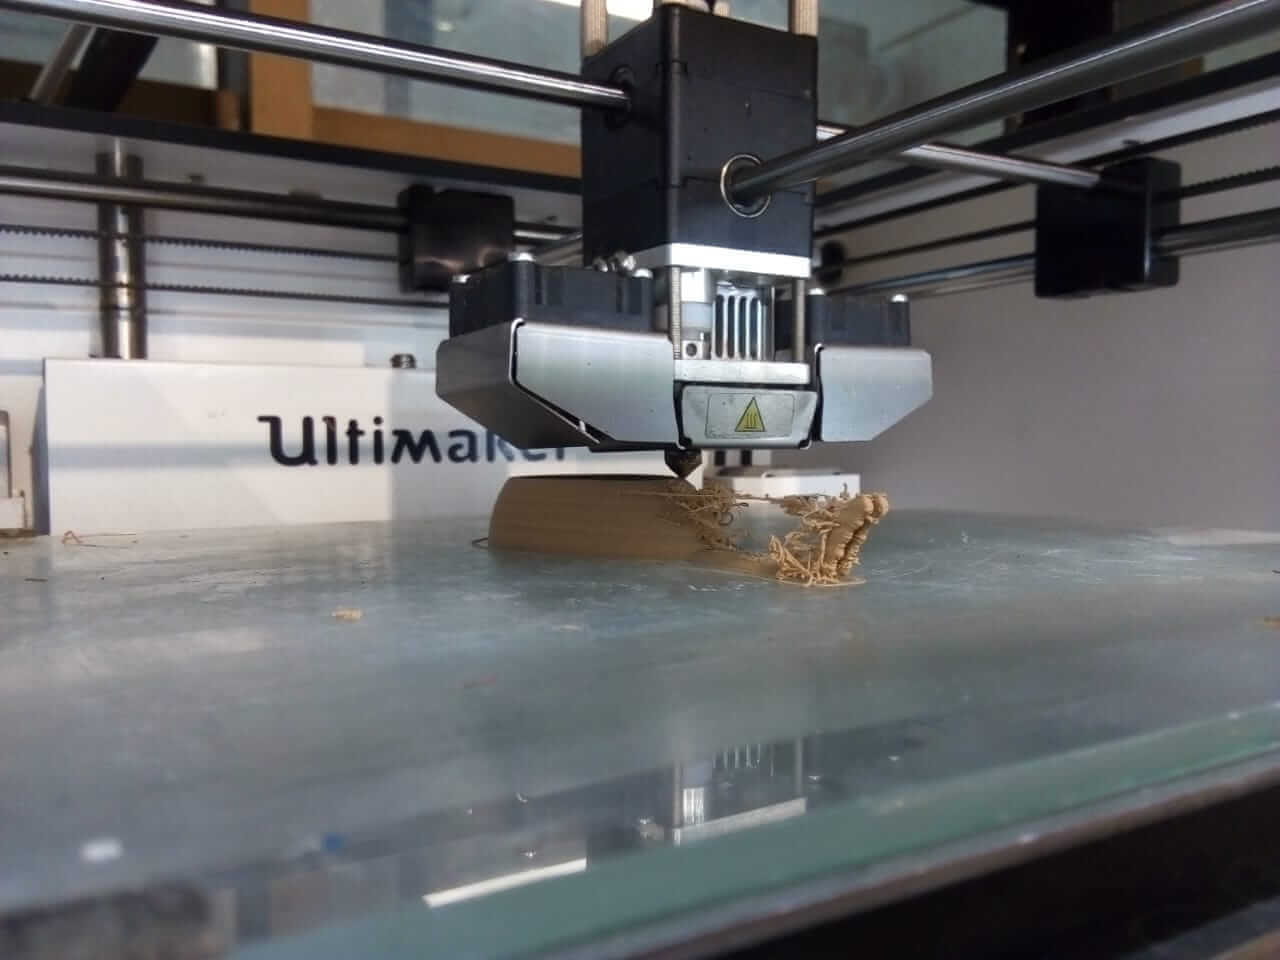
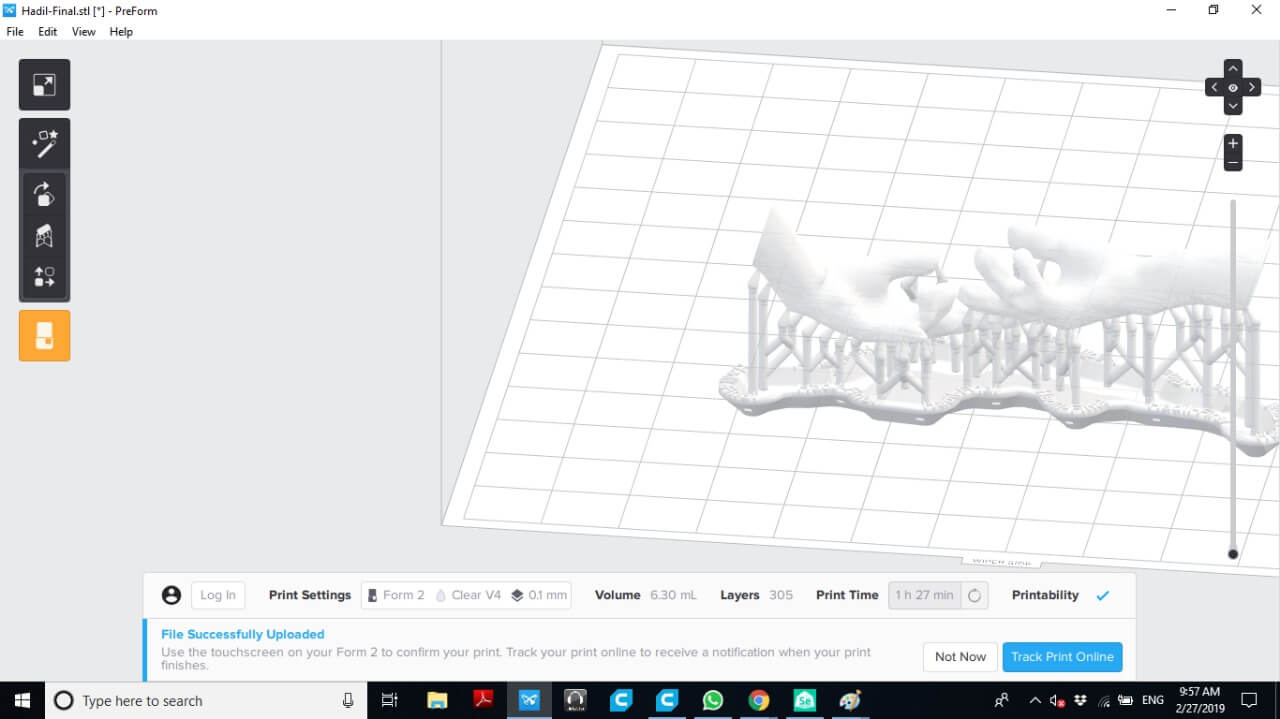
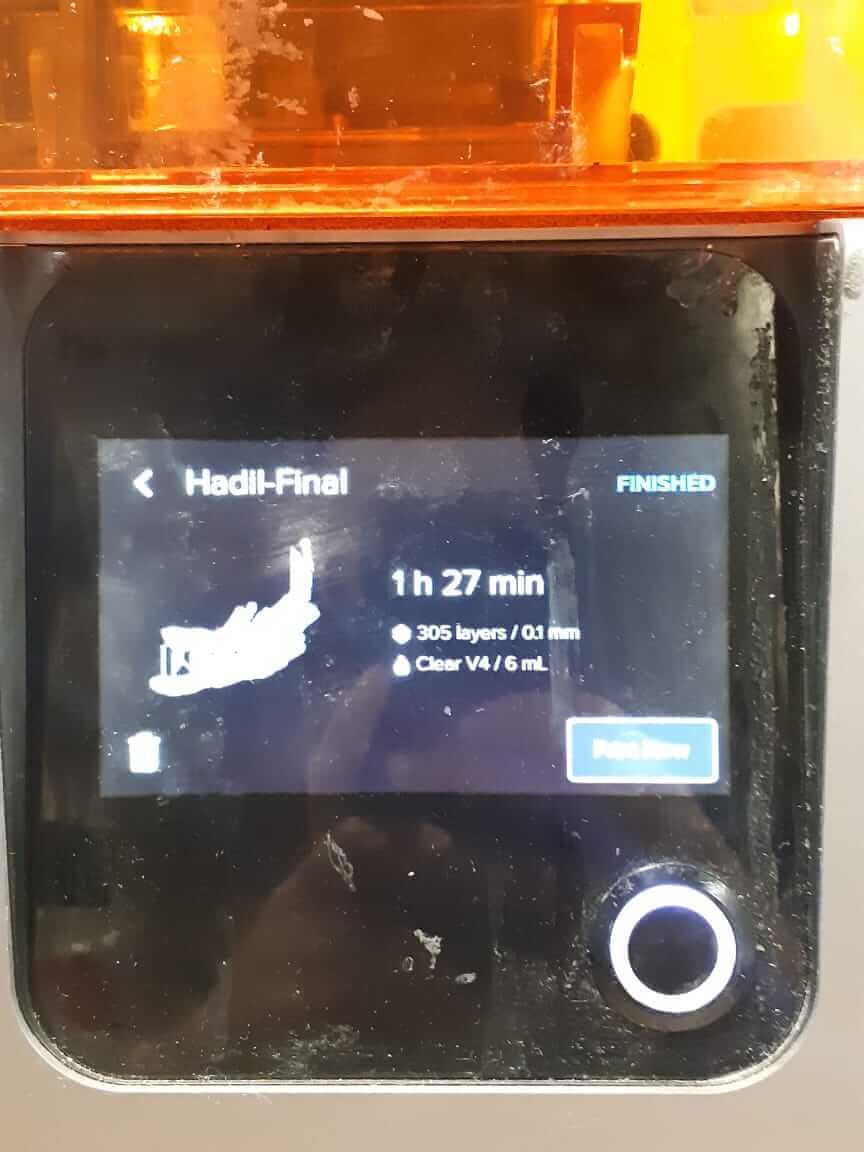
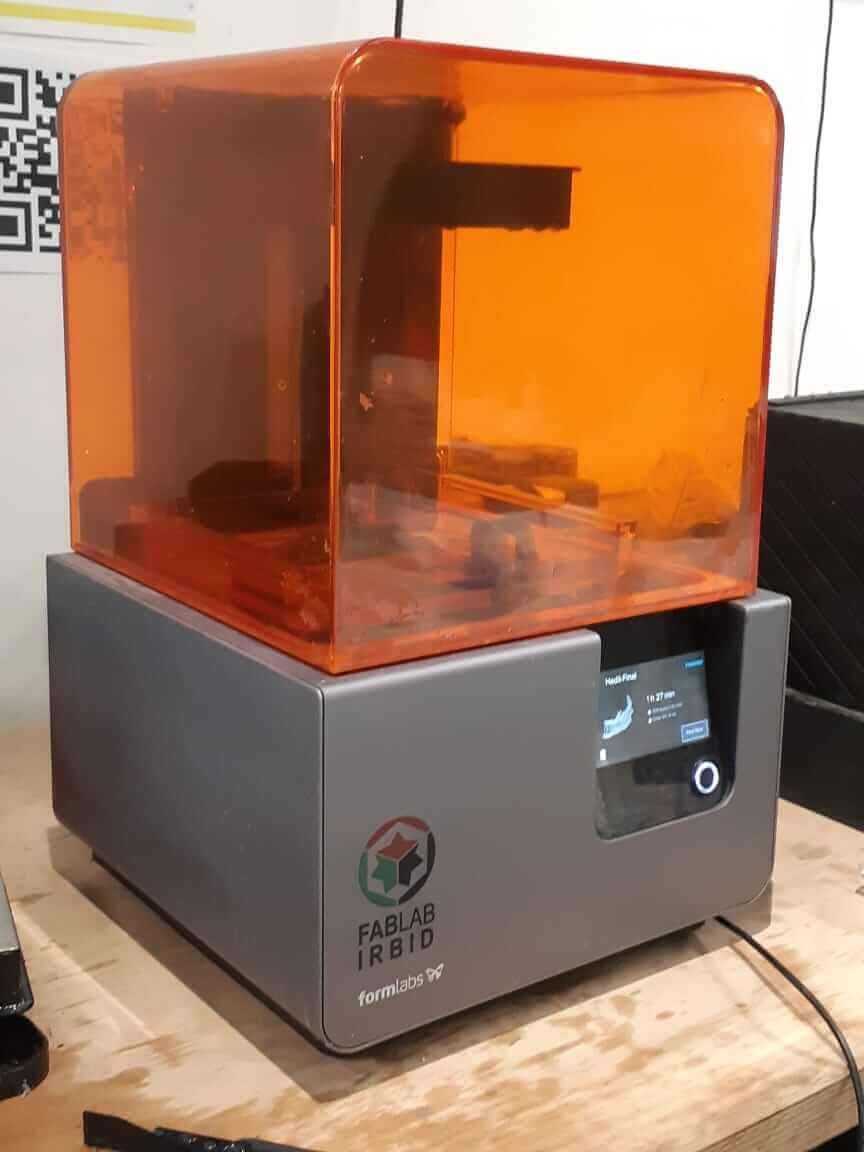
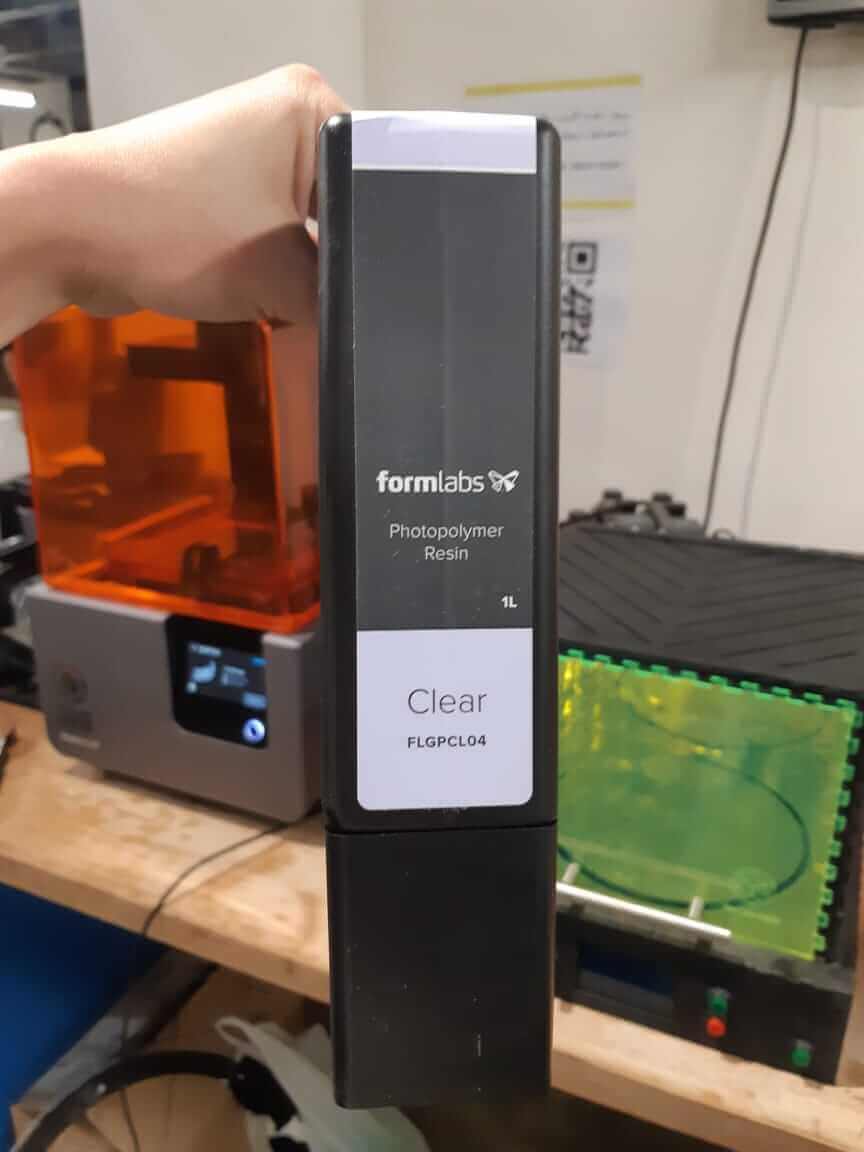
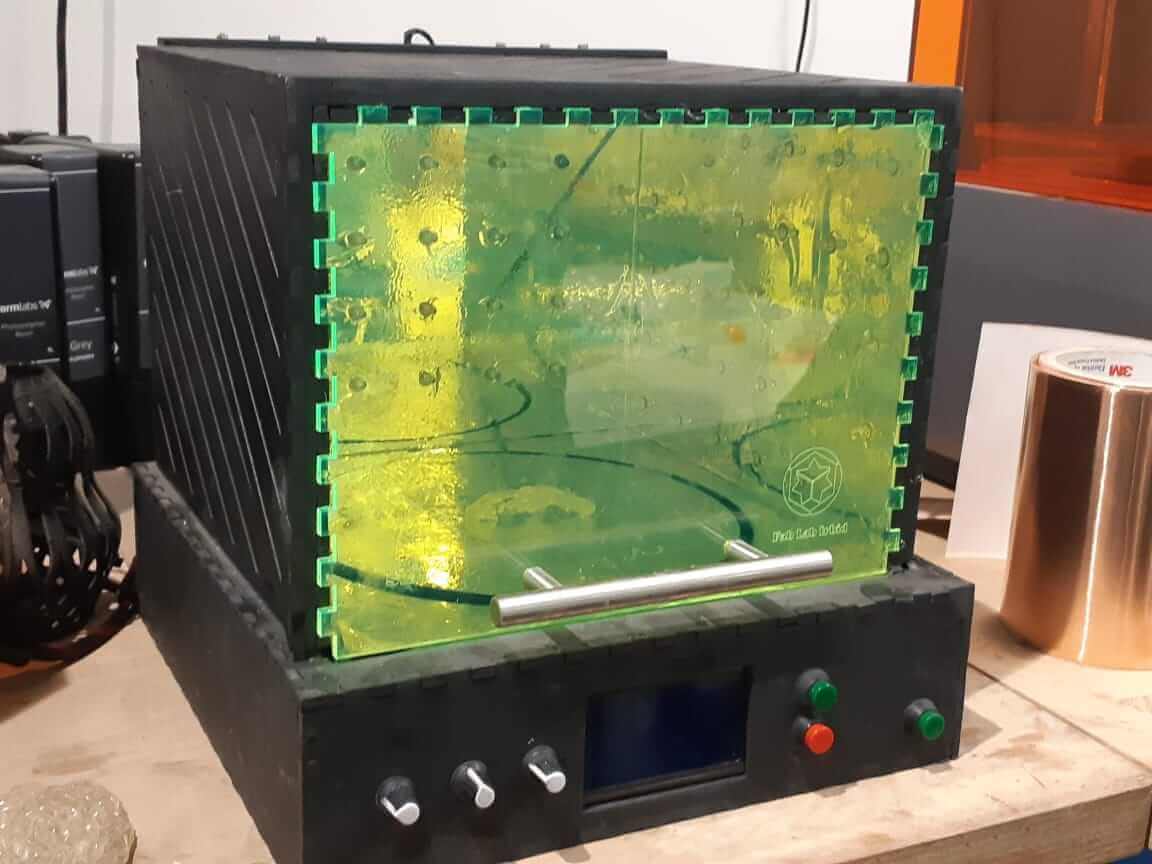
I then printed the results with clear resin on FromLab 2 printers which uses Stereolithography (SLA) technology. For the software of the FormLab, I only have to set the material I'm using and the height thickness I want, and it will automatically generate the process characteristics. I chose a layer height of 0.1mm as I found it to give me the required smoothness in an optimum time.
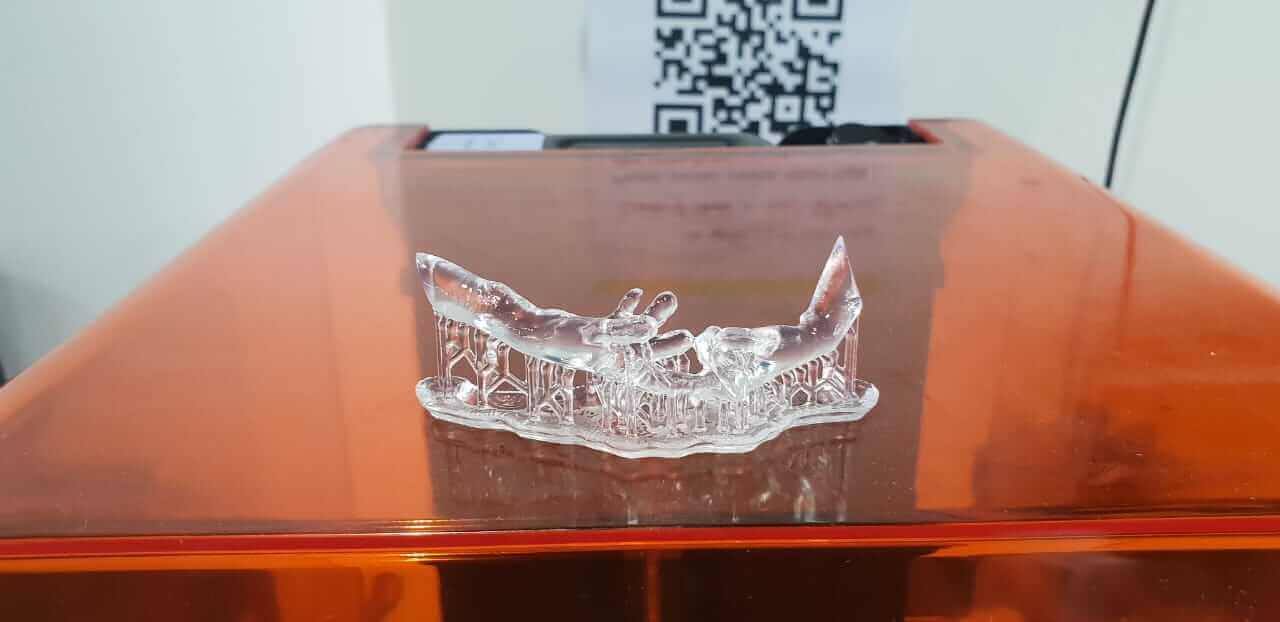
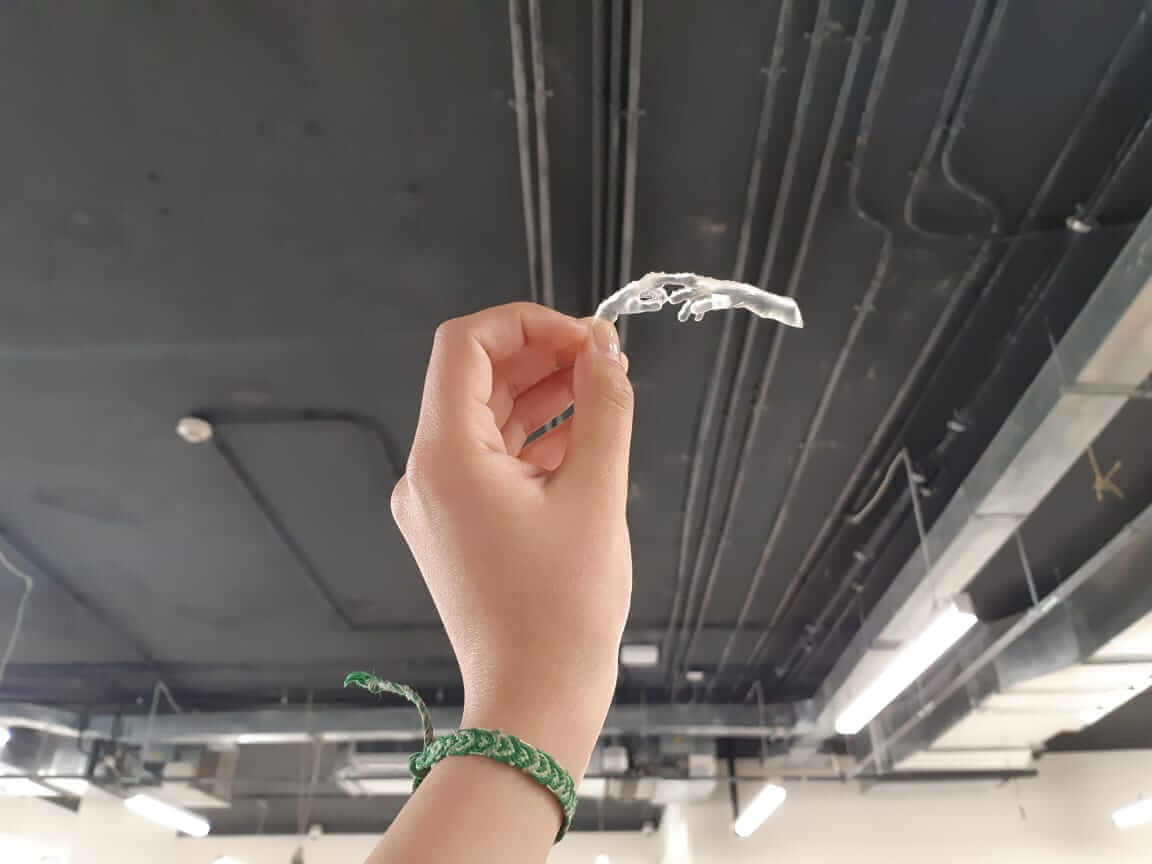
The print turned out this way after I removed it from the bed.
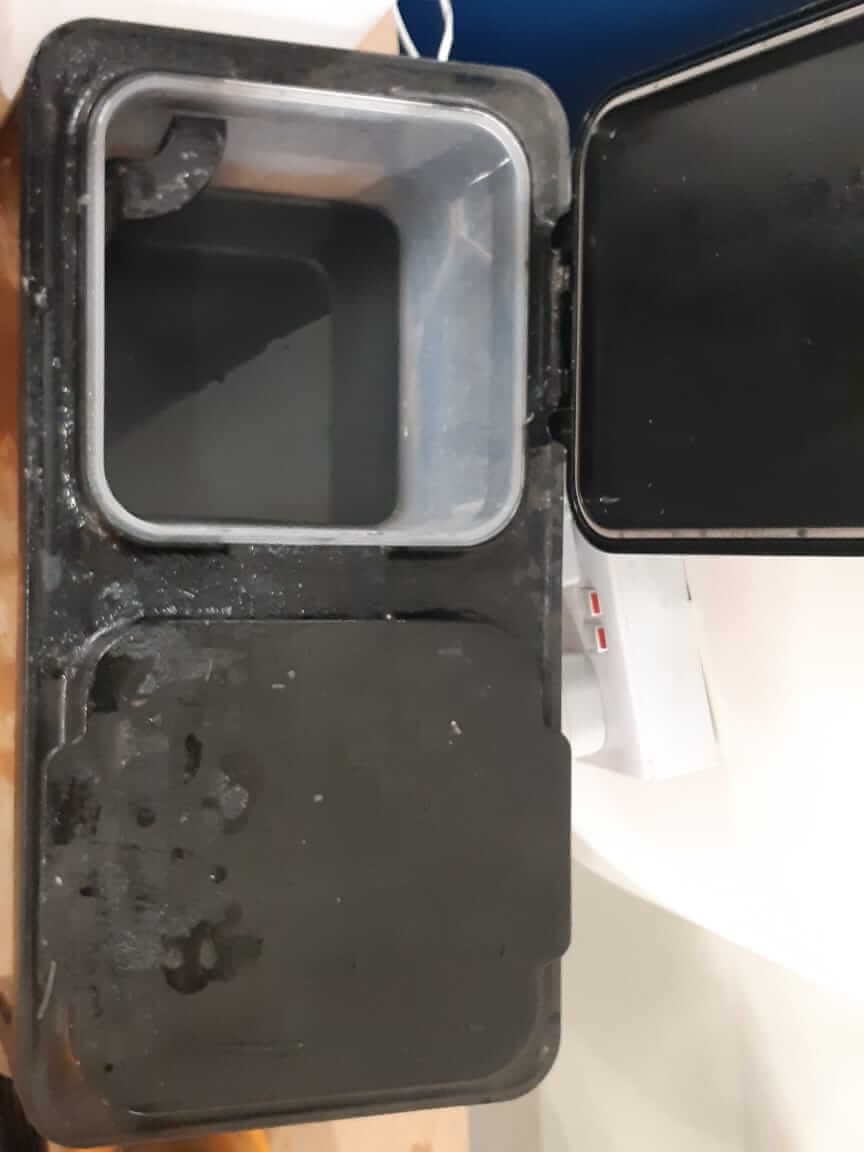
I placed the print in an alcohol (ethanol) container for few minutes, before placing it in the UV box for the curing process for around an hour.
Here are my final results, that I would like to call the Creation of Eve.
And Finally, here's my shot with the prints!