6. 3D Scanning and printing
This week is the turn of 3D printing and Scanning so I am going to share with you my experience.
Group assignment
Meeting our machines.
As a remote student I am alone in the FabLab, so I have to do this part individually. *

*Prusa I3*
Printing Area - 20x20cm
Printing High - 20 cm
Materials - PLA/ABS 1,75 mm
Nozzle - 0,4 mm
Calibration - automatic
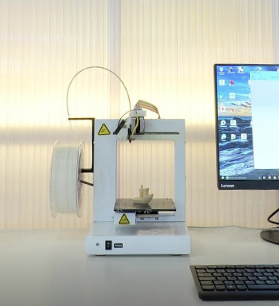
*Up Plus 2*
Printing Area - 14x14cm
Printing High - 13 cm
Materials - PLA/ABS 1,75 mm
Nozzle - 0,4 mm
Calibration - Manual

*Artec *
Resolution - 0,5 mm
Light - Flash Led bulb
Scanning area - 60x40 cm
Speed - 2.000.000 points/
Comparison between 3D printers
To make this comparison we need to print the same model in both machines. I will use a calibration .stl model test I link below.
To print any 3D model you will need some program to convert it in horizontal slices that the printer can read. Those are the programs I have used both of them free:
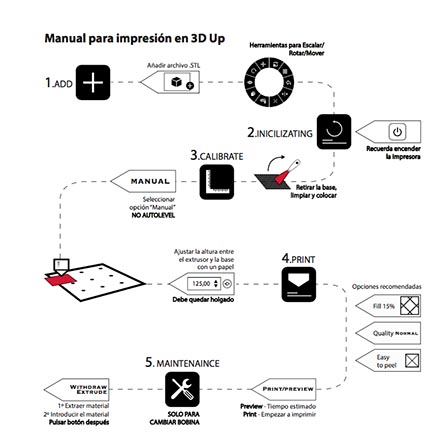
In this point I realized that Up Studi0 is more difficult to understand than Slicer so much that at FabLab we have done this CHEATSHEET. Here you can download and just follow the steps to have success with a simple printing:
Now we comeback to the comparison. Black model test has been made in Up while grey model has been made in Prusa.
These are the parameters I have used to print

Scale: 1:1
Layer height: 0,2 mm
Infill: 10%
Print speed (extrusion): up to 50 mm/s
Print speed (travel): up to 150 mm/s
Print nozzle diameter: 0,4 mm

Here are both pieces and I am going to explain the differences I have realized between them:
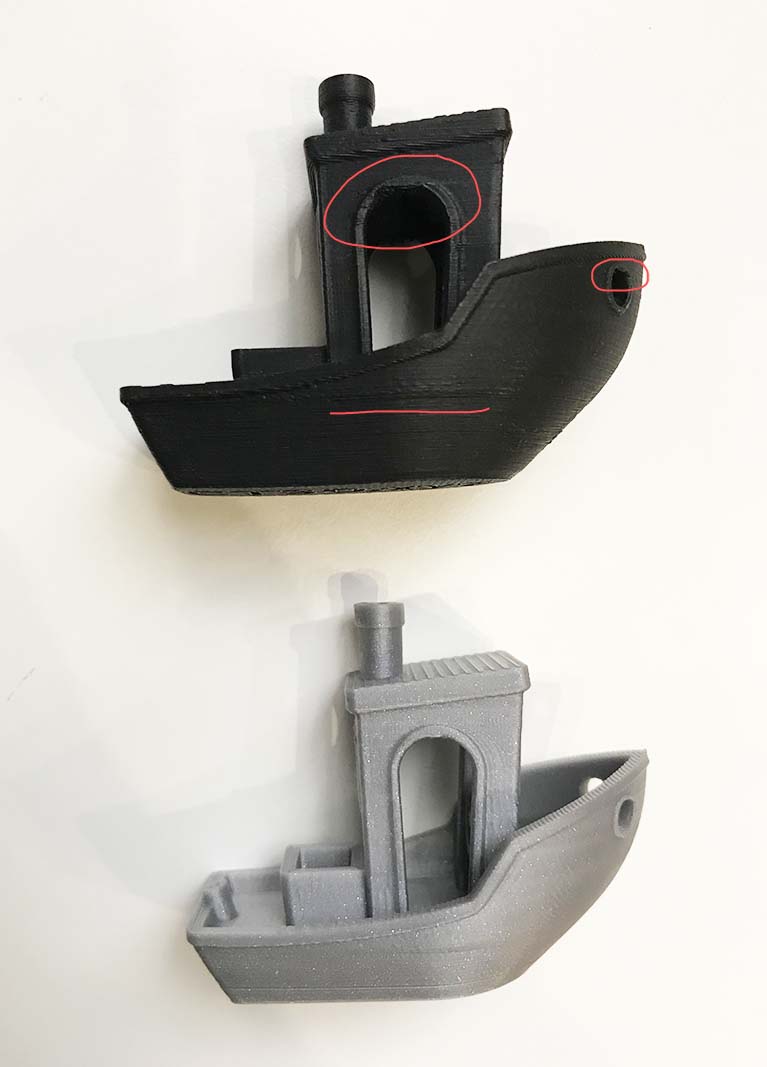
We can appreciate in this picture that the resolution is a little bit better in the grey one. The holes are more defined and the tangency change is worst in the upper one.
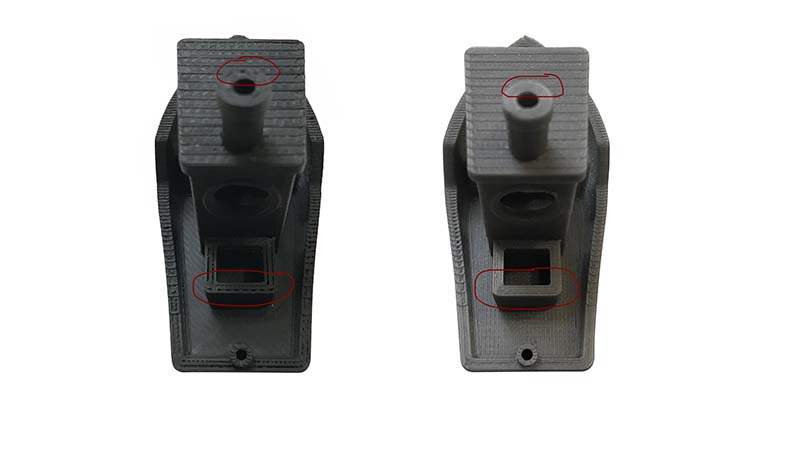
Also the infill is better in the grey one, we can see the finished between layers too
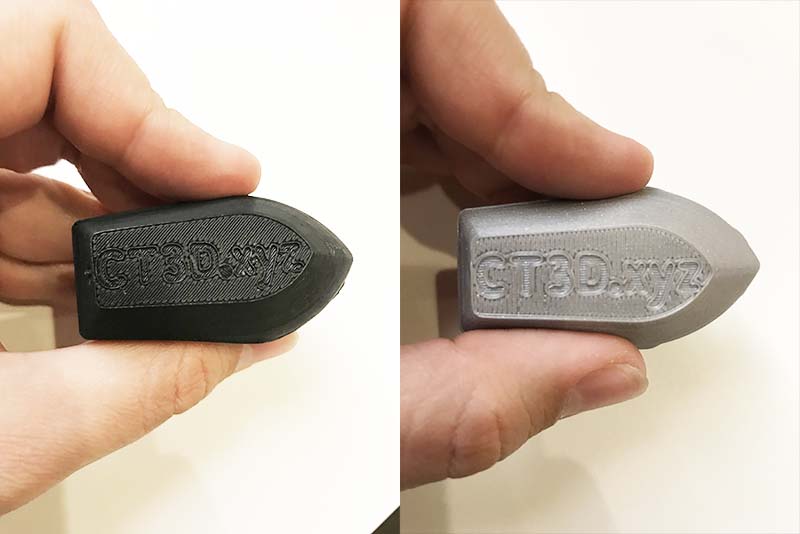
The final test is the legibility of a text. Here we can see that both are correct but the grey one is clearer and finer that the black one.
For all of these reasons I have to say that Prusa I3 wins!
Designing not subtractively-made piece
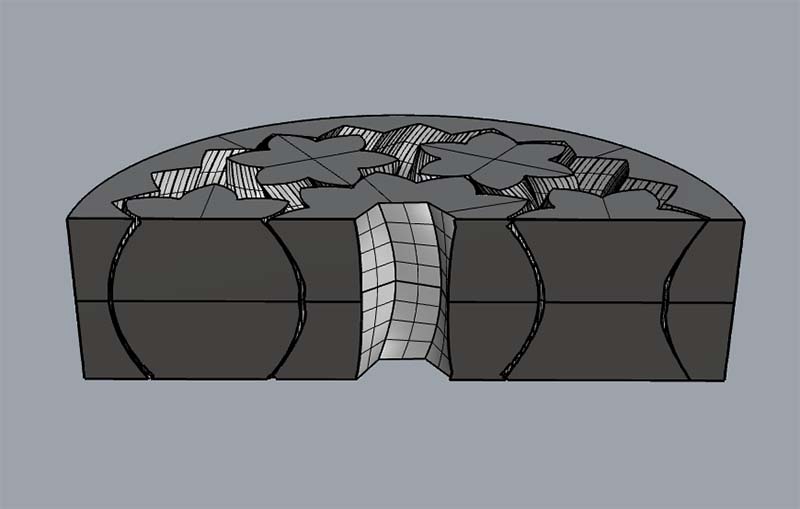
In this case I have to design one piece, that couldn’t be produce by another manufacturing way. So I have made this bearing probably I will use in my final project.
Here is the design process:

And in this section we can see why you can´t manufacturing this piece in other mechanical process:
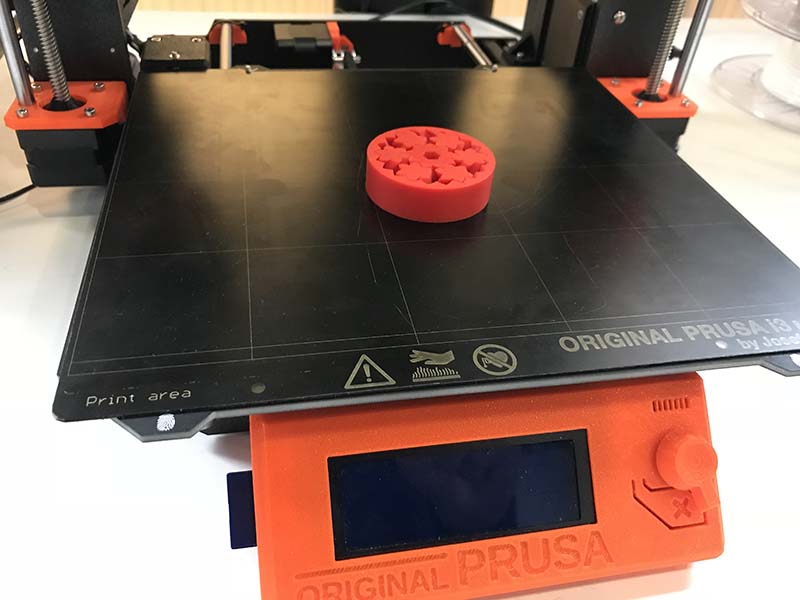
I have printed it in the Prusa I3 in red PLA, and here we can see it working!
Here you can see how I have redesign the piece twisting for two directions and mirroring that part so it couldn´t scape from the center. Here you can download the piece:
3D Scanning
Now I am going to explain the issues I have found making a scan of me.
You will need the software of your 3D scanner, in my case Artec Studio you can find here:
This software is very simple and this icons are very intuitive. Just connect and Start scanning.

The most important this here is the speed of your movement around the model, and your stability. For that reason there is a green bar in the left part of the screen that shows you if your are in the correct way. Try to be between the light green color.
Here I attach you a few description of each tool and tips for use it.

Of course here is the guide of the software - Artec Studio Guide
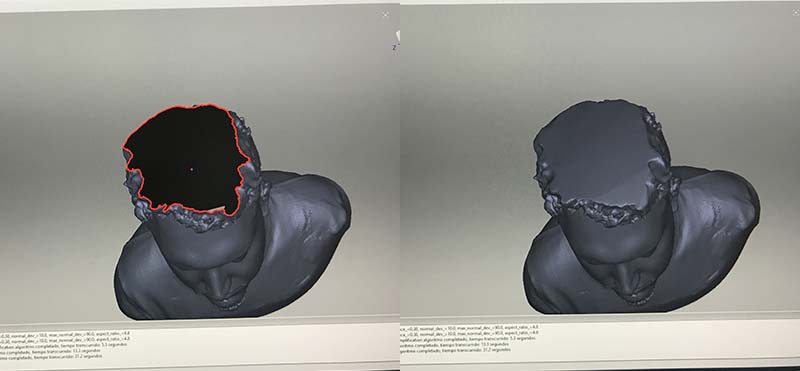
First of all, is that flash light scanners doesn´t work with dark surface… I am not blond but brown so it is so difficult get information in my hair and my beard.

For that reason I had to fix it in the software or you have another solution, putting talcum powder in your hair, but I am sorry, I was working and this was not the correct place.
When you finish with your model in those intuitive software, you can export in a .stl file which you will print in you machine.
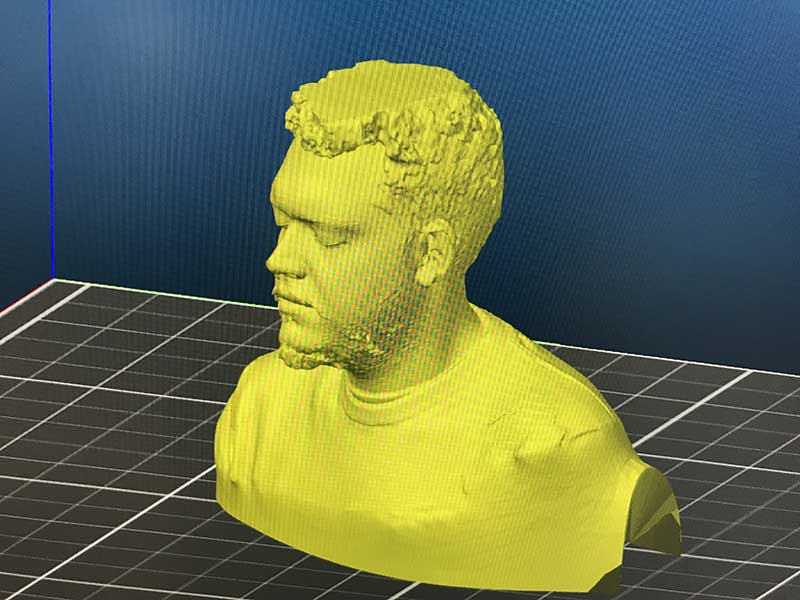
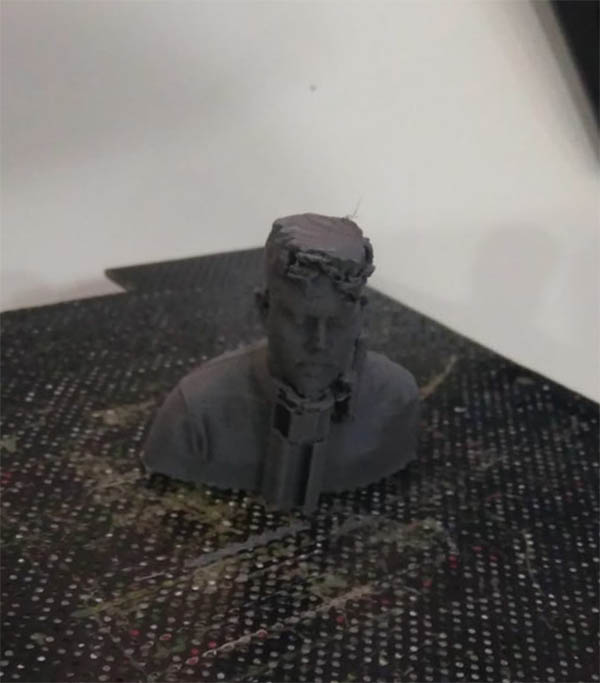
These are the parameters I have used to print

Scale: 1:10
Layer height: 0,2 mm
Infill: 25%
Print speed (extrusion): up to 50 mm/s
Print speed (travel): up to 150 mm/s
Print nozzle diameter: 0,4 mm
PLA Material
At the end you will have a result as this one
You can download my head here:
Thank you for reading.

Este obra está bajo una licencia de Creative Commons Reconocimiento-NoComercial-CompartirIgual 4.0 Internacional.