Moulding and Casting
Understanding the process
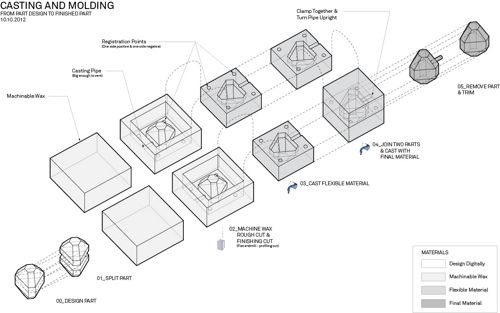
Here is an illustration that helped us understand how the process of mold, counter-mold and mold again works. It can be tricky, so a picture is really helpfull.
Milling, moulding and casting a test piece before doing individual assignments
Here are the different steps :
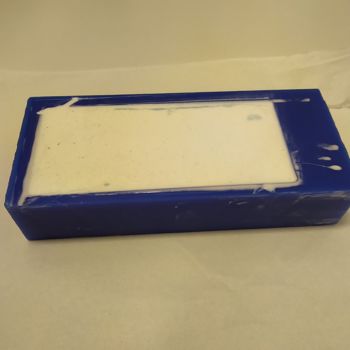
Step 1 : Mill the wax to make the first mold We had some trouble during the milling, because the piece of wax was not well attached to the plate of the Shopbot. Some double tape later, we could finish it without trouble.
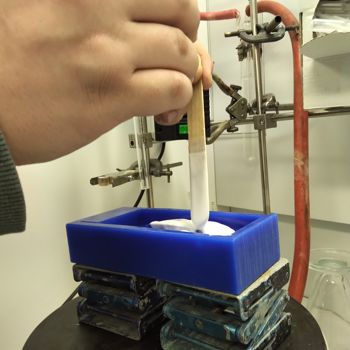
Step 2 : Put some parafin so the silicon mold will come off easily.
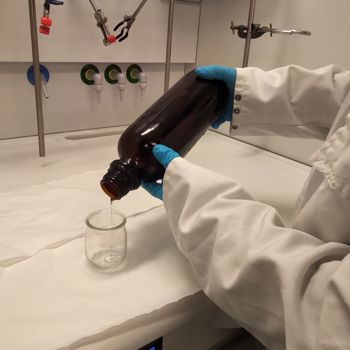
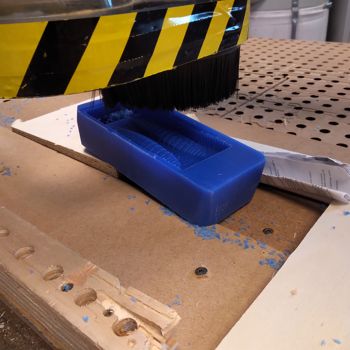
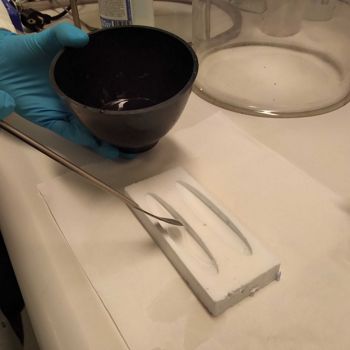
Step 3 : Pour the silicon into the mold
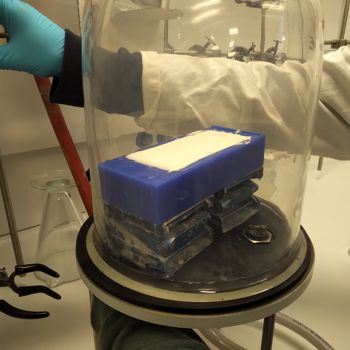
Step 4 : Put the mold filled in the vaccum machine to prevent bubbles
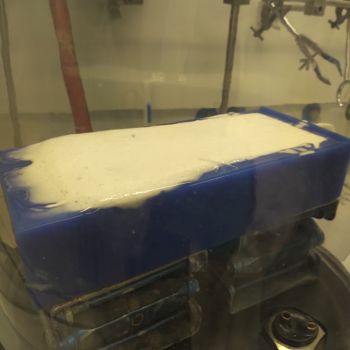
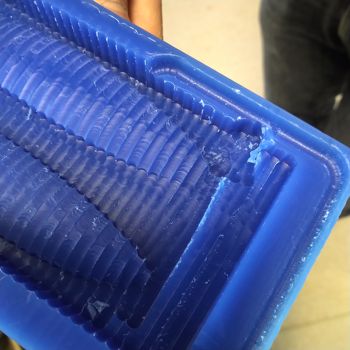
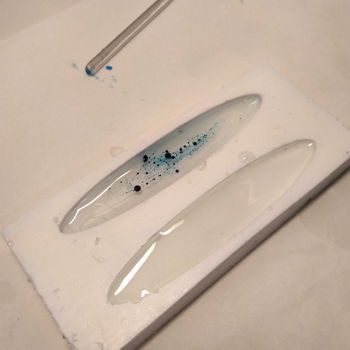
Step 5 : Let the silicon rest for 24 hours, then unmold it
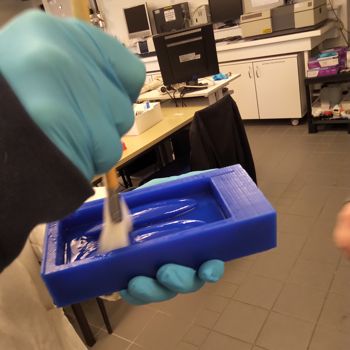
Step 6 : Pour the epoxy in the silicon mold
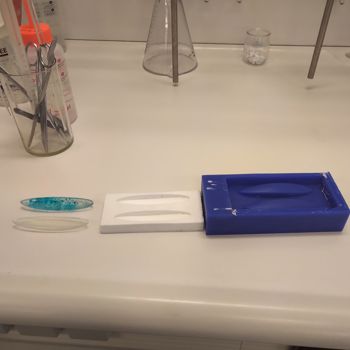
Step 7 : Let the epoxy rest for 24 hours and unmold it. You have your object !
Comparing materials
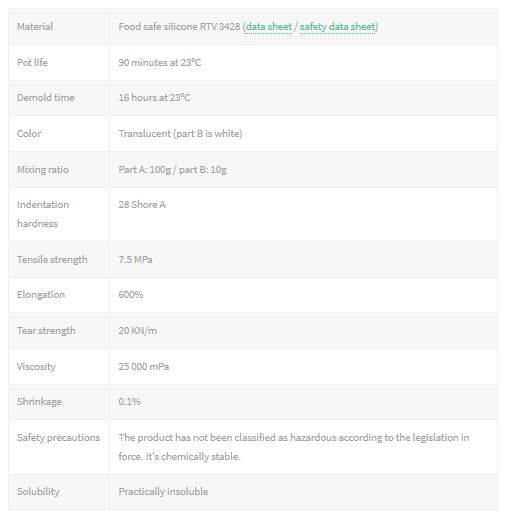
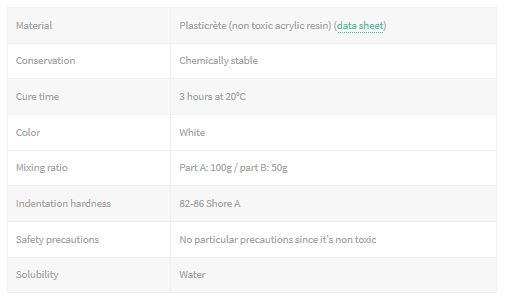
For this group assignment we have to compare two types of material between each other. Here are the two tables that came out of our study :

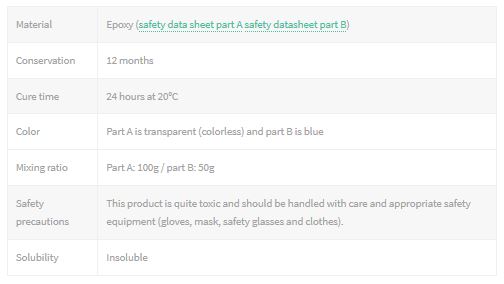

for this one, the datasheet released by the manufacturer (Esprit Composite) is not very detailed unfortunately…