Tenth assignment
20 March 2019
Week's assignment
This weeks assignment consists on designing a mold around the stock and tooling that we'll be using, mill it, and use it to cast parts.
Part design
Modeling and rendering
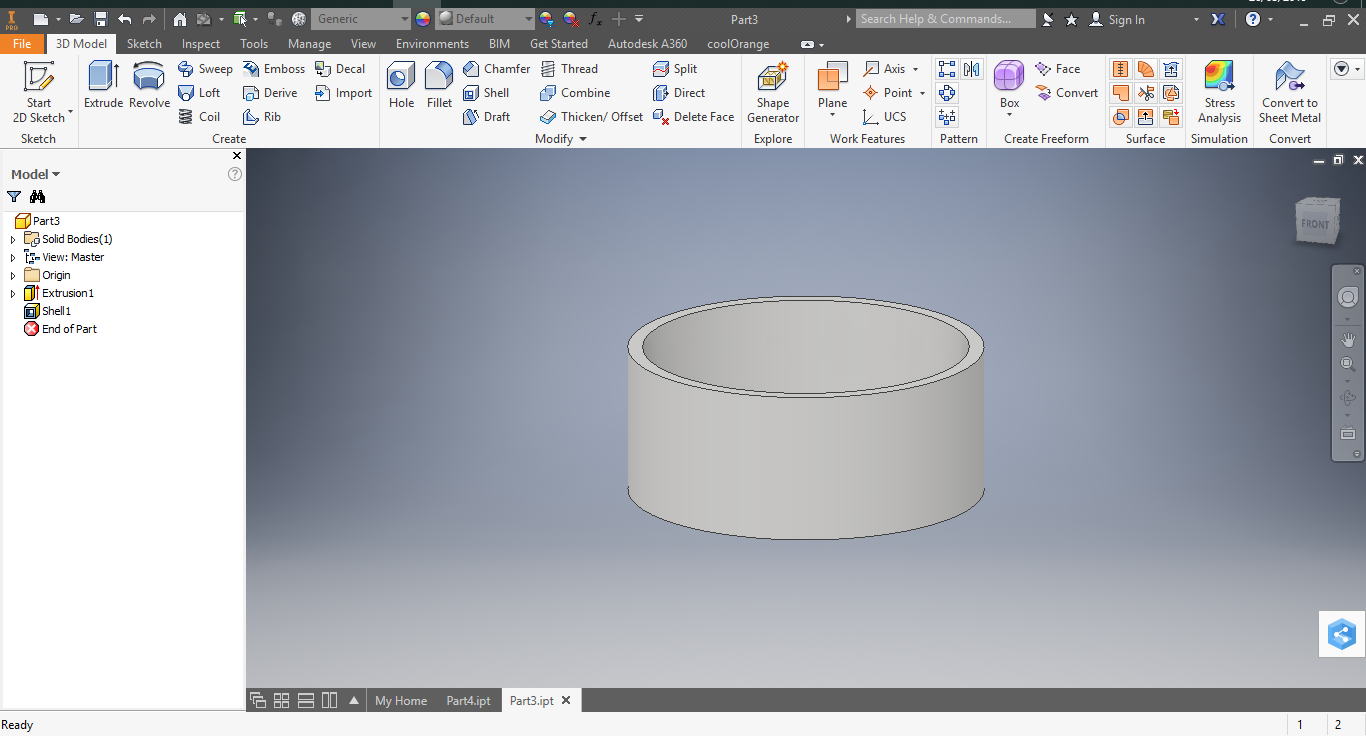
This time I use Inventor.
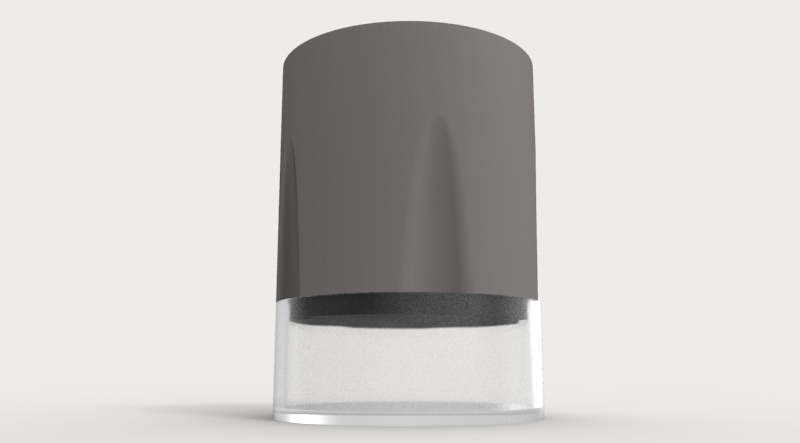
I designed a two part self watering plant pot.
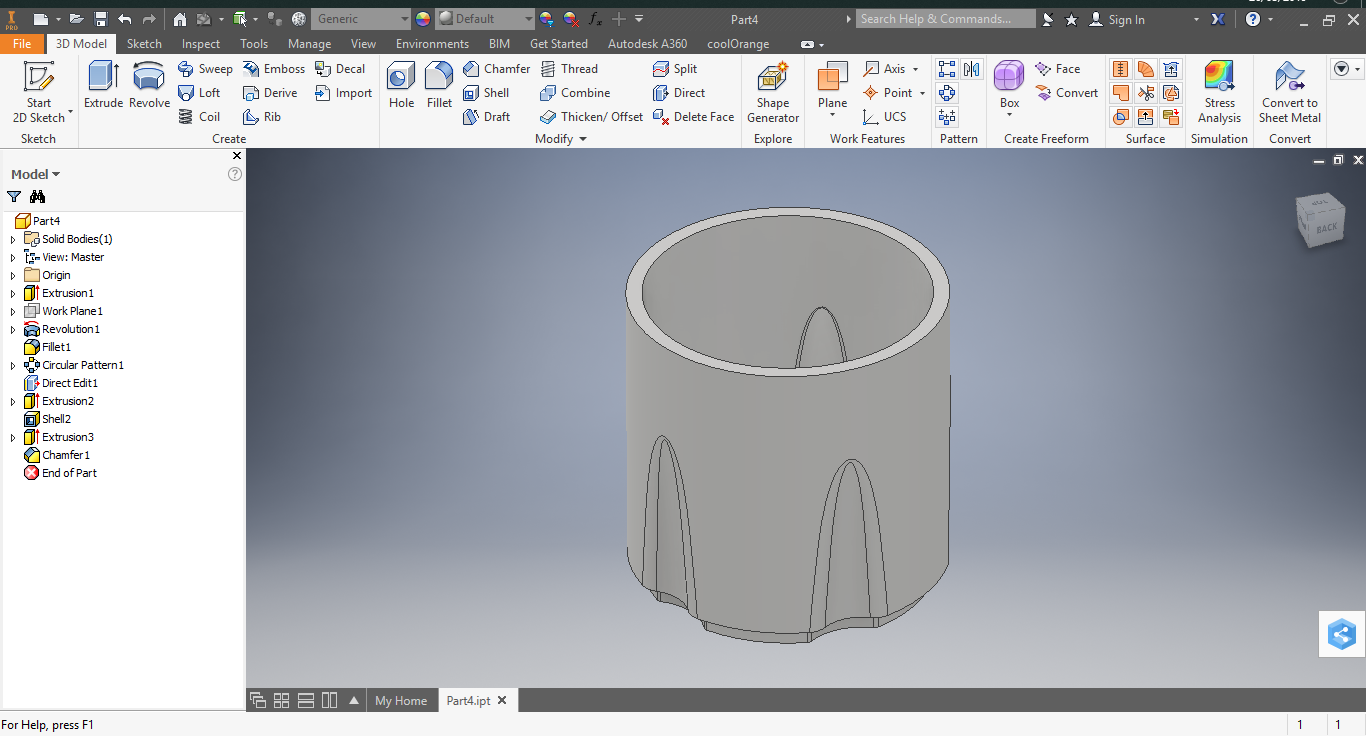
I thought it would be interesting and useful for the button part to be clear so you can see how much water the plant has left. That's why I decided to make a mold for it and cast it with clear resin.
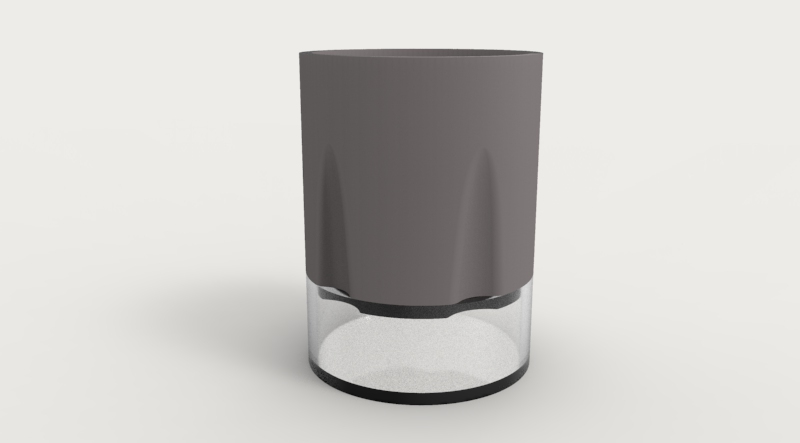
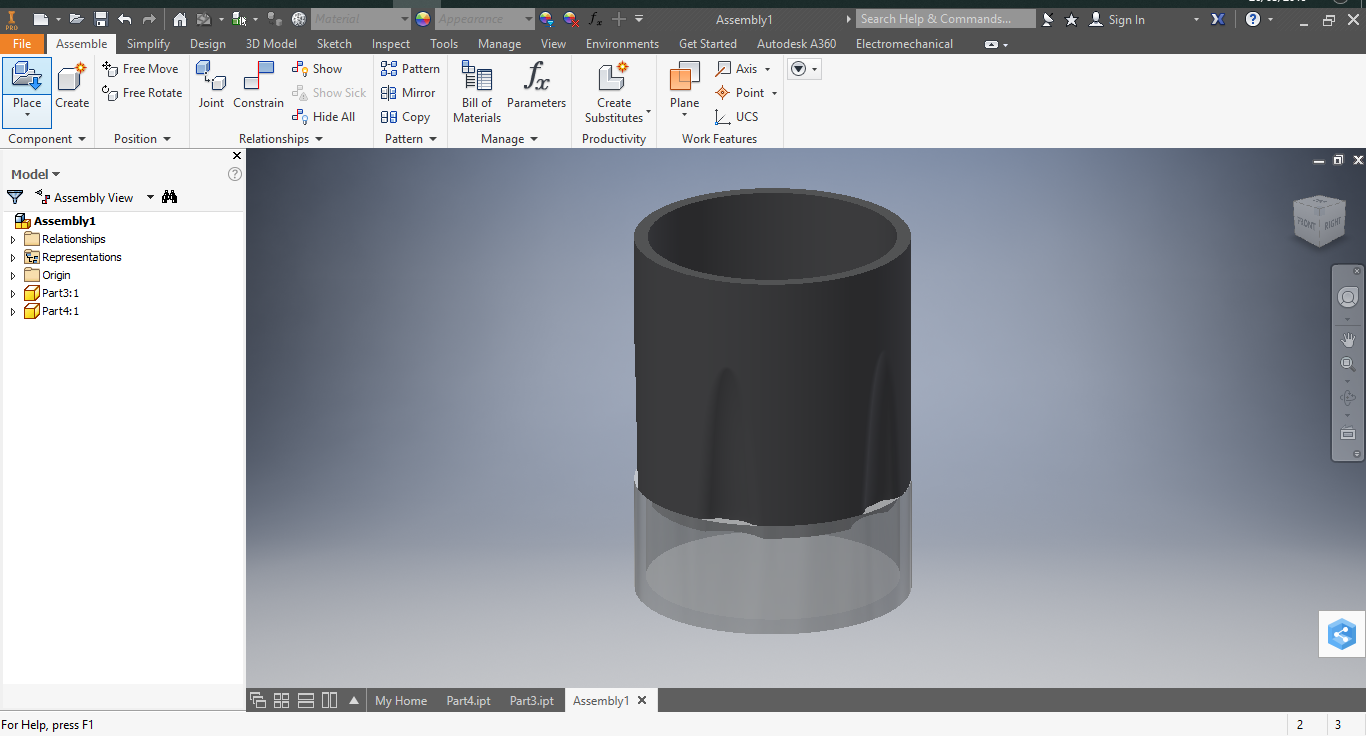
I made a render to have an idea of how the final result would look.
Design characteristics
I could only use a 100x80x40cm wax stock as those were the only available at the time. The part that I decided to cast was a little to big to fit the stock so I had to scale down the whole model. This meant wall thickness would be reduced too.
The new piece sizes were:
Diameter: 60 mm
Height: 30 mm
Wall thickness: 2 mm
A 2 mm wall thickness wouldn't be a problem for a resin piece, however I was thinking about making, in the near future, the top part with concrete, and I don't think a 2mm wall would be a good fit.
CUTTING ANGLES
This geometry only has 90° angle, that is completely machinable with a flat endmill. It is important to consider cutting angles when choosing or designing a model to CNC cut because tool access may be a problem.
Milling part
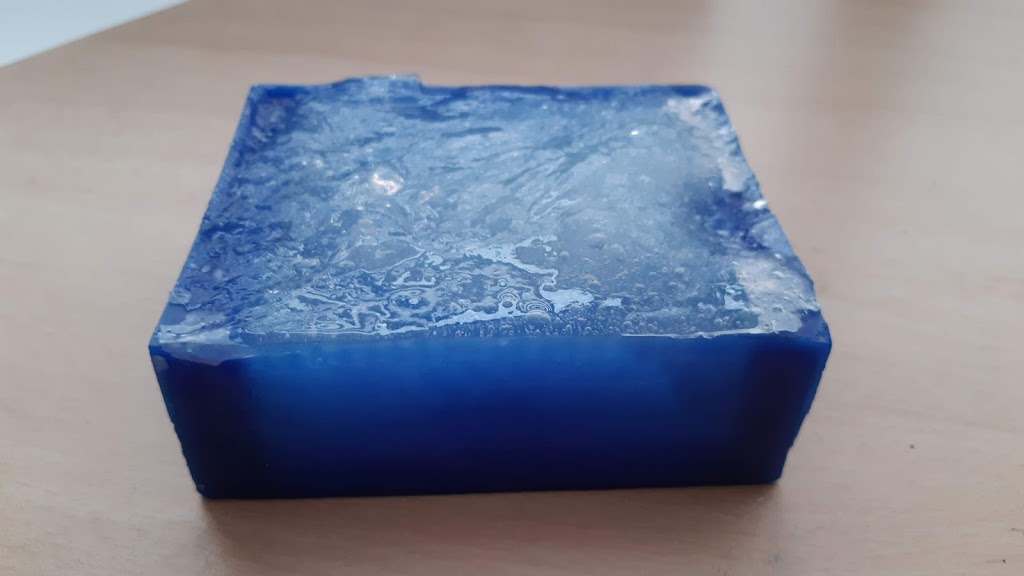
Machinable wax
You can check this material here.
CHARACTERISTICS
Appearance: Solid blue
Melting point: 240°F
Softening point: 157°F
Flash point: from 465°F to 575°F
Hardness: 53 (Shore "D" Scale)
Dimensions: Variety of Sizes
FEATURES
Non-abrasive
User-friendly
Self-releasing/self-sealing
Able to be glued
Self-lubricating
Wide variety of sizes
Setting parameters
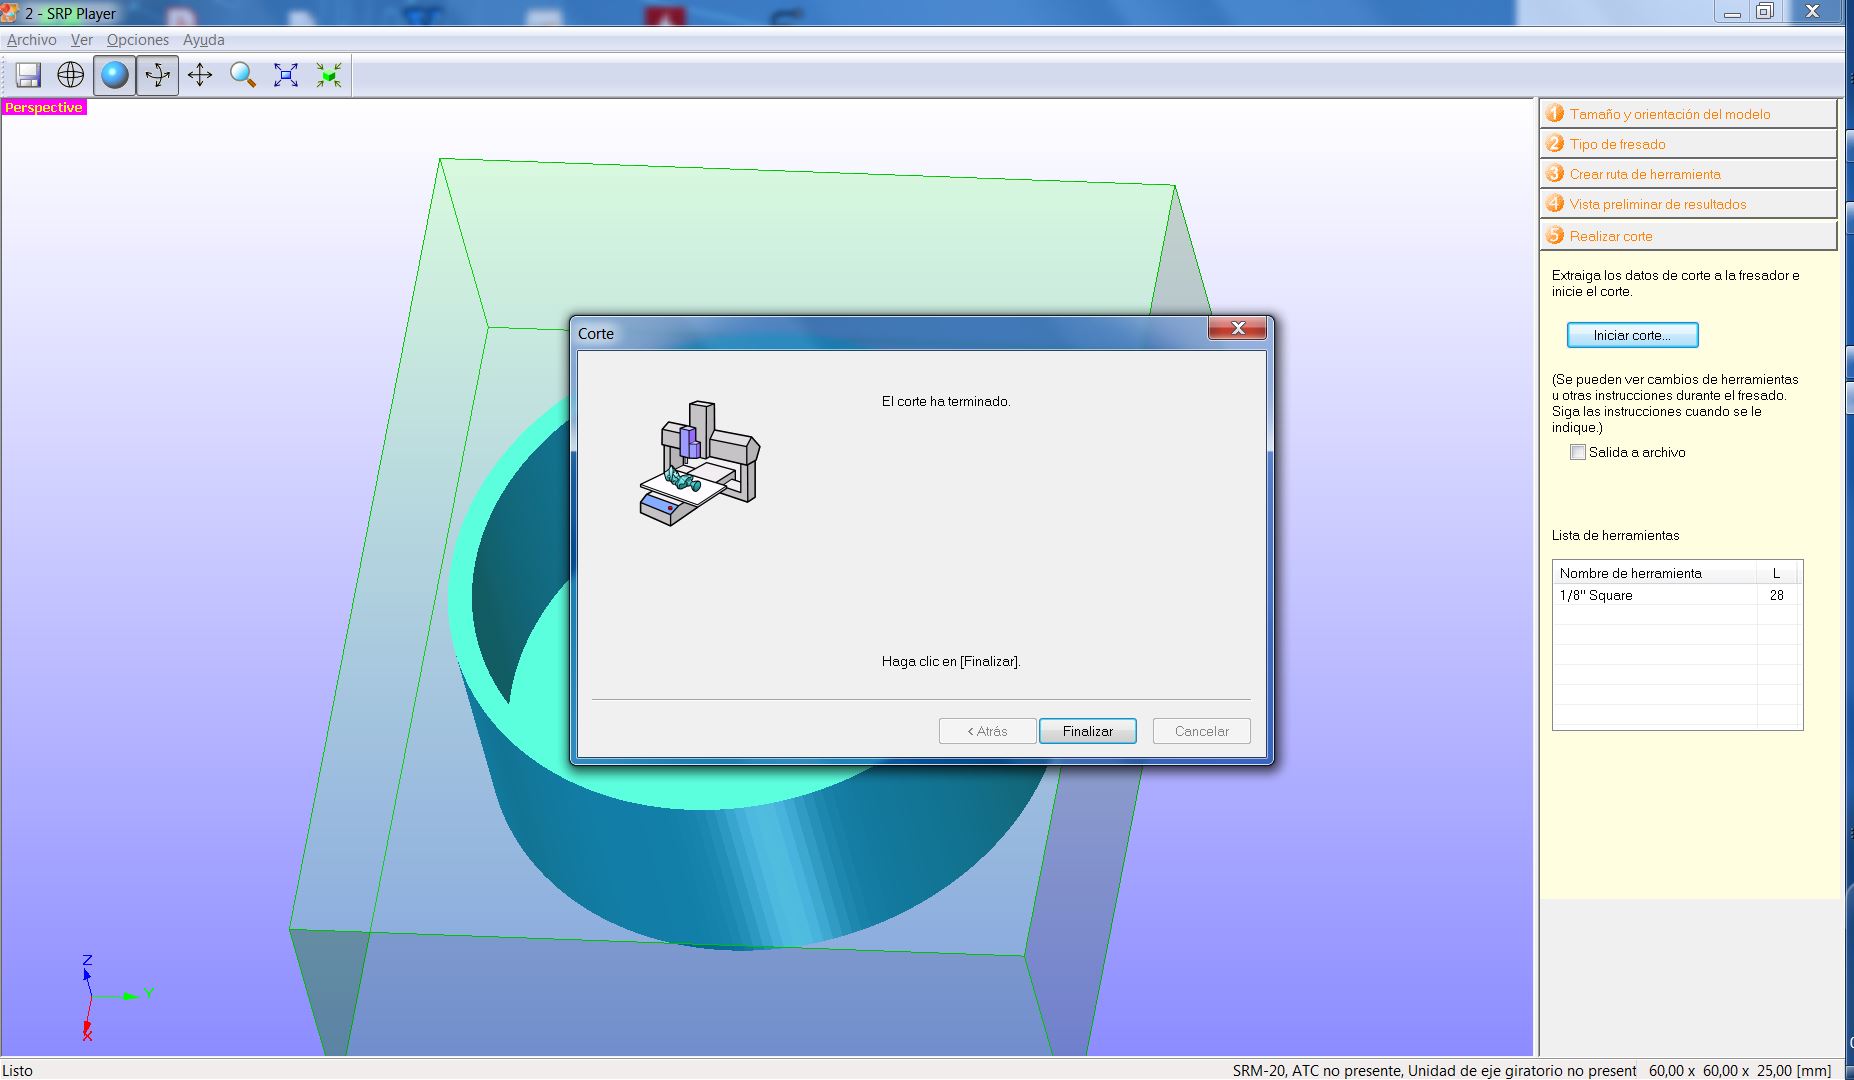
I decided to use the Modela SRM-20 and the SRP Player software to set the parameters for it.
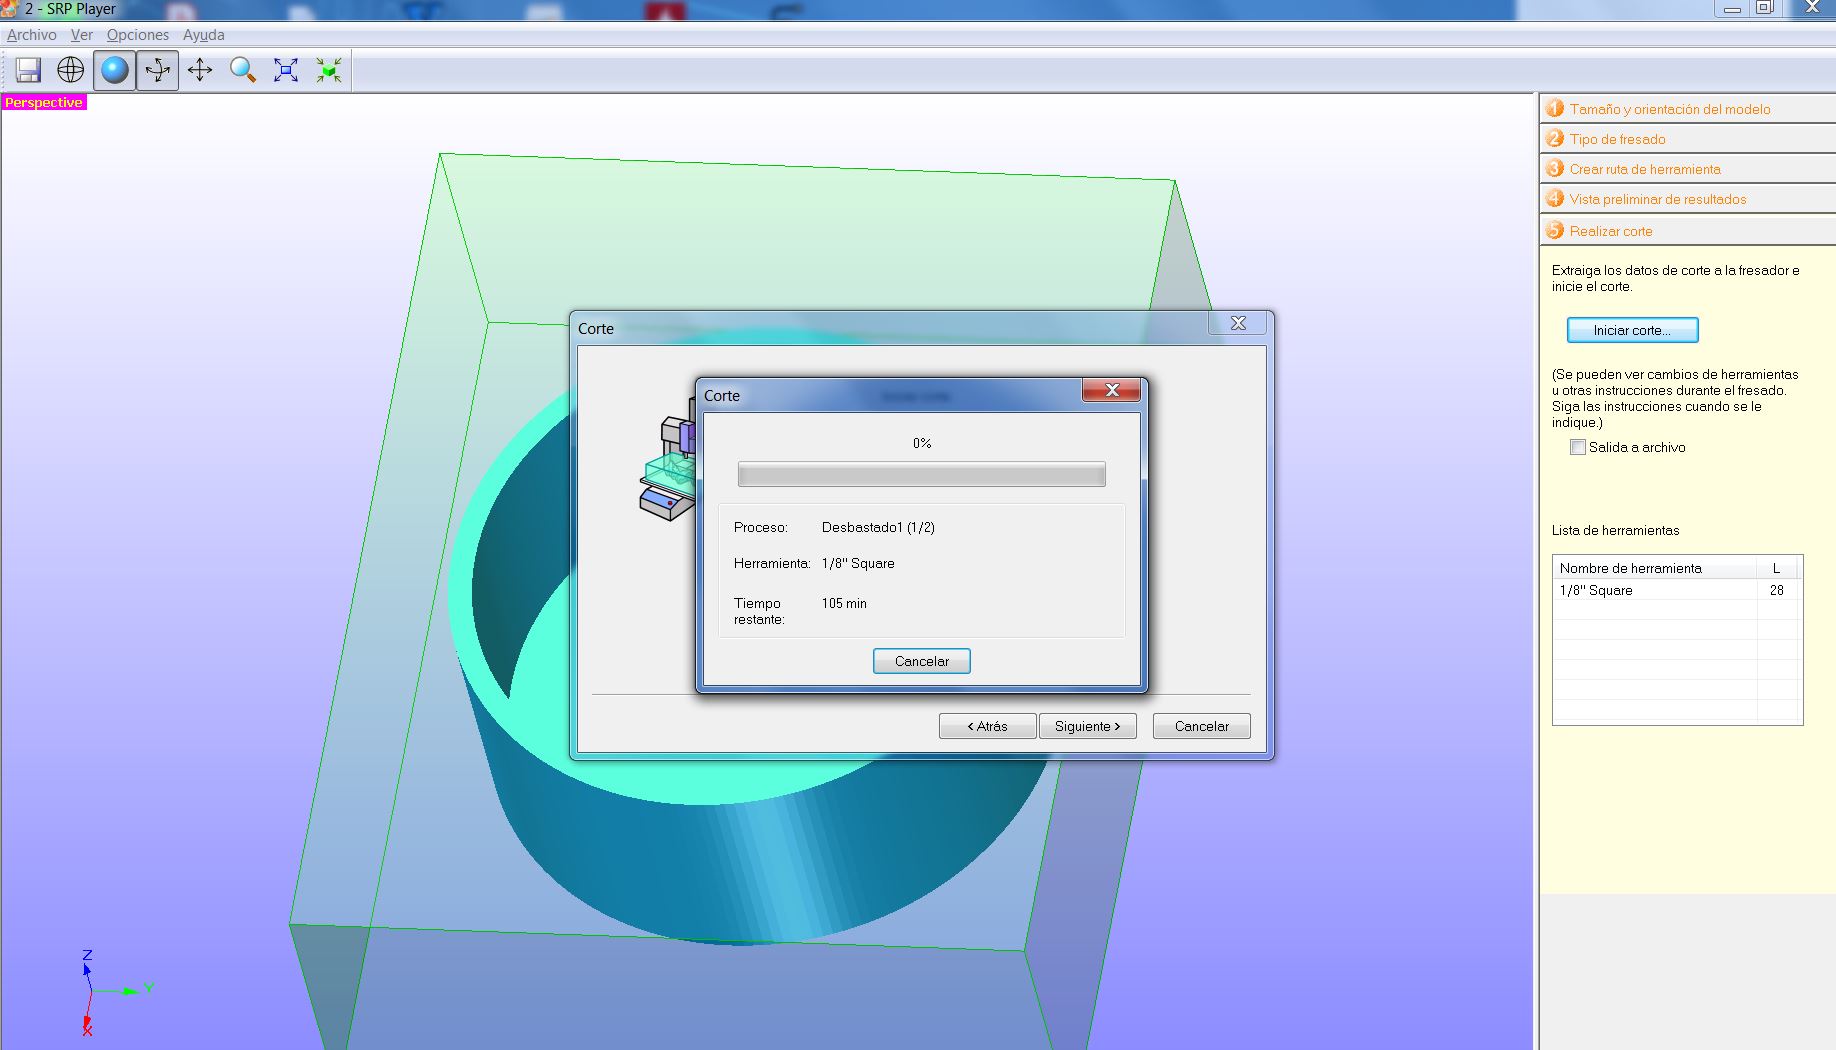
I choose the fast cut instead of prioritize best surface finish since mi piece is a very simple geometry.
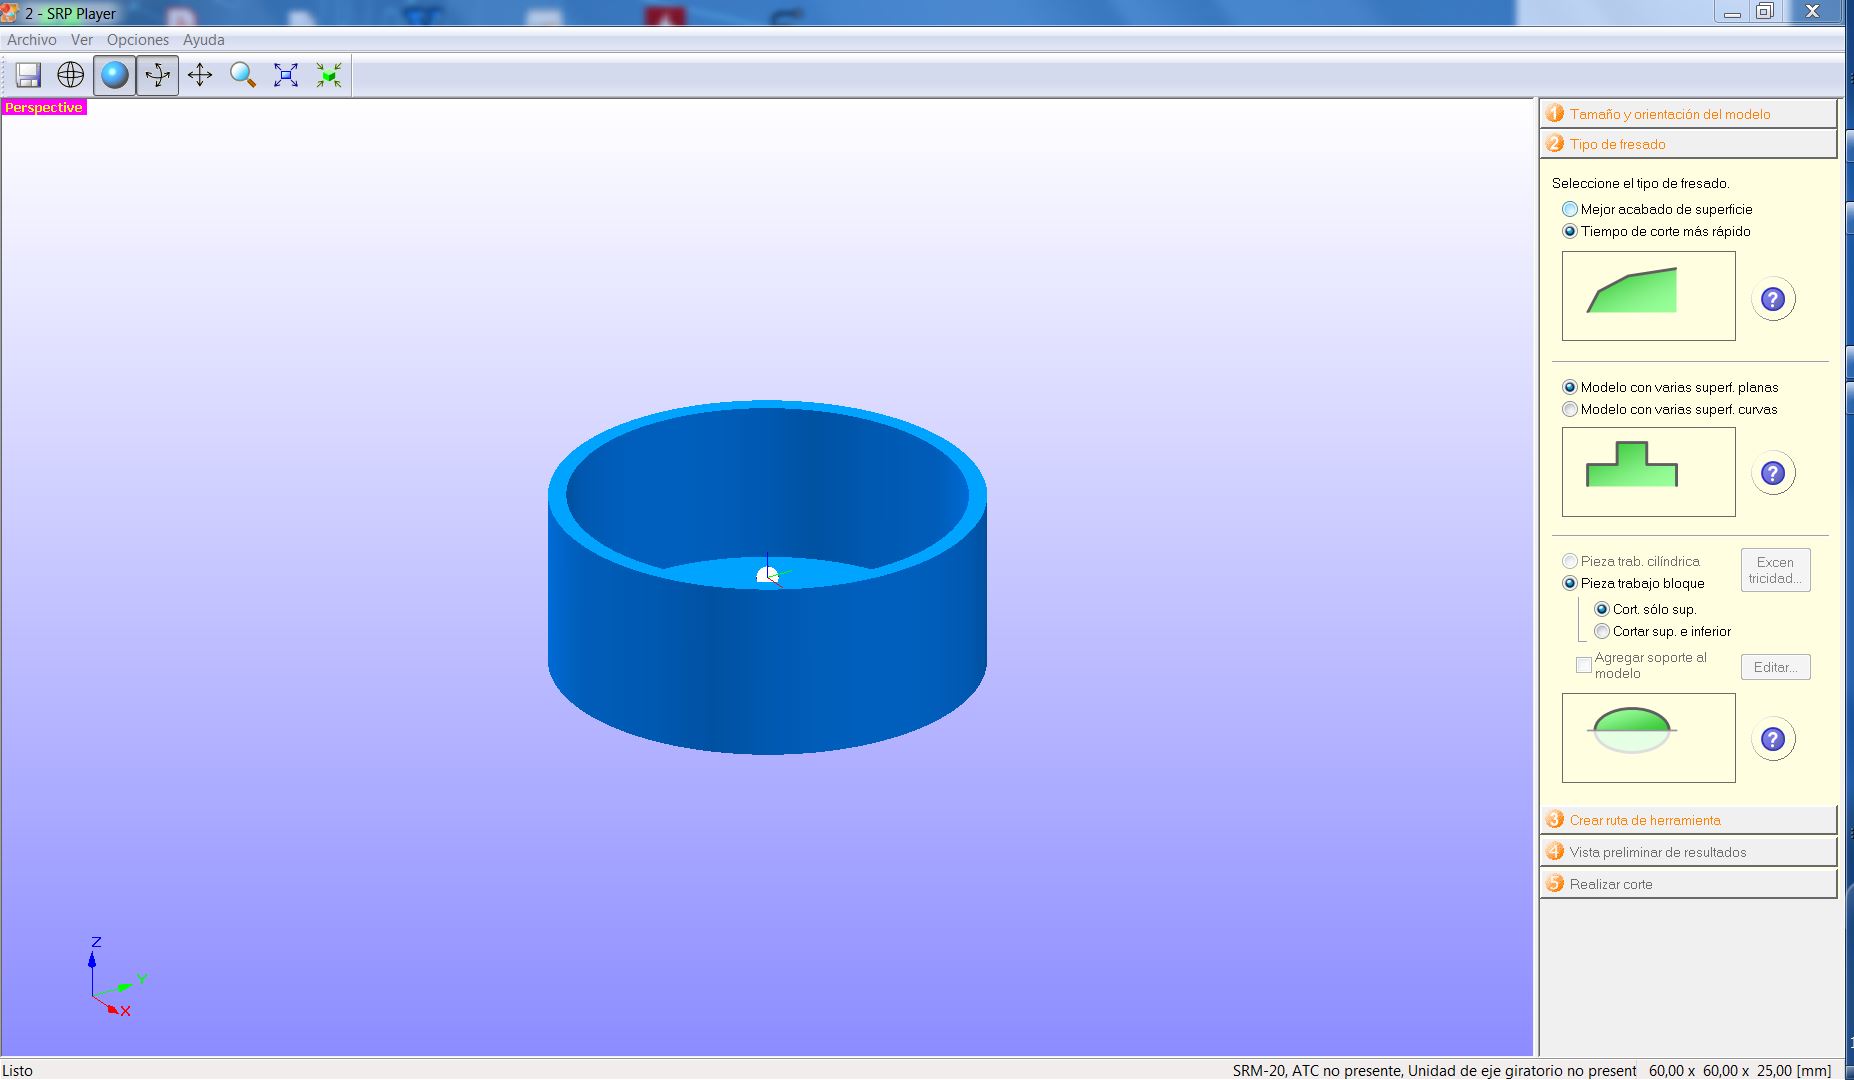
In this software I set two processes: roughing and finishing.
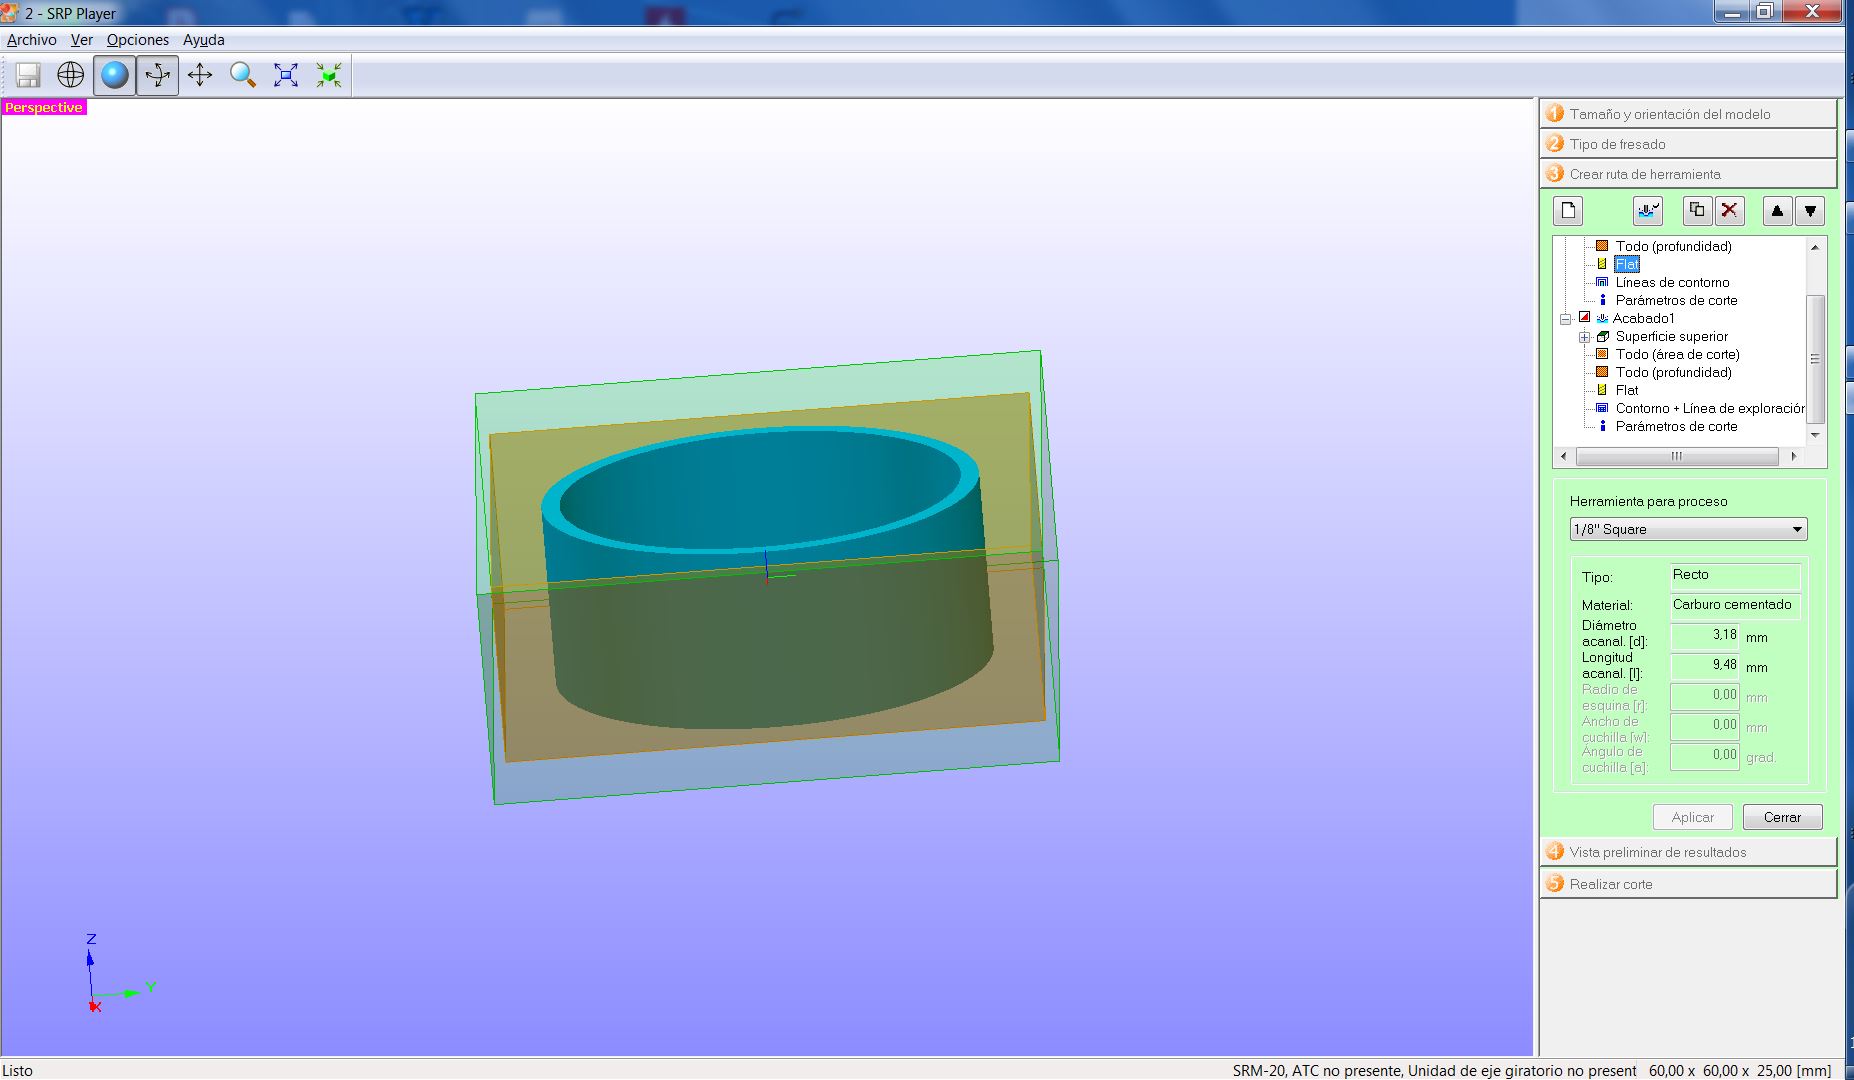
Then I set the material, the bit, which in this occasion is a 1/8" flat endmill, the size of the stock, the position of the model inside the stock and the 0 position. I had to make sure everything is correctly set for both processes.
My model is quite big in relation to the size of the stock, and in order to have a silicon mold with sufficient structure by itself I set the 0 axis in the center.
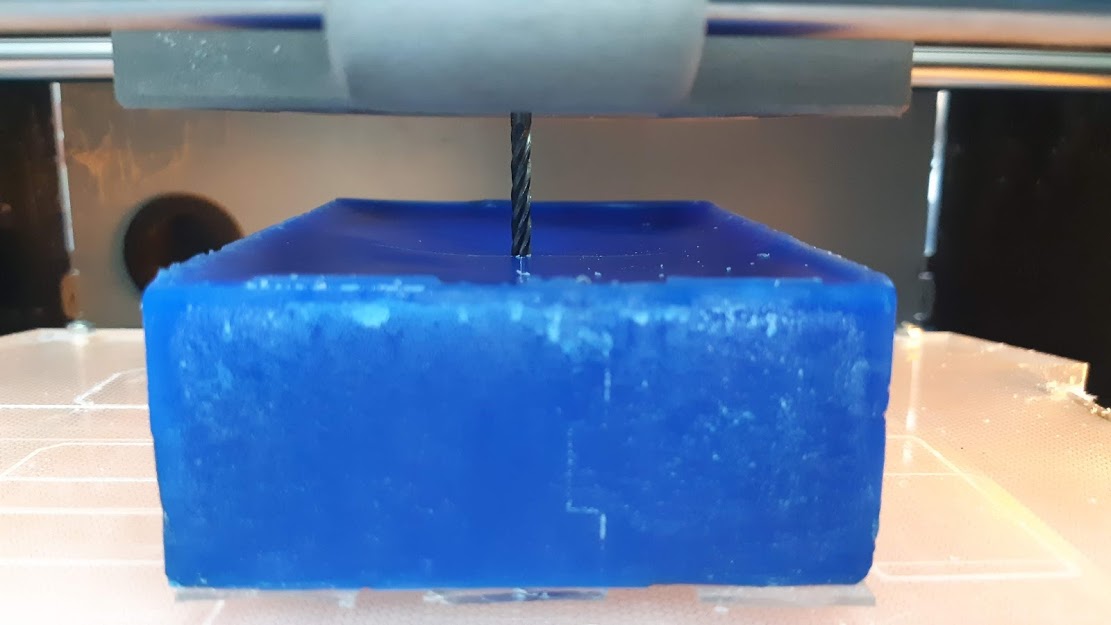
Then I initiate the process.
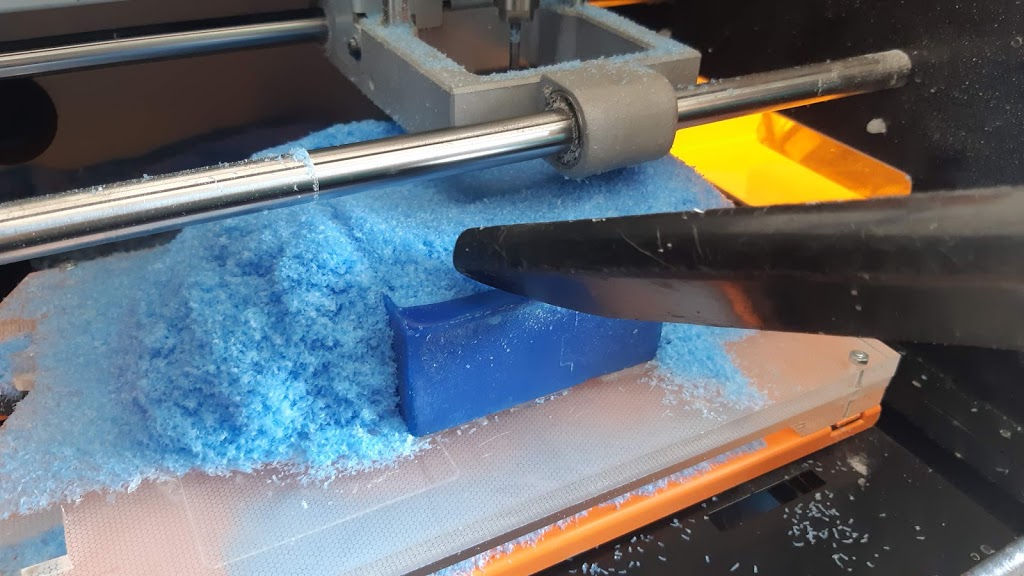
All the important values are set automatically by the software when you choose the material, such as feed rate, rpm, and others. We need to check the chip load, so if the wax is not attaching to the bit, that is a good sign, but we need to continue checking because sometimes it starts attaching after a while.
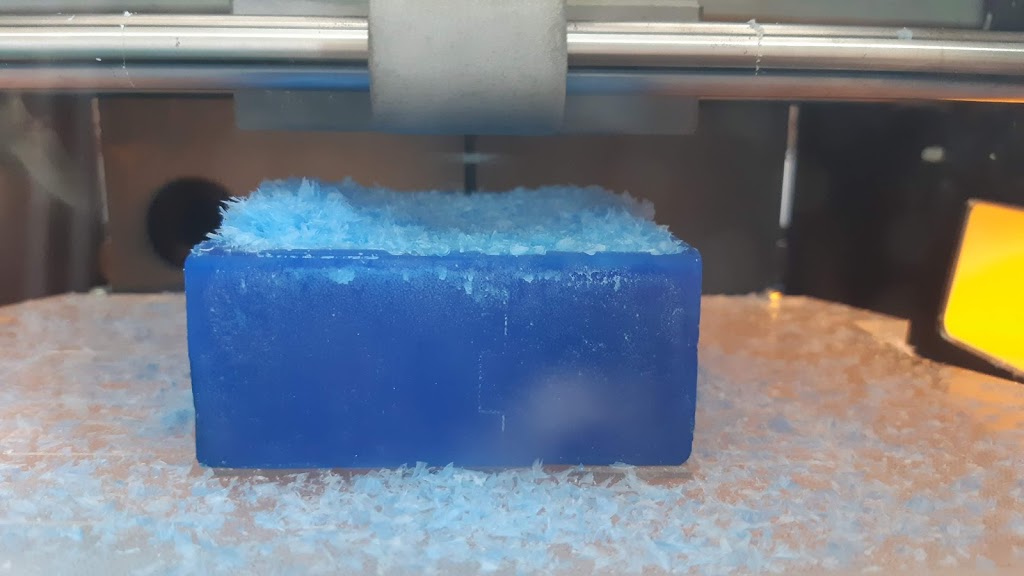
Once the roughing process is finished, it will automatically start the surface finish process.
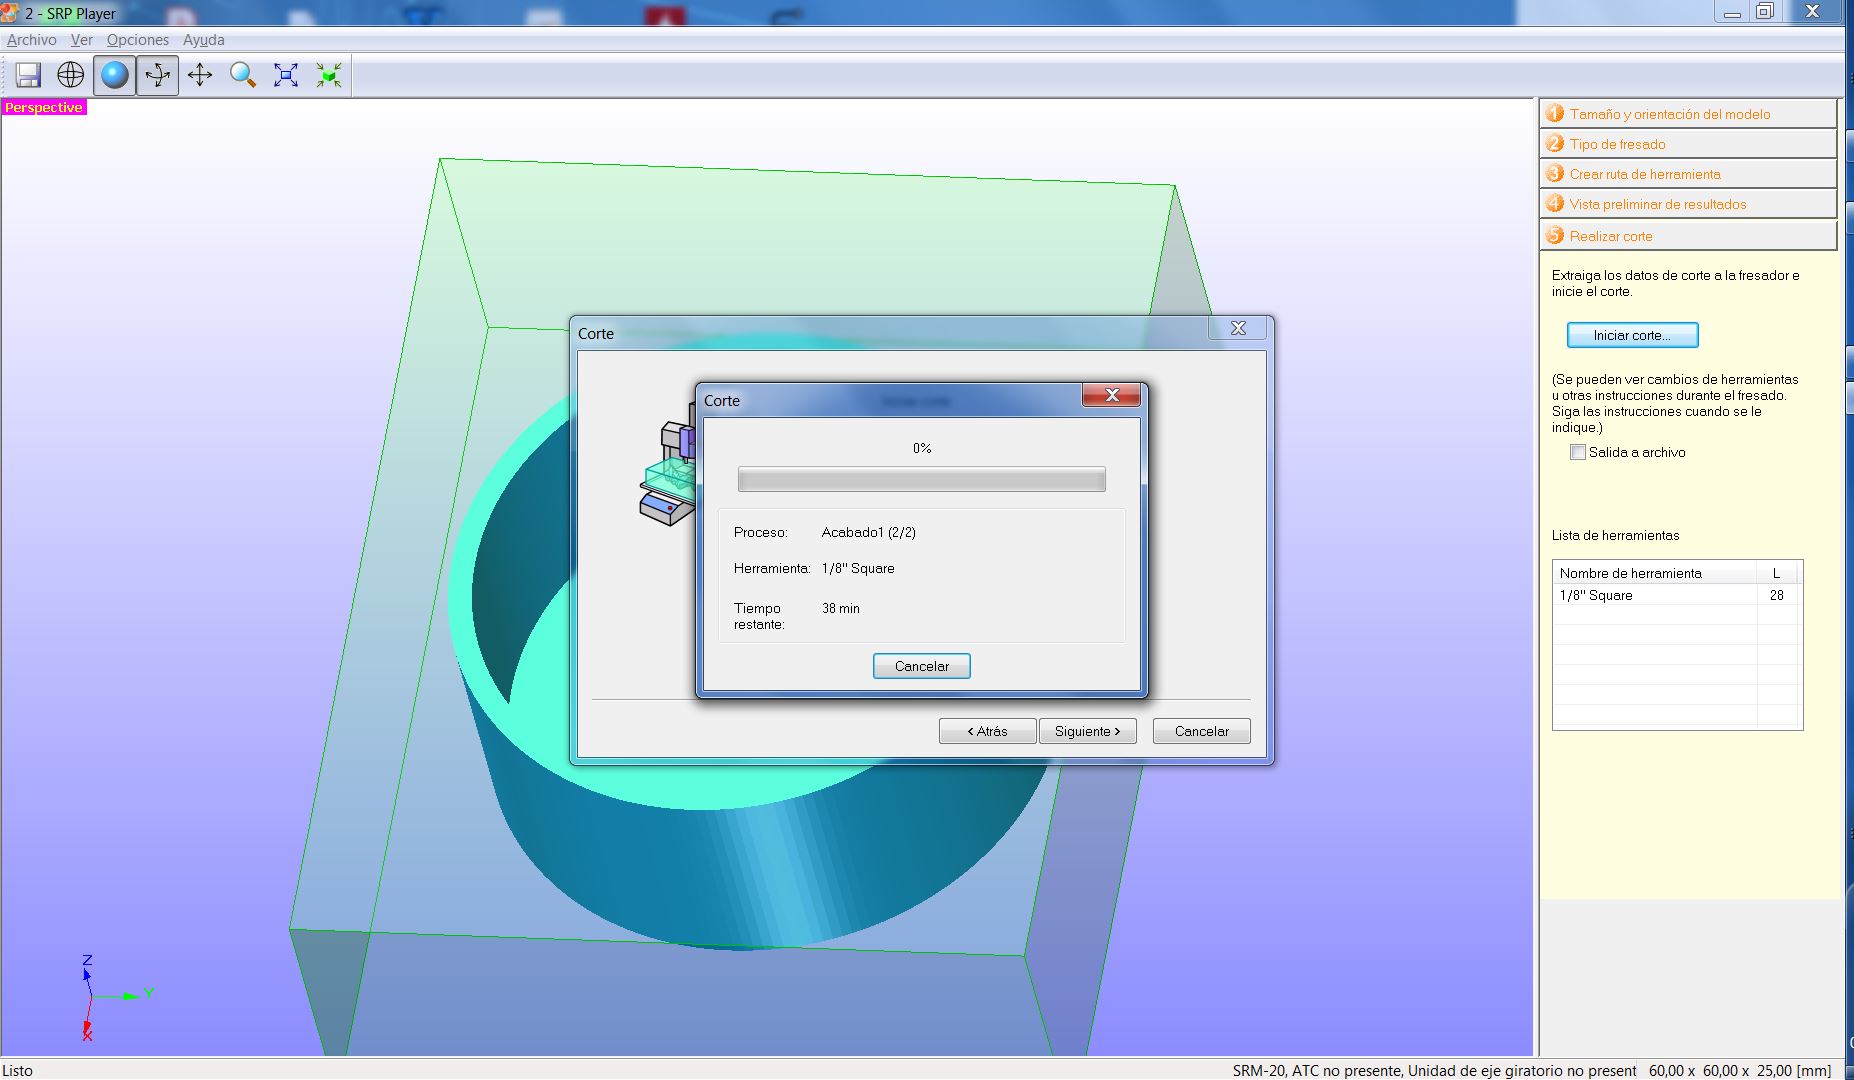
Now we just need to wait.
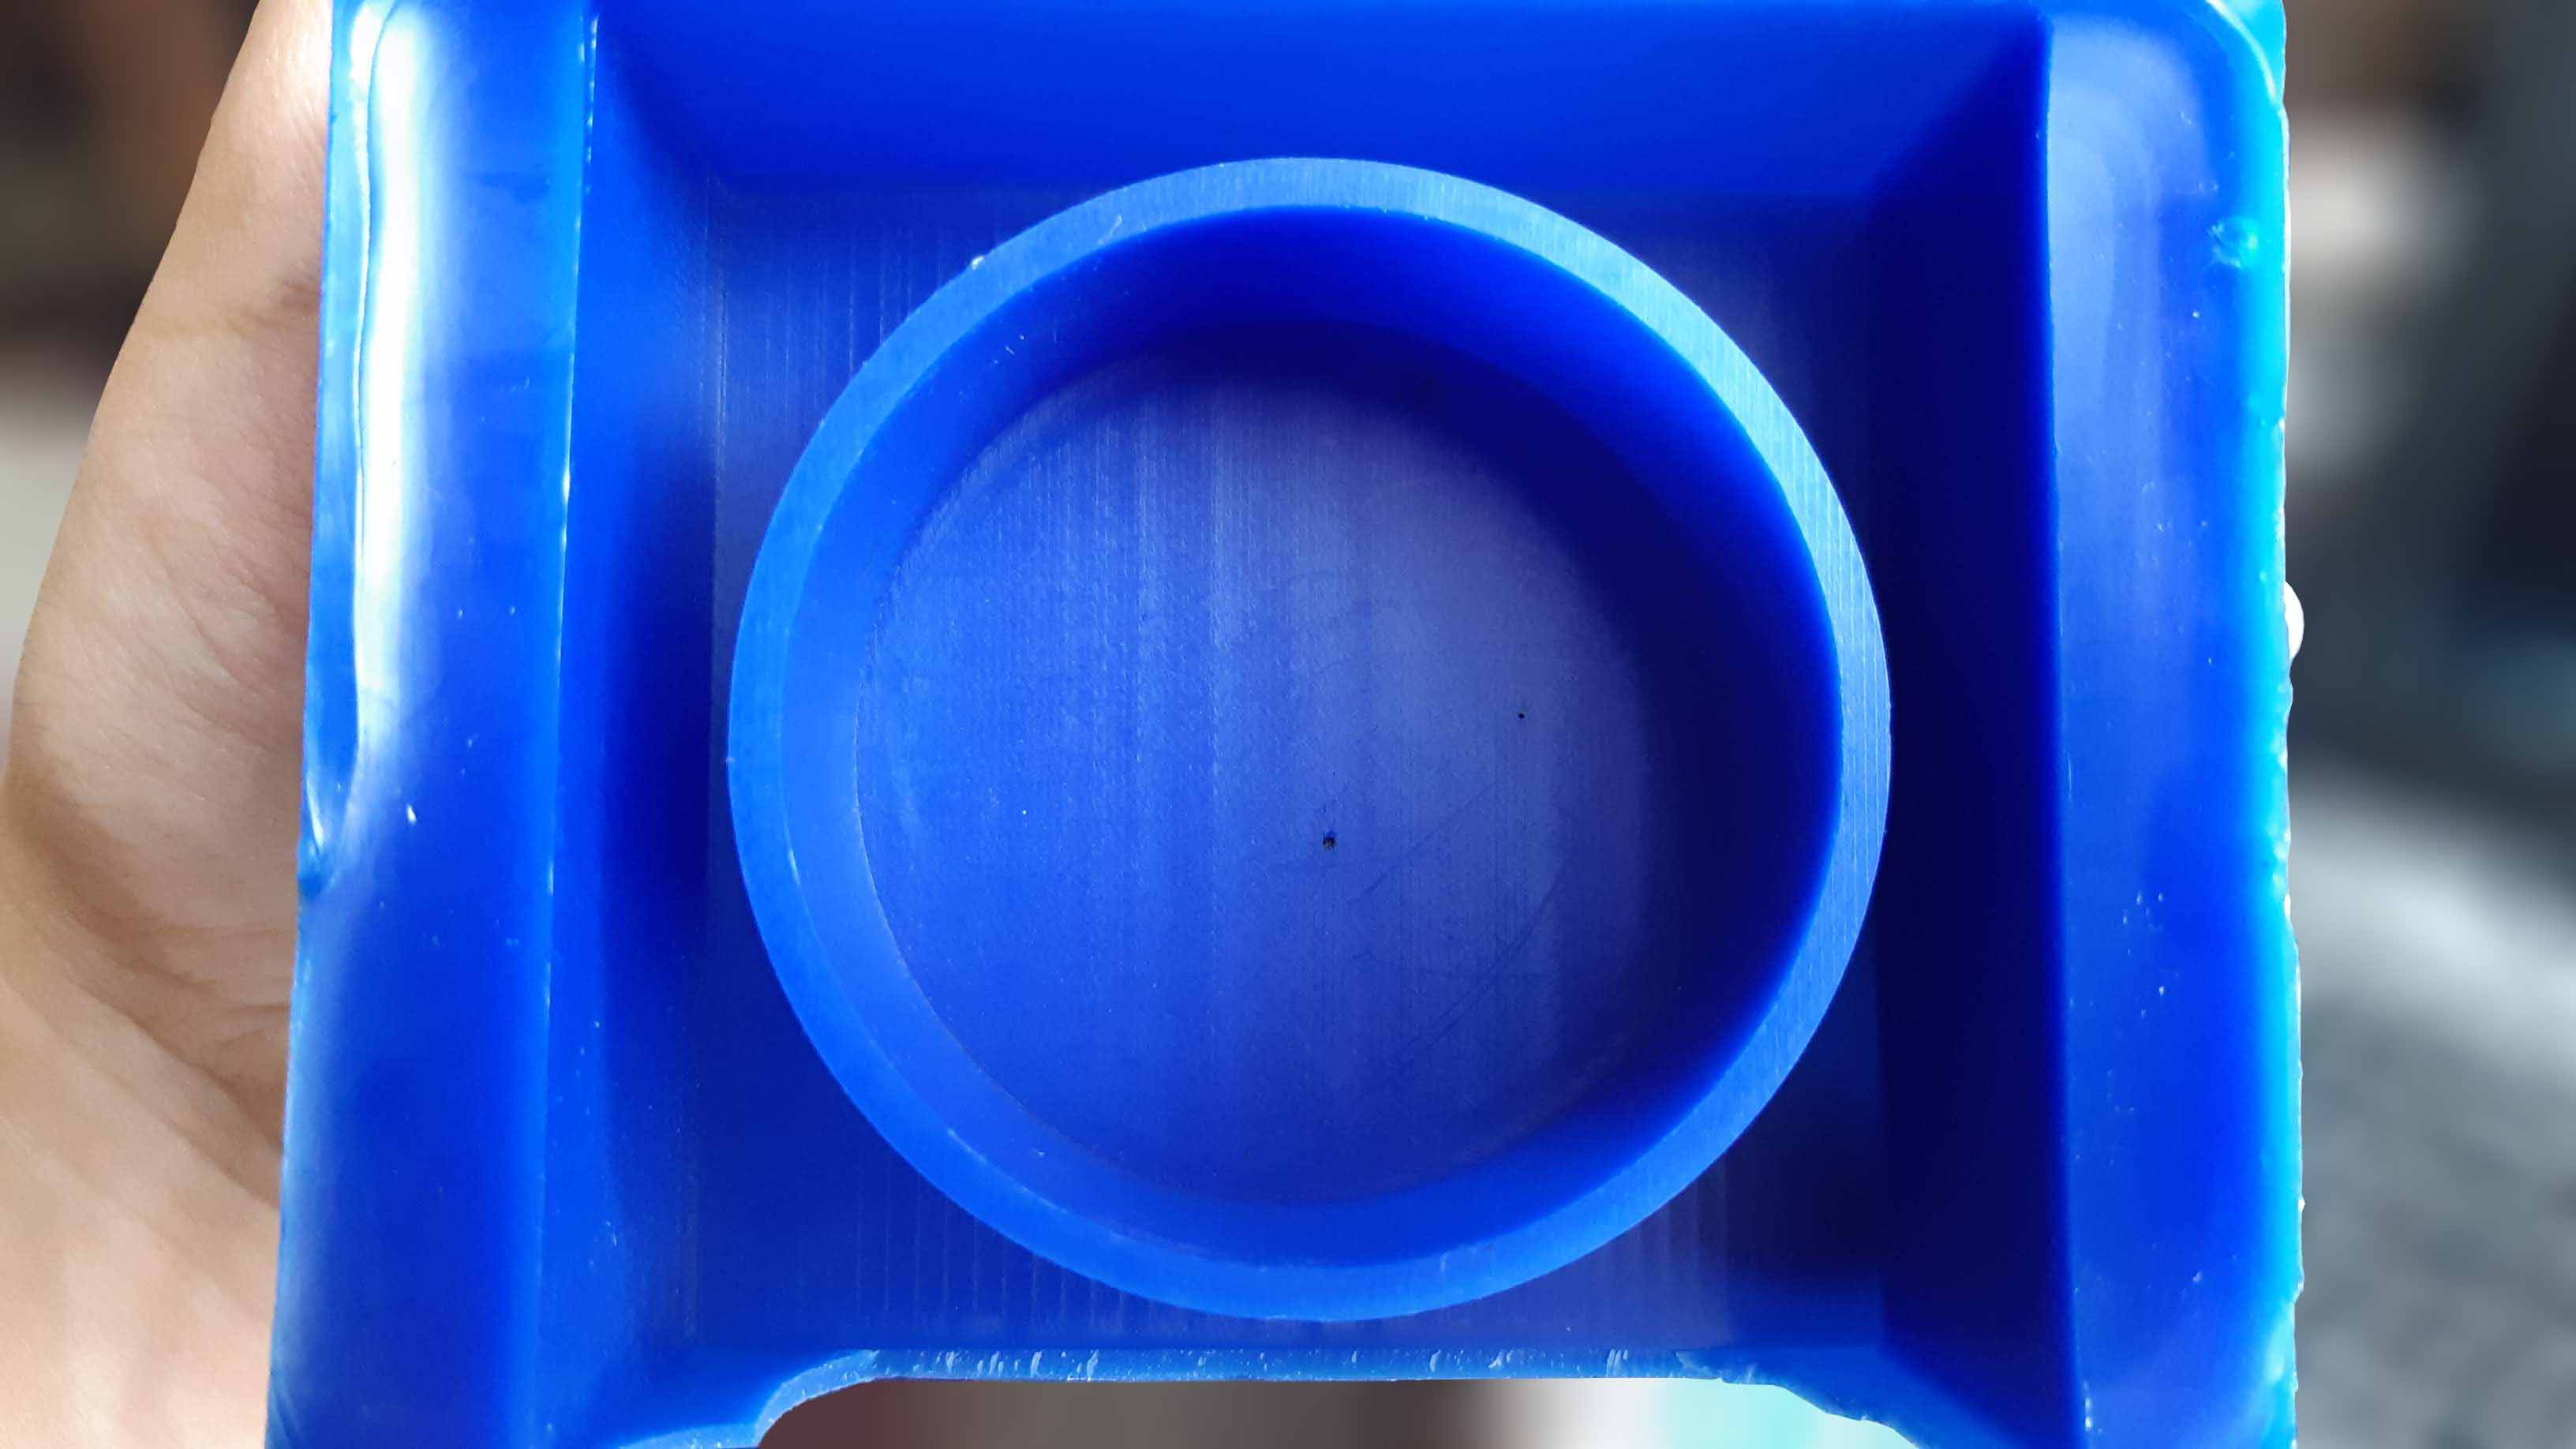
It is time to clean and reveal.
I don't have photo of the complete piece, before using it to make the molds. I got too excited I forgot to take one.
Molding process
Silicon mold
First try
I started the mold making part trying a Smooth-on product. I had heard of this brand before but in Peru is not easy to find, so I was excited to try this out.
I found the SORTA-Clear Series, which is a translucent silicon rubber.
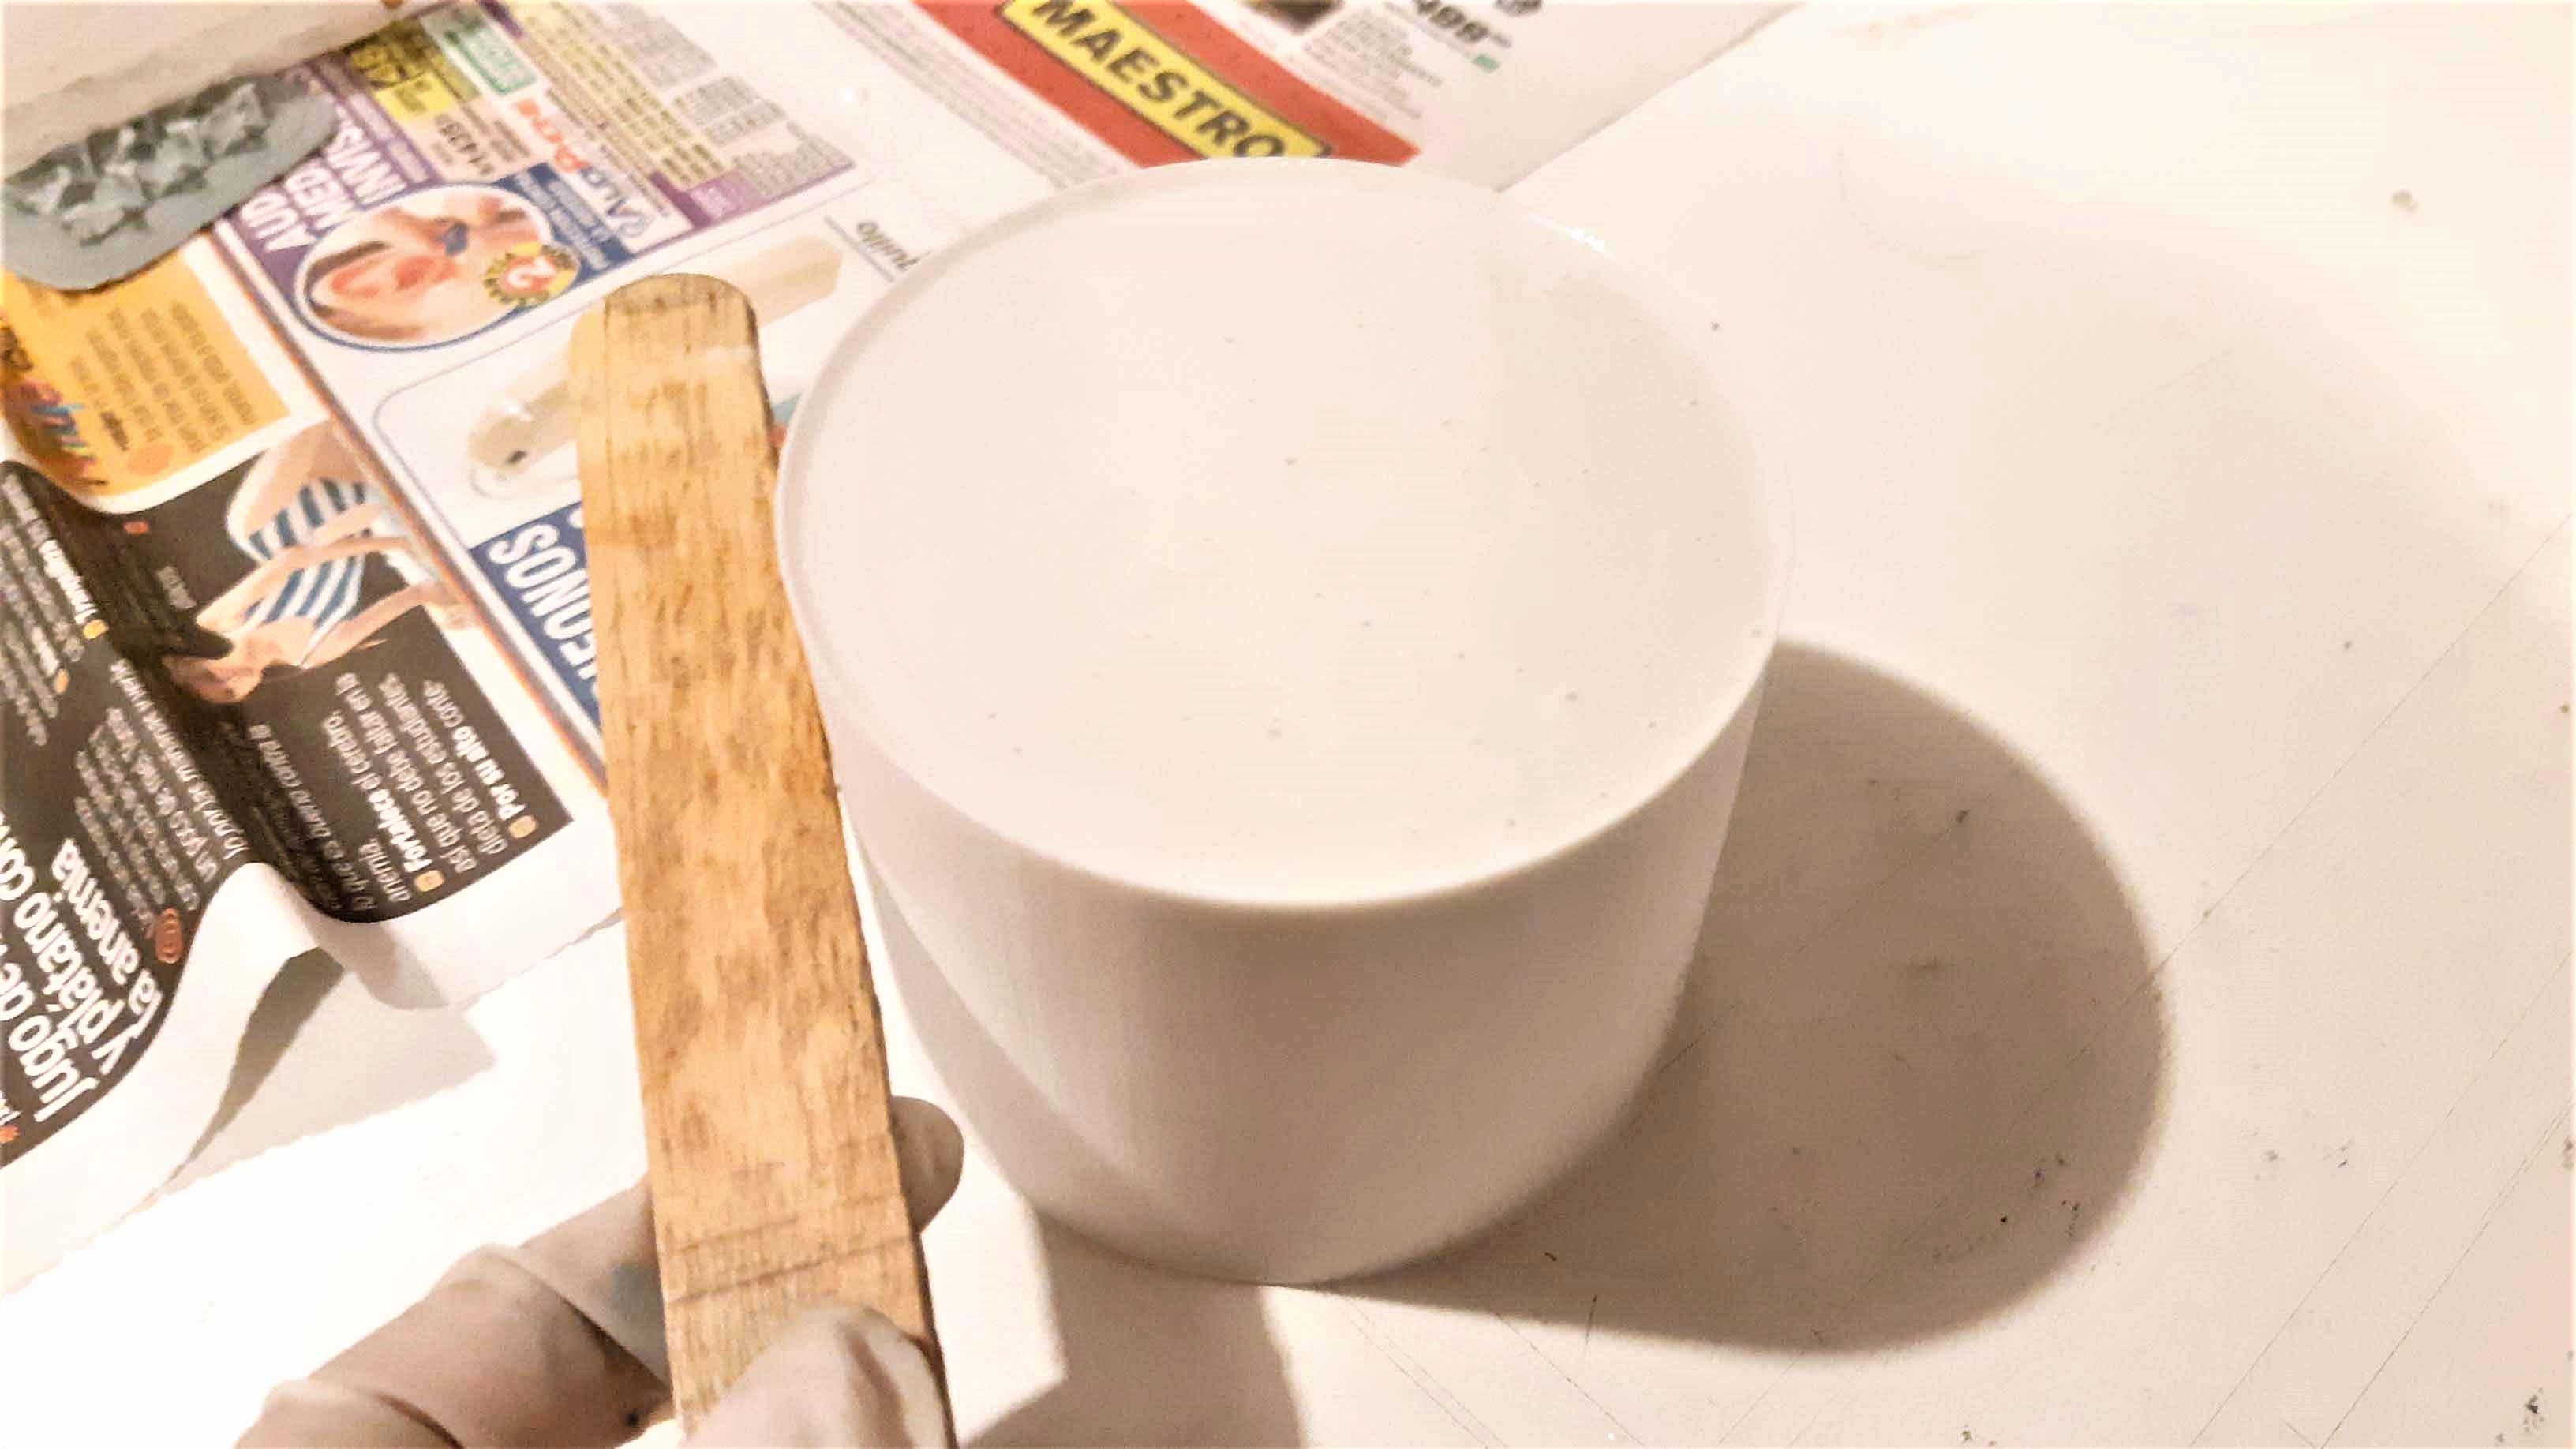
I read the instructions on how to use it and tried first by puring it in the button of a plastic bottle.

It had a lot of bubbles, but I read that the only way to get rid of them was by vacuum degassing. And as I don't have a vacuum chamber I could only try to avoid them by puring it slowly and carefully kind of like forming a thin string letting it fall from the lowest part .
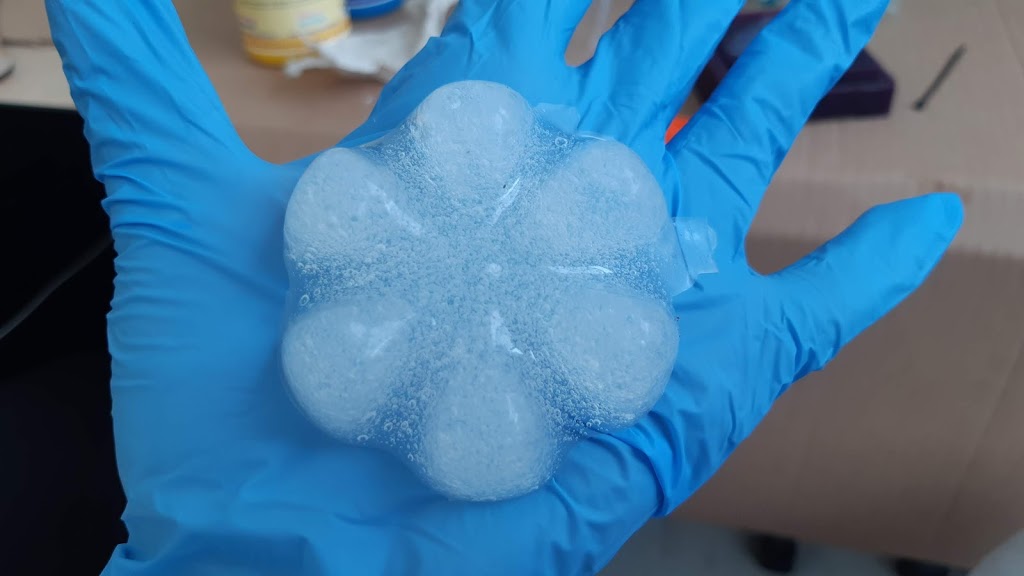
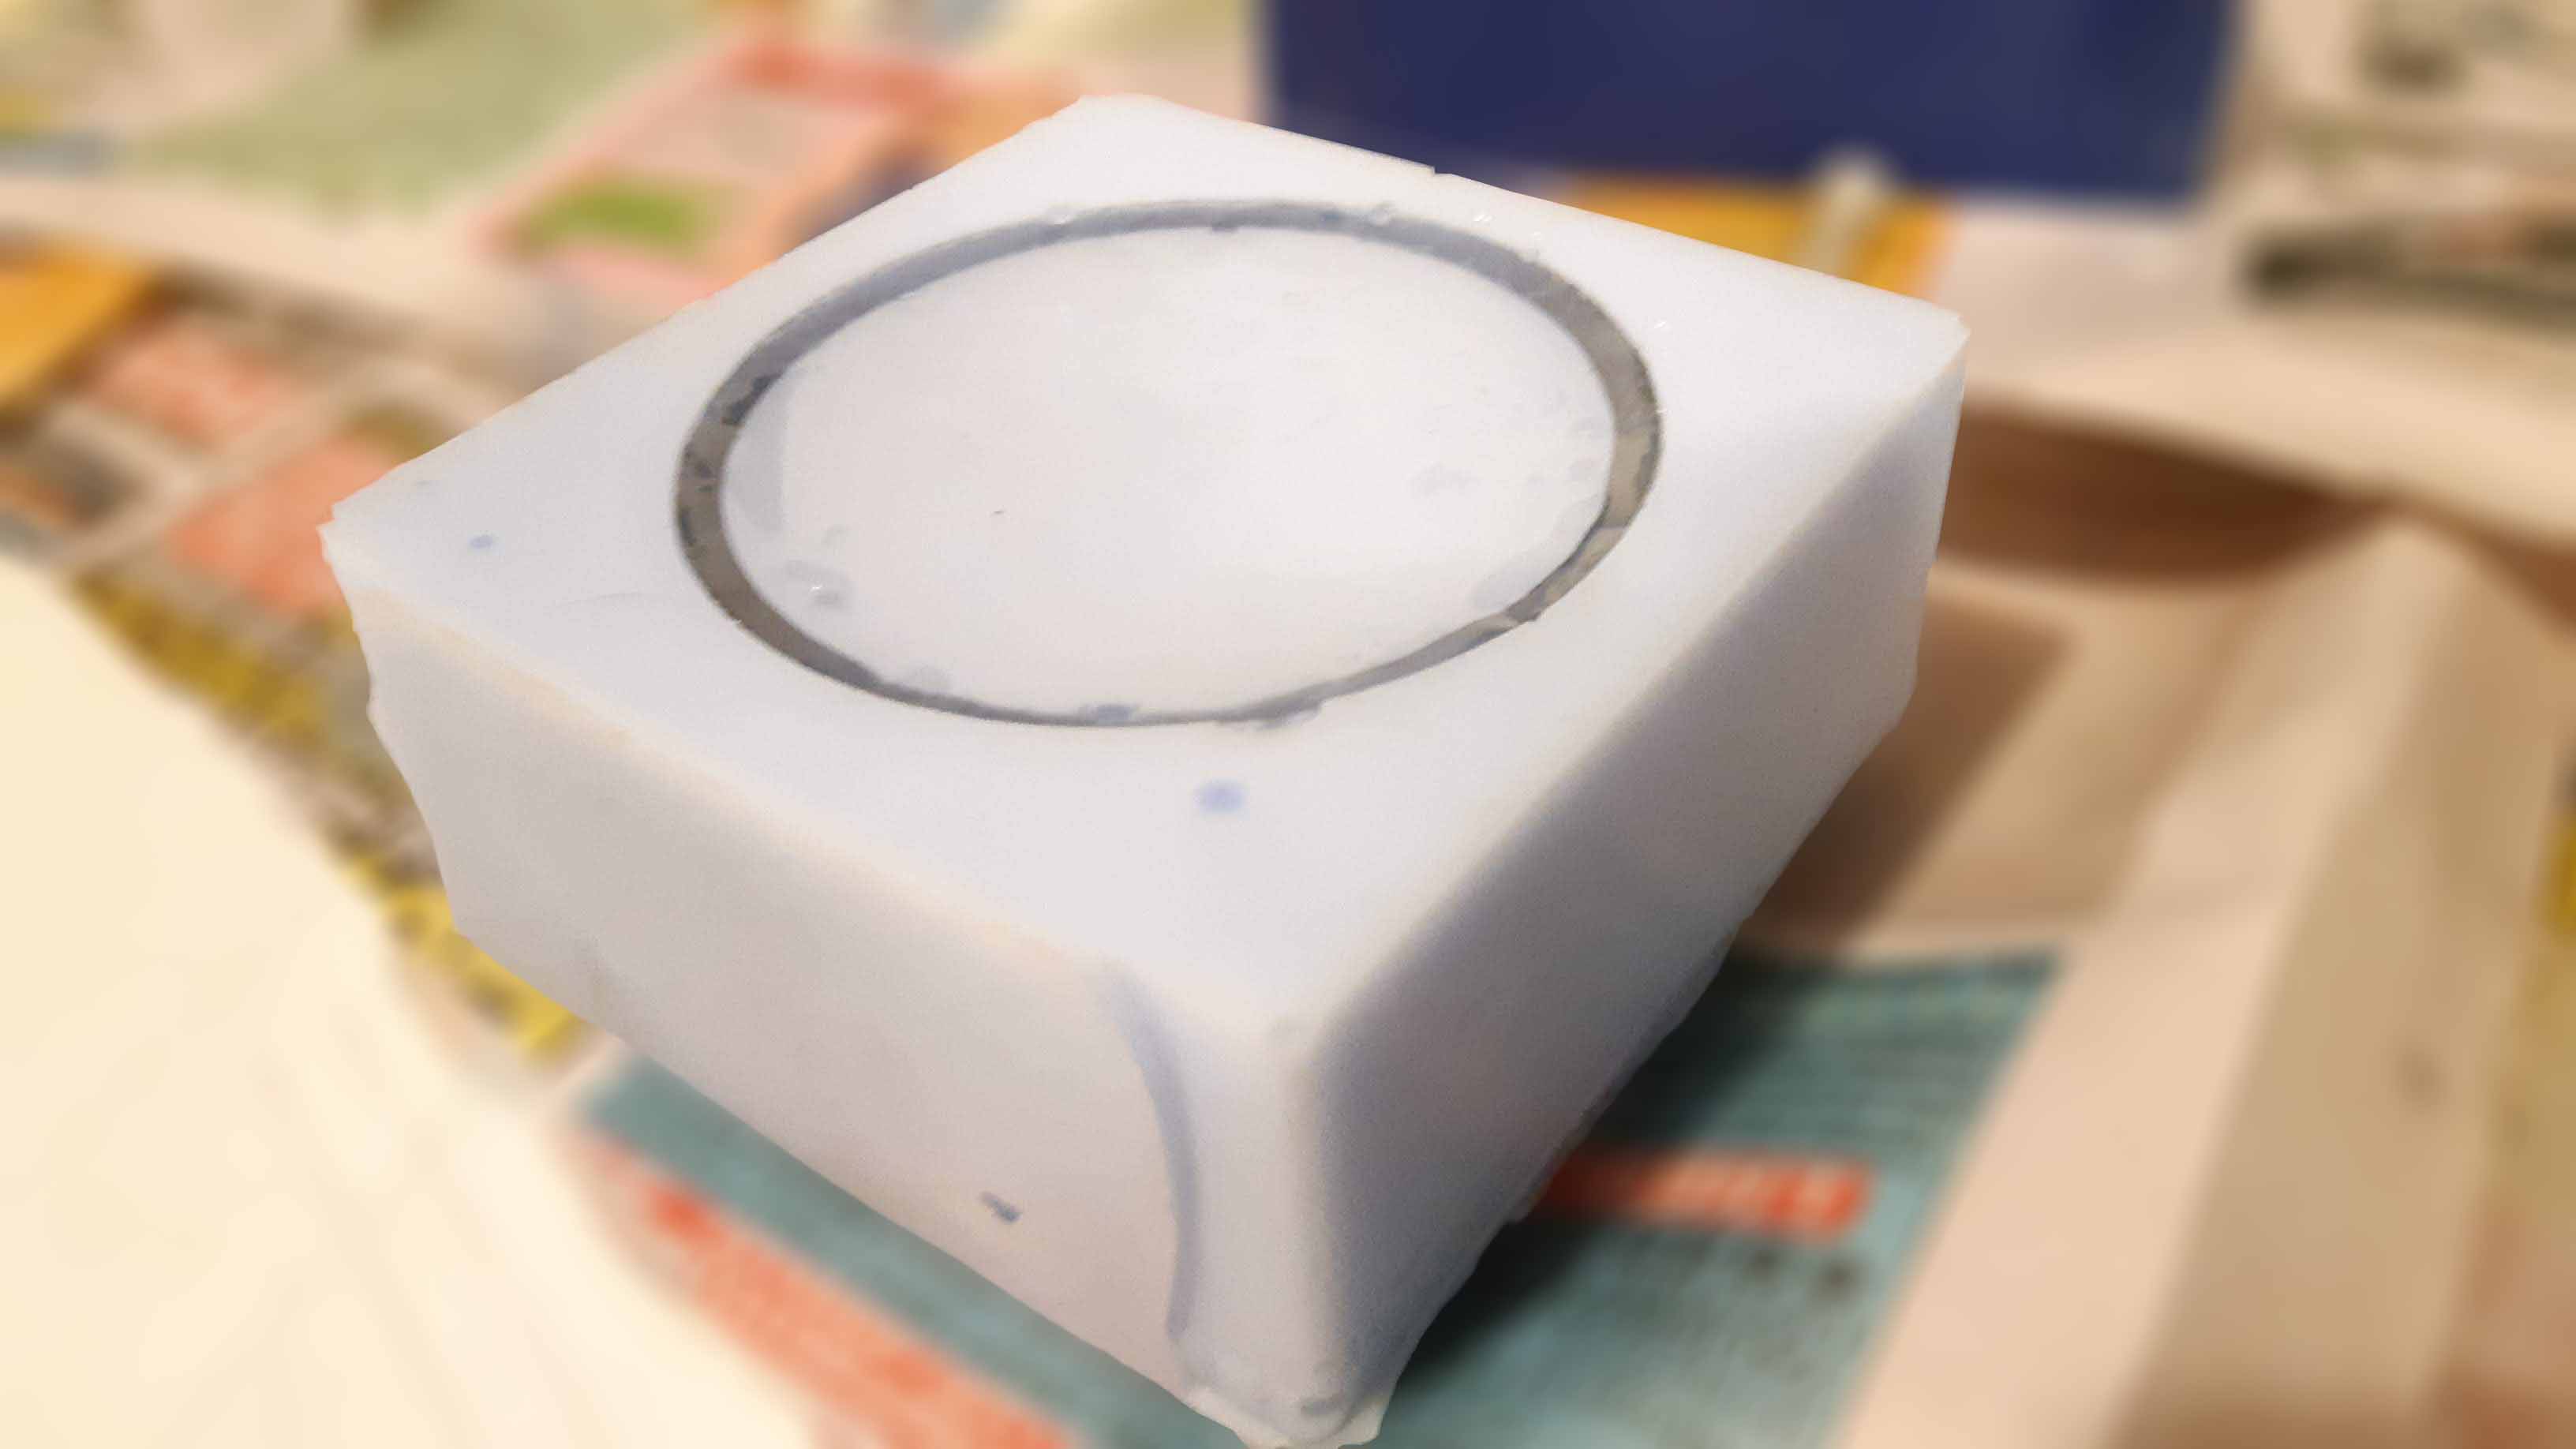
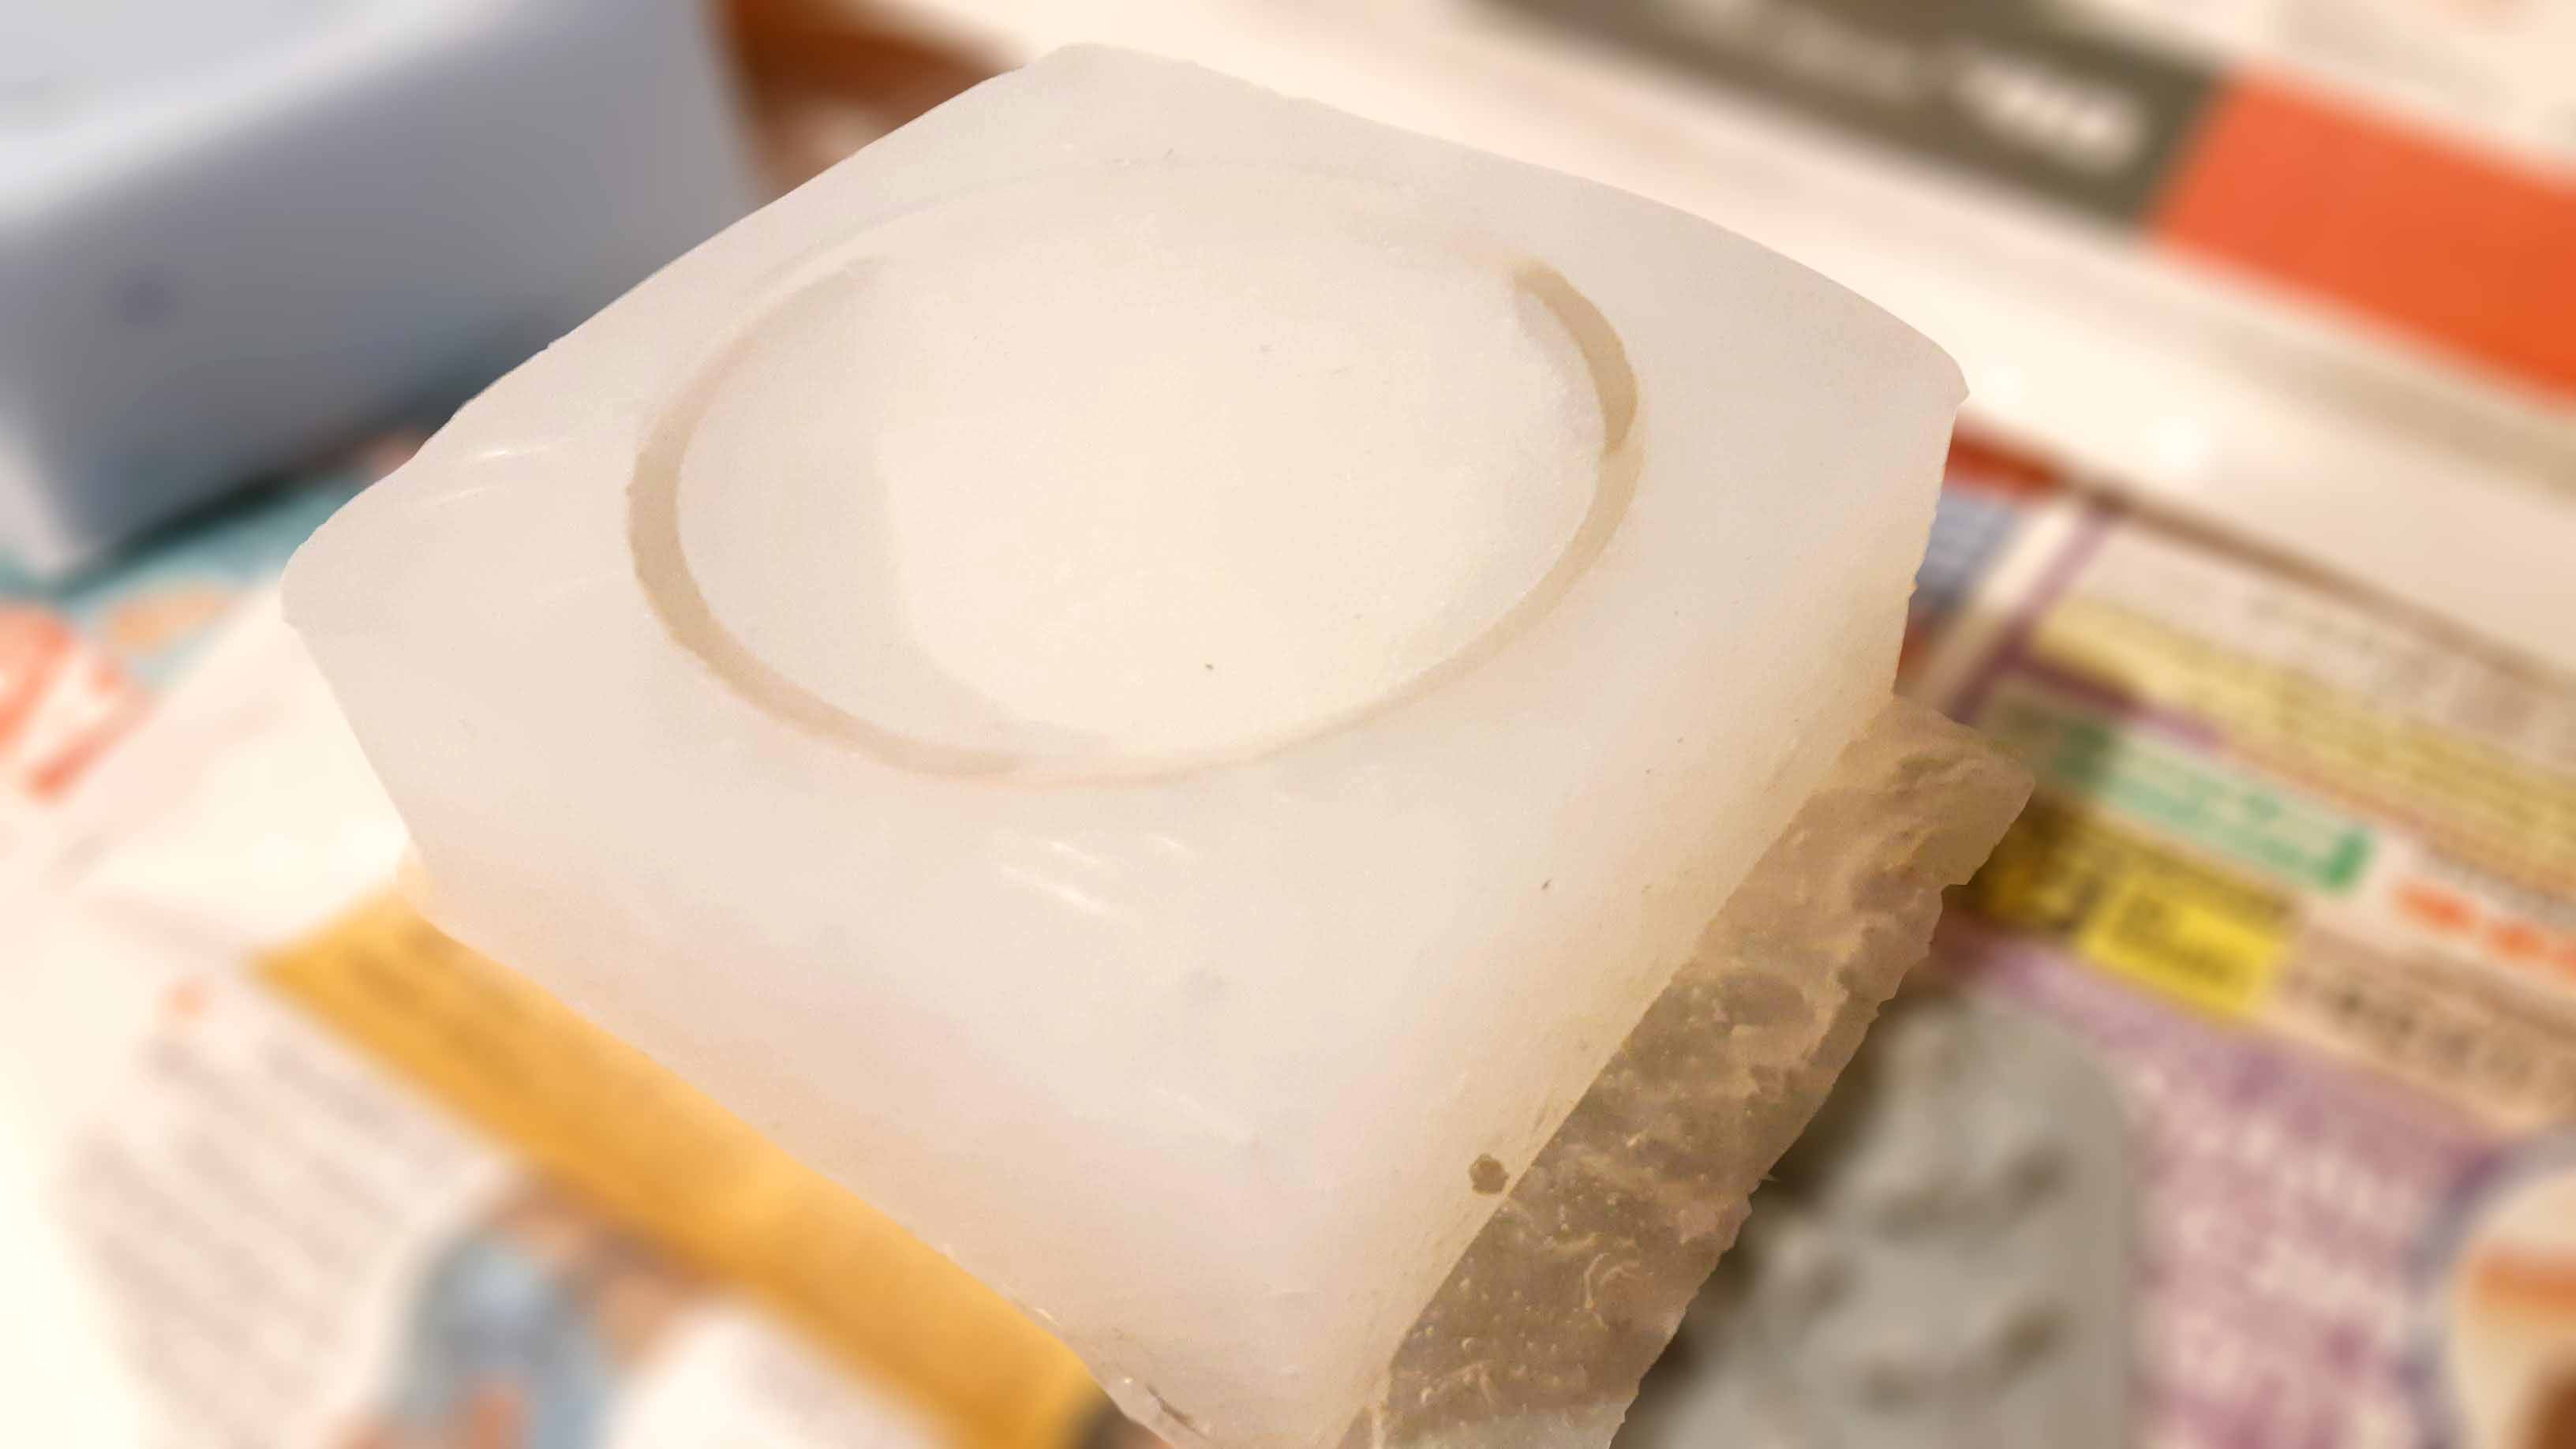
As you can see I couldn't get rid of the bubbles but the surface that matters came out really good. I was good to go.
I tried to do it slow but maybe I took too long, it started curating before I finished and the top surface ended up like this.
Fortunately and despite the bubbles the surface where I was going to cast later was acceptable.
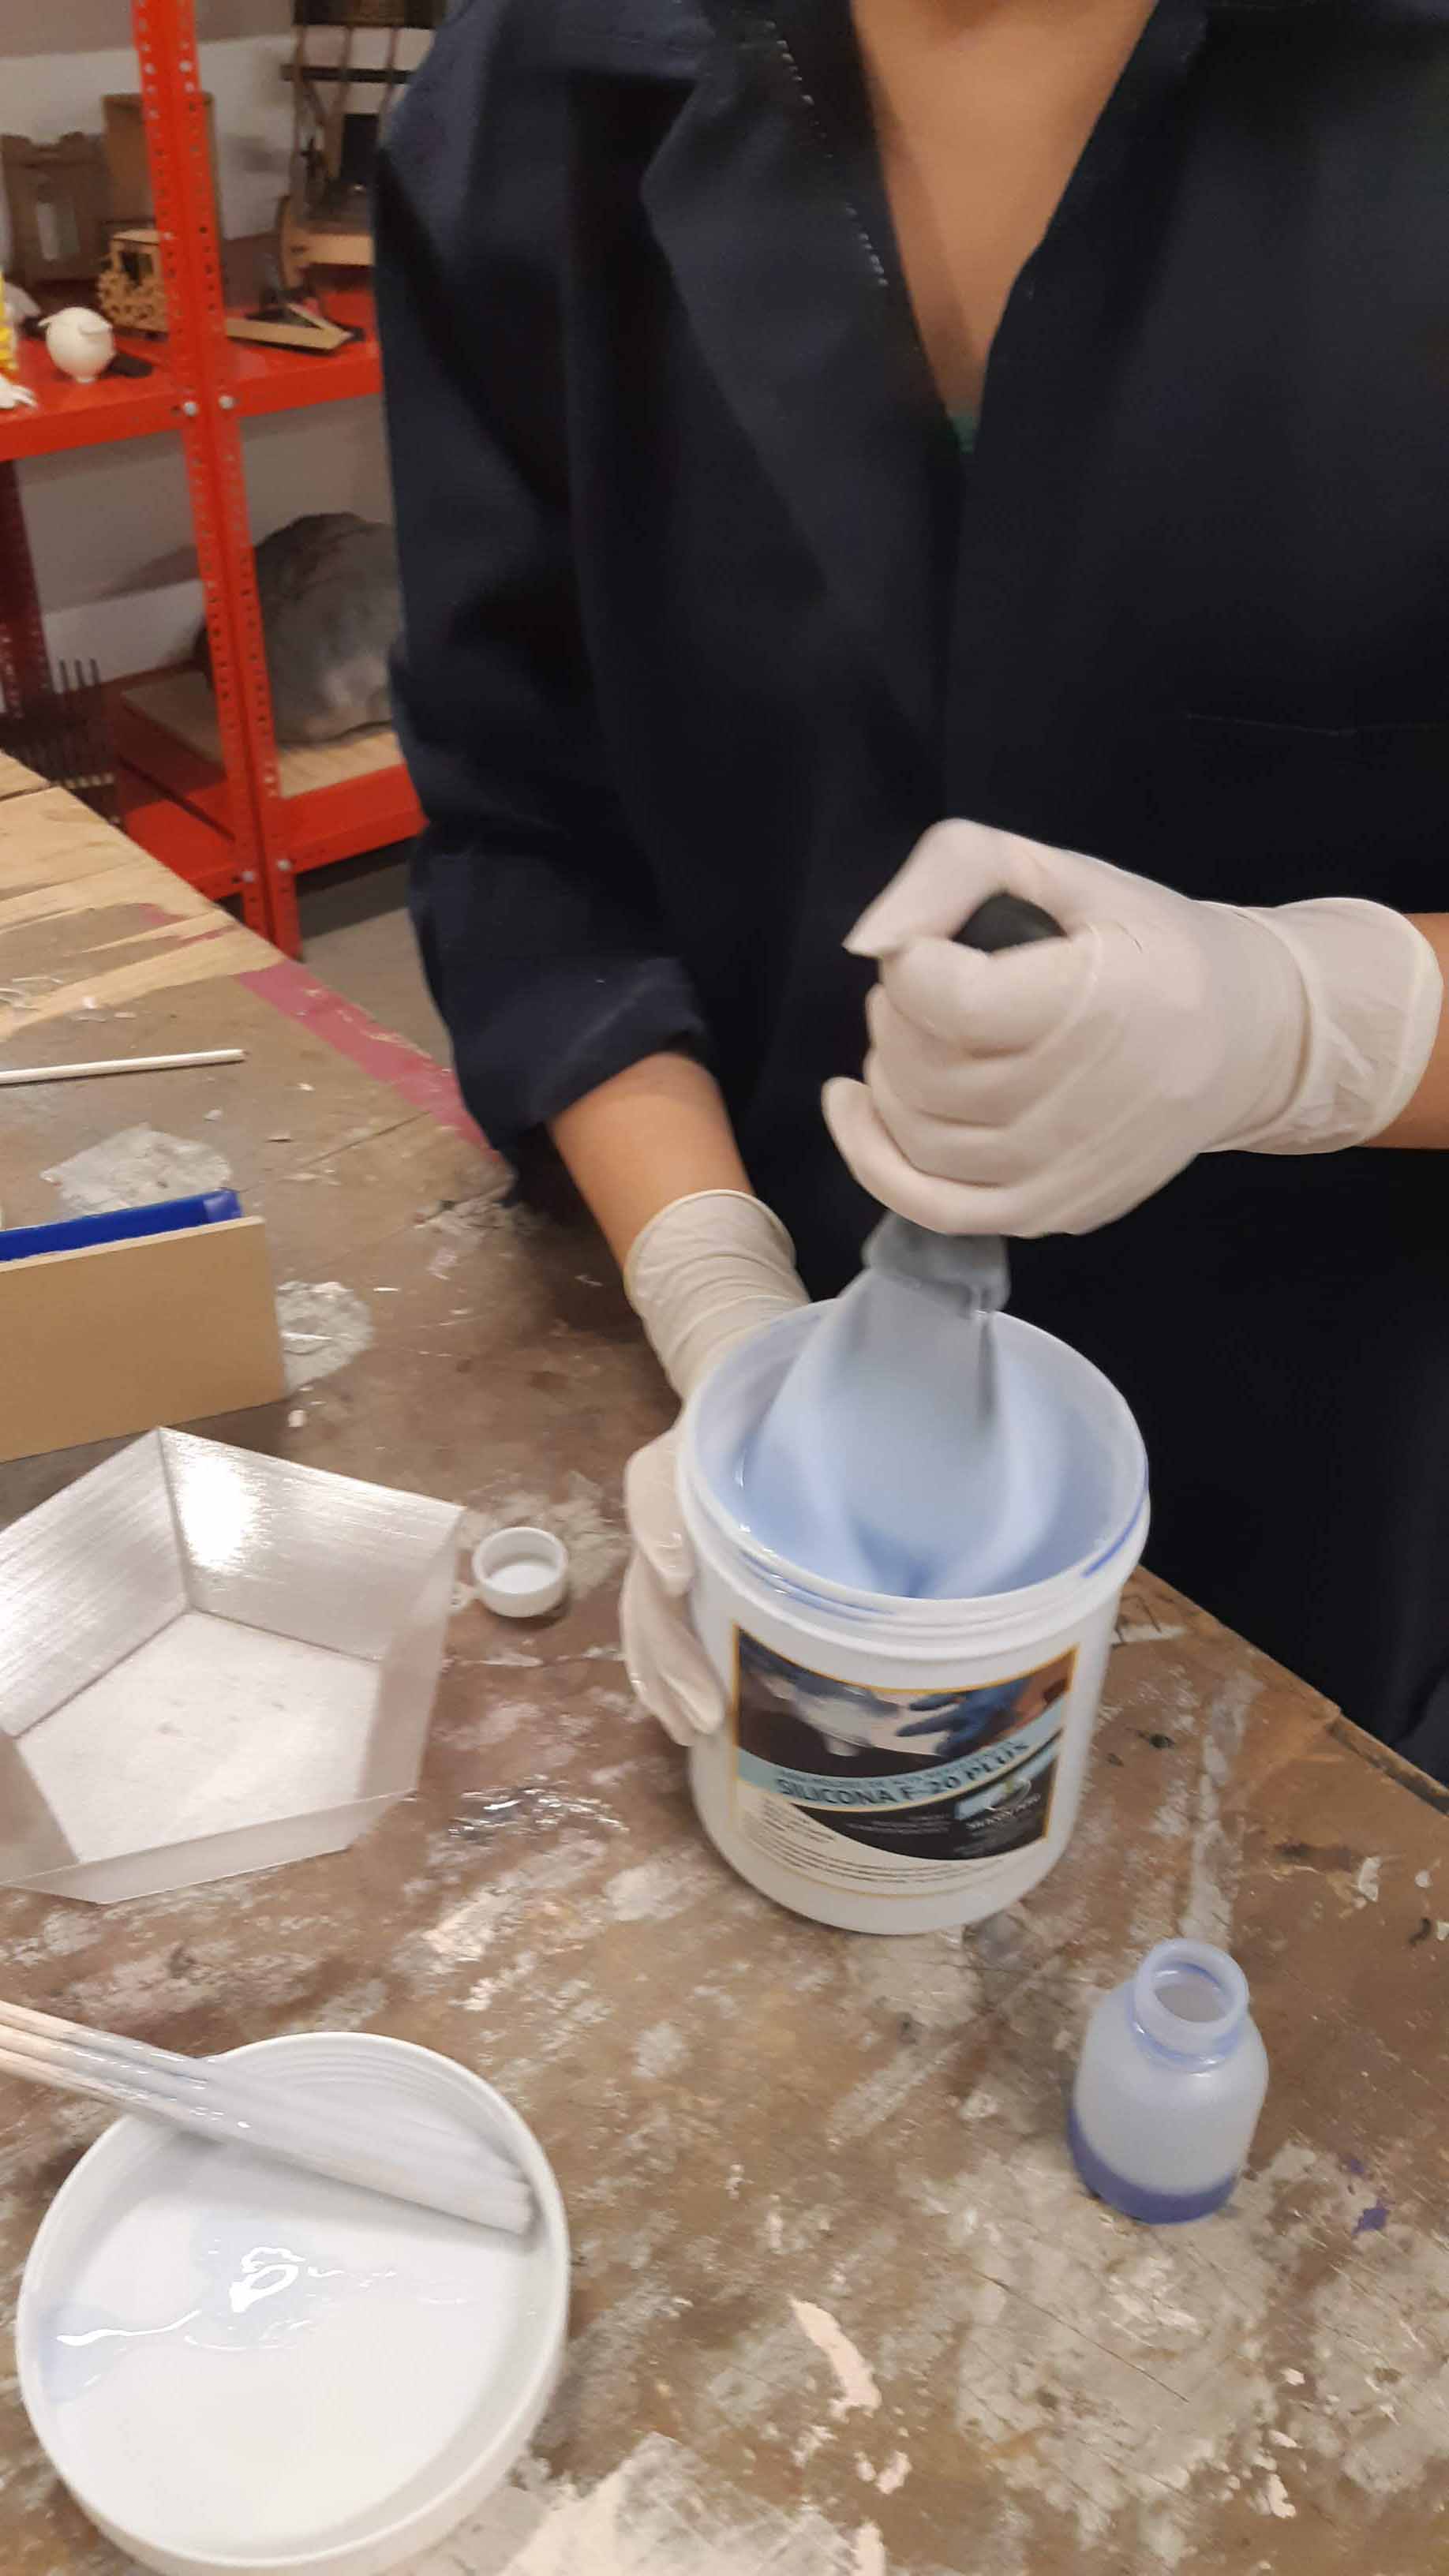
Second try
I wasn't satisfied with the results, I had to try again and also I wanted to try different materials. This time I used RTV silicone.
As I had 3D printed the top part of the plant pot I took the chance to make a second mold and try a different material from resin to make casting. I going to try with cement, although I think the walls are too thin for a cement pot, I have the materials to experiment with, so I decided to give it a shot anyway.
I may have used too much catalyst, although both amounts were supposedly measured already, or maybe I took too long mixing it or pouring it, but it started curing too early once again.
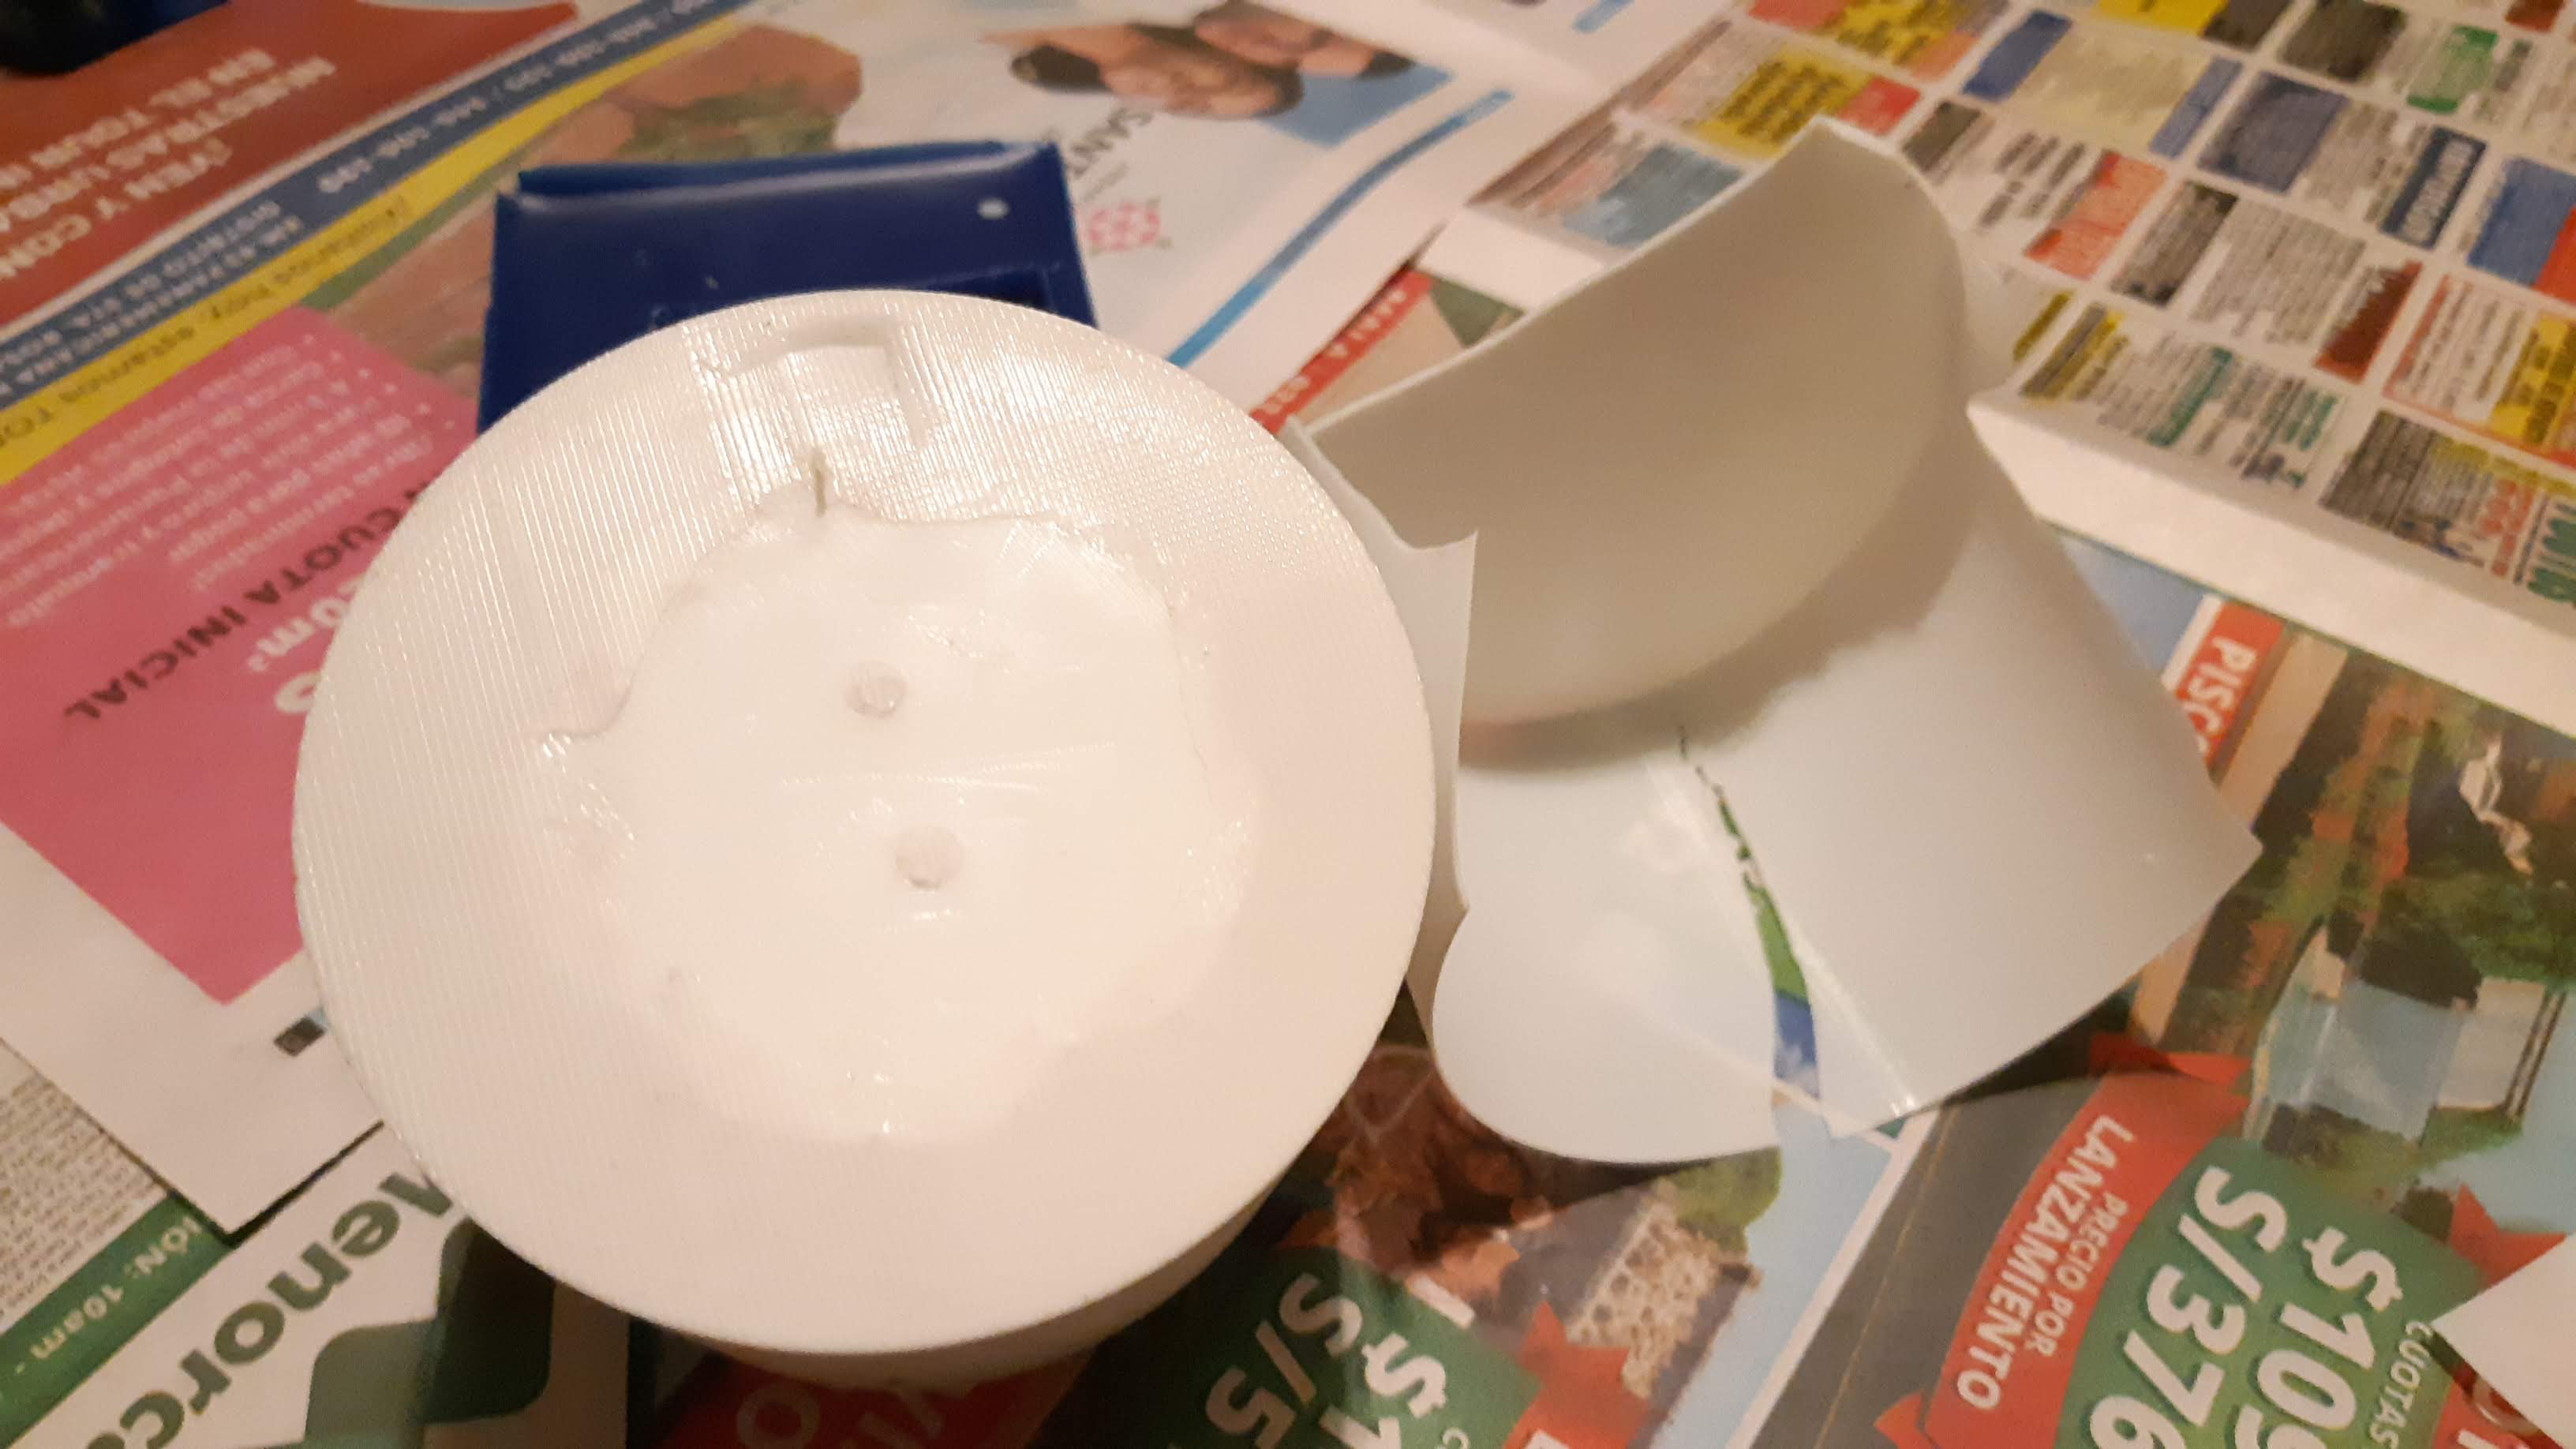
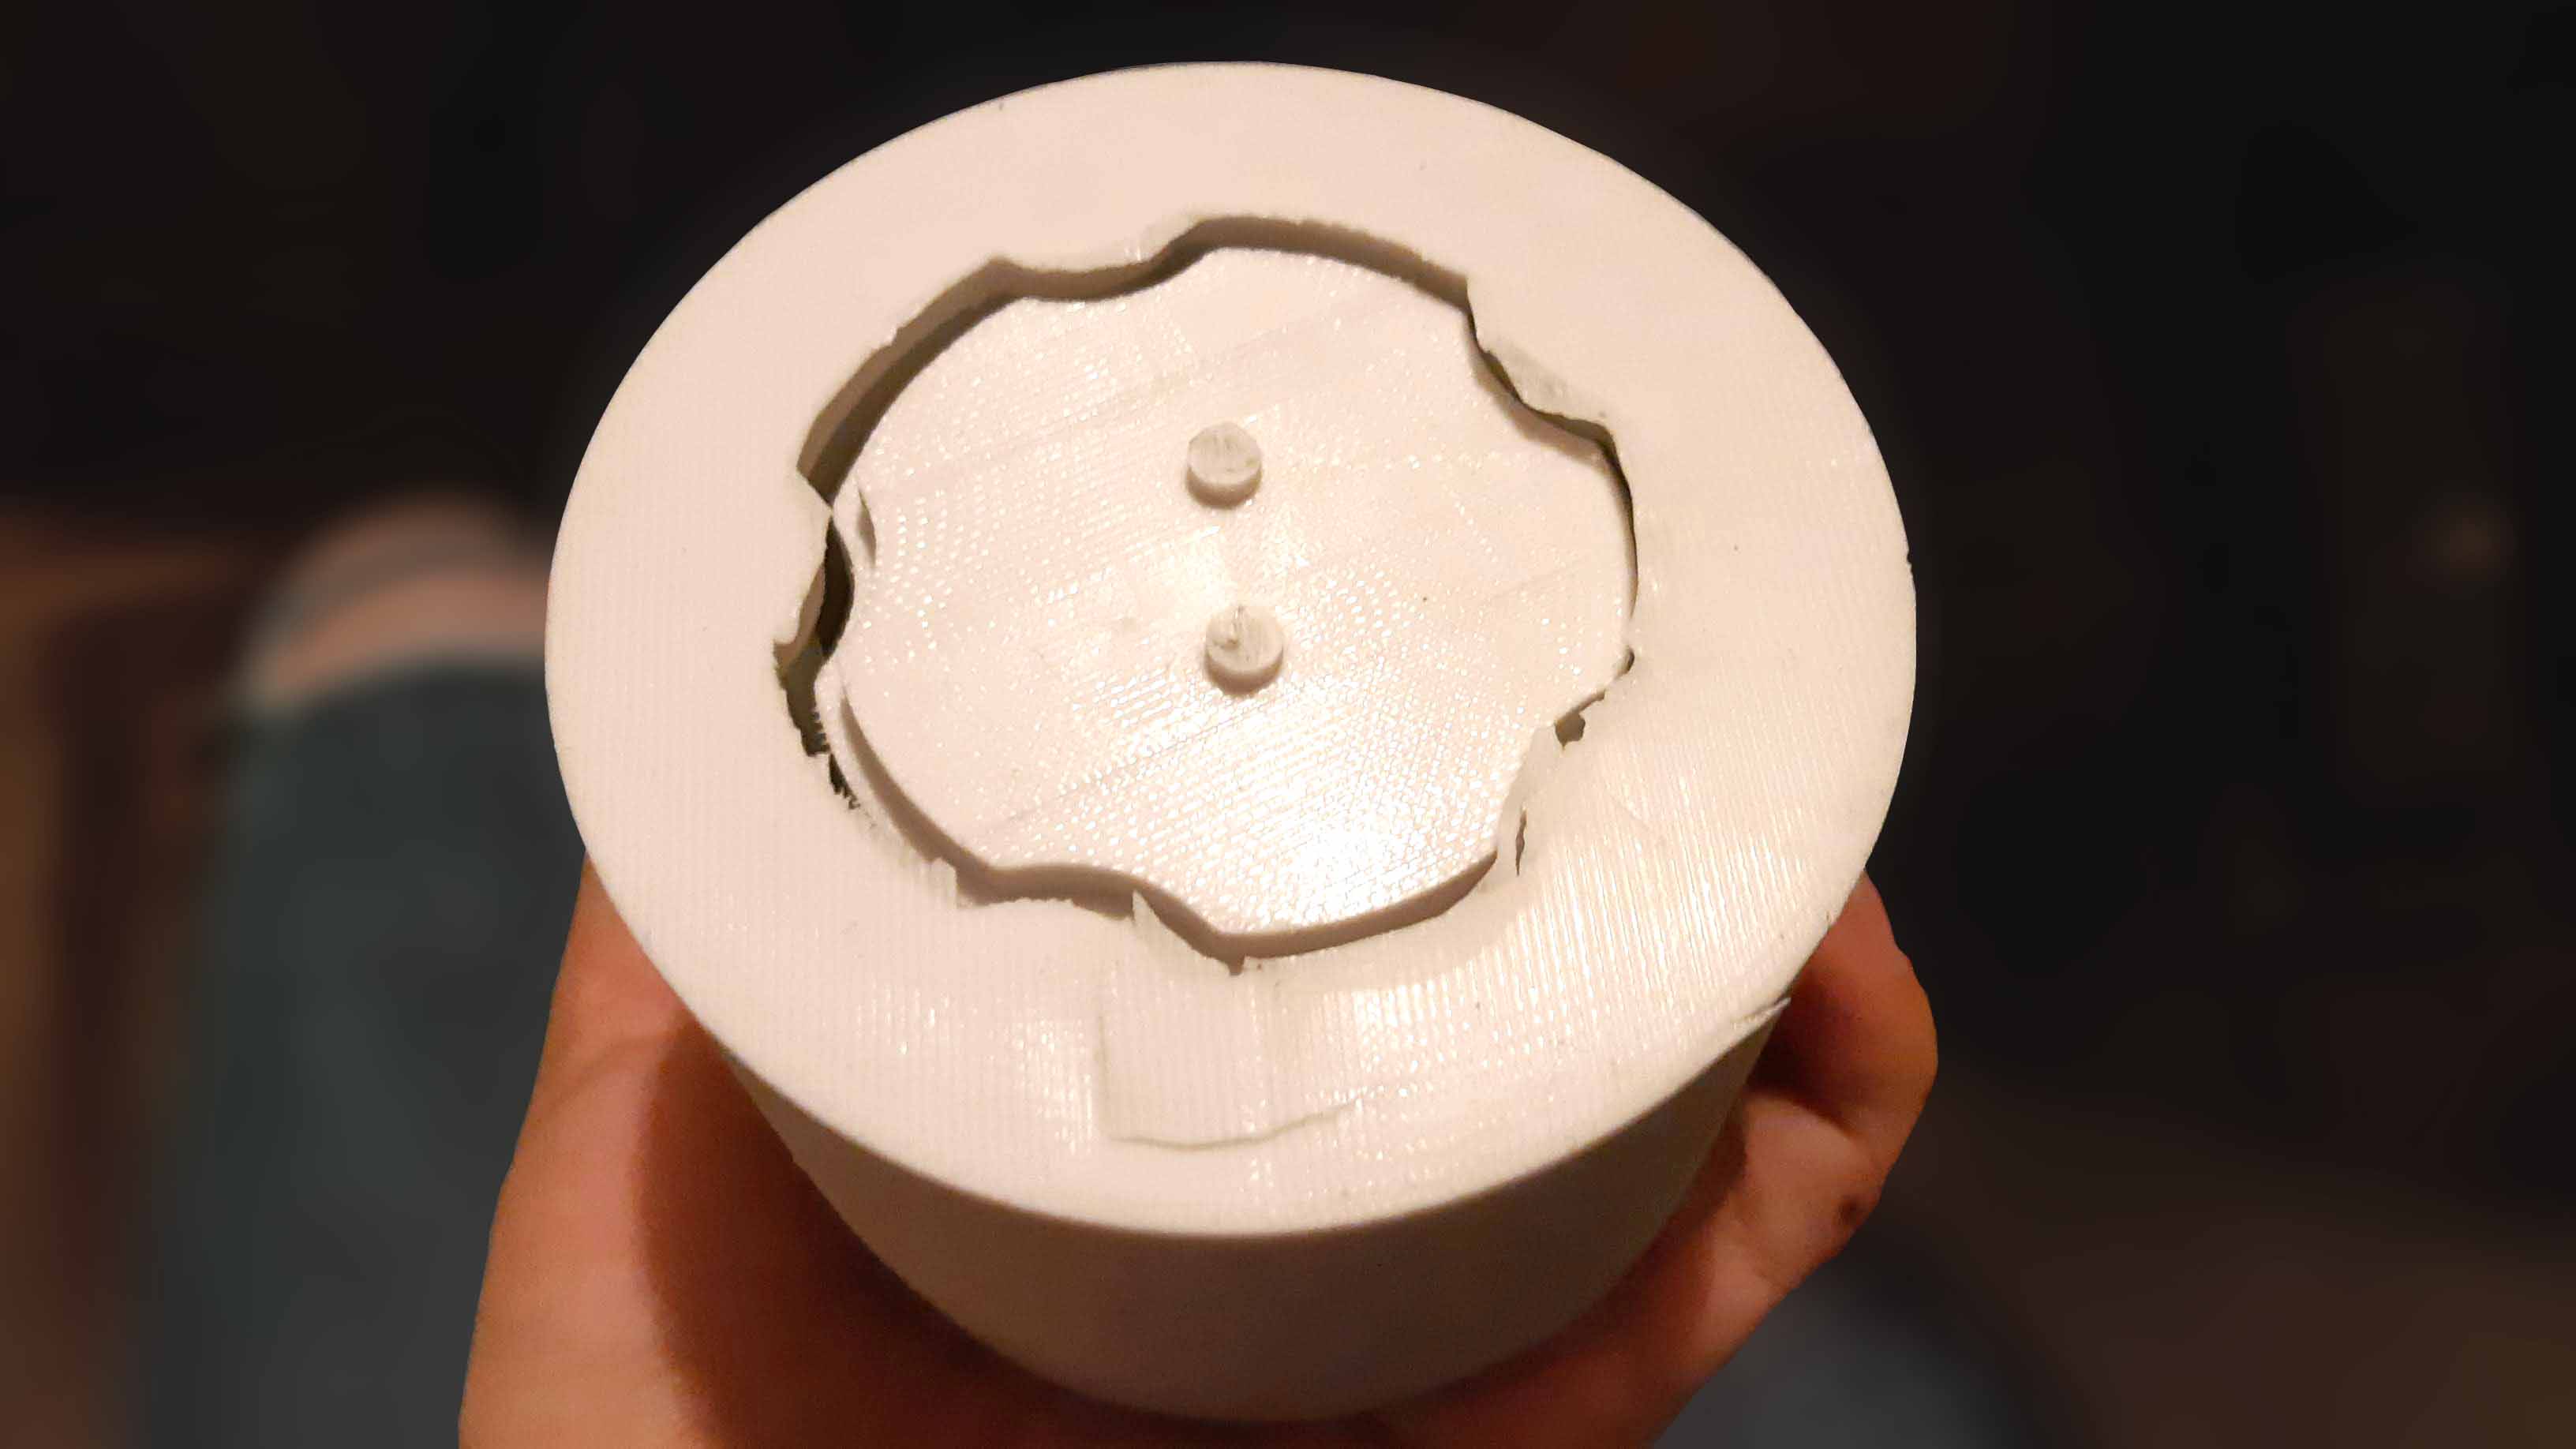
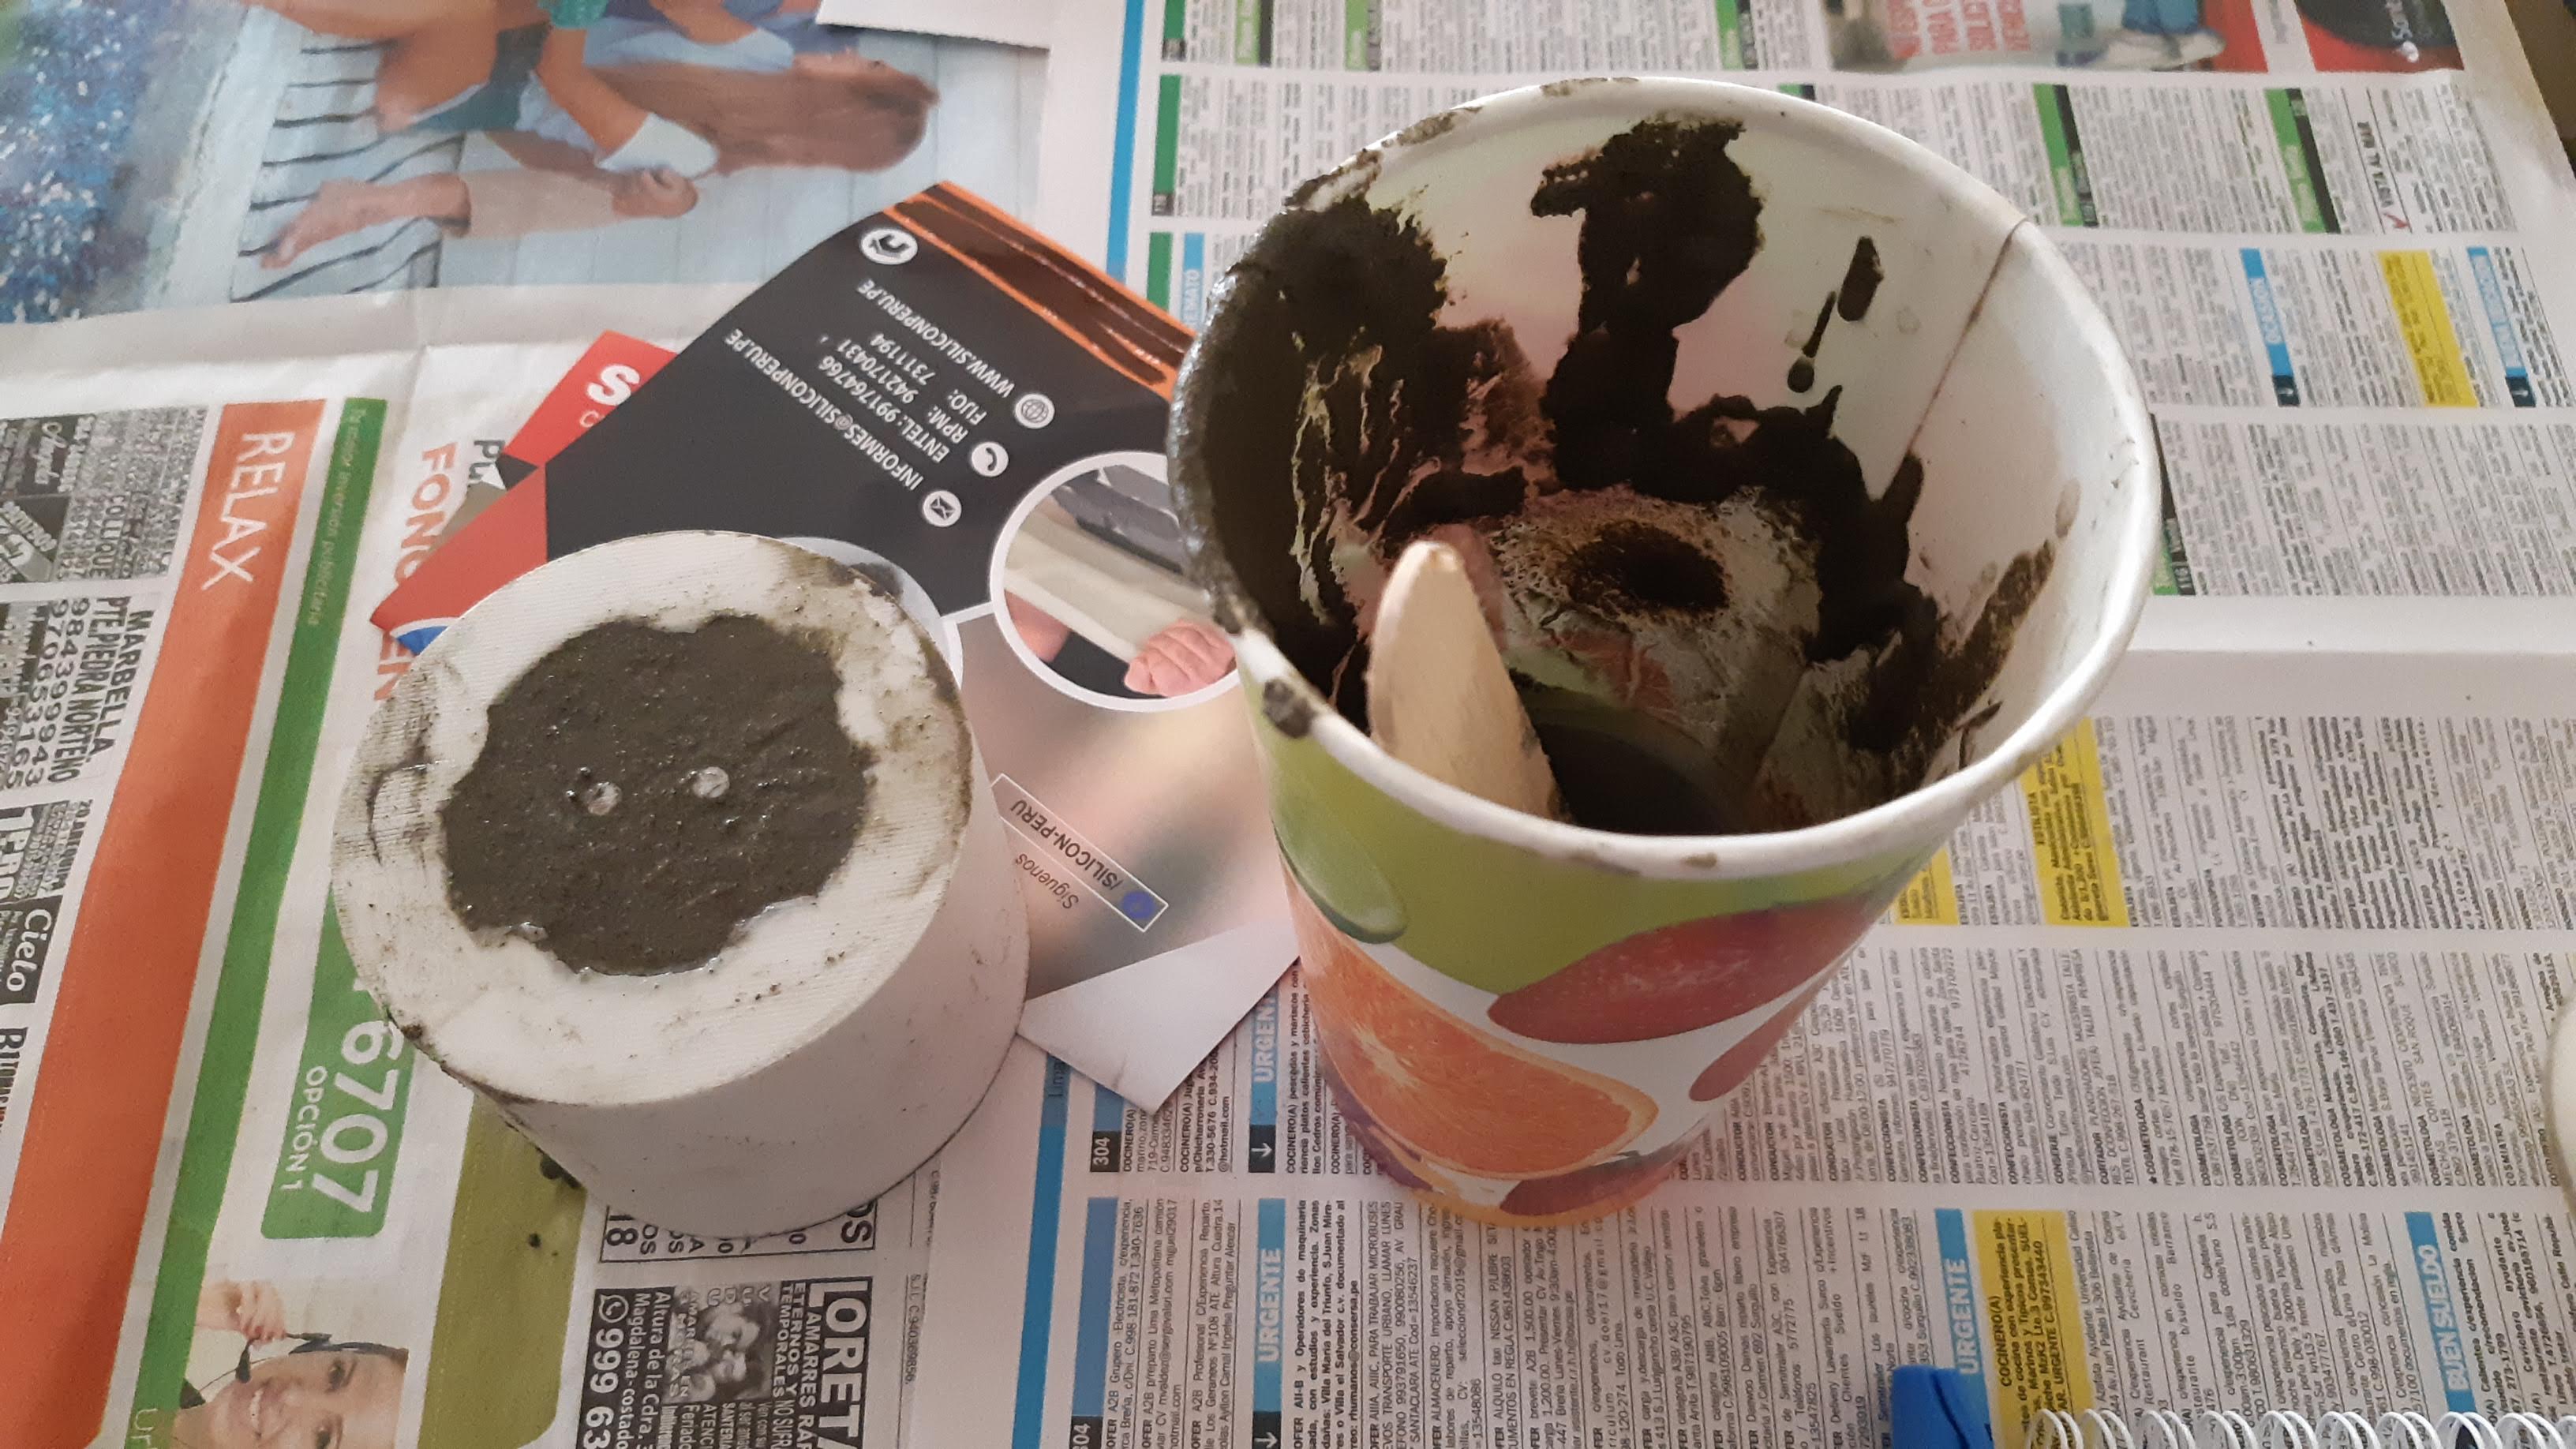
It ended up like this. The one on the left is the mold I am making front the 3D print and the other one is the one I milled in wax.
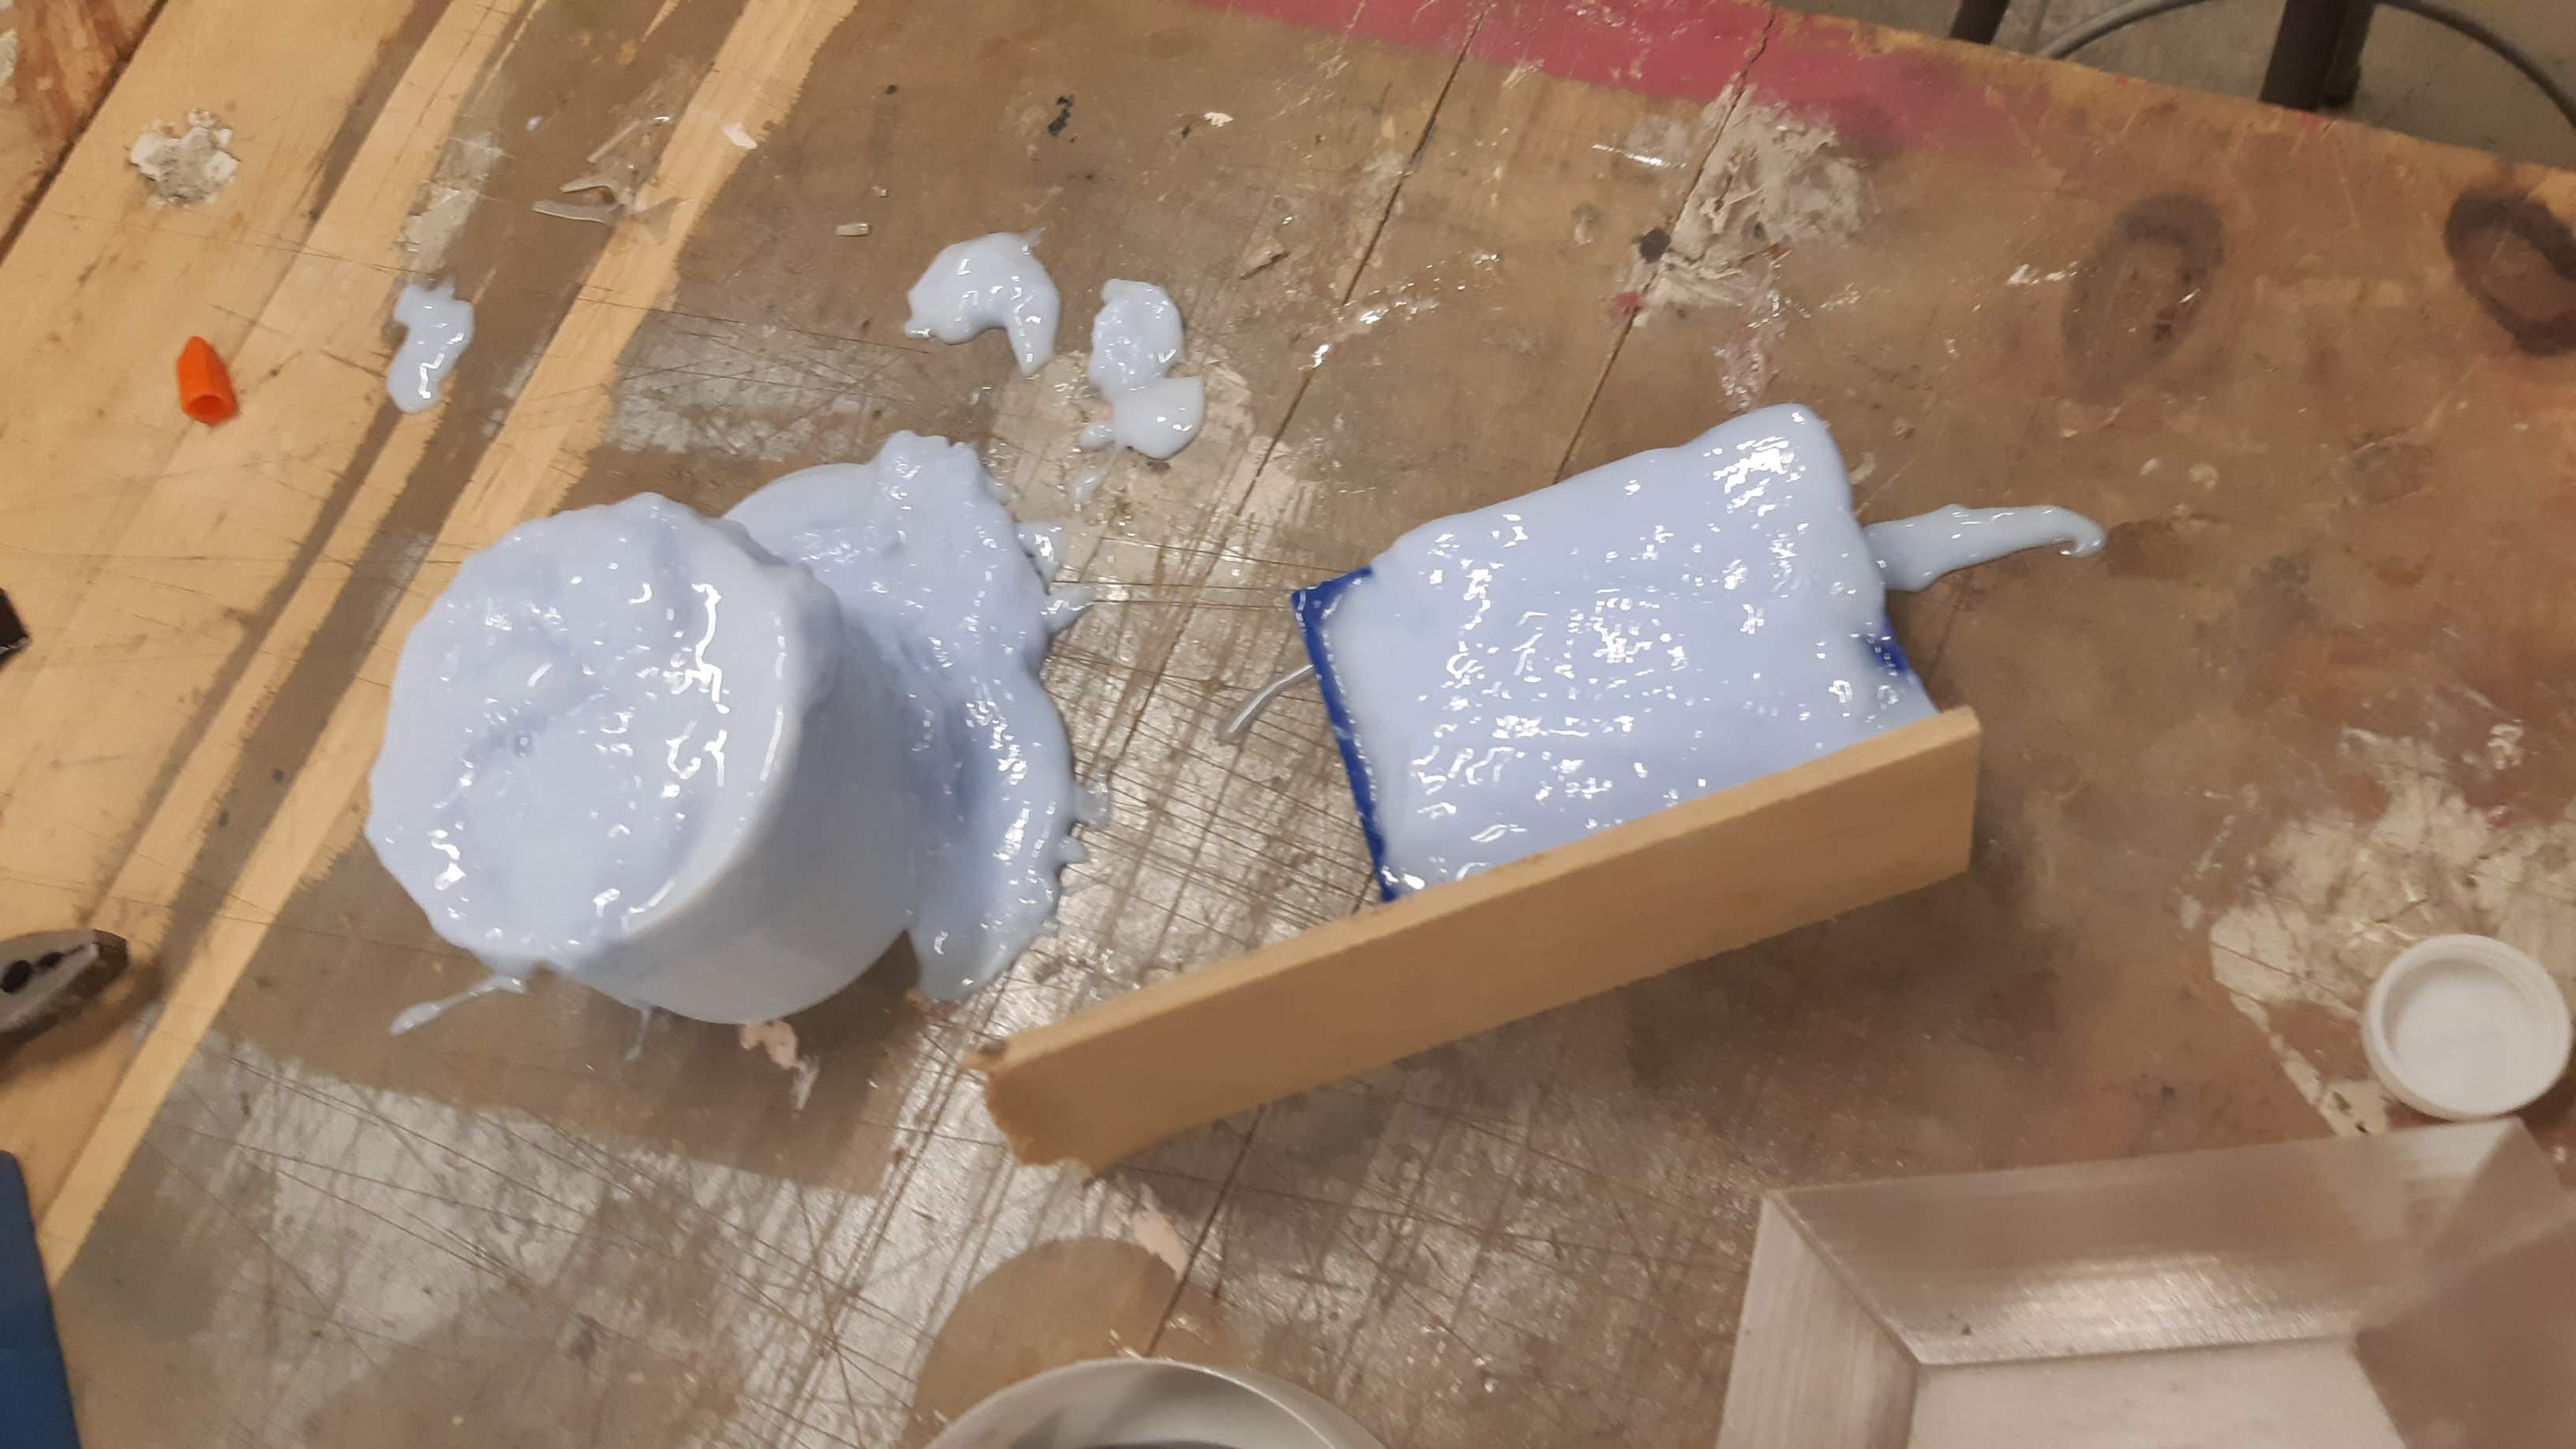
The button part came out acceptable but with some bubbles on the surface.
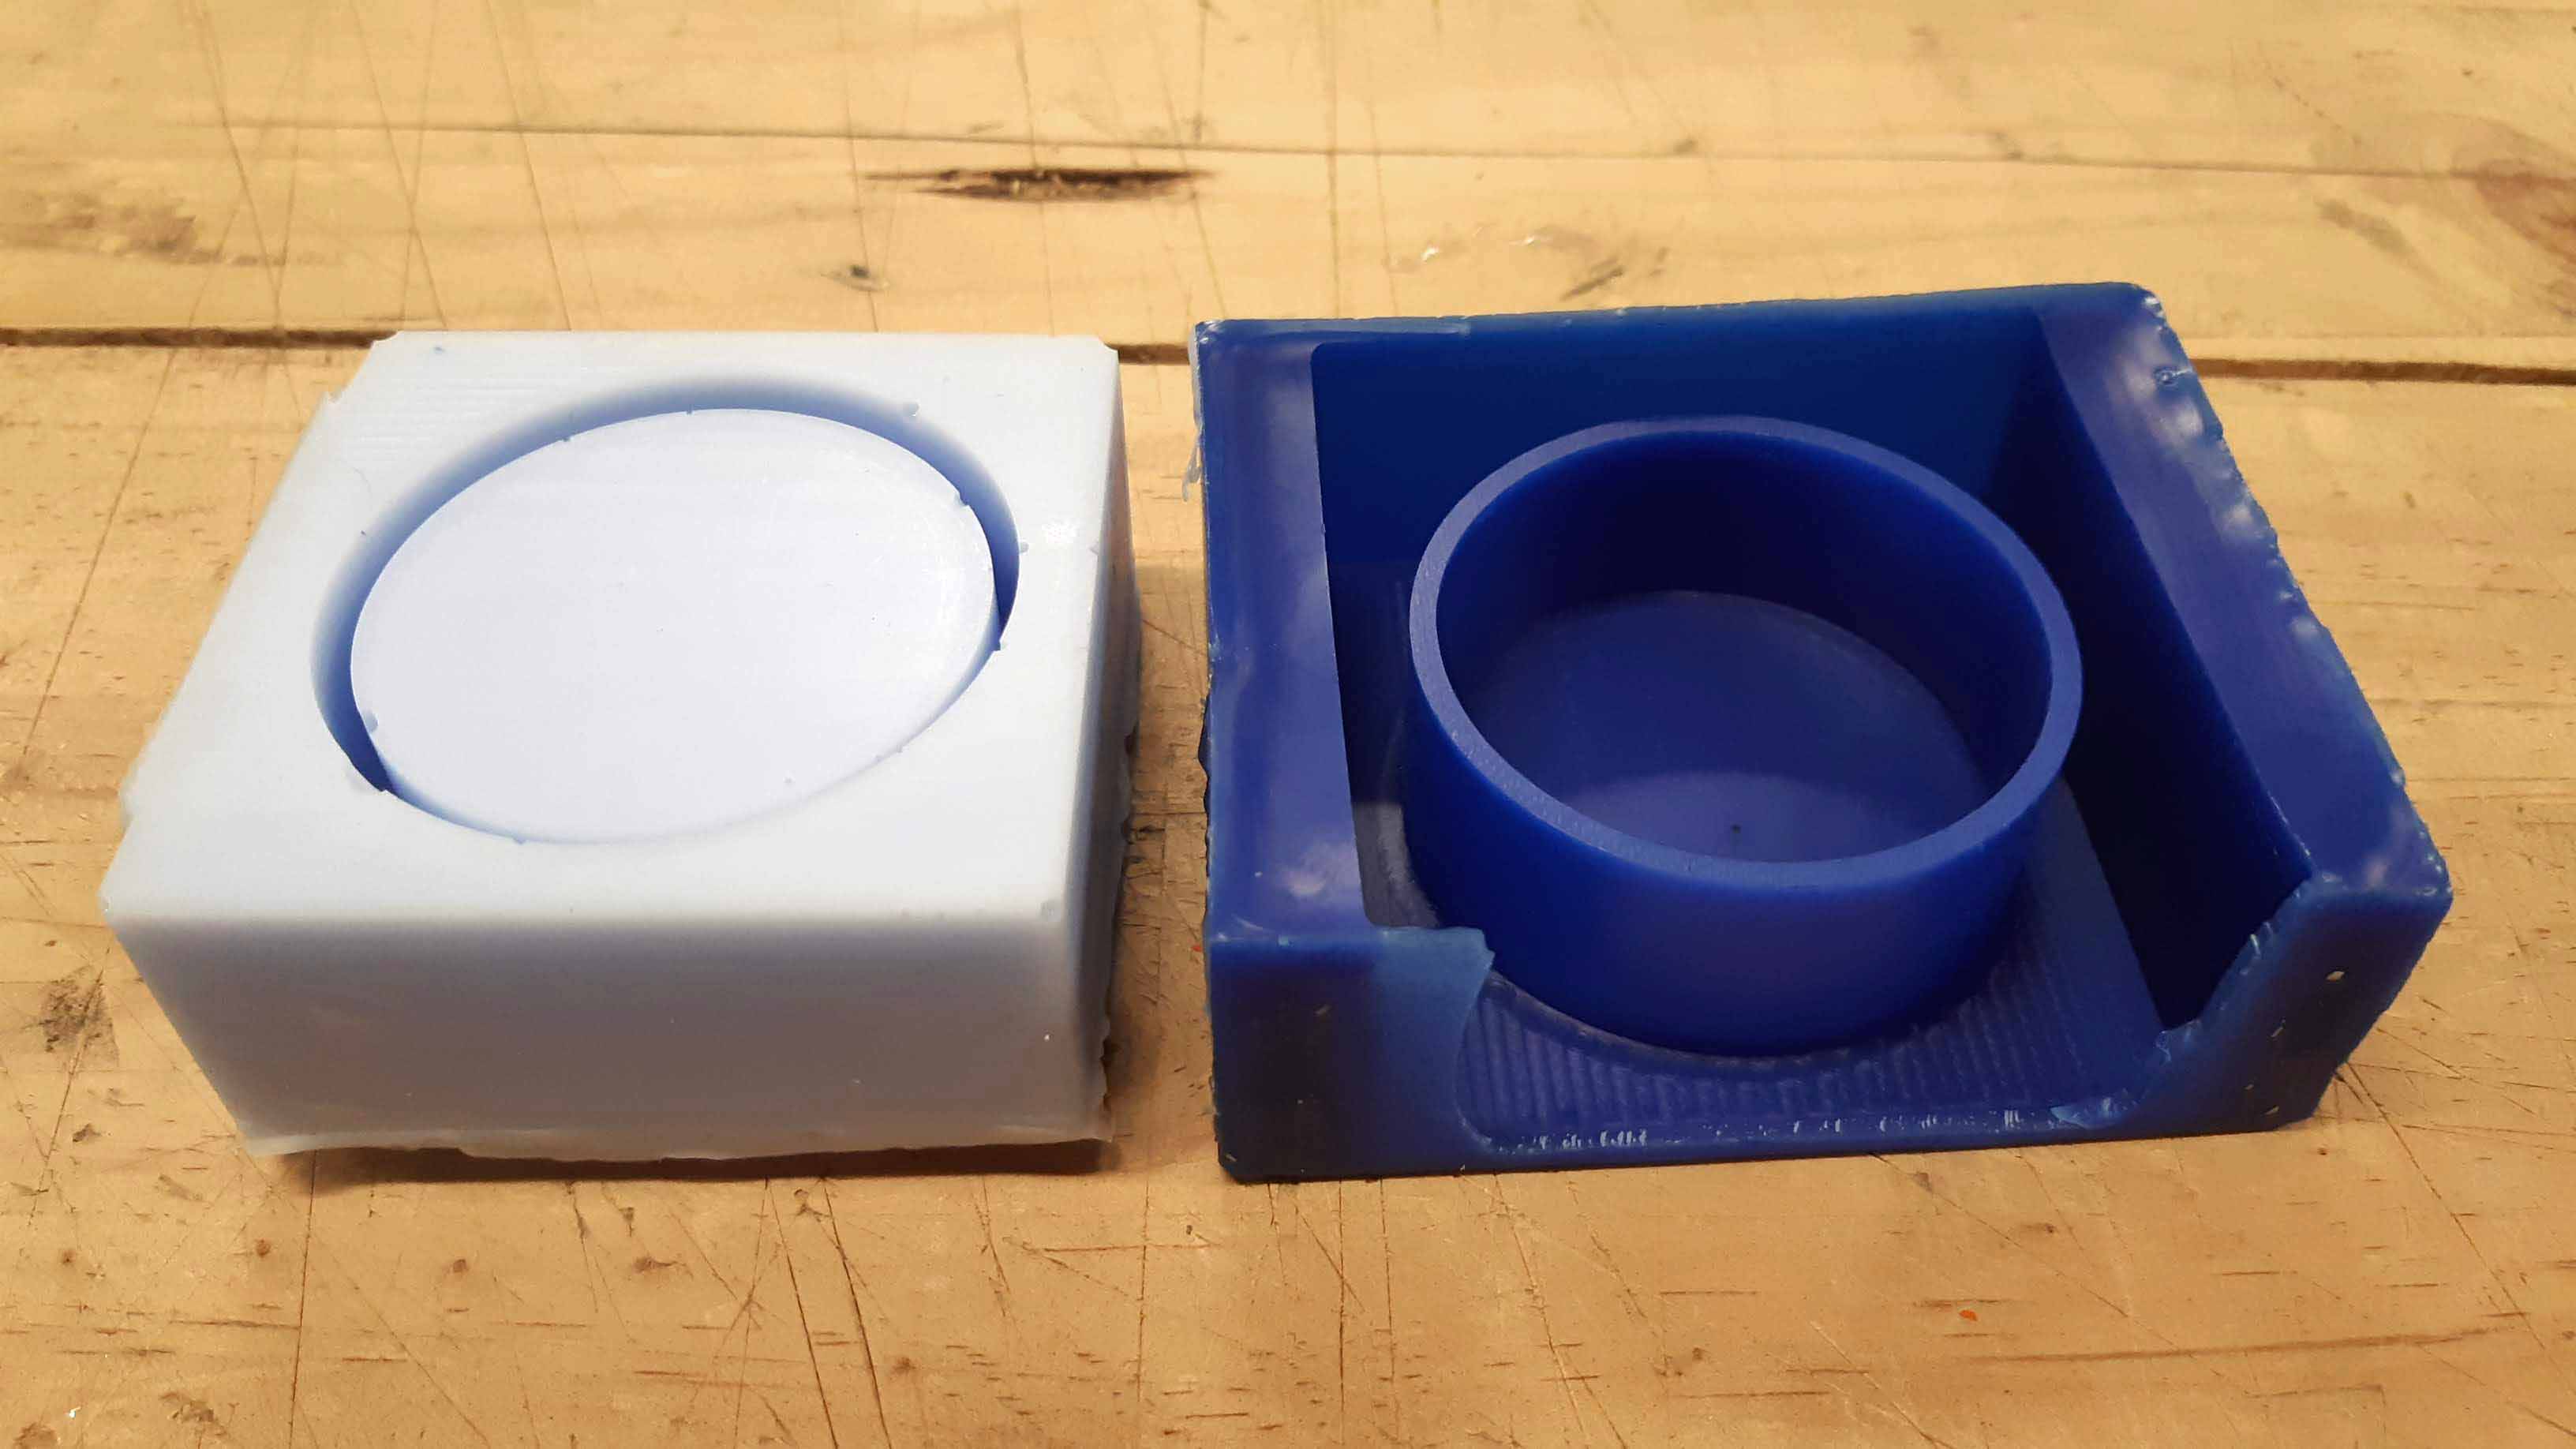
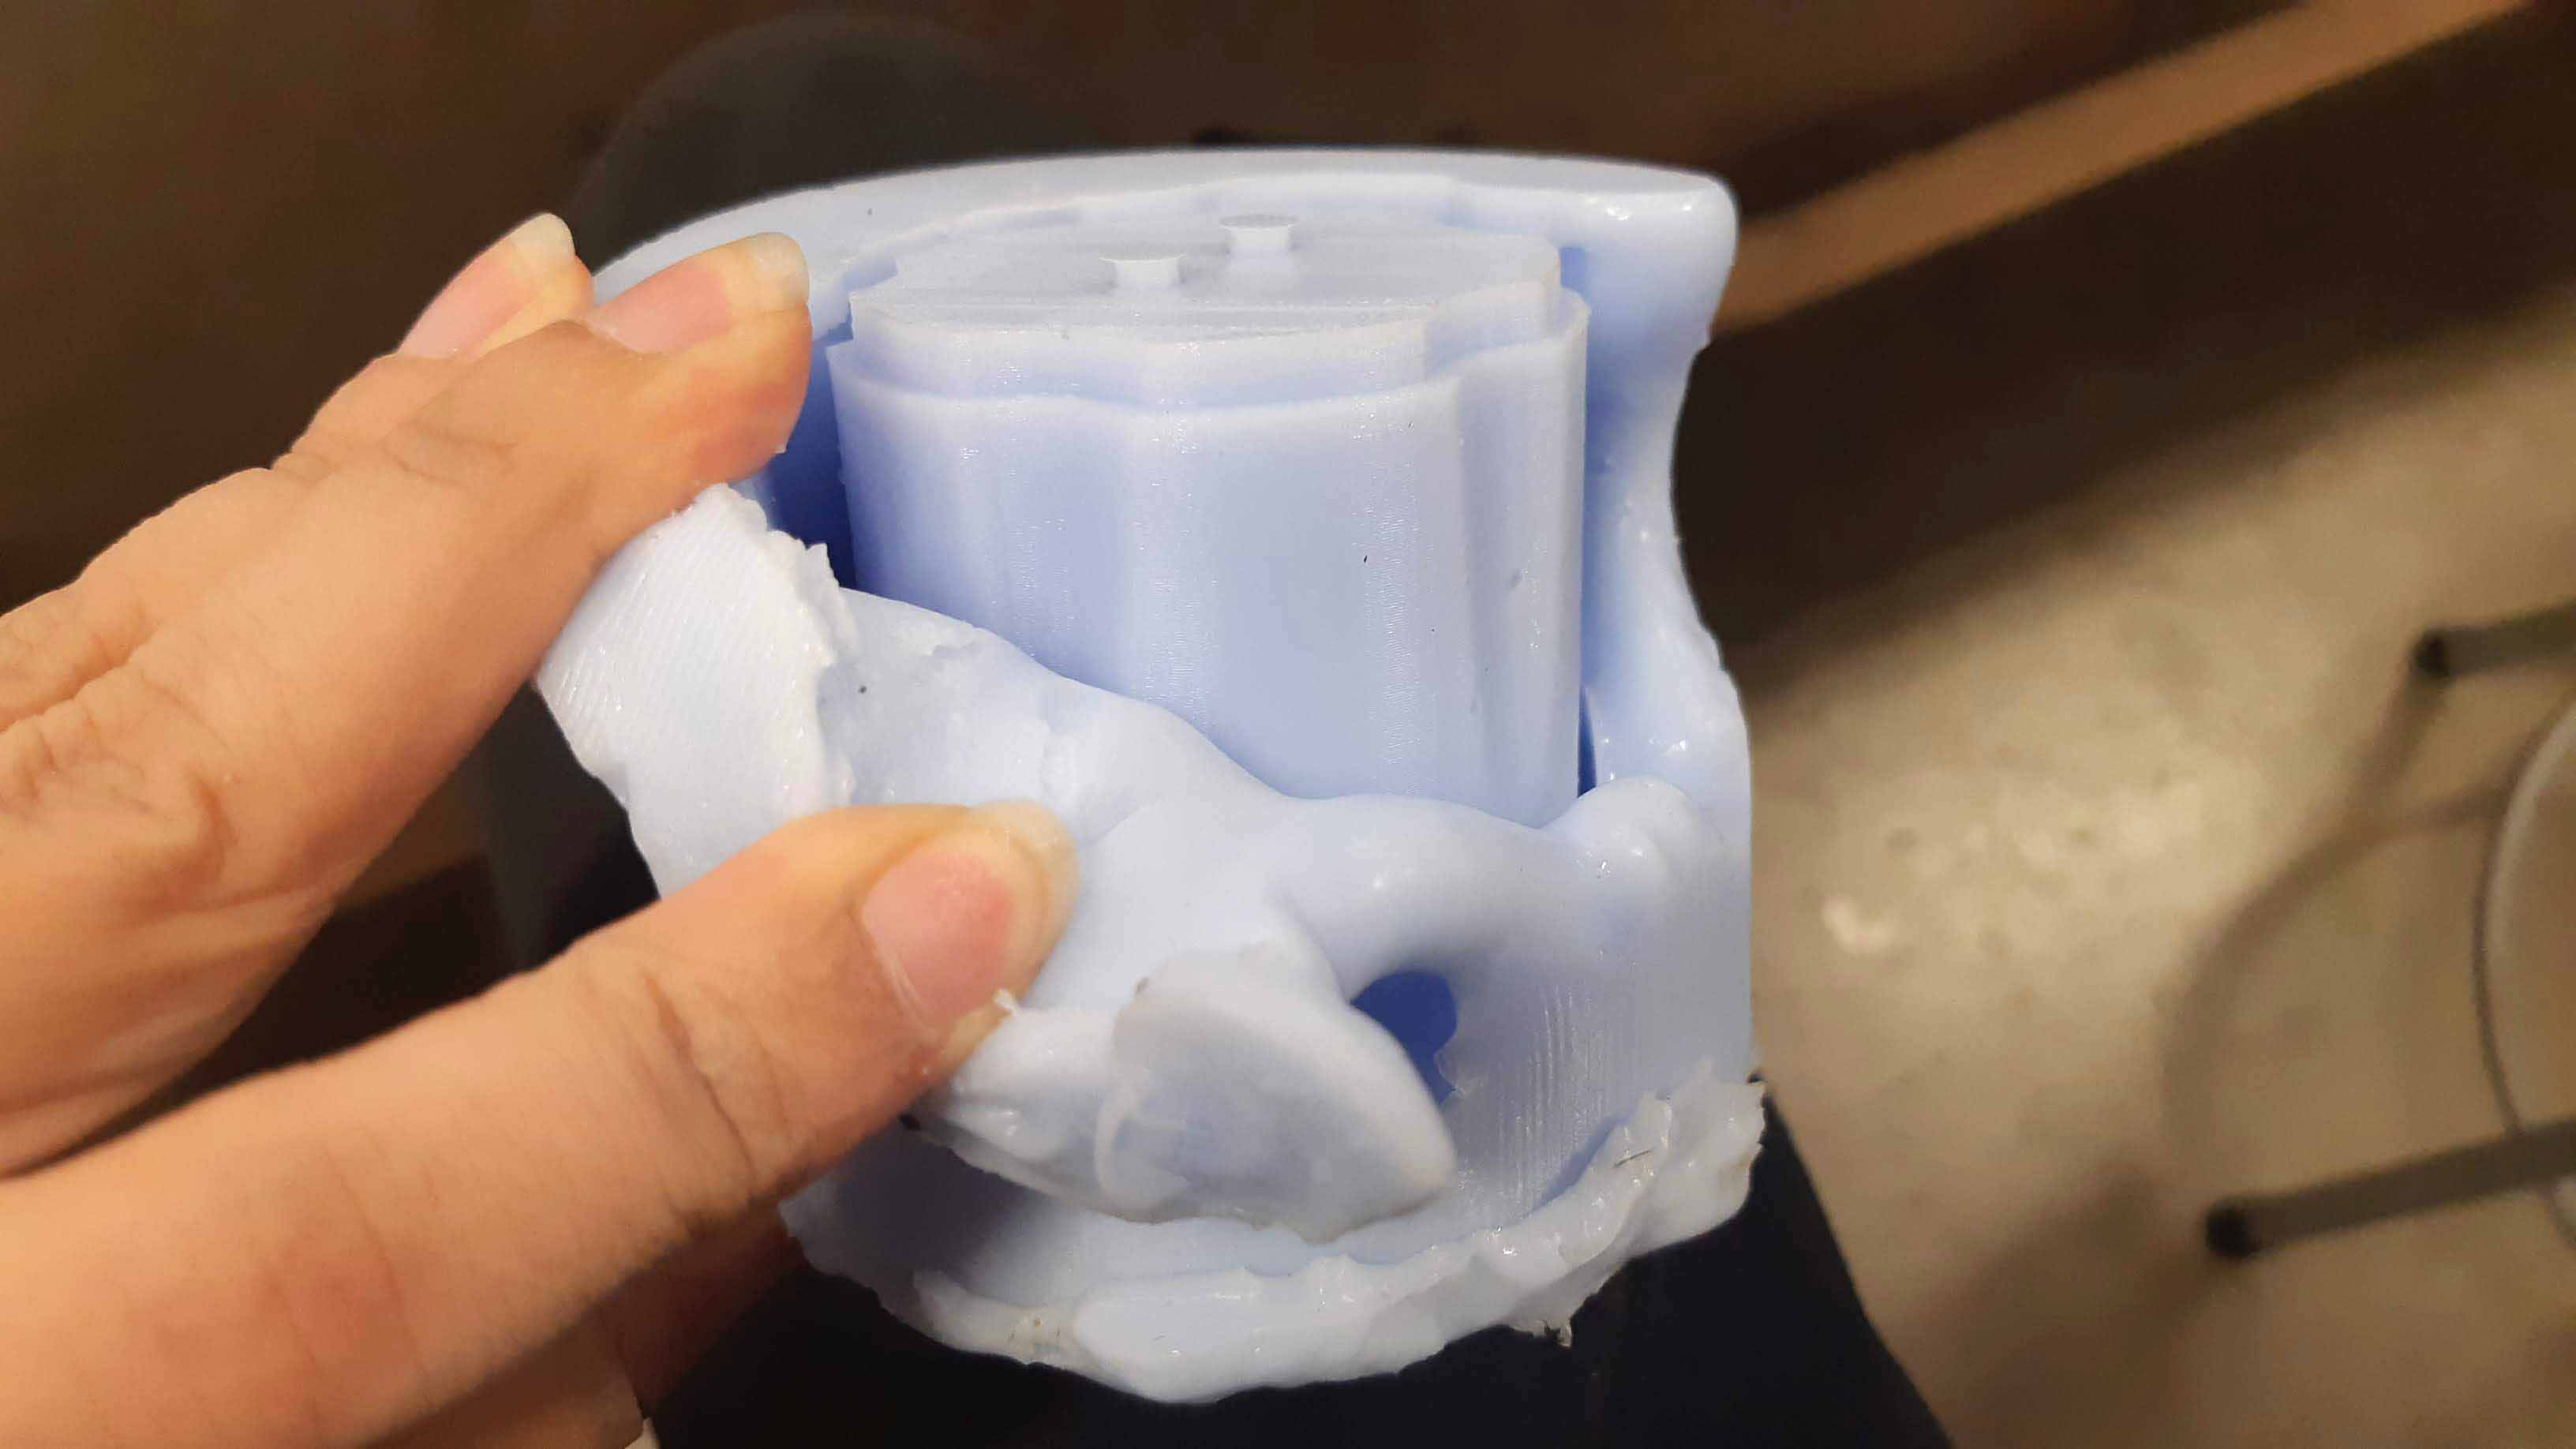
The other one was a mess.
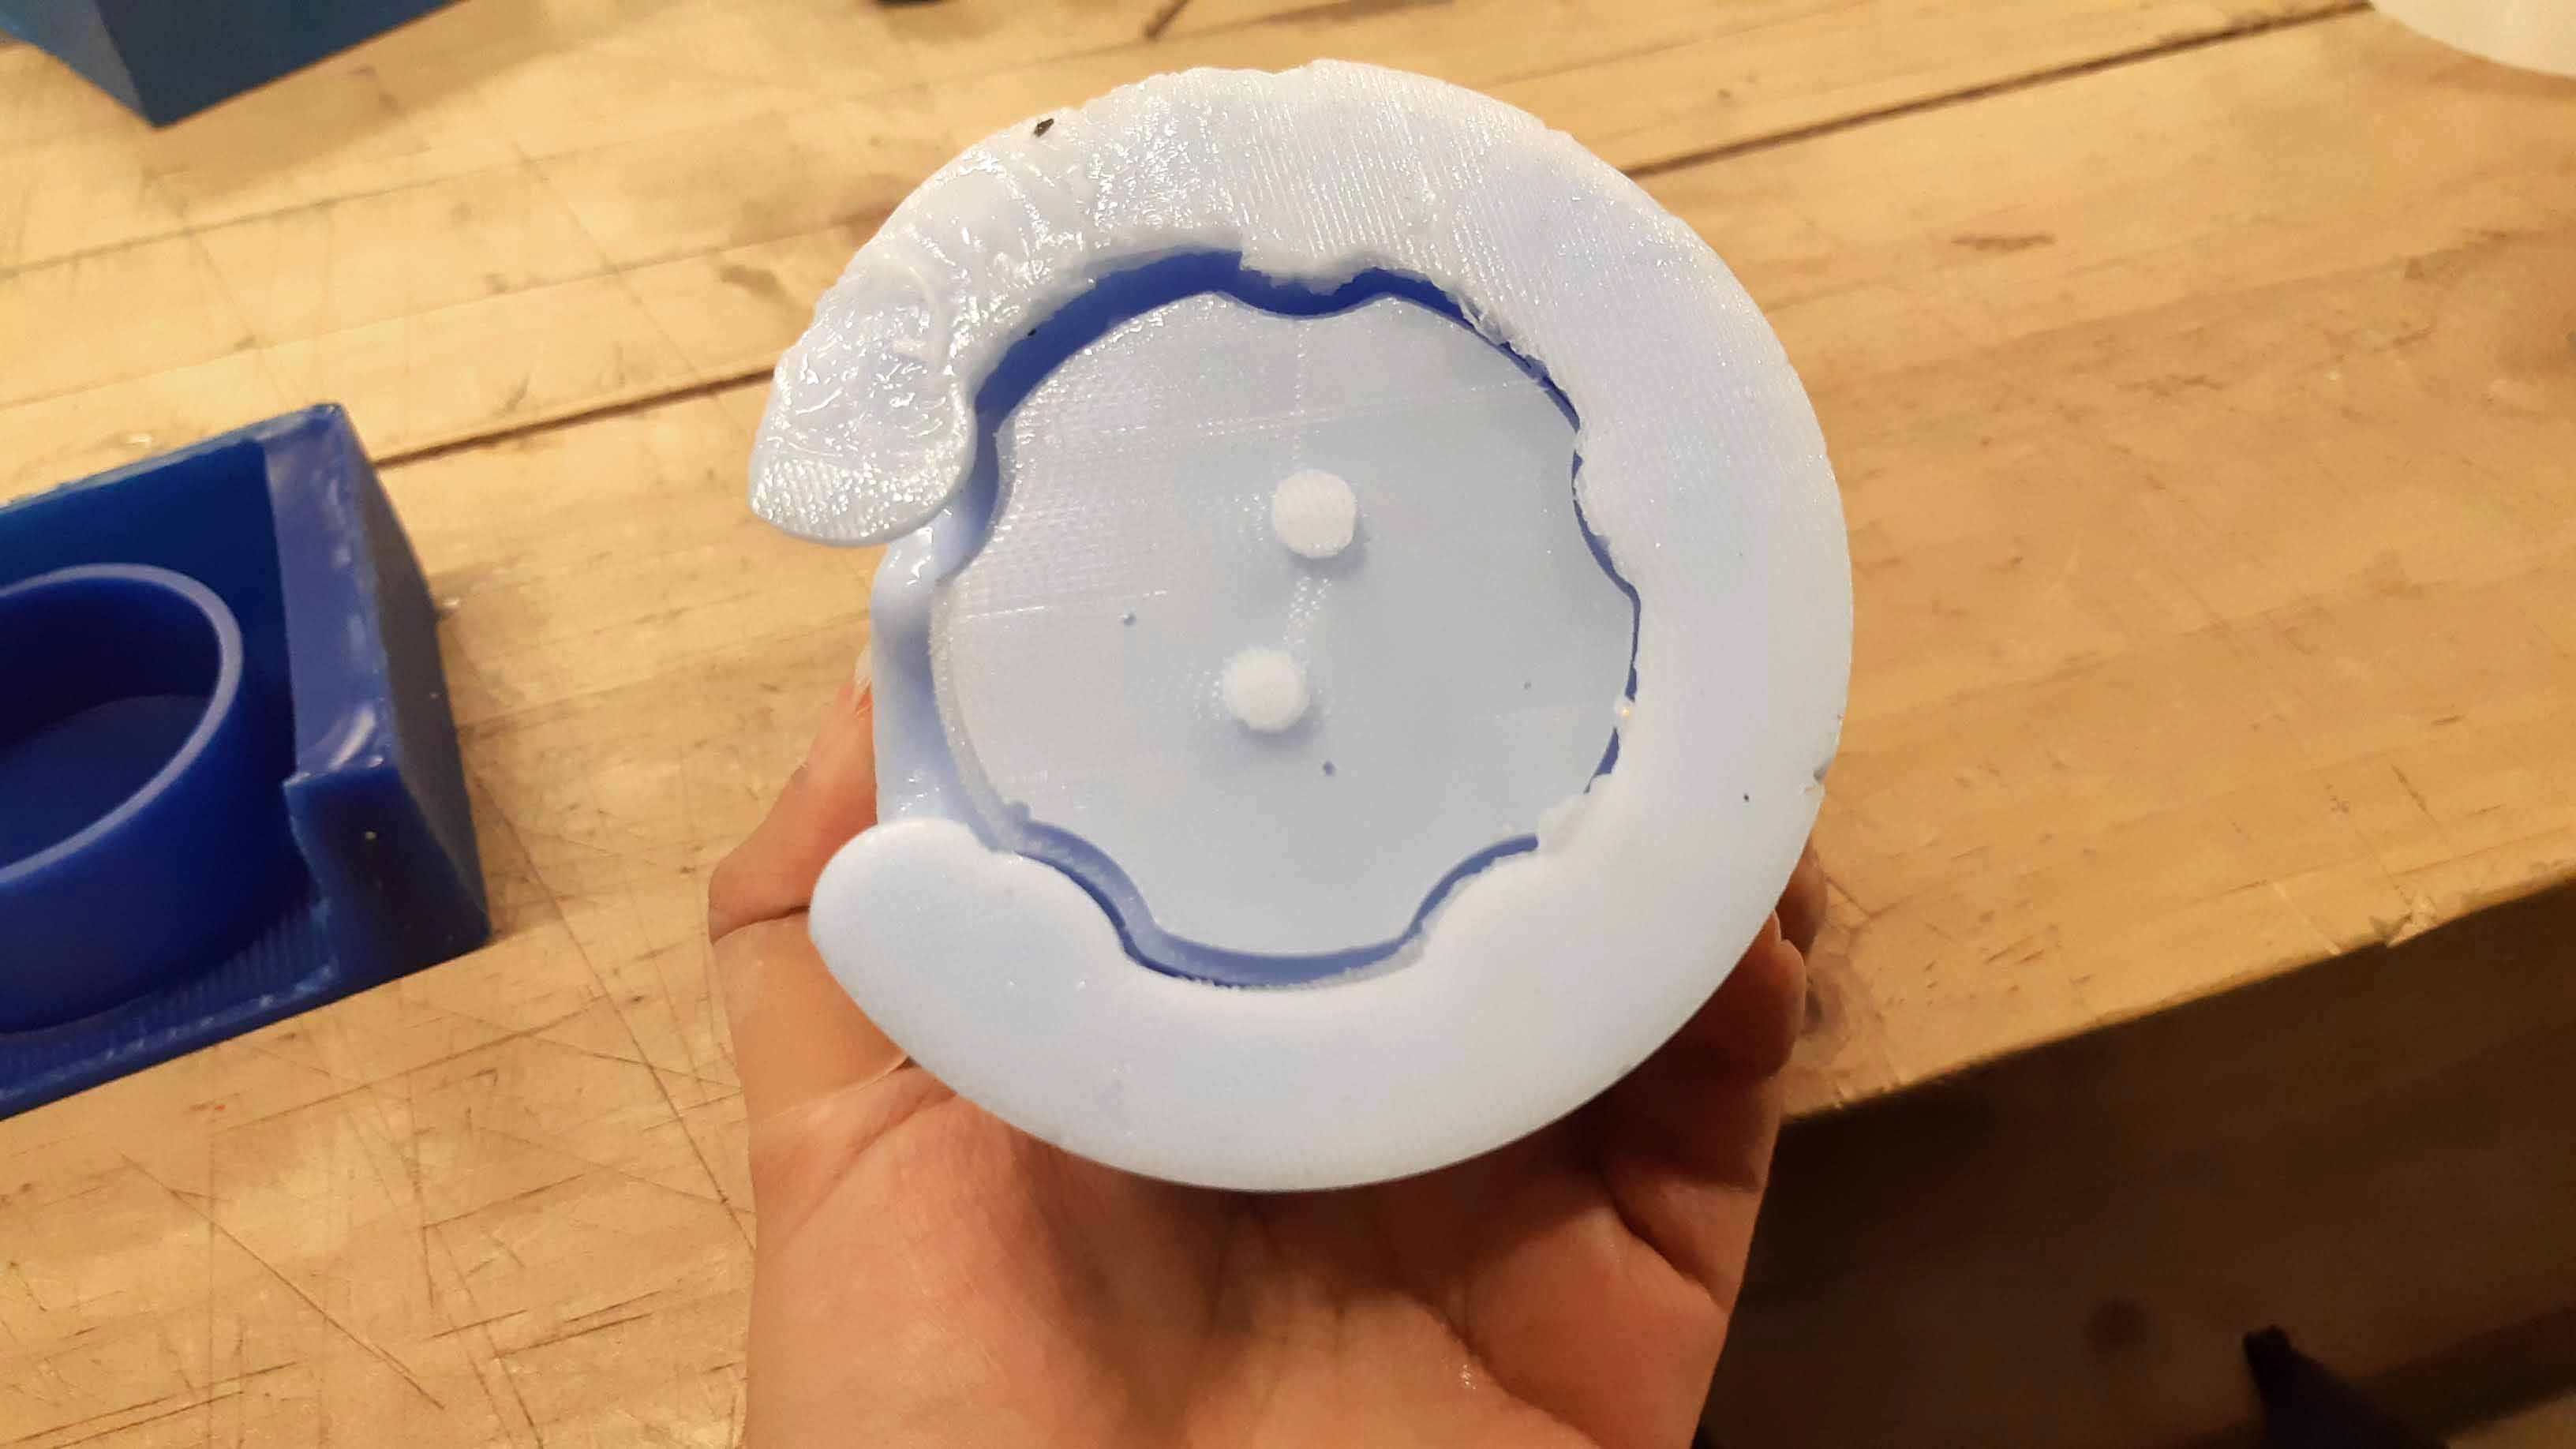
The inside part was better but still with some bubbles.
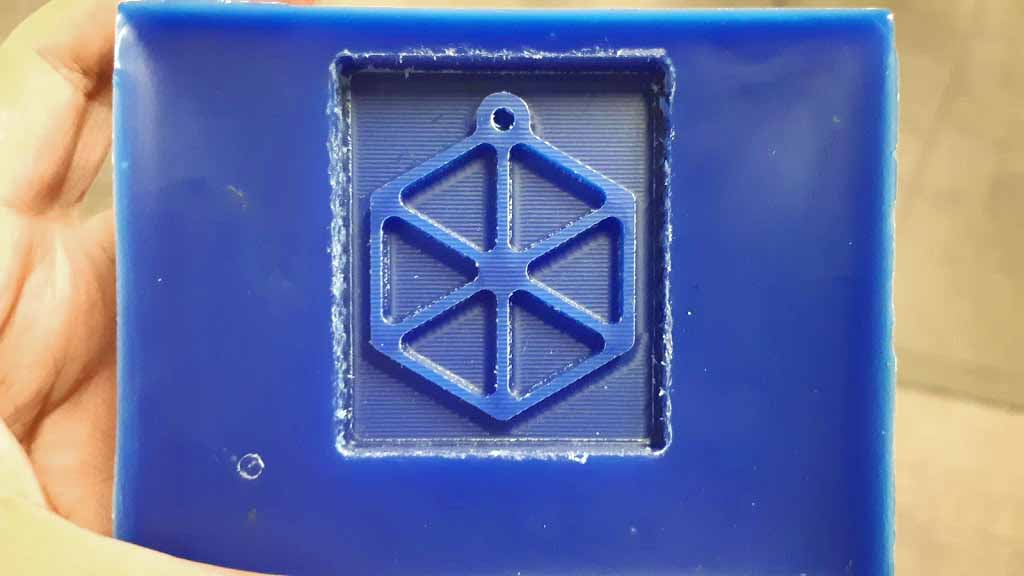
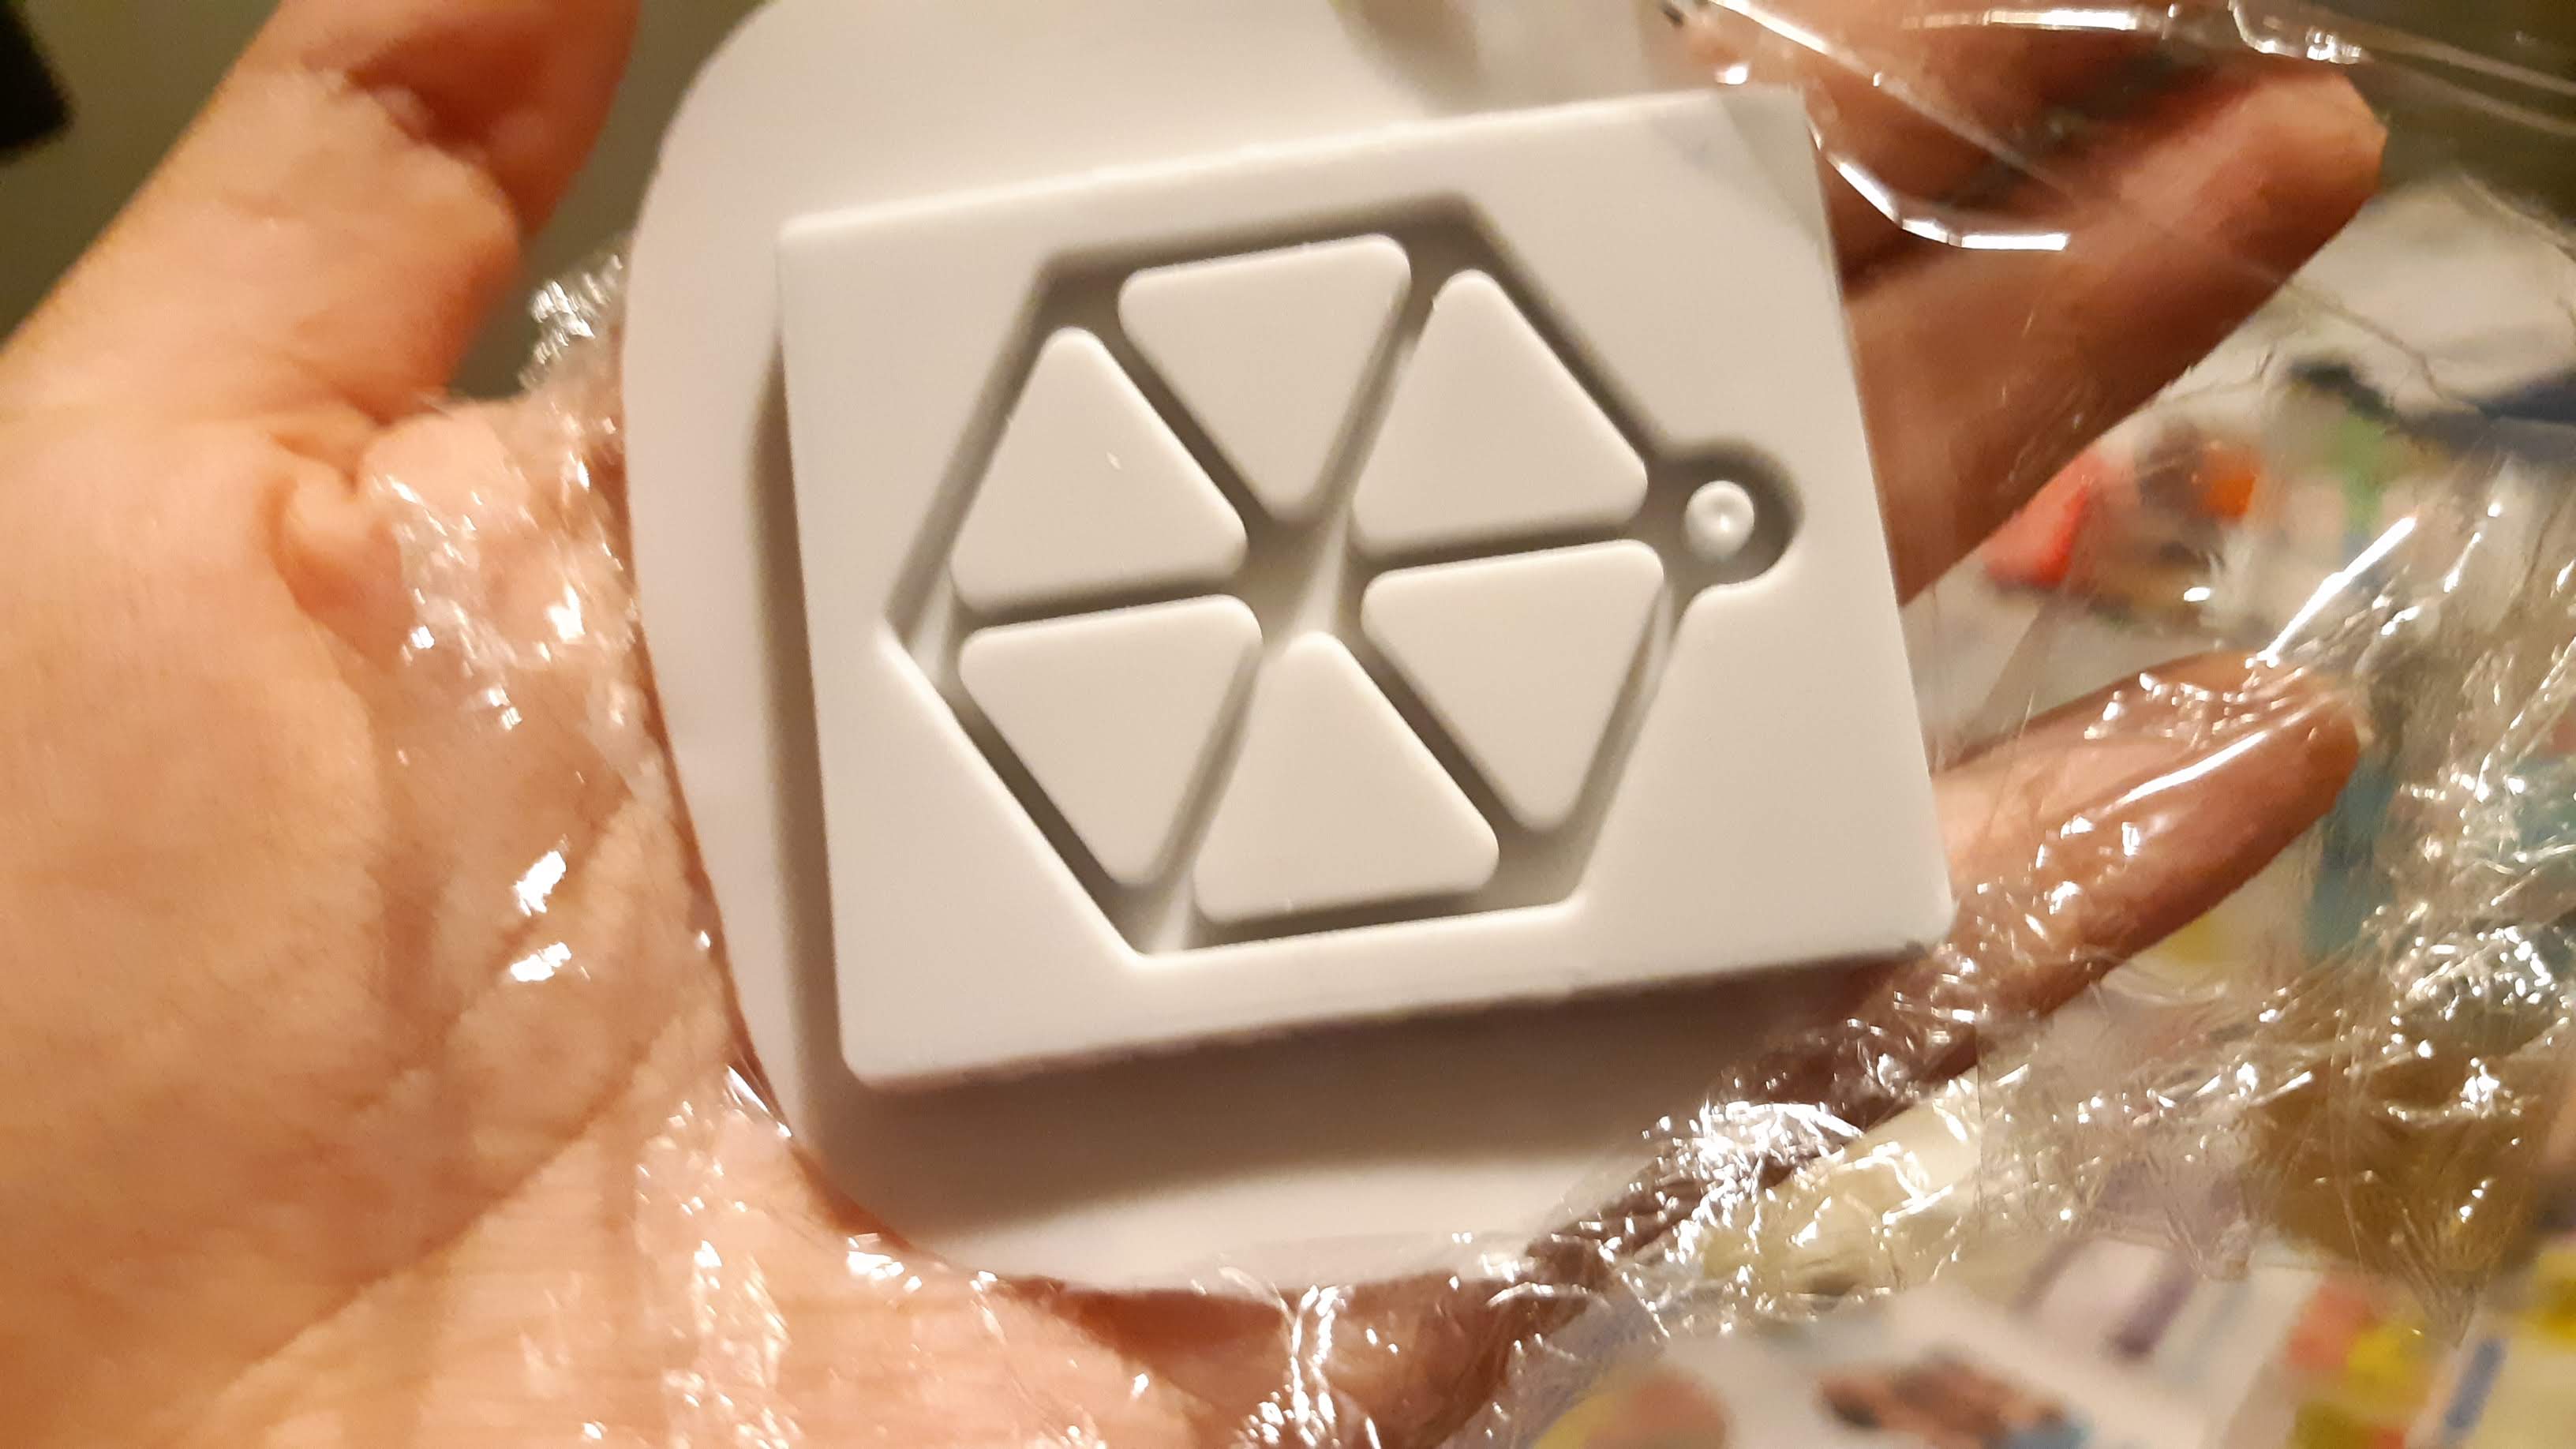
While waiting the silicon to be ready to be demold, I couldn't hold myself I made a small piece quickly, It is the logo I use.


It looks good to me.
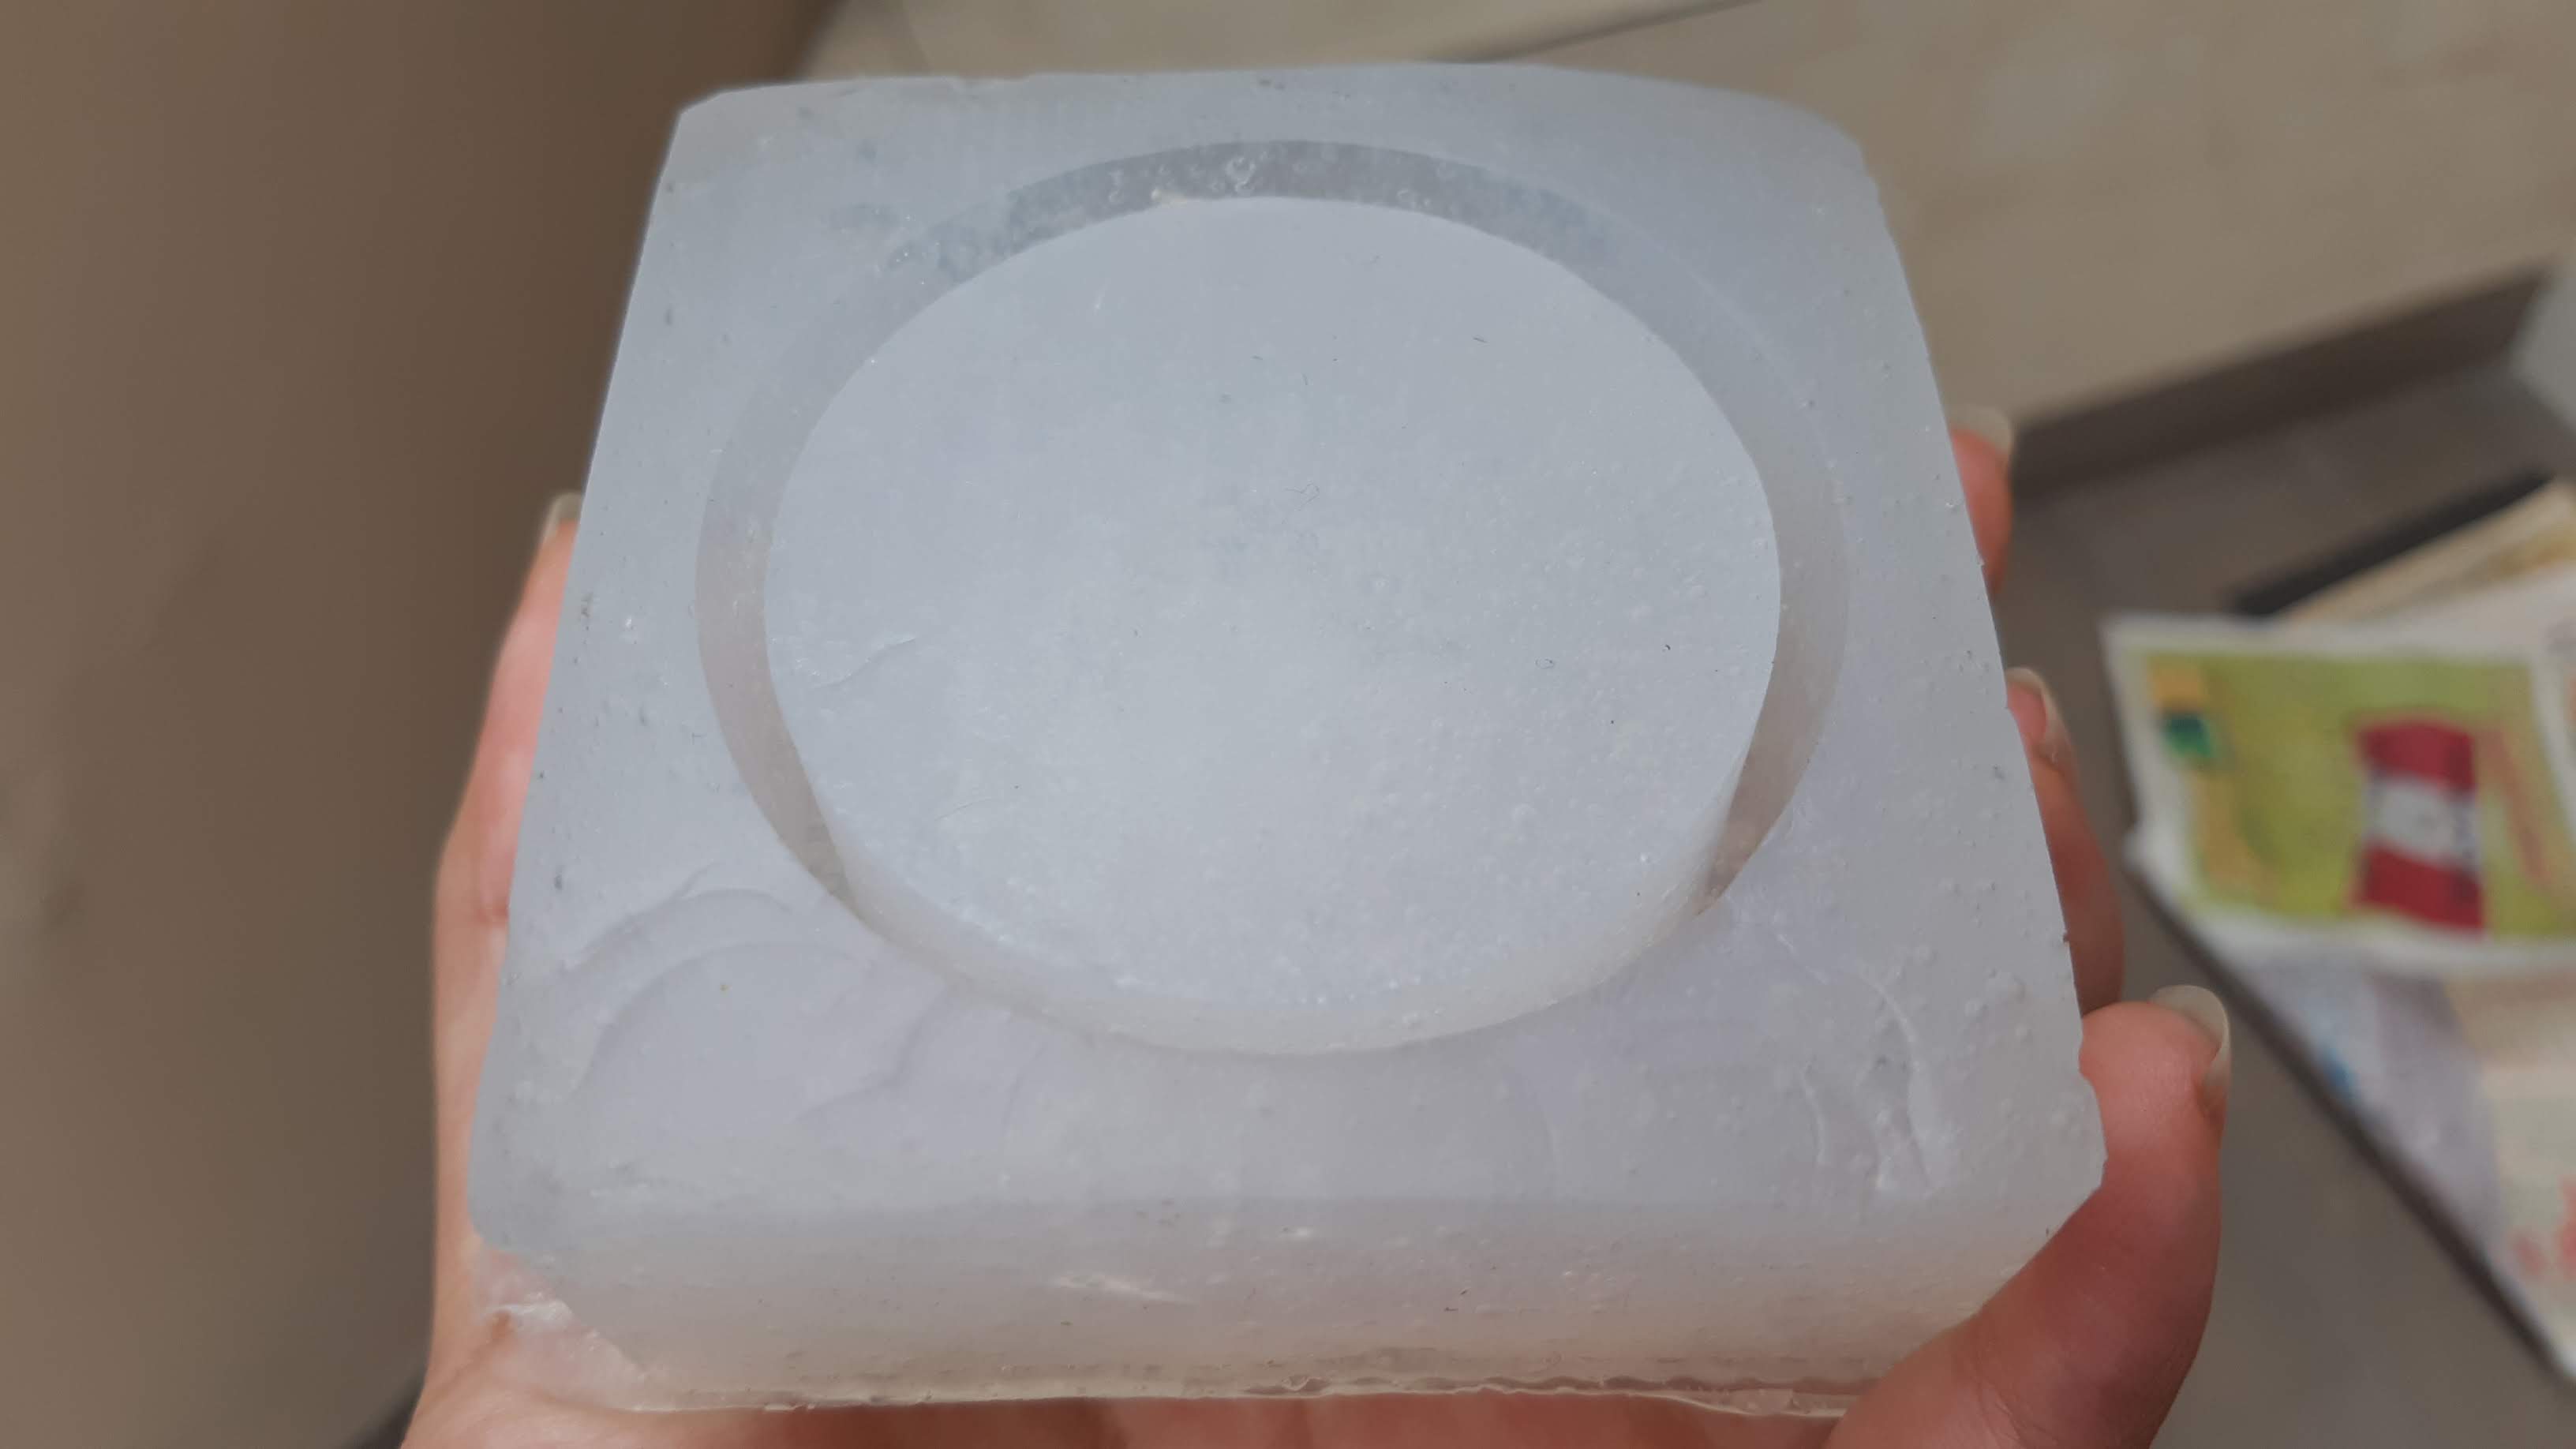
Third try
I used the RTV silicone again, just a different type. Also I used less catalyst off course.
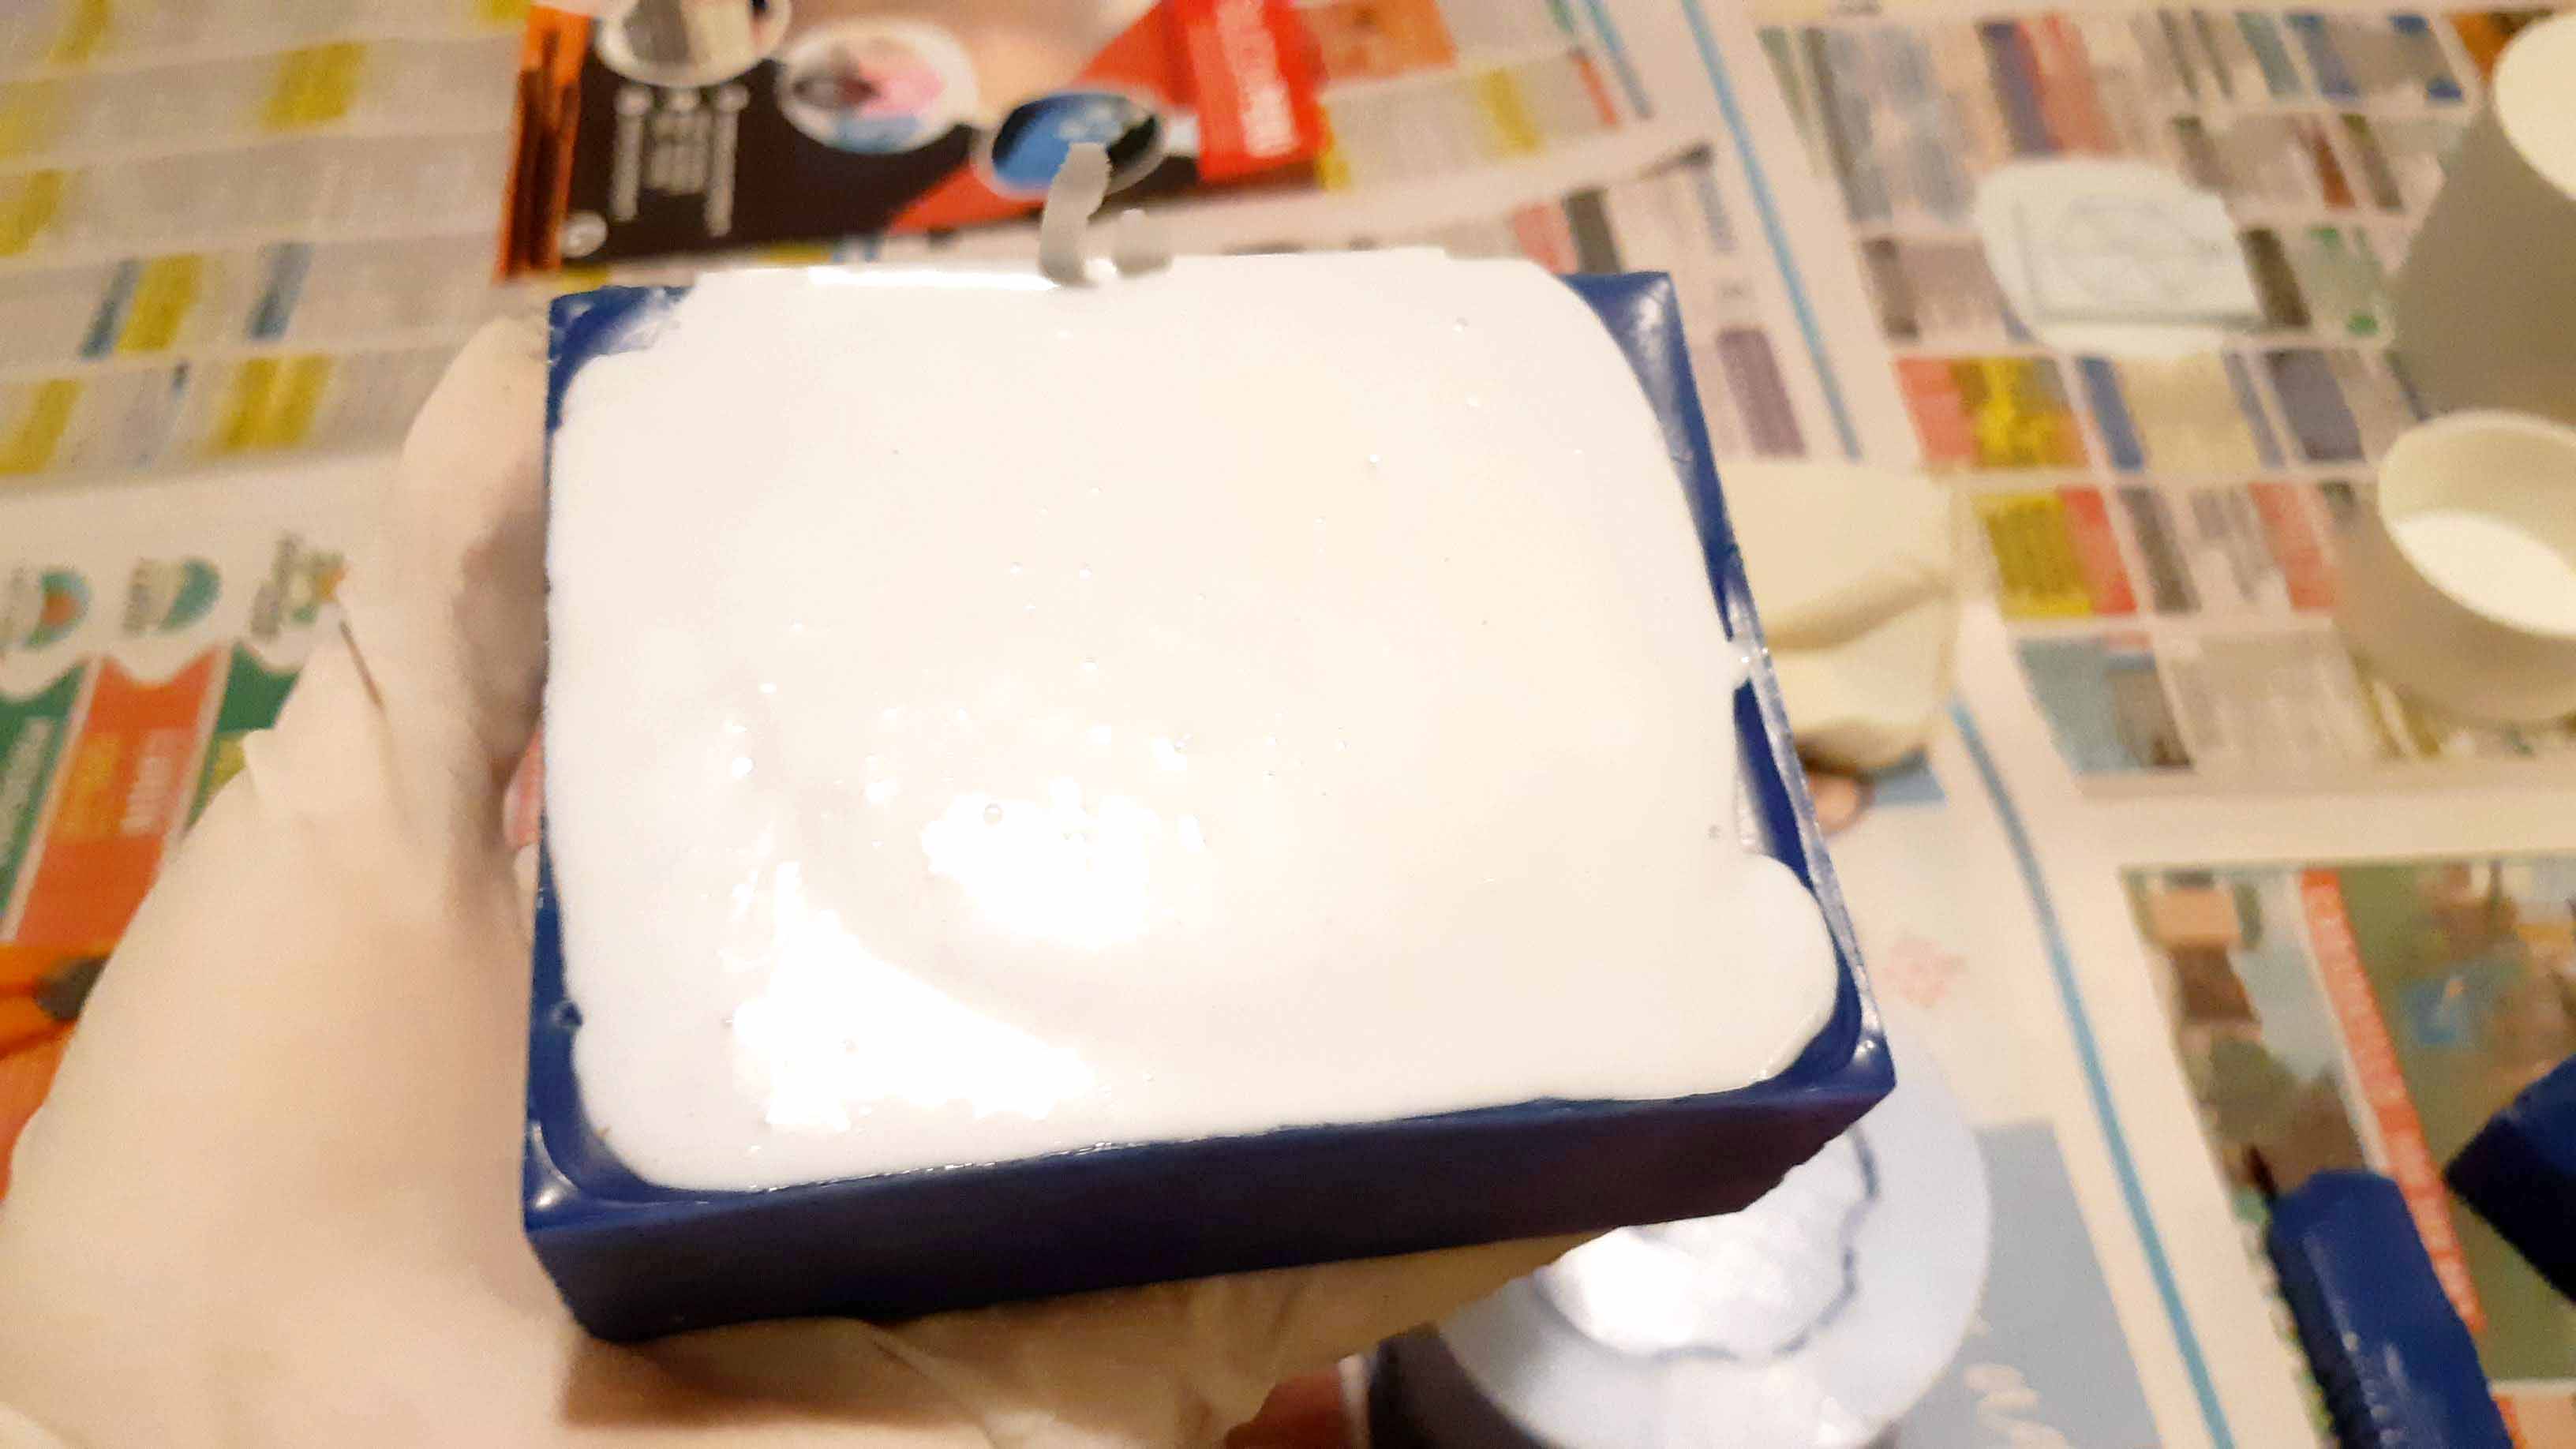
For the top piece of the pot I used again a printed container, I poured the mix carefully and then I spend quite a long time hitting slightly the container to get rid of most bubbles as possible.
It was endless.
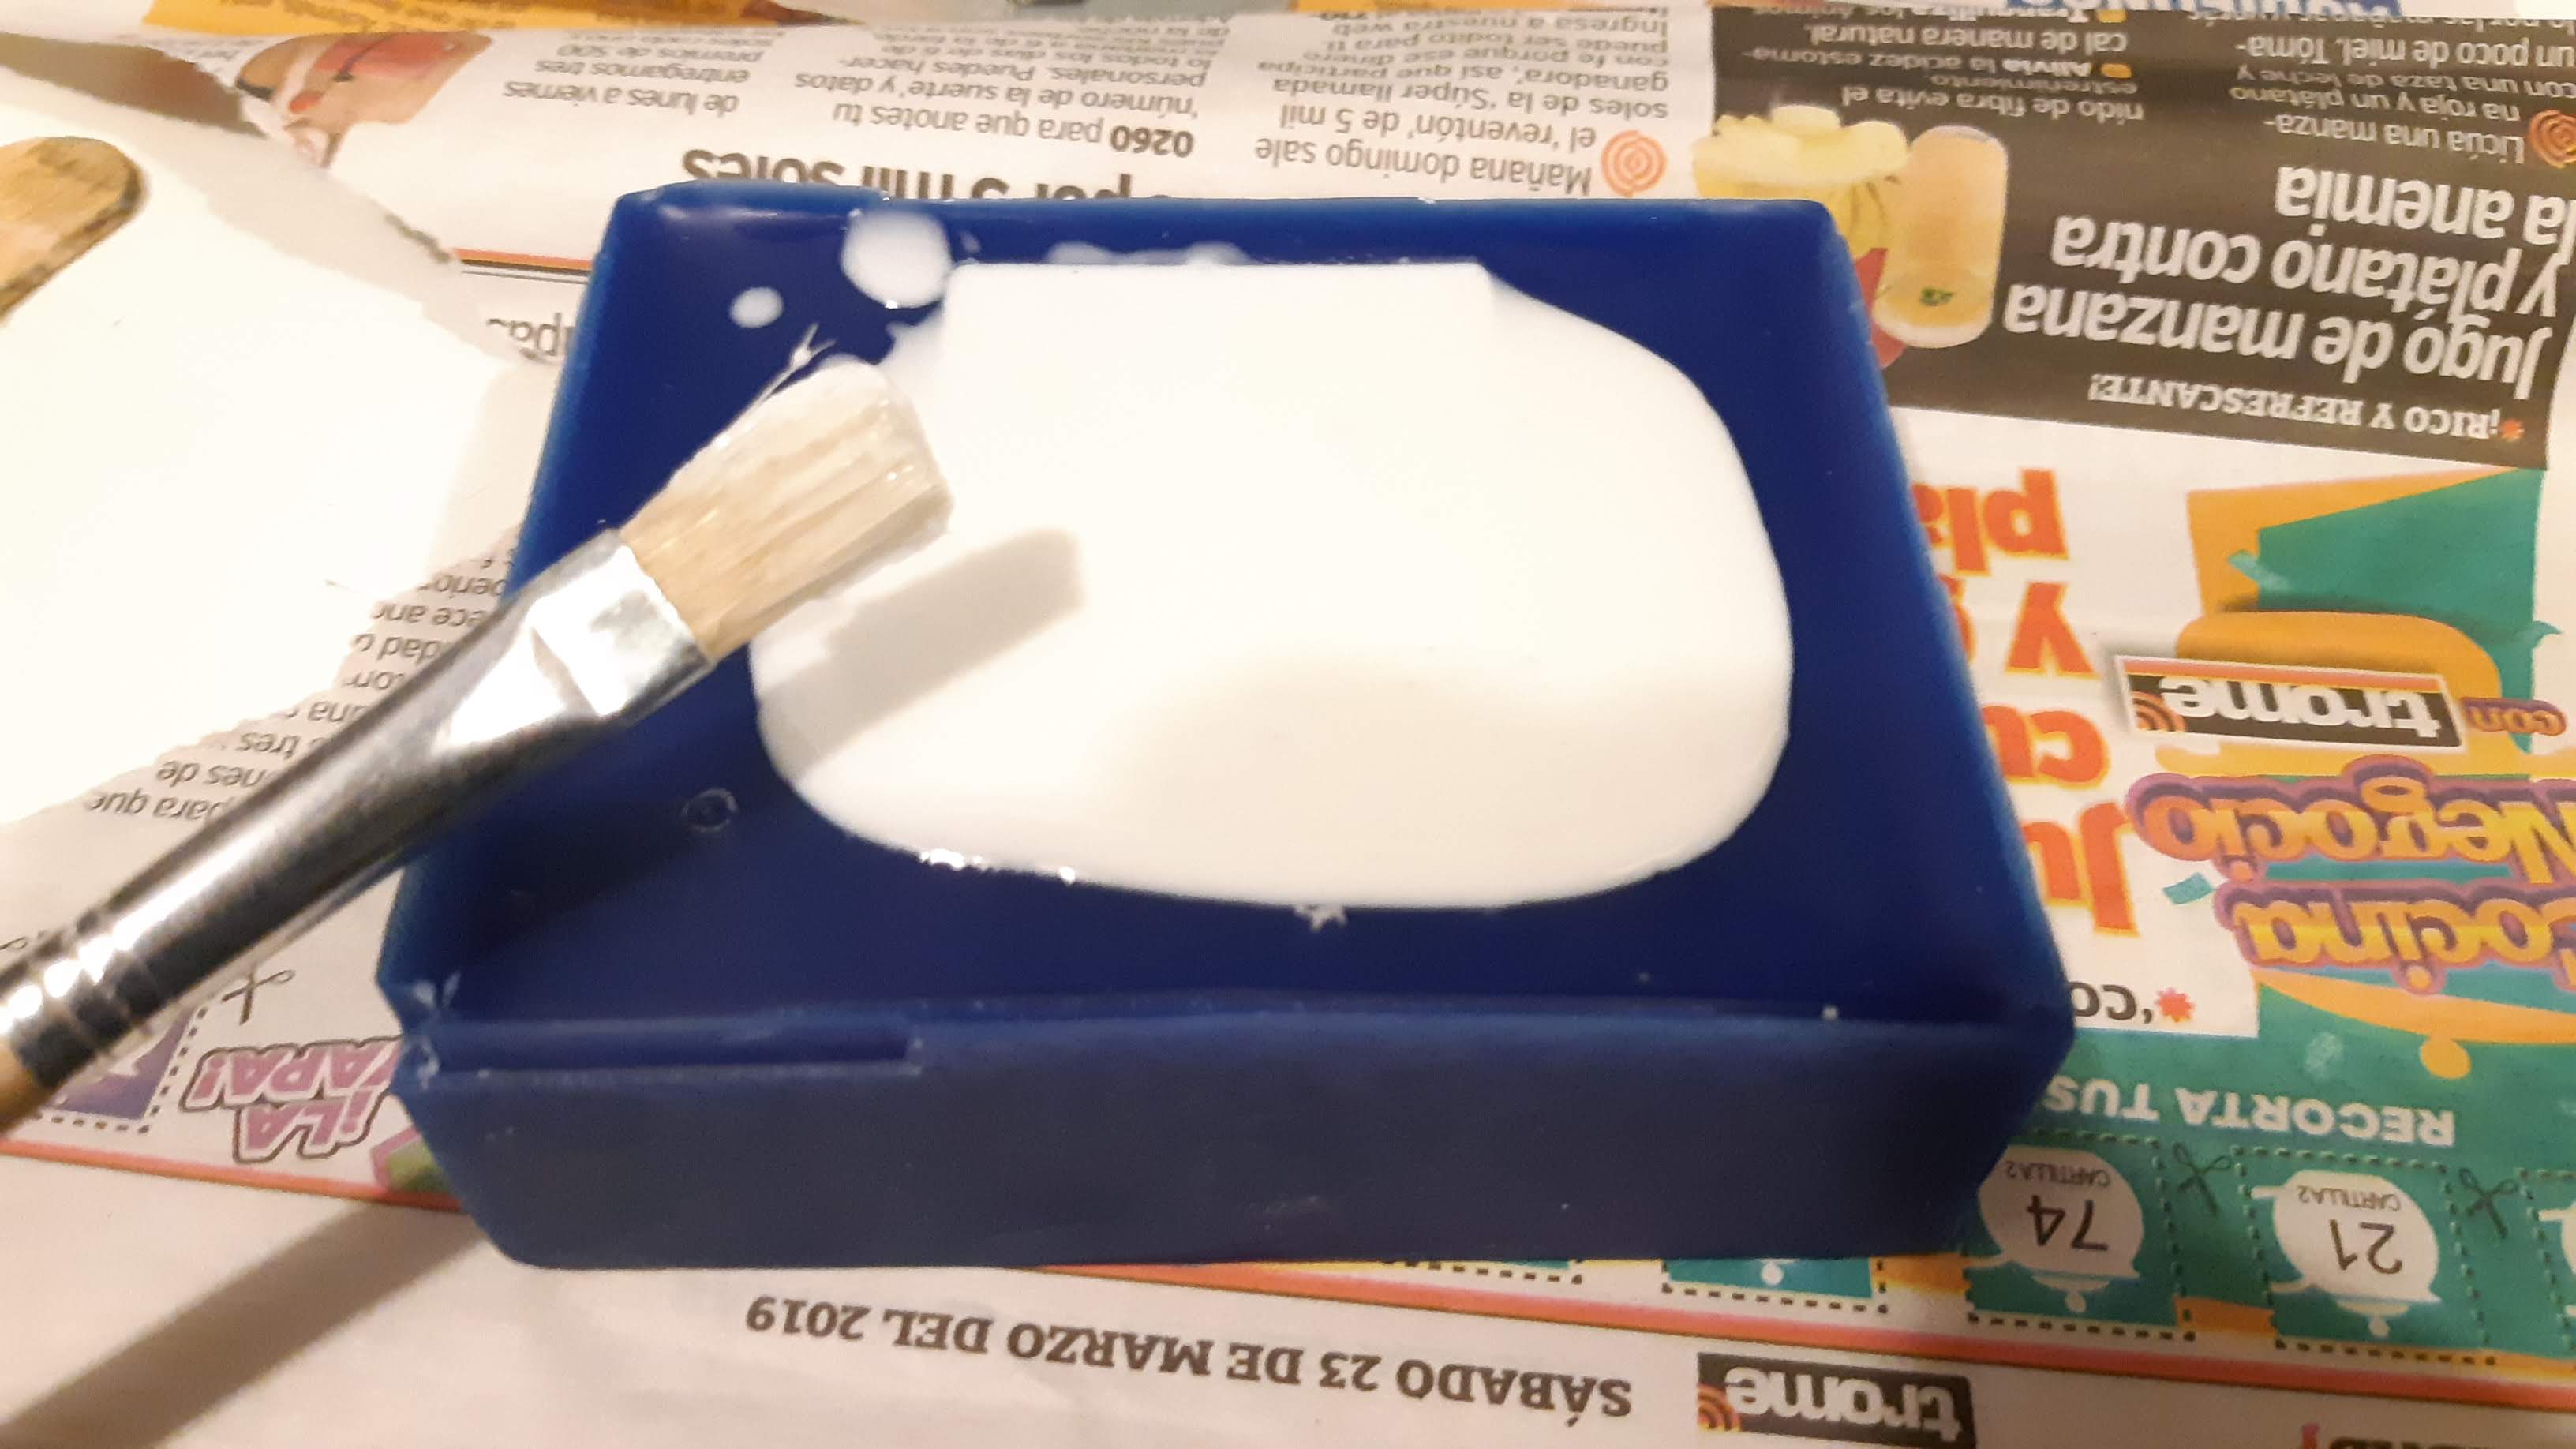
For the little logo piece I used a small brush to make sure the silicon enters every difficult part, and then pour the rest. Unfortunately I don't have a better picture because I was alone.
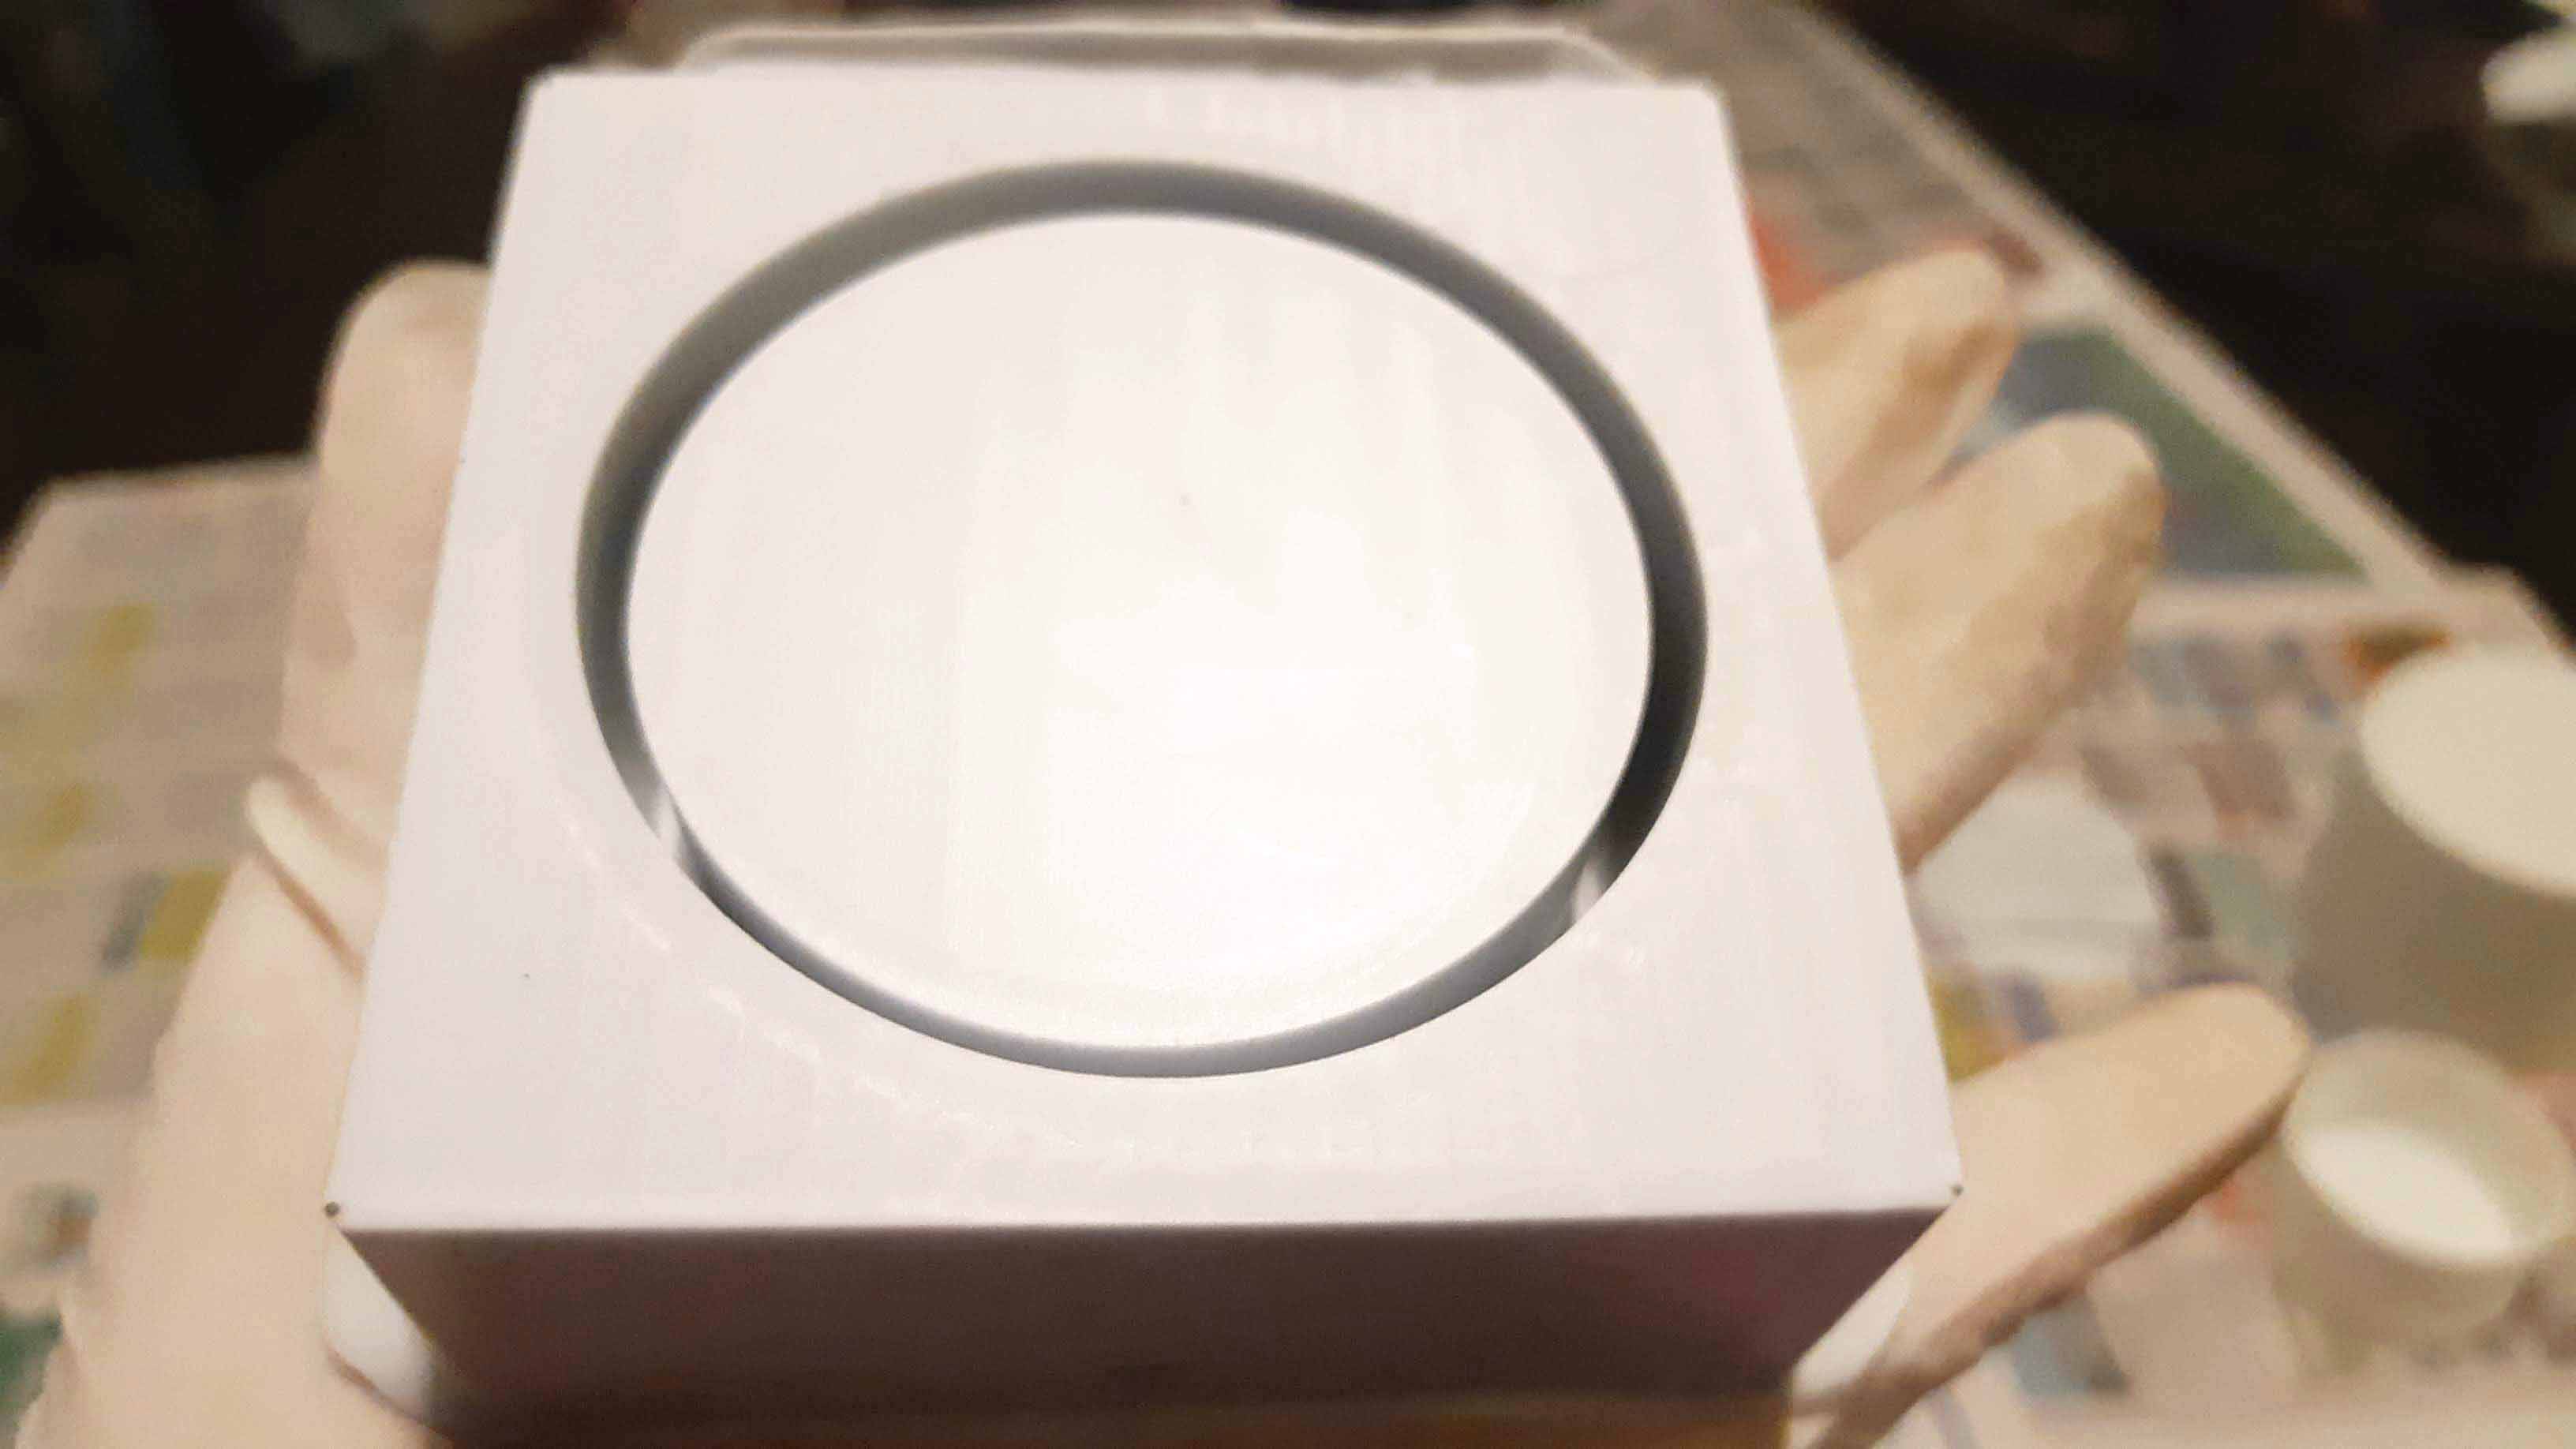
For the piece number 1 rere-make I just pour the silicon carefully and shake as much as I could.
All three of them came out REALLY WELL.

Casting process
Resin
I chose to use Water Clear Casting Resin as I wanted it to be a clear piece. When working with this type of material there are some important things to know before getting hand on to work.
Safety data sheet
Safety is always first, you can check MSDS here. For this part the most important things to know are:
It is flammable
Inhalation can be harmful
- Wear suitable respiratory protectionIrritating to eyes and skin
- Wear solvent‐proof gloves
- Wear approved safety gogglesMay cause sensitization by skin contact
Harmful by ingestion
Technical data sheet
You can check some technical information in the TDS here.
USEFUL FEATURES:
Optically clear
UV stable
Polishable to a high gloss
Low viscosity
Easily pigmented
MIXING
Catalyst temperature: Between 20-25 °C
Resin temperature: Between 20-25 °C
Mixing ratio: Resin-100; Catalyst-1 (1%)
Mix carefully but throughly
POURING AND CURING
Pour the material into a low point in the mold to avoid bubbles
Surface of Cured Resin in contact with air will always remain tacky
A layer of cellophane or release film placed on top of the surface of the wet resin as it cures, prevents tackiness in contact with air as it cures.
Post processing and finish should be done after 48 hours, cured resin should not reach temperatures above 72°C to avoid distortion.
Hands on
I tried first with the two molds I already had.
Preparing resin is not really hard, or at least it seemed like it.
I just added the recommended amount of catalyst to the resin (1%), mixed it and poured it into the mold and after a little while the rest of the mix I had in a cup started solidifying, it all looked good.
I didn't use the mold that came out perfect yet because I didn't want to get it dirty or ruin it, I decided to go with the others two.
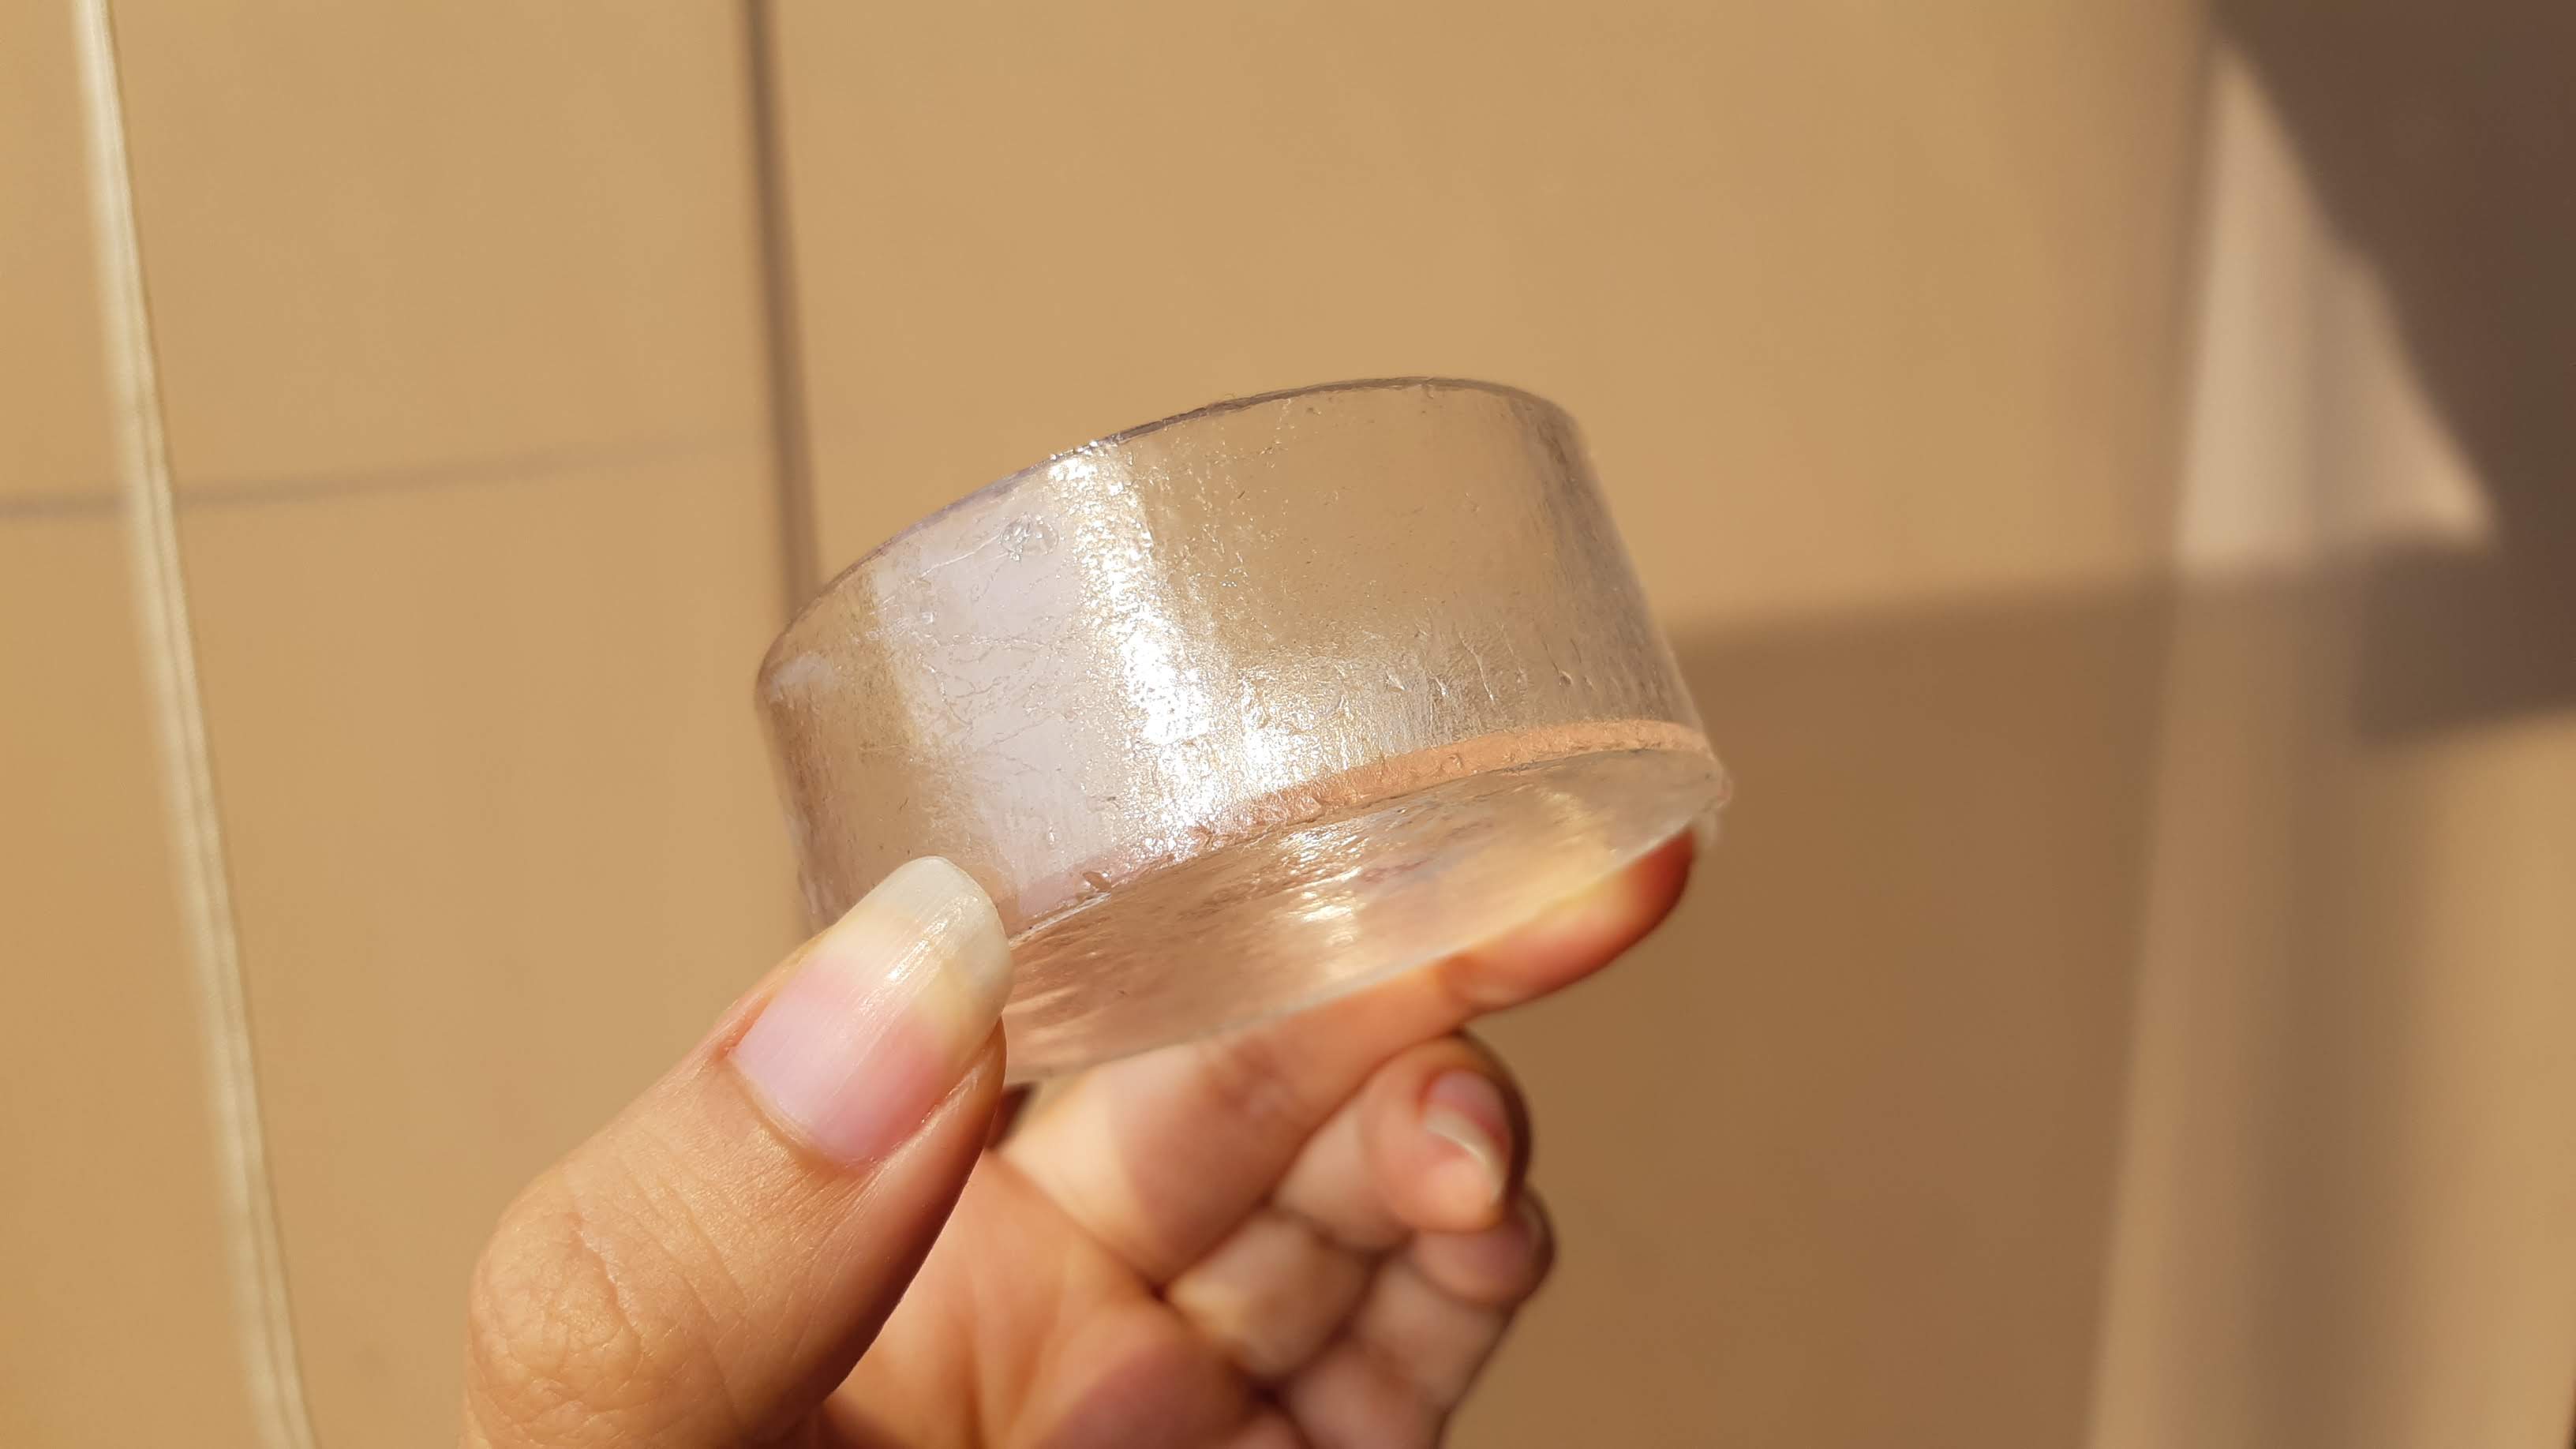
This is how the first resin piece came out of the translucent silicone mold.
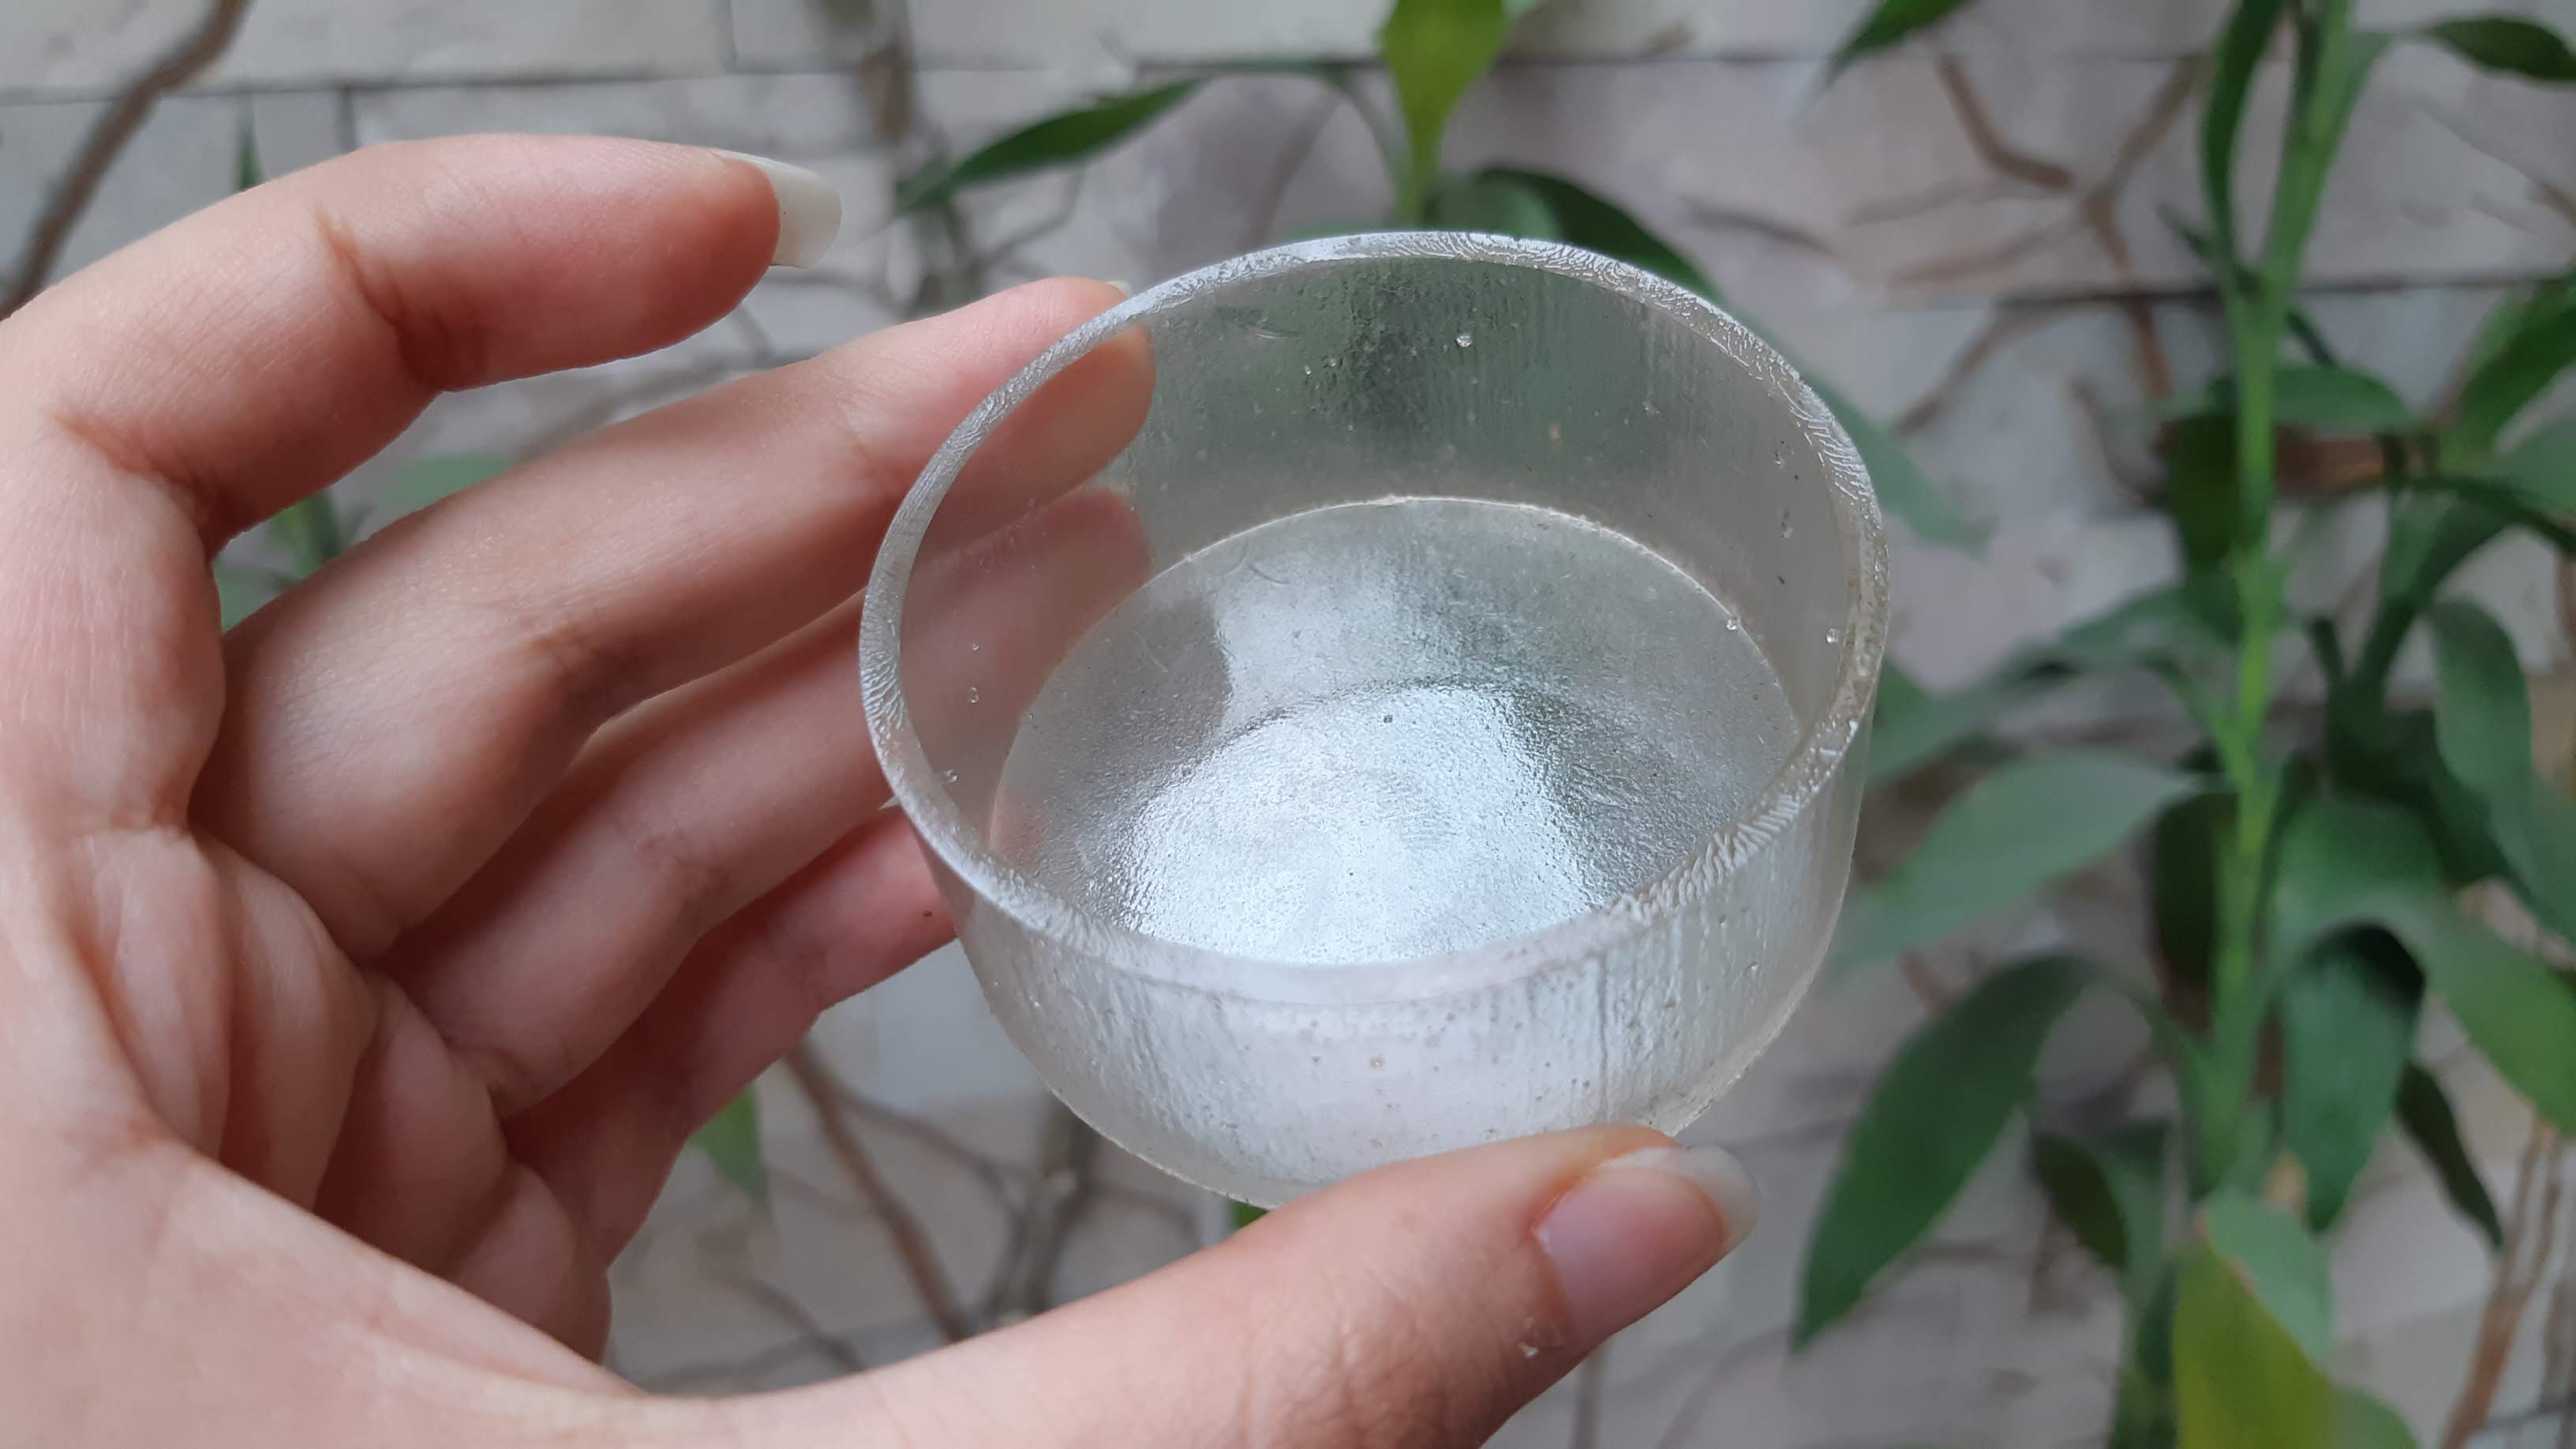
It took very long to completely cured. It was solid from the beginning but as I let it cure in contact with the air, it remained sticky for some days.
This is the piece that came out from the second mold.
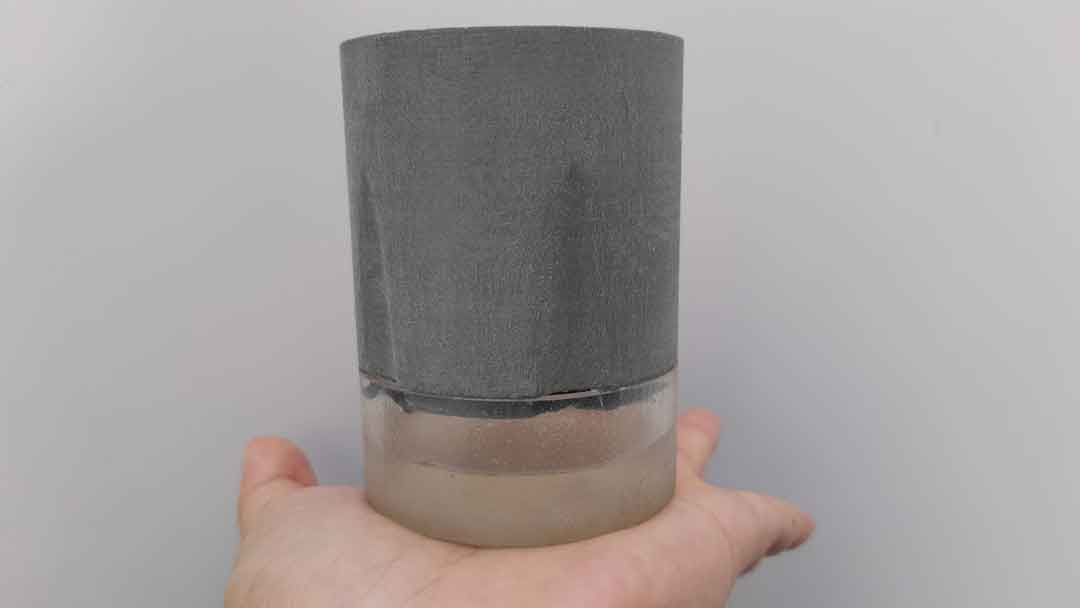
I mixed cement and sand to make the top piece of the pot.
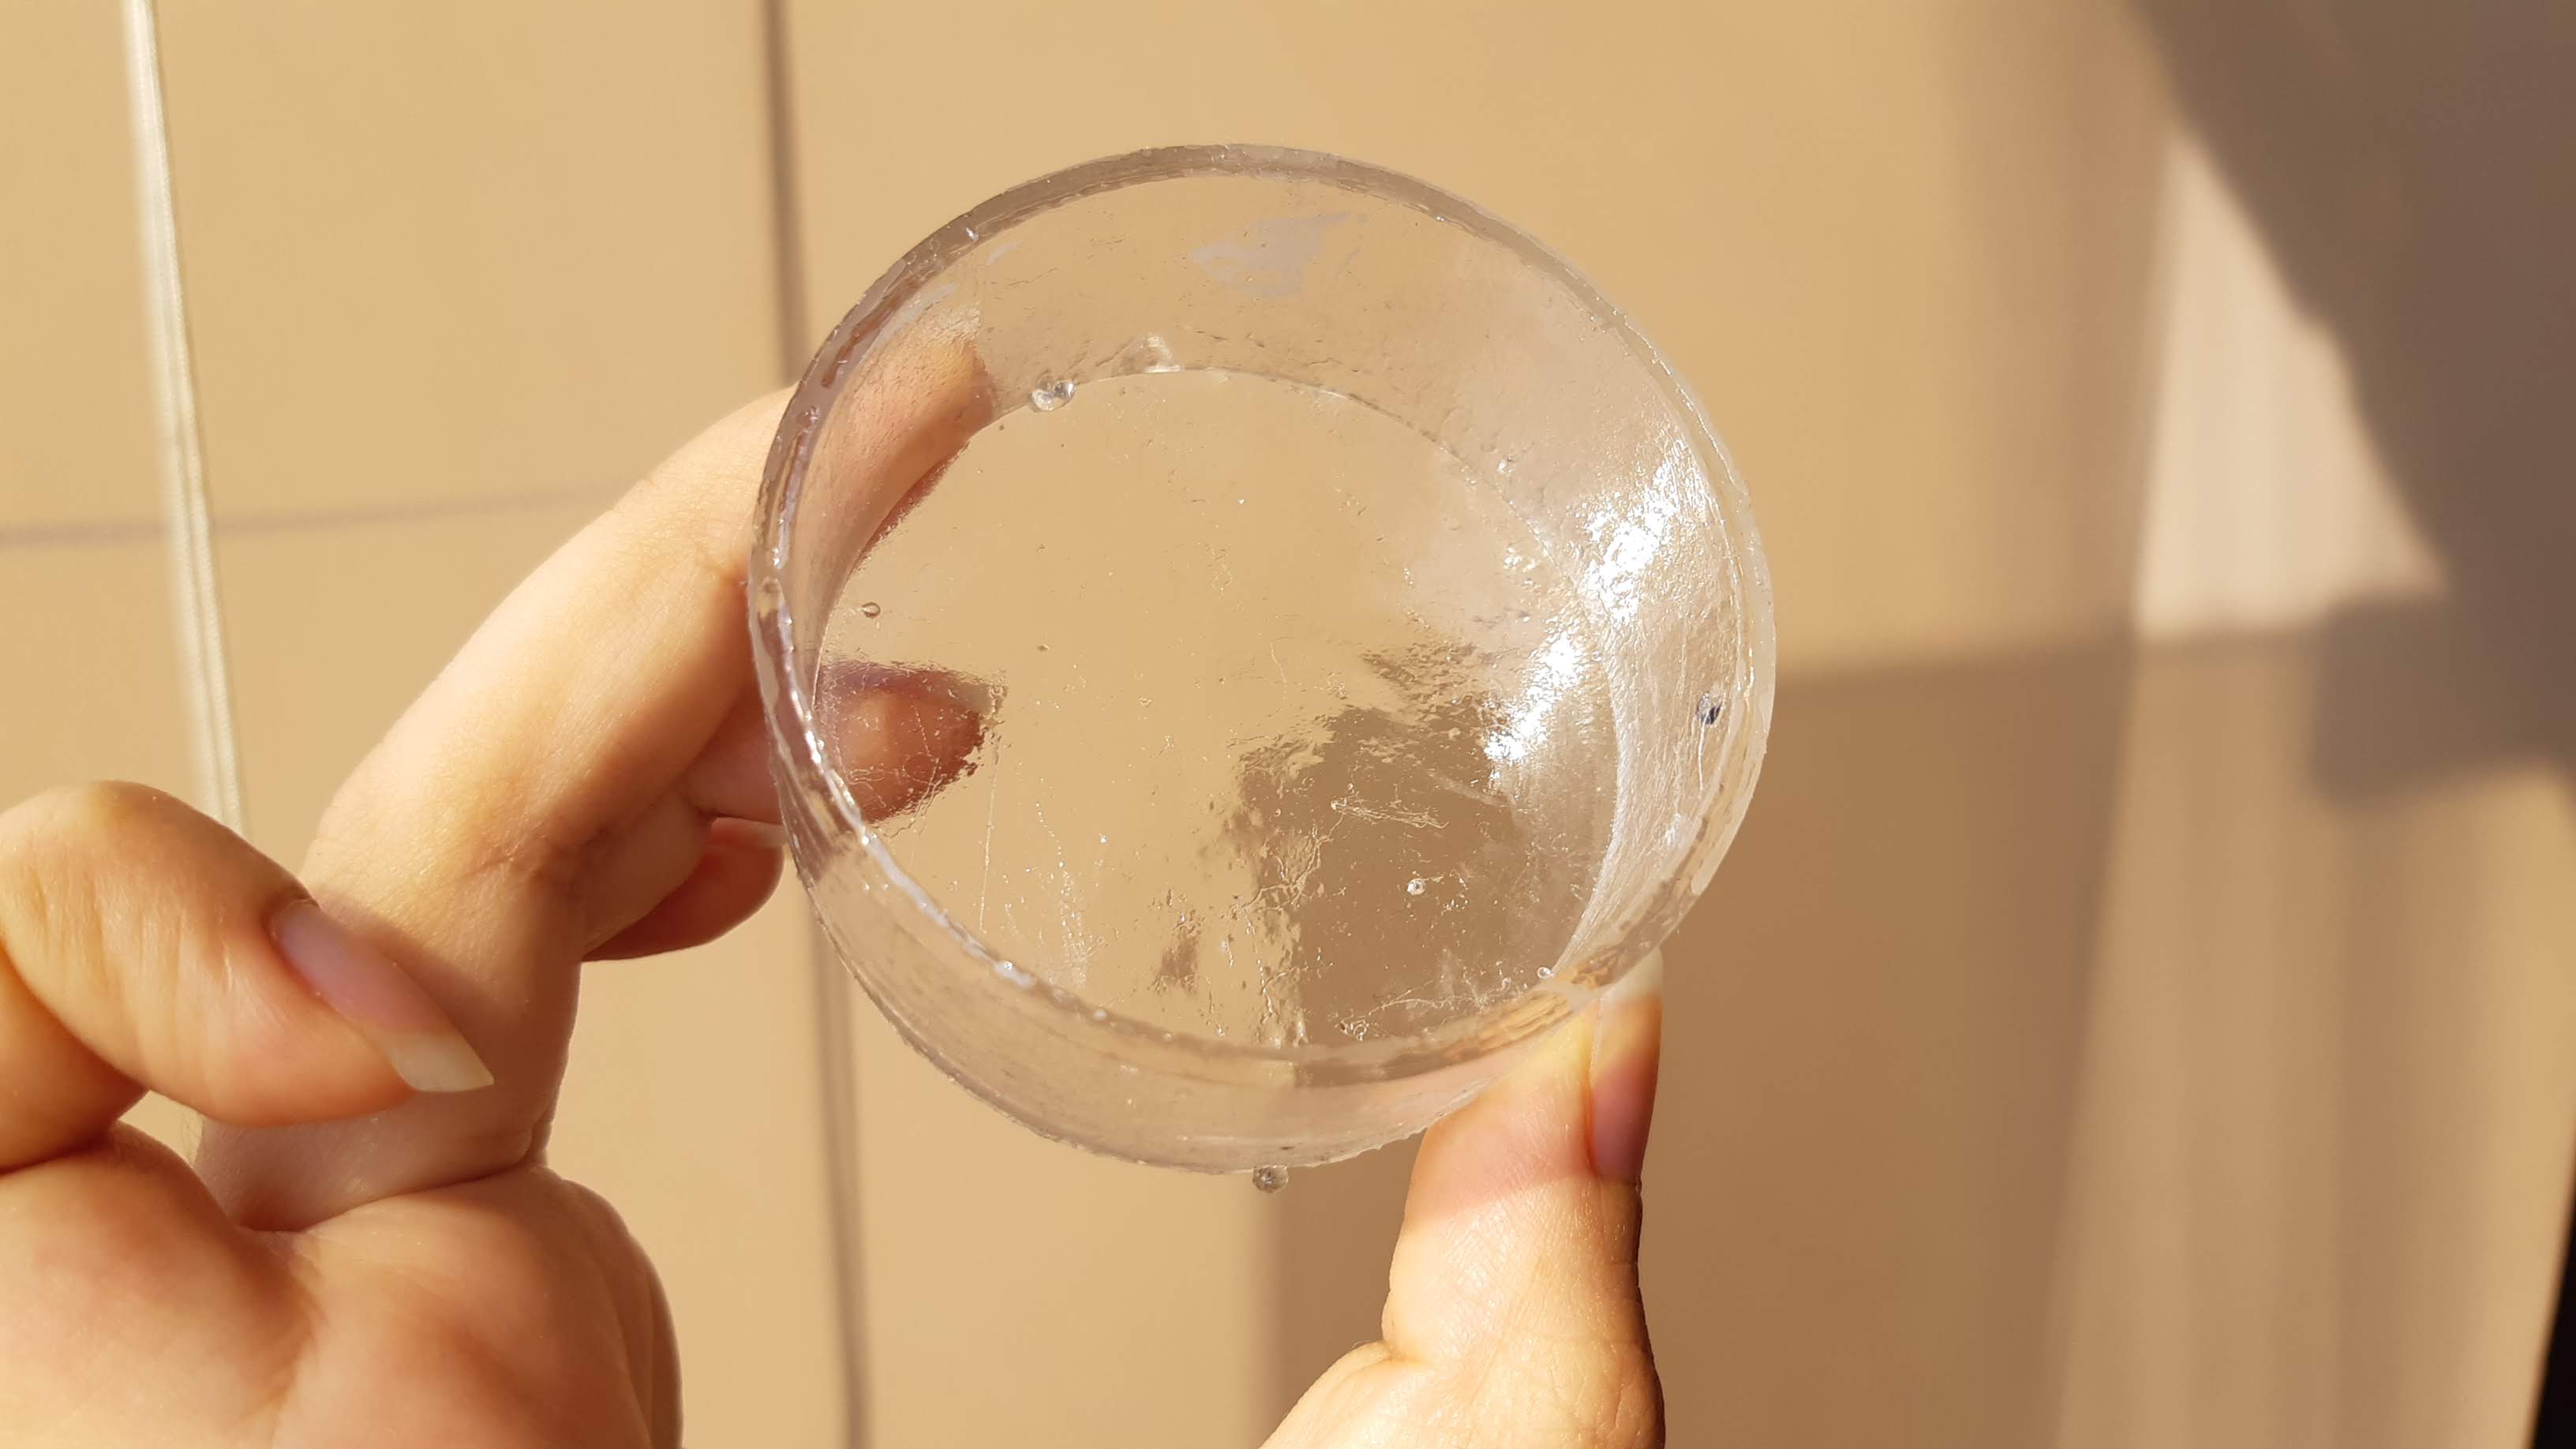
And here we have the final result!