Task – Get a hold of the 2D and 3D
designing
2D Design - A 2d design professional draws
2-dimensional, or flat, images used in mechanical drawings, electrical
engineering projects, video games, animation, clothing construction and
architecture.
3D Design - 3D design is the process of using
software to create a mathematical representation of a 3-dimensional
object or shape. The created object is called a 3D model.
The main difference between vector and raster graphics is that raster
graphics are composed of pixels, while vector graphics are composed of
paths. A raster graphic, such as a gif or jpeg, is an array of pixels of
various colors, which together form an image.
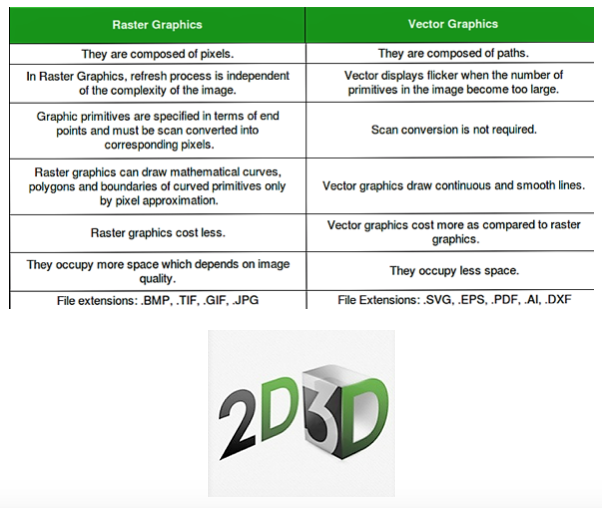
After understanding the two types of Digital Graphics, Raster and
Vector, I understood that a Vector image is made up of hundreds and
thousands of tiny lines and curves, whereas a Raster image comprises of
a lot of pixels.
Identification of a Vector Image –
The edges play a major part in identifying a Vector image. It appears
very smooth irrespective of your zoom percentage. Their usage is mostly
in designing logos and illustrations, wherein a lot of text is used.
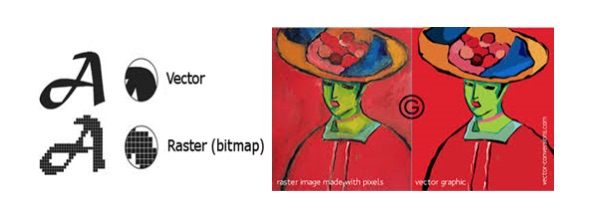 Identification of a Raster Image –
A Raster image comprises millions of tiny squares named as Pixels, often
used in Bitmap images. When we zoom into the image, we can see these
innumerable tiny squared outlines of each pixel of the entire image as a
whole.
Exploring
Raster Software – GIMP
I wanted to try GIMP, so this is how it goes.
GIMP – GIMP is an acronym for GNU Image Manipulation
Program. It is a Free open source Raster Graphics Editor, for such tasks
as photo retouching, image composition and image authoring.
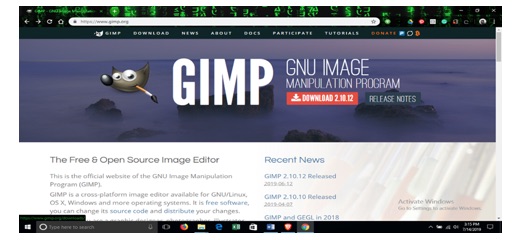
After going through the tutorial, I have downloaded the application.
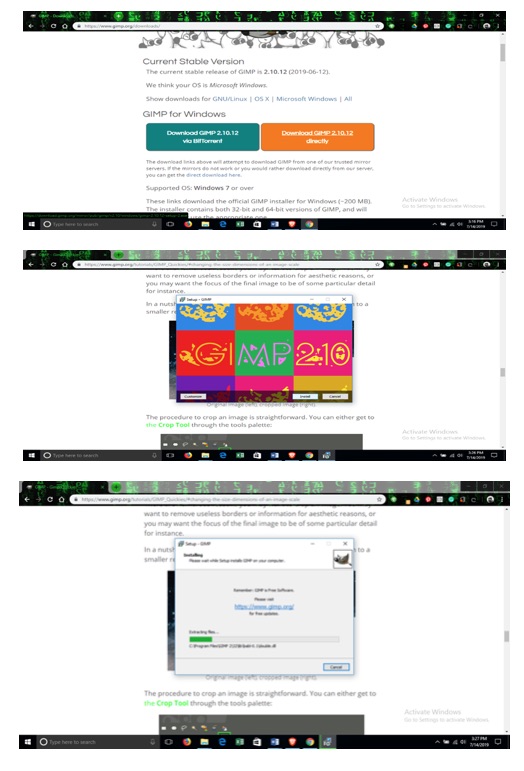
Then installed the application on my laptop.
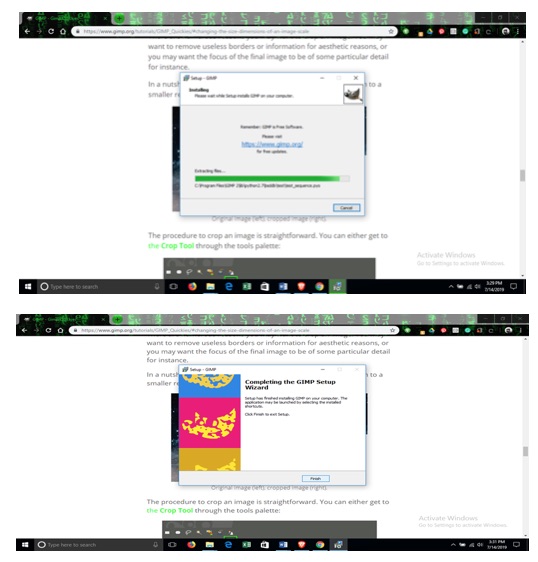
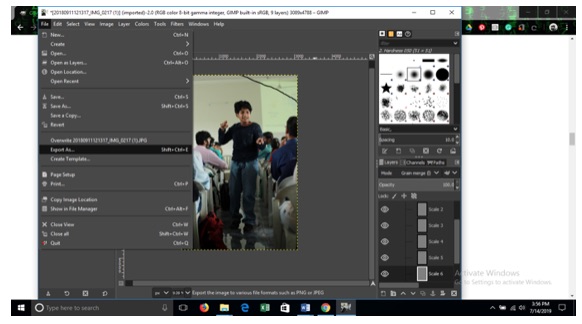
After finishing the setup, I have opened the software to get a hands on.
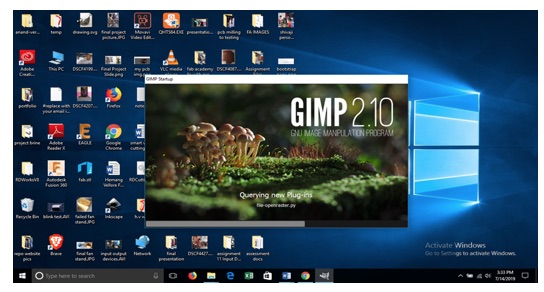
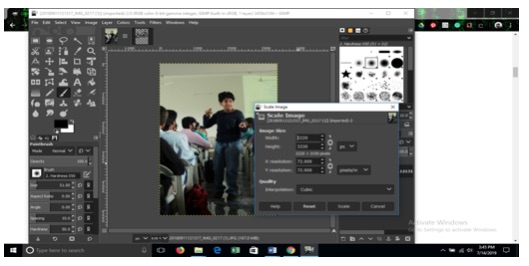
Then I selected an image from my pictures folder to try this software.
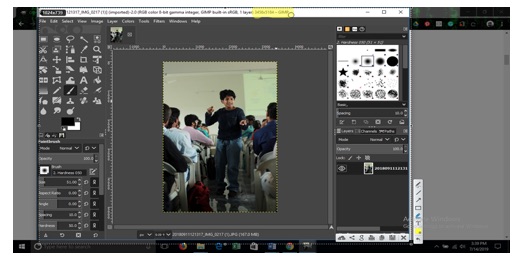
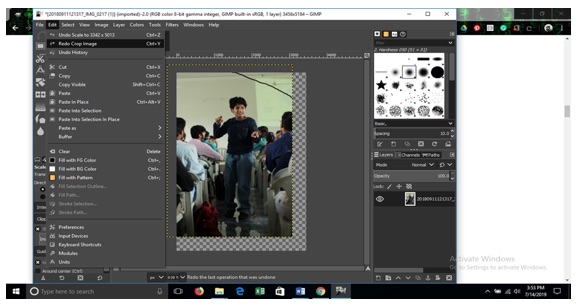
You can notice the dimensions of the original selected picture,
highlighted in yellow.
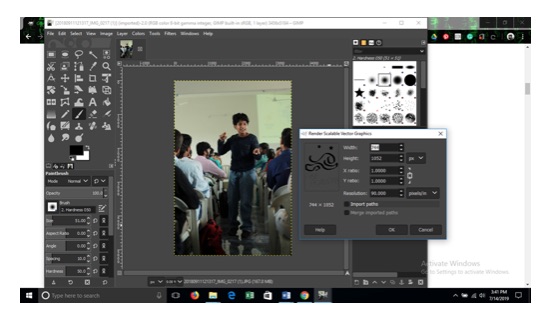
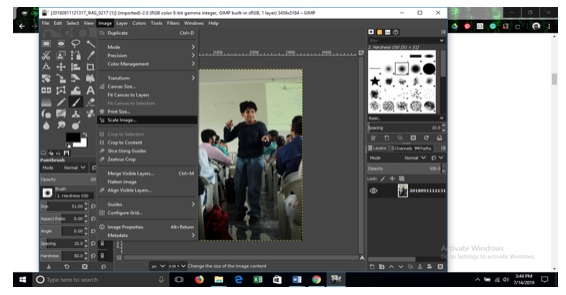
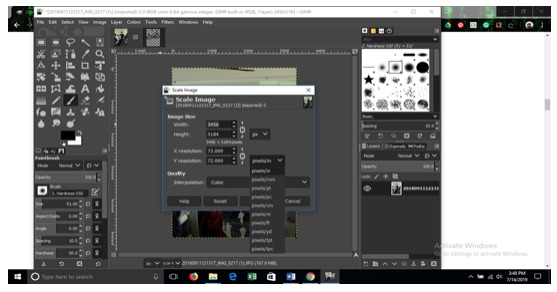
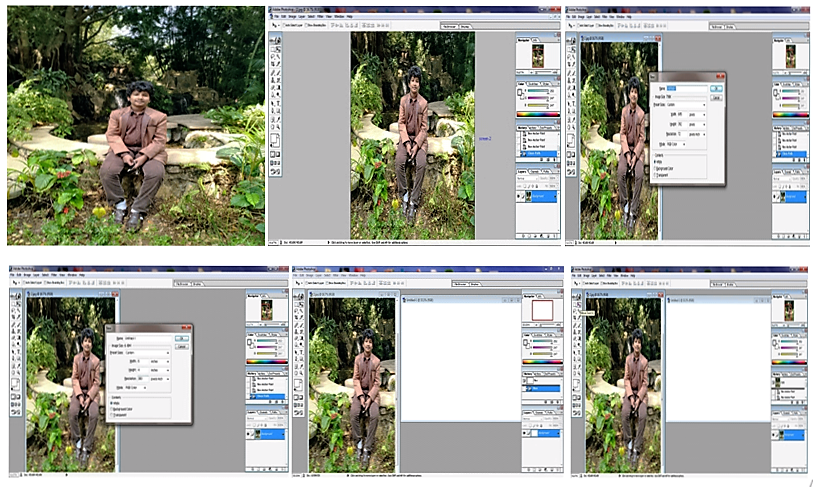
To resize the new dimension, I opened the scale image dialogue. This
brought up a previous image, which I was trying/doodling on Inkscape.
I closed this window and opened up this one.
You can observe the dimensions Width3456/Height5184 in the window.
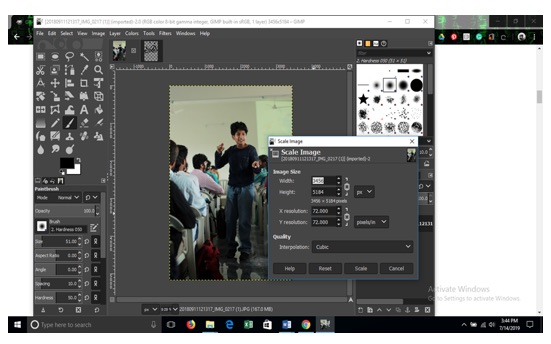
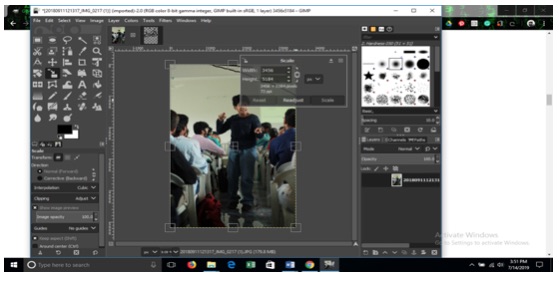
After changing the dimensions to Width 2200, Height 3330.
I wanted to see the Quality Interpolation, so I tried this by changing
the pixels.
This is what you see now after the changes.
I wanted to crop the image. So I readjusted it.
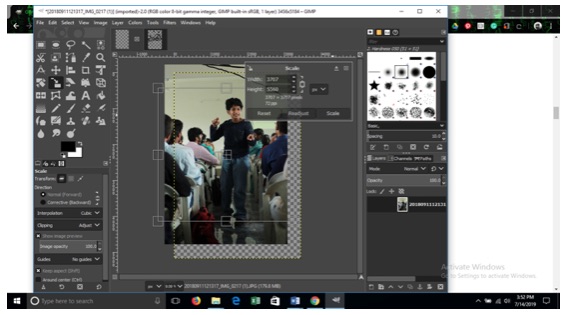
You can also Flip the images vertically or horizontally and rotate them
clockwise or anti clockwise too.
For documenting purpose, I went back and took a screenshot of it.
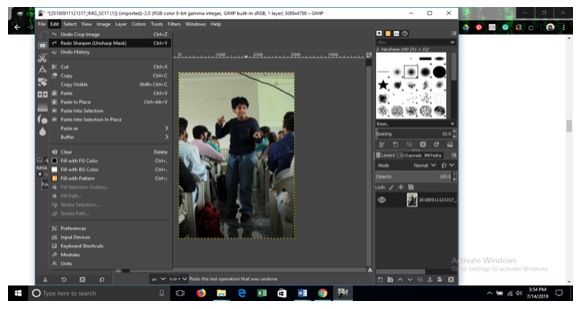
This is how it looks after a change in the dimensions and cropping.

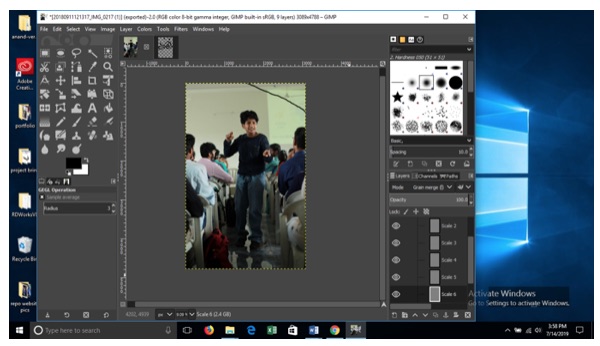
I wanted to enhance the quality of the picture, so I did it.
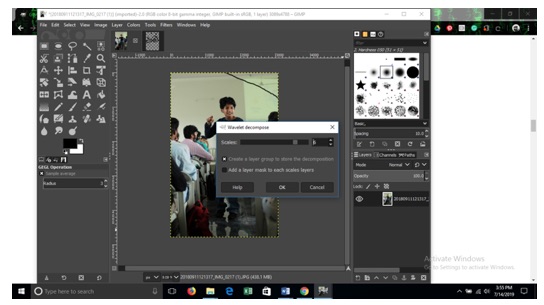
Now I set the scale to 6.
I am okay with the result.
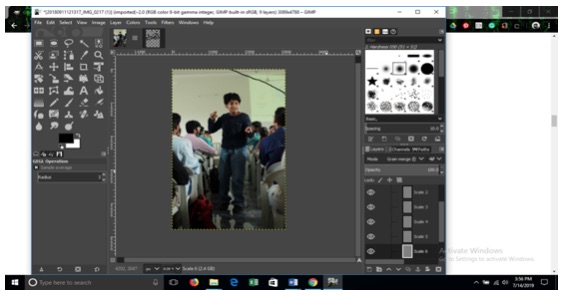
I have to Export the picture now.
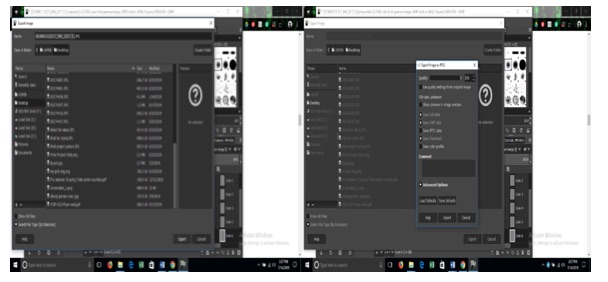
After selecting as shown above,
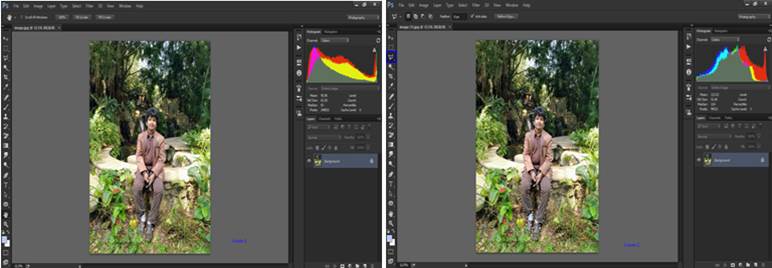
What a transformation from this image,
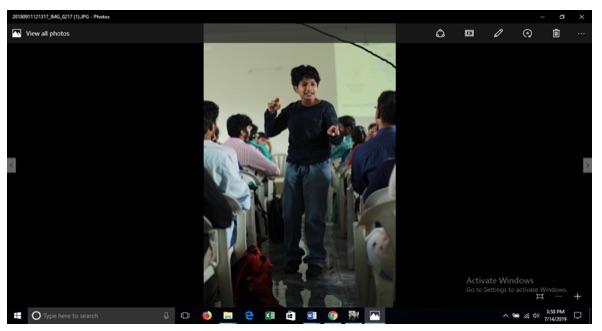
To This Picture. The end result of my walkthrough of Gimp.
However, this is not all and end of it, there is still a lot more to
explore.
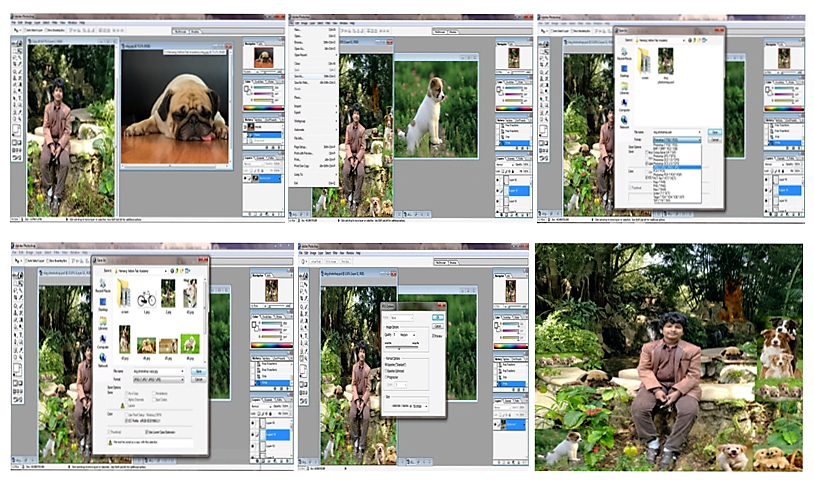
Adobe Photoshop
I couldn't try all software because I had a problem with my laptop so I
started with Photoshop.
Initially I have chosen a picture as required and then
I selected the file option
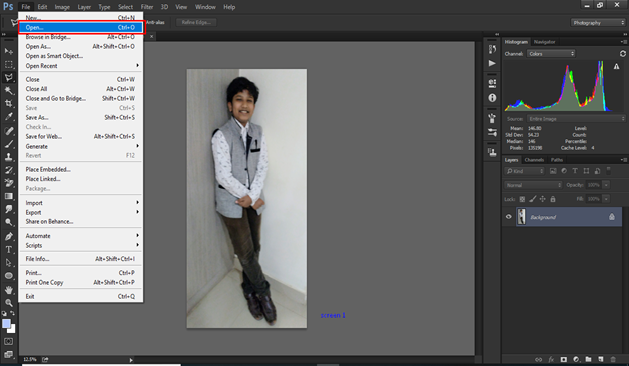
Later selected the open option
Then selected the picture and opened it.
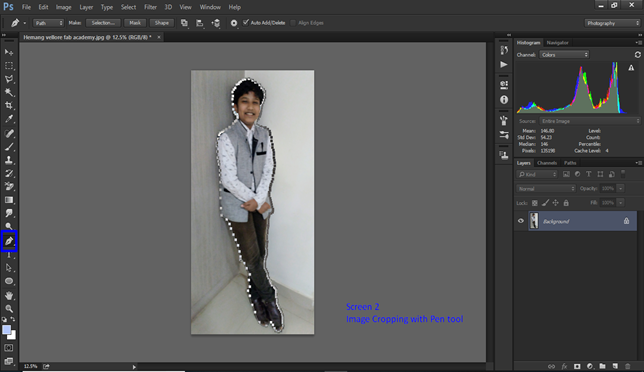
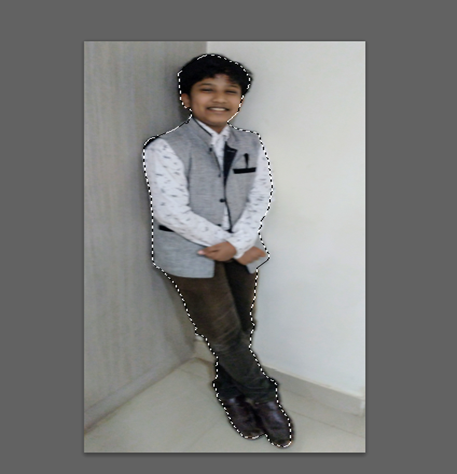
Next selected a pen tool and then I selected the points on the
picture as shown above.
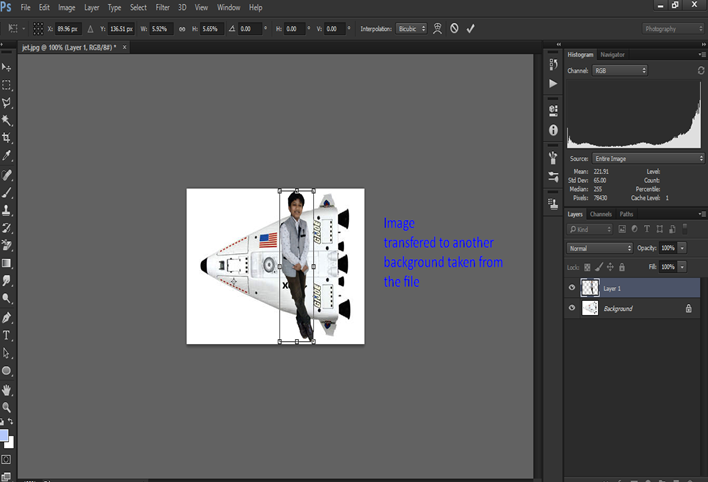
Then I choose a background as I required from the internet.

Then I inserted my picture on the first background. But I wanted
to have a better option. Hence I have used two backgrounds for
editing.

Then by help of move tool I inserted the background image. Dragged
the first image on background image and placed where I wanted it.
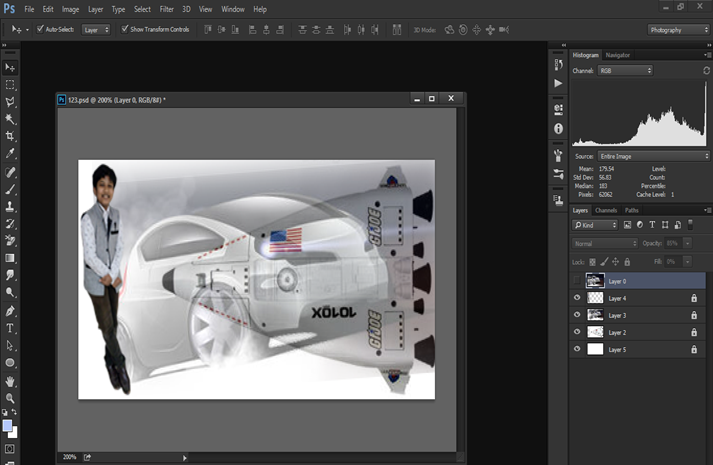
In this picture I have inserted two backgrounds for a multilayer
effect. Now I’m happy with the result.
Now I’m happy with the result.
Later I have tried this option too as I like Dogs.

Currently Trying
Vector Software - Inkscape, Illustrator, SketchUp2019, and Adobe Fusion 360
My Inkscape Experiment
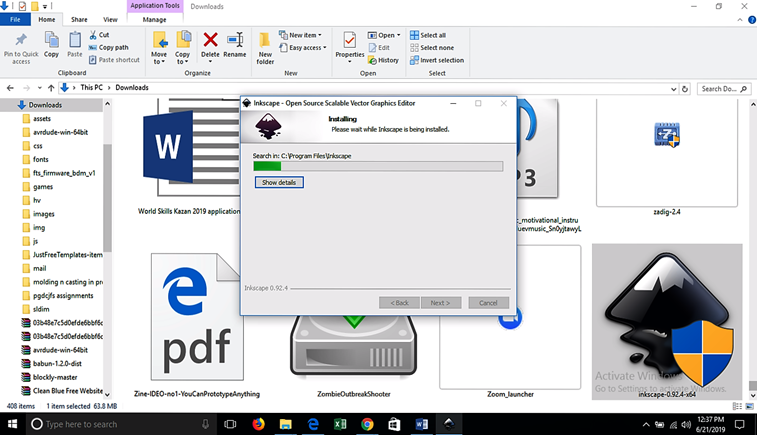
I have downloaded Inkscape on my laptop.
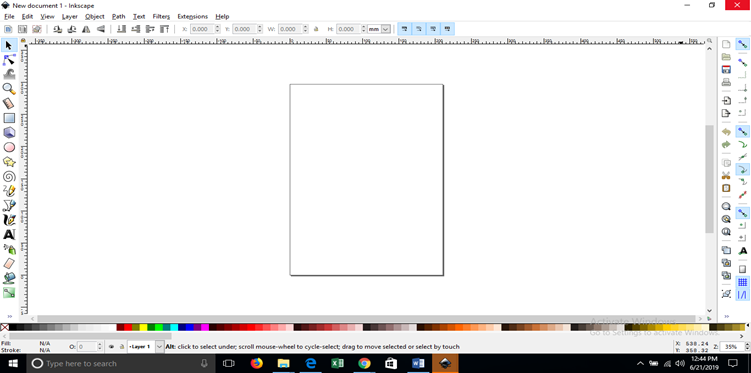

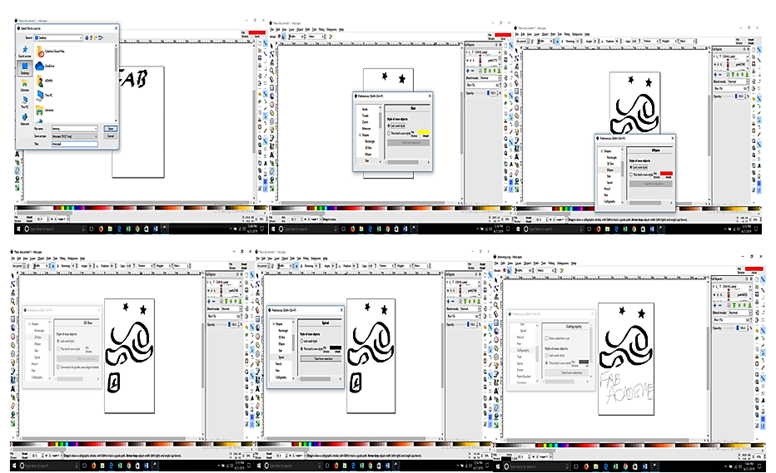
Not much of a worthwhile experience though, but must admit that I
got a hang of it.
My 2D and 3D Designing Experience
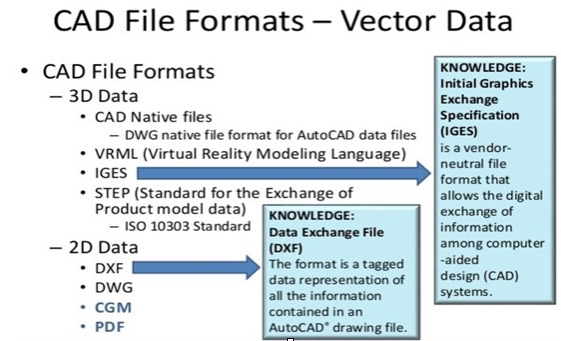
File Formats For Sharing 3D and 2D CAD Designs
As we know that every software has its own file formats in 2D and 3D
designing, their usage depends upon their cost effectiveness,
features and purpose. When we send our files to the fab lab or
client, it has to be well understood. The CAD file formats generally
fall into the Neutral File Formats and the Native File Formats are
used to comprehend our design.
Native File formats are Proprietary of a particular CAD software
maker, to be used with their software.
Neutral File Formats or Standards were specifically created to
encourage interoperability, which helps exchange files between
different software programs.
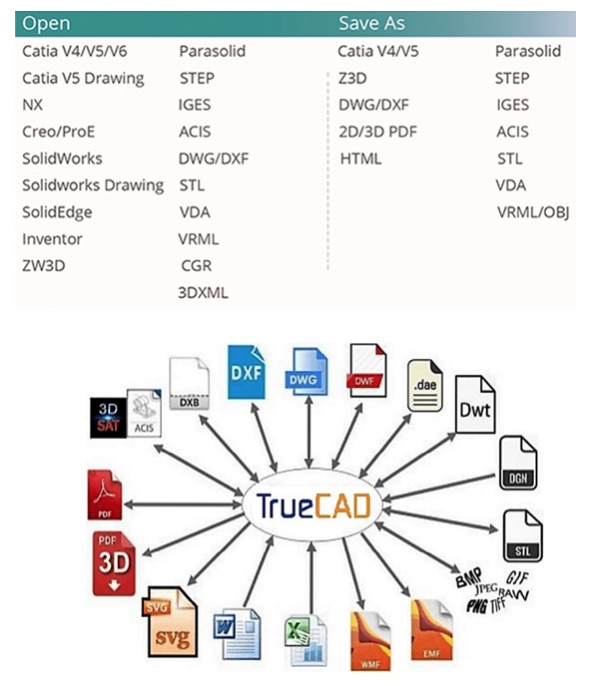
They it easier to exchange files with someone who uses different CAD
software. The most successful Native Formats are supported by a
variety of software as you can walk through my assignment.
The 3D software I tried are SketchUp2019 and AutoDeskFusion360.
SketchUp2019
SketchUp, formerly Google SketchUp, is a 3D modeling computer
program for a wide range of drawing applications such as
Architectural, Interior design, landscape architecture, civil and
mechanical engineering, film and video game design.
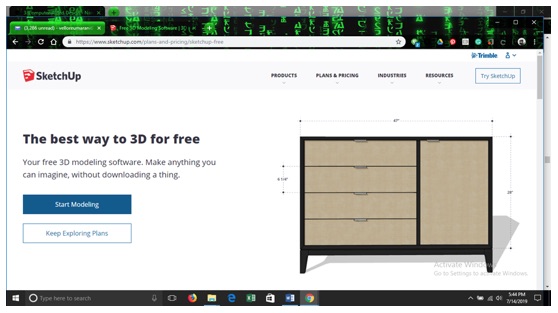
SketchUp Make is the free version of SketchUp and has all of the
features needed to create 3D objects and scenes.
SketchUp Pro is the paid upgrade that adds professional features
such as advanced drawing tools and additional import and export
options.
A major difference between Shop and Pro is that SketchUp Shop is a
web application that you run in a browser while connected to the
Internet.
Whereas SketchUp Pro is a downloadable application that you can use
offline.
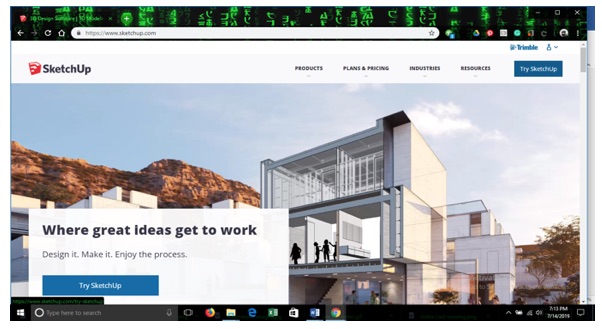
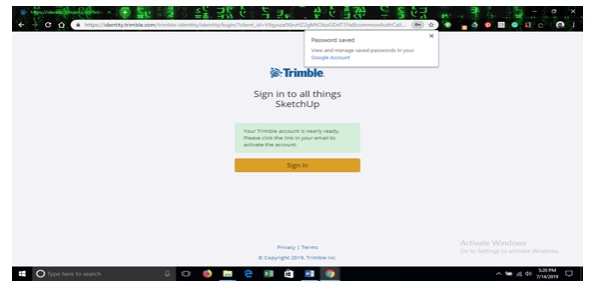
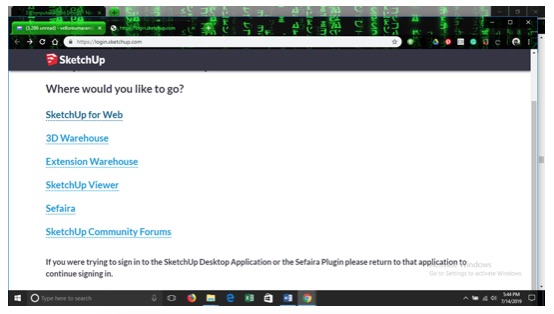
I went to the official website www.sketchup.com
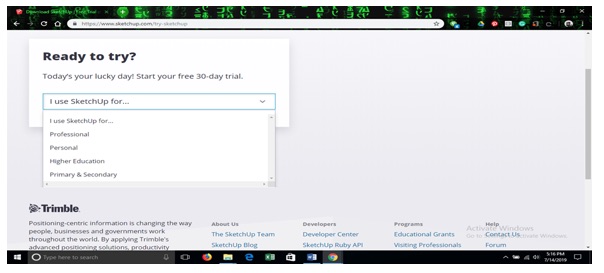
Created a Trimble account. I saw an option to sign into google
account.
Confirmed my user account information received in my mailbox.
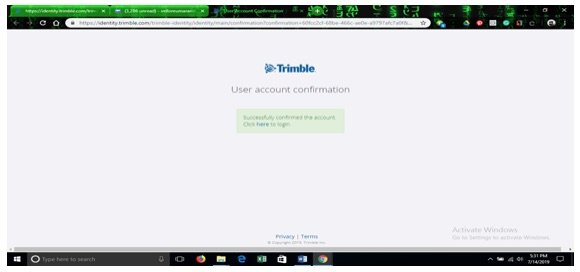
I have signed into my account.
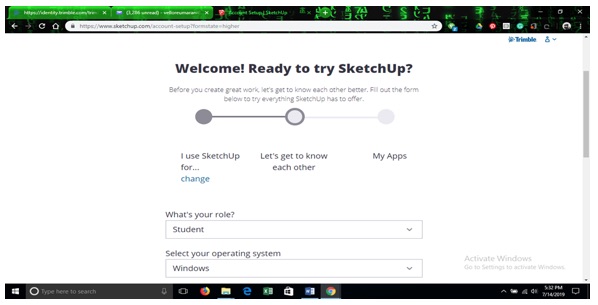
Selected Student option.
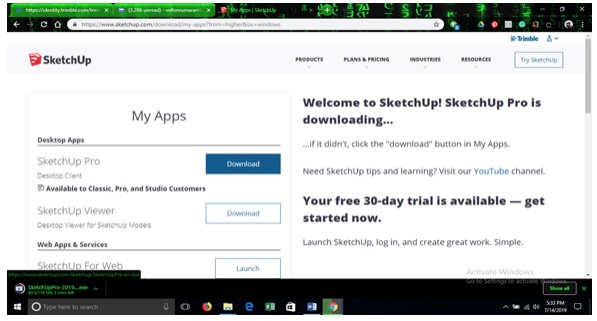
Selected SketchUp Pro option.
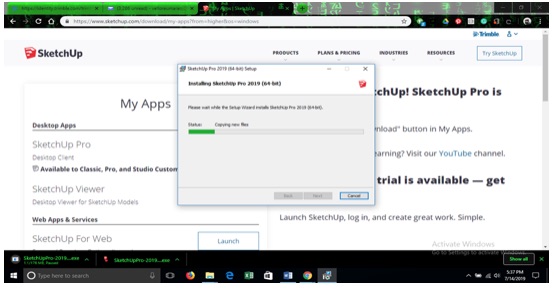
And installed the set up.
After installation I got window.
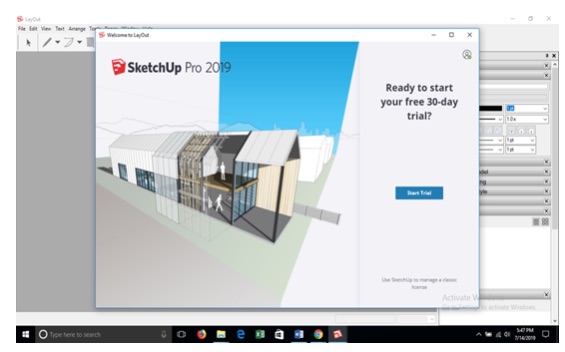
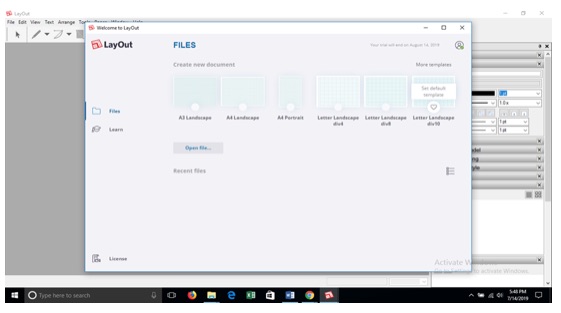
I started the trail version. It offered me with a SketchUp 2019,
LayOut 2019 and Style Builder2019 installations with a shortcut on
my desktop.
Before starting to model, I walked through the tour.
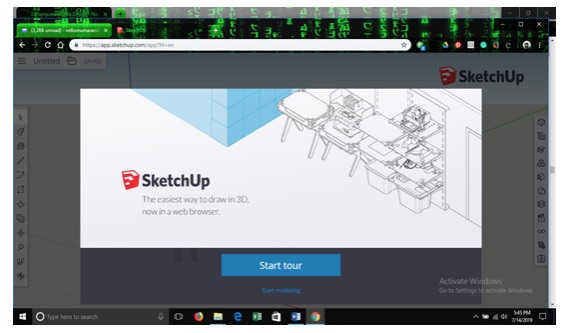
It was self-explanatory and very useful.
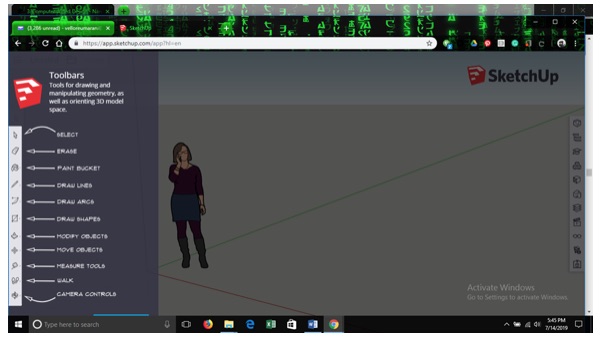
I started to experience SketchUp2019.
3D Designing using SketchUp 2019
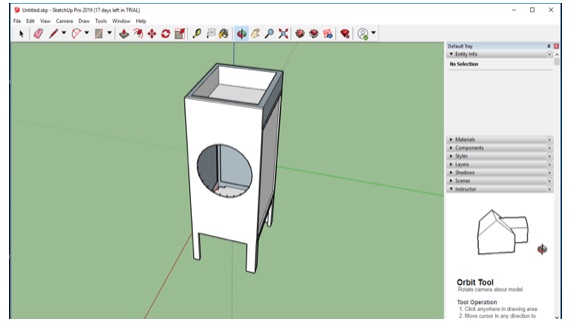
I made my smart air cooler design using this software.
This my design file:-A3
Computer Aided Design_files\Untitled.skp
3D Designing in AutoDesk Fusion 360
AutoDesk has software for 2D drafting, 2D design and 2D drawing. The
most popular 2D software, AutoCAD LT, features an intuitive user
interface, tools for collaboration and documentation, a web and
mobile app, and more.
AutoDesk Fusion 360 is free software for students and startups. It’s
very popular for CAD modeling.
Sculpting is one of the great features of this software.
The timeline feature is great as we can go back at any step to make
the required changes wherein all subsequent steps gets automatically
updated on the proposed design.
So, I dabbled down with the following process as a trial.
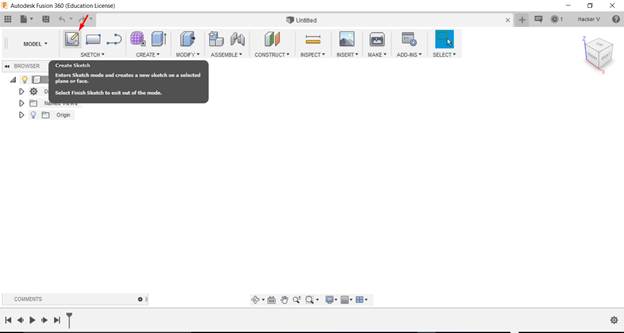
First click to create sketch.

Click a side.

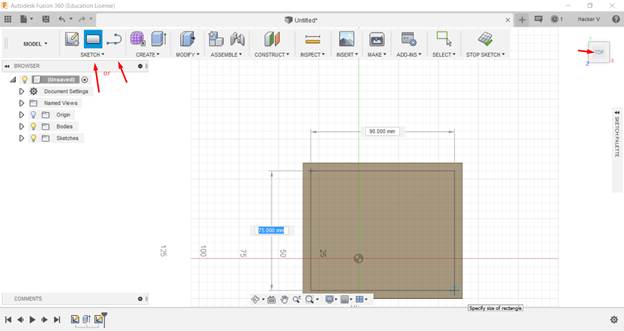
After clicking a side and choose a shape.
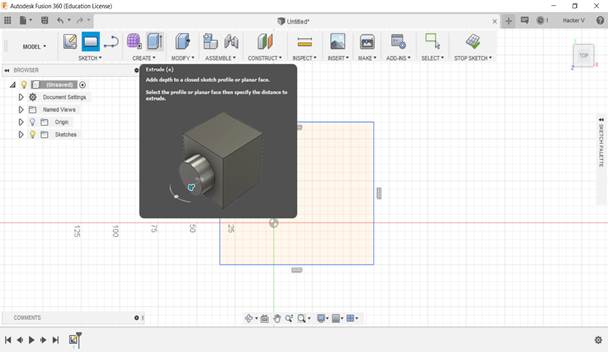
After choosing a shape, put the parameter and then extrude it to the
required height.

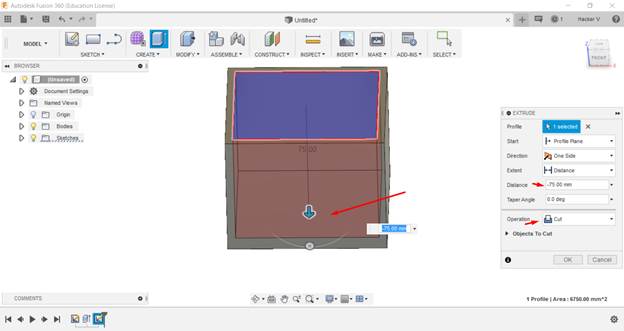
There you have a 3d now you can put another shape on the 3D.
Then extrude it.
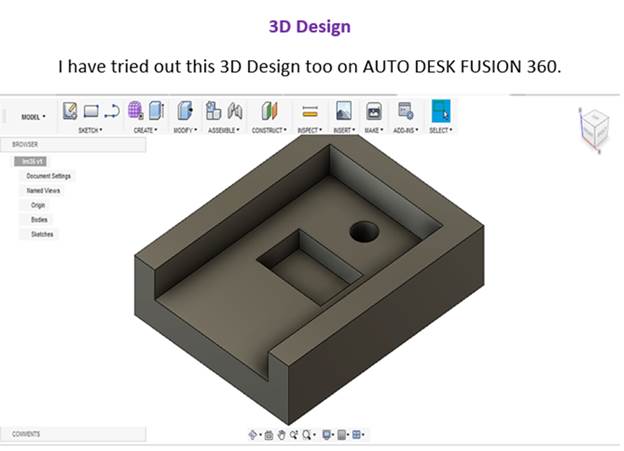
After this trial, I have designed this 3D Design for 3D printing the
Temperature Sensor Holder for my Final Project – Smart FAB Air
Cooler.
Design File - A3
Computer Aided Design_files\lm35 v2.f3d
My 3D Design for My Final Project Prototype – Smart FAB Air Cooler
Tools experienced by me – 2D Design – GIMP,
Inkscape and Adobe Ps / 3D design – Google SketchUp2019 and AUTODESK
Fusion 360.
Learning Outcome -
I’ve learnt new software Adobe Ps, Inkscape and AUTO DESK Fusion 360
for using 2D/3D Designs. It’s hard to compare both 2D and 3D
designing software because both of them are good in their own way.
2D Designing is good for making parameters which you will have for
any product. 3D Designing is good as we can see the end product
before making it. I had issues with 2D designing, as I couldn’t
really design my idea perfectly. But in 3D designing, I could see my
design perfectly. Every time a 3D design may not be the perfect
solution. I prefer both as we need to make 2D design before making a
3D design. I personally feel that they are complementary for
designing your product.
Reference – Internet and Fab Modules
www.autodesk.in