Individual Assignment
Using Composites and resins was my idea. I have chosen to design and make a FRP storage tank for my Final Project, which is a Smart Air Cooler. Fibre-reinforced plastic (FRP) (also called fiber-reinforced polymer, or fiber-reinforced plastic) is a composite material made of a polymer matrix reinforced with fibres. The fibres are usually glass (in fibre glass), carbon (in carbon fiber reinforced polymer), aramid, or basalt. It has a low embodied energy and acts as a good insulator against heat and cold while helping in conserve the energy and reducing the operating costs.
Initially I have chosen Coconut fibre along with the fibre glass to make the sheets as shown below.
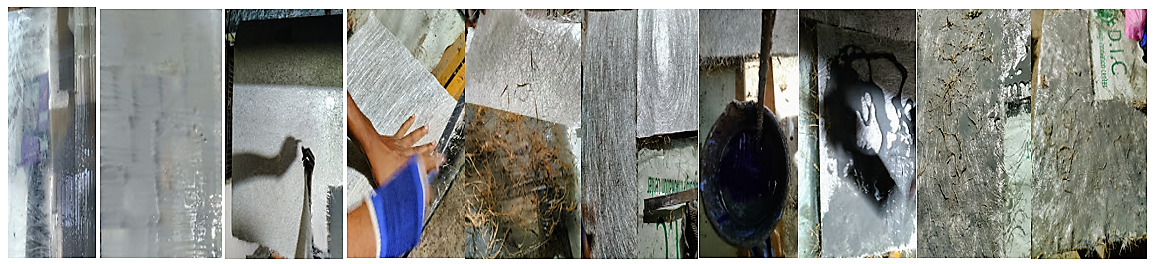
This process failed. Again I reviewed this procedure and realized that the Coconut fibre was causing the sheet breakage. Then I started working again on this process the next day. I stuck to the conventional procedure and went ahead with FRP only.
The procedure I have followed in making the FRP water storage tank for the Smart Air Cooler after research:
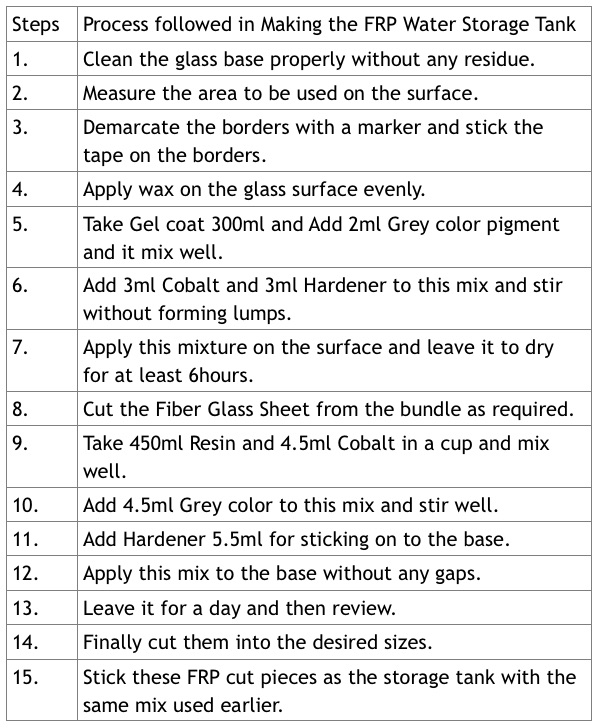
I have started the procedure in the evening.
Firstly cleaned the Glass Base with cloth and then with Acetone. I have measured the Area to be used on the same.
I have marked with a Marker on the borders for demarcation.
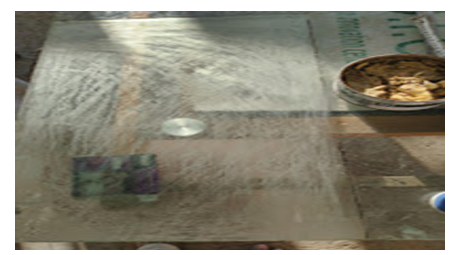
I applied Mirror wax on that area and then went and bought a new brush for application.
Material Taken for this idea are as under –
Took Gel Coat – 300ml
Added Grey color Pigment – 2ml and mixed properly.
Cobalt – 3ml added and stirred.
Mixed Hardener – 3 ml stirred again evenly.

I took 450ml of Resin and added Cobalt and Grey color Pigment of 4.5 ml each to it. I stirred the mixture evenly.
Then I added the Hardener of 5 ml for sticking onto the base.
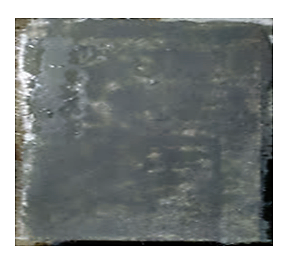
Finally applied this mixture onto the base without any gaps in the night and let it dry till the next day afternoon.
I had issues in finding the resources and guide in the due course. But glad that I could figure it out finally.
Cooling Pads
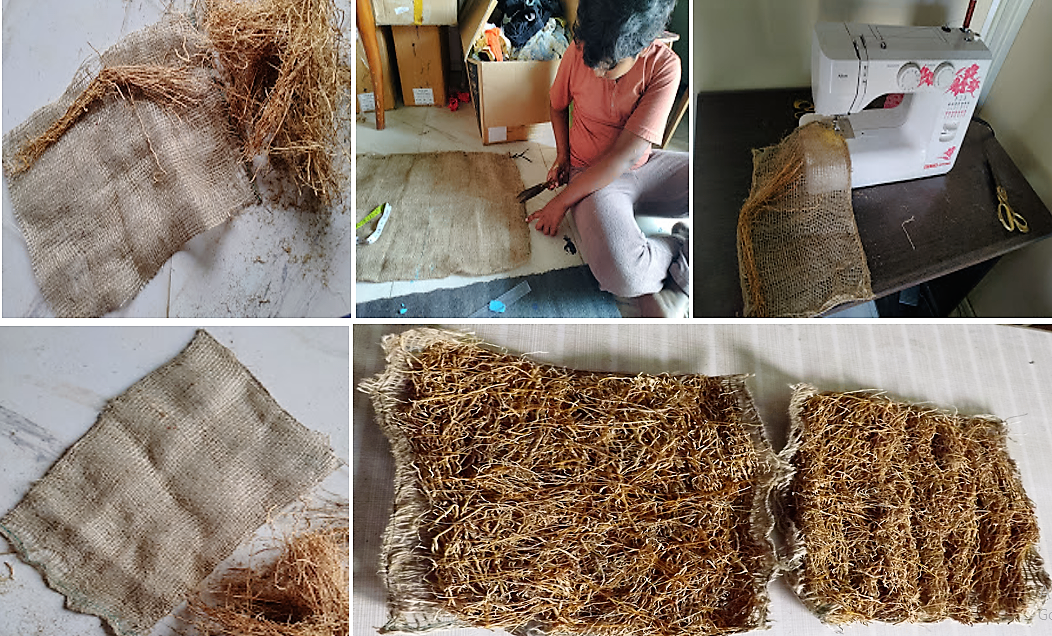
I wanted to make with a natural Eco friendly material. Hence I chose Khus Khus/Vettiver, which emanates a pleasant smell and retains a good amount of water. I bought these items from Pune, when I went for the regional evaluation to the DIY Lab to Supriya Kadam. I took a thin gunny bag as a base to sew the Khus Khus onto it. I cut the gunny bag and hemmed the borders on a sewing machine.
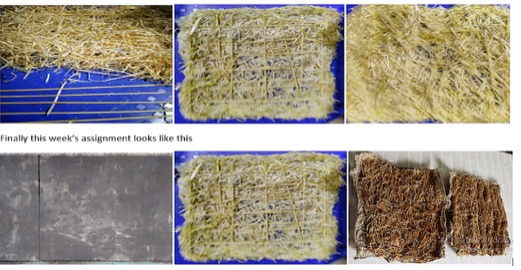
Now it looks like this after completion. These are for the side walls of the Smart Air Cooler for my final project.
For the back sheet, I chose Lily cool pads, sewed onto bamboo sticks as a frame, which looks like this.
After making these custom made cooling pads and frp water storage tank, I needed a break.
So I decided to design a Radha Krishna Digital Embroidery patch work for my Father’s Kurta.
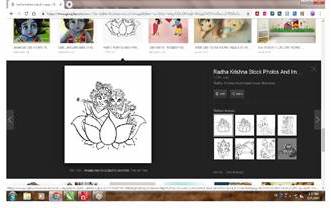
First I selected a picture of my choice

Cropped the picture in Paint.
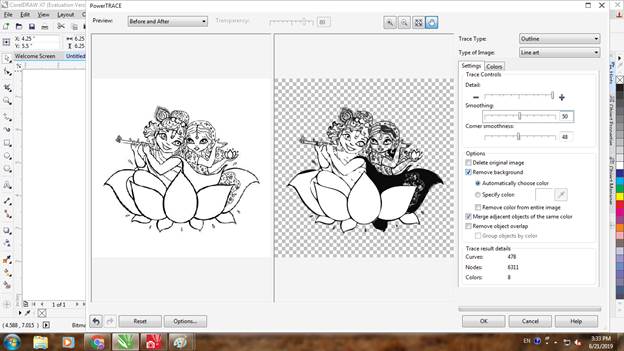
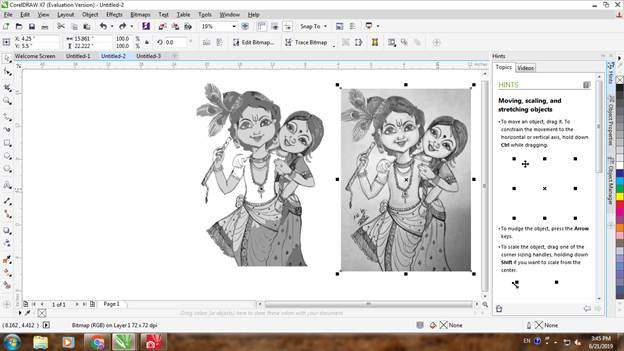
Copied the picture in Corel draw and Traced in Bitmap in Line Art
The output was not good enough for embroidery.
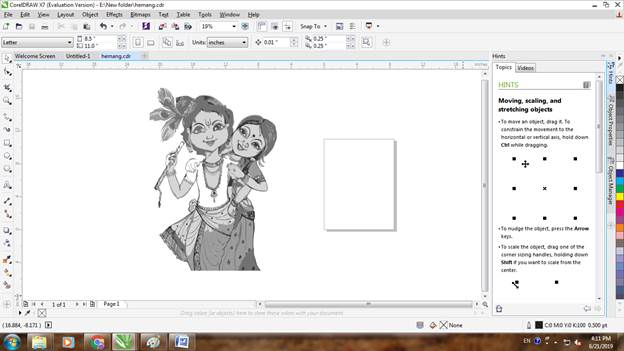
Then I selected this picture.
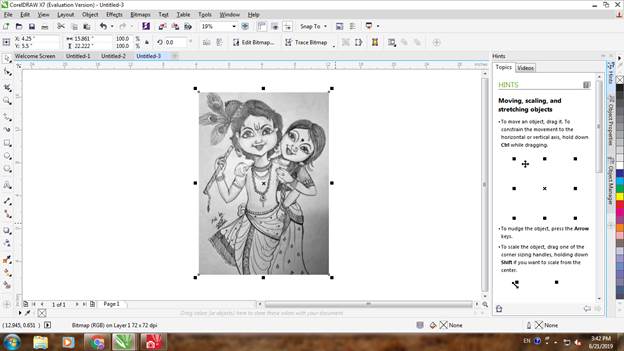
After selecting this picture, I pasted in Corel Draw.
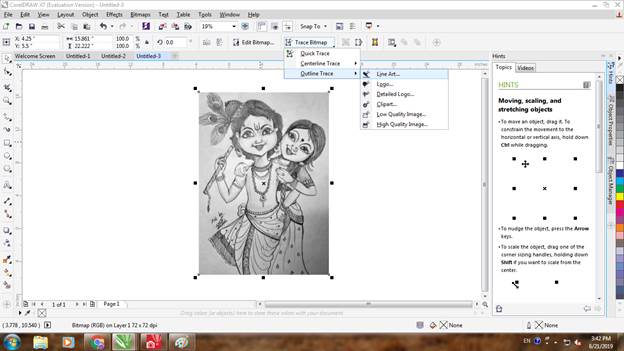
Then I went to Bitmap and Selected Line Art.
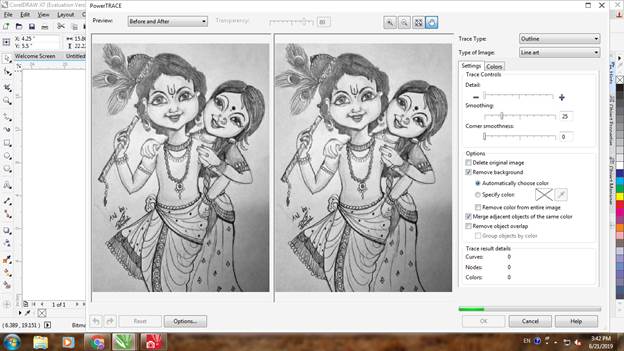
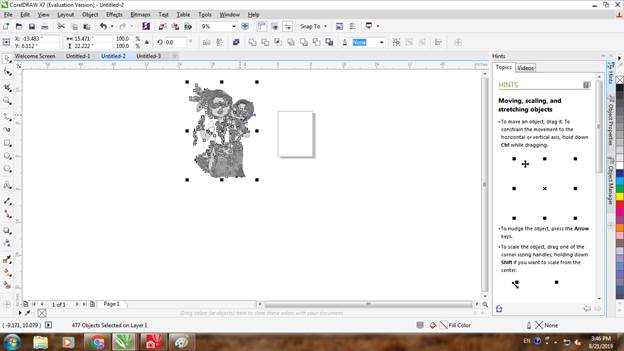
Processing the selected picture.

Selected this picture and I ungrouped.
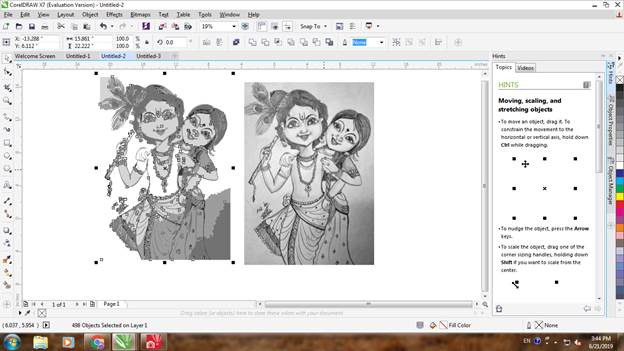
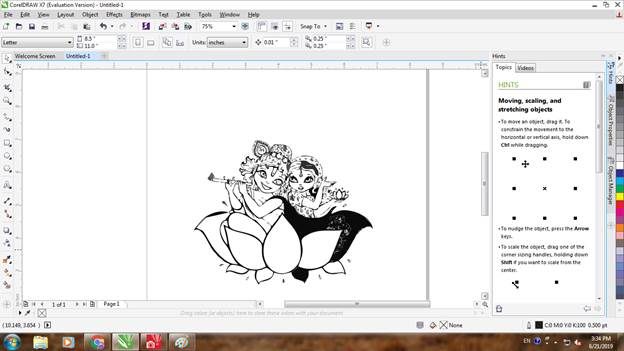
Then I deleted the unwanted parts from the picture.
Now the picture looks like this.
I have grouped the picture again.
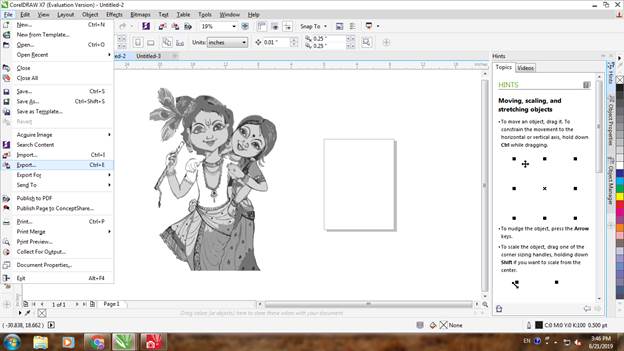
Now the picture is ready for Export.
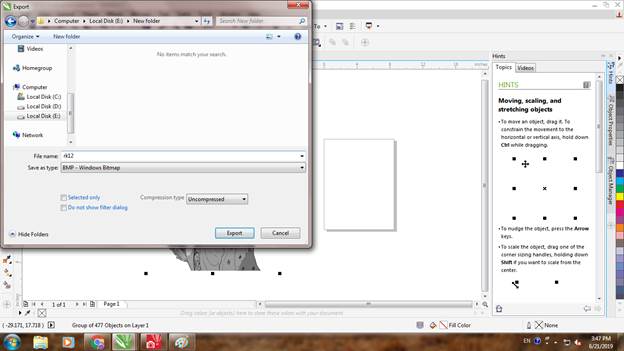
Saved as Bmp
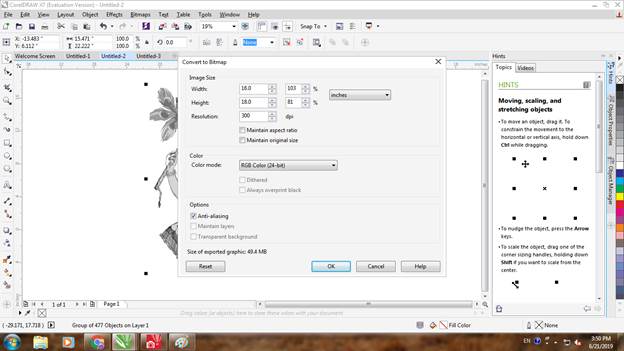
Now redo the specifications as per my requirement.
But this dint work, as the Digital Embroidery Machine size of patch work was suitable only for 14/14.
So I again resized the Coral Draw file accordingly.
And finally saved the final picture.

Here is my Radhakrishna Image as I wanted for digital embroidery.
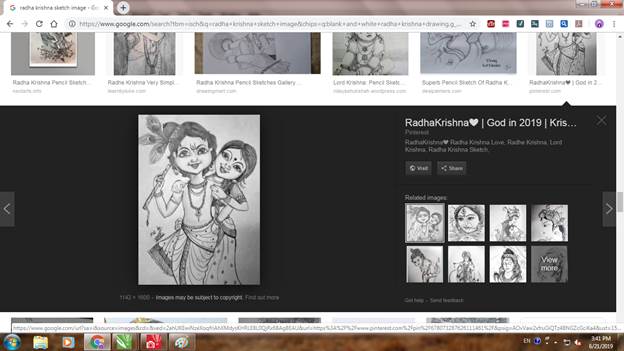
Again, this dint work, as it was not clear as there were too many details, which can’t be reproduced with the Machine available in our Farbi Lab.
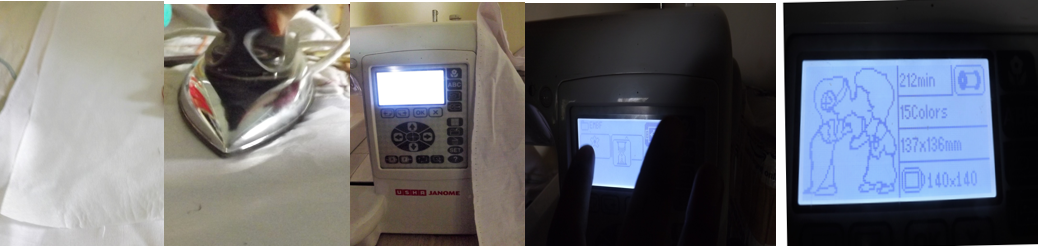
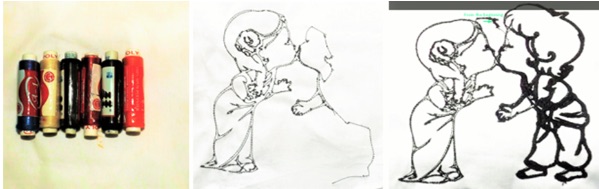
Now, back to square one. I selected a cute picture this time, only sketch in black and white from Google images. Then followed the same procedure and started to embroider my design. I added colors to it on the software.
First I took a white cotton cloth and placed bakram beneath it. Ironed it hard, so that it gets stuck to the cloth and fixed it on the frame. Then I set the setting on the Janome digital embroidery machine.
 Group Assignment –
 These is no Group Assignment this week. The task was to Design and produce something with a digital fabrication process (incorporating computer-aided design and manufacturing) not covered in another assignment, documenting the requirements that our assignment meets, and including everything necessary to reproduce it. The Possibilities include (but are not limited to composites, textiles, biotechnology, robotics, folding, and cooking.
Learning Outcome – I have learnt new methods of using epoxy, resin as composites.
Reference – Fab Academy Tutorials and Wikipedia