Interface and application programming
Assignment - Interface and application programming
- I -- individual assignment:
- write an application that interfaces a user with an input and/or output device that you made
- II -- group assignment:
- compare as many tool options as possible
- Individual assigment
-
-
- Group assigment
-
Blynk app

 I wanted to use an app that I could use to make a simple interface for my final project.
The application will display the data sent to it by the sensors from the lamp.
If any of the values exceeds the minimum and maximum values, an alarm will sound.
I did this using the Blynk app. I first installed Blynk on my cell phone
from iOS or Google playAfter logging into the app either via a new account .
I wanted to use an app that I could use to make a simple interface for my final project.
The application will display the data sent to it by the sensors from the lamp.
If any of the values exceeds the minimum and maximum values, an alarm will sound.
I did this using the Blynk app. I first installed Blynk on my cell phone
from iOS or Google playAfter logging into the app either via a new account .
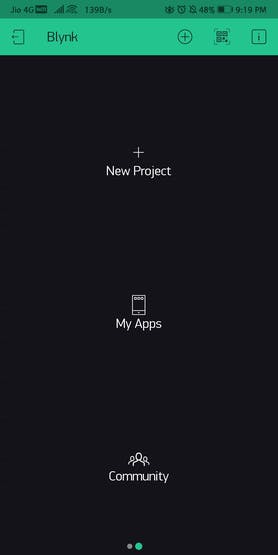
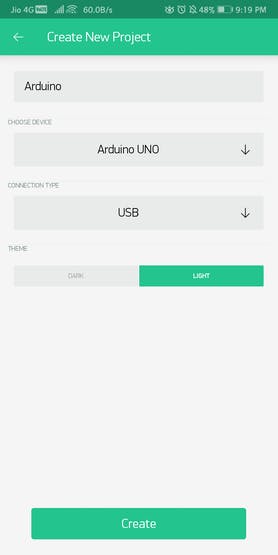 When we open the application on the mobile phone, it is necessary to create a new project.
In the project settings, we choose which microcontroller we connect and in which way.
Currently my settings are Arduino and USB.
When we open the application on the mobile phone, it is necessary to create a new project.
In the project settings, we choose which microcontroller we connect and in which way.
Currently my settings are Arduino and USB.
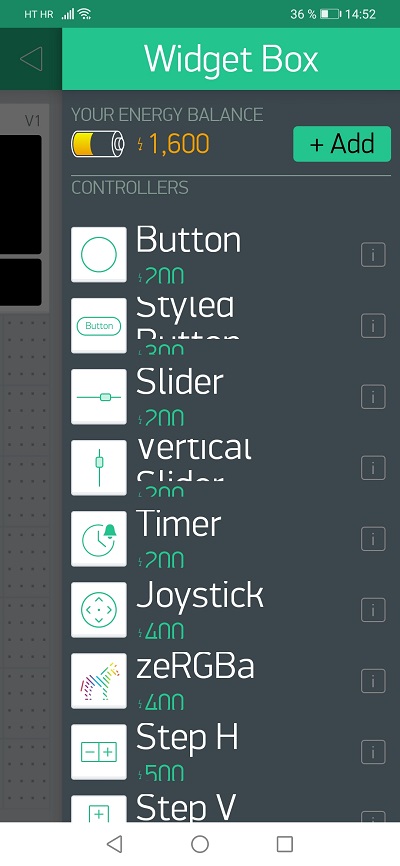
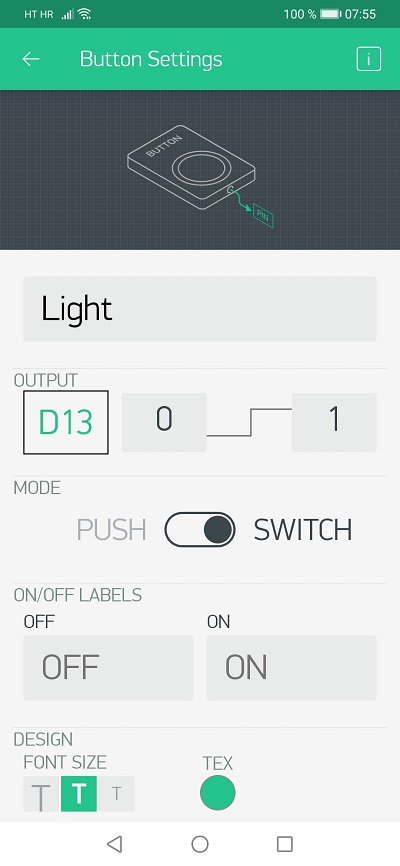
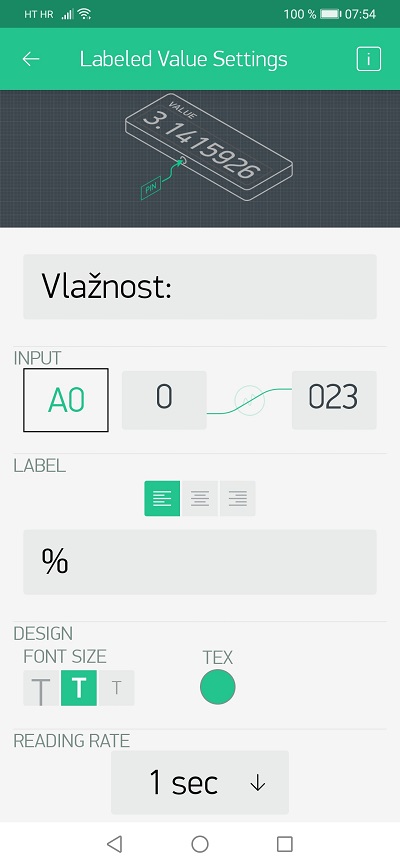
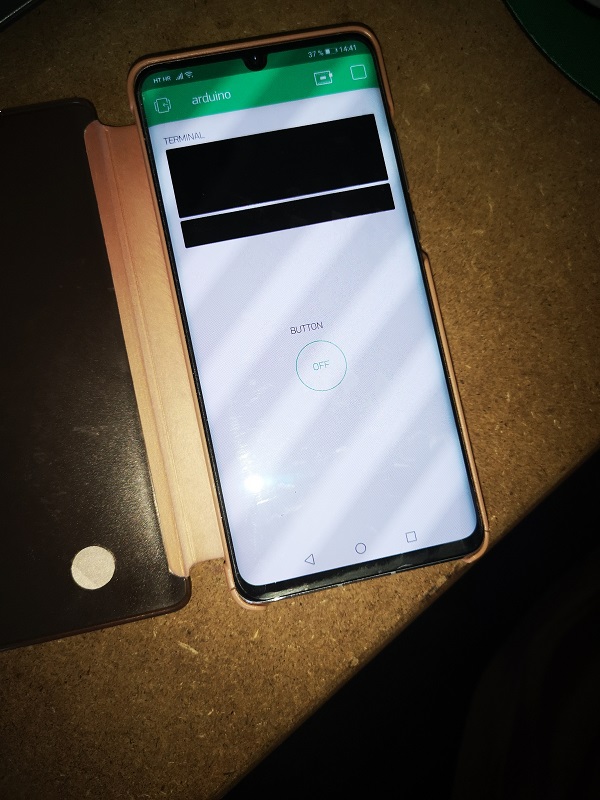
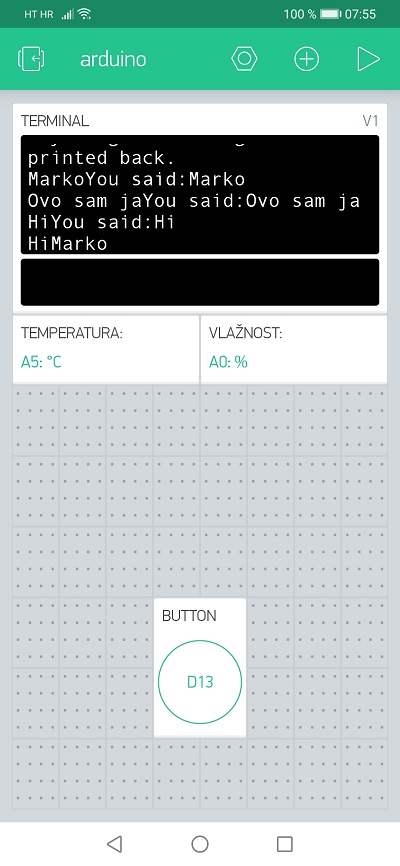 Then we select the components we want to display on the screen that are in the library.
As a test, I chose a terminal where I can write messages, then a button to turn the control
light on and off, and then I added fields to print the values.
I set the properties of each component.
The label we want to be displayed on the screen, unit of measure, centering, bolding, etc.
Then we select the components we want to display on the screen that are in the library.
As a test, I chose a terminal where I can write messages, then a button to turn the control
light on and off, and then I added fields to print the values.
I set the properties of each component.
The label we want to be displayed on the screen, unit of measure, centering, bolding, etc.


 Now it was time to insert the code into the Arduino. I had to install the library located at the following link
Blynk Library
At Blynk examples
there is a blink example with a button and a terminal as well as a DHT11 sensor.
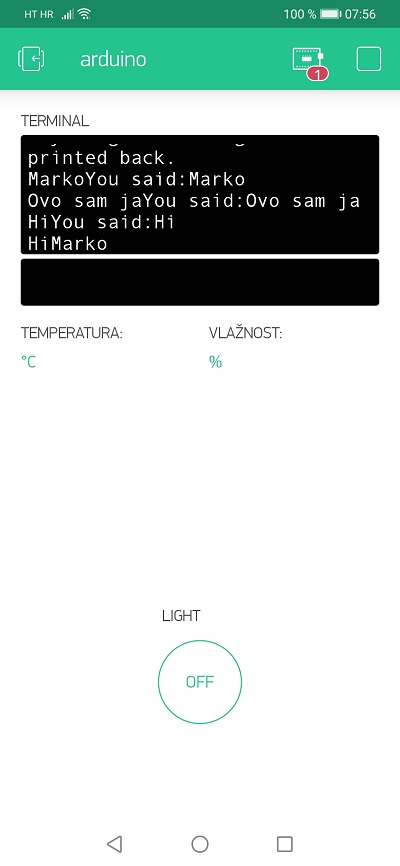
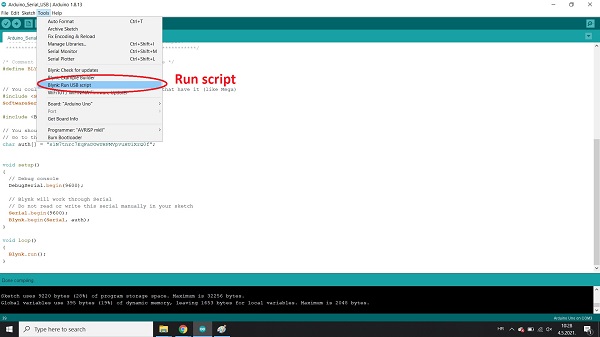
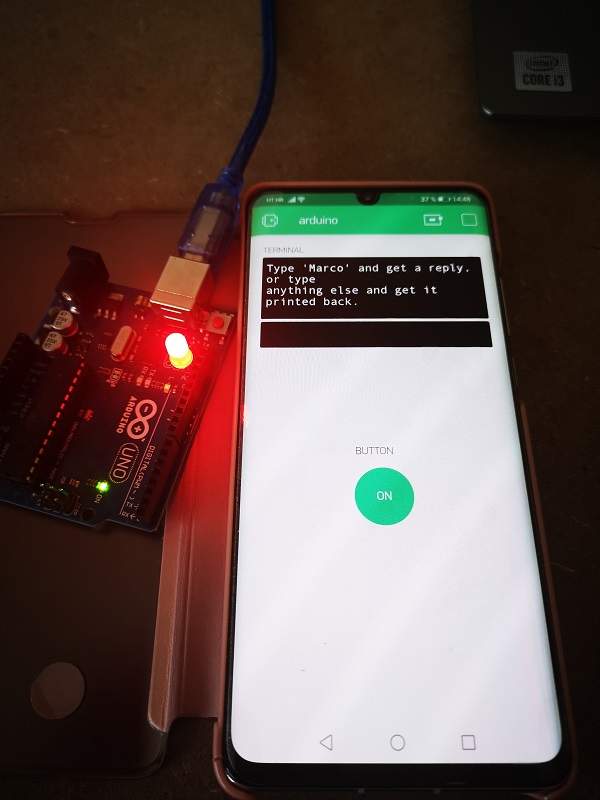
First of course I connected only the LED and then added component by component.
Below is a video in which the LED lights up. You can run the script - Blynk RUN USB script - from menu bar - TOOLS.
Now it was time to insert the code into the Arduino. I had to install the library located at the following link
Blynk Library
At Blynk examples
there is a blink example with a button and a terminal as well as a DHT11 sensor.
First of course I connected only the LED and then added component by component.
Below is a video in which the LED lights up. You can run the script - Blynk RUN USB script - from menu bar - TOOLS.
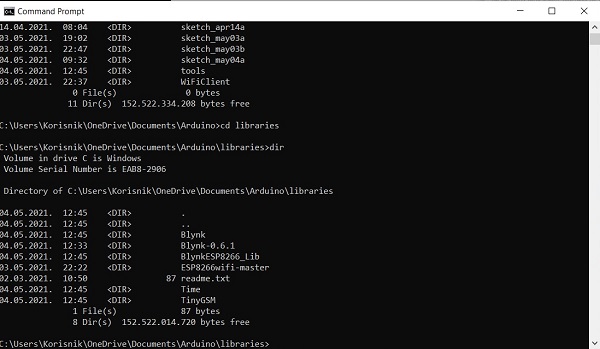
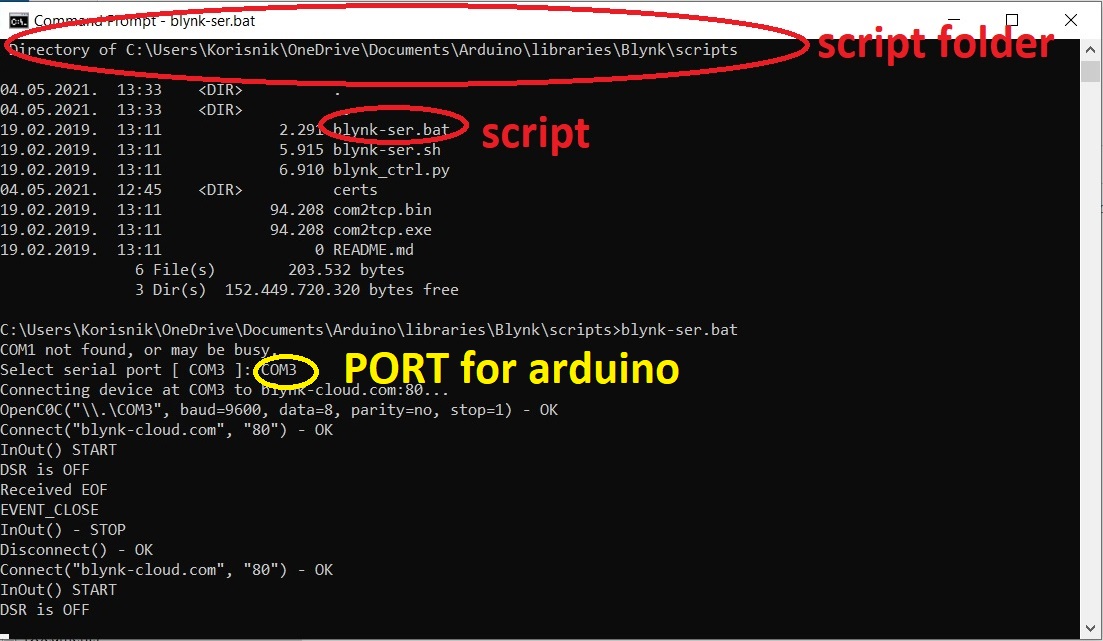 I open cmd.exe - need to "Run as Administrator" and then navigate to scripts folder:
- cd C:\...\libraries\Blynk\scripts
I run blynk-ser.bat file. I have to confirm COM port for arduino - COM3
I open cmd.exe - need to "Run as Administrator" and then navigate to scripts folder:
- cd C:\...\libraries\Blynk\scripts
I run blynk-ser.bat file. I have to confirm COM port for arduino - COM3
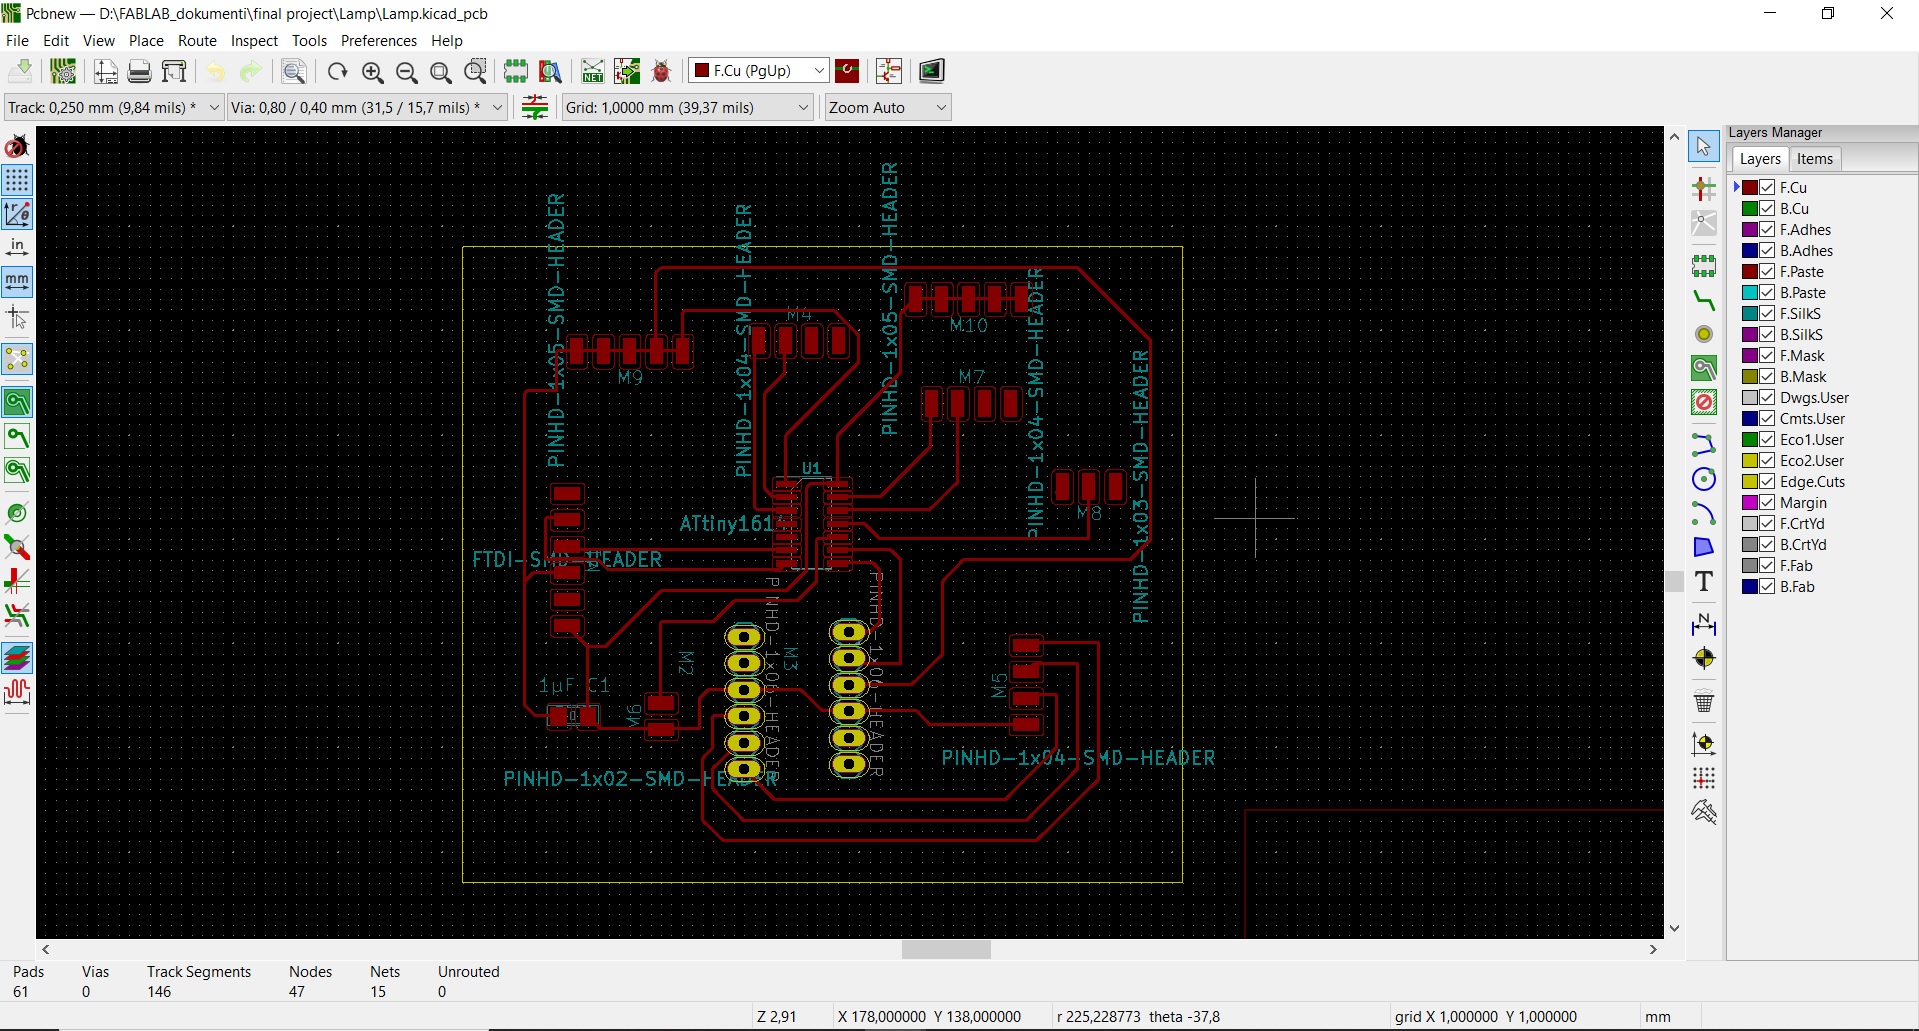
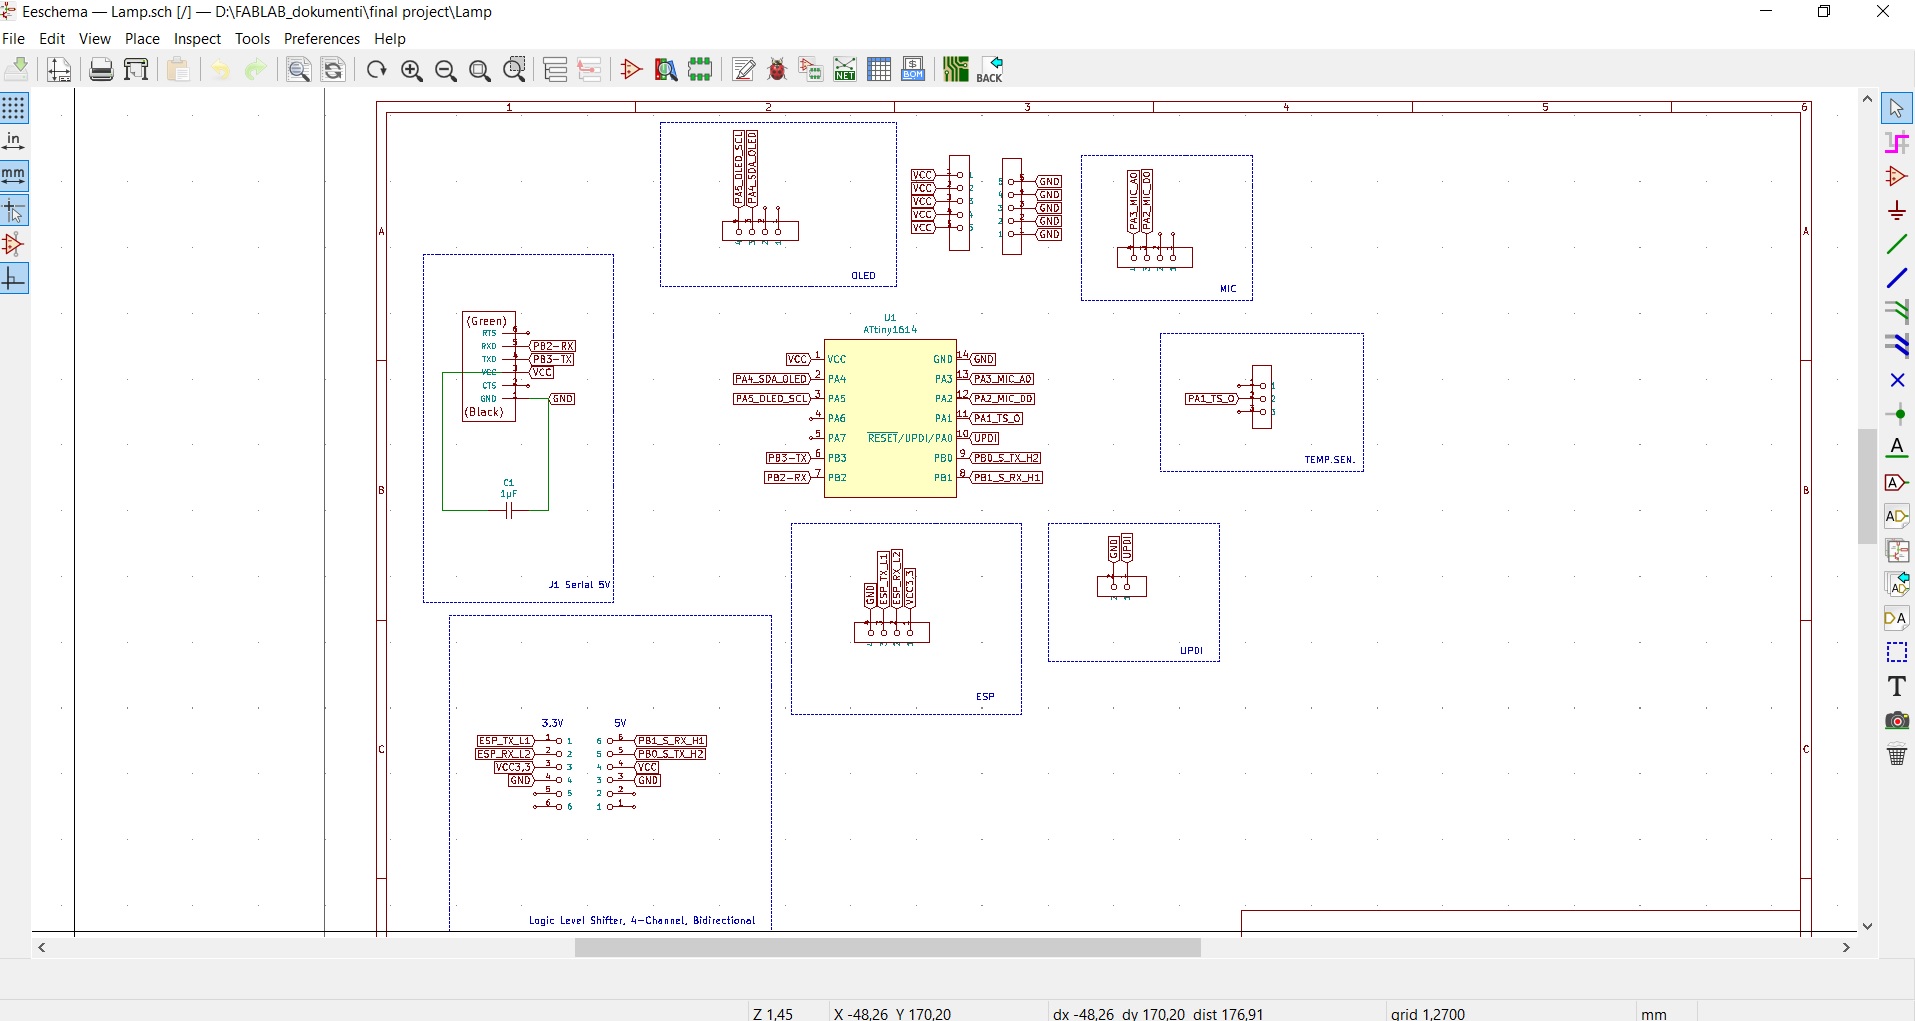 Then I used the PCB I made. I connected ESP8266 and temperature sensor DHT11 to ATtiny1614.
Since I didn't get the board part that I can enable 3.3 V for ESP8266-01,
I had to connect it to an external 3.3V power supply
Then I used the PCB I made. I connected ESP8266 and temperature sensor DHT11 to ATtiny1614.
Since I didn't get the board part that I can enable 3.3 V for ESP8266-01,
I had to connect it to an external 3.3V power supply
MIT APP Inventor
 For this I used App Inventor. It seems like a cool thing to make android apps and does
not require an installation. MIT App Inventor is an intuitive, visual programming environment
that allows everyone – even children – to build fully functional apps for smartphones and tablets.
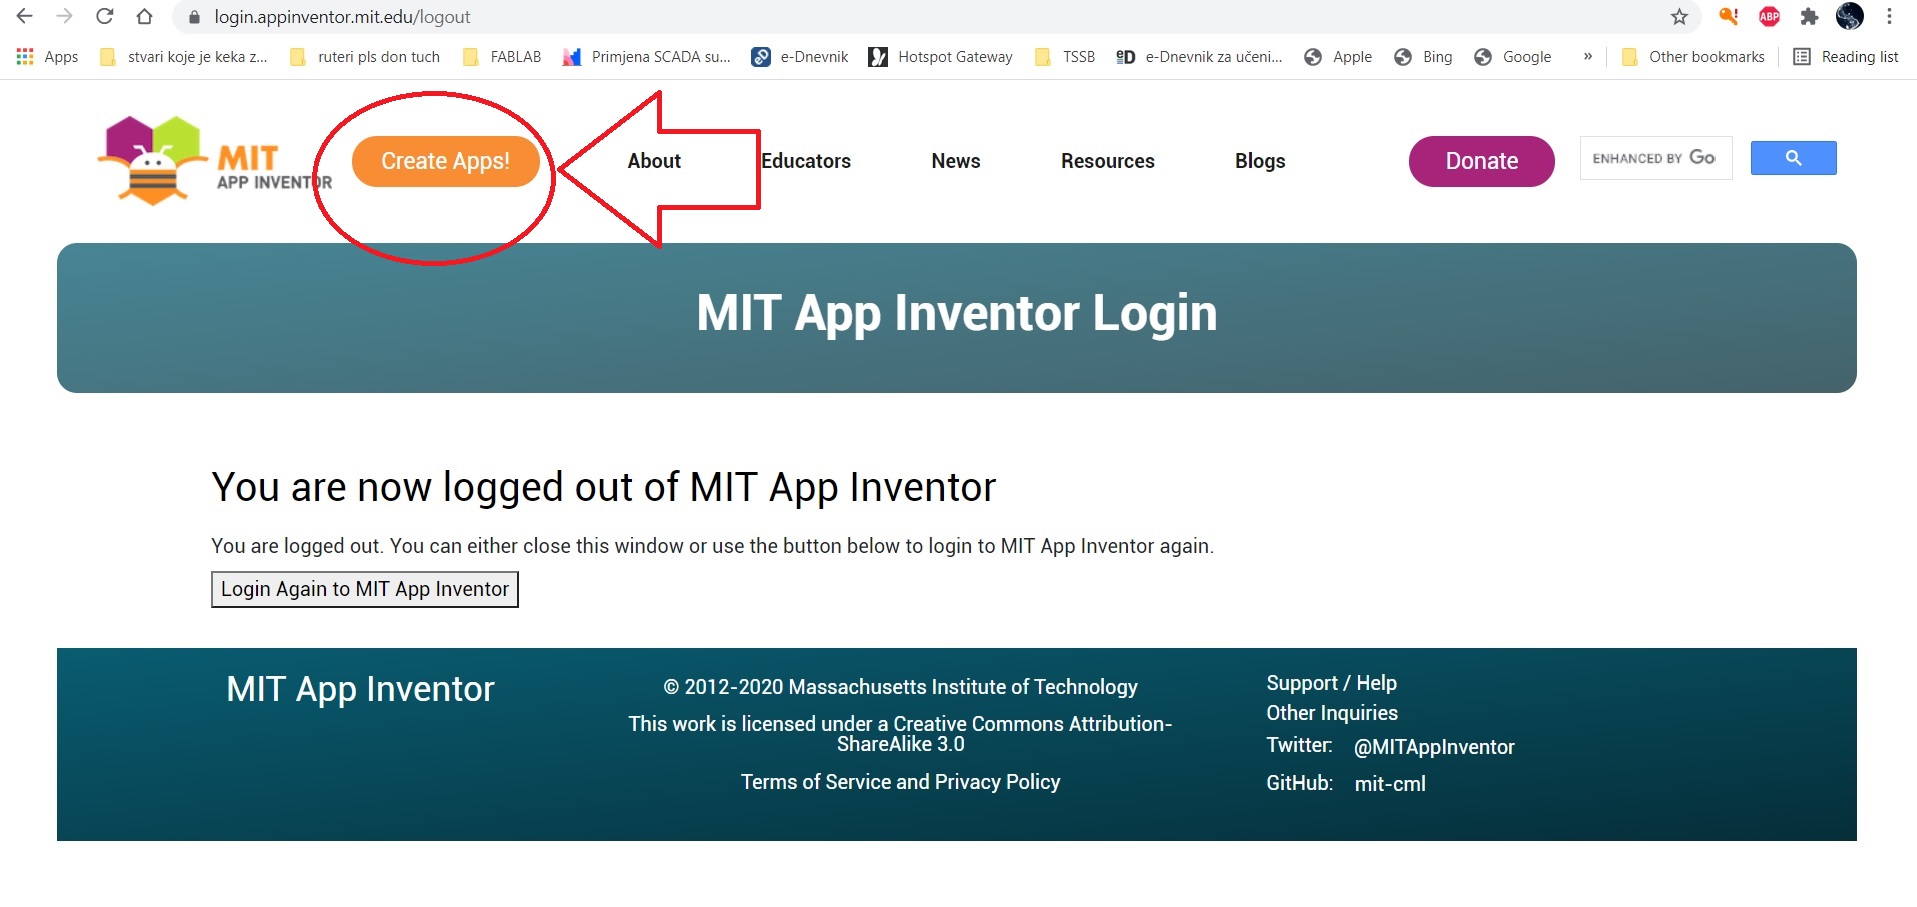
I go to App Inventor site and clicked create apps.
I sign in with my google account. I started making a simple talking app.
For this I used App Inventor. It seems like a cool thing to make android apps and does
not require an installation. MIT App Inventor is an intuitive, visual programming environment
that allows everyone – even children – to build fully functional apps for smartphones and tablets.
I go to App Inventor site and clicked create apps.
I sign in with my google account. I started making a simple talking app.
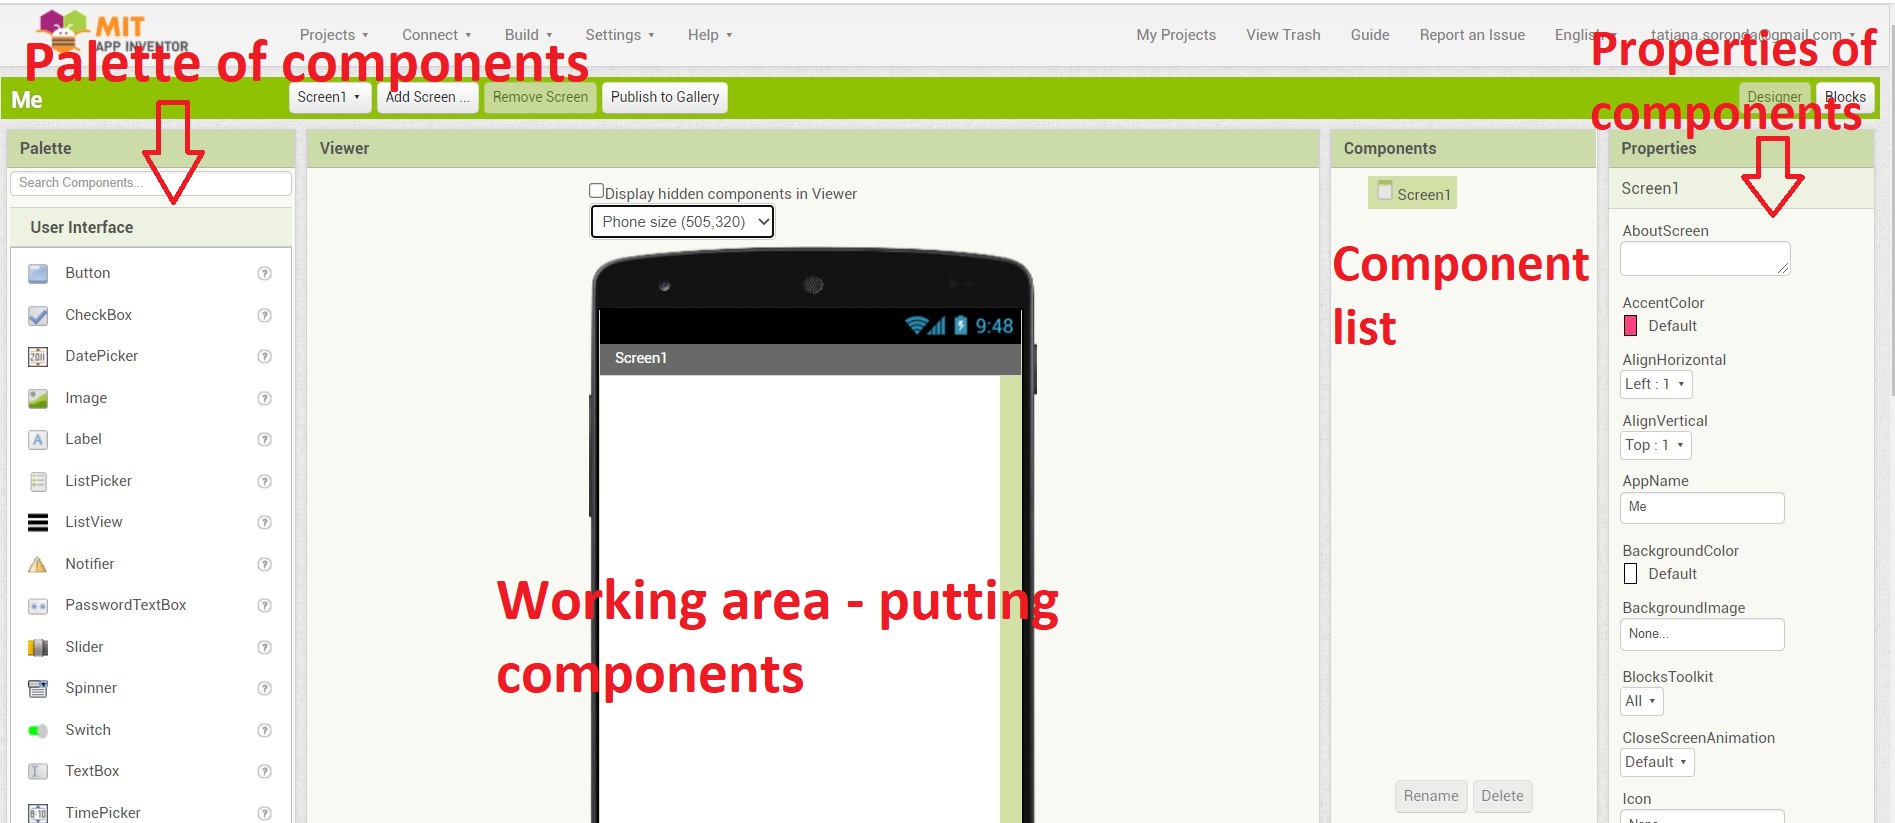 The screen is divided into areas, components, a work area where components are inserted,
a list of components, and component settings.
The screen is divided into areas, components, a work area where components are inserted,
a list of components, and component settings.
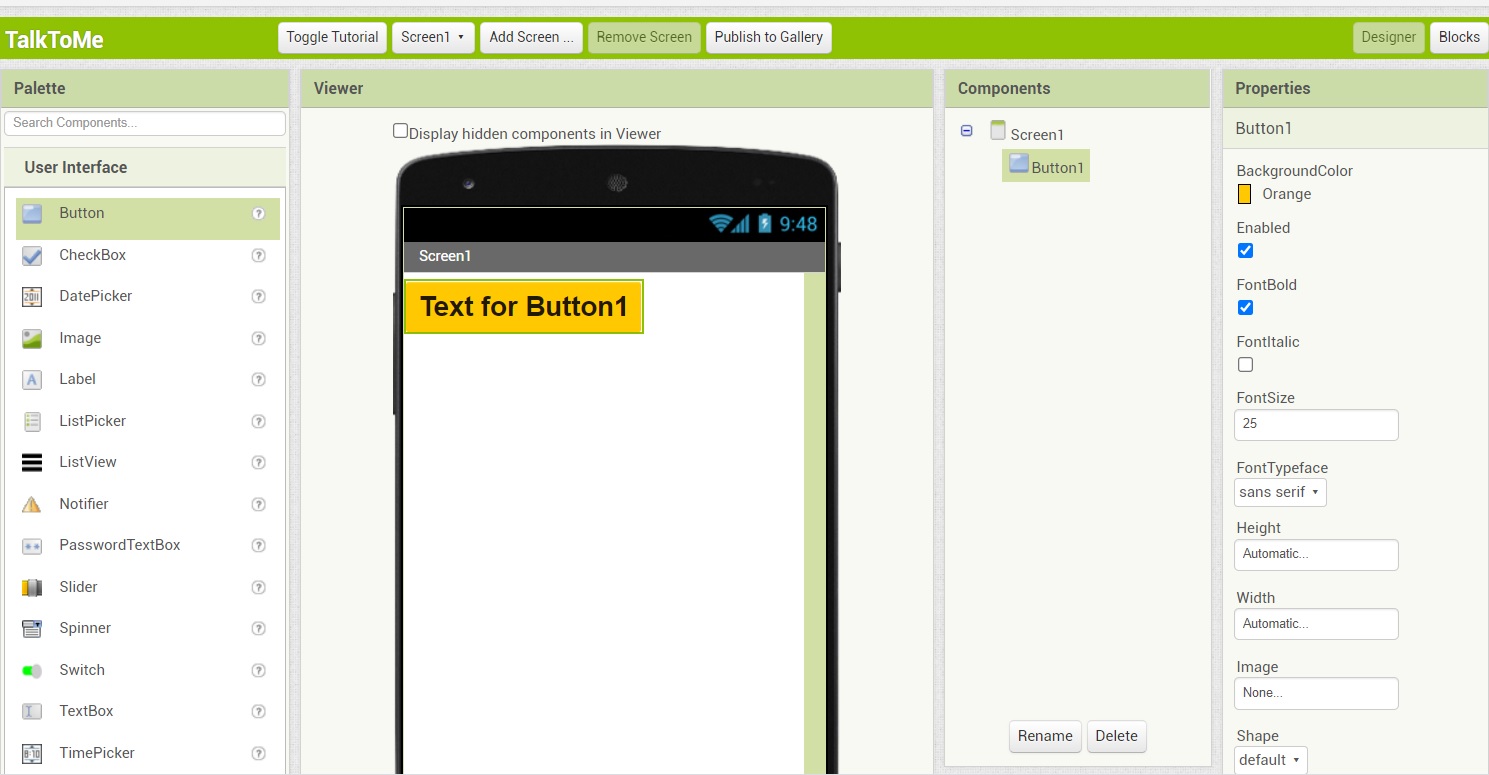 I set the Button first
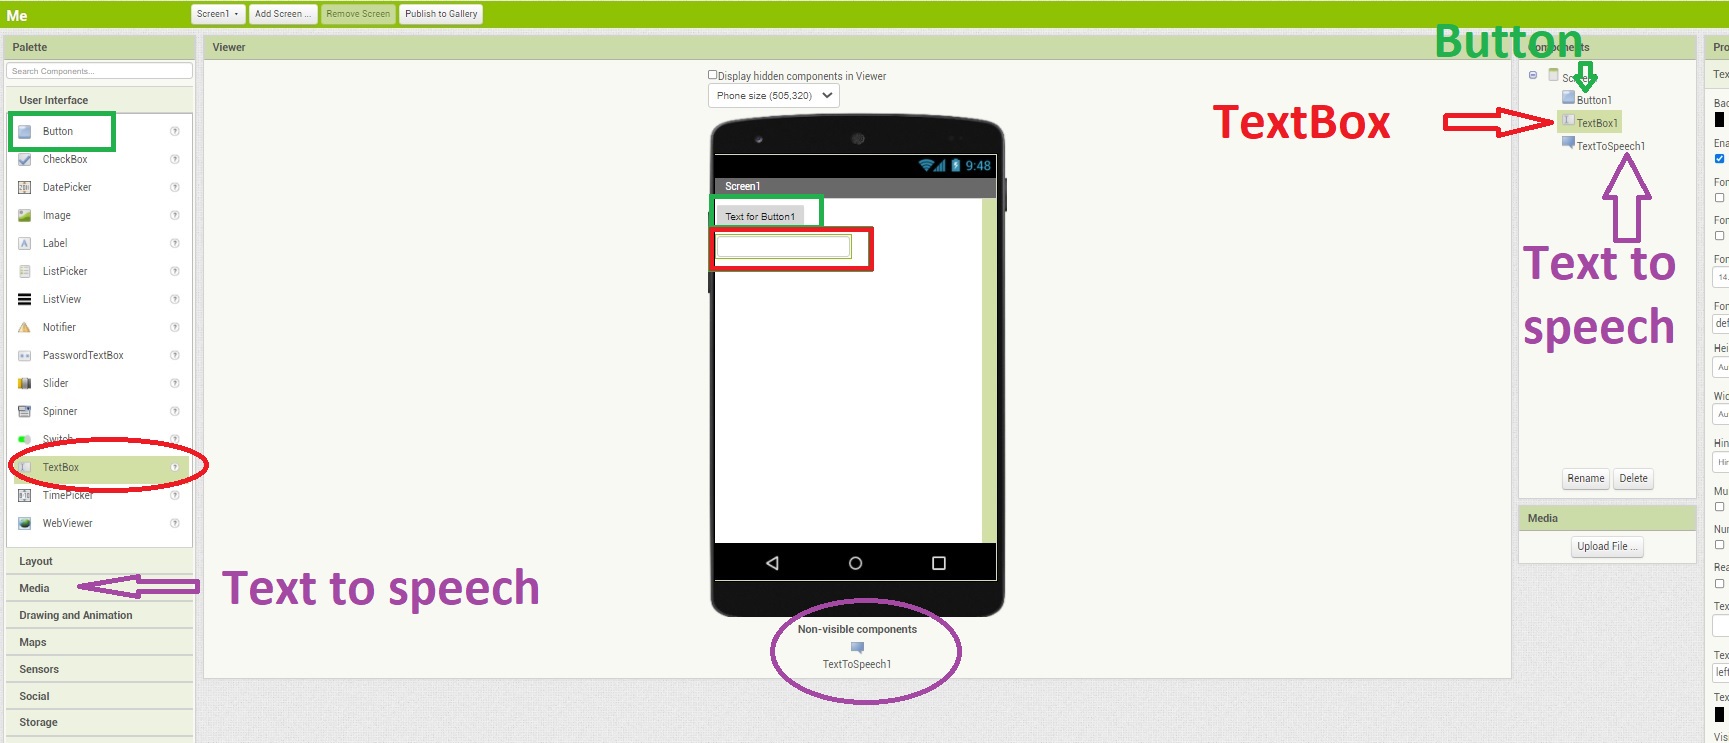 Then I added a text box and a speech recognition box that is
not visible but is below the display of the mobile device - it is not visible in the application.
Then I added a text box and a speech recognition box that is
not visible but is below the display of the mobile device - it is not visible in the application.
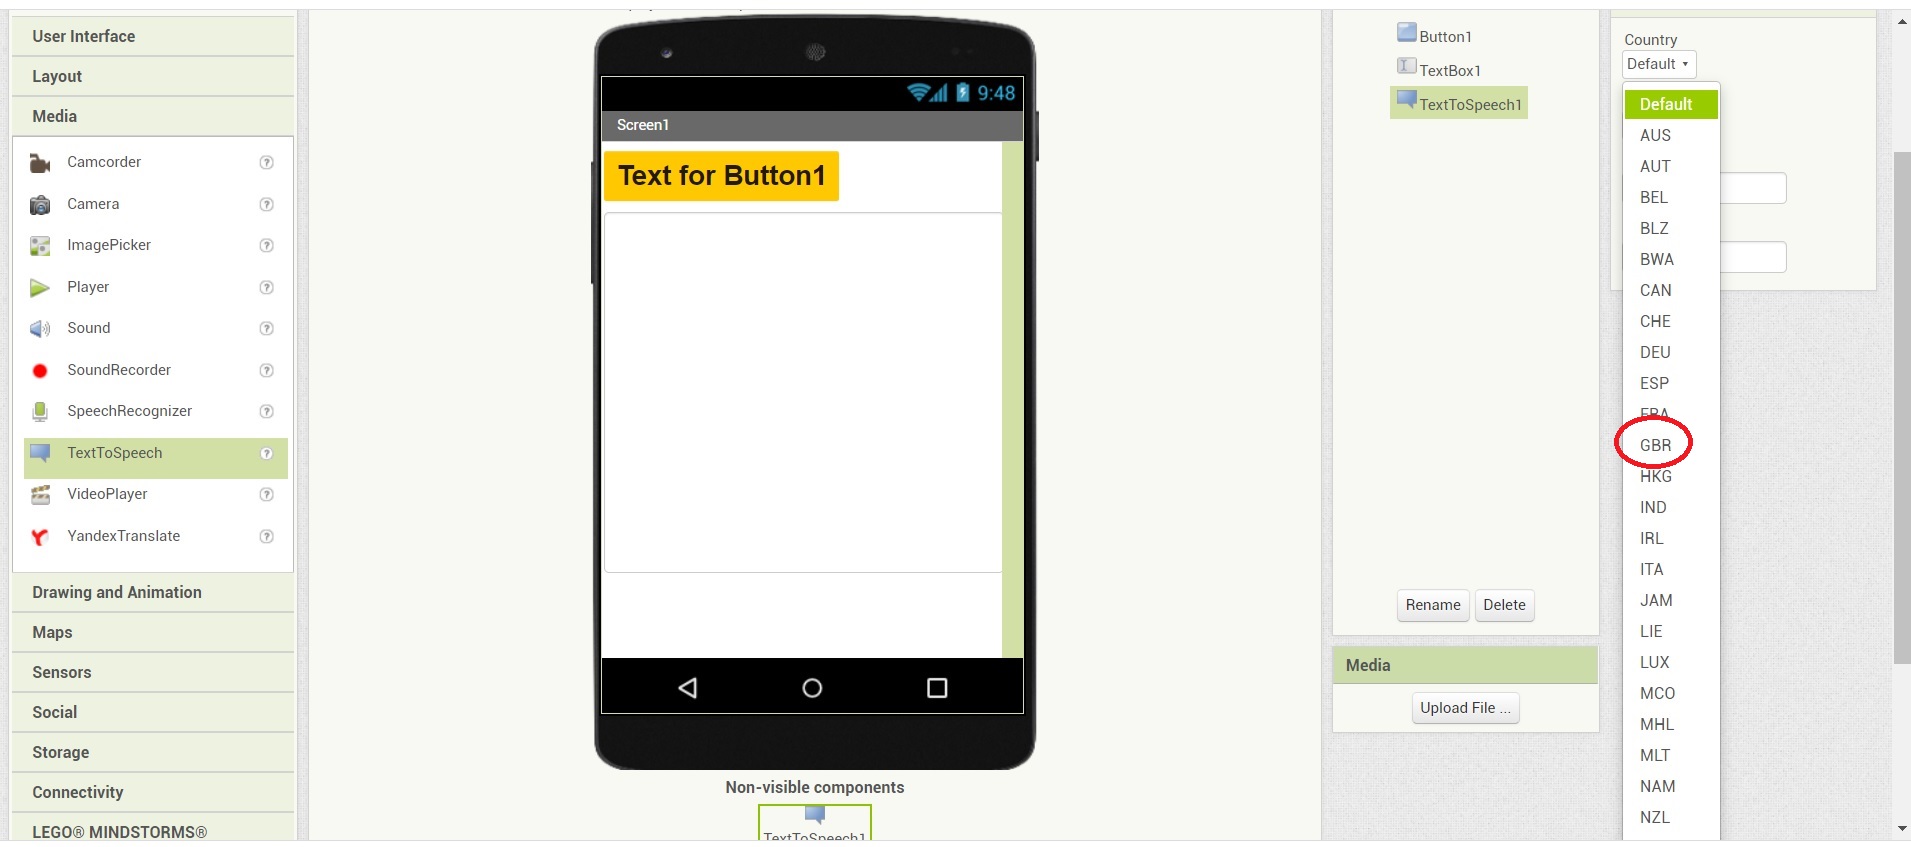 I set the language to English
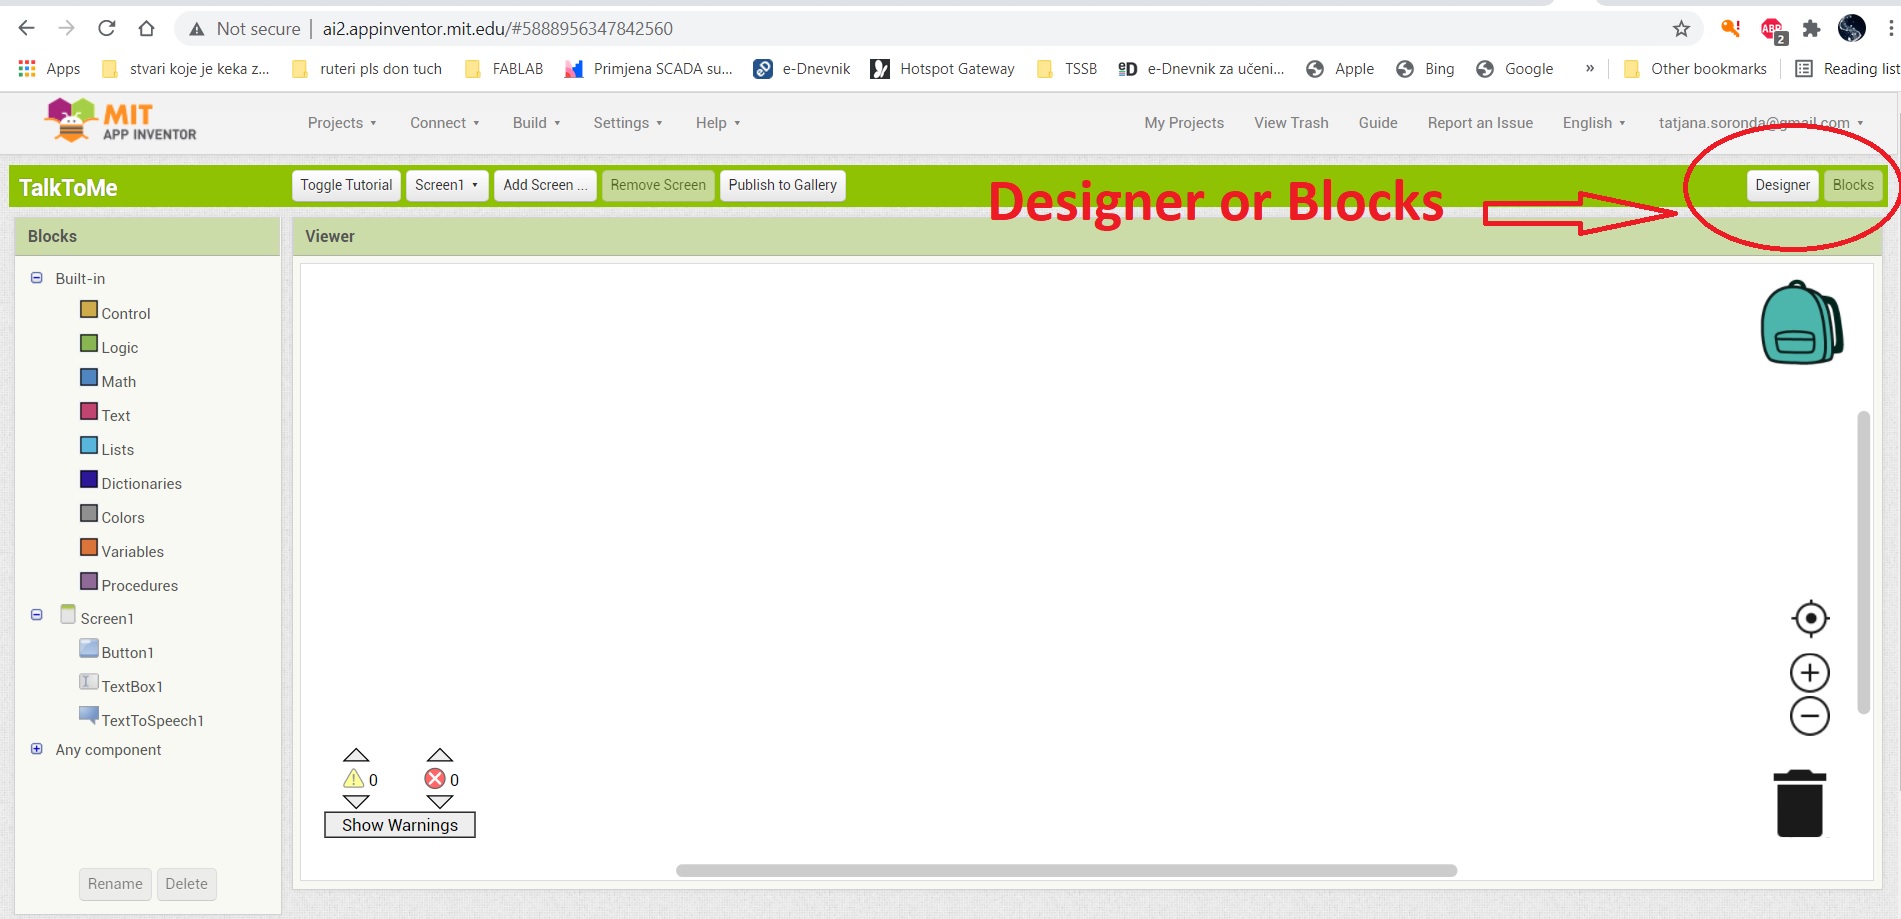 I also switched from Designer mode to Block mode so I could choose what each block command should do.
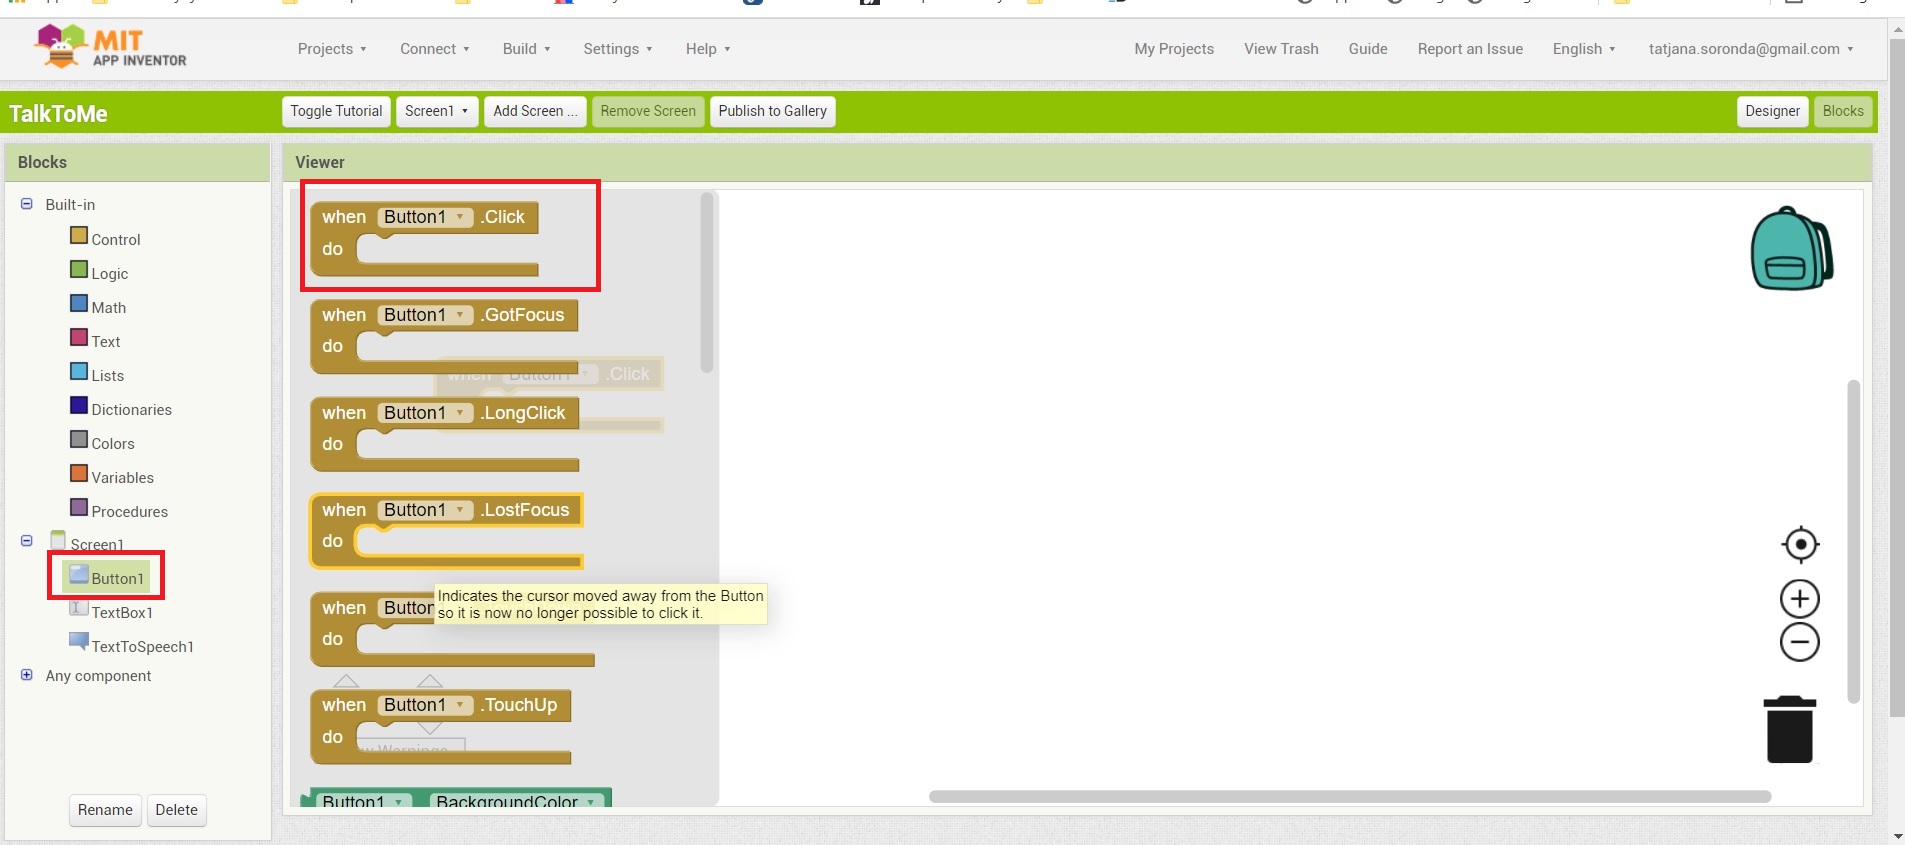 Clicking on the component on the left opens an additional window with a list of options. For Button1 I chose - WHEN BUTTON1 IS CLICK DO.
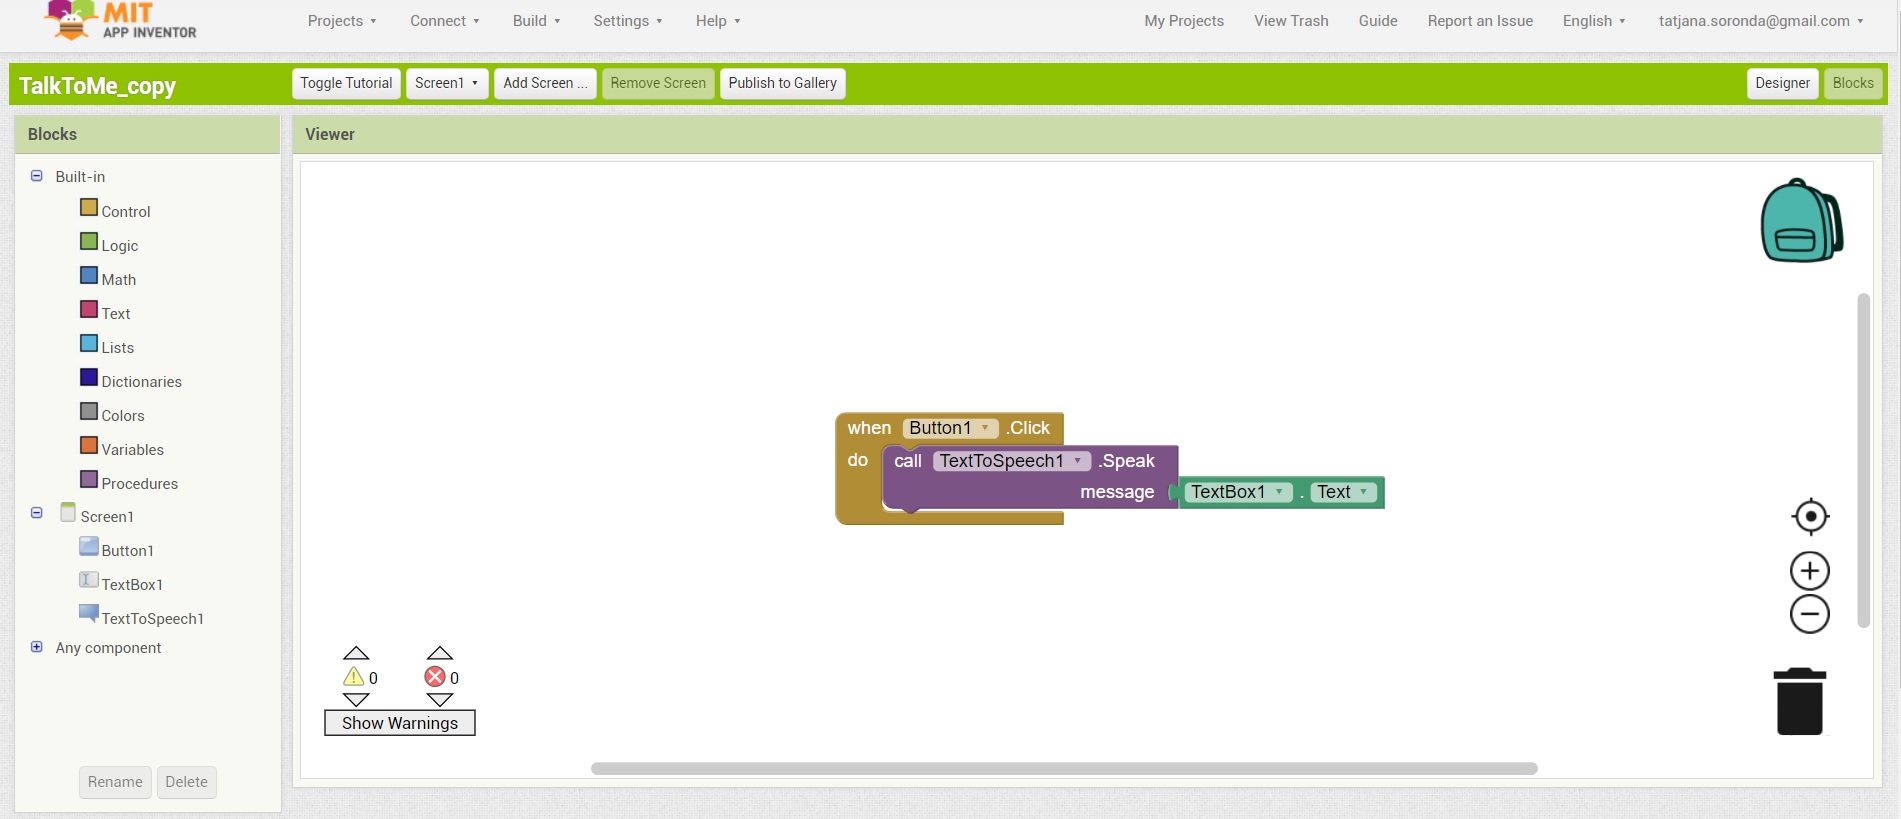 I repeated this for all the components and got the following look
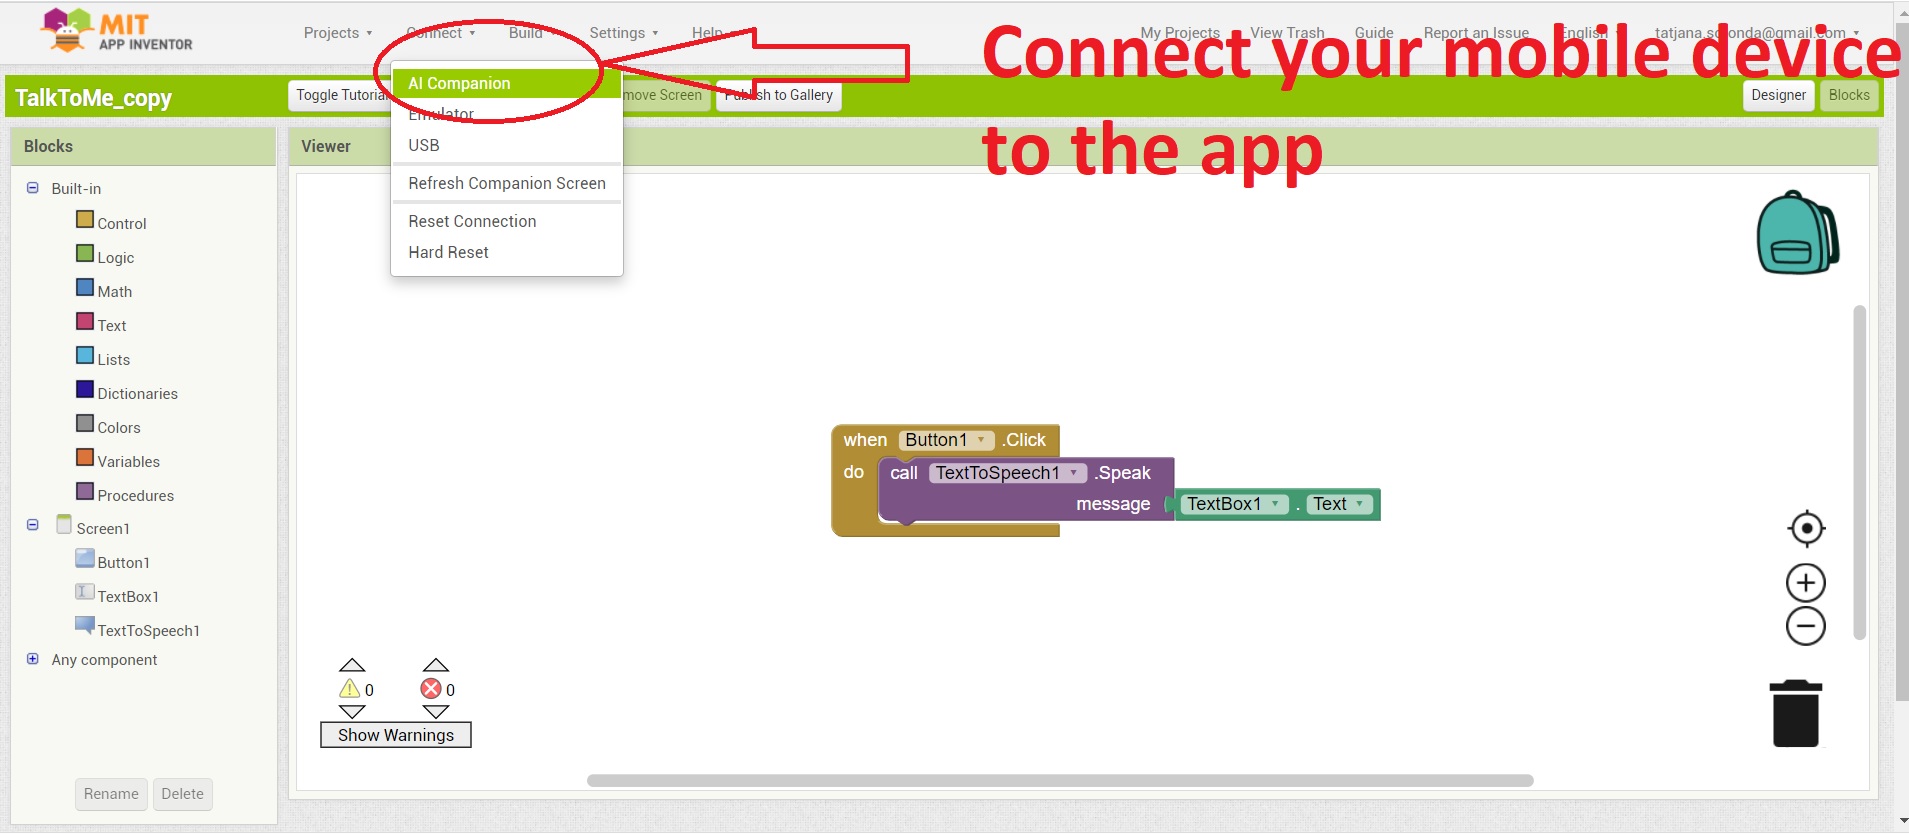 Connect your mobile device to the app.
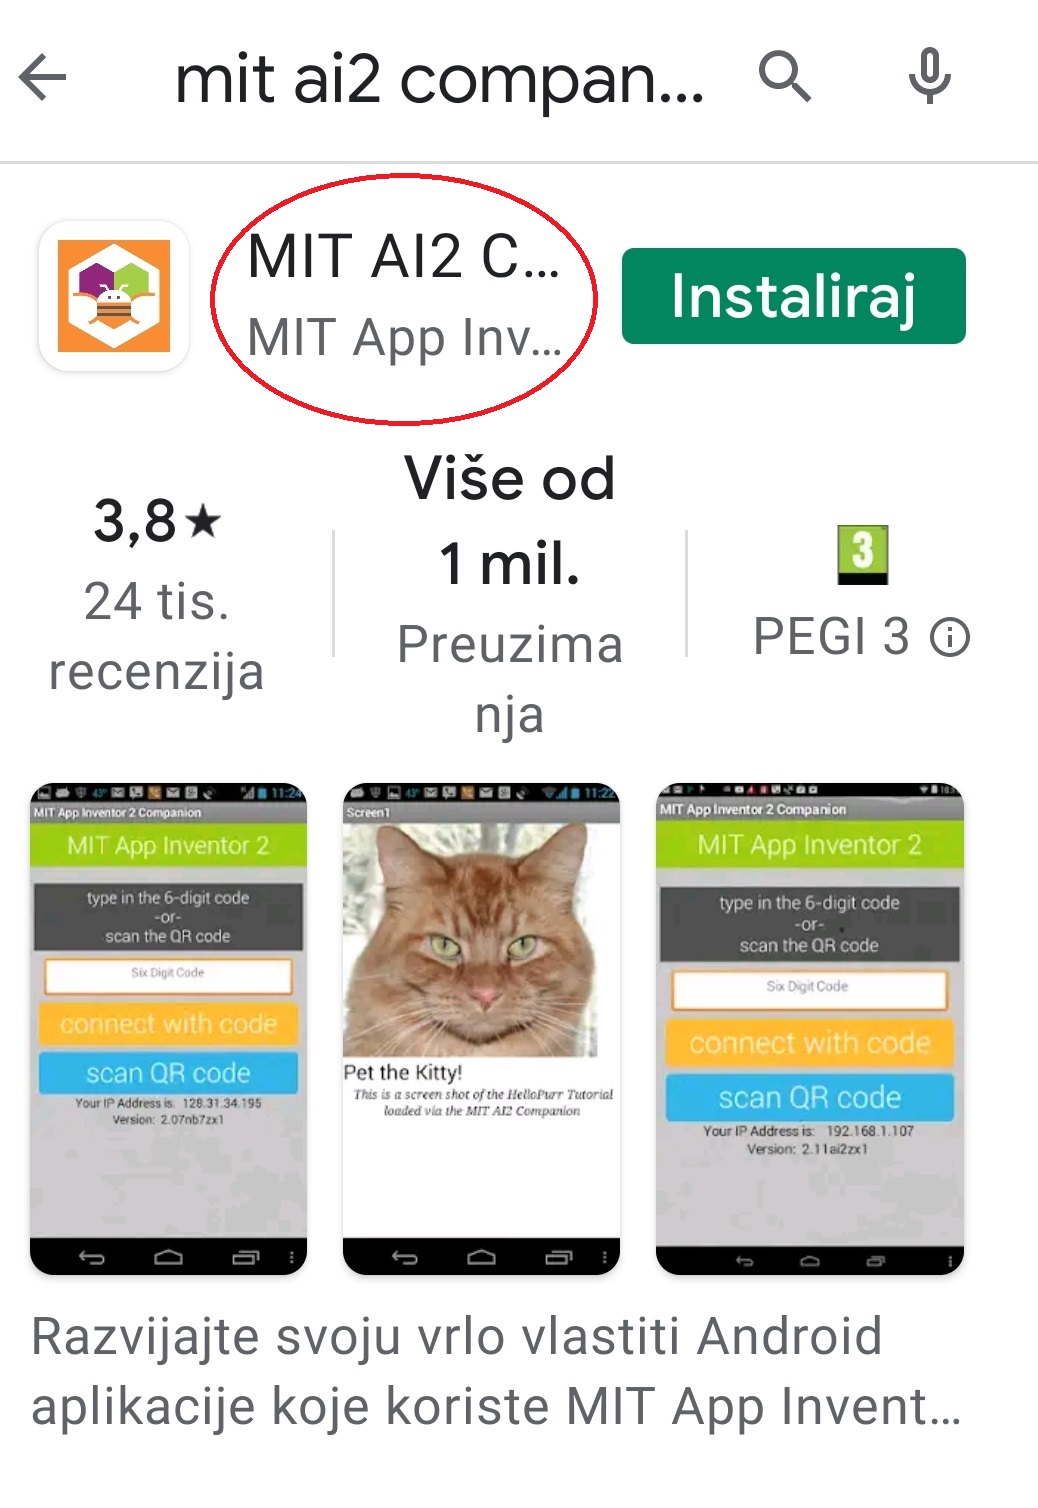
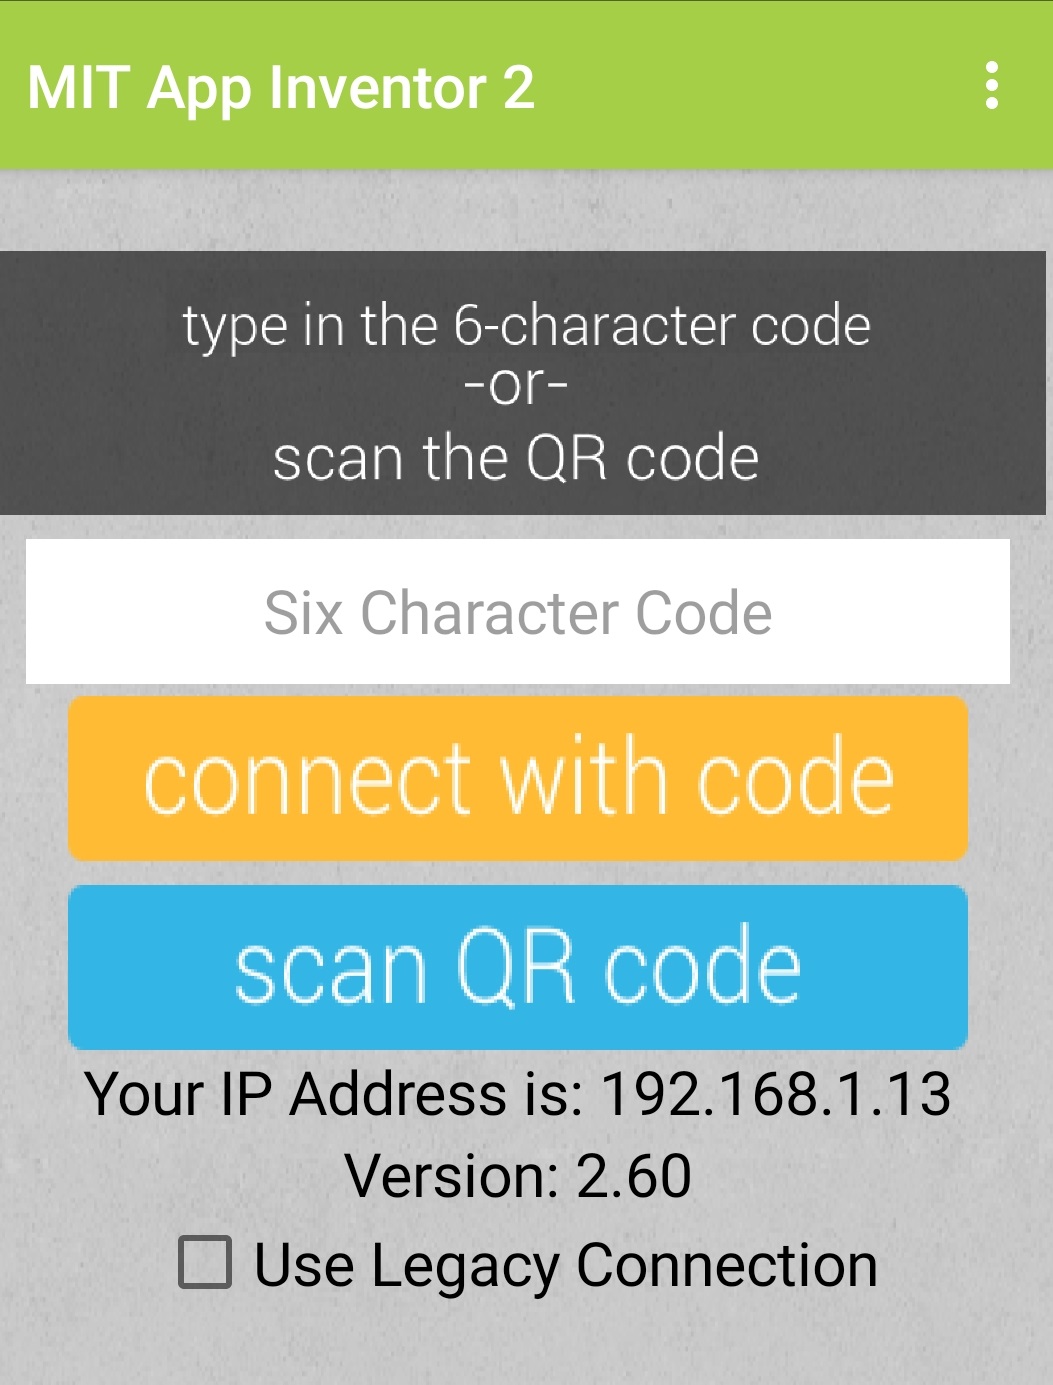 On the mobile device, it is necessary to download an
application that will use a QR code to connect to the application created on the web.
On the mobile device, it is necessary to download an
application that will use a QR code to connect to the application created on the web.
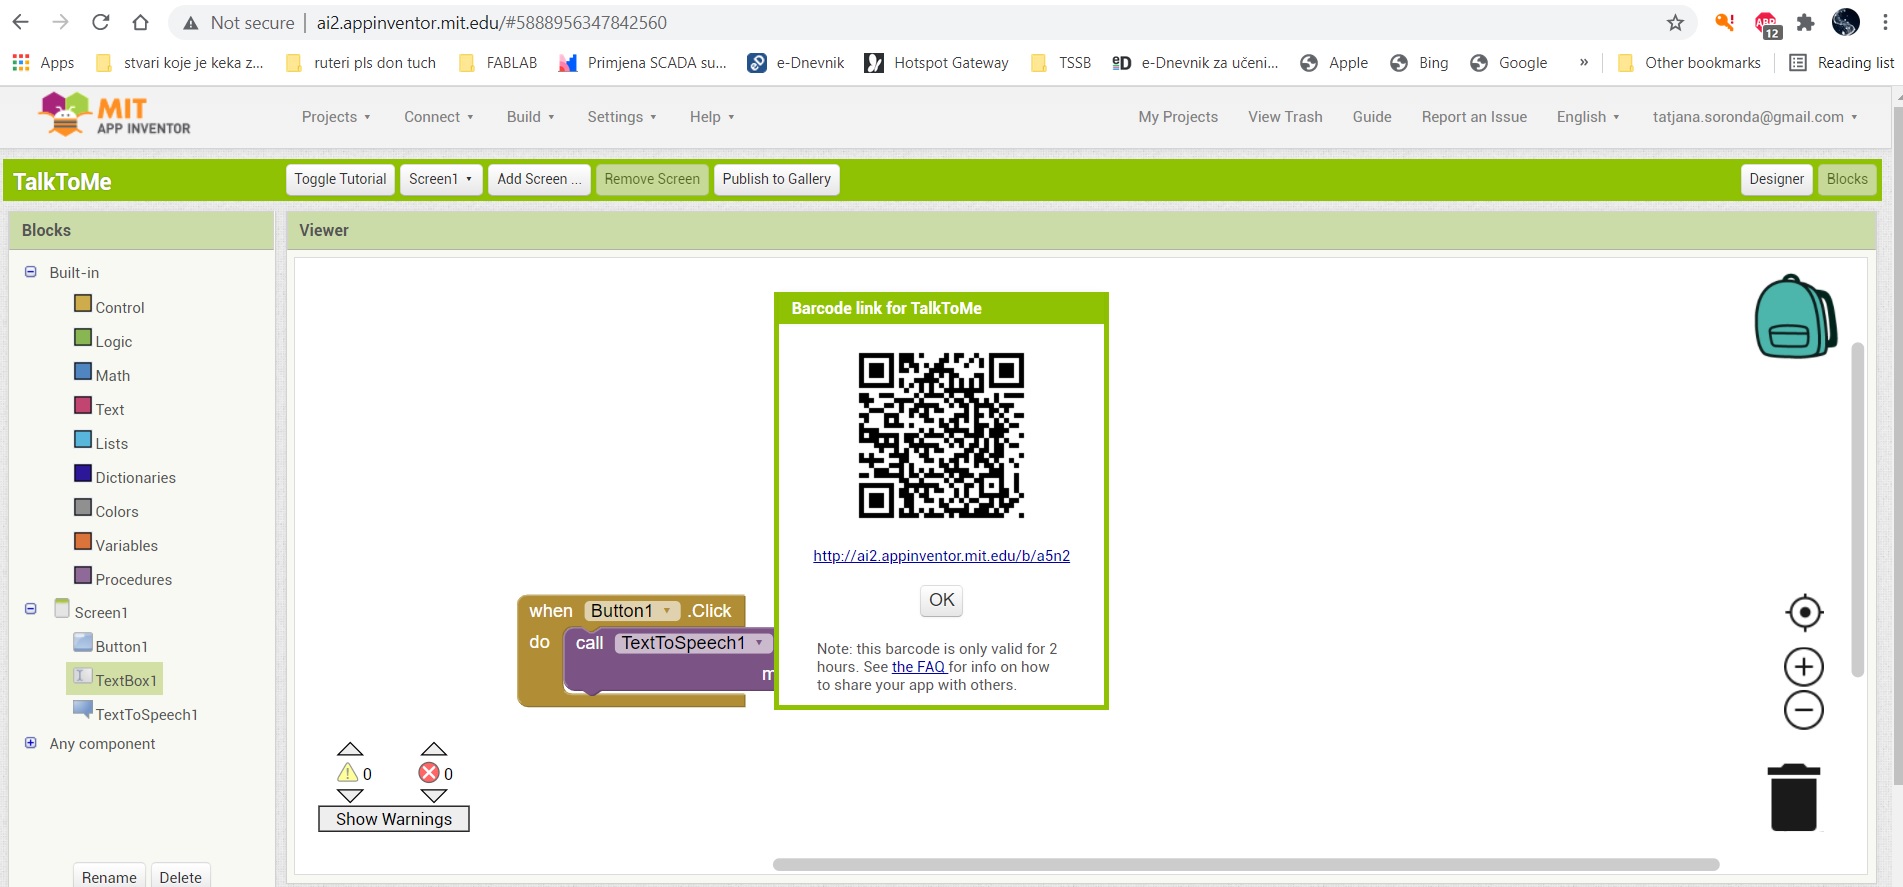 QR code to connect to the mobile.
