Week 15: Wildcard Week
May 10
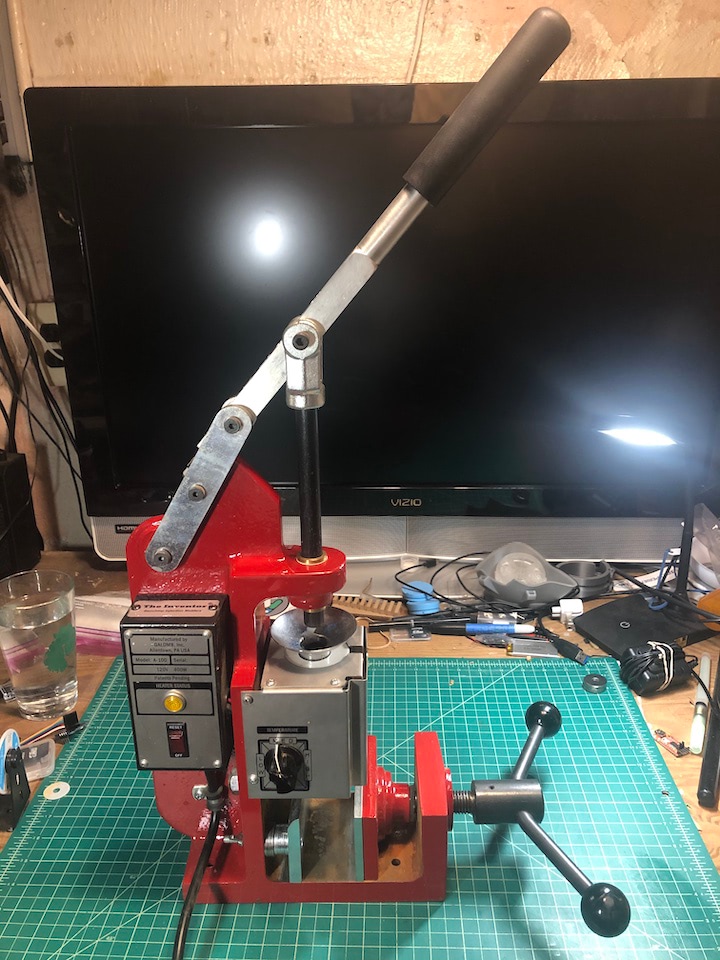
I talked to someone from Galomb, who suggested that the sprue hole of the injection mold should be 3/16” in order to best interface with the injection molder.
May 12
Flax-based carbon fiber alternative
May 13
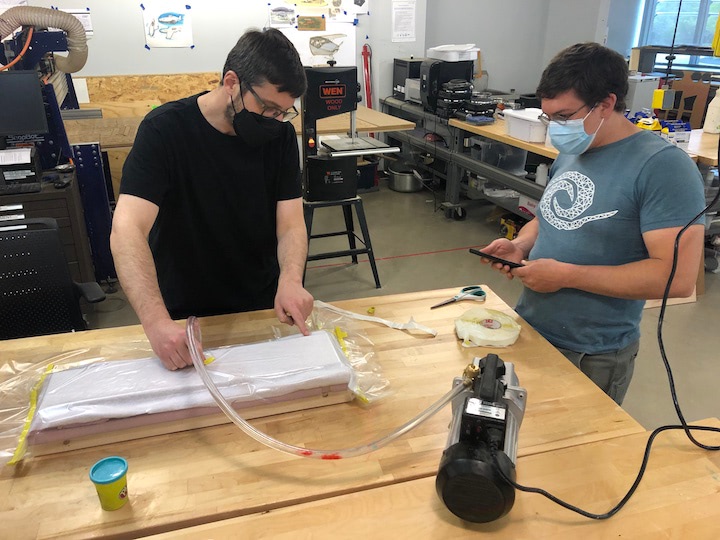
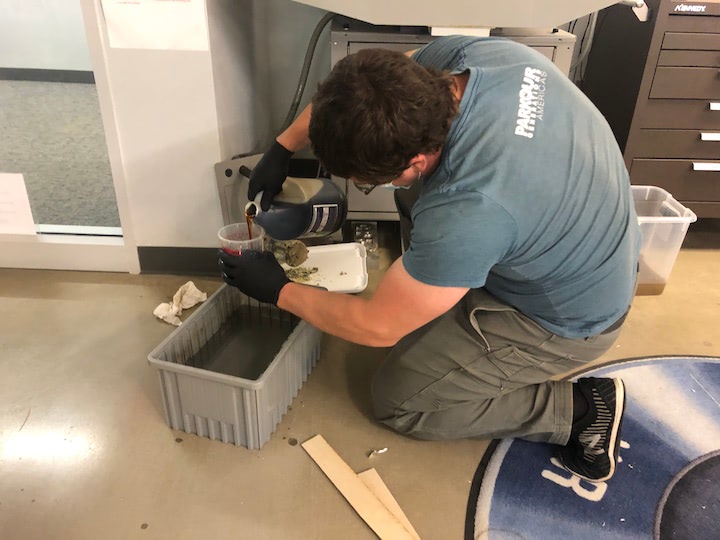
Luciano gave us a tutorial on producing composites for a skateboard deck.
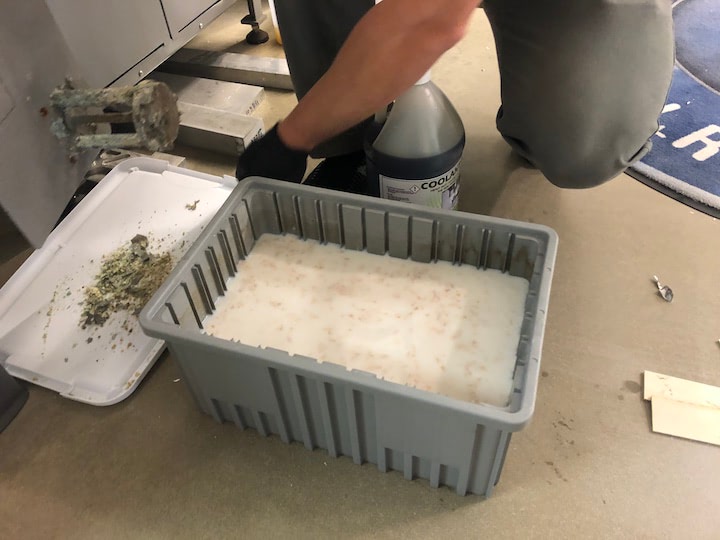
Nick and I replaced the coolant for the Tormach, but the pump had seized, so the coolant wasn’t flowing.
May 14
I researched using the bool function in the Arduino sketch to have the app be able to switch the ESP between an idle state and an active state. In the idle state, the ESP doesn’t read inputs, but in the active state, the ESP will begin reading data from the hall effect sensor, and when the hall effect sensor is triggered, it will display the gyroscope values on the OLED.
#include "BluetoothSerial.h"
#include <Adafruit_MPU6050.h>
#include <Adafruit_SSD1306.h>
#include <Adafruit_Sensor.h>

Adafruit_MPU6050 mpu;
Adafruit_SSD1306 display = Adafruit_SSD1306(128, 32, &Wire);

const int hallEffectPin = 25;
const int ledPinGreen = 26;
const int ledPinBlue = 27;
const int motor = 14;
int hallEffectState = 0;
int ledState = LOW;
int motorState = HIGH;

unsigned long previousMillis = 0;
const long interval = 500;

char Incoming_value = 0;
bool idleState = true;

BluetoothSerial SerialBT;

#if !defined(CONFIG_BT_ENABLED) || !defined(CONFIG_BLUEDROID_ENABLED)
#error Bluetooth is not enabled! Please run `make menuconfig` to and enable it
#endif

void setup() {
  // put your setup code here, to run once:

  pinMode(ledPinGreen, OUTPUT);
  pinMode(ledPinBlue, OUTPUT);
  pinMode(hallEffectPin, INPUT_PULLUP);
  pinMode(motor, OUTPUT);

  Serial.begin(115200);
  SerialBT.begin("Indispensable"); //Bluetooth device name
  Serial.println("Indispensable Pill Case");
  Serial.println("Remember What Empowers You");
  Serial.println("The device started, now you can pair it with bluetooth!");

  if (!mpu.begin()) {
    Serial.println("Sensor init failed");
    while (1)
      yield();
  }
  Serial.println("Found a MPU-6050 sensor");

  // SSD1306_SWITCHCAPVCC = generate display voltage from 3.3V internally
  if (!display.begin(SSD1306_SWITCHCAPVCC, 0x3C)) { // Address 0x3C for 128x32
    Serial.println(F("SSD1306 allocation failed"));
    for (;;)
      ; // Don't proceed, loop forever

}
}

void loop() {
  // put your main code here, to run repeatedly:
  if(SerialBT.available() > 0)
  {
    Incoming_value = SerialBT.read();
    Serial.print(Incoming_value);
    Serial.print("\n");
    if(Incoming_value == '0')
      idleState = true;
    else if(Incoming_value == '1')
      idleState = false;
  }

  unsigned long currentMillis = millis();

  if(idleState == false)
  {
    hallEffectState = digitalRead(hallEffectPin);

    if (hallEffectState == HIGH) {

    display.clearDisplay();
    display.setTextSize(1);
    display.setTextColor(WHITE);
    display.setCursor(0, 0);
    // Display static text
    display.println("*** INDISPENSABLE ***");
    display.println("---------------------");
    display.println("    TIME TO TAKE     ");
    display.println("     YOUR PILLS      ");
    display.display();


    digitalWrite(ledPinGreen,LOW);
    digitalWrite(ledPinBlue,HIGH);
    digitalWrite(motor, LOW);
    delay(100);
    digitalWrite(ledPinGreen,HIGH);
    digitalWrite(ledPinBlue,HIGH);
    digitalWrite(motor, LOW);
    delay(900);
  }

  else {

    sensors_event_t a, g, temp;
    mpu.getEvent(&a, &g, &temp);

    display.clearDisplay();
    display.setCursor(0, 0);

    Serial.print("Gyroscope ");
    Serial.print("X: ");
    Serial.print(g.gyro.x, 1);
    Serial.print(" rps, ");
    Serial.print("Y: ");
    Serial.print(g.gyro.y, 1);
    Serial.print(" rps, ");
    Serial.print("Z: ");
    Serial.print(g.gyro.z, 1);
    Serial.println(" rps");

    display.println("*** INDISPENSABLE ***");
    display.print("       X: ");
    display.print(g.gyro.x, 1);
    display.println("");
    display.print("       Y: ");
    display.print(g.gyro.y, 1);
    display.println("");
    display.print("       Z: ");
    display.print(g.gyro.z, 1);

    display.display();
    delay(100);

    if (currentMillis - previousMillis >= interval) {
    // save the last time you blinked the LED
    previousMillis = currentMillis;

    // if the LED is off turn it on and vice-versa:
    if (ledState == LOW) {
      ledState = HIGH;
      motorState = HIGH;
    } else {
      ledState = LOW;
      motorState = LOW;
    }

  }

    // set the LED with the ledState of the variable:
    digitalWrite(ledPinBlue, ledState);
    digitalWrite(motor, motorState);
  }
  }

  else if (idleState == true) {
    display.clearDisplay();
    display.setTextSize(1);
    display.setTextColor(WHITE);
    display.setCursor(0, 0);
    // Display static text
    display.println("*** INDISPENSABLE ***");
    display.println("---------------------");
    display.println("    REMEMBER WHAT    ");
    display.println("    EMPOWERS YOU     ");
    display.display();

    digitalWrite(ledPinGreen,LOW);
    digitalWrite(ledPinBlue,HIGH);
    digitalWrite(motor, LOW);
    delay(100);
    digitalWrite(ledPinGreen,HIGH);
    digitalWrite(ledPinBlue,HIGH);
    digitalWrite(motor, LOW);
    delay(900);
  }

}
This sketch worked! Unfortunately, I loaded a fade sketch onto the board shortly afterward, then quickly proceeded to tear the programming pins off the board, so I was unable to record a video of the sketch and app working together.
May 16
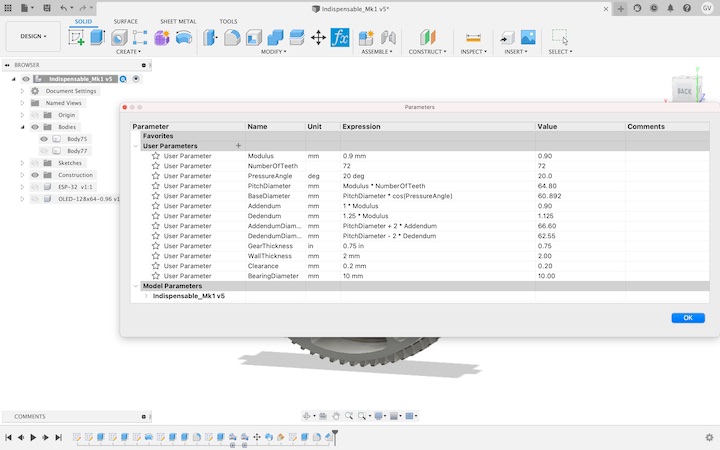
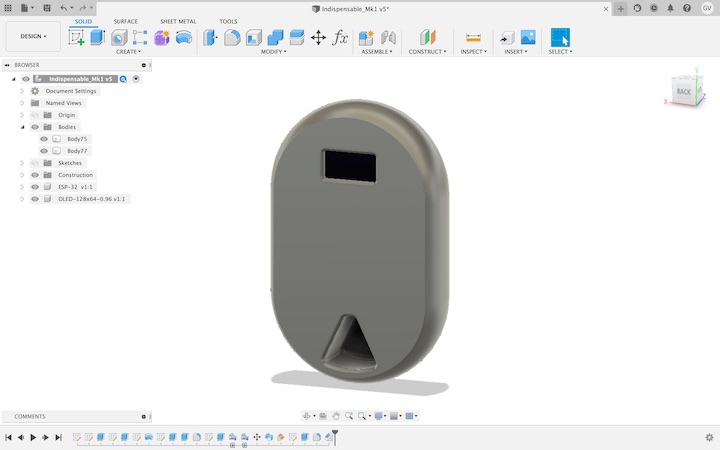
I began modeling the pill case in Fusion 360. Rather than using the spur gear plug-in, I modeled the involute gears using this tutorial.

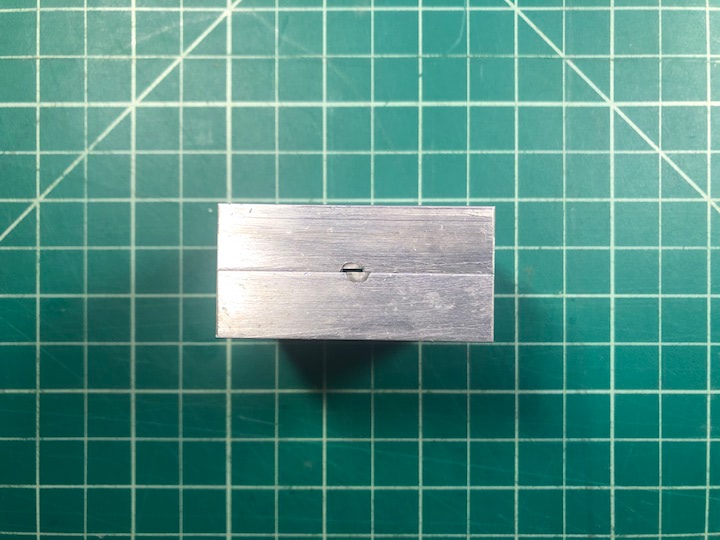
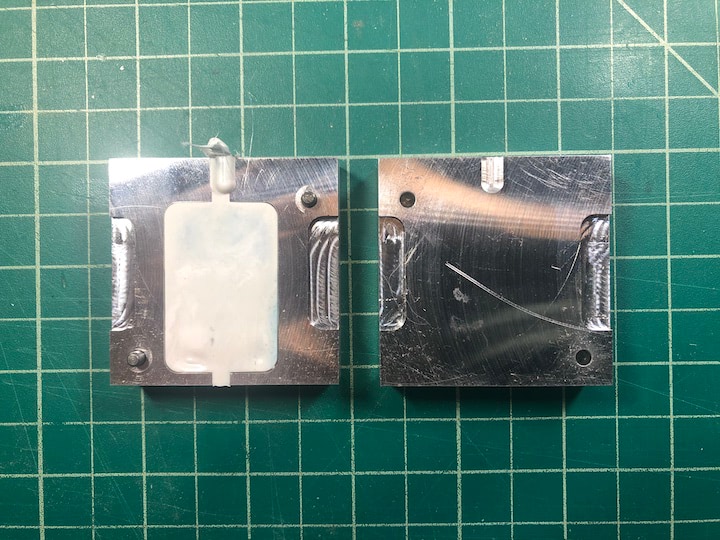
I also designed the mold that I will cut from the mold blank on the Tormach.
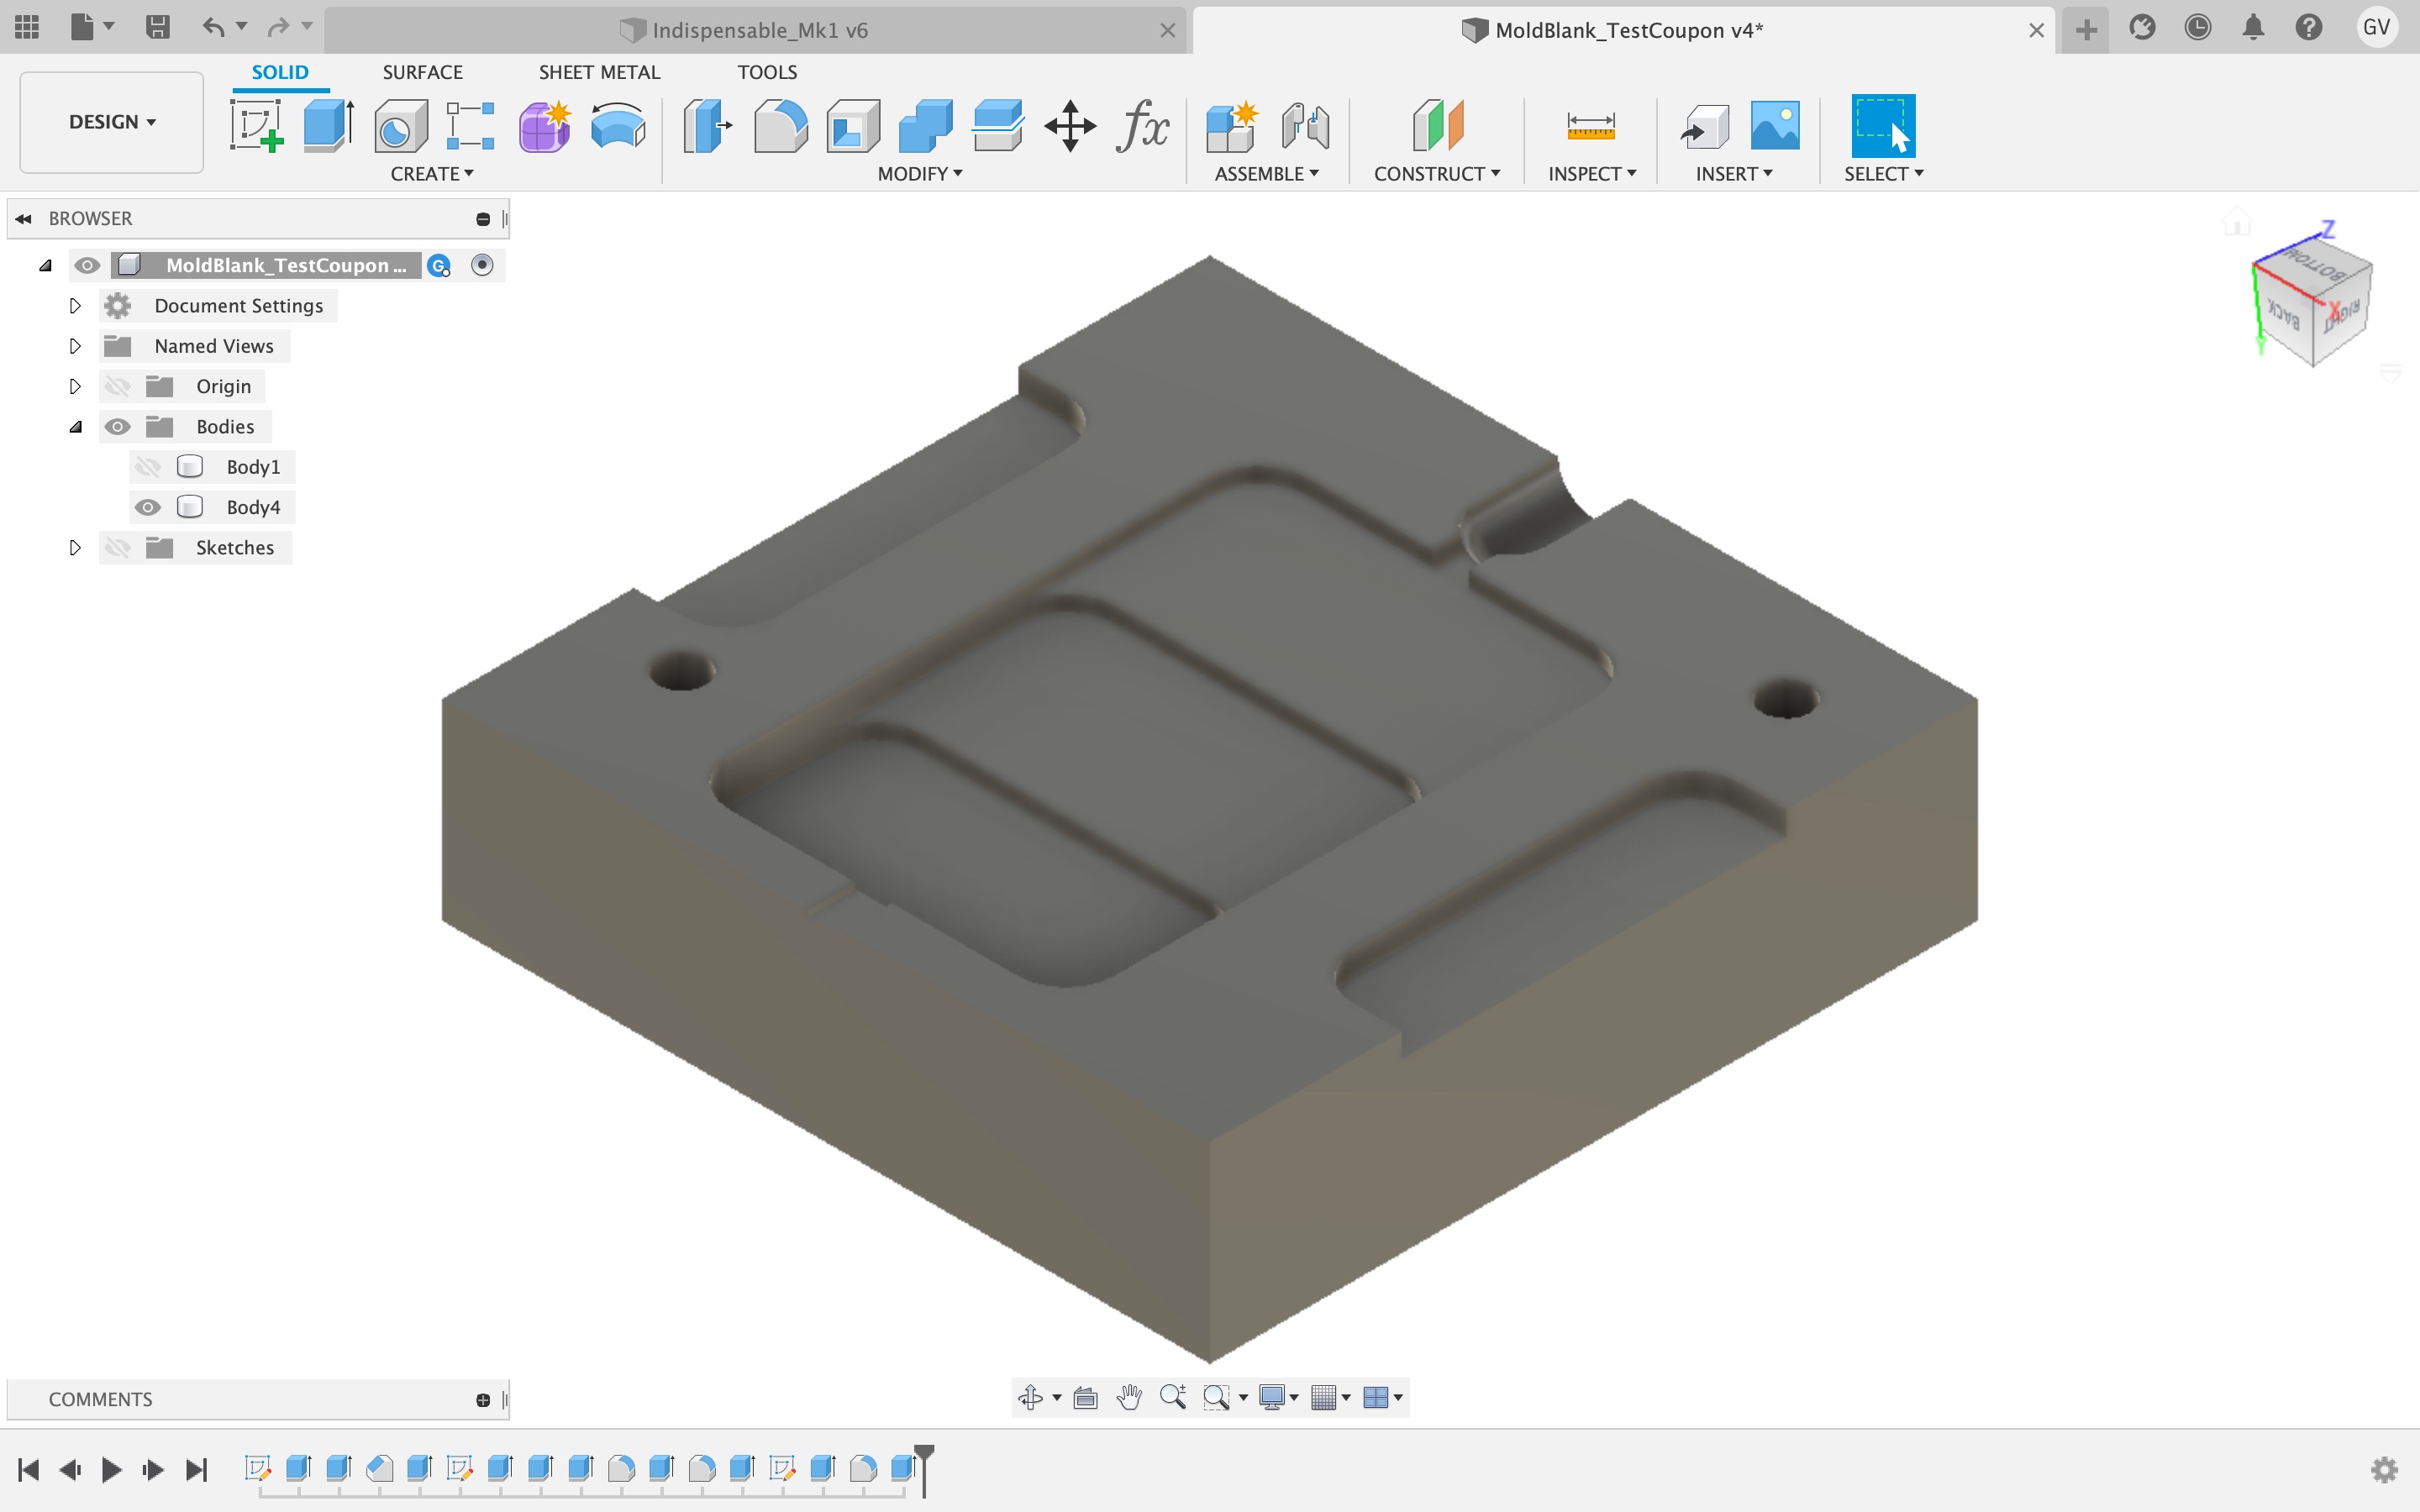

[Material Test Coupon Mold F3D File]((../images/week15/MoldBlank_TestCoupon v4.f3d)
May 17
Spencer was able to get the coolant pump up and running!

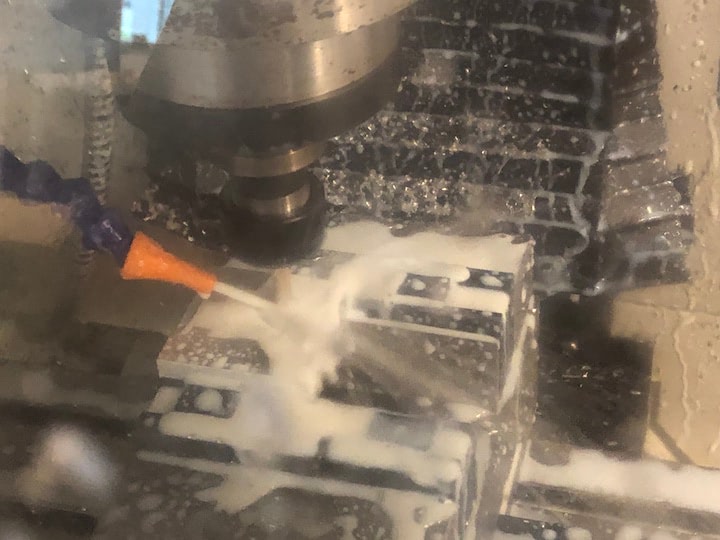
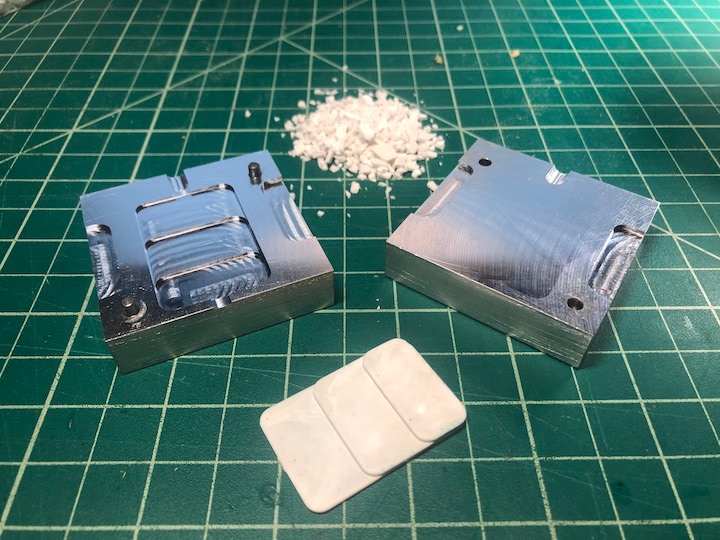
Using the CAM toolpaths I generated, I cut a test part before cutting my mold blank.
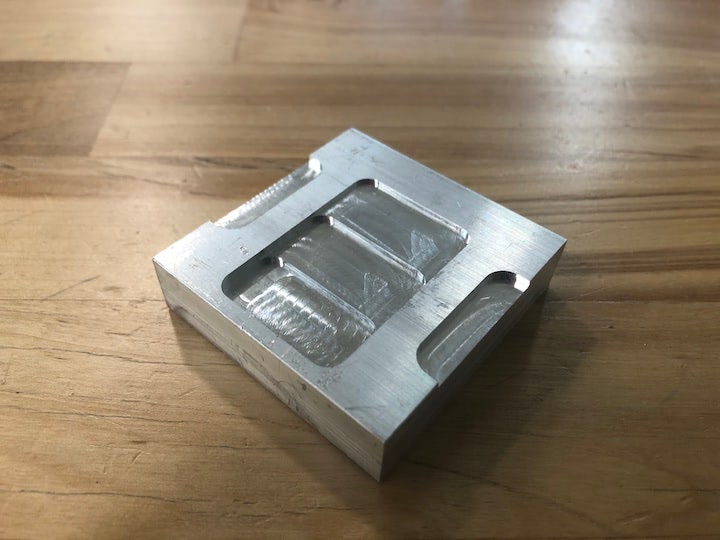
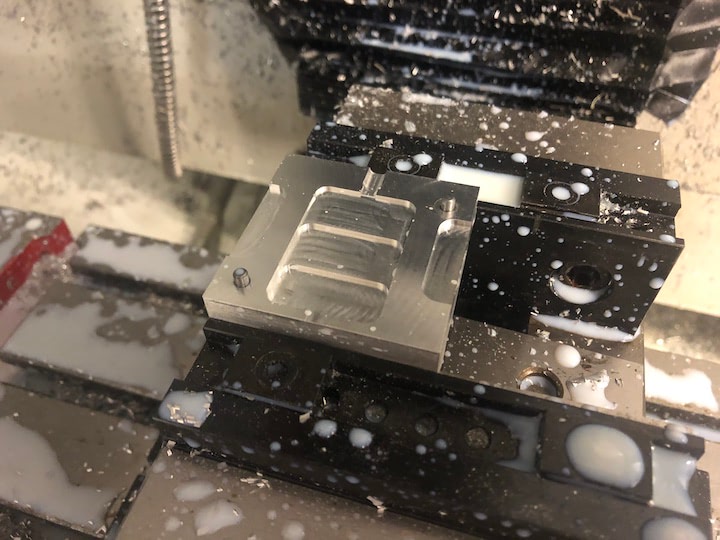
The operation went very well! For some reason, the plunge speed appeared much faster than was specified in CAM.
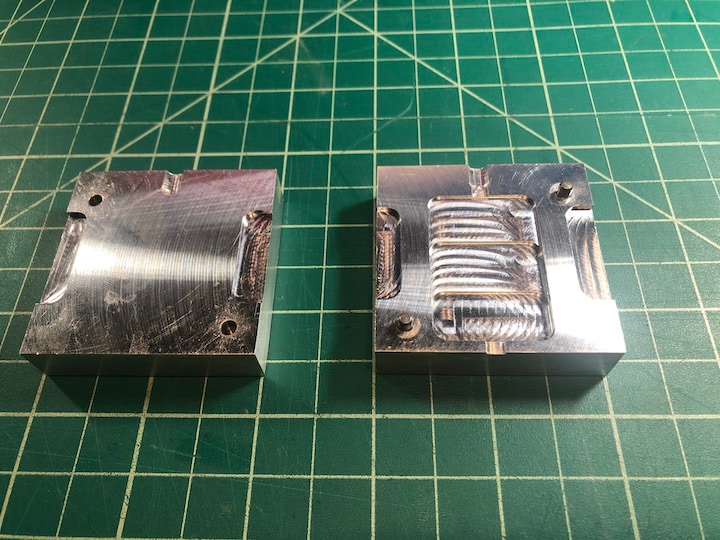
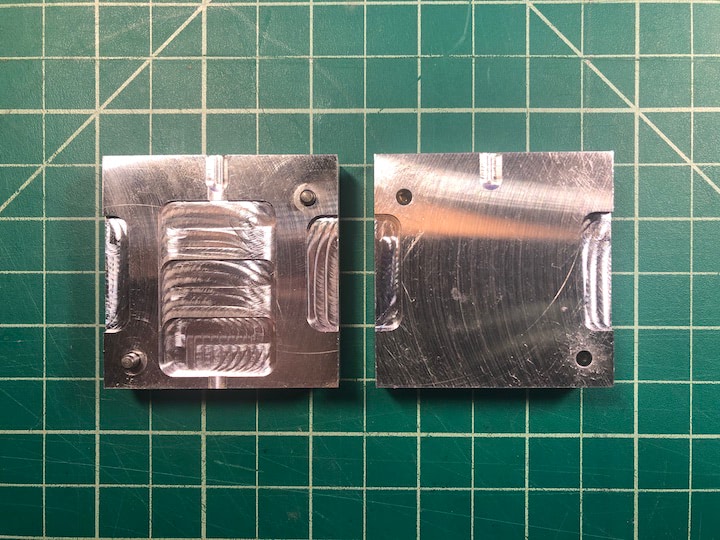
Unfortunately, I didn’t double check that the height and width of the mold was exactly as advertised, and it turns out that it was slightly inaccurate. This wouldn’t have been a significant problem if both of the halves were zeroed to the same X,Y coordinates, but as one of the halves was flipped over after it was milled, the X,Y origin was in a different location for the two halves.
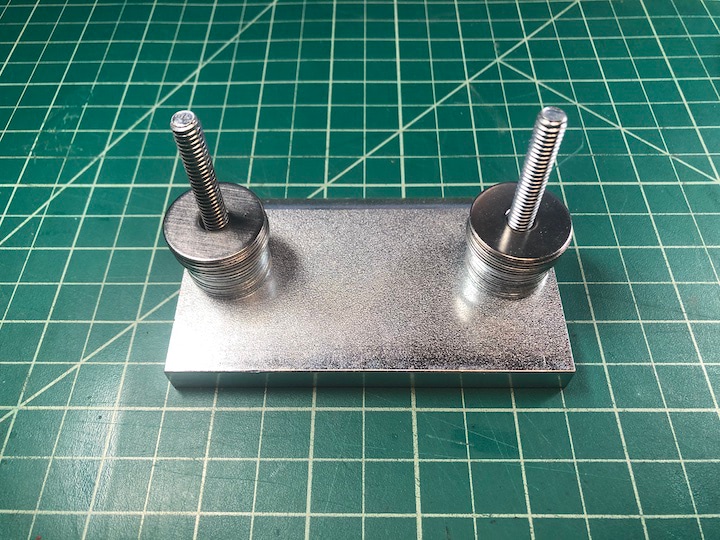
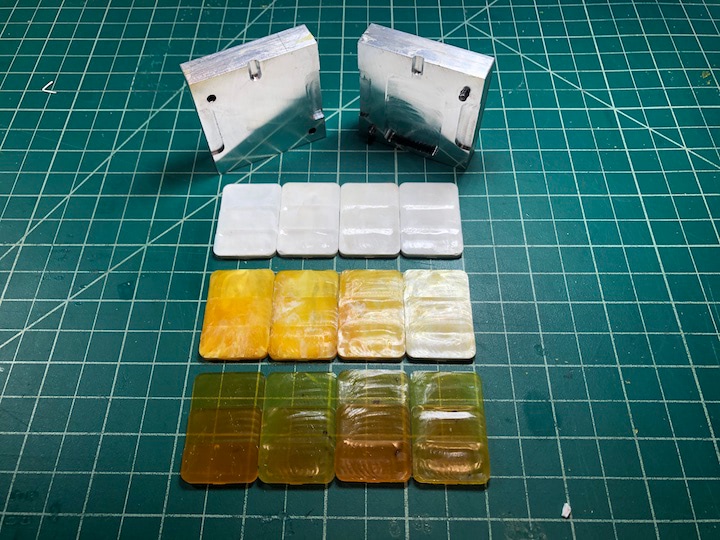
Once I got the mold home, I shimmed the vice so the sprue hole would align with the nozzle.
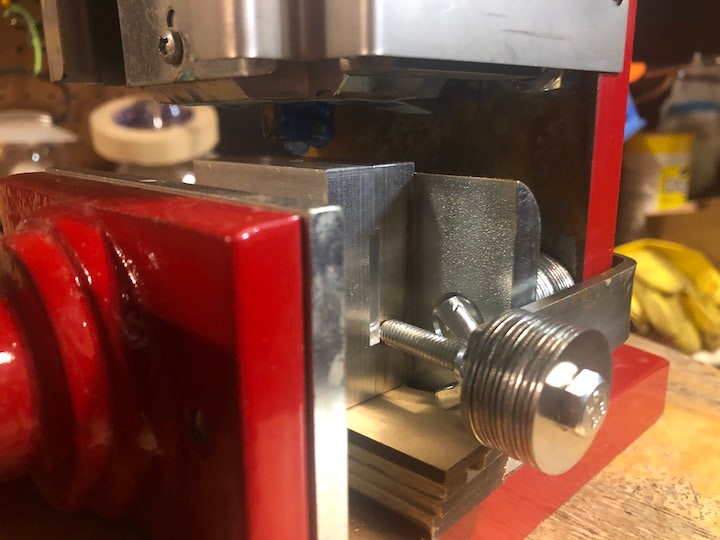
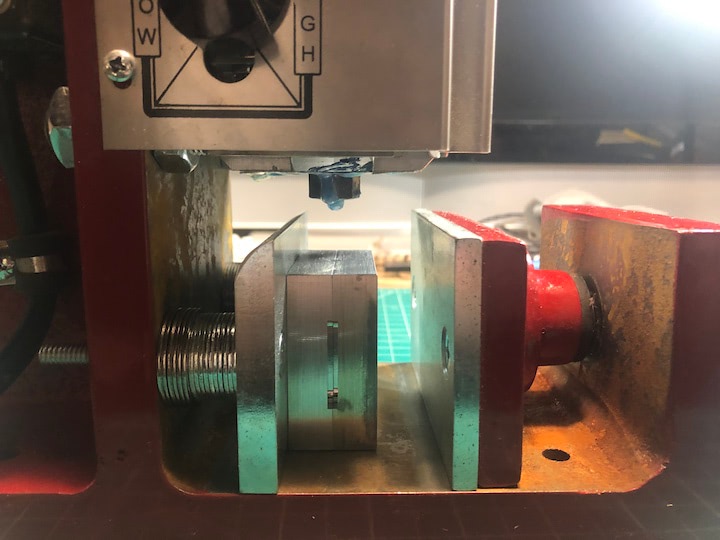
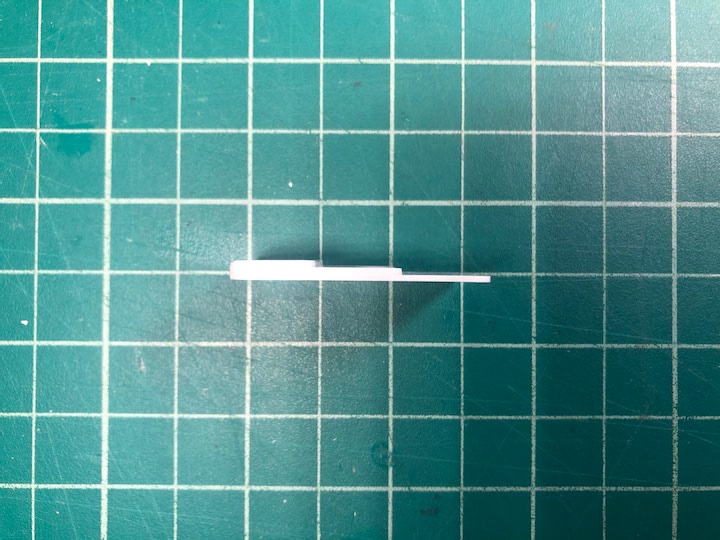
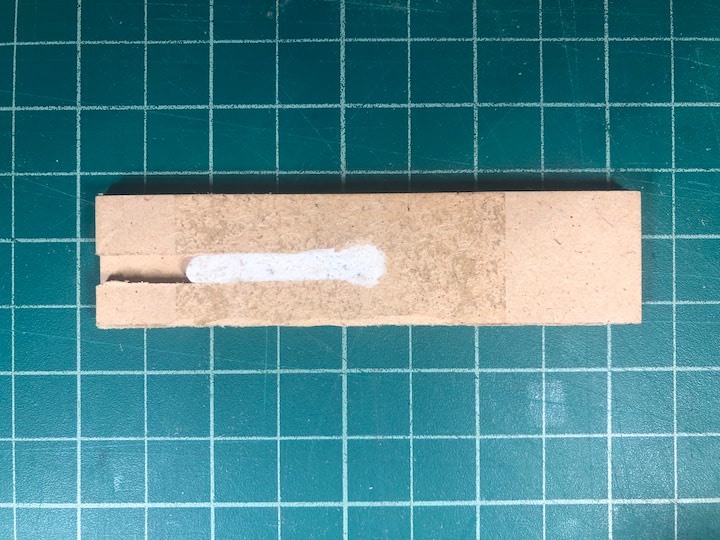
I was incredibly surprised to see that mold and the molder functioned as intended!

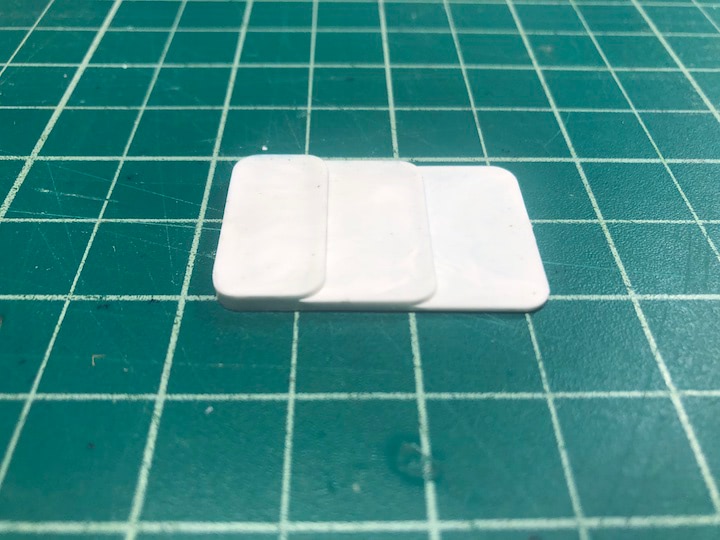
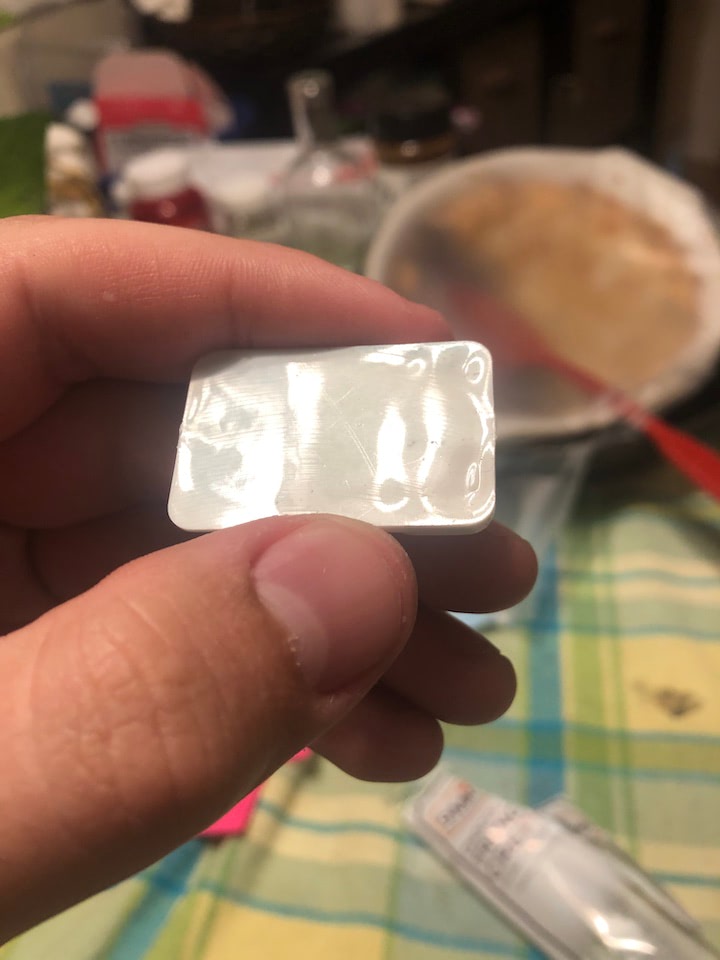
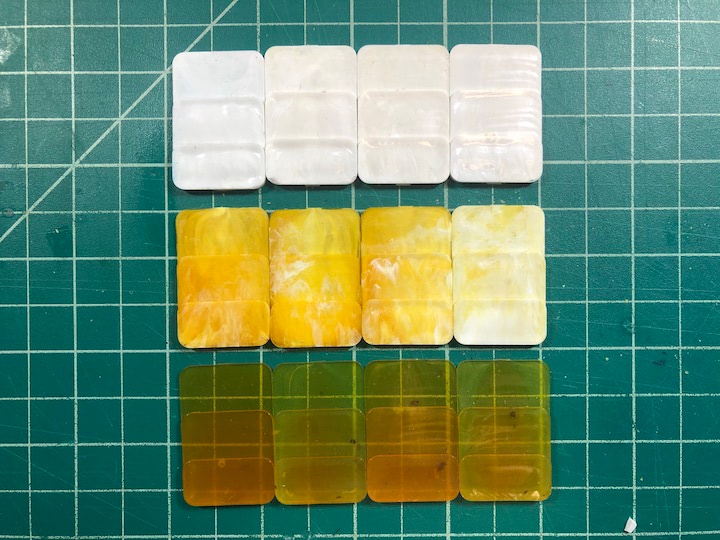
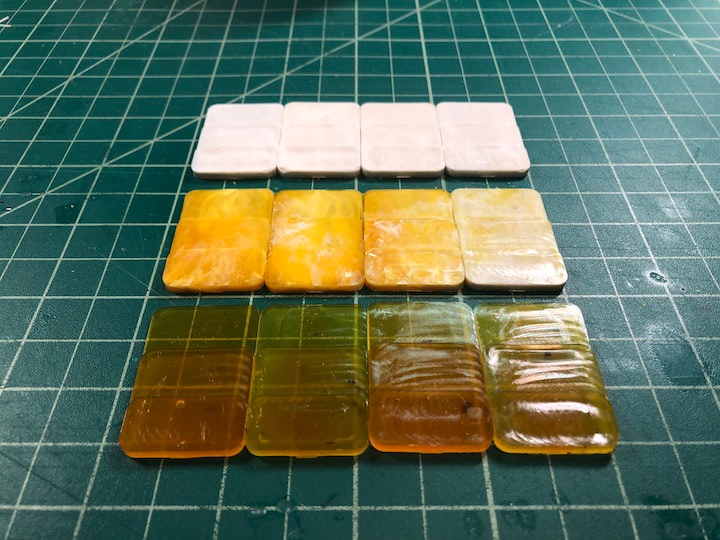
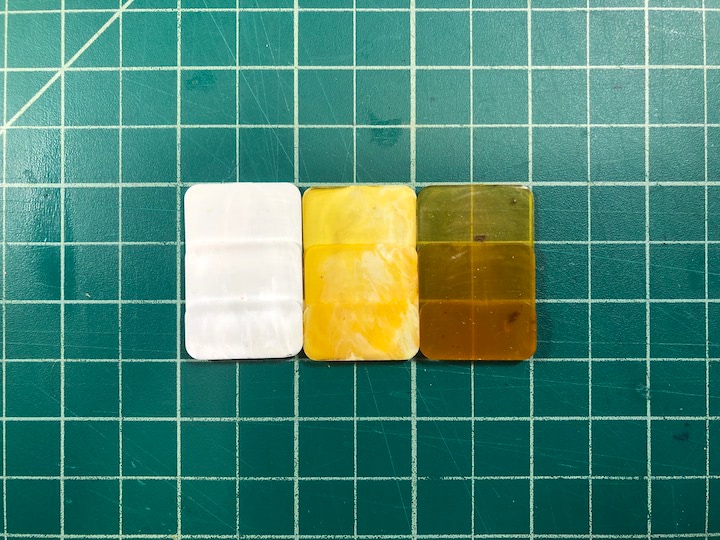
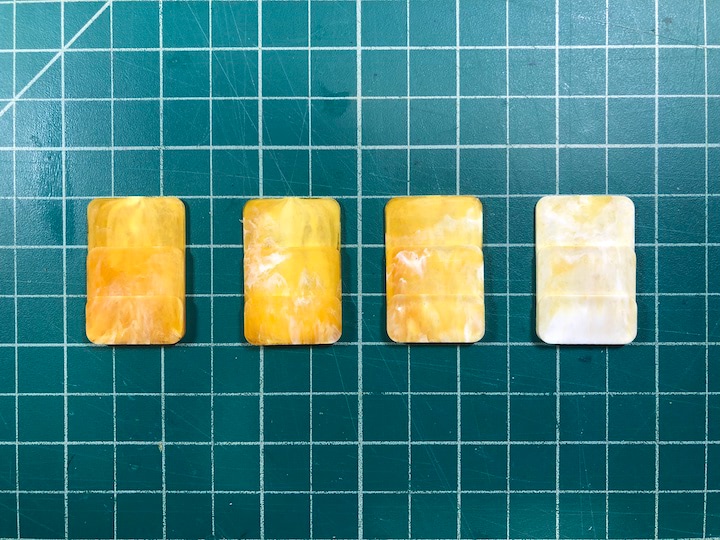
There is some pitting in the part, as you can see. It was unclear if this was due to the thickness of the material, the heating, the cooling, the pressure, or a combination of the above factors.
May 18
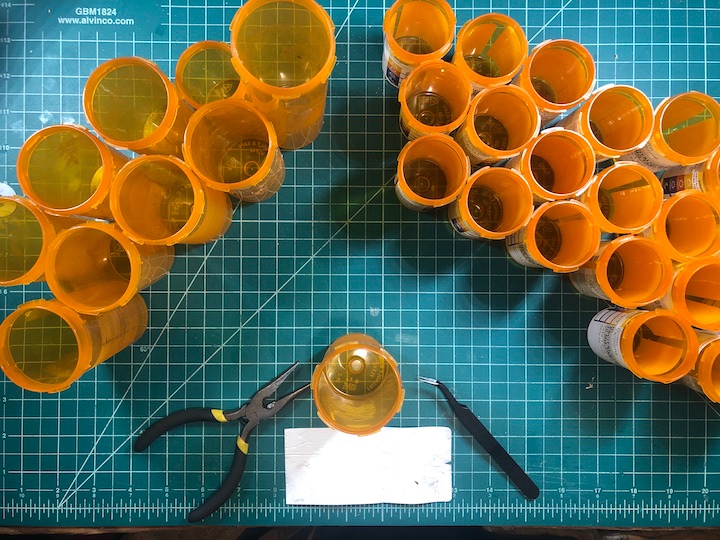
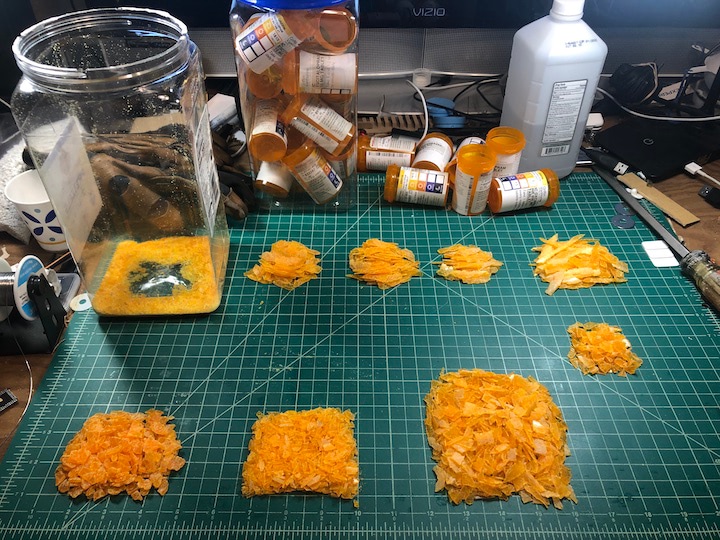
I spent a very long time preparing pill bottles to be injection molded. I first used my hot air gun, needle-nose pliers, and tweezers to remove the labels from the bottles.
I then cleaned them in the sink with soap and water to attempt to get as much of the adhesive off them as possible. I then laid them in a flat layer between two sheets of cardboard, inside a trash bag, and smashed them with a hammer.
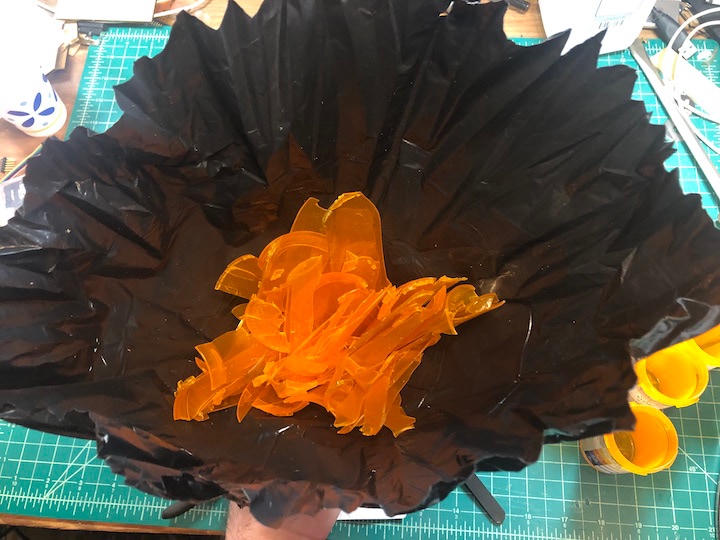
I then put them in a blender.
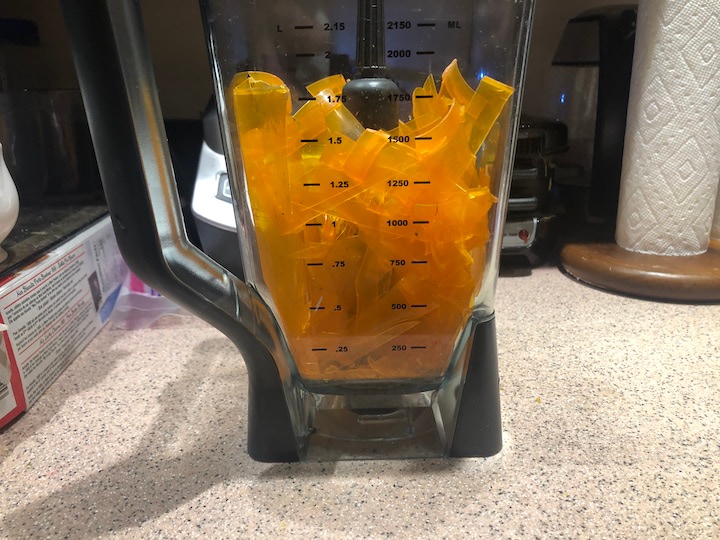
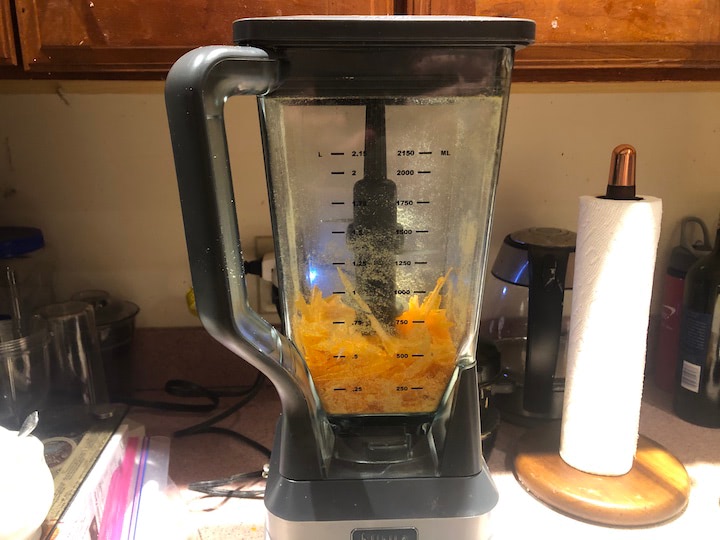
I then painstakingly sorted out the large shards that would be too large to use in the injection molder.
I then followed the same process as described previously to mold the plastic.
PLA/PHA filament from Goo Ventures
App Inventor Android receive data from Arduino over Bluetooth