15. Wildcard week
If in any given week I want to bite more than I can chew, the wild card week is going to be just that. Wild. I am starting easy, bending wood: I am not quite happy with the outcome of computer controlled machine week, which was the week Covid hit me and made me stop. So in first place, I am finishing that assignment, and then make another wooden chest, but laminating wood so it has rounded corners. Next, using that same mold, I will modifiy it to make a composite version of it. And if any of this nights I still have energy, I am going to experiment with at least two biomaterial using the molds of the chess game I made during molding and casting week. I know it is a lot for just one week. But this 2021 Fab Academy is coming to an end, and I really feel like pushing it!

Bending wood - kerfing and lamination
Wood bending is one of those techniques that have been arround forever. Traditionally it was achieved by heating and forcing. In the ninetinth century, Thonet refined it and made the famous 214 chair: one idea, six parts 2 screnuts and 10 screws. They packed 36 units in just one cubic meter.
In the twentieth century, Aina and Alvar Aalto and Ray and Charles Eames, took advantage of the rapid improvemet of bonding materials, and wrote one of the most brilliant pages in the history of Design, with a collection of pieces that are still in production. The technique they used was bent lamination: laying thin sheets of wood impregned with glue over a mold, then apply pressure with the contramold; once the glue sets, the part will keep the shape of the mold.
Nowadays, with the use of lasercutters and CNC milling machines, a way to flat stock of wood is to cut a pattern of kerfs. Depending on the density and shape of the cut, different properties are achieved, as discussed in this post by Trotec. Undoubtfully, as this is used more and more, it is happening the same as happened with the lasercut boxes: esasily recognized as "Fabbed". But with the means we have at our hands, I would like to try to go one step beyond. My primary goal here is trying to make it look as it was not made in a Fab Lab: no kerfing should be evident.
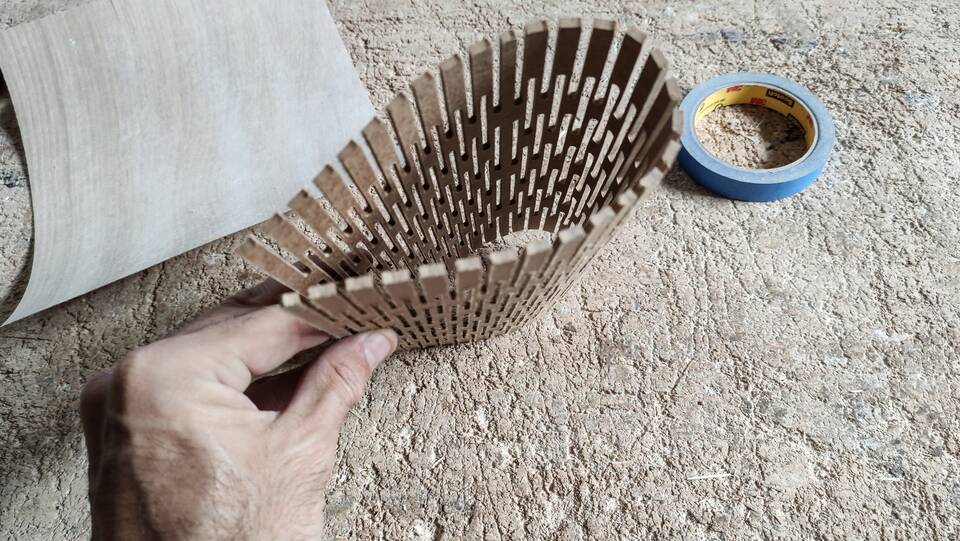
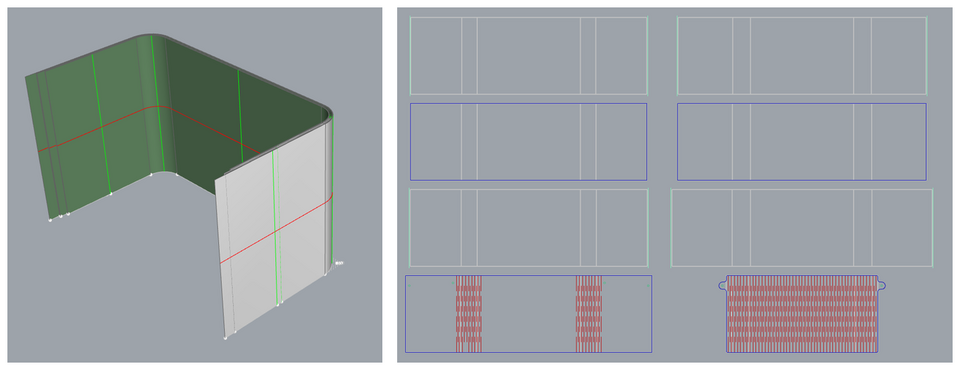
Firs thing I did was to test if the resulting material was flexible enough for the 25 mm radius of curvature that fits the trays of my project. I searched, but could not find any easy to understand or back of the envelope formula to have a first approach. So I went by hand, gut and eye. I designed a very easy parametric pattern in FreeCad, so if I had to change dimensions it would be quick. Then run a couple of test runs, and with the thin 3mm MDF the flexibility is quite amazing.
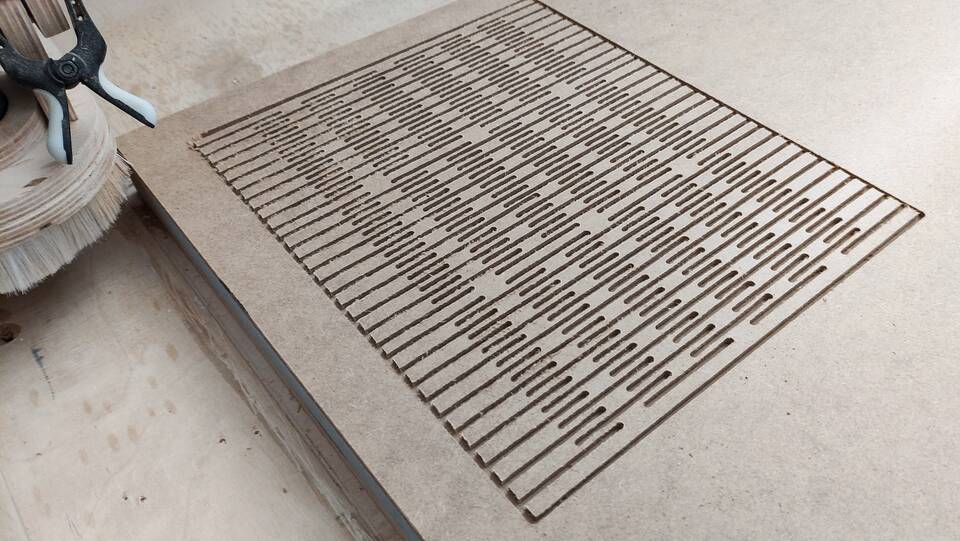
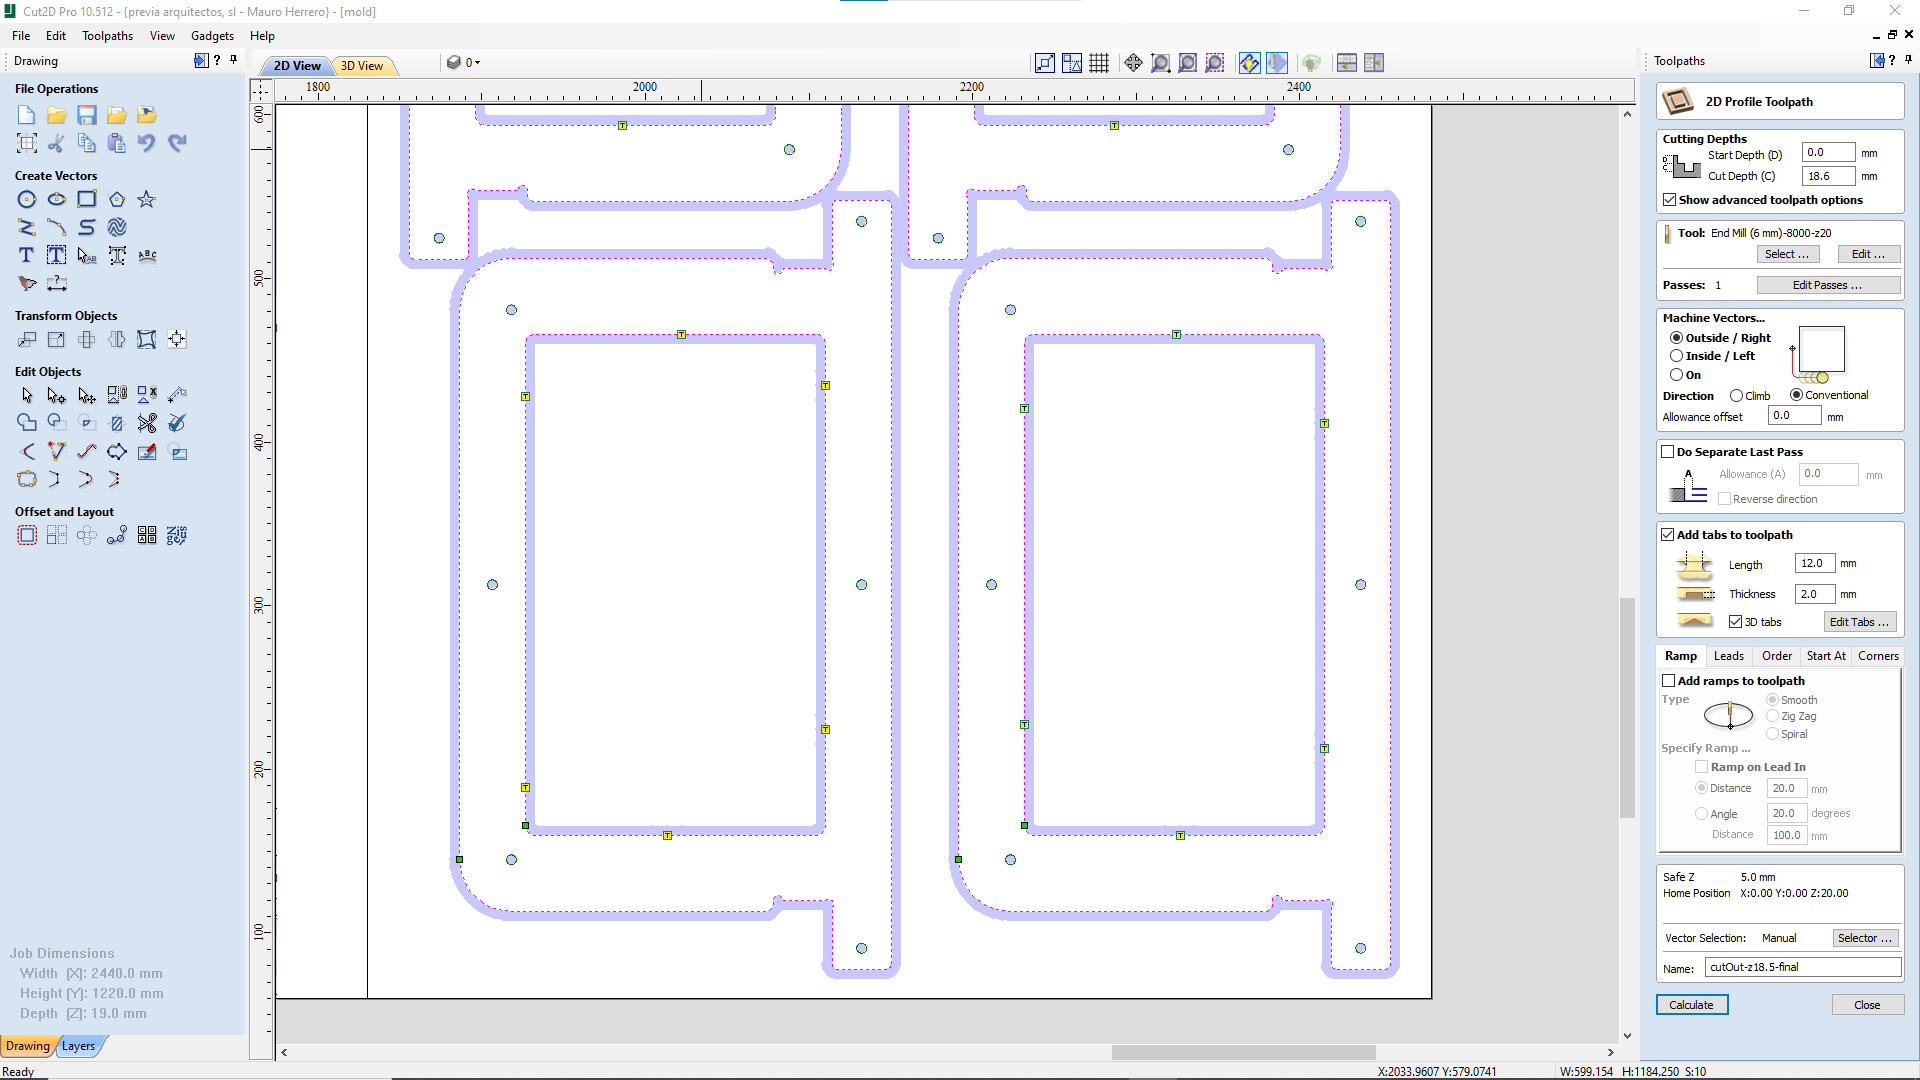
Kerfing with the CNC is a bit tricky, and takes time, since the sheet of mdf is weakened a lot. The order of cutting matters a lot, and with the controls available in Vectric Cut2D was not practical to get the optimal path. My two cents is that writing a script to output an optimized g-code for this kind of cut should not be to hard to write. So another item for my fun and don't have time projects.
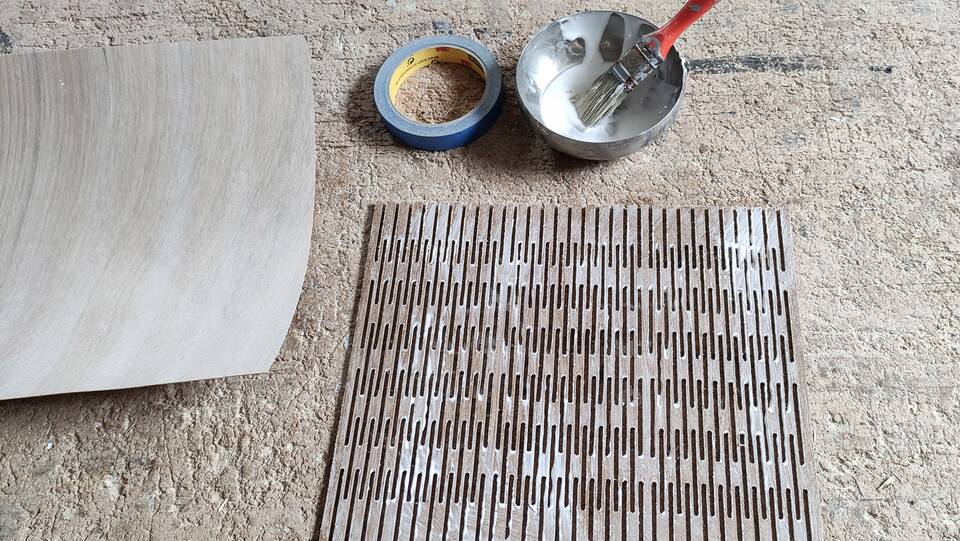
Spreading the glue was messy with a brush. For next ocasions, I will use a roller.
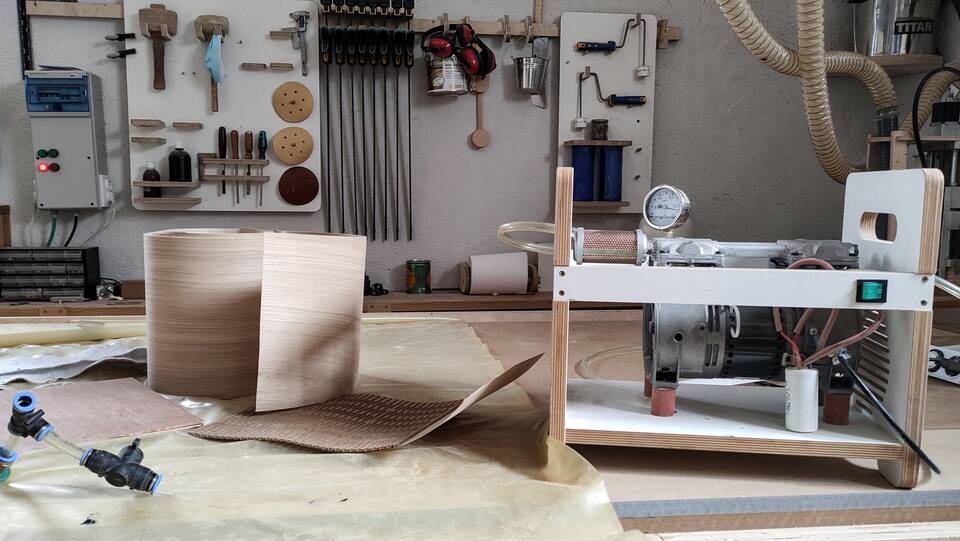
I used a small continious run vacuum pump, and a plastic bag. The bag that I have is quite old, and has quite a few pores, but I can still pull a reasonable vacuum of 0.8, which is enough for my needs.
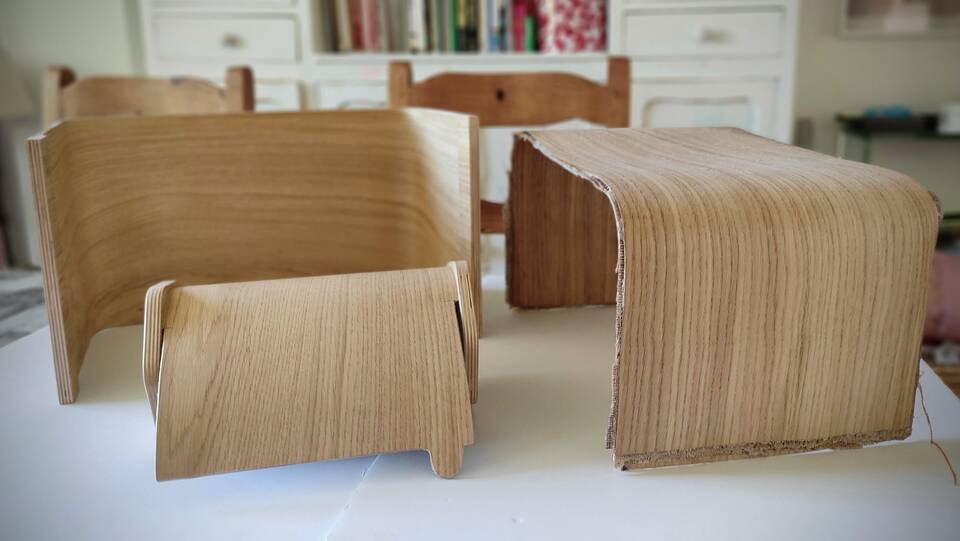
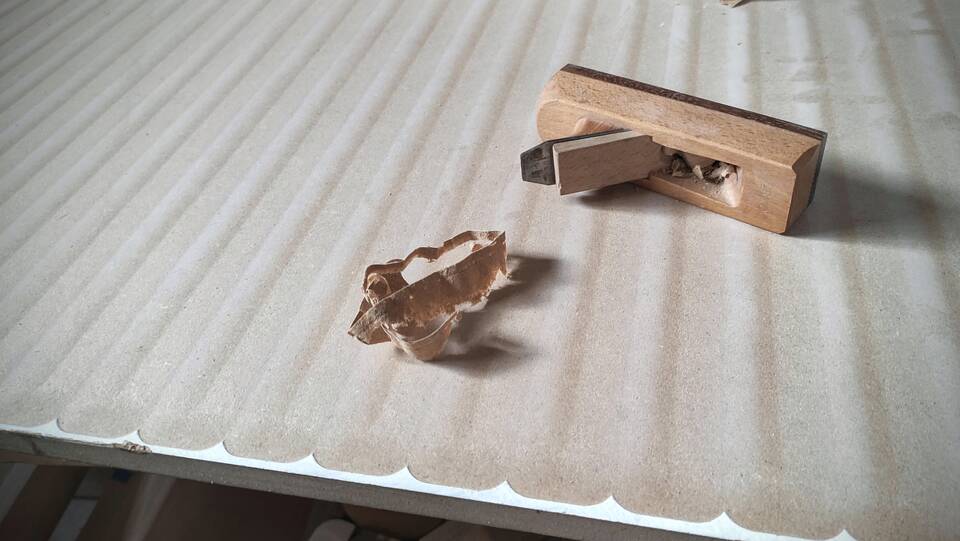
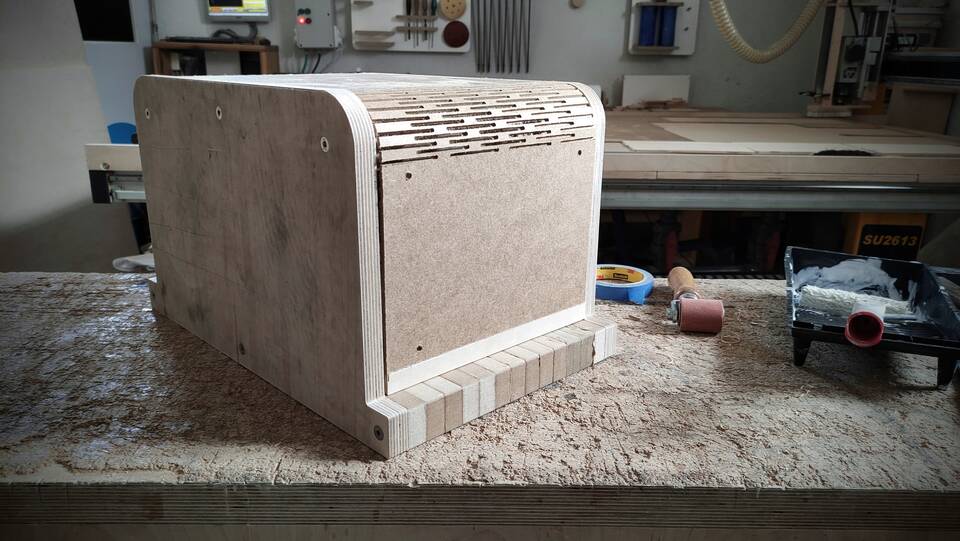
Finally, even the door is really flexible, and it can bend, I realized that even it did fit the curvature radious, sliding smoothly is completely another beast. And since I already had the part finished, in order to turn a bug into a feature, while I was waiting for one of the resin tests to set, I used piece of scrape wood to make two hexagonal taps and make a box.
Making the mold
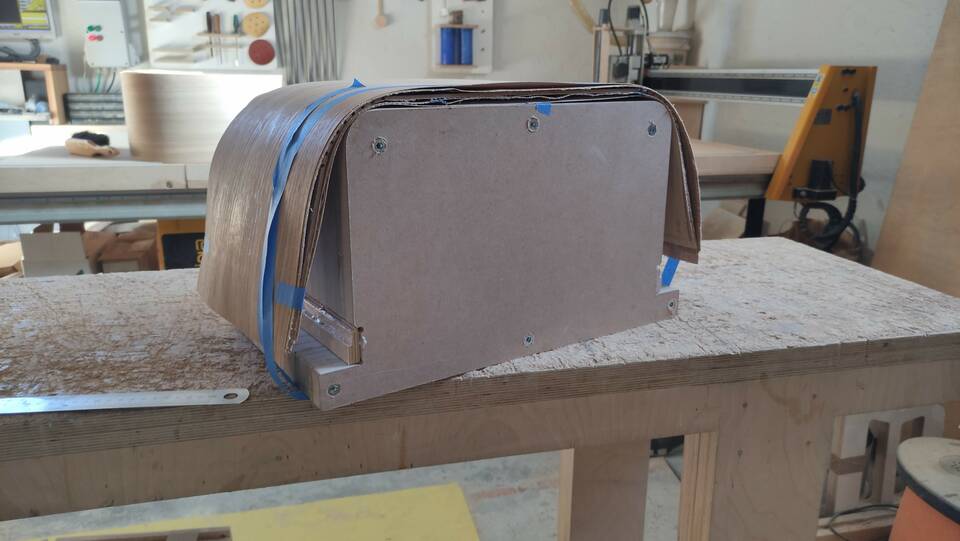
I wanted to make a mold that would cast a piece that required little or none post-production. After finishing, I realized this was not a good idea. Anyway, my main concern was that the two vertical edges of the main piece would need a small part of 12 mm thick plywood, to match with the rest of the edges, and so the MDF core was not visible.

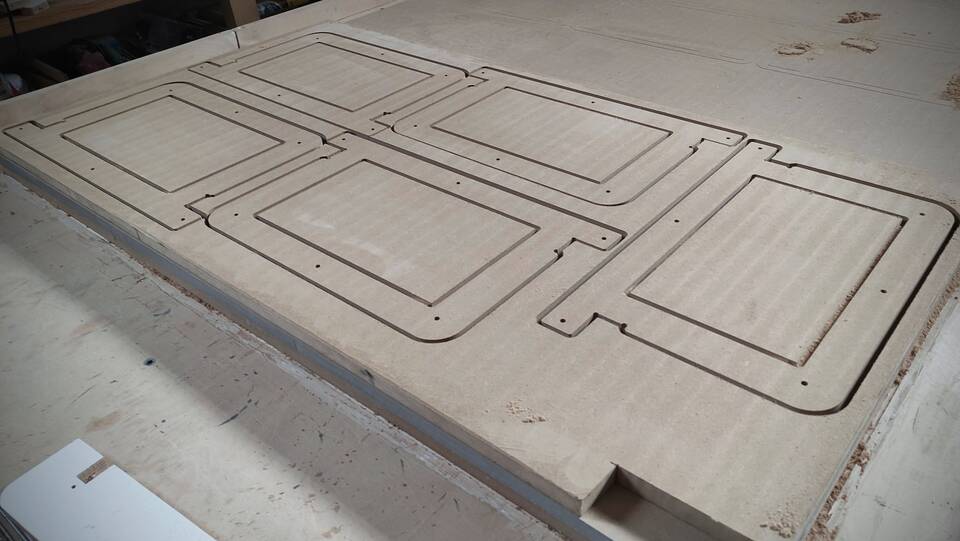
Since I wanted to have all sheets precicesly cut, so they would meet the end 12mm plywood piece, I modeled polysurfaces in rhino running along the central axis of each sheet of material, then unroll them and cut to measure using the CNC router.
Then I set up the cuts in Vectric Cut2D, leaving the center of the mold hollow, so it would not weight a ton... I am using unversal vacuum hold down, so I placed the tabs just in the inner part, so every section would hold, and at the same time it would save me post-processing time.
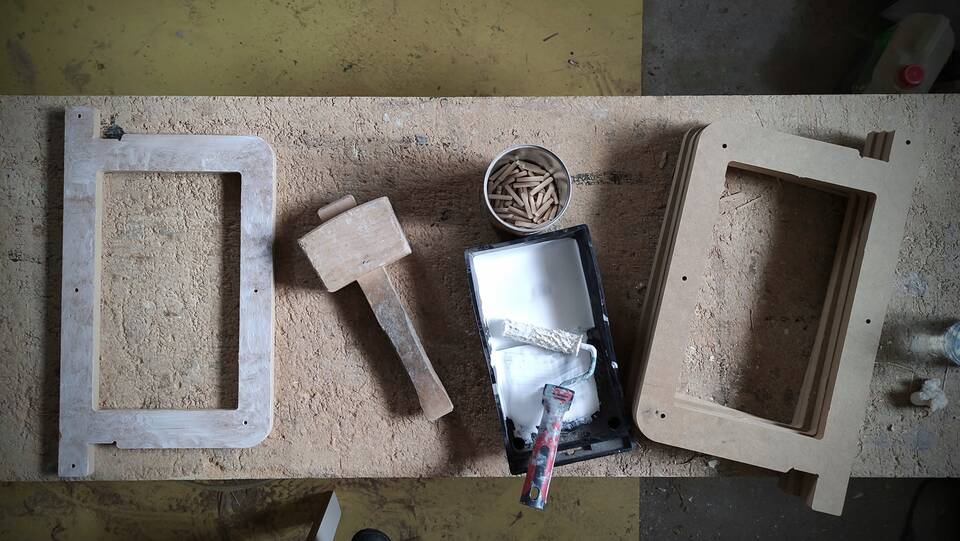
I used three pieces of scrap MDF for the mold, two of which were coated with white paint. I removed it by machining with the CNC and finishing the edges that I had missed wiht a handplane.
The cut went smooth, after I fixed a problem with the Y (gantry) axis of my CNC. I had noiticed some missed steps in that axis in the past, and I thought it was because the pulley was over the stepper axis, because it had happened to me in the past. I went to dissasemble the stepper, fix and reassemble, just to notice that the problem was that one of the cables of the stepper was getting stuck whith the cable carrier... Anyway, after I had it fixed, everything went smooth...
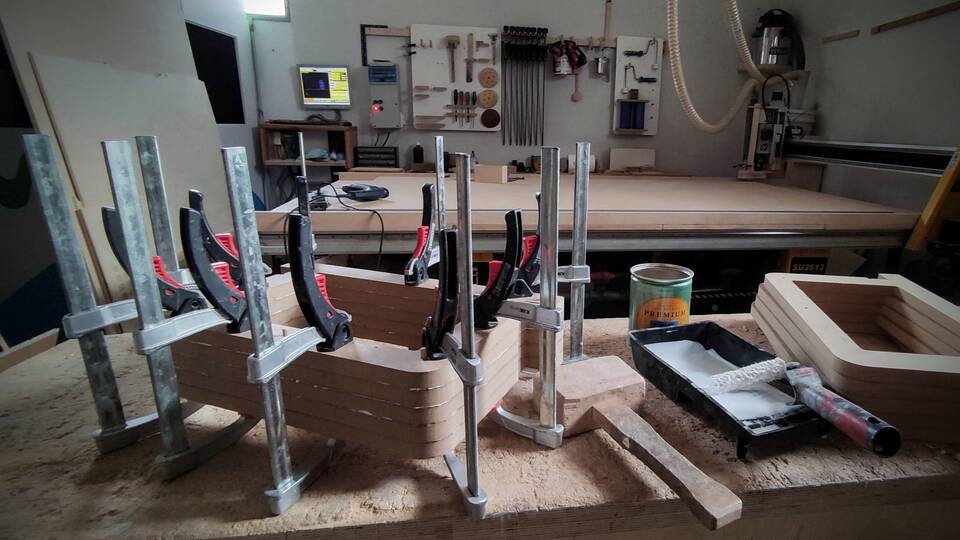
I used a glue station to have the mold glued and clamped. Within an hour, it was finished. I also decided to add two final sections, using inserts and bolts, so the layers of wood could be kept in place.
The clamps that I am using are quick release ones, maybe not as strong as the screw ones, but really convinient to use. While clamping, I always remember that you can never have enough clapms.
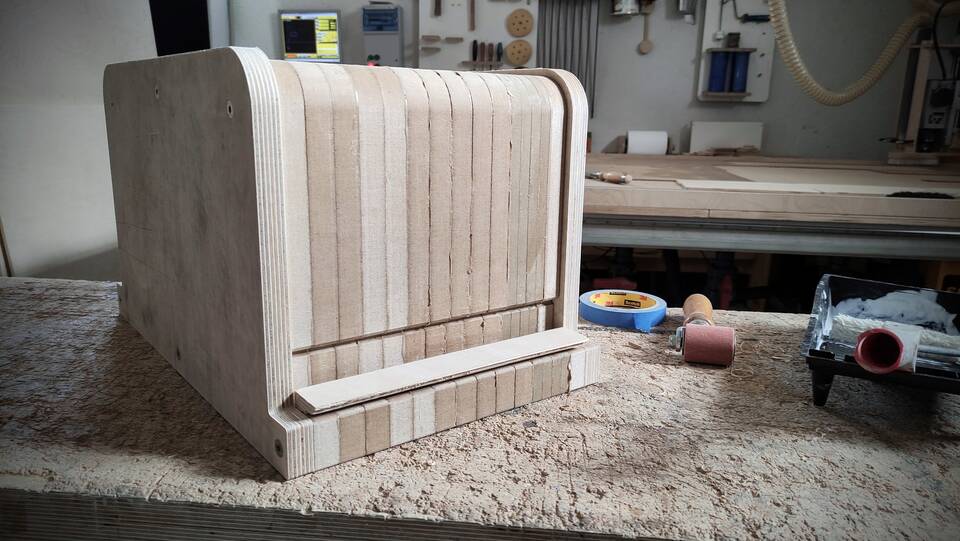
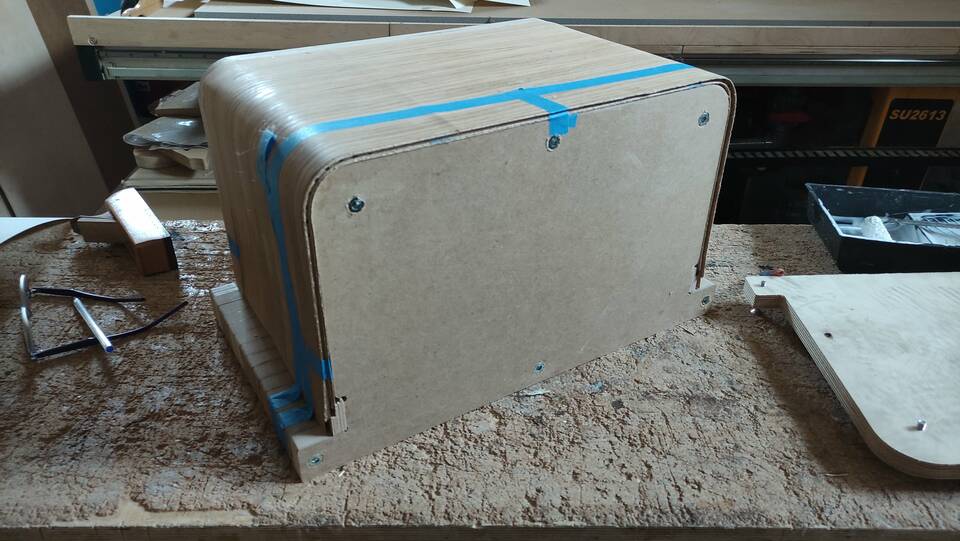
Finally, the mold was finished, so I fit the MDF core with the kerfing, just to check that the fit was ok.
What was not a good idea was to try to glue the 12 mm endings at the same time of doing the lamination. In the end, I had to remove and reglue them. Thankfully, oak veneer is quite forgiving, and the mistake is only noticeable in close distances
Vacuum veneering
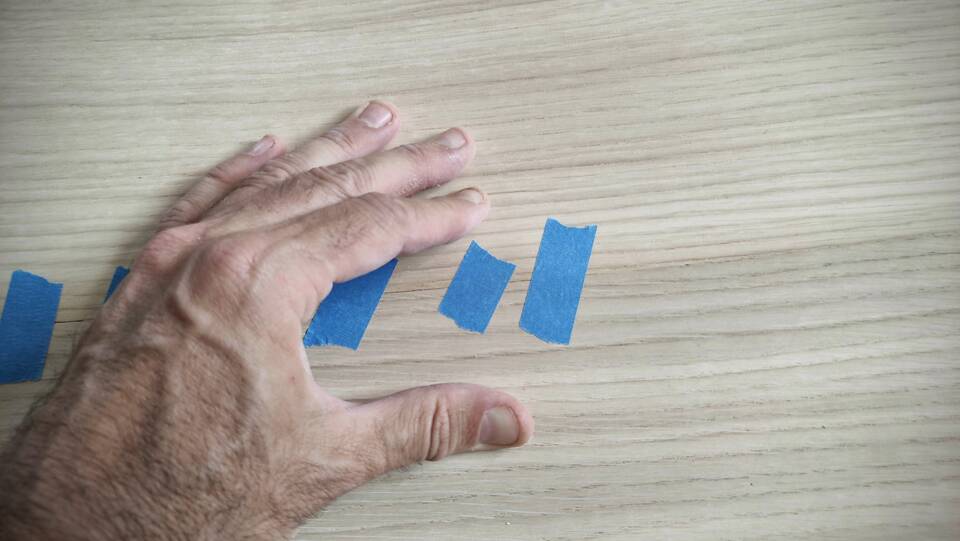
For the top and bottom part, I need two join two sheets of oak veneer. It is a proccess that I have done just a few times in the past. What I do is I stitch along the edge, bringing the two pieces together with a gentle pressure with my hands.
I like using for this task 3M blue tape, which holds a great grip, while it is really easy to remove and reposition if needed.
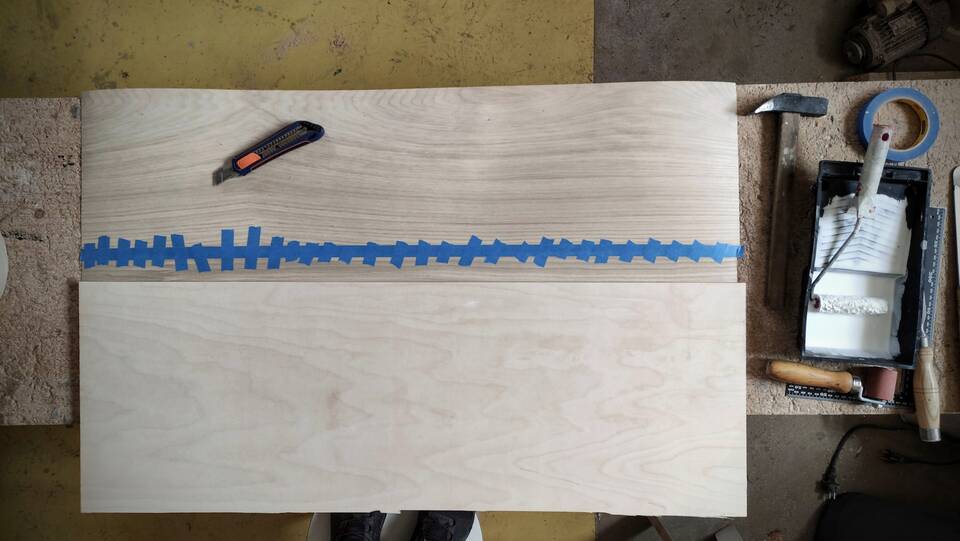
Once it is ready, this thin veneer can be cut with a cutter, to fit the dimensions of the sheet that it will cover.
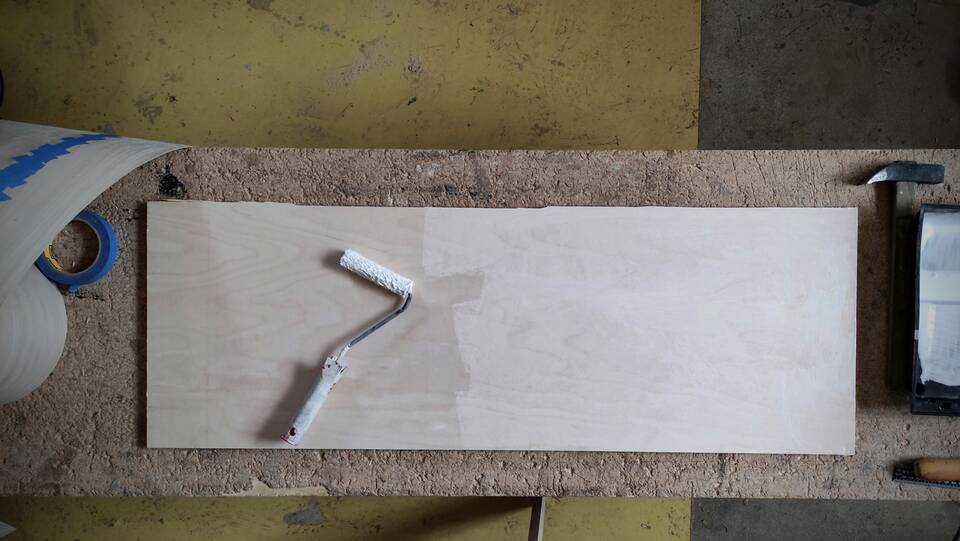
To spread the glue, I used a small roller, so the layer of PVA glue is thin and uniform across the plywood.
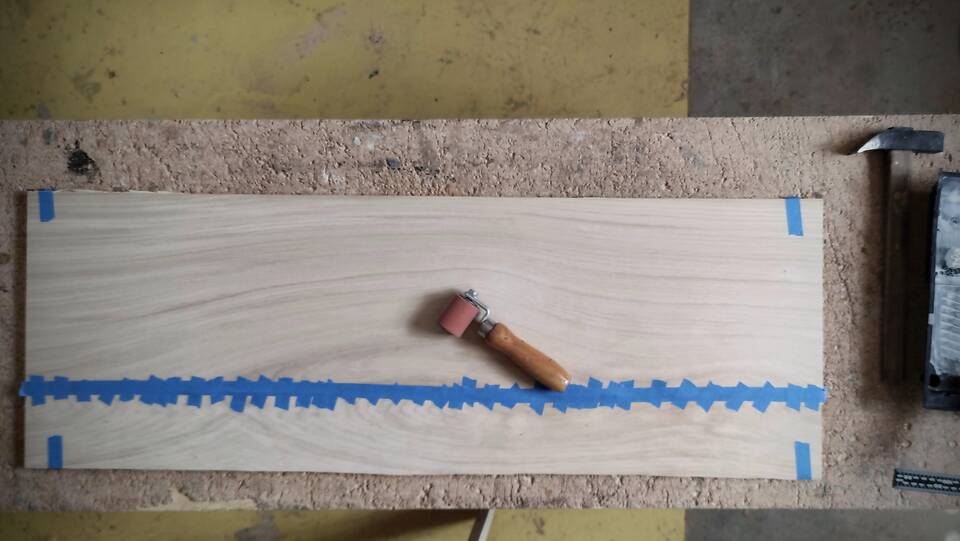
Once in position, with a hand roller I layed it flat. Then secured its positon with 4 stripes of tape in the corners, and finally put it inside the bag and pull the vacuum.
Bent lamination
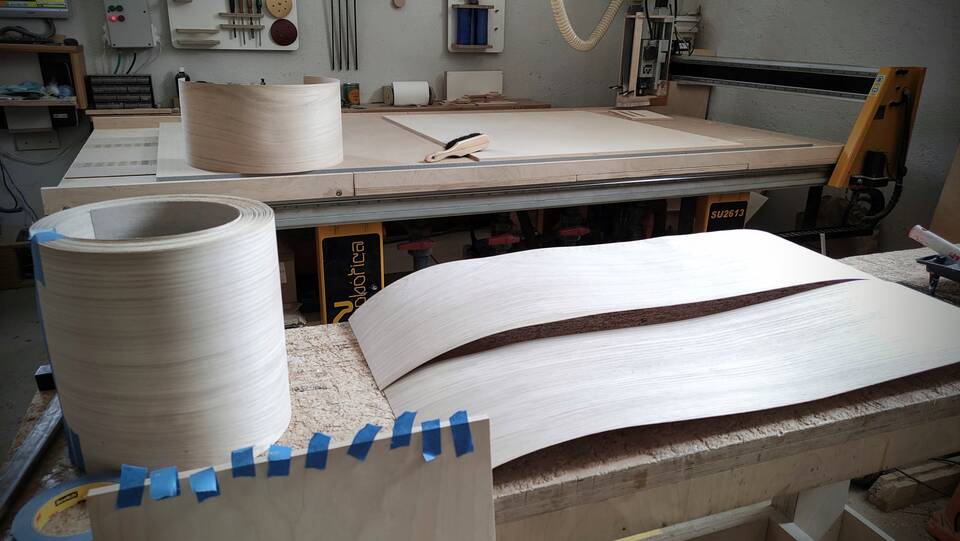
In this case, the proccess is the same as before, just repeating it over every piece of wood. Before setting it up, I cut some of the layers and rearange them, so the grain would run in the perpendicular direction of the other.
When I got the piece, I realized how much wishfull thinking I had preparing this piece: there was no way every part would reach the desired destination, and it was not possible to fix them into place before appliying vacuum. So, I needed to postprocess, even more if than if I had anticipated that post-processing. Lesson learnt: do not try to cut corners...
Epoxi laminate - vacuum curing
Since I had the mold done, I figured that I could also use it to practice with resins. I wanted to use wood, so at first I thougth that I would cut some stripes, so one layer would bond with the next. But while cutting them in the CNC machine, I noticed that the vacuum pump was pulling air through the oak, so that means it is porous, and, at least theoretically, I could make a composite out of it.
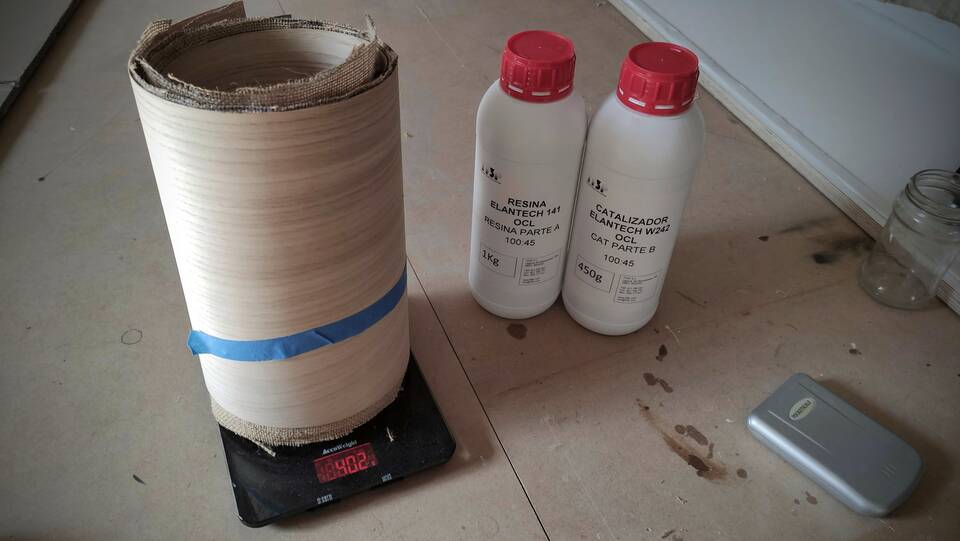
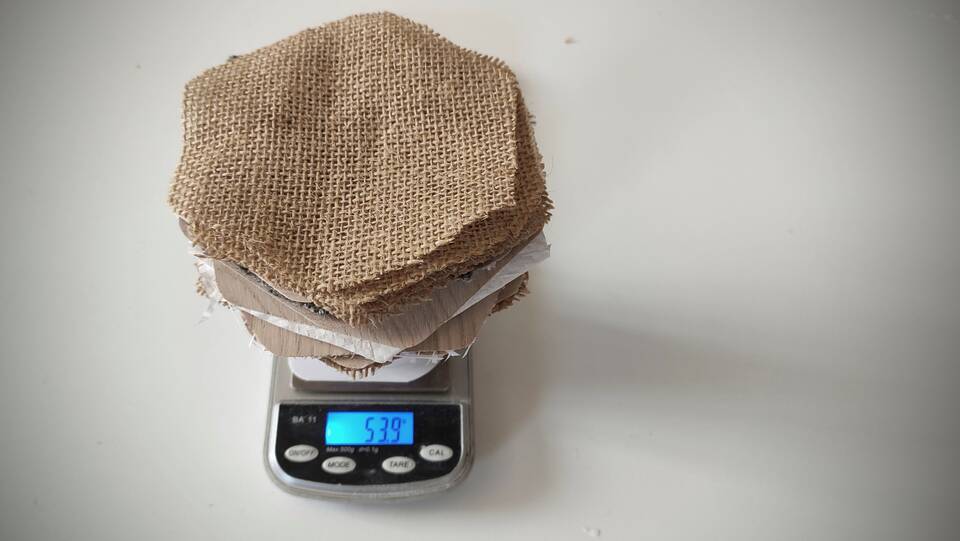
First, I weighted the fibers, in this case, it was roughly 400 grams. Then prepared about the same amount of resin, considering the mixing ratio of 100:45 specified by the manufacturer. I considered all measurements in weight, just for convinience.
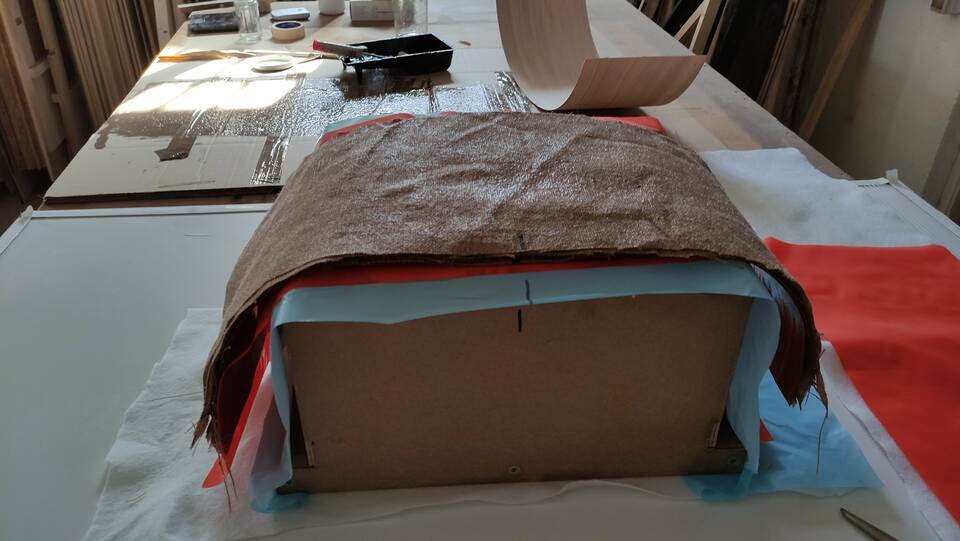
Next, I placed a bleeder plastic sheet over the mold. The mold had been treated with hardwax first, and with several hands of wax later, to avoid any resin to stick to it. After the bleeder sheet, I placed a peel off orange sheet. That is a piece of fabric that releases quite easily from the resin. After that, the first layers of oak veneer, then the burlap layers, all of them previously soaked with the resin.
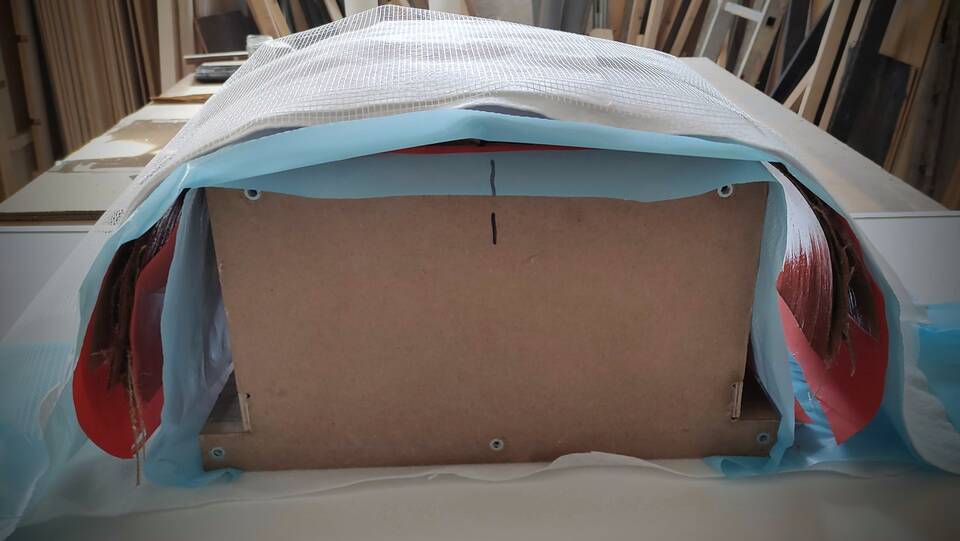
After the last layer of veneer, again a peel off sheet plus a bleeder. After that, a thick felt and a net, to help the air escape the bag.
The sealing of the bag was done using tacky tape, and a rubber roller over it
Once I applied vaccum, I noticed that The part was too big for the plastic I had used, and the air pressure outside the bag was not enough to bring the plastic to all the faces.
Thankfully, I had a big vaccum bag at hand, and could put the whole setup inside. This is a tubular bag, 1300x2500mm in dimension, so this time the part was being pressed correctly. In the end I was able to pull -0.8 bar. The bag is already quite old, and for sure there are some leaks to be fixed.
The part came out quite strong and thin. The finishing is not as nice as I expected, but overall it was great for a first contact with this technique. For sure I will use it more in the future.
Coupons - resin infusion & wood tests
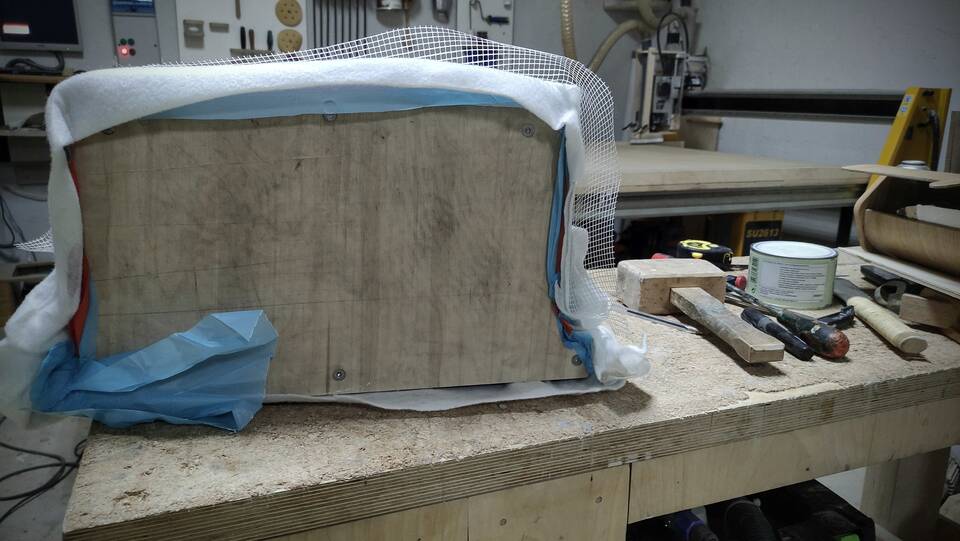
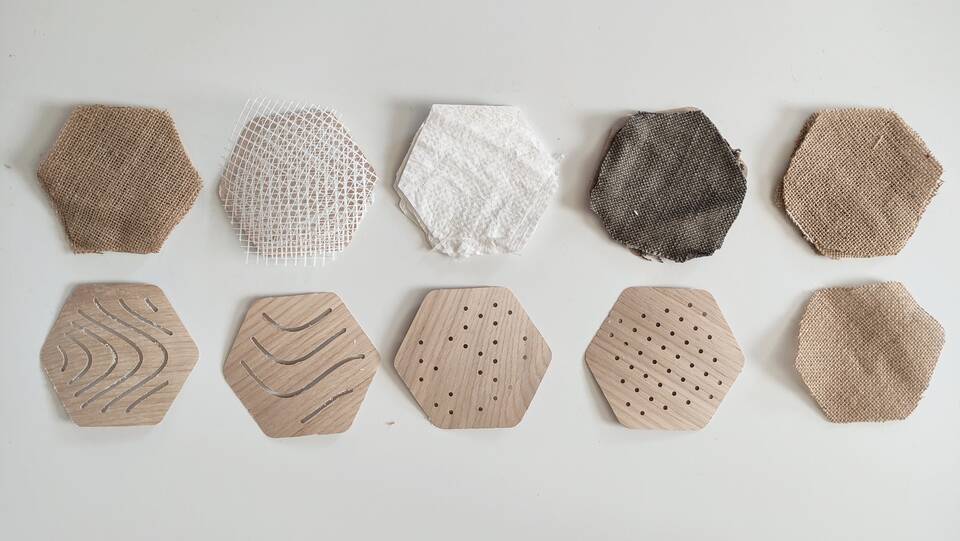
Since I had some more time left during this week, I decided to prepare a few coupons, using wood and a bunch of cheap fabrics: plaster net, construction bag, old tweed and burlap. I still wanted to test wood, so I left the oak veneer for the outer layers.
Just as with the previous procedure, first thing was to weigh the fabrics, to prepare the right amount of resin.
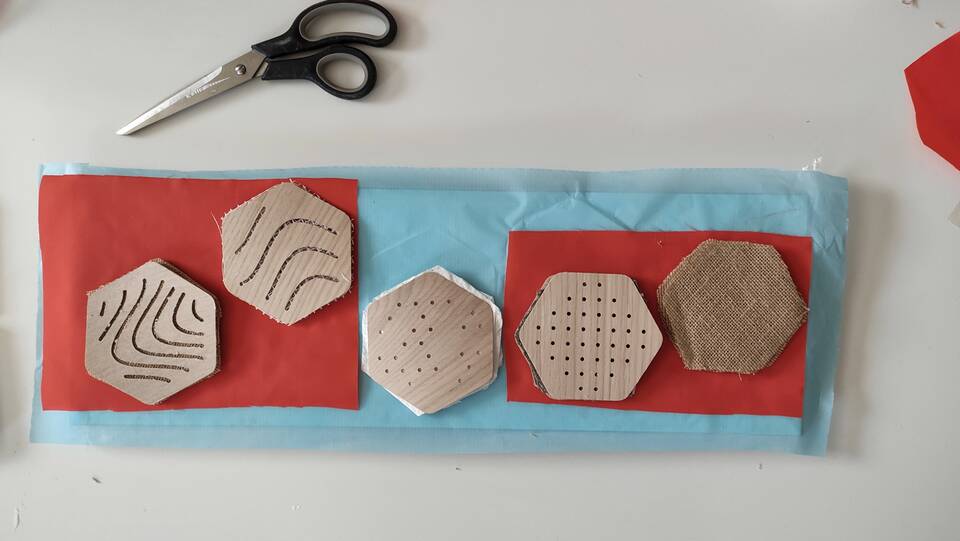
Then, I prepared all the layers: mold - bleeder - peel off - veneer - fabrics - veneer - peel off - bleeder. The nice detail this time is that you get to prepare with everything dry, which definetly makes a difference.
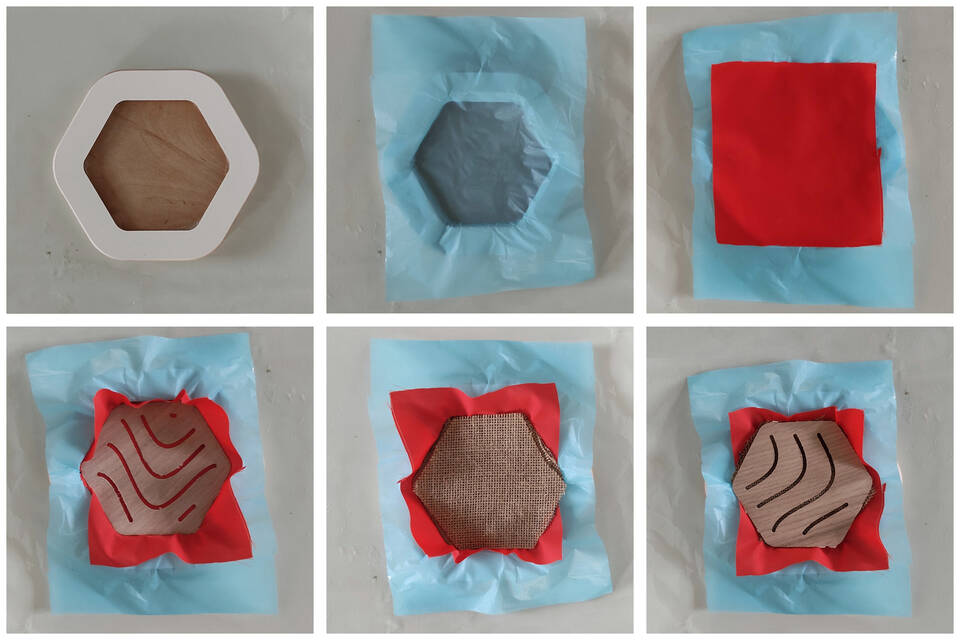
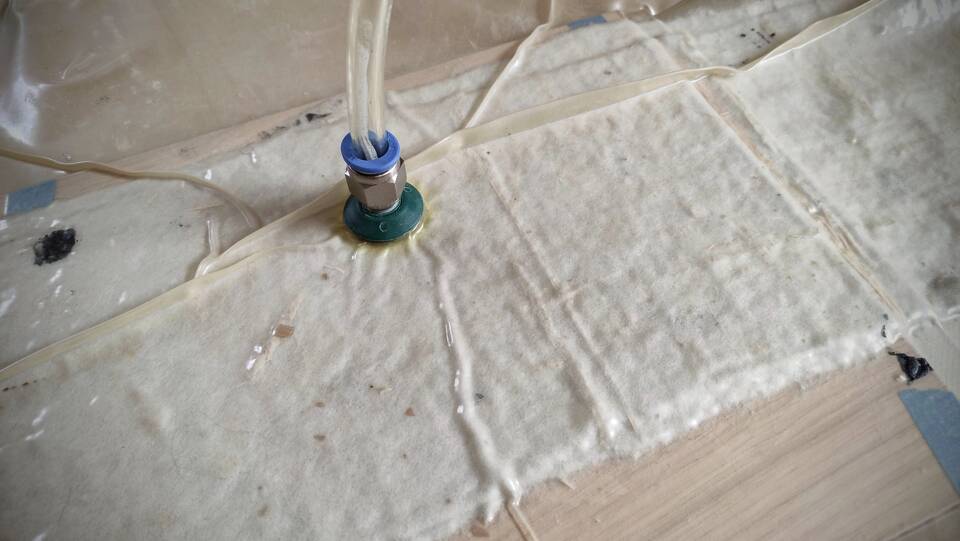
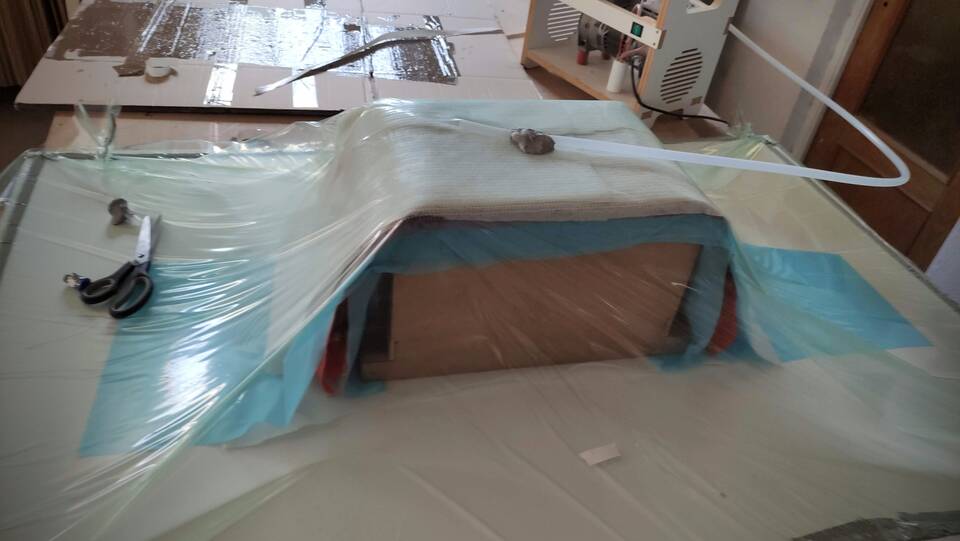
Then, after the last bleeder film, I placed a net, and the infusion setup. It consists of a perforated tube configuring a ring, from where the air will be sucked, and another tube, from where the resin will flow.
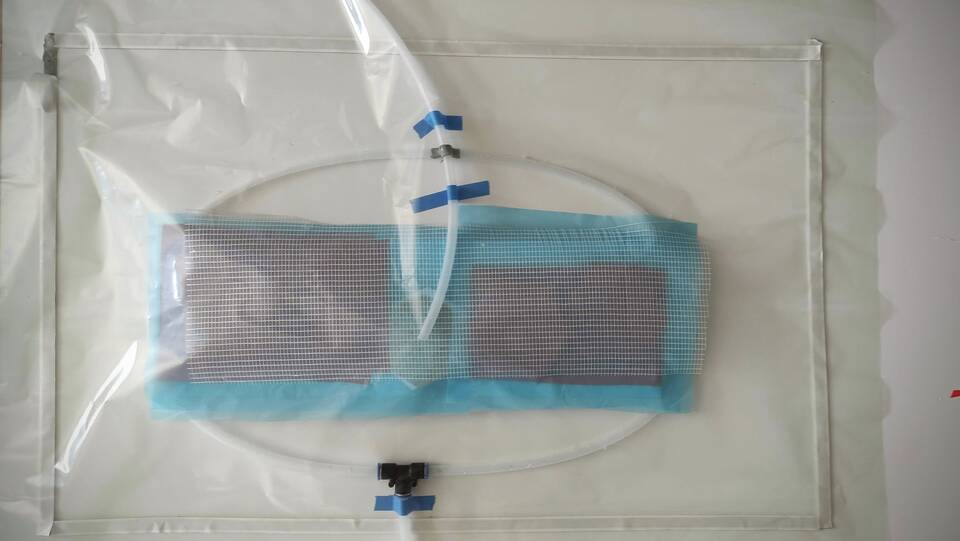
Once the plastic was sealed, I pulled out the air, to check that that there were no significant leaks.
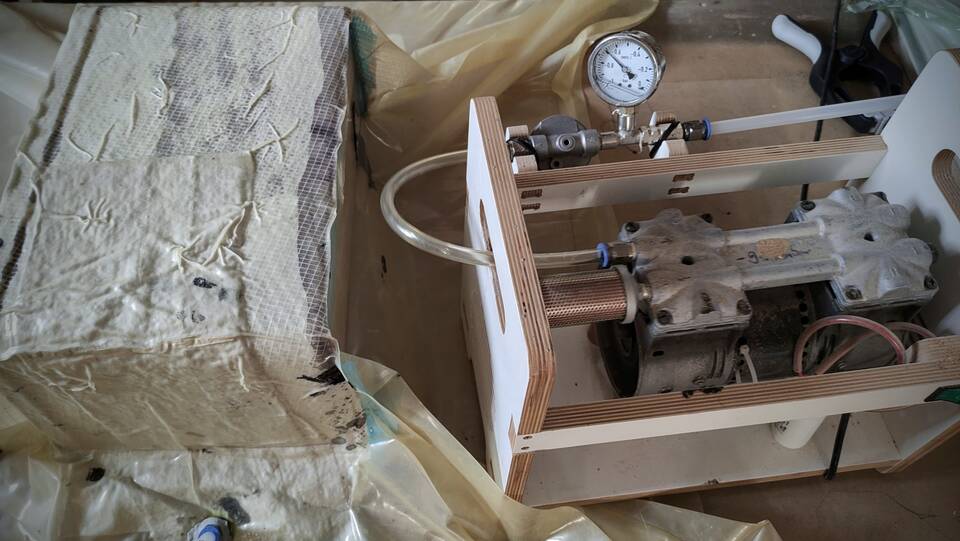
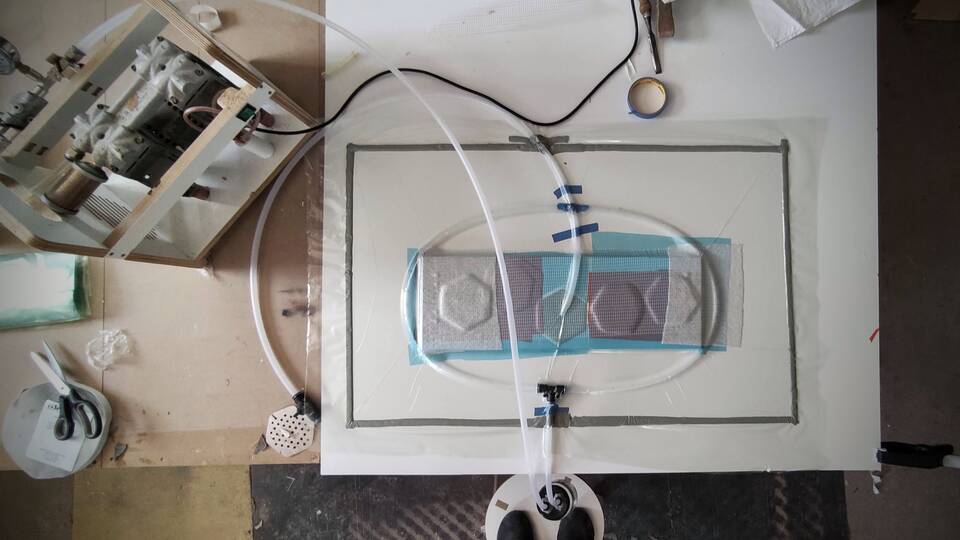
This is a complete view of the setup, including the vacuum pump and the resin trap, for which I used an old mermalade jar, with two push fit connectors attached to the lid.
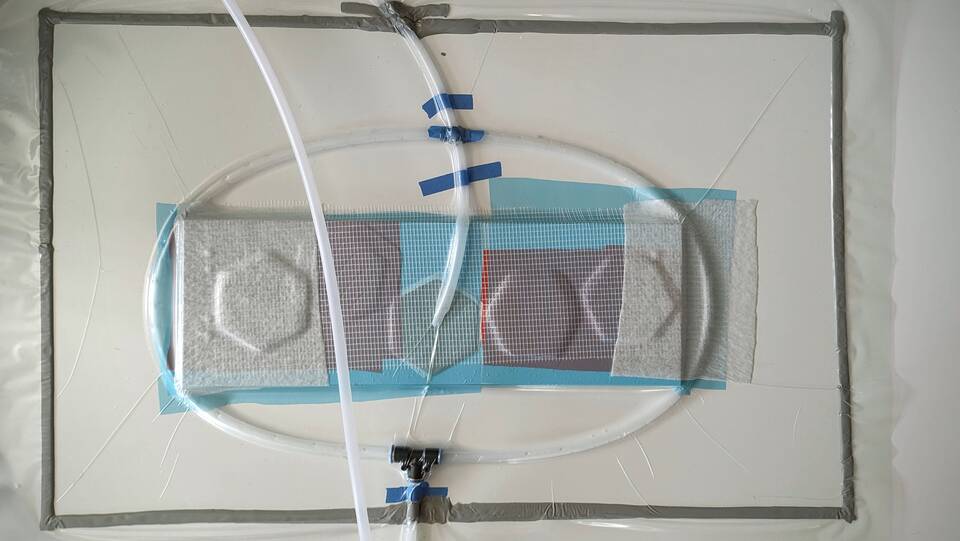
This time, I also had problems: the first was that I prepared at first too little resin: it was barely enough to fill in the incoming tube... Another problem was the ring, since it was touching the difussion mat, creating a highway for the resin to flow, avoiding some parts of the coupons.
Anyway, I magaged to add more resin, and to, at least, partially fill some of the coupons. The one that had only burlap came out really light and strong, and another with veneer and burlap was also surprisingly stiff. Some others did not get enough resin to have the layers adhered. Definetly, I need to run more tests, but as I said previously, this is something I enjoyed a lot, and I think it is a great skill to master in a Fab Lab.
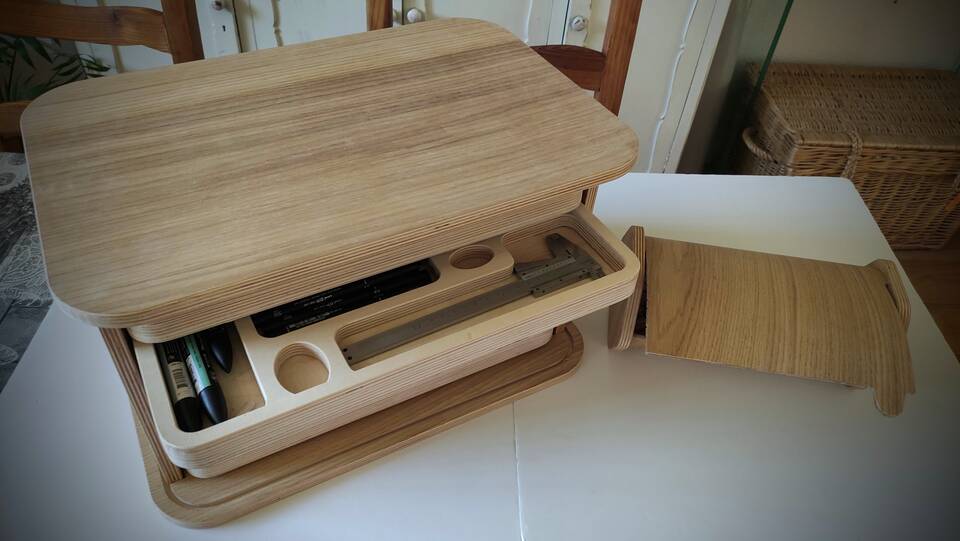
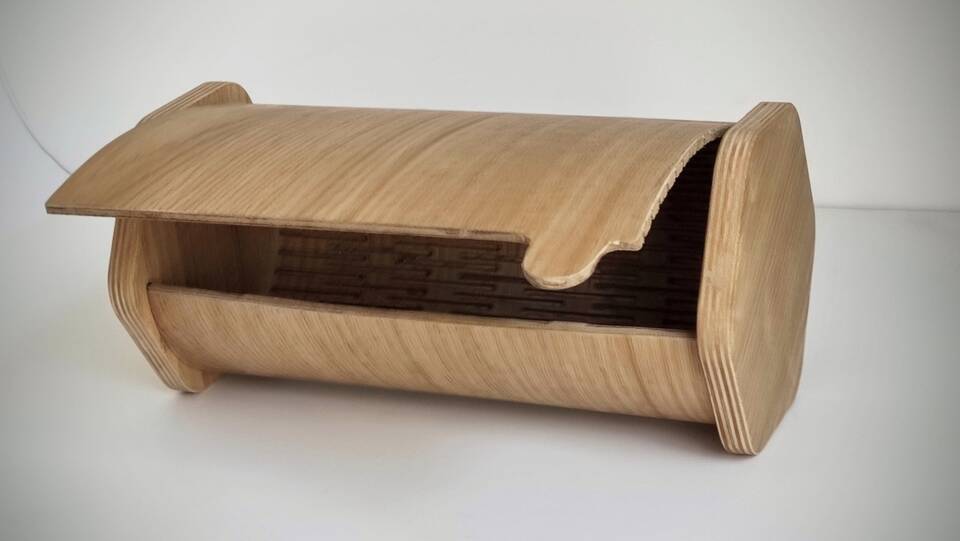
Finally, the chest of drawers for the electronics tool kit came out nice. The sliding door did not work, so I used the flexible wood I made to make a small box with two hexagonal sides.
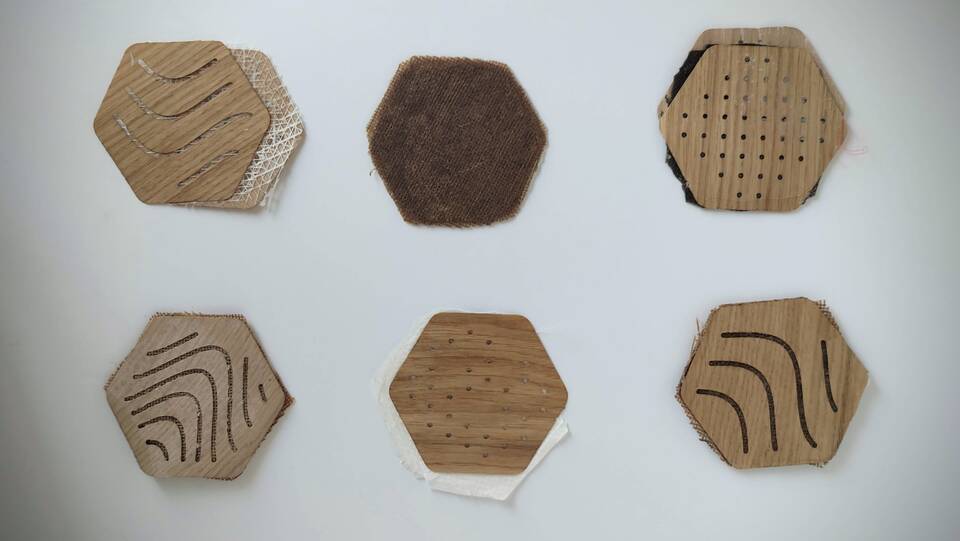
Bio materials for a chess game
Just as a reminder for the future, I would like to experiment with bio materials. It occurred to me that I could practice with the moulds I made during moulding and casting week, and choose both white and black materials to finish the chessgame I designed
- White pieces: Eggshell composite Eg01
- Black pieces: Wood ashes biocomposite