Week15
Wildcard week
Assignment
Design and produce something with a digital fabrication process (incorporating computer-aided design and manufacturing) not covered in another assignment, documenting the requirements that your assignment meets, and including everything necessary to reproduce it. Possibilities include but are not limited to wildcard week examples.
This week I pulled out one of my old tools, years ago when I had time in hands, I needed to form thin sheets of plastic and built my own vacumforming machine. Most of it is hand made parts along with recycled hardwear and electric heater parts...There is a lot of space for improvement and for now let´s if it works well enough for this week.
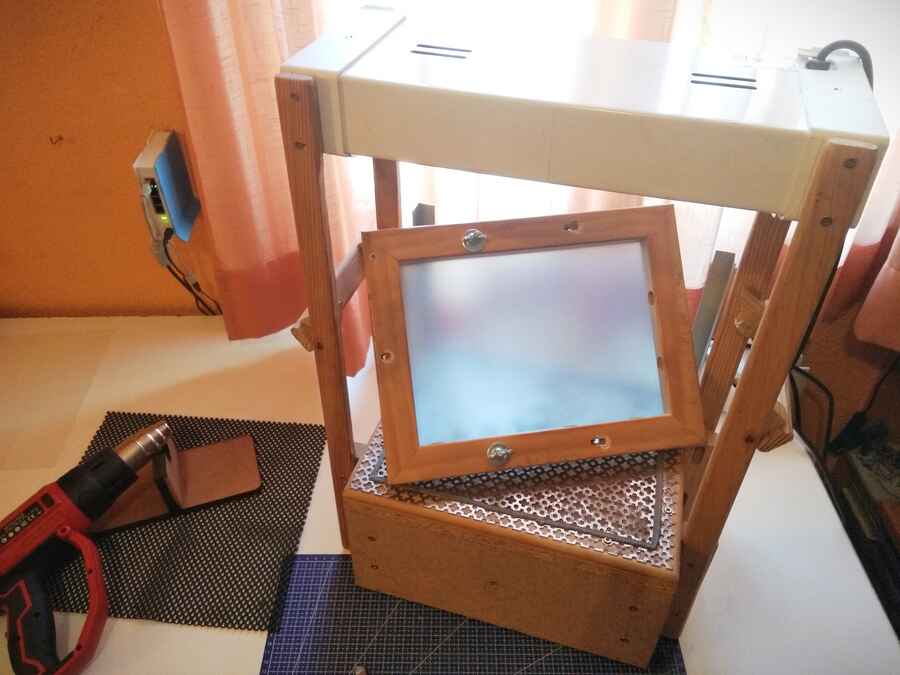
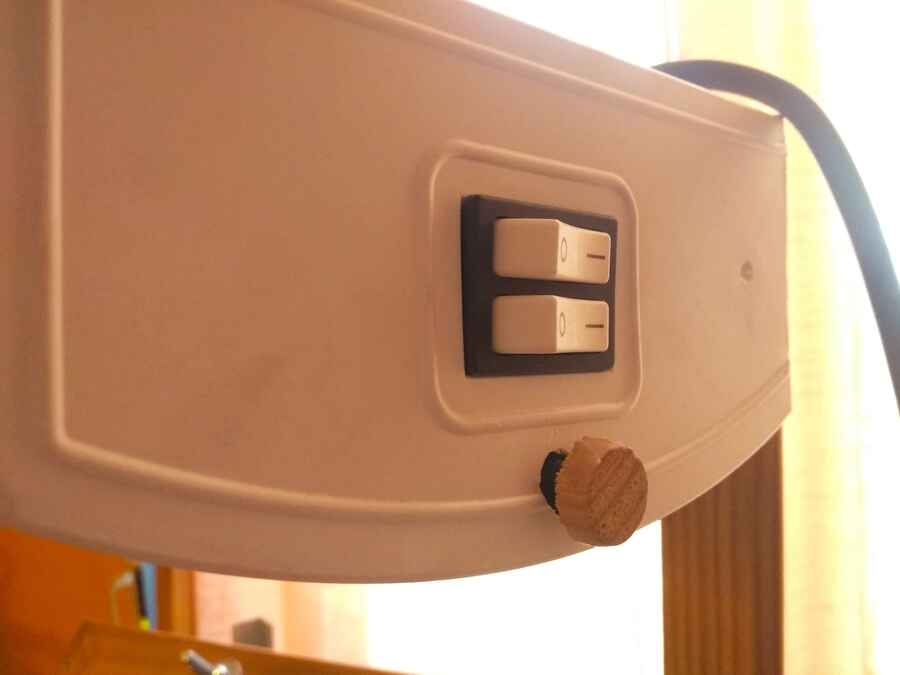
This version comes with a few very elegant features, it has its very own and organic push button (heating elements trigger)
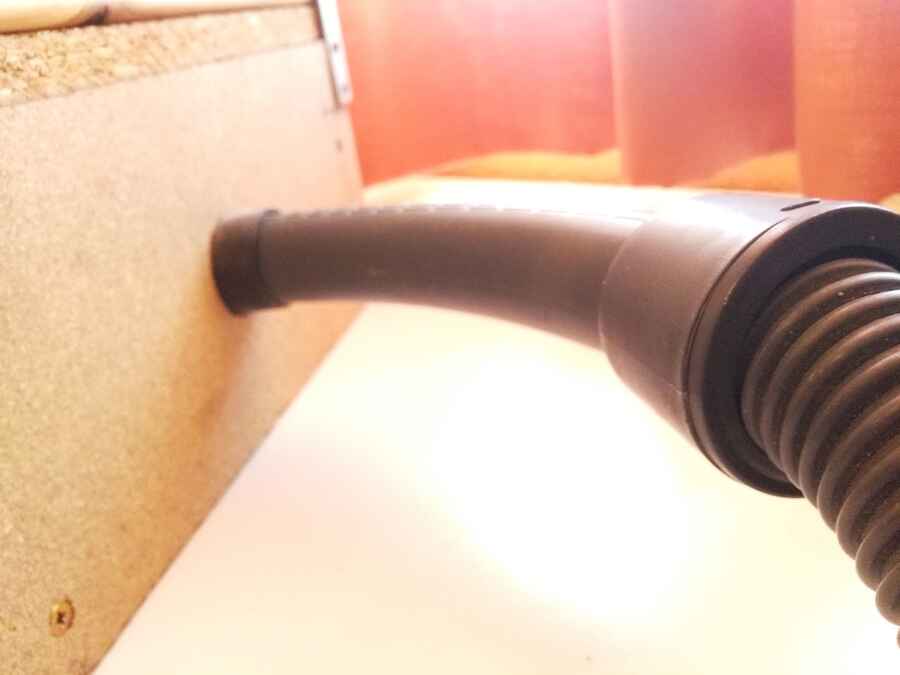
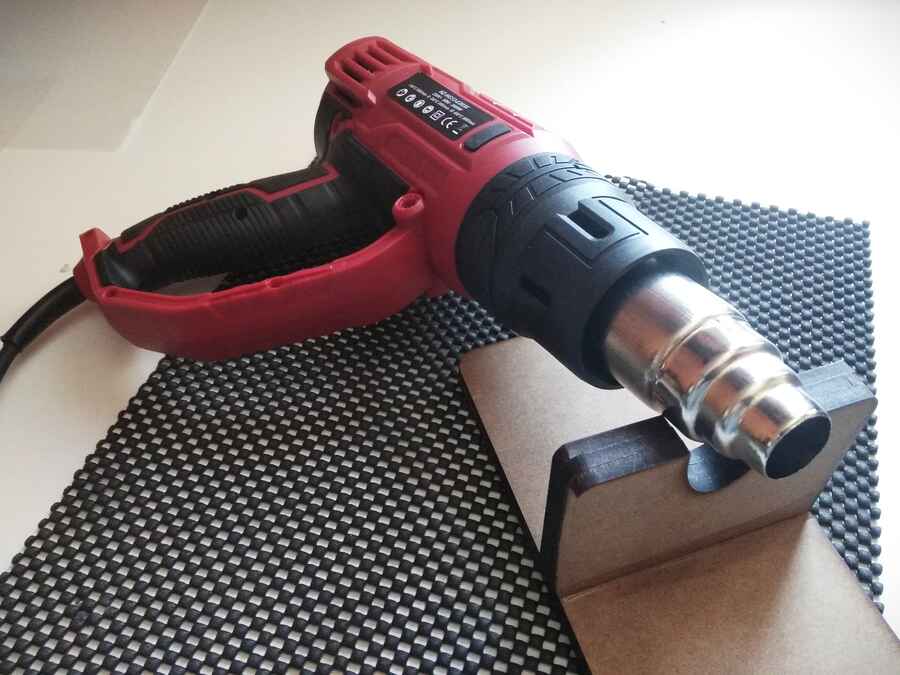
For the vaccum capability, its easy, by default it does not have any, instead we can use whatever we have at hands (in my case a house vacum cleaner should do the trick). I will also use a heat gun to help with the finishing touches during forming.
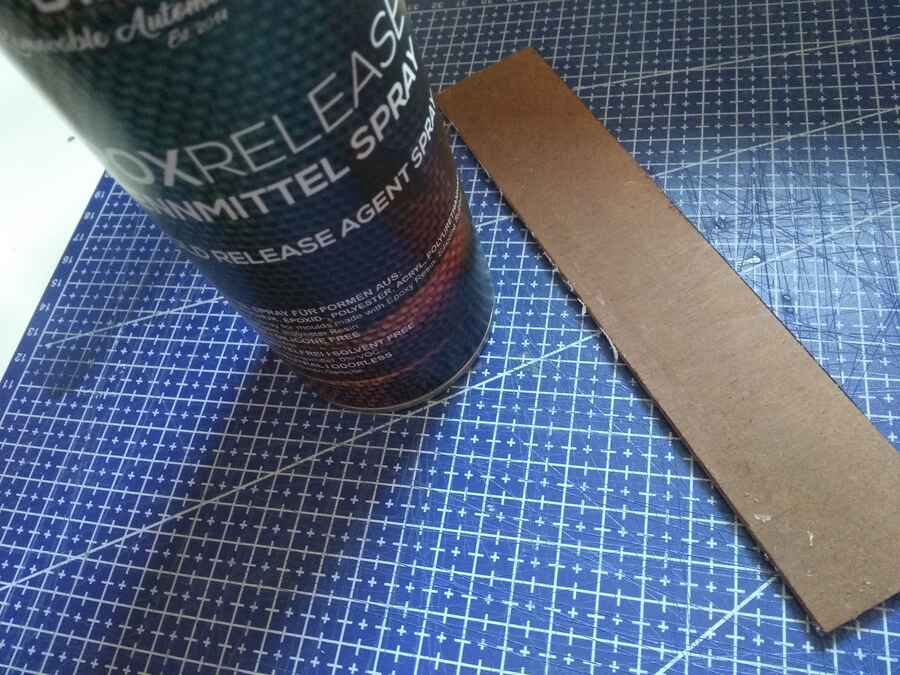
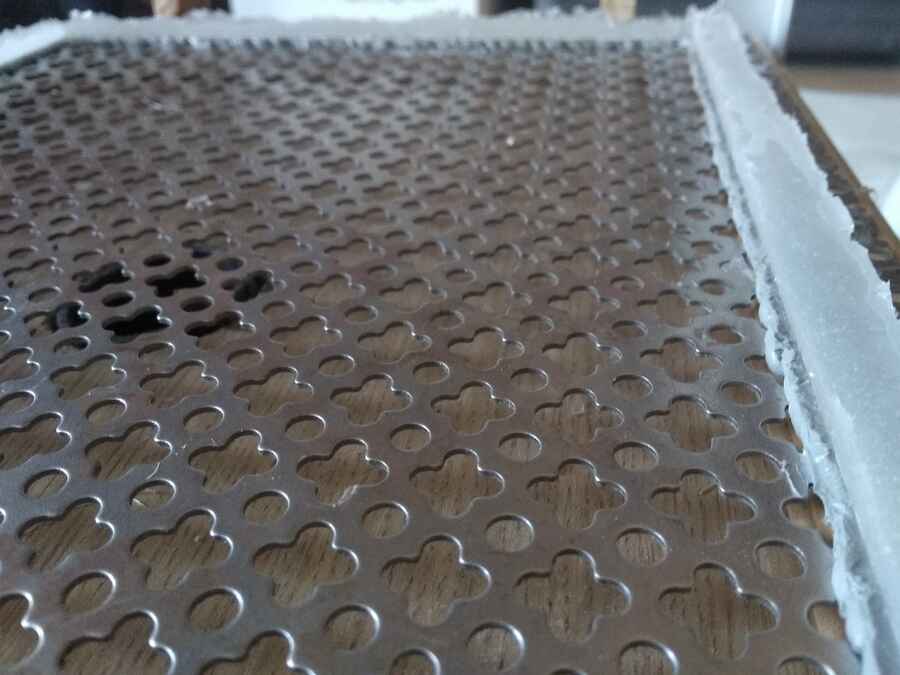
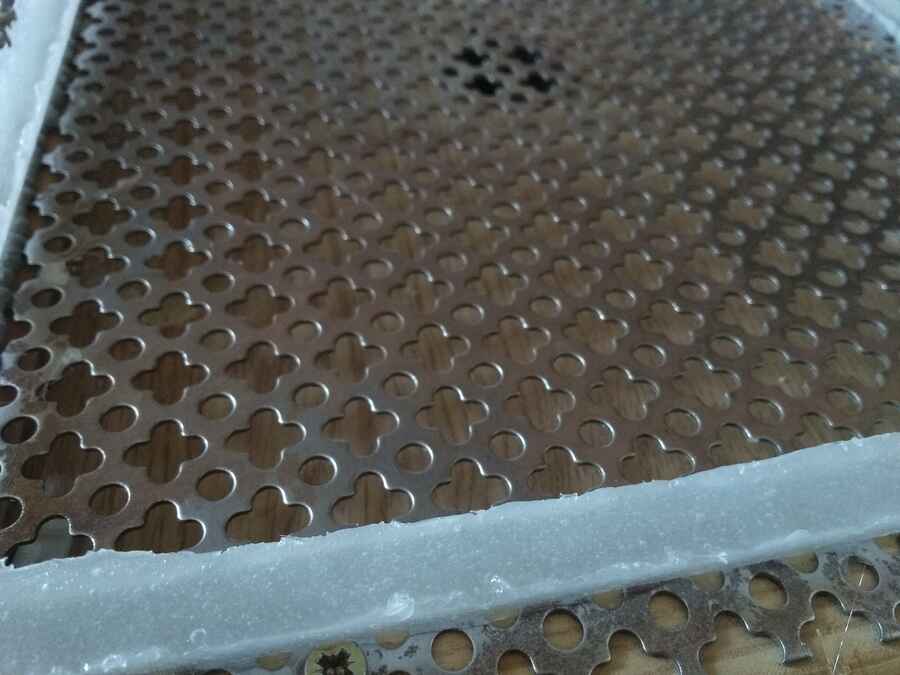
Before starting with the design, I would like to redo the seal with the silicon used in week11 as I remember having issues with it in the past. This silicon has nore flexiblility and with a bit of pressure it should help to get a better seal.
To do that, I used a peice of MDF sprayed with releasing agent and a heat gun to build temporary walls in which I will pour the silicon...

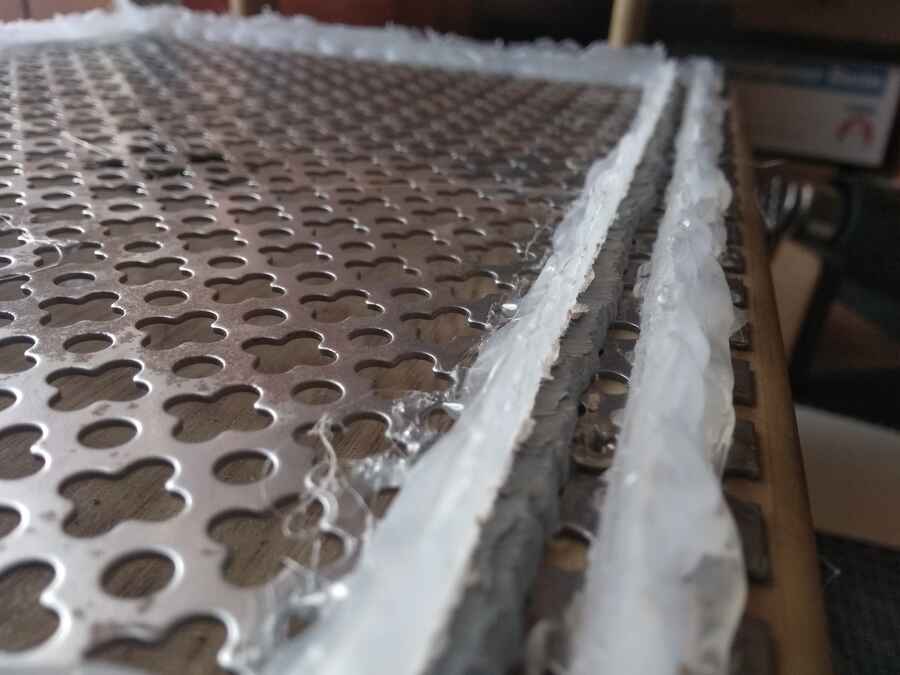
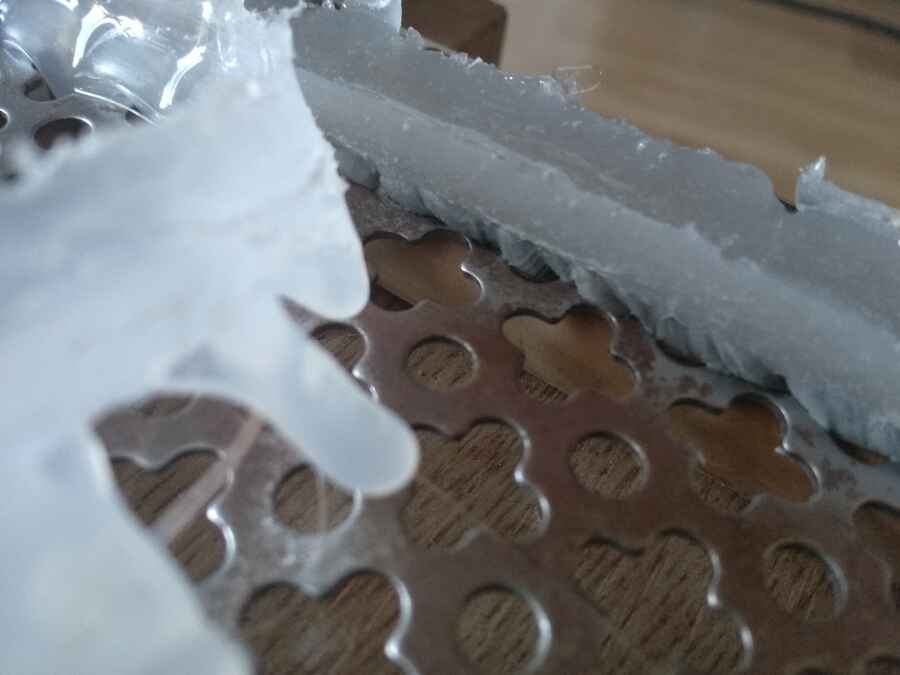
There is more space now between the frame and the bottom plate but it should be better...
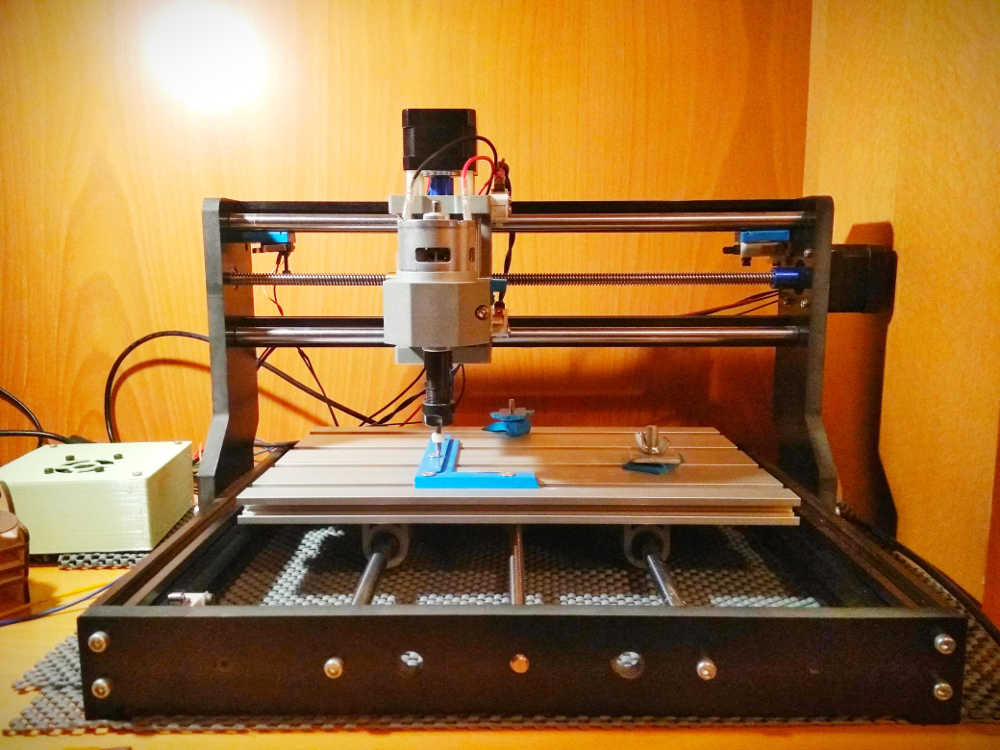
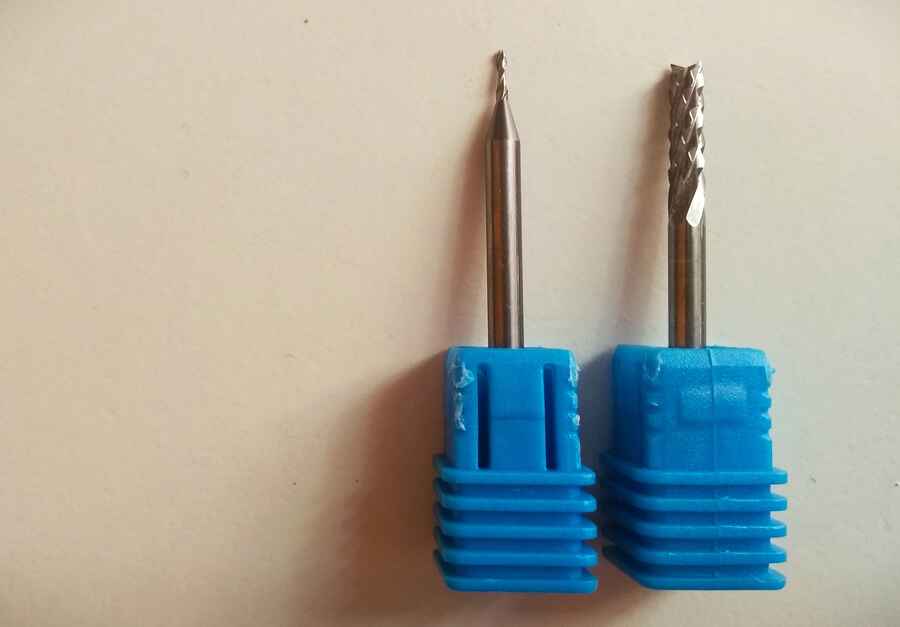
The Idea is to mill a buck (shape) that will be used to form a sheets of plastic (in my case, Polypropylene). As our workshop is still under maintenance, I will be milling with the Saintsmart 3018 mini mill with a corn teeth milling bit and a with a 1mm diameter ball nose bit.
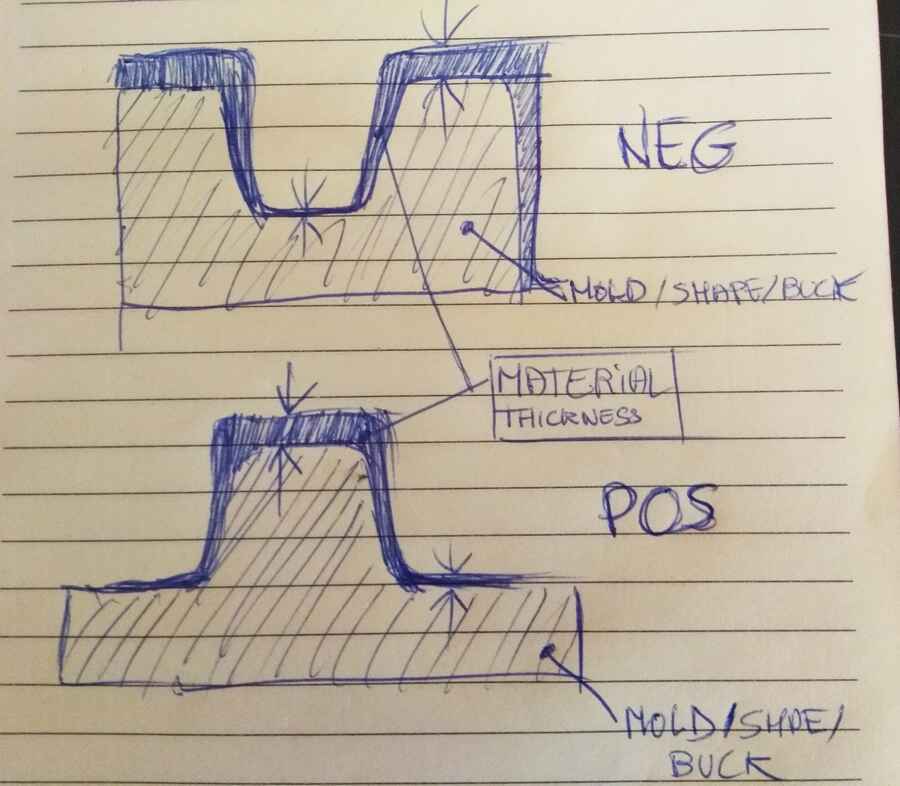
Here are a few pointers for the design:- Avoid any overhangs/undercuts- Draft all vertical walls (few deg)- Use vent holes in critical areas (good air evacuation)
Here is some usefull documents on vacumforming from formtech and formlabs.
It is also good to think on how the material behaves, for my design it should be fine but if the design gets more complex, it is good to think about the weak points.
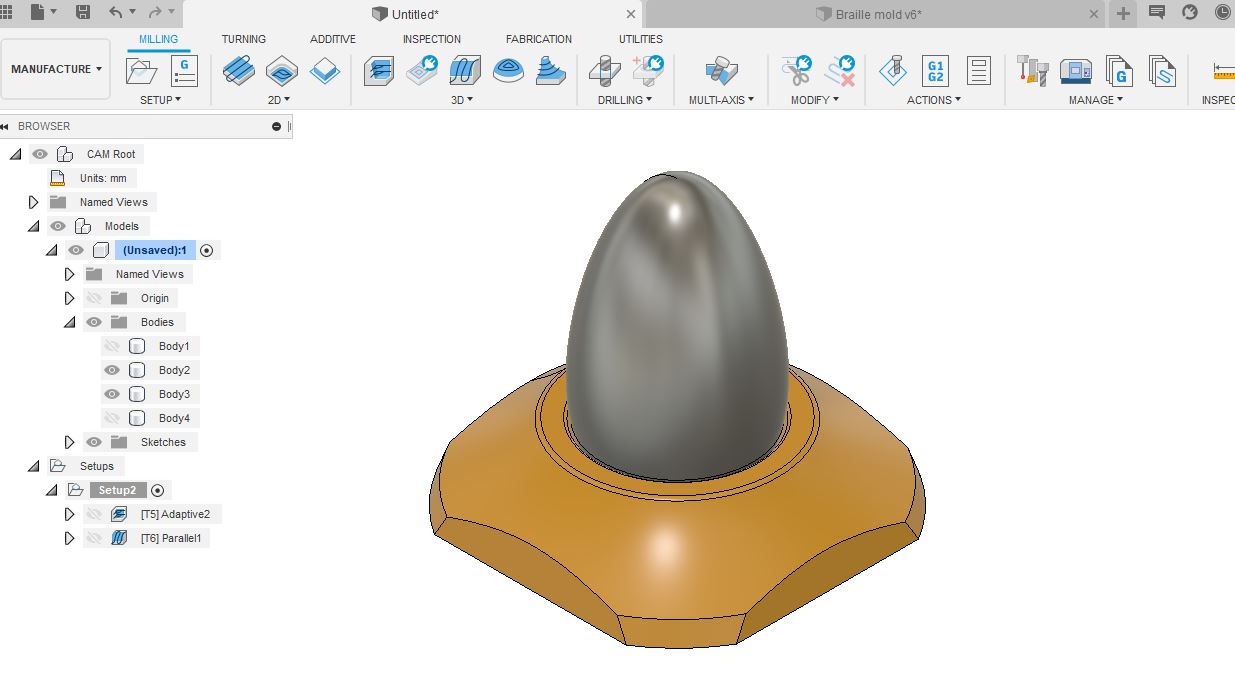
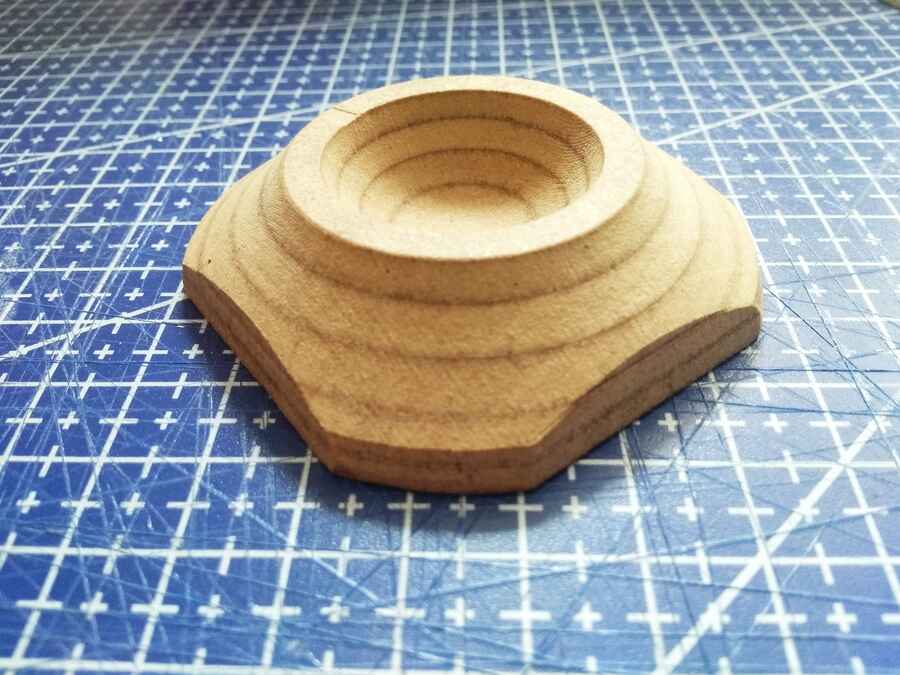
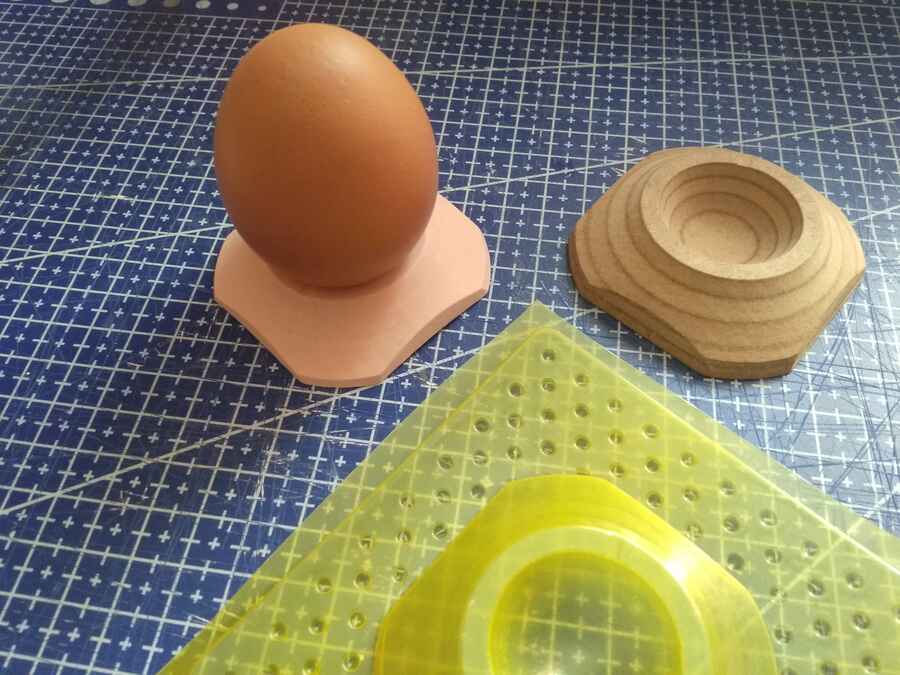
In Fusion360, I designed a small egg holder...(Fusion360 project file and stl).
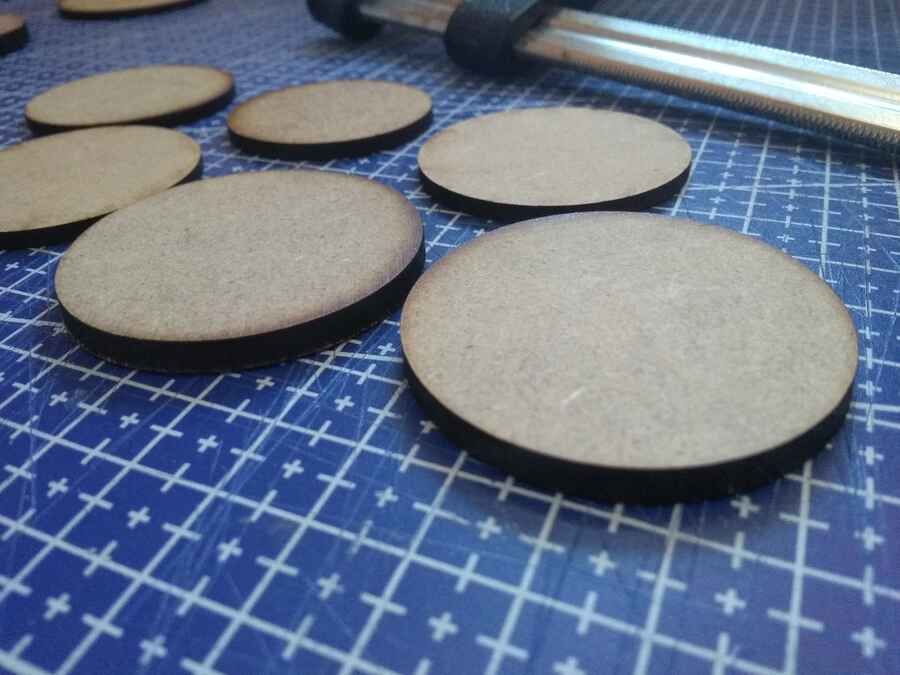
I will be using left-overs (cut-outs) from previous works to build my stock...
Preparing the milling paths. For the roughing path, I am using a 3d adaptive process. I start the job at a feedrate of about 500mm/min but I will be ajusting it in "candle" later on during the process. I want to be able to adjust it because I know for experience that the glue layers will be much harder than the MDF itself. A maximum depth path of 0.5mm...
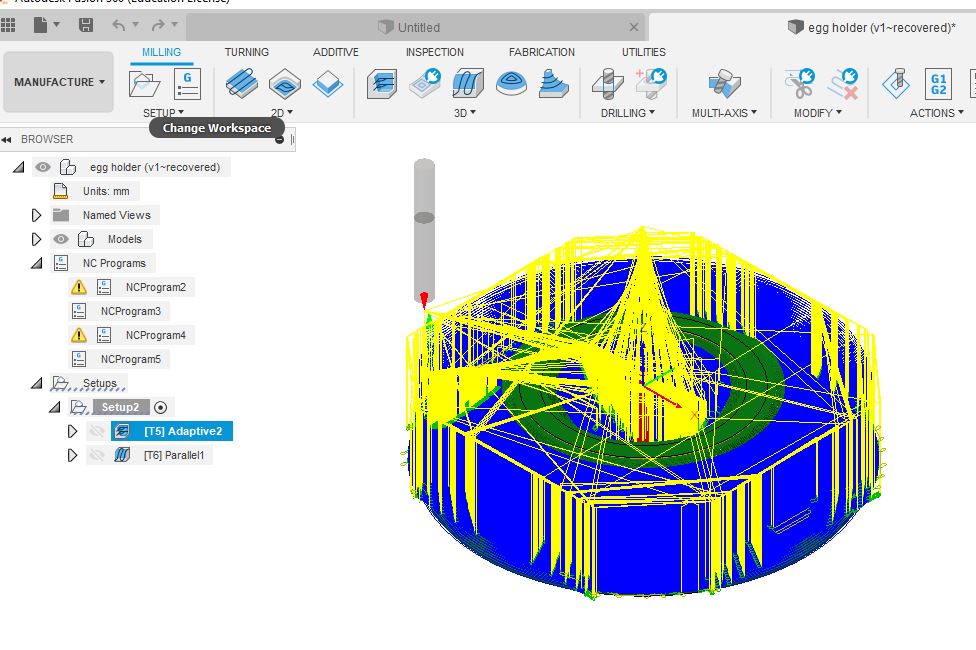
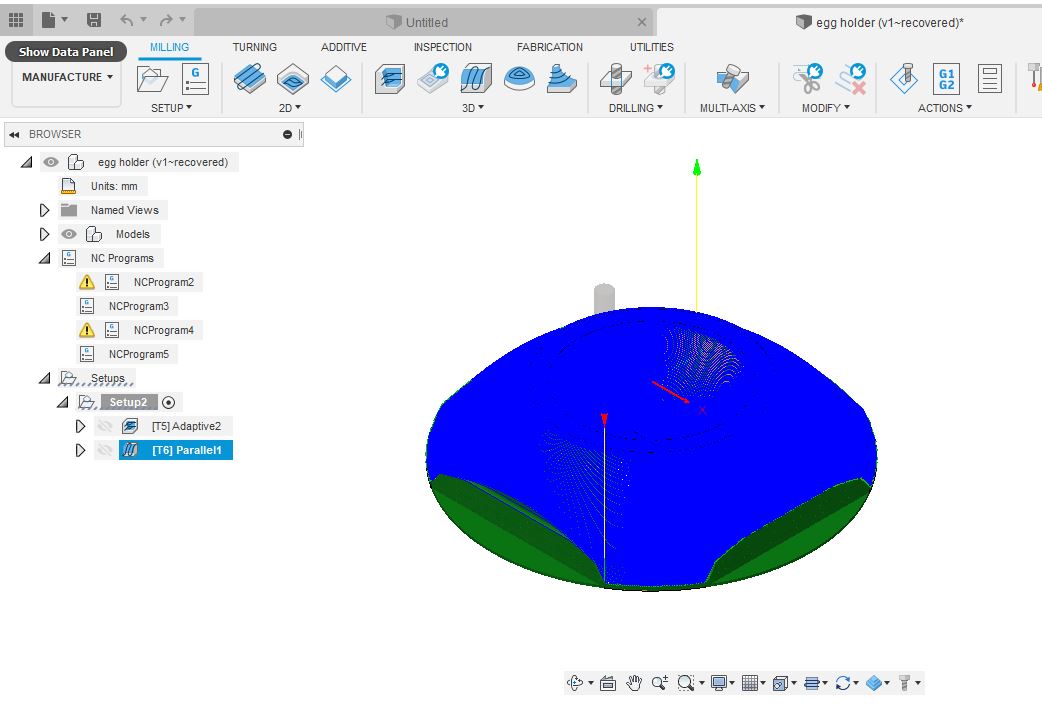
...And on to Candle for the milling. The roughing path took close to 3h....
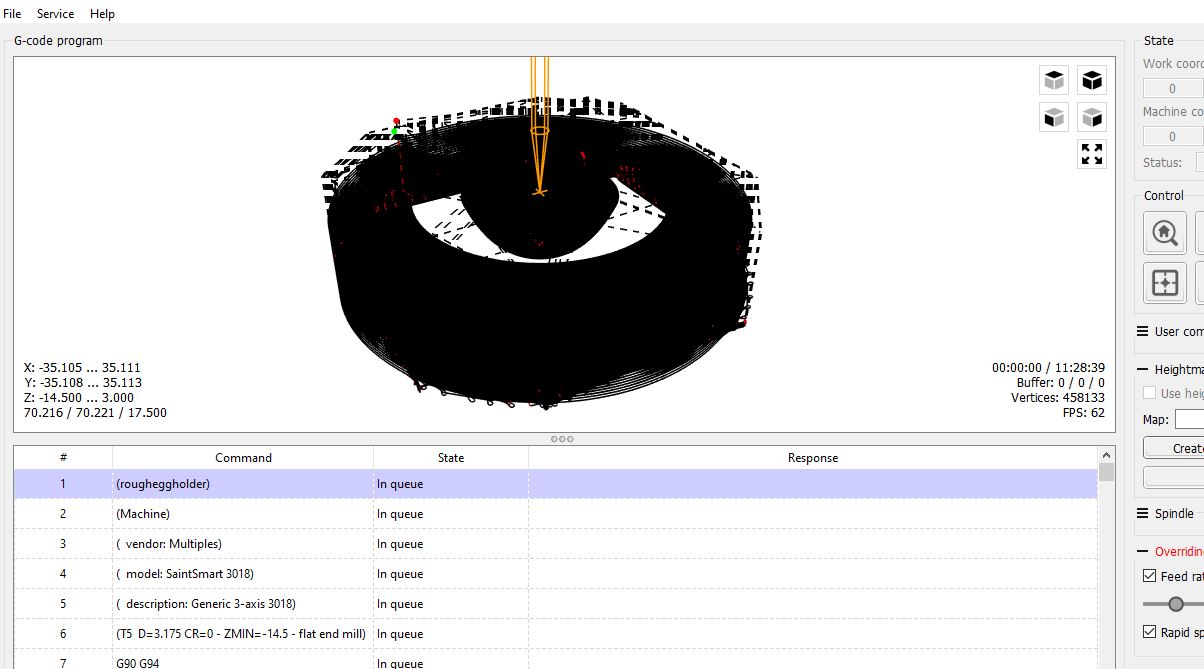

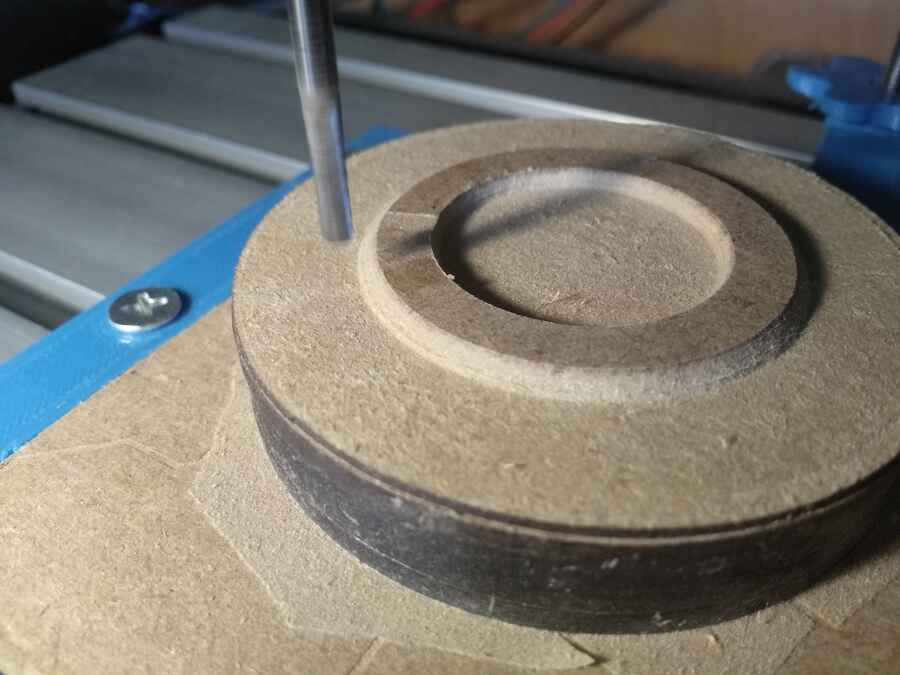
Finishing path took a little more than an hour. I went a little slower 200 to 300mm/min taking a 0.5mm depth of cut at a 0.1mm step over. I must have made a mistake measuring it or misaligned the origin point, because I have a bit of material left...
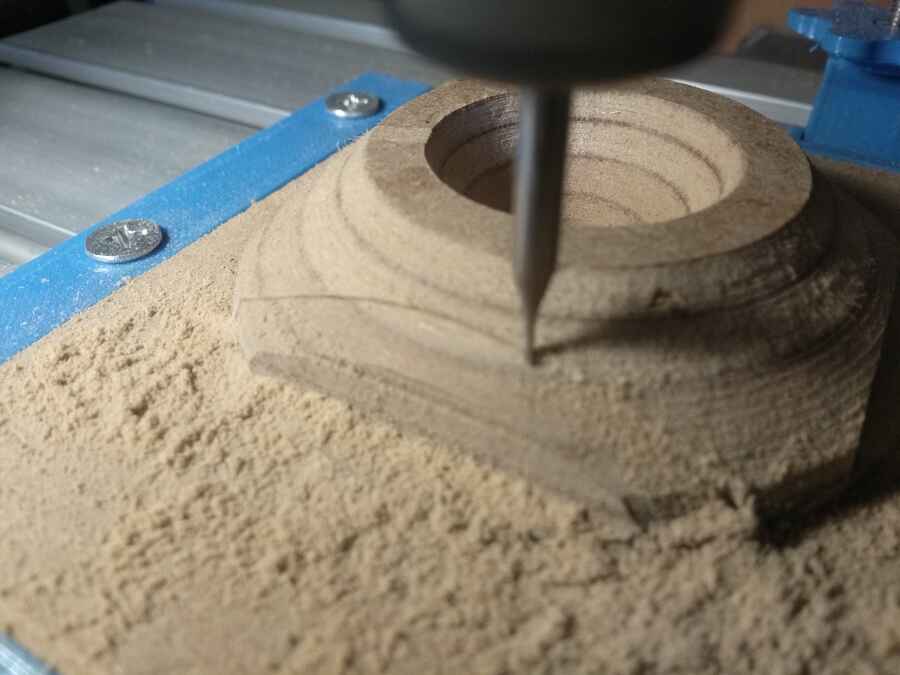
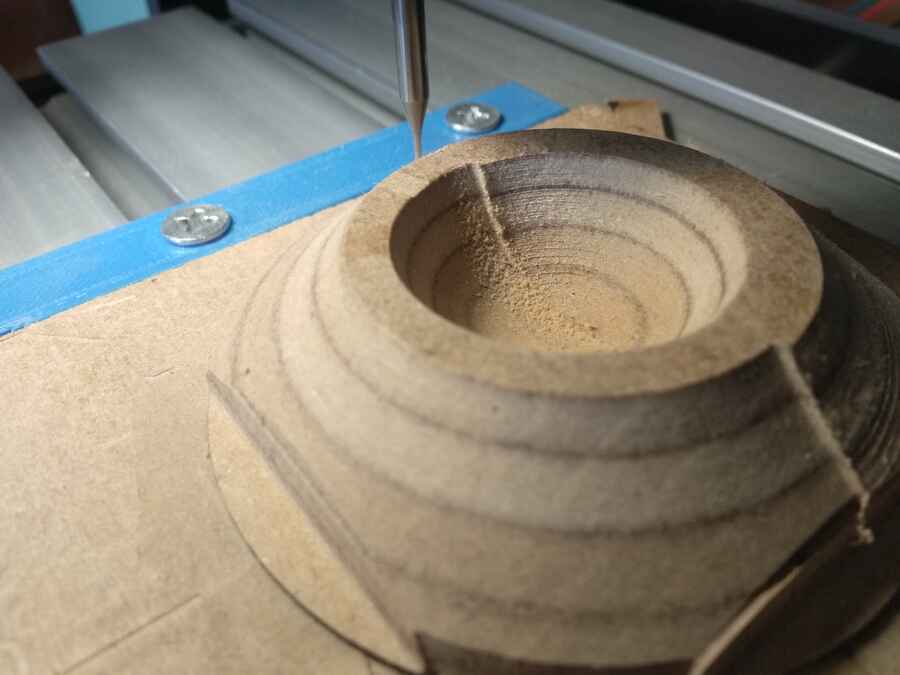
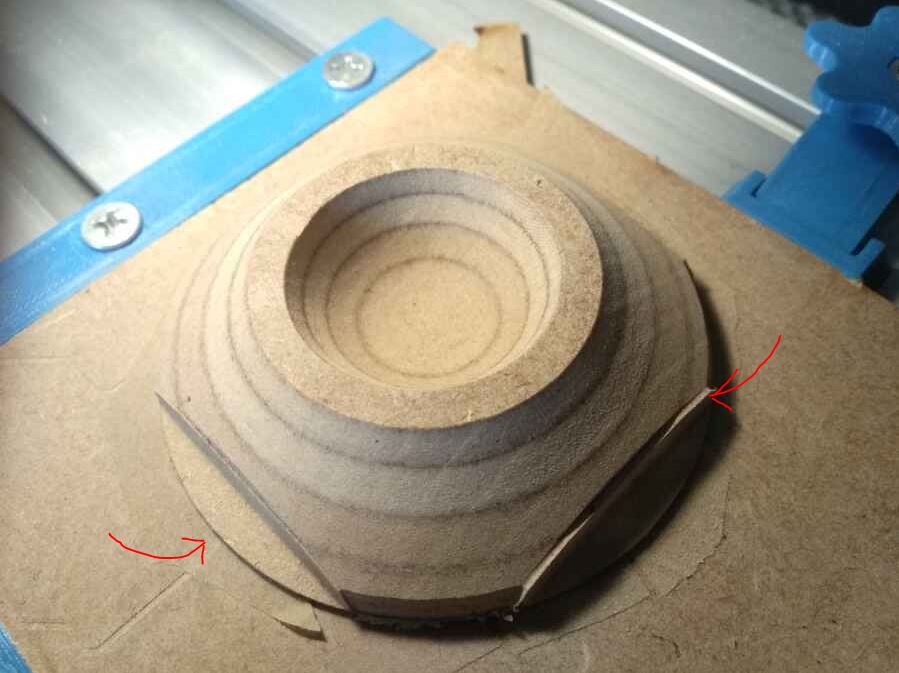
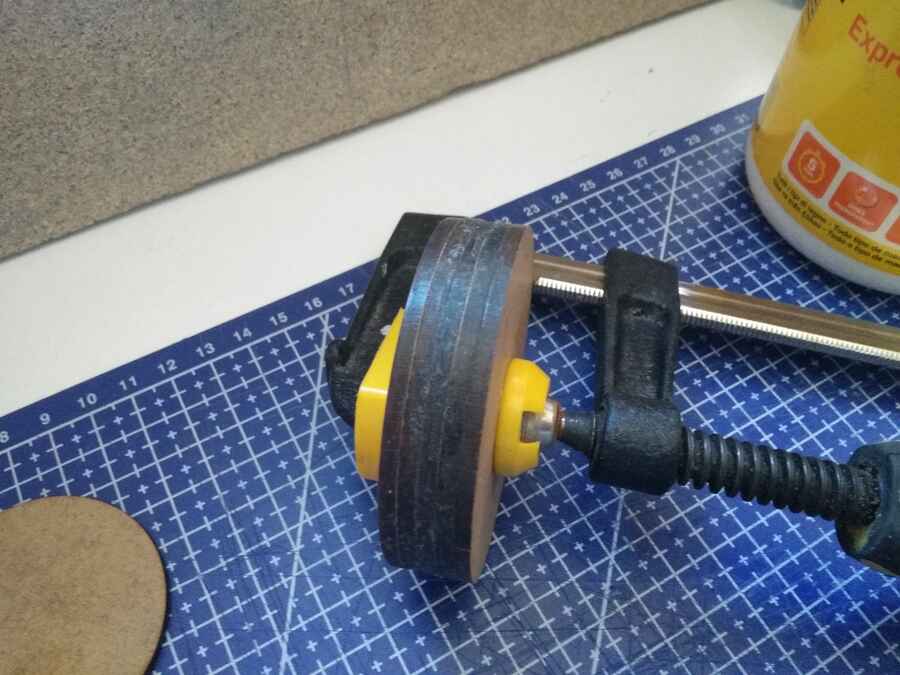
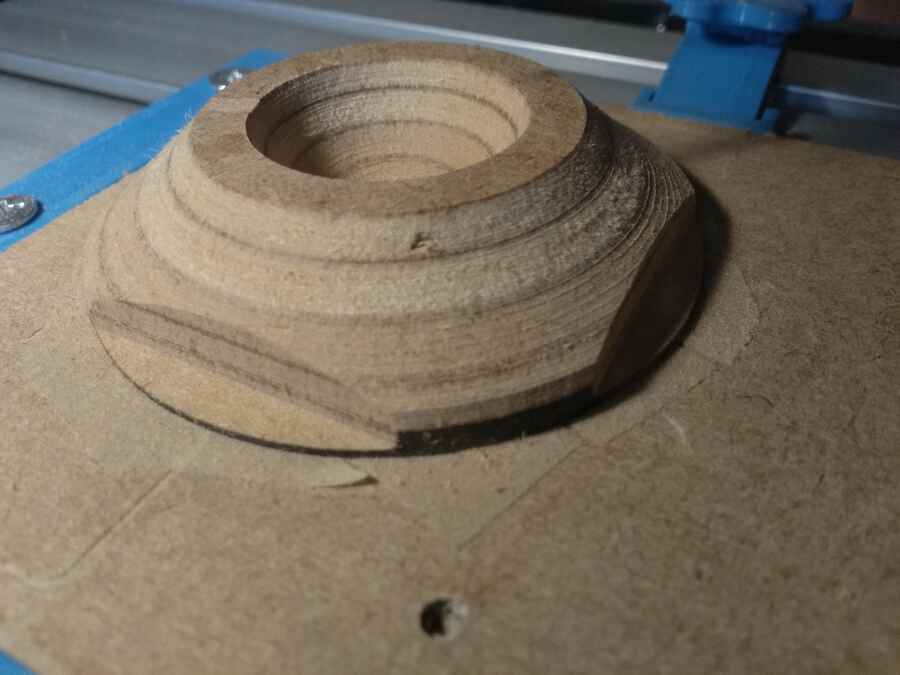
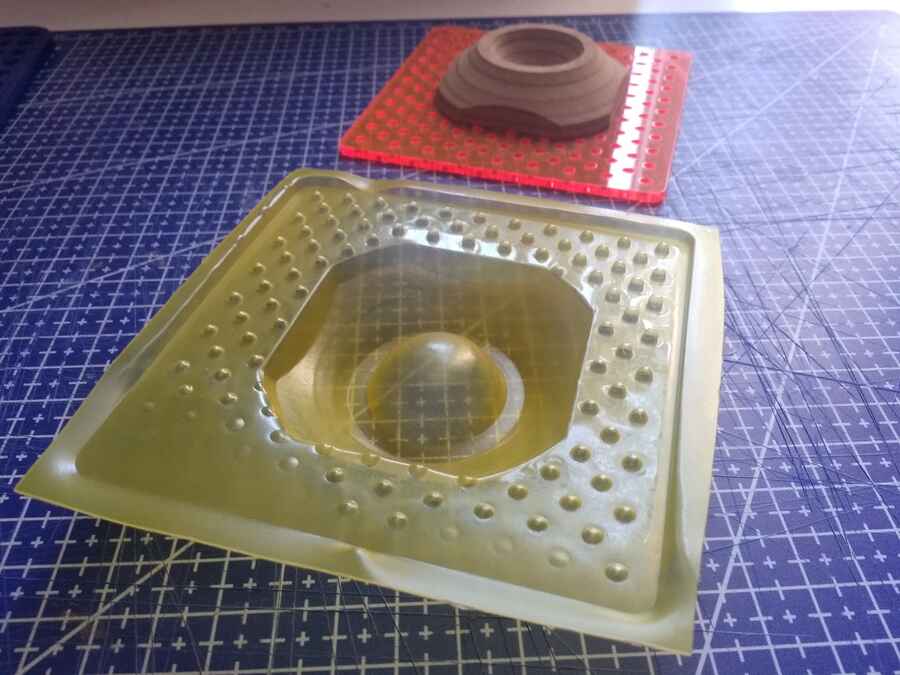
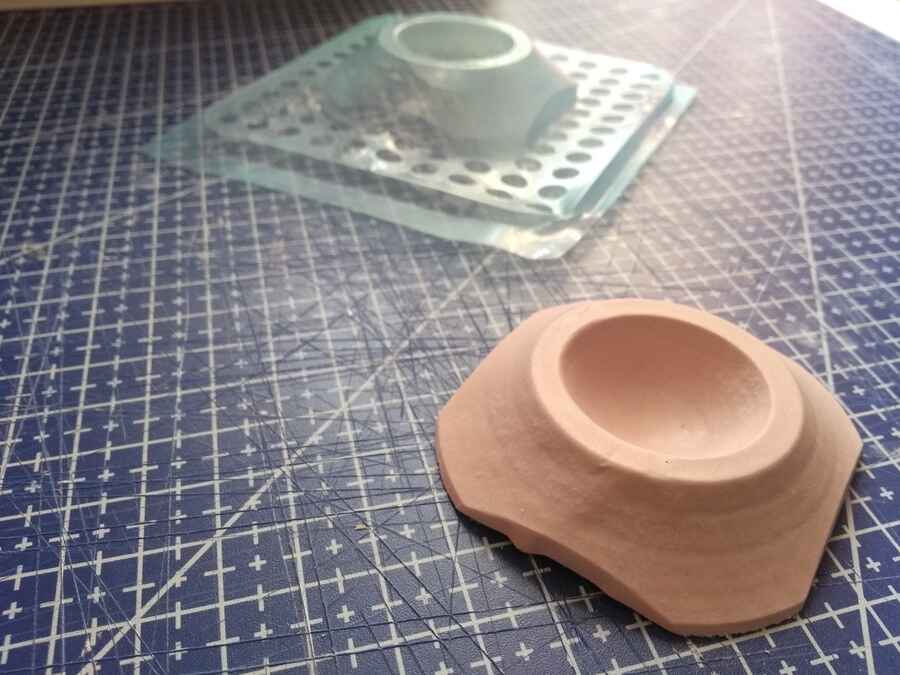
Here is the result after a bit sanding and cleaning, I also cut out the leftover material at the bottom...
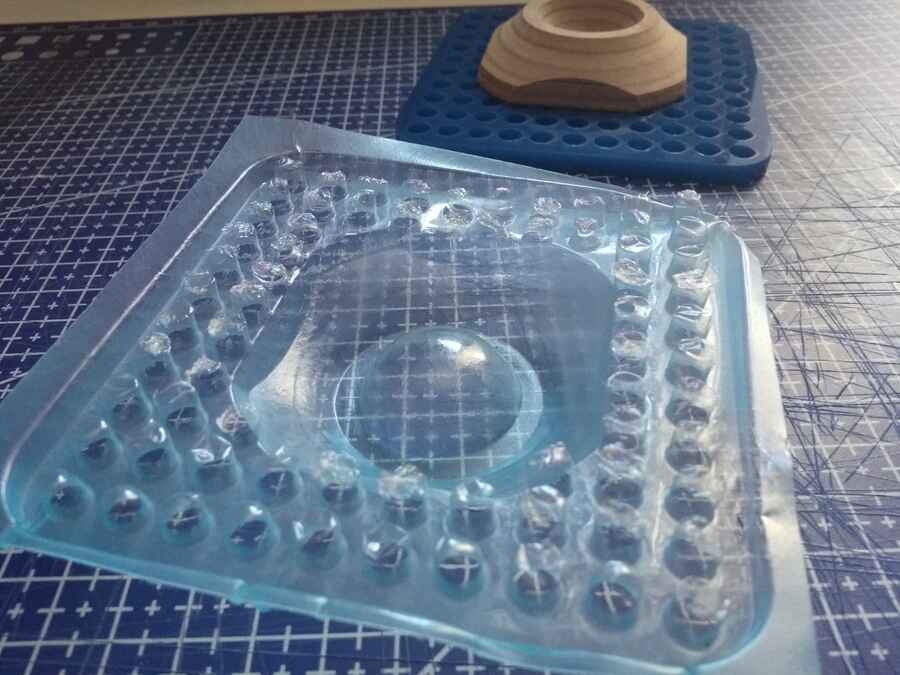
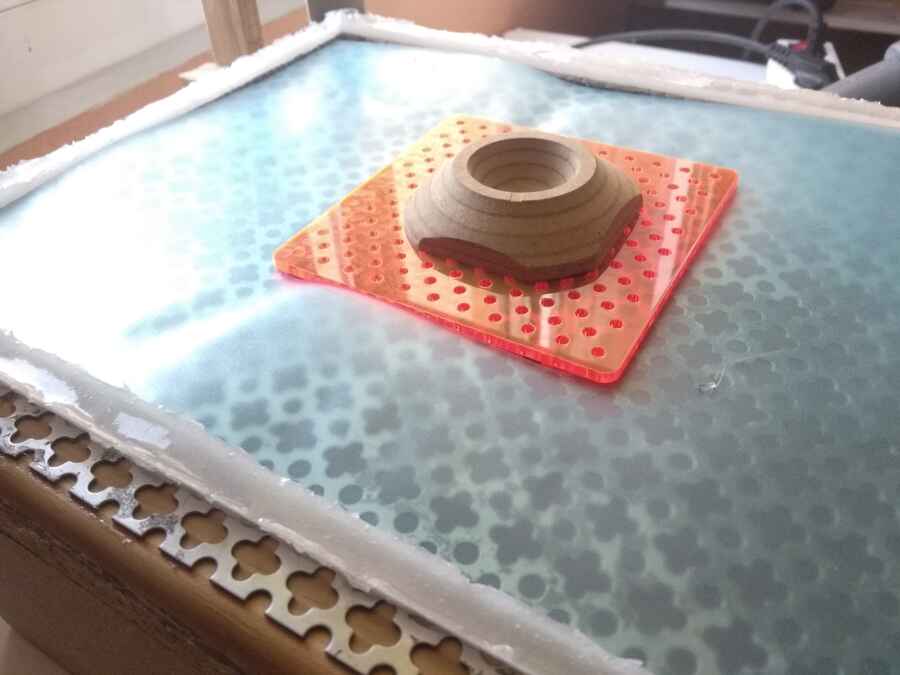
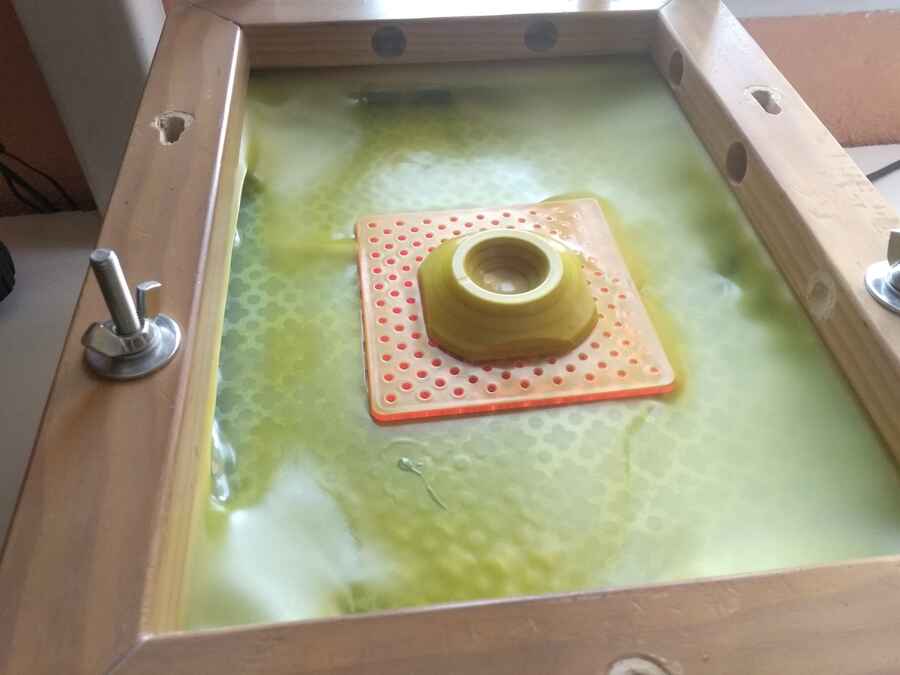
This is how I set it up...

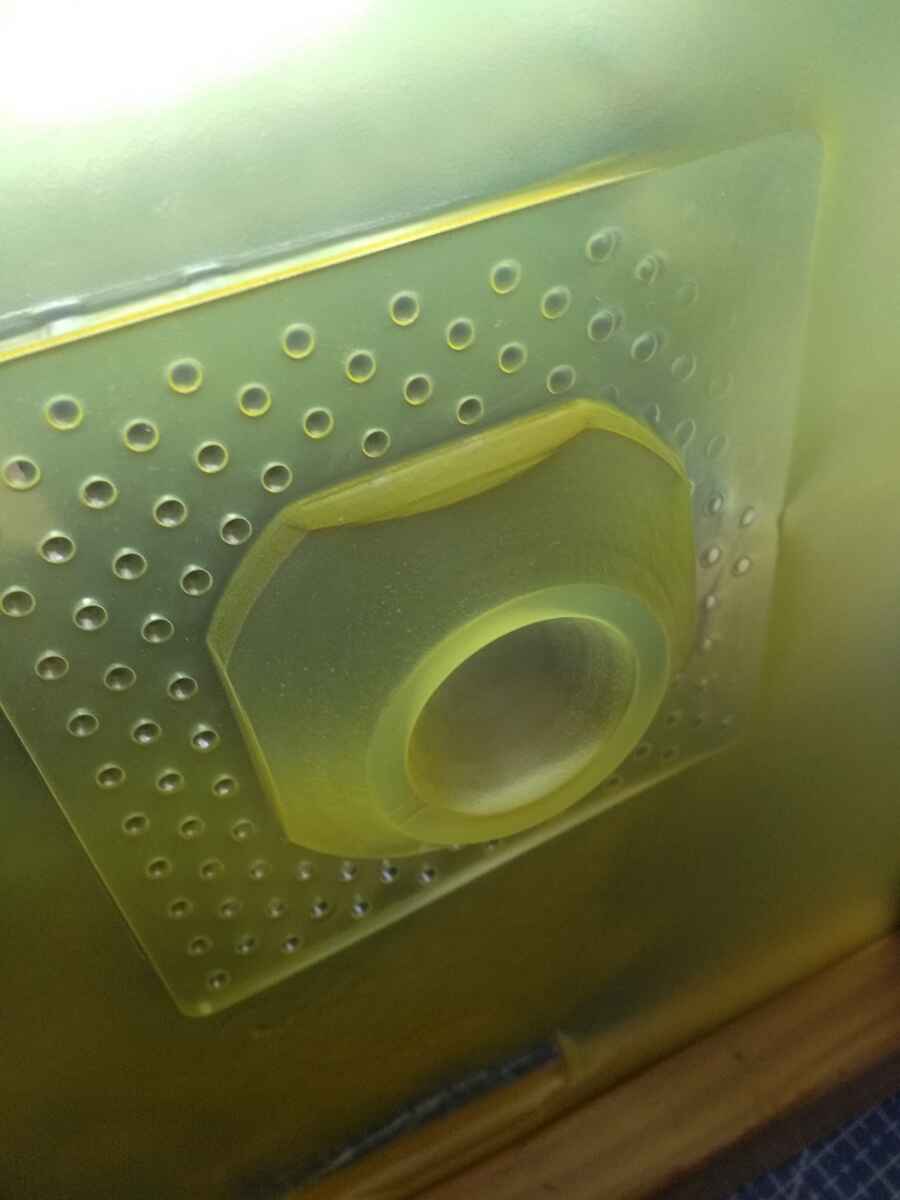
I thought I would need some vent holes but I went for a test first since MDF is porous...Here is the first result, it looks like the air is able to escape without any issues...
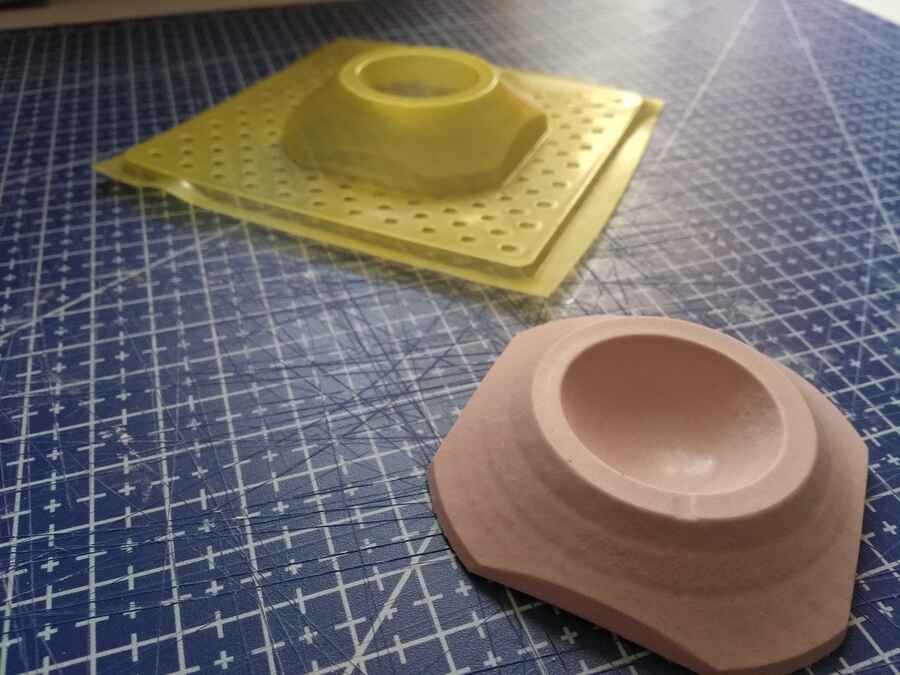
I think I may have left it too long under heat, I can see some part have riped. For this second atempt I change the bottom part as the hole in the first one were a little too big and left it a little less time under heat...
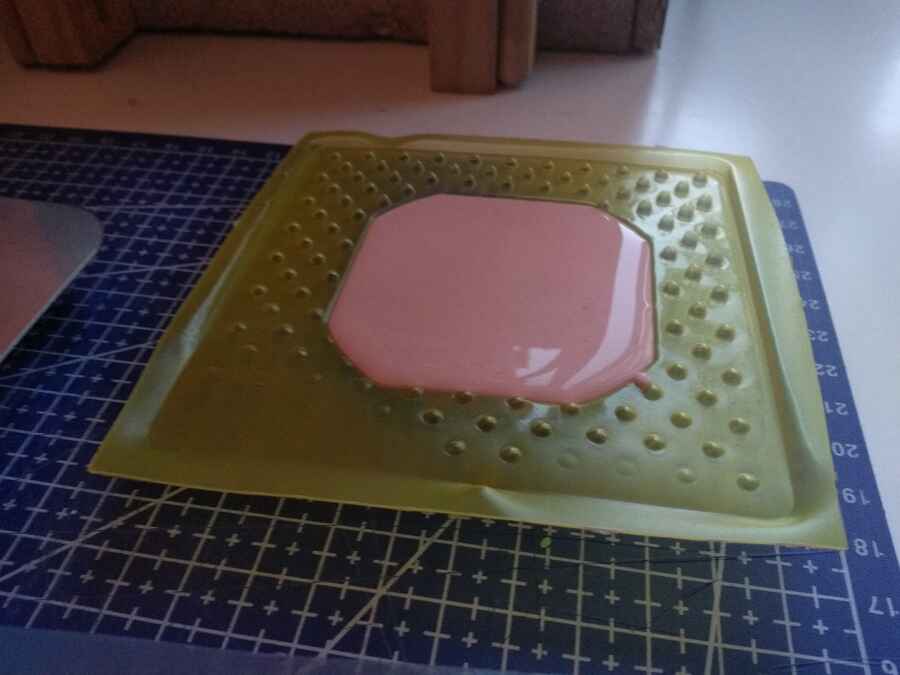
Now let´s cast it...I am using the strong plaster used in week11.
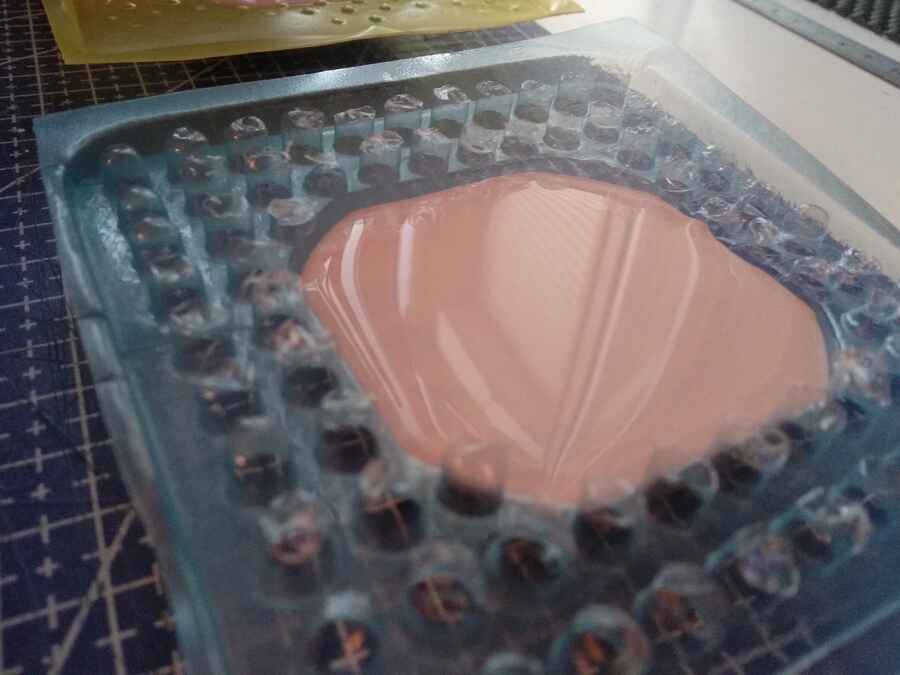
Here they are set and demolded...
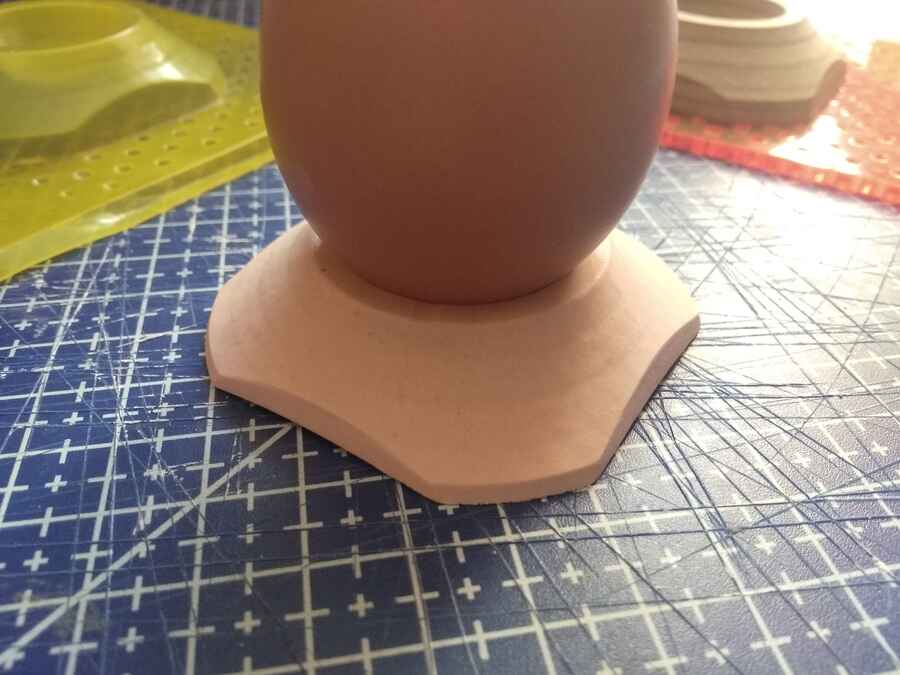
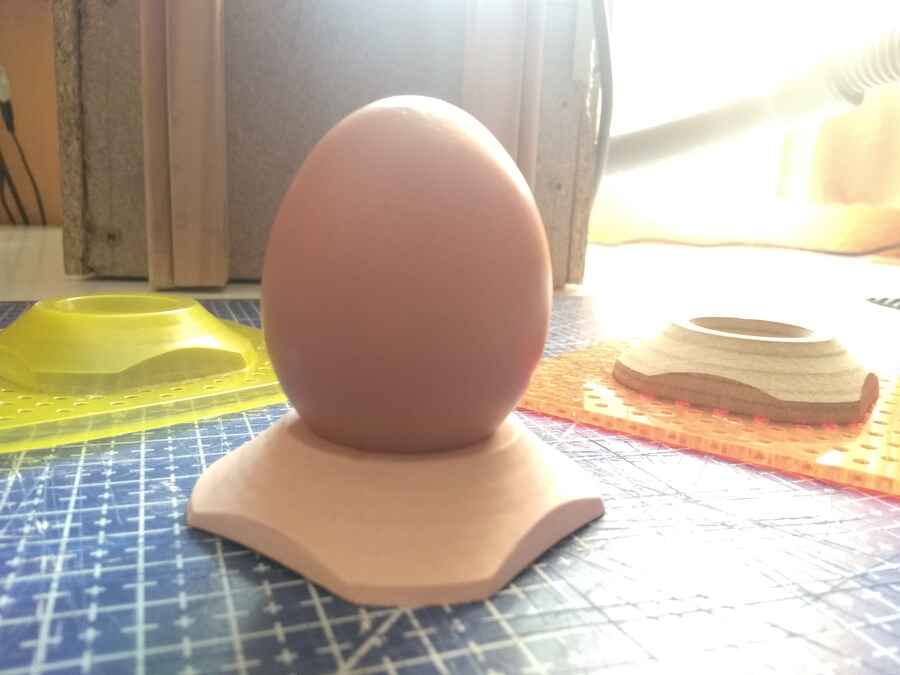
With an egg...
Learning outcomes
Demonstrate workflows used in the chosen processSelect and apply suitable materials and processes to do your assignment.
Have you?
Documented how you made your creationDescribed problems and how you fixed themIncluded your design files and ‘hero shot’ of the result