6. 3D Scanning and printing⚓︎
This fifth week is the quintessential makers week! It’s the turn of the 3d printers and scanners! 3D printing i an additive manufacturing technic. This summary from Autodesk about all the different types and applications additive manufacturing has opened my eyes a bit more about this huge world.
From my point of view, 3D printing has been one of the great revolutions in digital fabrication due to the accessibility it currently has. It is impressive to think that manufacturing a piece would be as simple as imagining, designing and printing it in a matter of hours.
Personally, I have a 3d printer at home that I built from scratch thanks to some parts that a friend gave me. It’s and old dusty warrior, but it has helped me a lot to understand and get a deep knowledge of how a 3d printer works. This week should be all fun, with more advanced and profesional machines here at the fablab. Let’s see how it goes! Here are the Assesment Criteria related to the sixth assignment, 3D Scanning and Printing:
-
- Test the design rules for your printer(s).
- Document your work and explain what are the limits of your printer(s) (in a group or individually).
-
Individual assignment
- Design and 3D print an object (small, few cm3, limited by printer time) that could not be easily made subtractively.
- 3D scan an object, try to prepare it for printing (and optionally print it).
-
Learning outcomes
- Identify the advantages and limitations of 3D printing.
- Apply design methods and production processes to show your understanding of 3D printing.
- Demonstrate how scanning technology can be used to digitize object(s).
-
Have you?
- Linked to the group assignment page
- Explained what you learned from testing the 3D printers
- Documented how you designed and made your object and explained why it could not be easily made subtractively
- Documented how you scanned and prepared an object (for 3D printing)
- Included your original design files for 3D printing (both CAD and common format for 3D printing)
- Included your hero shots
Group assignment⚓︎
Here at FabLab Leon I will be working with a Prusa MK3s and it’s little brother the Prusa Mini. Prusa printers are really loved here at the FabLab because of its reliability and how easy they are to use. As my experience with 3D printing has been more gloomy I am excited to try out these machines.
The machines⚓︎
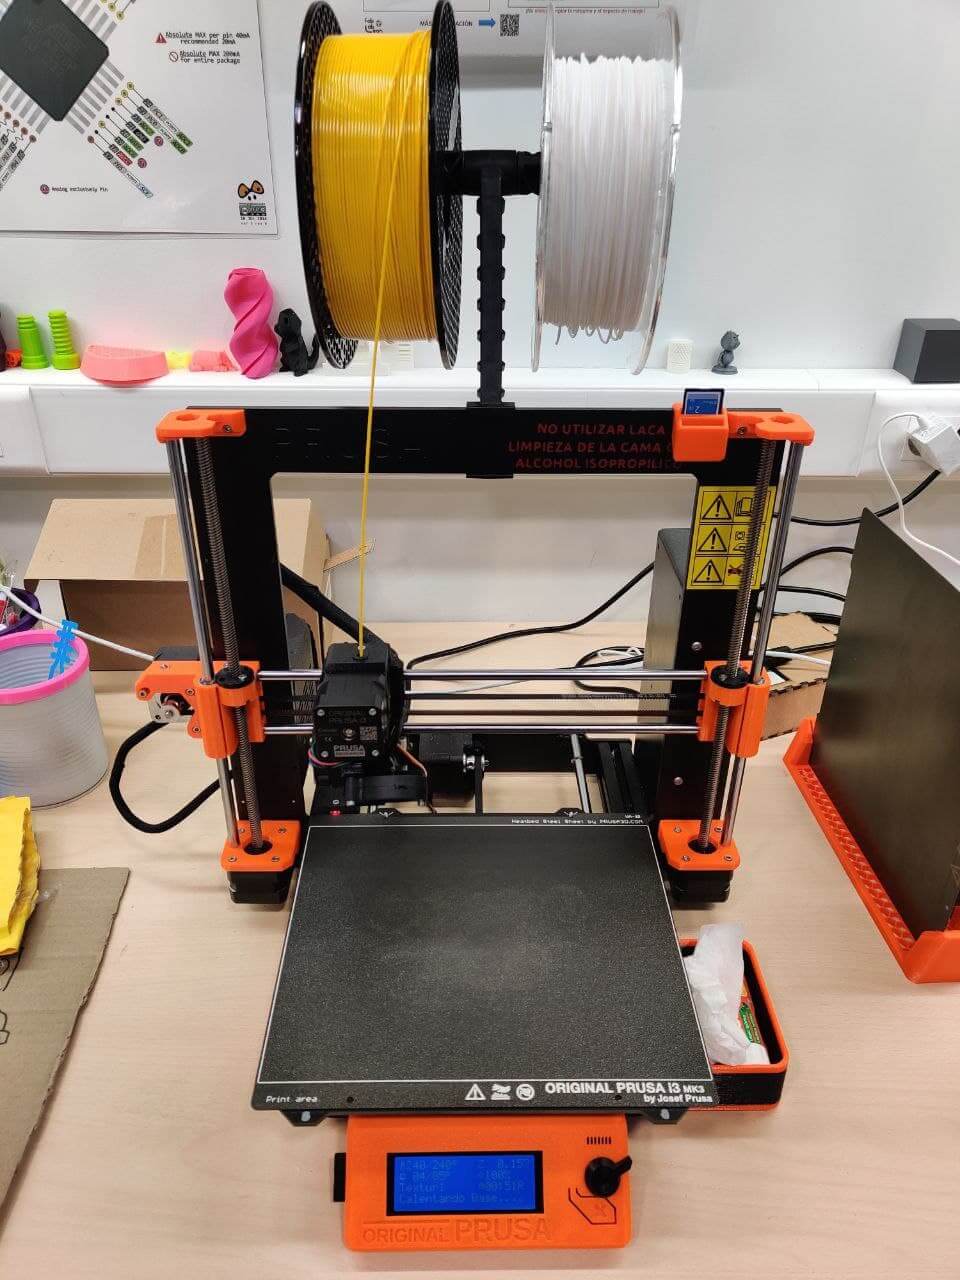
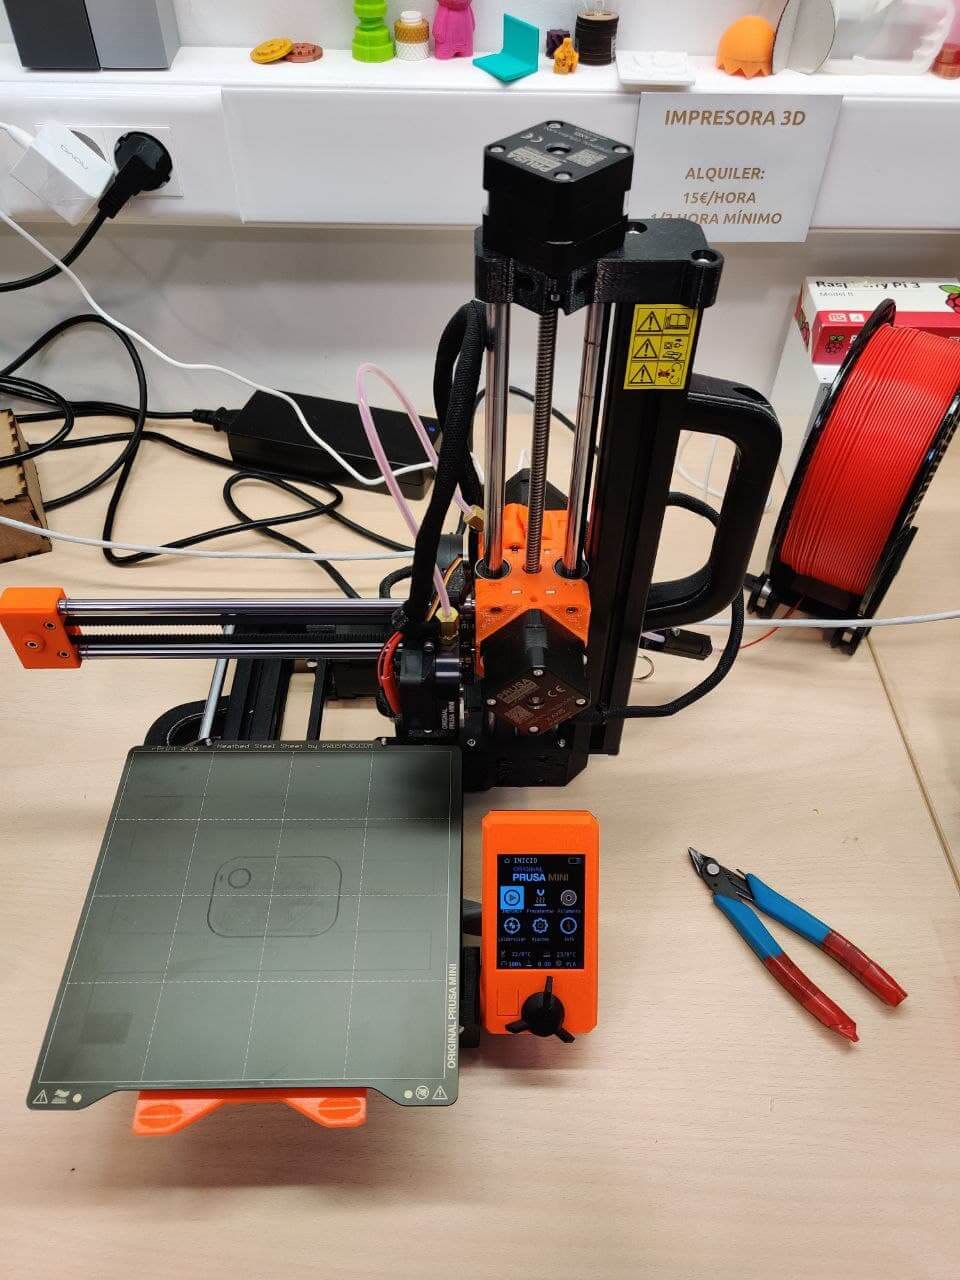
The are some key differences between the standard Prusa MK3 and the Mini besides their size and format. The main one is the type of extruder, being direct on the big one and bowden on the Mini. This difference opens a gap between both, making the MK3 perfect if you want to use all kind of materials, because of the effectiveness of having the extruder motor pushing the filament directly over the hotend. This means all of our filaflex trials will be made on the MK3s. If you want a more detailed comparisson between both printers, I picked up this list of the main differences from the Prusa Mini website:
| Printer | Original Prusa MINI | Original Prusa i3 MK3S |
|---|---|---|
| Build volume | 18×18×18 cm (7”×7”×7”) | 25×21×21 cm (9.84”×8.3”×8.3”) |
| Layer height | 0.05 – 0.25 mm | 0.05 - 0.35 mm |
| Max travel speed | 200+ mm/s | 200+ mm/s |
| Max temperatures | 280 °C / 100 °C (536 °F / 212 °F) | 300 °C / 120 °C (572 °F / 248 °F) |
| Controller | Custom 32-bit Buddy motherboard with STM32 and Trinamic 2209 drivers | Einsy RAMBo 8-bit board with Trinamic 2130 drivers |
| Extruder | Bowden system with 3:1 gearing ratio | Direct Drive |
| Mesh Bed Leveling | P.I.N.D.A. V2 sensor | M.I.N.D.A. sensor |
| LCD screen | 2.8” graphic 65k color screen | Monochromatic LCD |
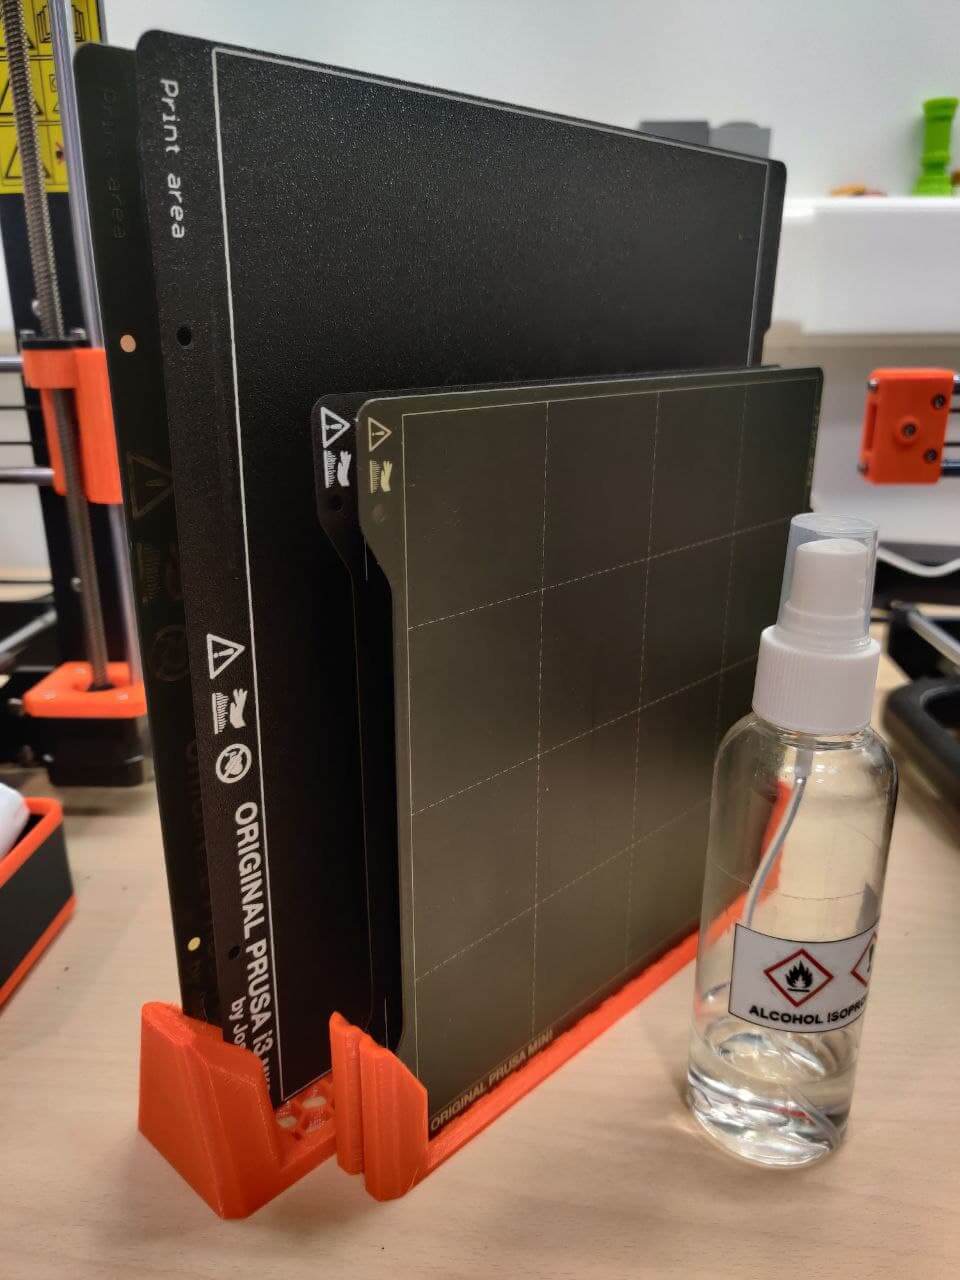
| Print surface | Magnetic heatbed with removable PEI spring steel sheets | Magnetic heatbed with removable PEI spring steel sheets |
| Filament diameter | 1.75 mm | 1.75 mm |
| Supported materials | PLA, PETG, ASA, ABS | Any thermoplastic, including Nylon and Polycarbonate |
| Filament sensor | Optional upgrade | Built-in |
| Power panic | Future software upgrade, single layer accuracy | Hardware-based, single G-code line accuracy |
| Ethernet connection | Built-in | Via Raspberry Pi |
| Wi-Fi connection | Separate upgrade (ESP Wi-Fi module) | Via Raspberry Pi |
| Advanced sensors | 3 thermistors, fan sensor | 4 thermistors, fan sensor |
| Calibration | Automatic, Mesh Bed Leveling | Automatic, Mesh Bed Leveling |
| Print medium | USB, LAN | SD Card |
| Firmware update interface | USB, LAN | USB cable (via PC) |
| PSU | 160W, external adapter (Mean Well or Delta) | 240W custom-made Delta PSU with hardware-based power panic |
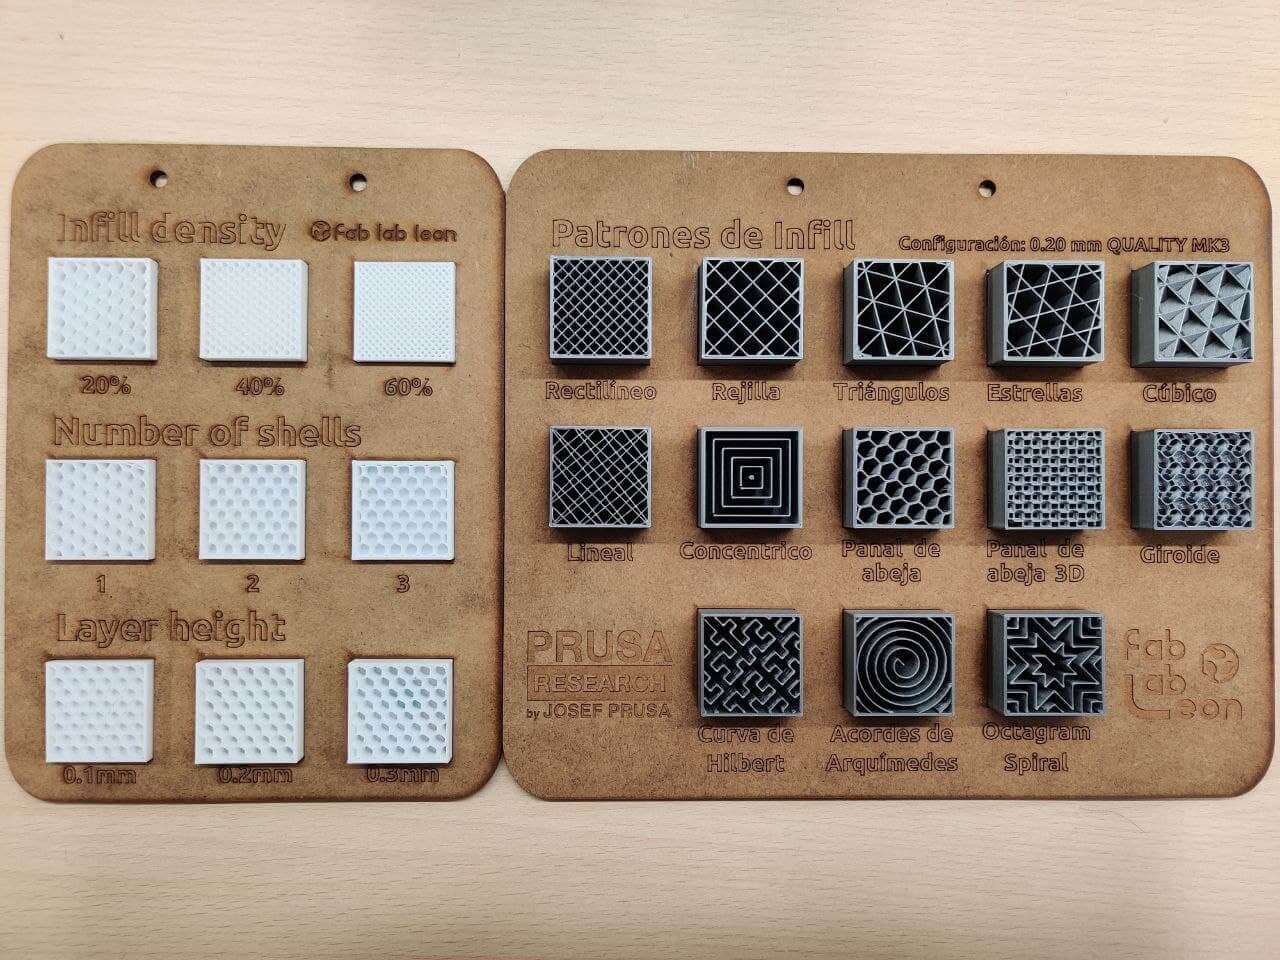
Characterization⚓︎
As in other assignments, these machines have gone through a lot of previous work, so you can find lots of samples and characterization made for them here at the lab. My point is always to add new tests that can give extra information that hasn’t been characterized yet, although this always complicates the work a little more. Here are some samples made by my instructors Nuria, Pablo and specially Adrian who made most of this test last year.

My main idea is to try with some Neil tests, using PETG on the Prusa MK3s and trying different quality pressets on the Prusa Mini.
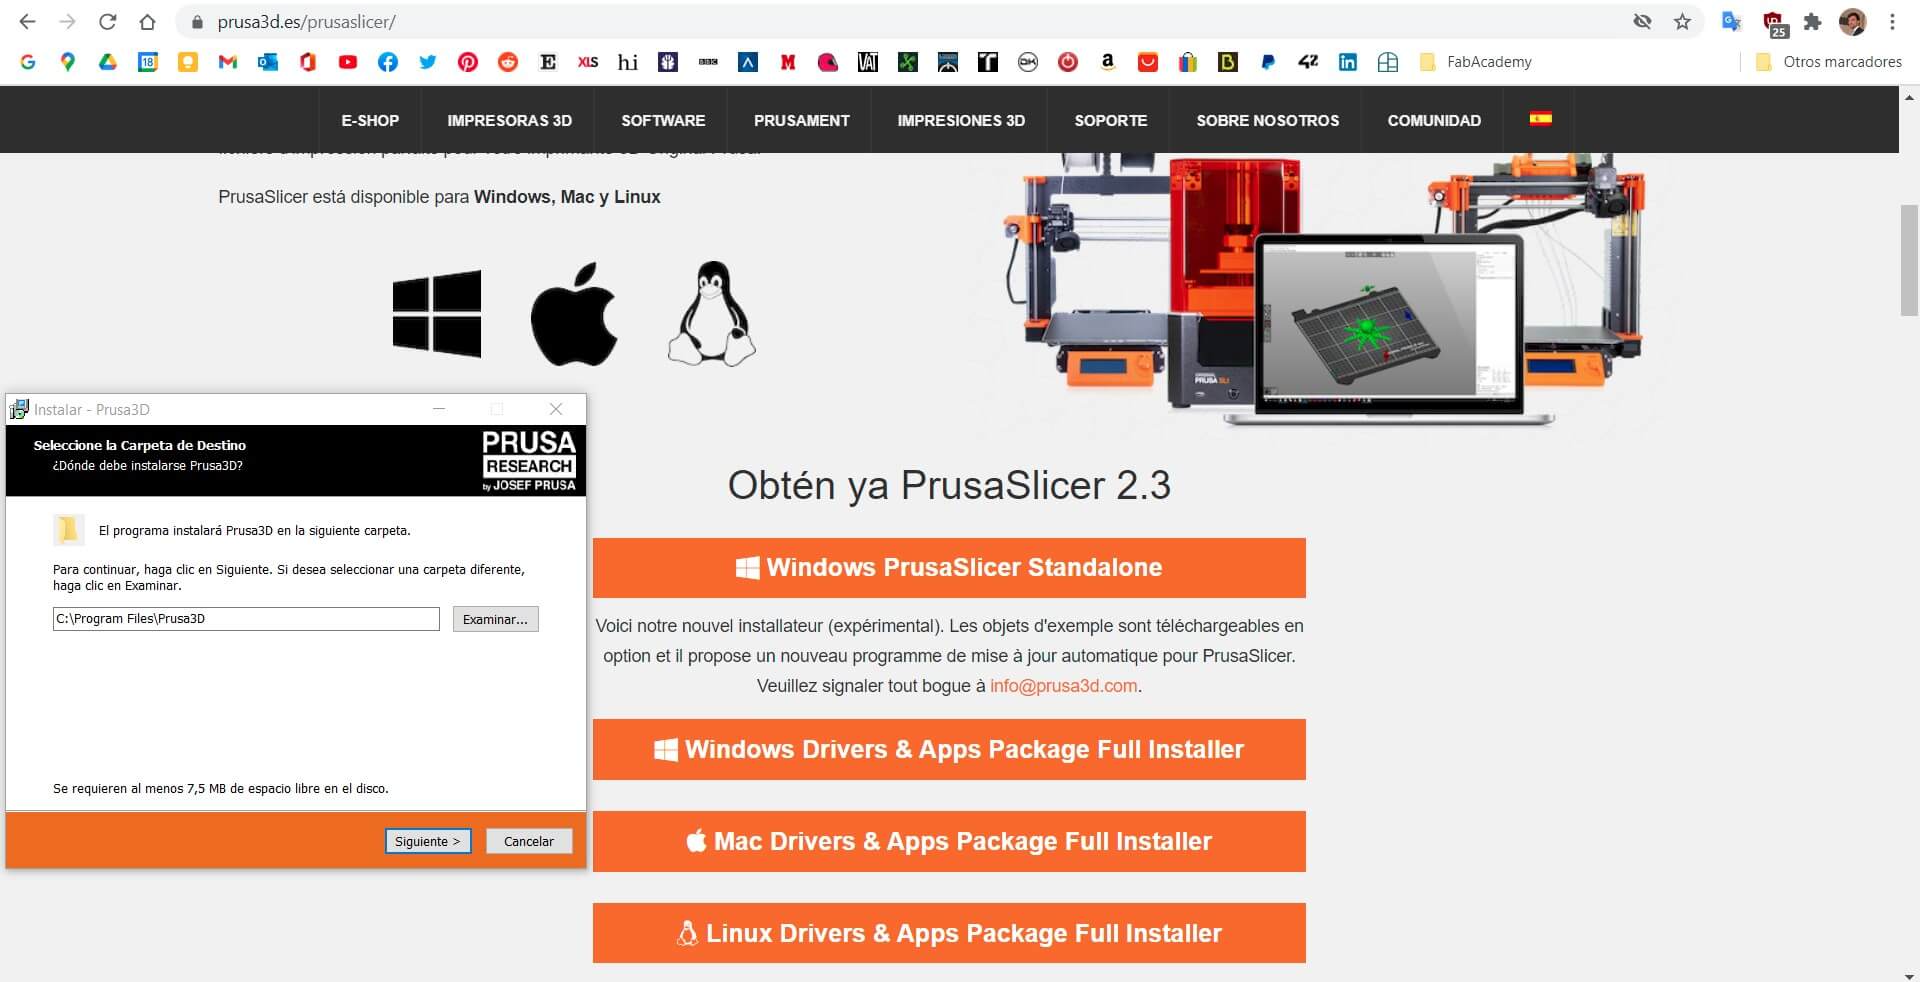
Slicer⚓︎
To start with the testing, first we need the a slicer to turn our .stl files into gcode so the printers know how to managed it. Since we are using Prusa printers we’ll be using it’s propietary Prusa Slicer which has almost perfect integration with the ecosystem. Previously I have been working with Simplify3d because it allows full control of your machine with a built in Pronterface, which is very usefull for my old personal 3D printer. Although Simplify3D is a very powerfull slicer, Prusa has pleasantly surprised me. I didn’t find any trouble getting used to it and has a lot of cool features. Also I have to say that using it for a Prusa printer with Prusament filament feels like music to my ears.
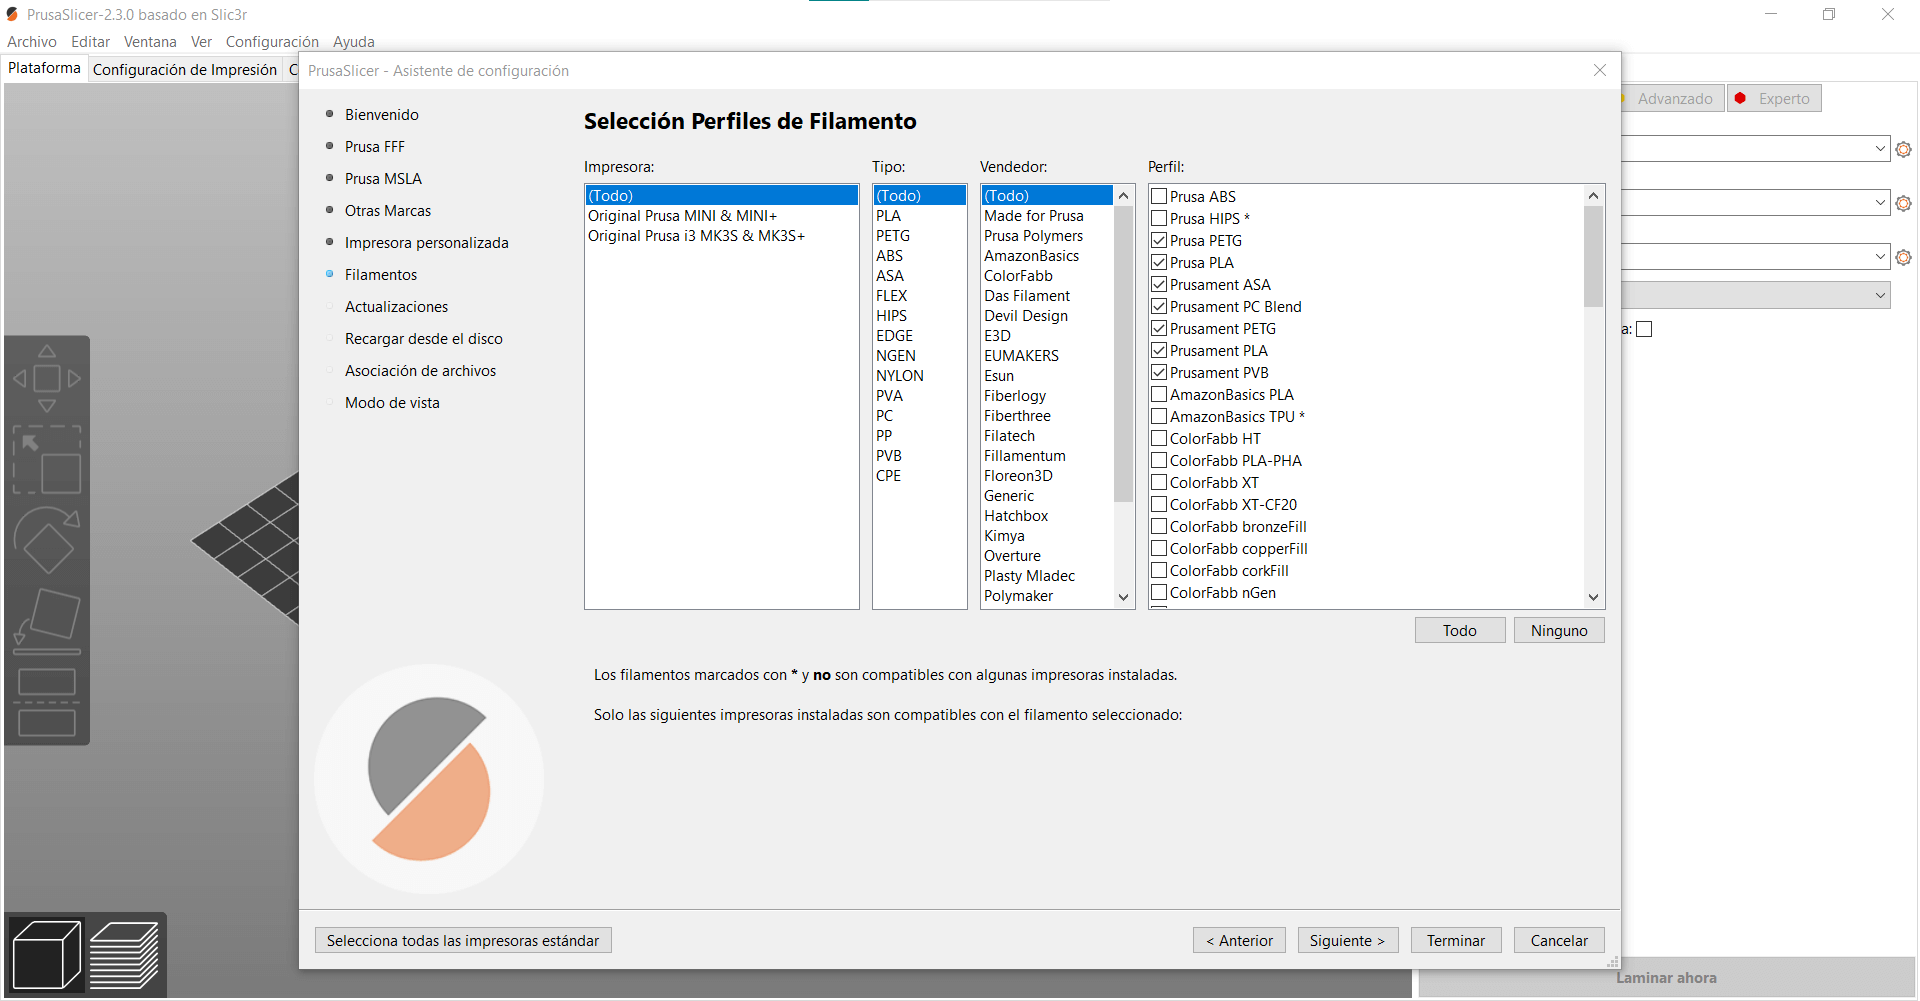
To get into slicing our file, we just have to import it, choose the printing quality preset, the filament we are using and the model of the printer and it automatically chooses the best parameters for the print. The Prusa Slicer also offers three different type of modes: basic, advanced and expert. This changes the number of parameters it let’s you change for the print. For now we are sticking to basic as this we don’t want to introduce variables to the print.
Filaments⚓︎
To add value to the already huge portfolio of 3D printing tests I’ve decided to try some things that have never been done or characterized. To do so I’ve selected the following materials with it’s corresponding purpose:
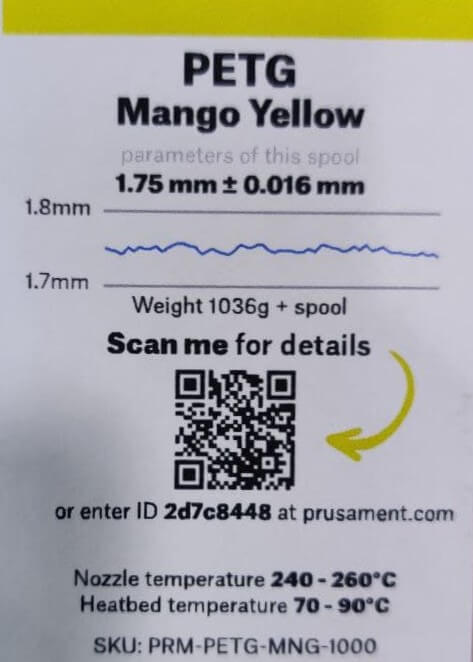
- Mango Yellow Prusament PETG on Prusa MK3s. PETG printing material capabilities.
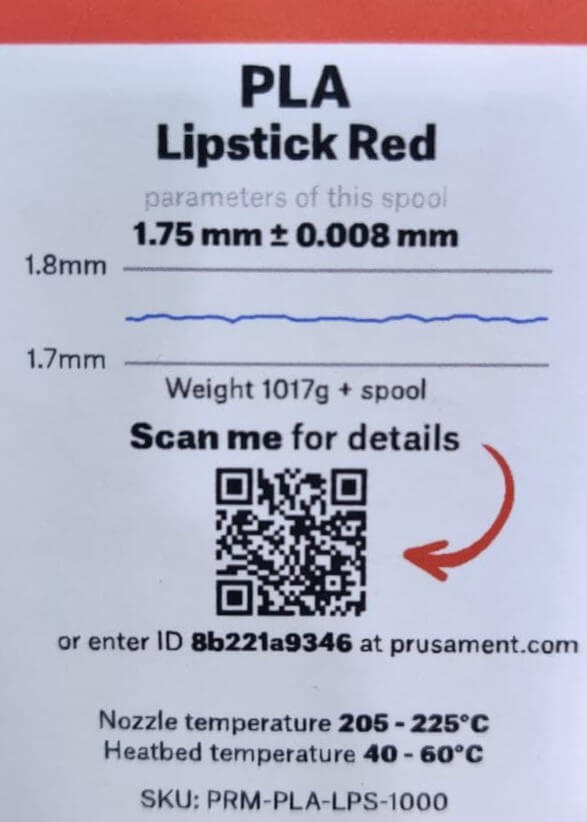
- Lipstick Red Prusament PLA on Prusa Mini. Quality setting of the slicer and printer resolution.
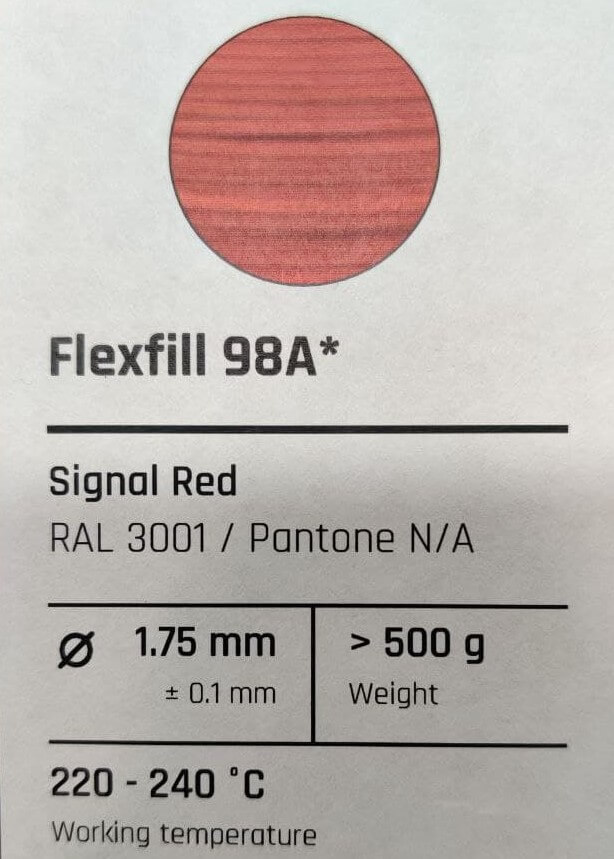
- Signal Red Flexfill on Prusa MK3s. Vase printing with flexible filament.
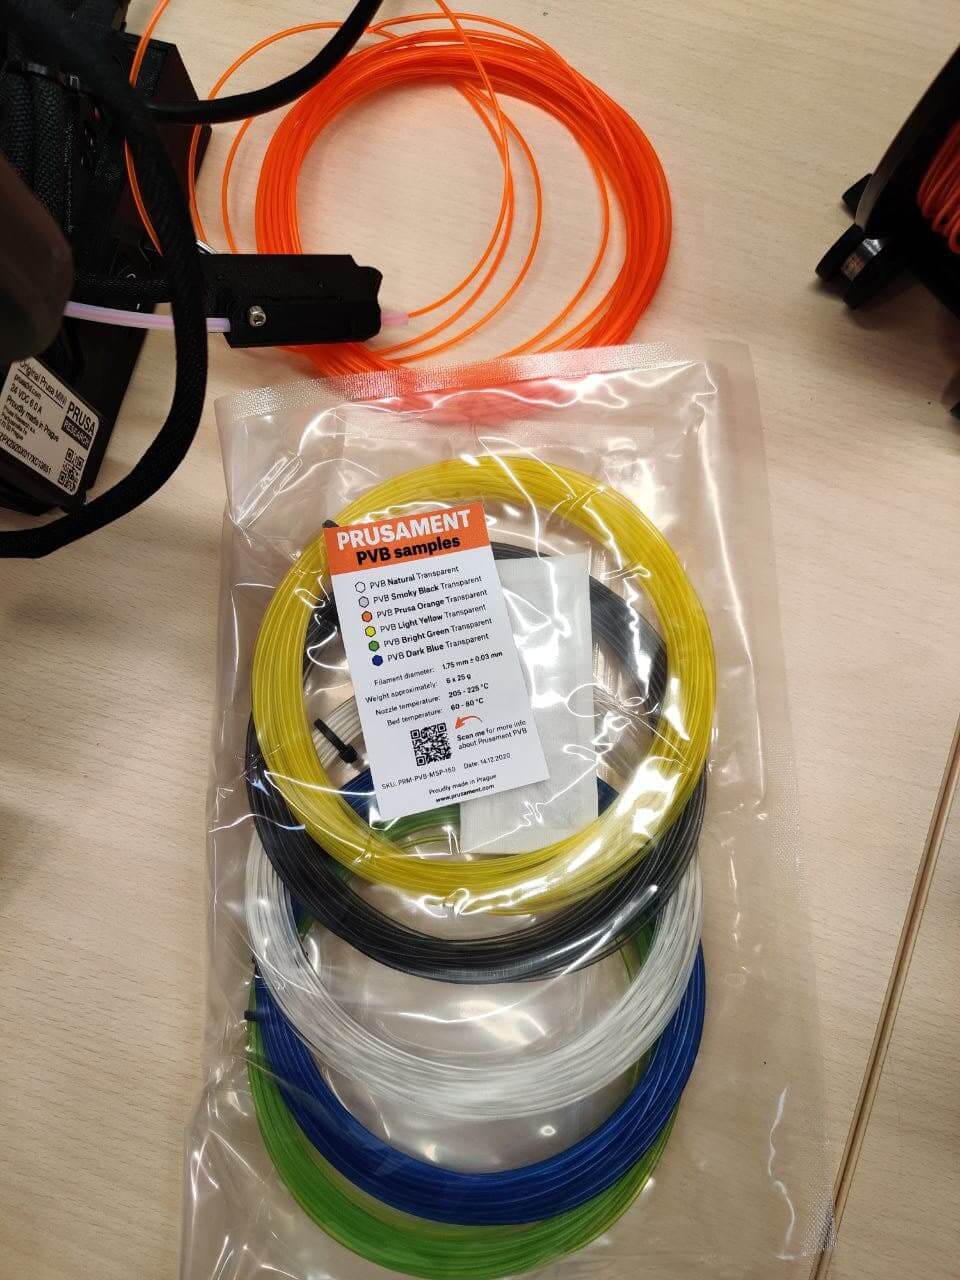
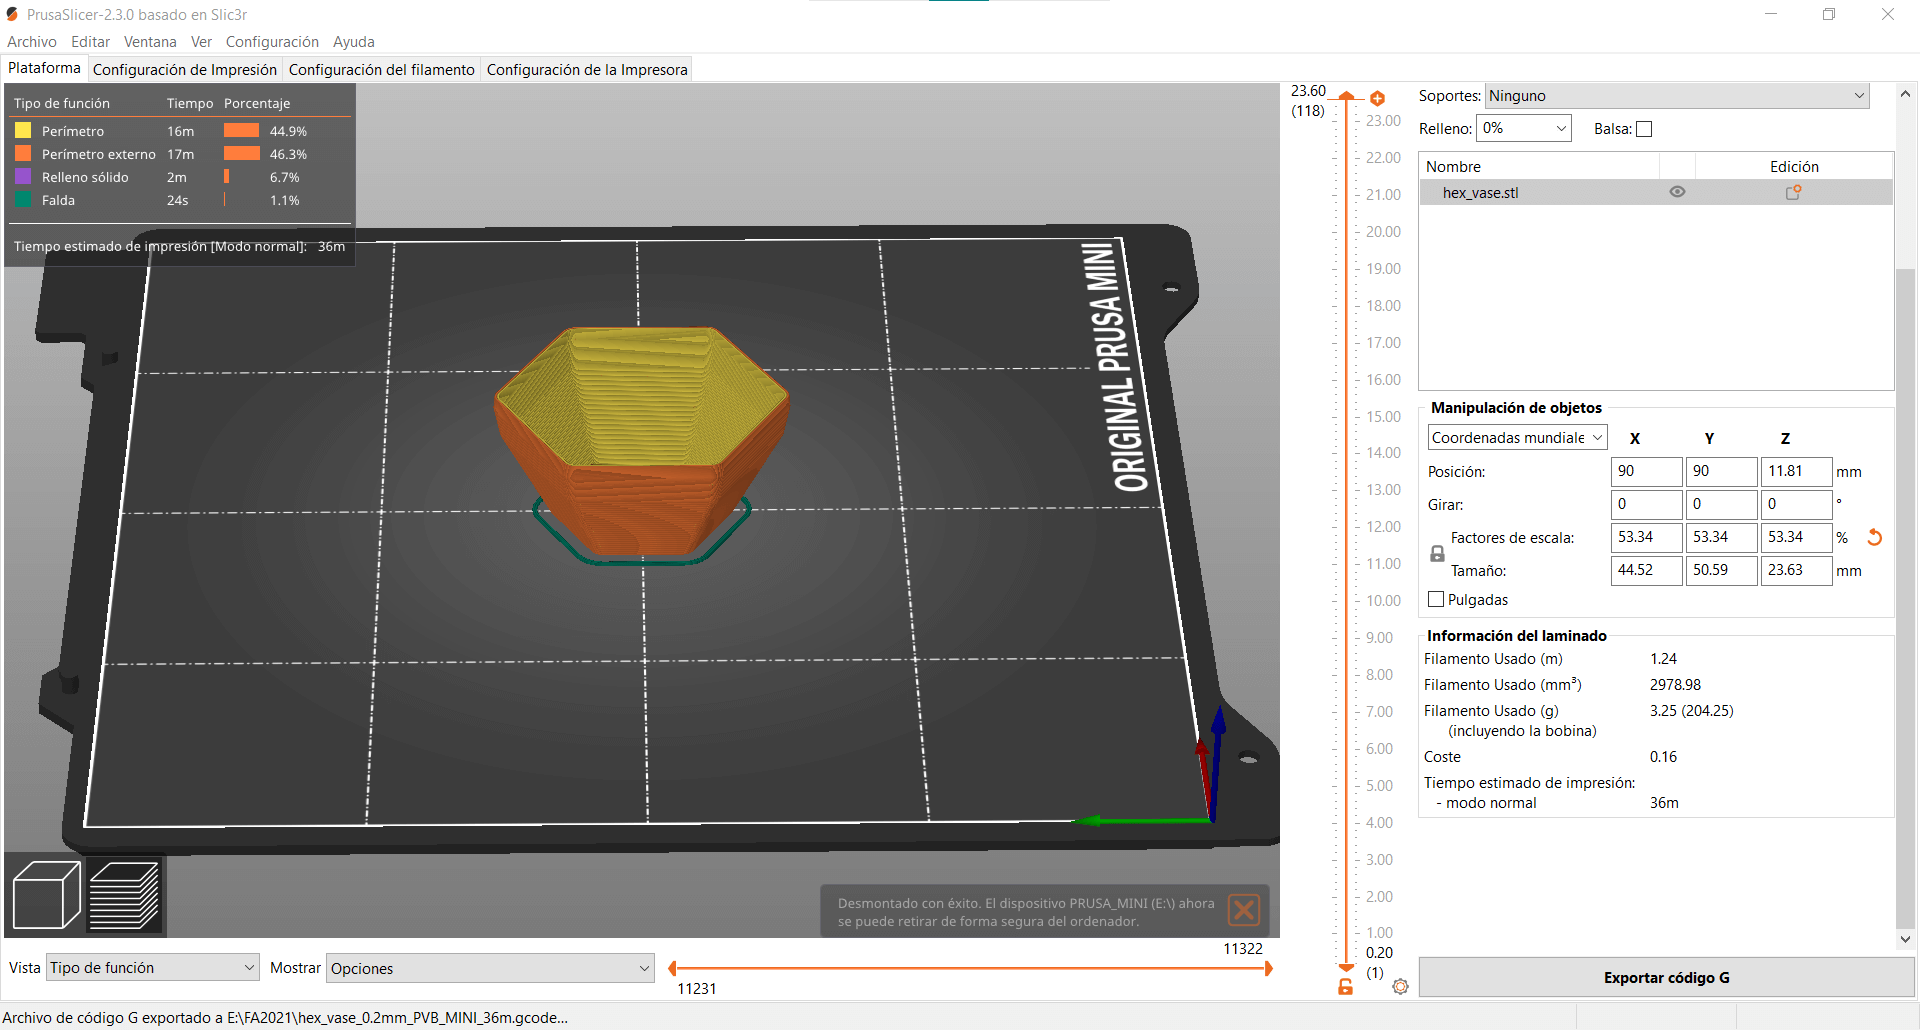
- Prusa Orange PVB on Prusa Mini. New material with interesting properties.
PETG⚓︎
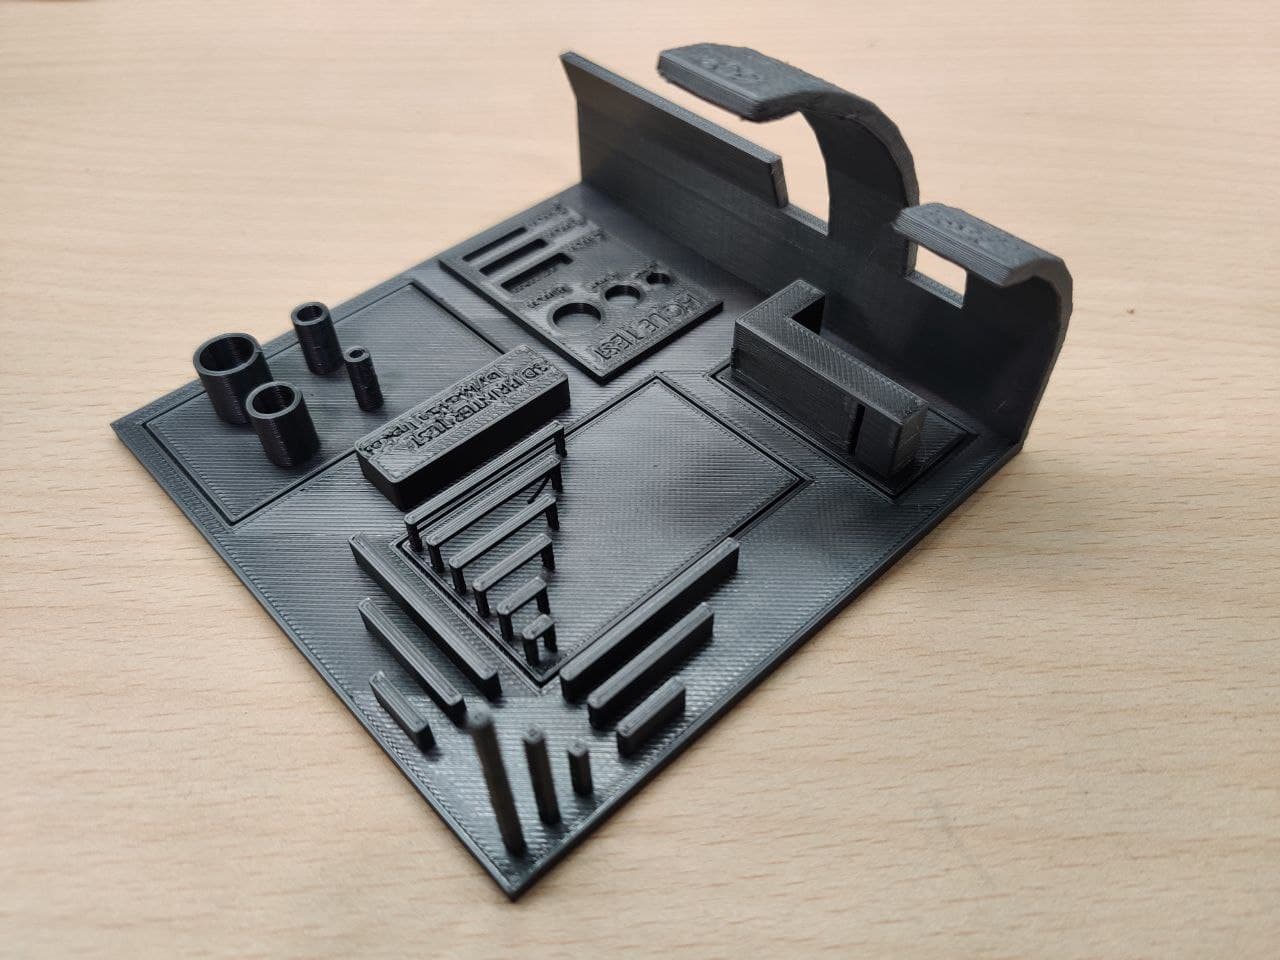
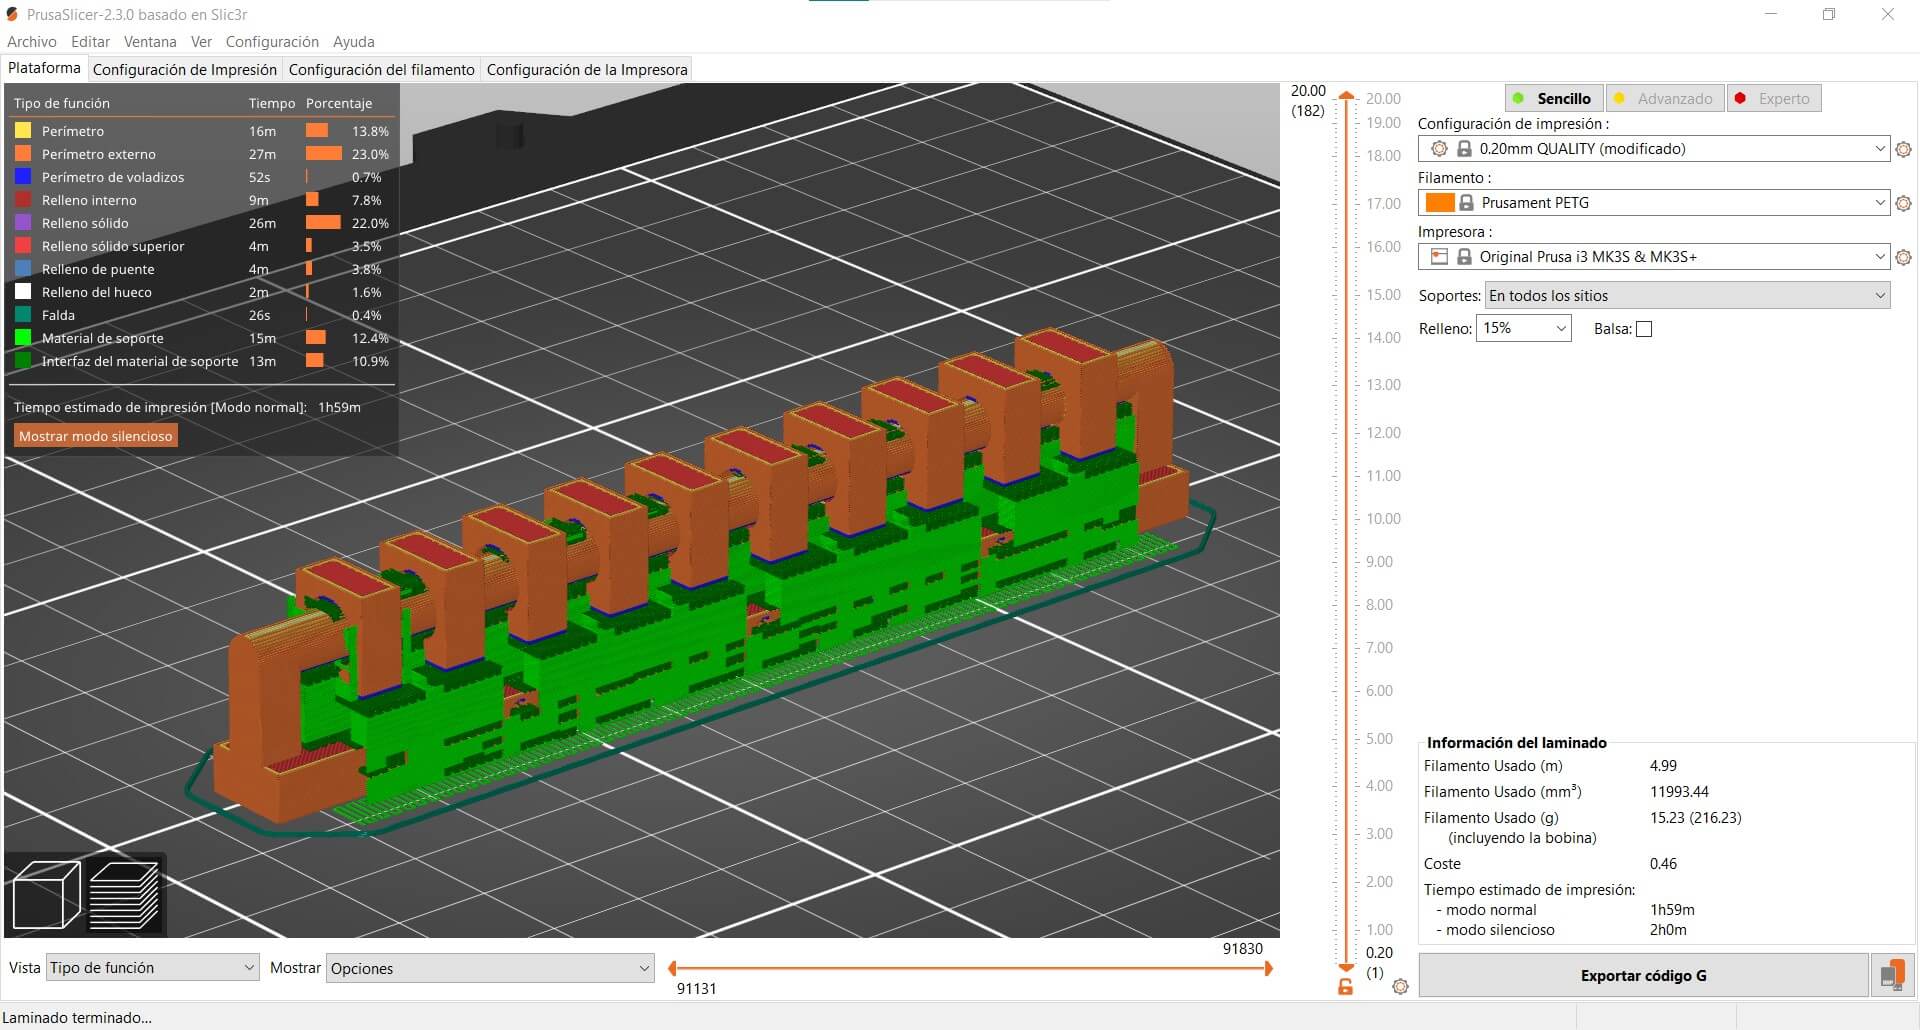
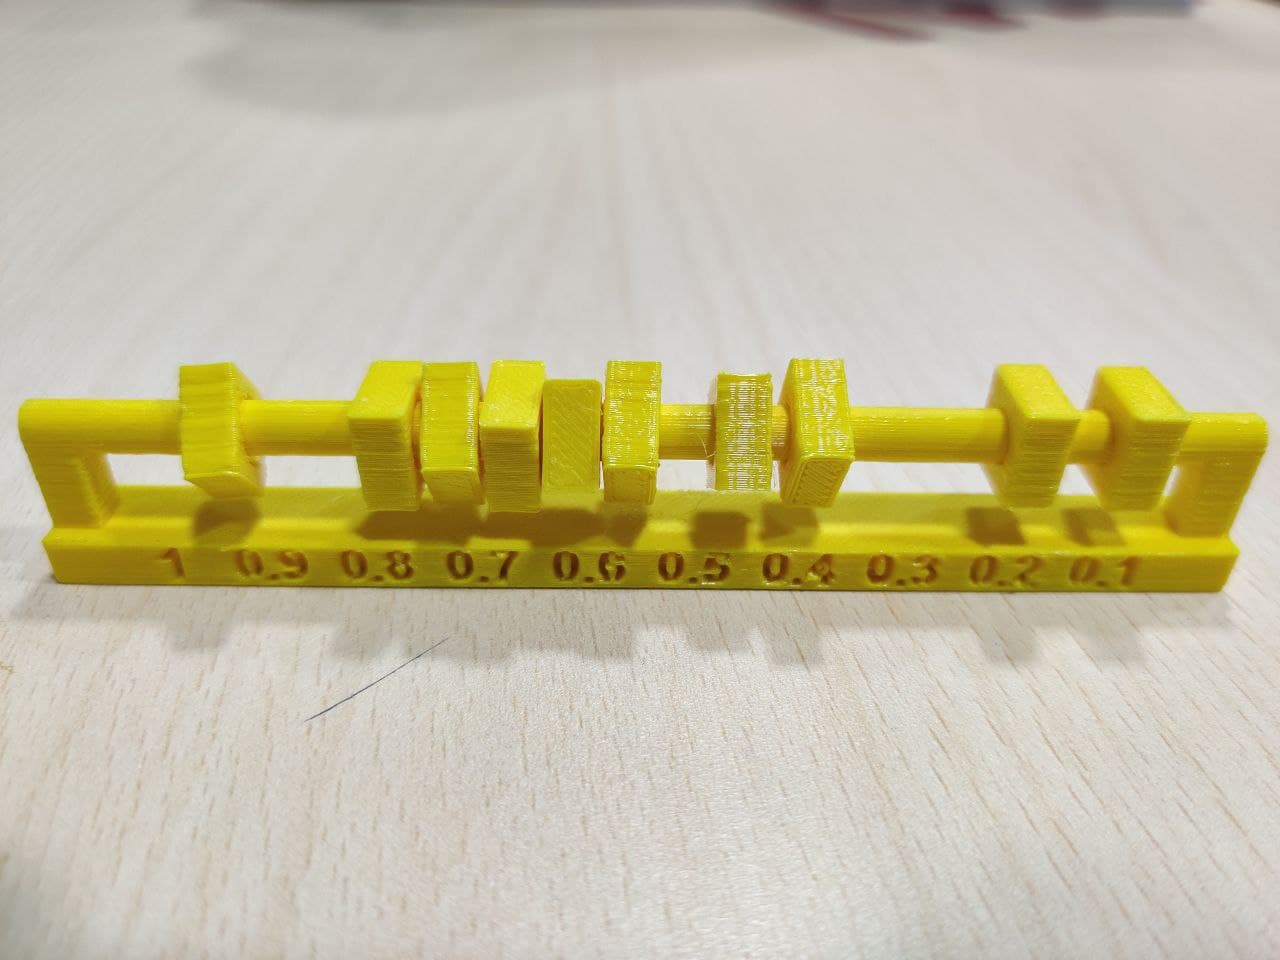
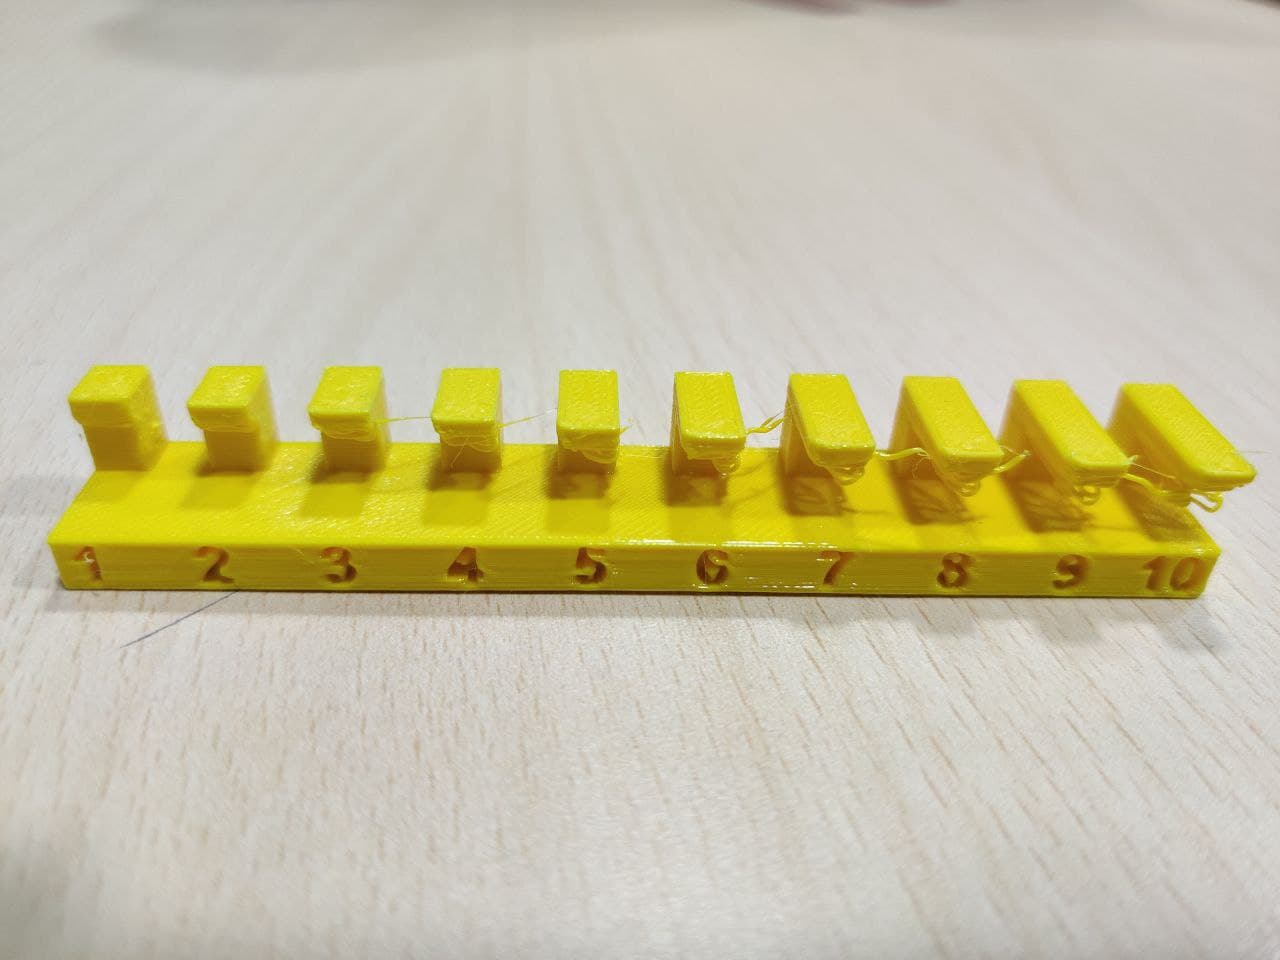
I will be testing PETG on MK3s, as all the printer testing samples have been done with PLA. For this purpose I am going to use Neil’s 3D testing files, clearance, angle and overhang. As shown in the slicer paragraph, some prints require supports and different quality settings. This is how the clearance test print came out:
These are the parameters used for each of the prints. I have tried to keep all the parameters that could affect the result of the series test, to eliminate extra variables that distort the comparison of properties with other materials.
| Test: | Clearance | Angle | Overhang |
|---|---|---|---|
| Material | Prusament PETG | Prusament PETG | Prusament PETG |
| Quality preset | 0.2mm quality | 0.2mm quality | 0.2mm quality(modified) |
| Supports | Yes | No | No |
| Infill | 15% Gyroid | 15% Gyroid | 15% Rectilineal |
| Print time | 1h56m | 1h22m | 54m |

The results with this printer are of very high quality. We begin to see artifacts in the pieces at very high angles or in very tight tolerances. Compared to other materials such as PLA, the difference in clearance, angle or overhang is minimal. We should appreciate that in the case of PETG, as it needs a higher printing temperature, it should not be able to save overhangs as well as PLA, but in this case the printer’s layer fan performs perfectly, obtaining very similar in both tests. Even so, it should be noted that PETG is a material with much greater durability and mechanical resistance than PLA. Perhaps the next FabAcademy student at FabLab León should try to make two identical pieces in both materials and compare their mechanical properties.
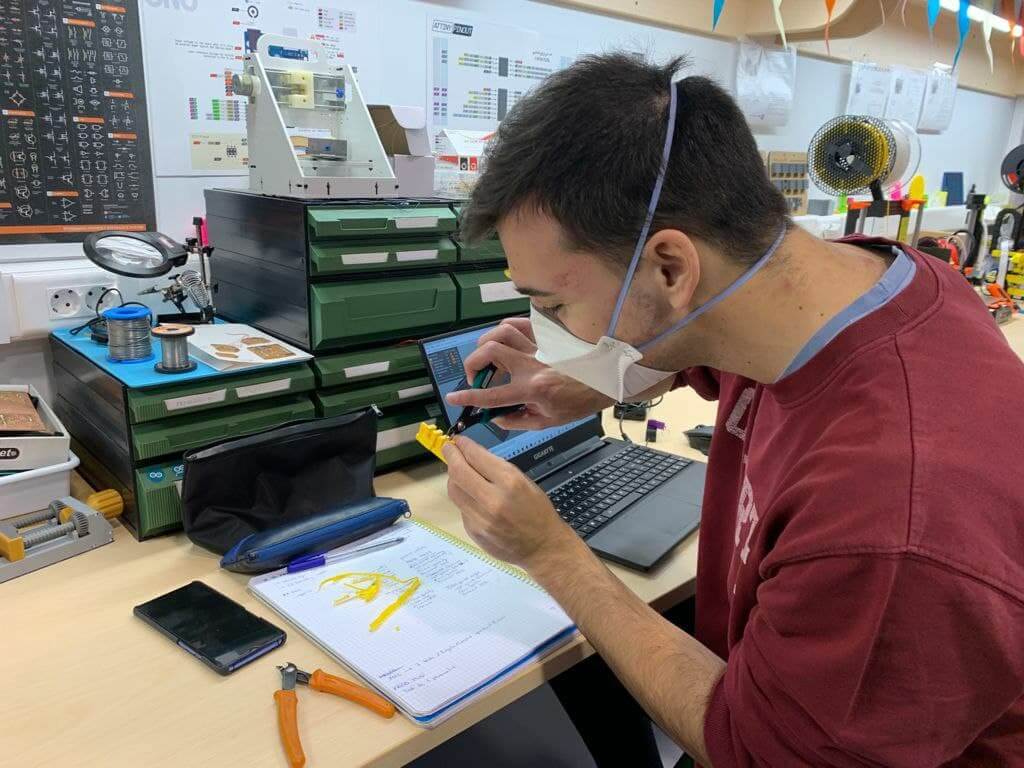
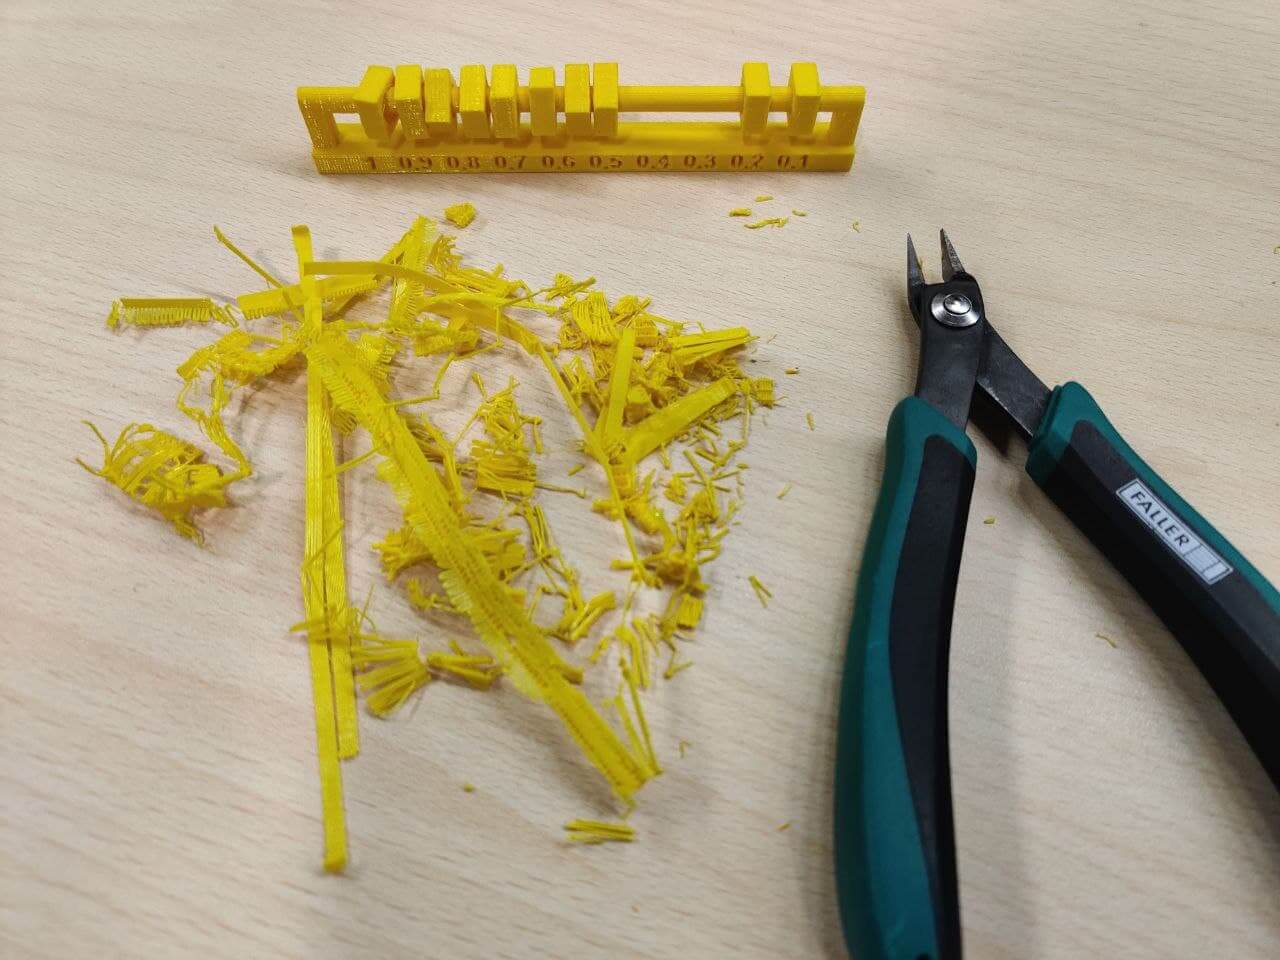
PLA⚓︎
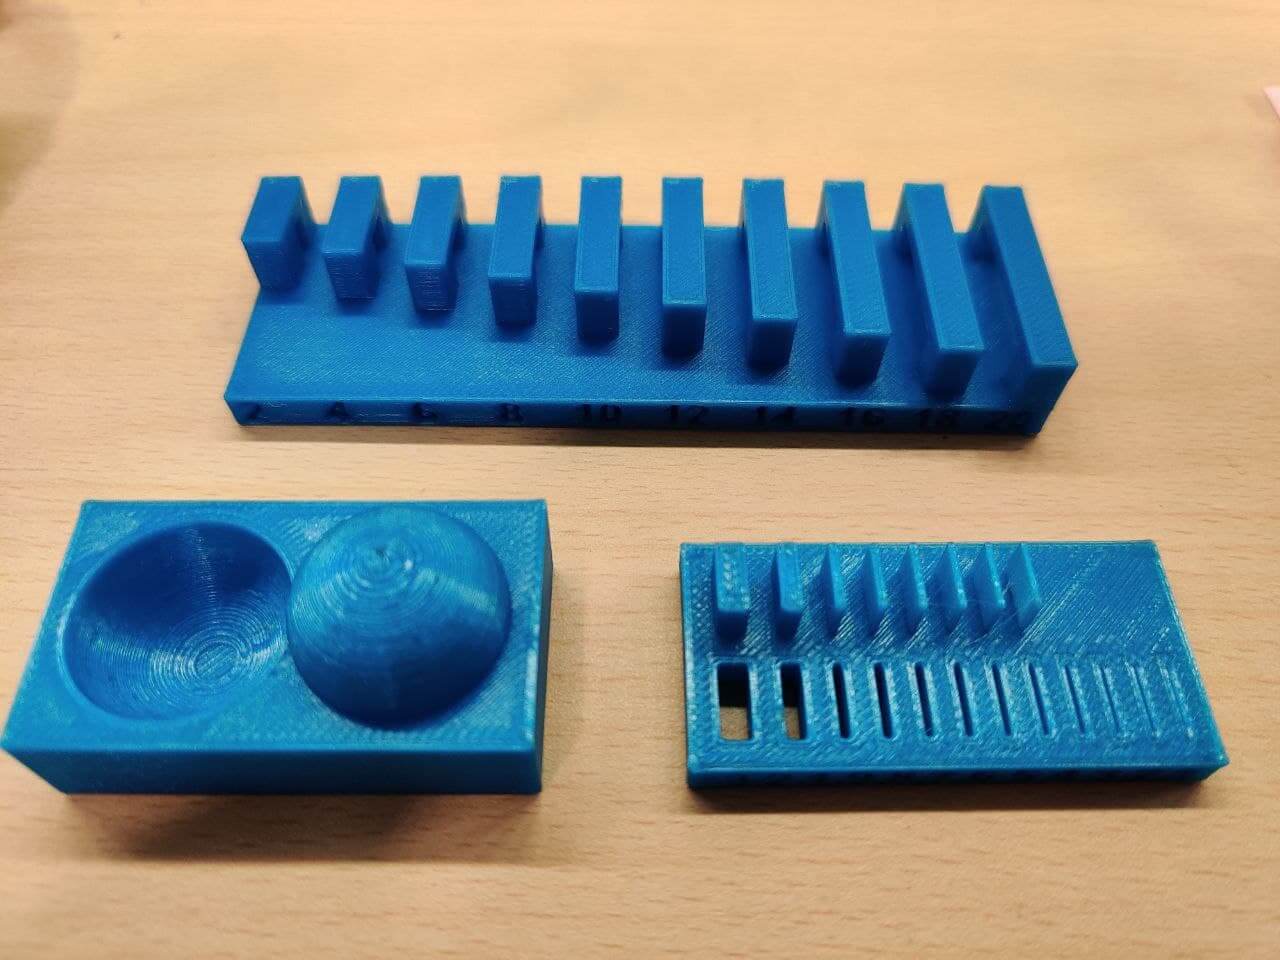
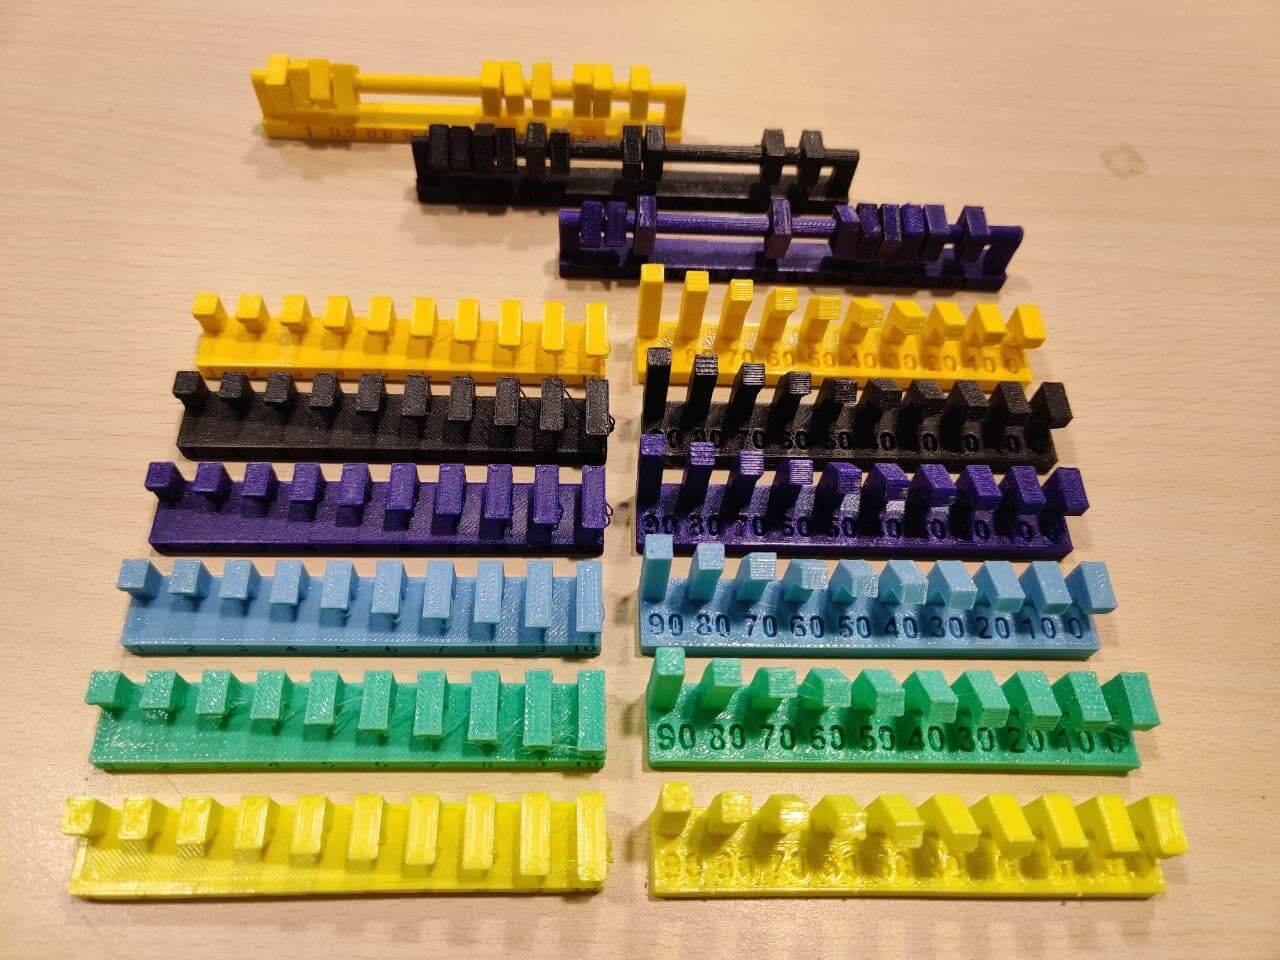
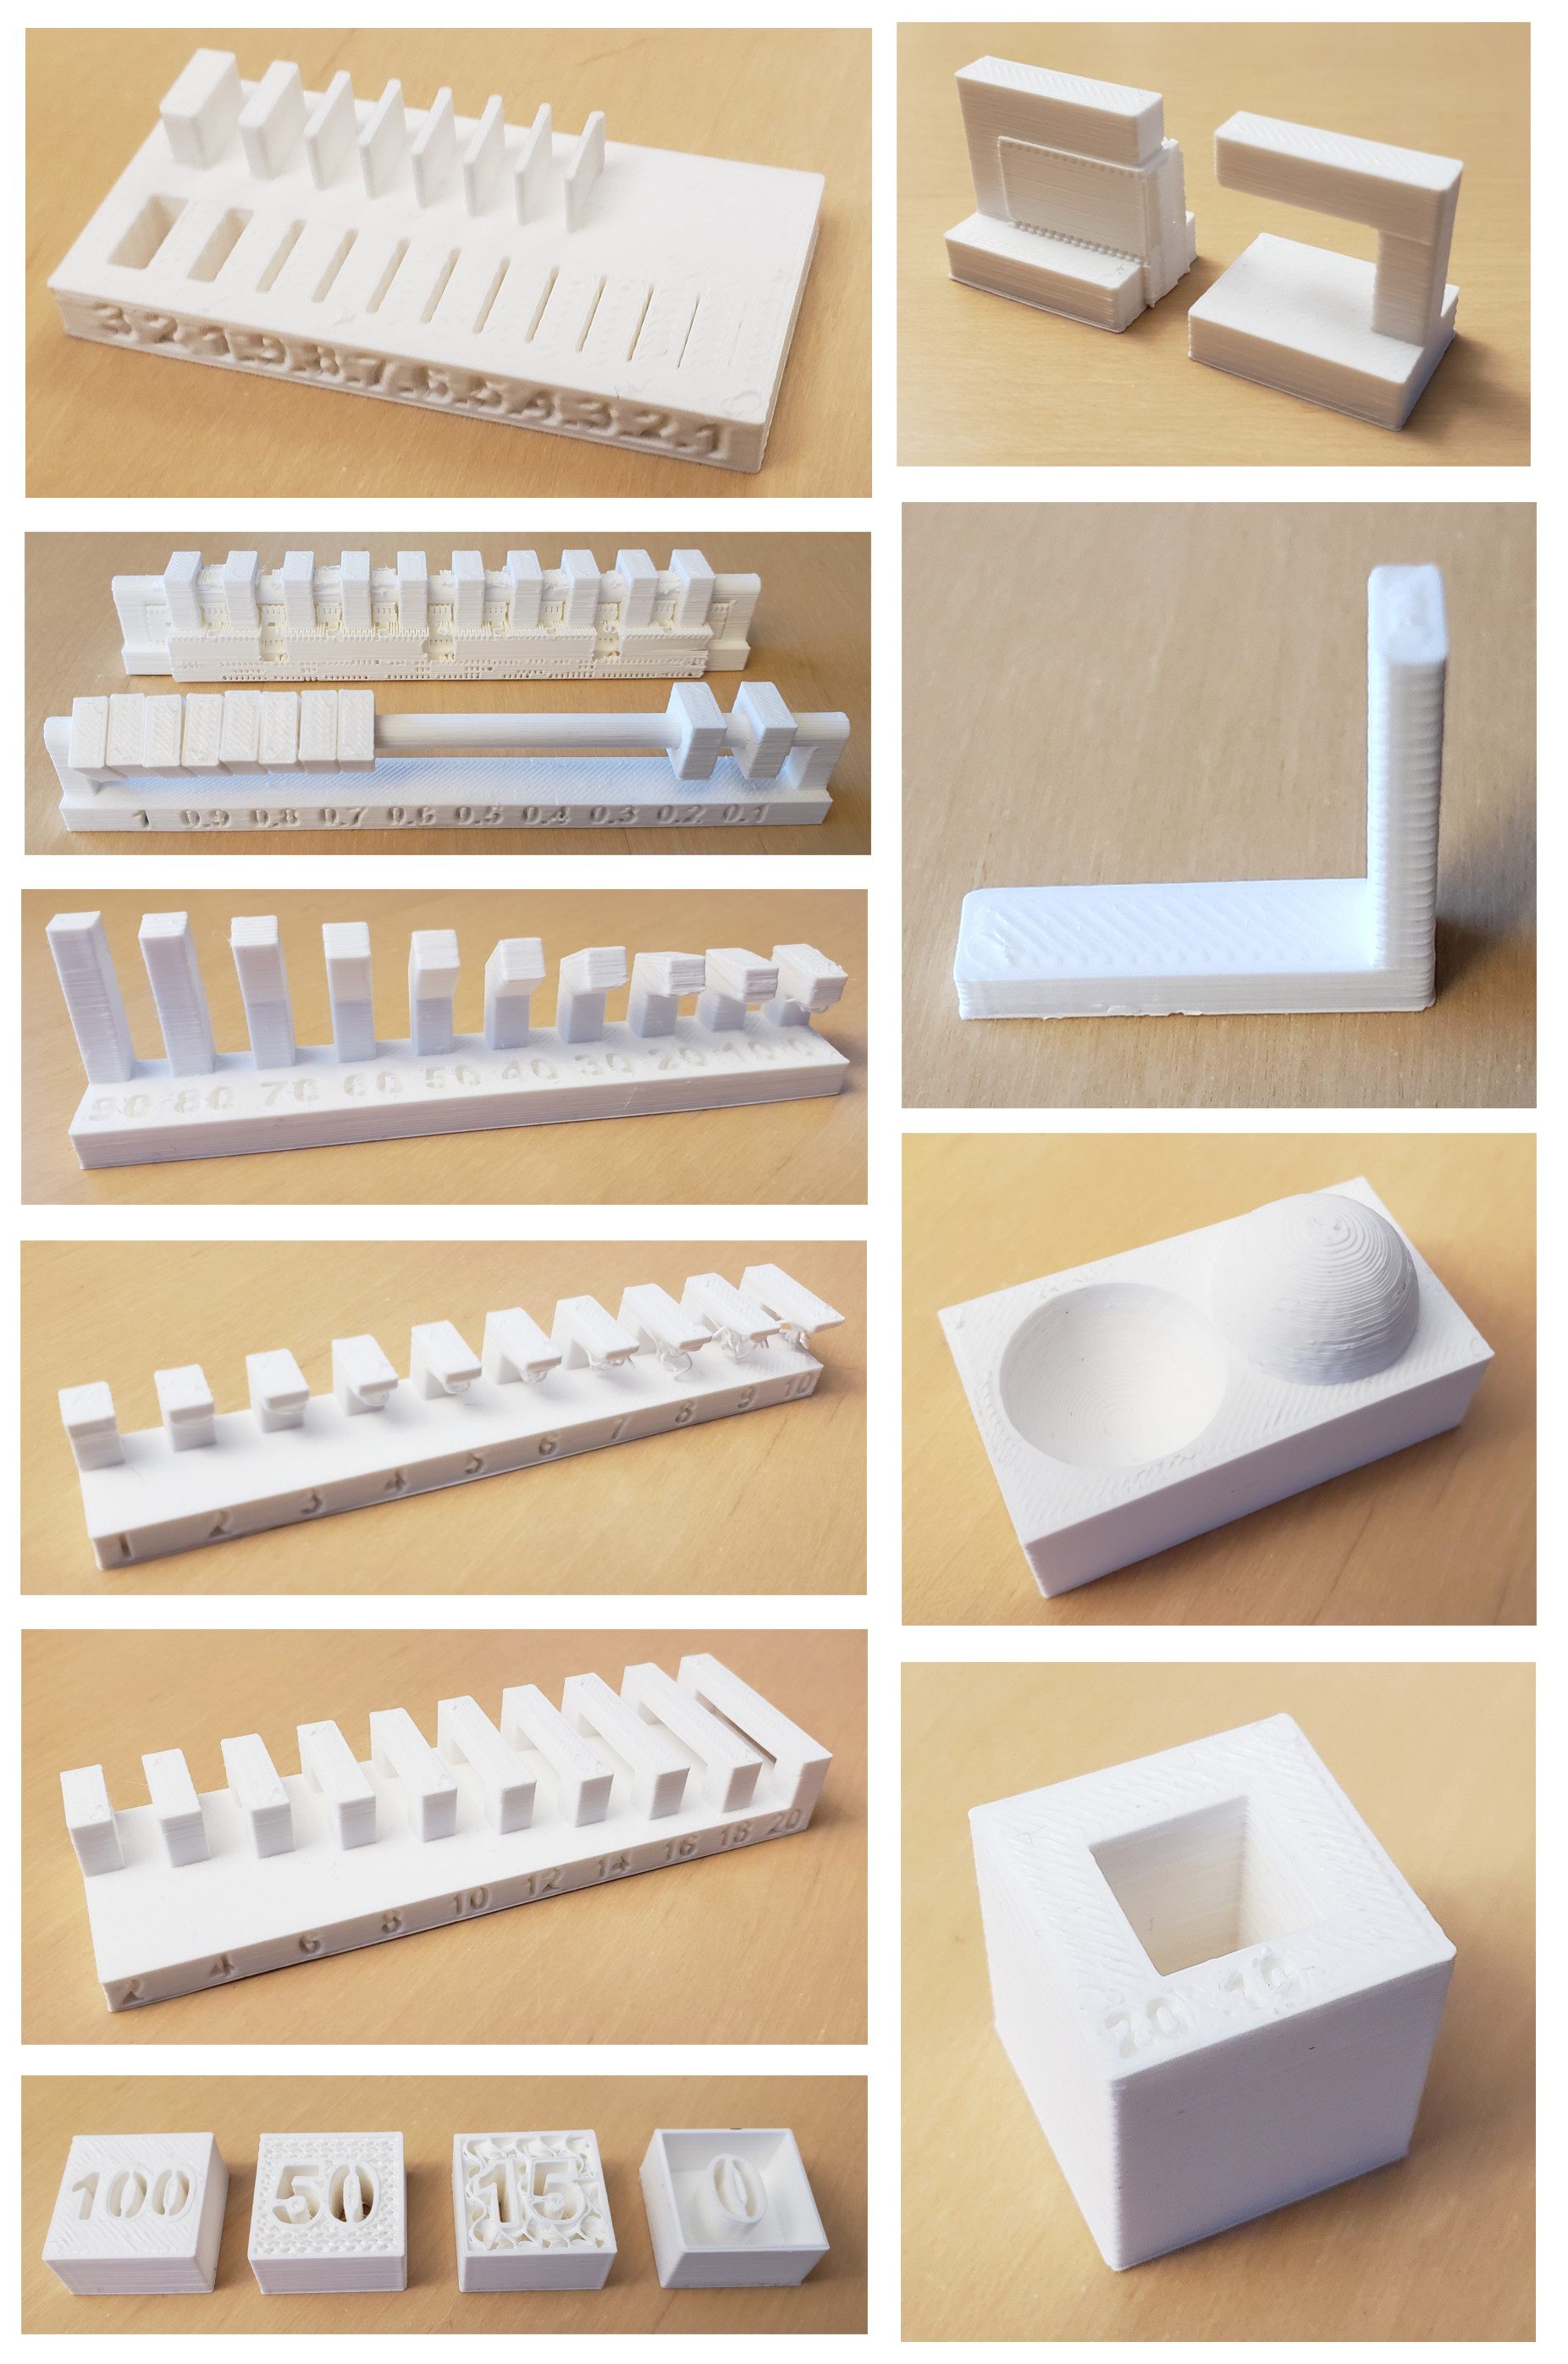
In this case we are going to test the different quality presets of the prusa slicer in the prusa mini, and consequently, the resolution of the printer. For these tests we will use PLA and Neil’s print test dedicated to finishing. We are going to test 3 different finishes: 0.05mm ultradetail, 0.15mm quality and 0.25mm draft. These are the parameters used in the prints made:
| Test: | Surface finish | Surface finish | Surface finish |
|---|---|---|---|
| Material | Prusament PLA | Prusament PLA | Prusament PLA |
| Quality preset | 0.05mm Ultradetail | 0.15mm Quality | 0.25mm Draft |
| Infill | 15% Gyroid | 15% Gyroid | 20% Gyroid |
| Print time | 3h38m | 58m | 37m |

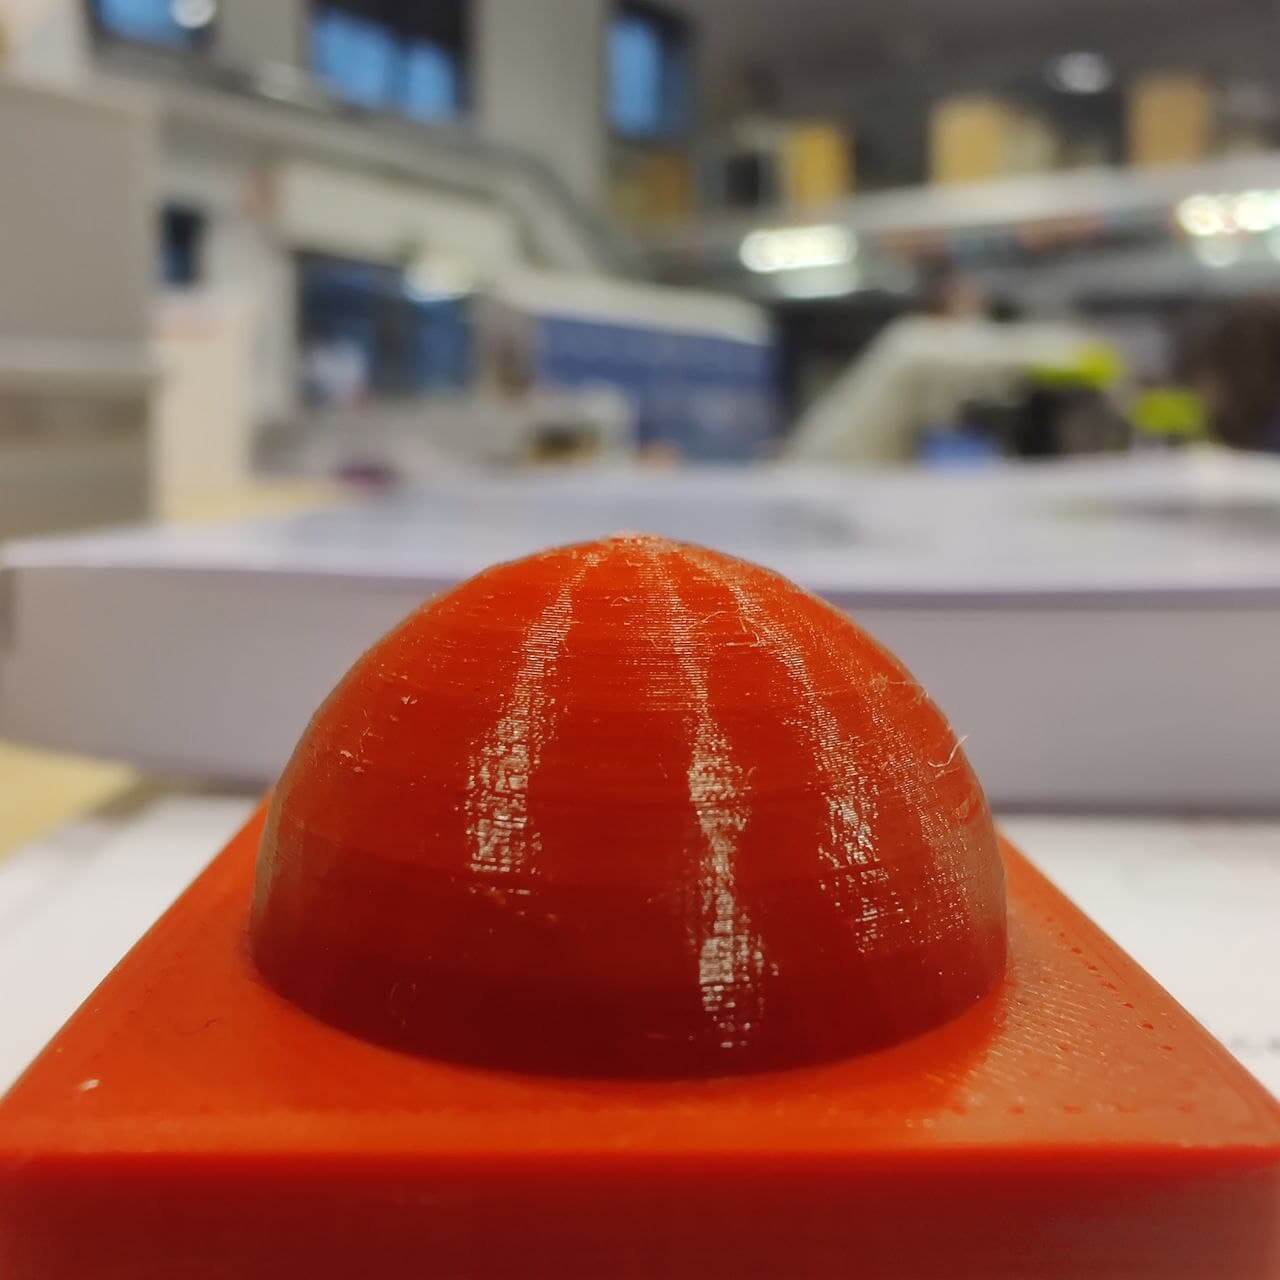
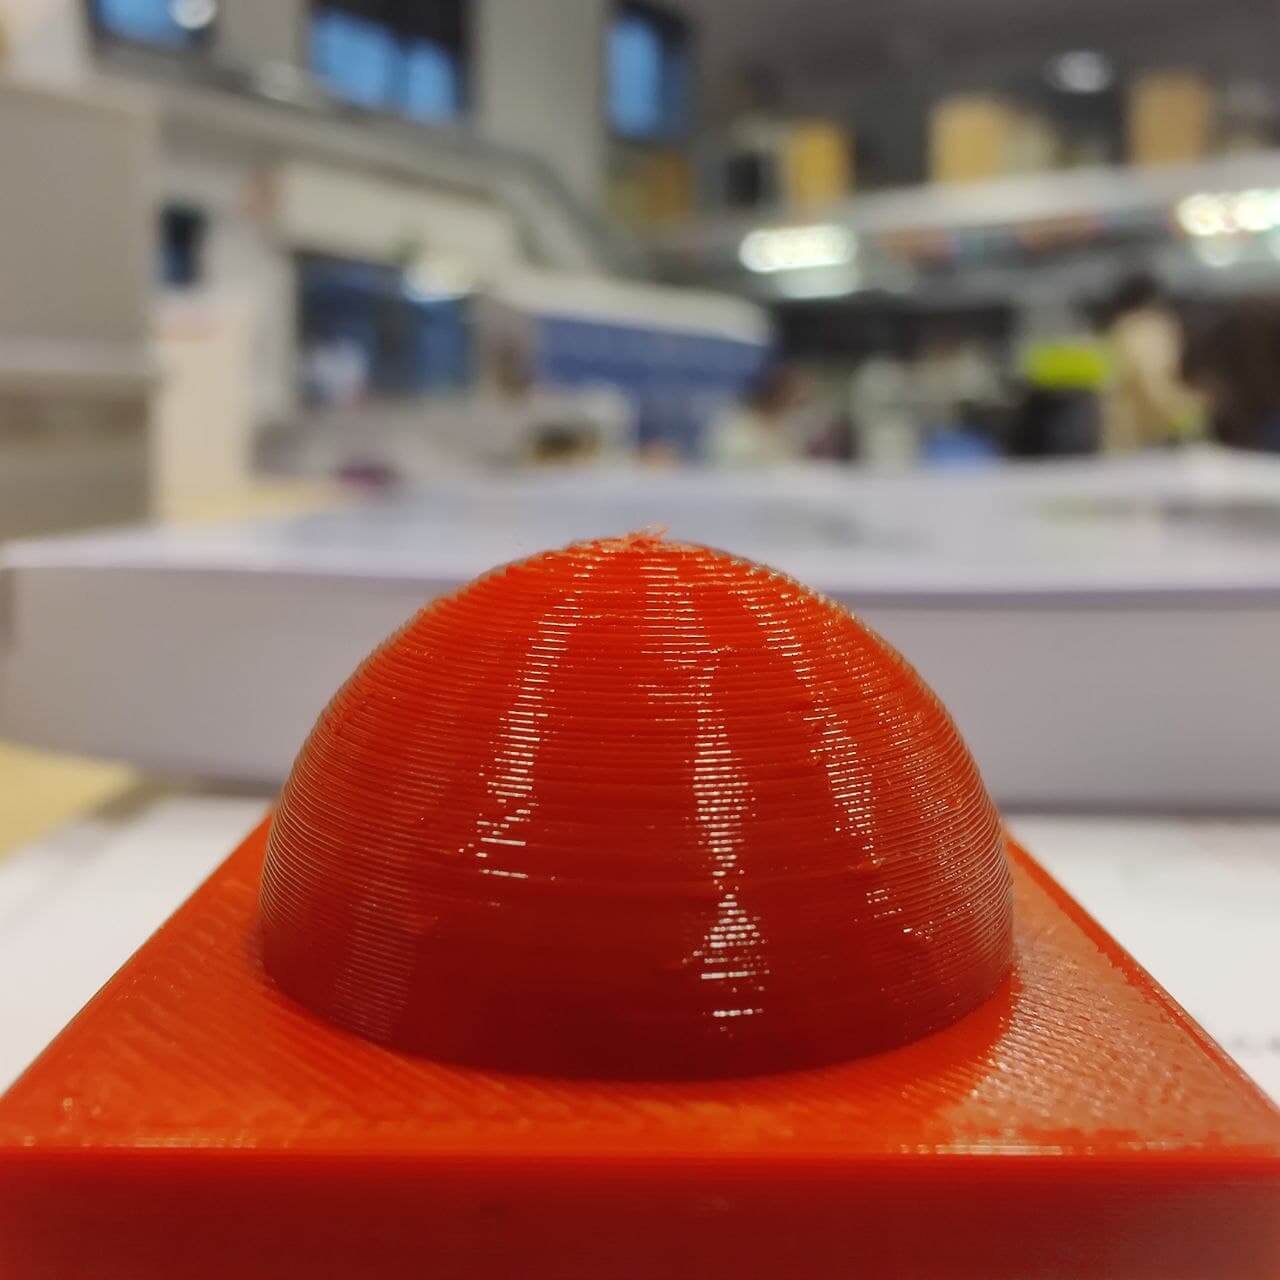
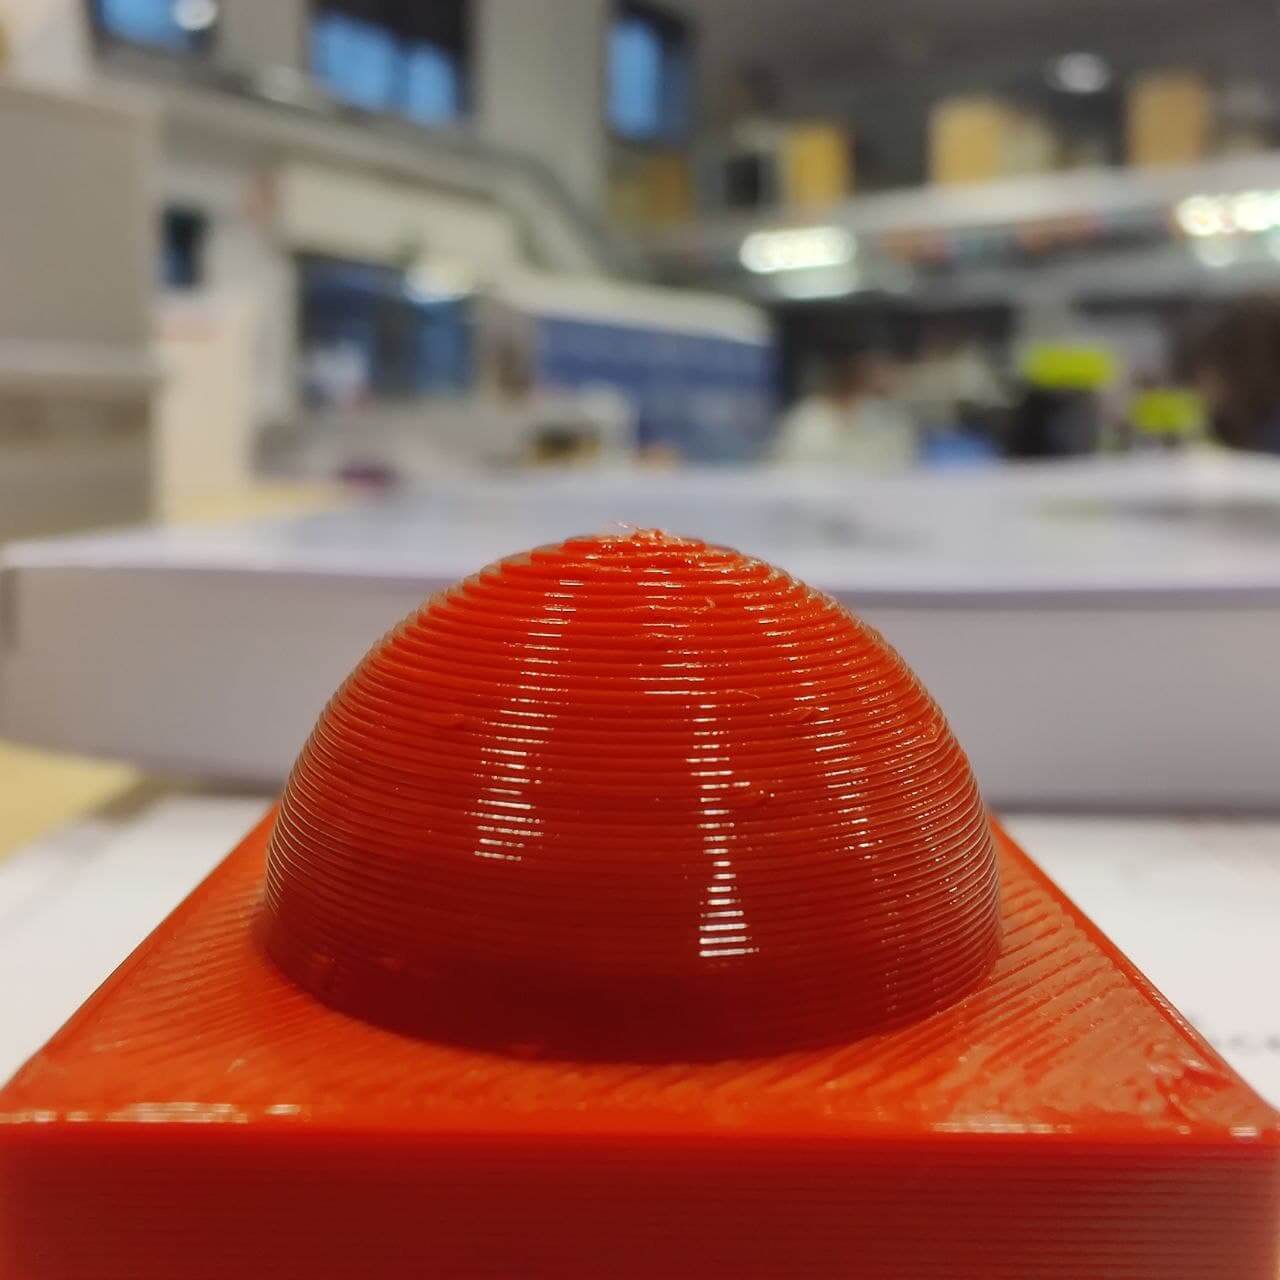
With the prints in the hand, the difference in finish between the 3 samples is quite perceptible to the naked eye and to the touch. I was really surprised by the quality of printing that can be obtained with the Ultradetail preset and a filament printer, but it is true that it would be necessary to assess whether it is really worth it. Even for such a small piece the printing time shoots up, so for a printing focused on the resolution of the finish, a resin printer is more interesting. If we are looking for a middle ground, the Quality preset offers us the perfect balance between printing and finishing time. The time is not triggered and the finish is much better than the Draft preset.
Flexfill⚓︎
I am going to try filaflex on the MK3s. Flexible filament should only be printed in direct drive extruders like the MK3s, because as it’s flexible, in bowden ones like the prusa mini the filament will wrinkle between the extruder and the hotend and create a mess.
I have used the same model for this sample than for the PVB filament. I’ll leave the link there, as it’s a model designed to test PVB. Flexible filament is awesome. Once cool down you can play with it and squeeze it like gelatine. It has very cool applications more than fun behaviour.
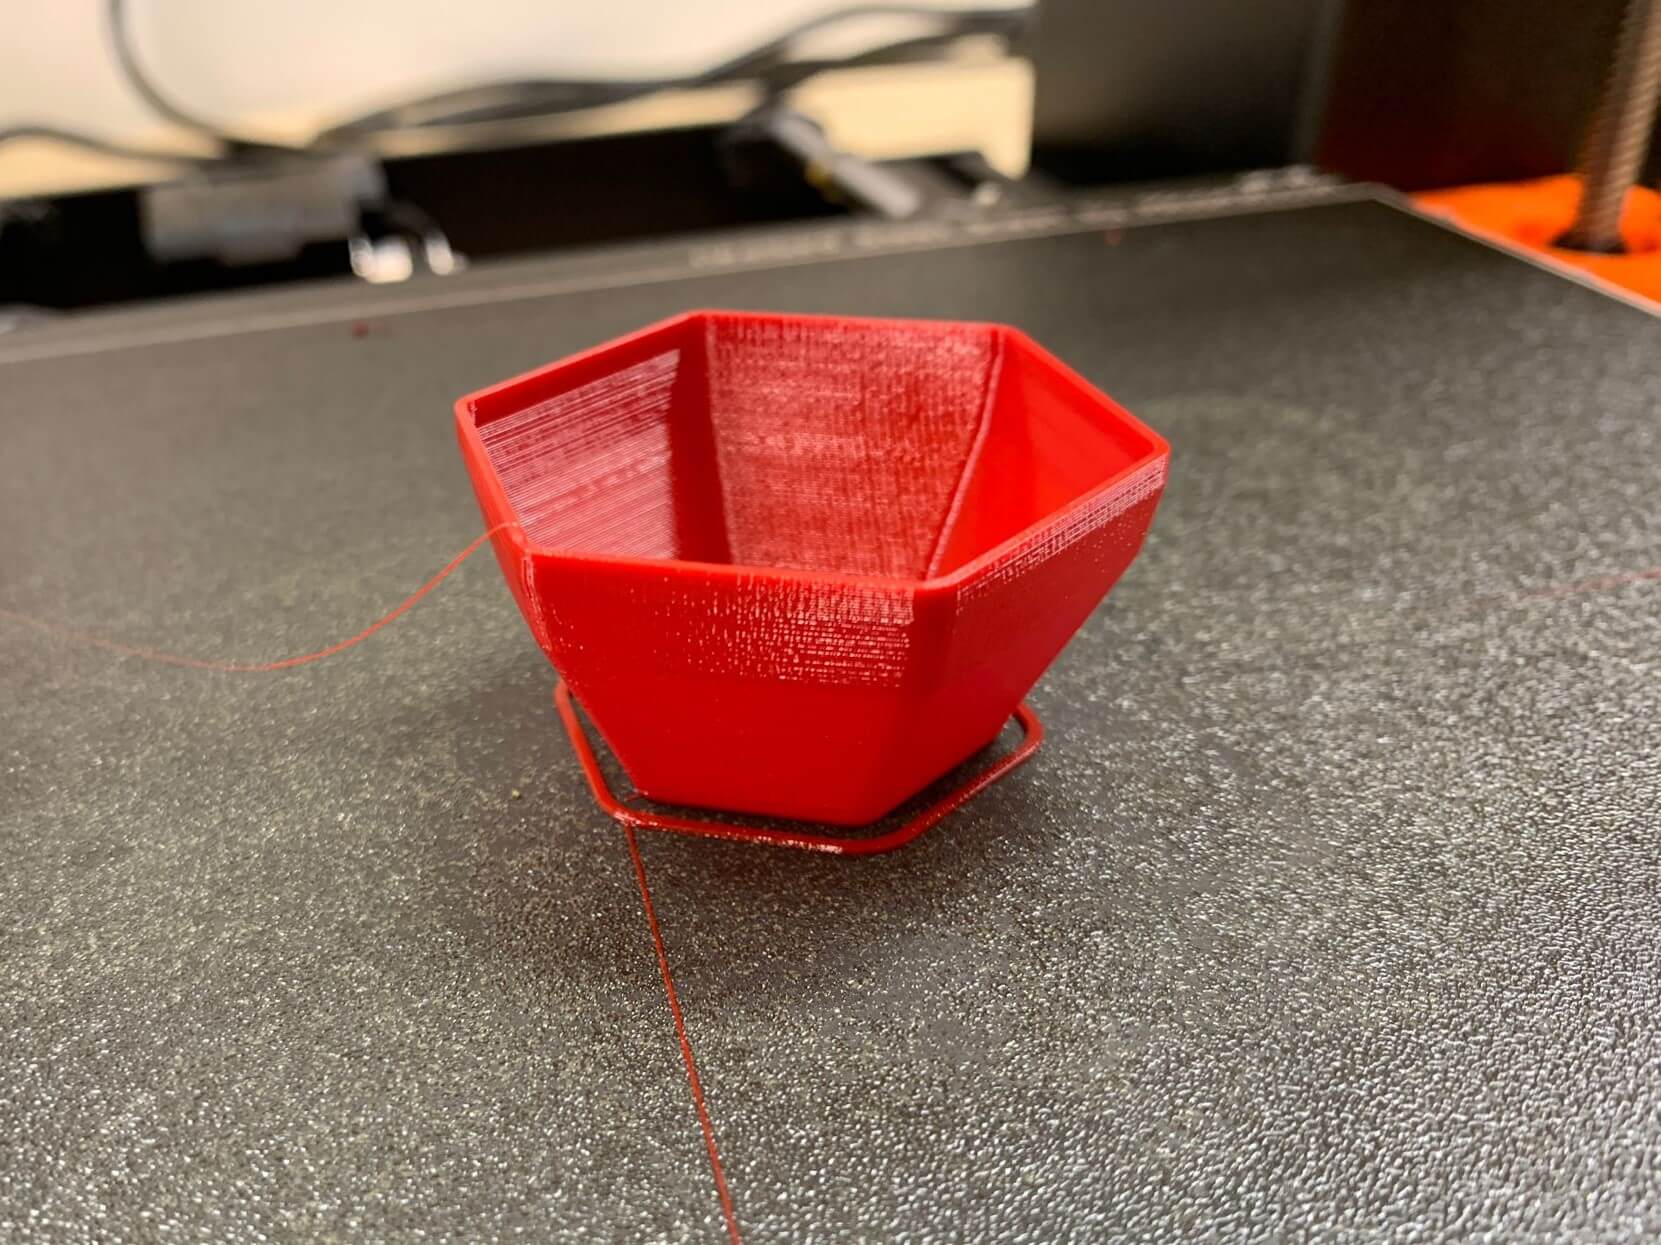
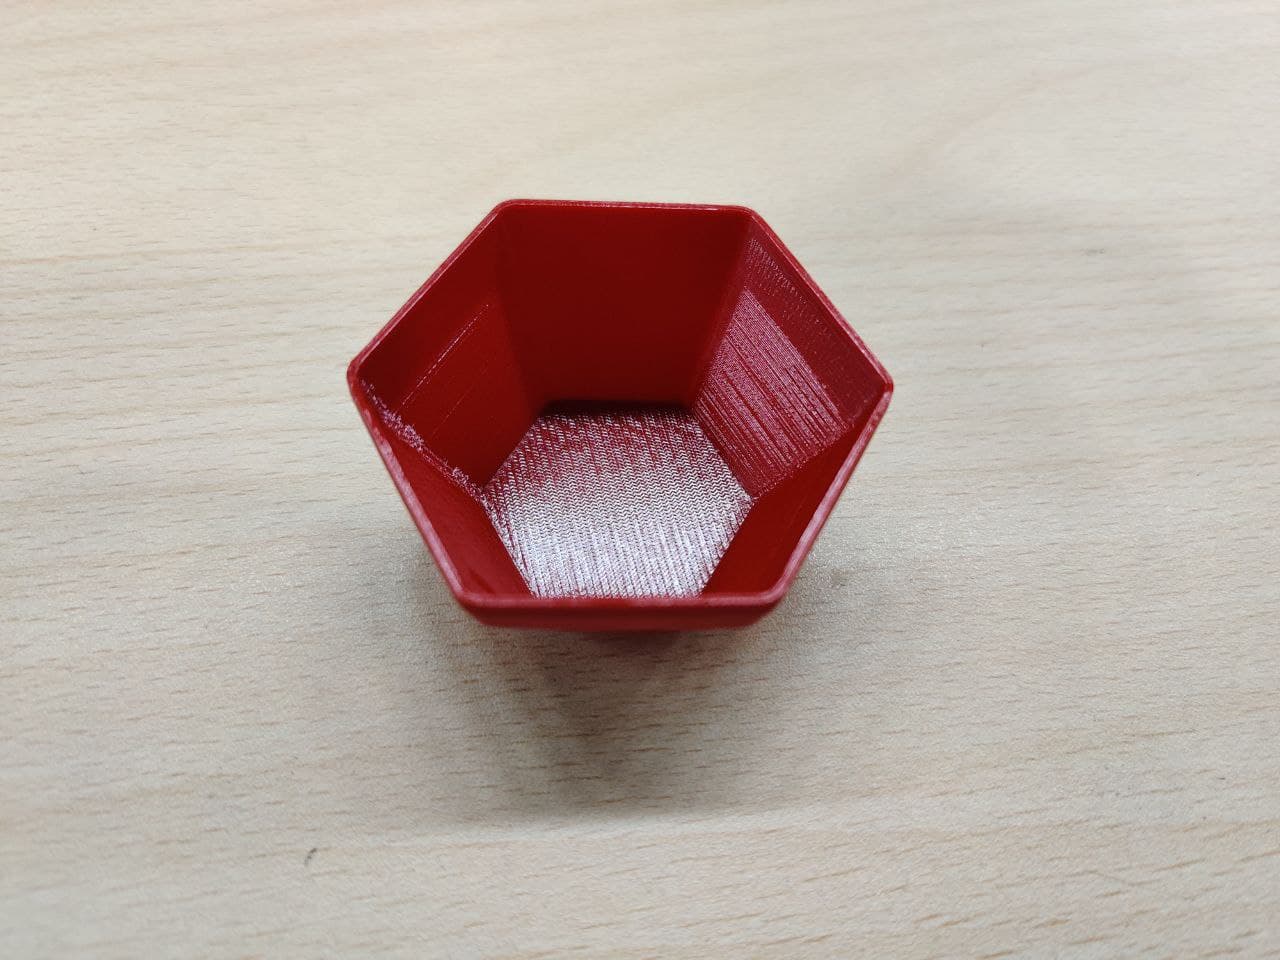
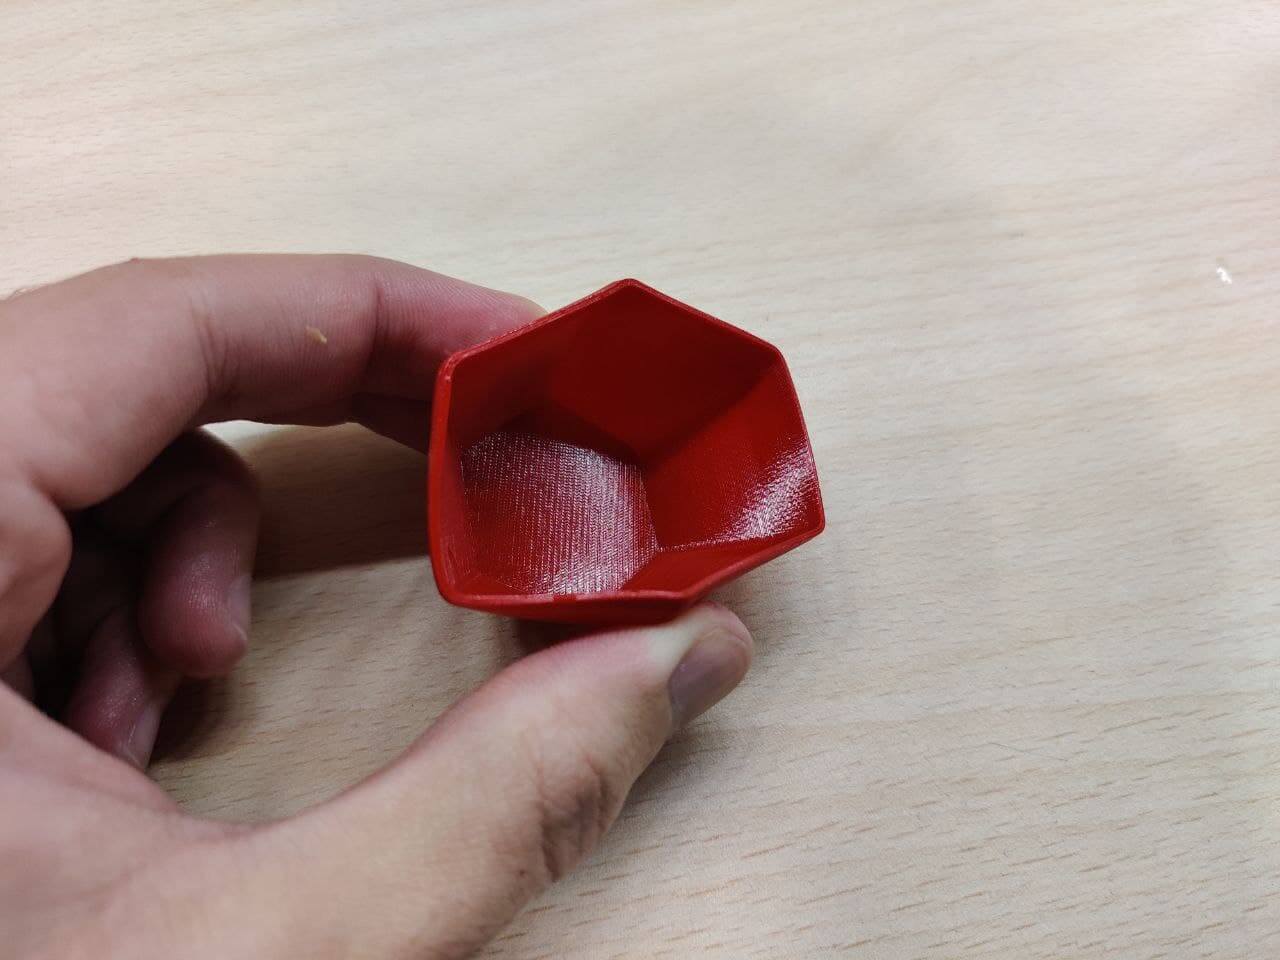
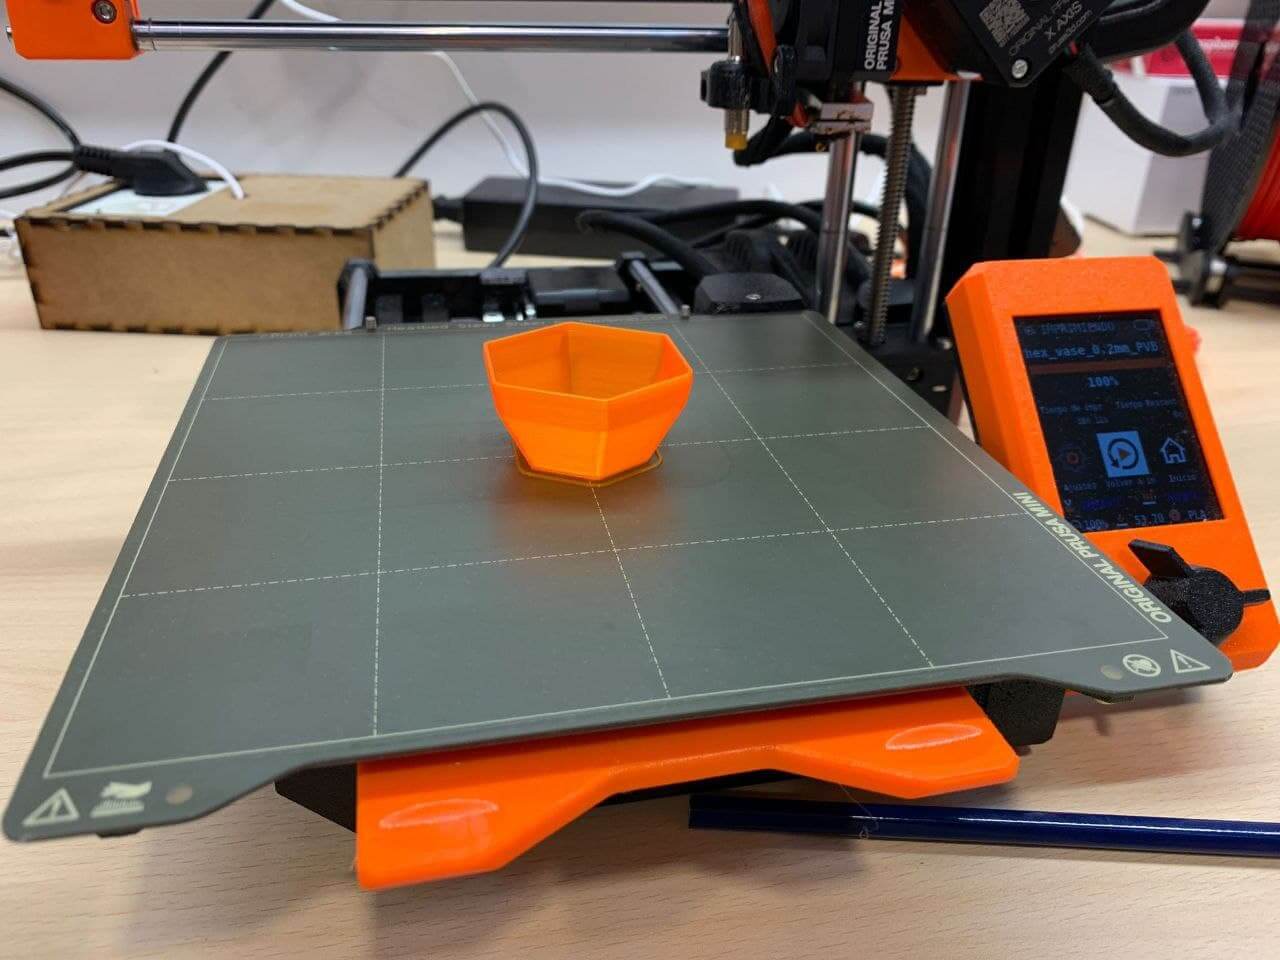
PVB⚓︎
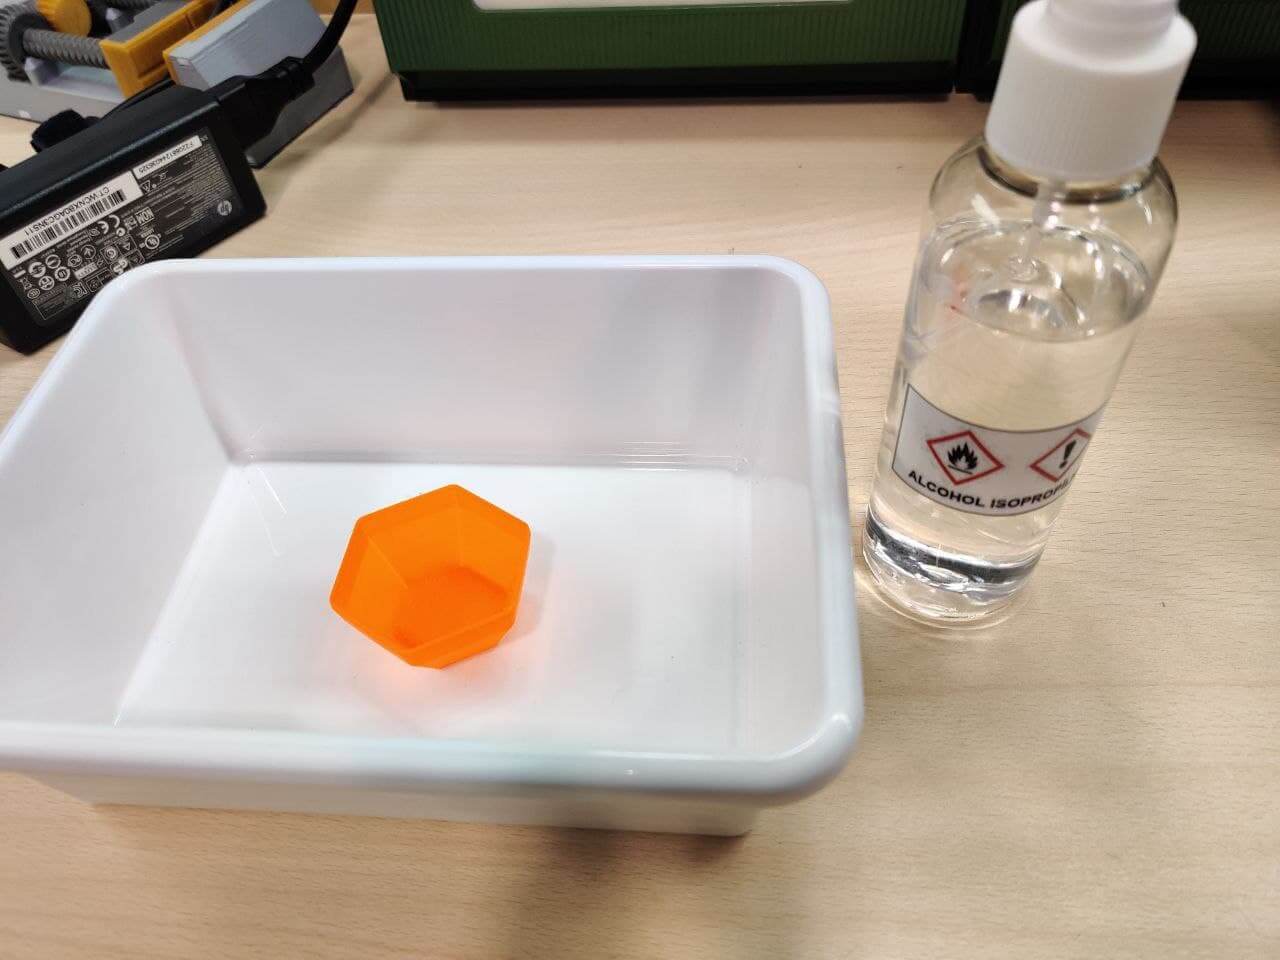
PVB it’s a new 3D printing material presented recenlty by Prusa. It has similar mechanical and printing properties to PLA. However, thanks to its transparency and easy smoothing with isopropyl alcohol, this material is most suitable for the production of visual models, such as unconventional vases, jewelry, lamps, and other art pieces. Here you can find it’s Technical Data Sheet and Safety Data Sheet for more in-depth info.
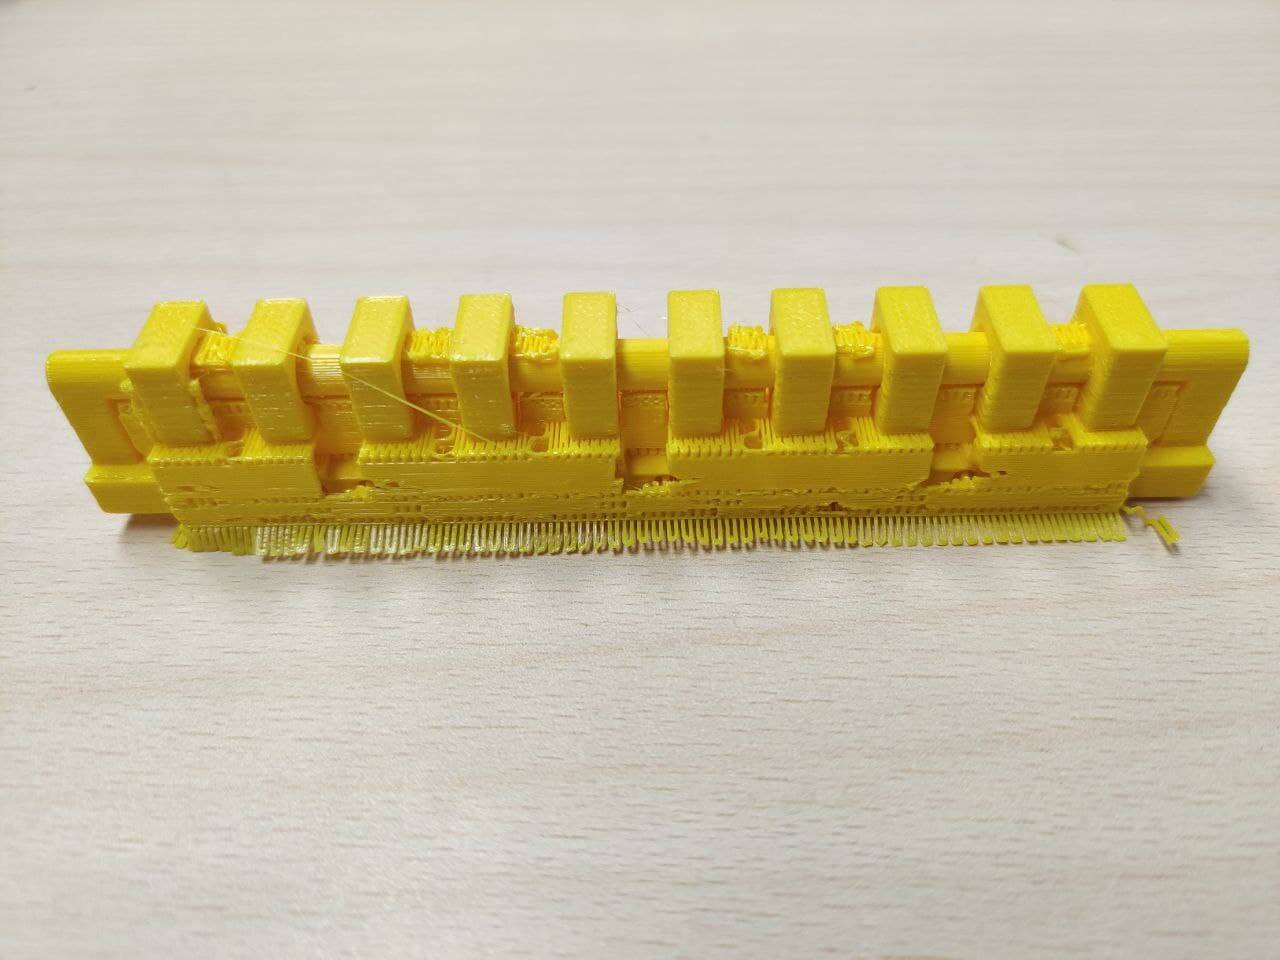
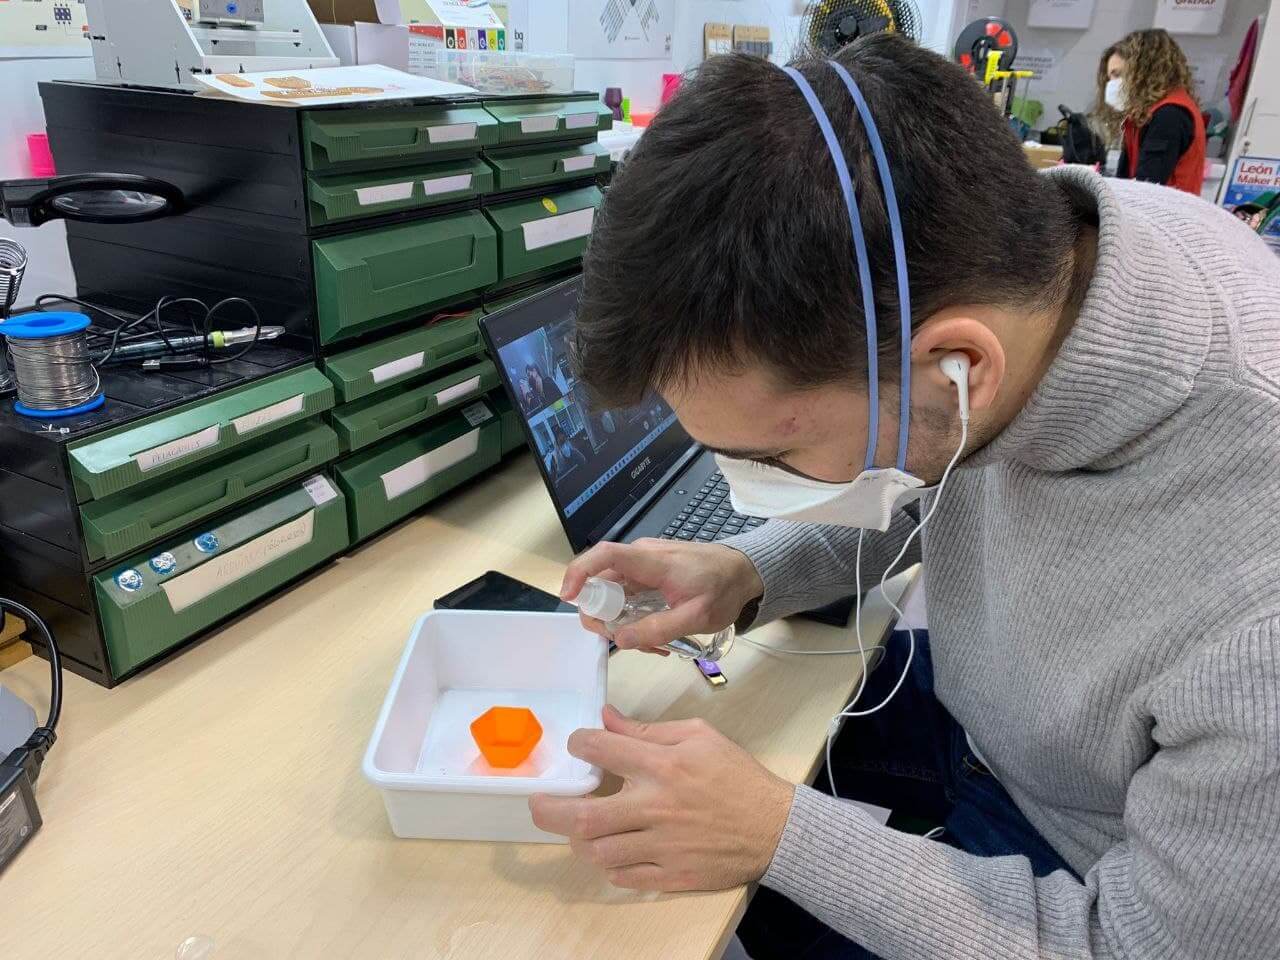
For this test I have used the Hexa Bowl model that facilitates the prusa itself to test the material and the preset of the material in the slicer, since it is an official prusa filament. For the post-processing process, I have sprayed alcohol on the model every 15 minutes as indicated by the manufacturer.
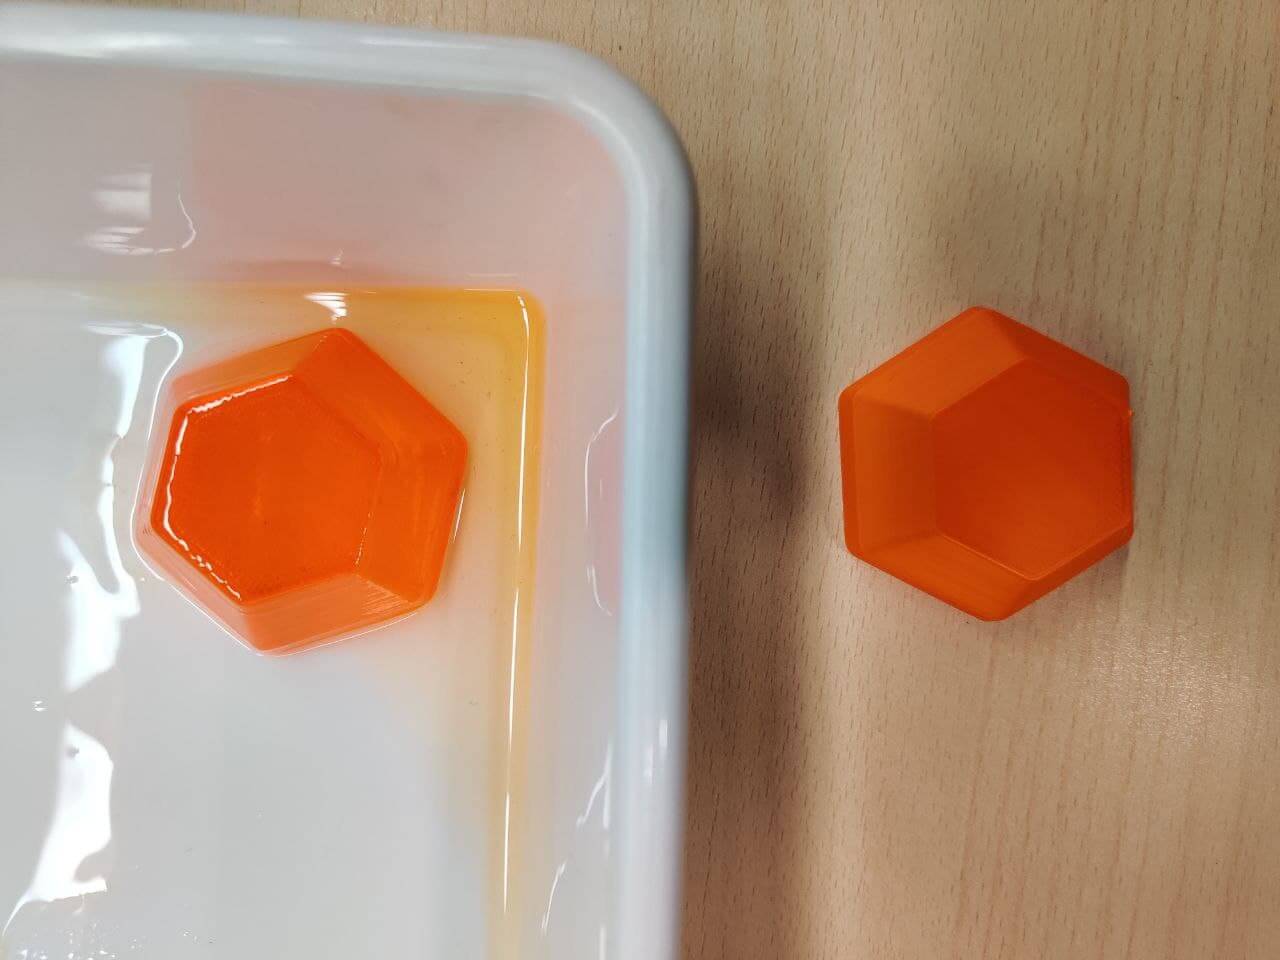
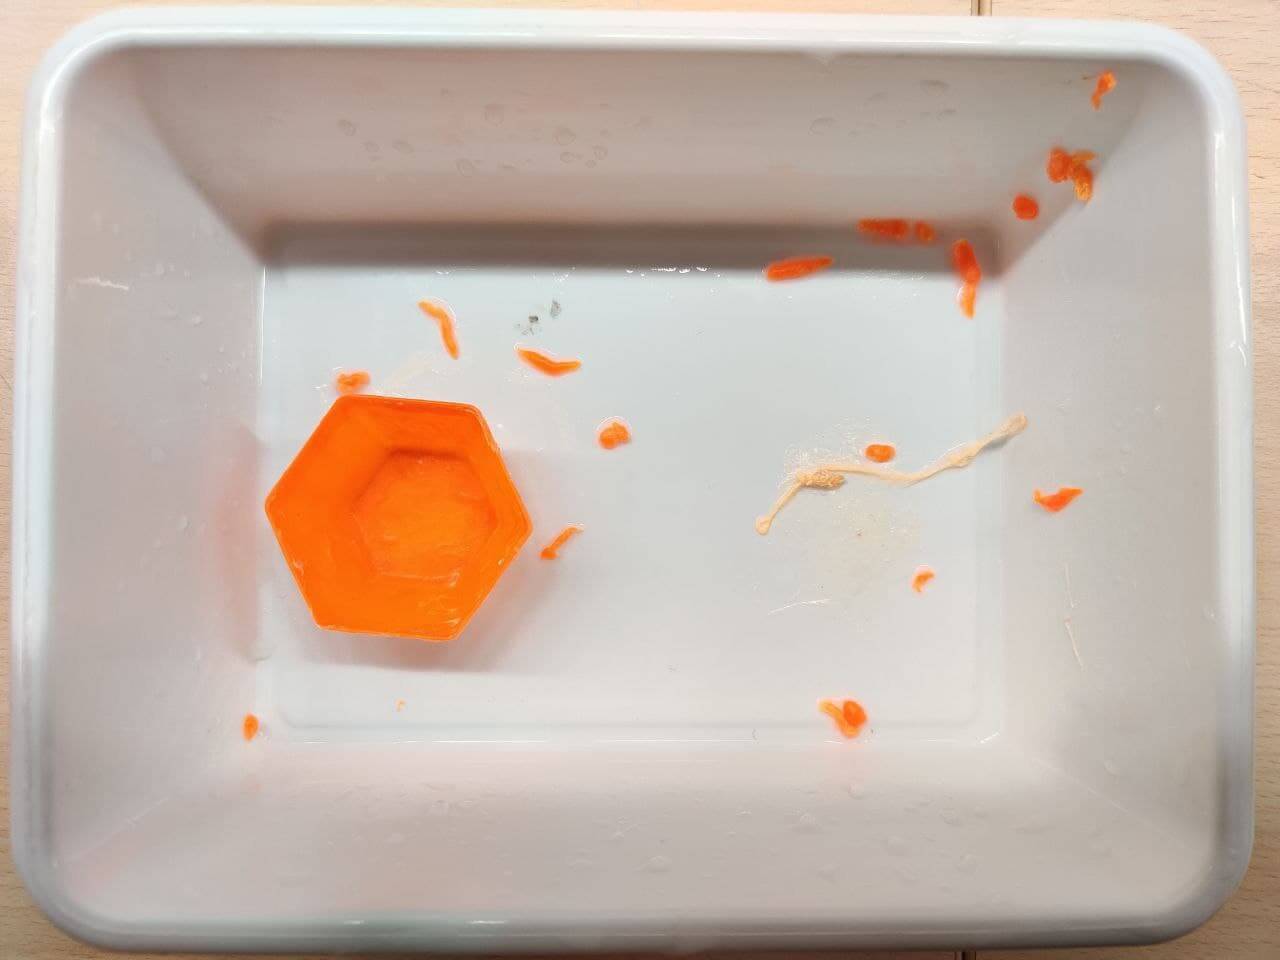
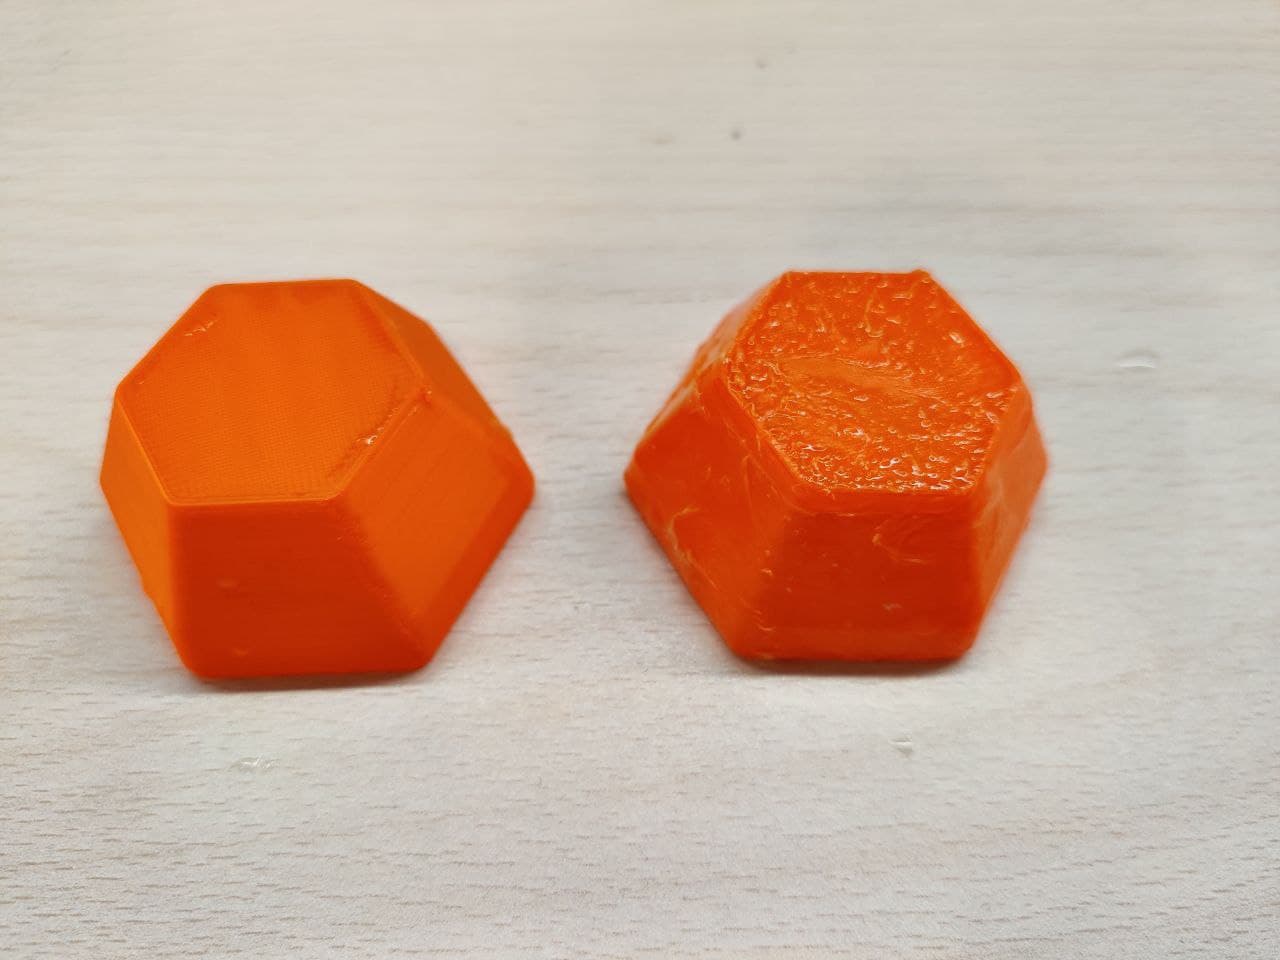

Trying out new stuff is always fun, but it comes with a learning curve. The printing has been perfect and very simple as it is an official Prusa filament. The main problem has been the errors made during the post-processing by not correctly reading the recommendations that are cited on the presentation page of the material, which I have linked above. Among them, it should be noted that the material does not become transparent when sprayed with alcohol, but rather gains a certain transparency and its surface is smoothed. In my case, as I was not getting that result, I ended up trying to rub the material after each alcohol bath, which has caused it to disintegrate. For the next time, I’ll try to see the visual change without touching it during the post-processing. Now I now why the surface was always “sticky”. 
Additive design⚓︎
The goal for the assignment is to design and print an object that could not be easily made subtractively.
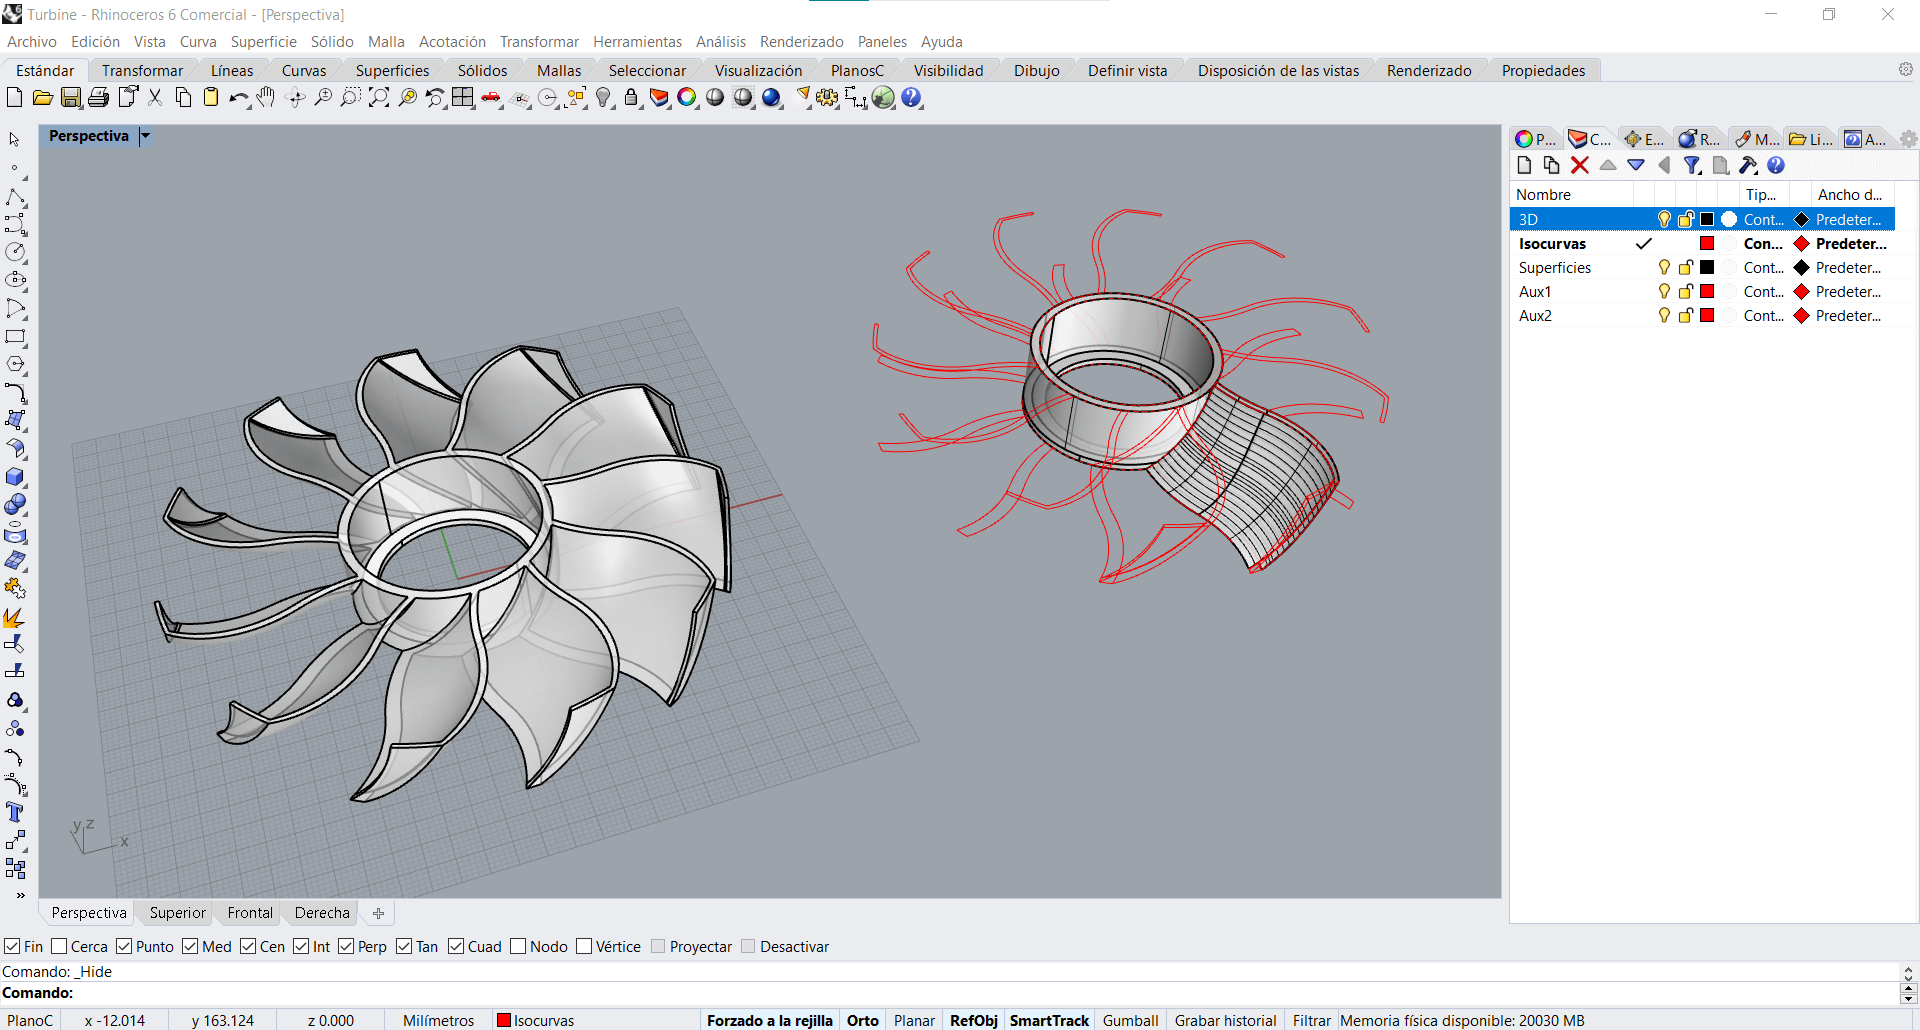
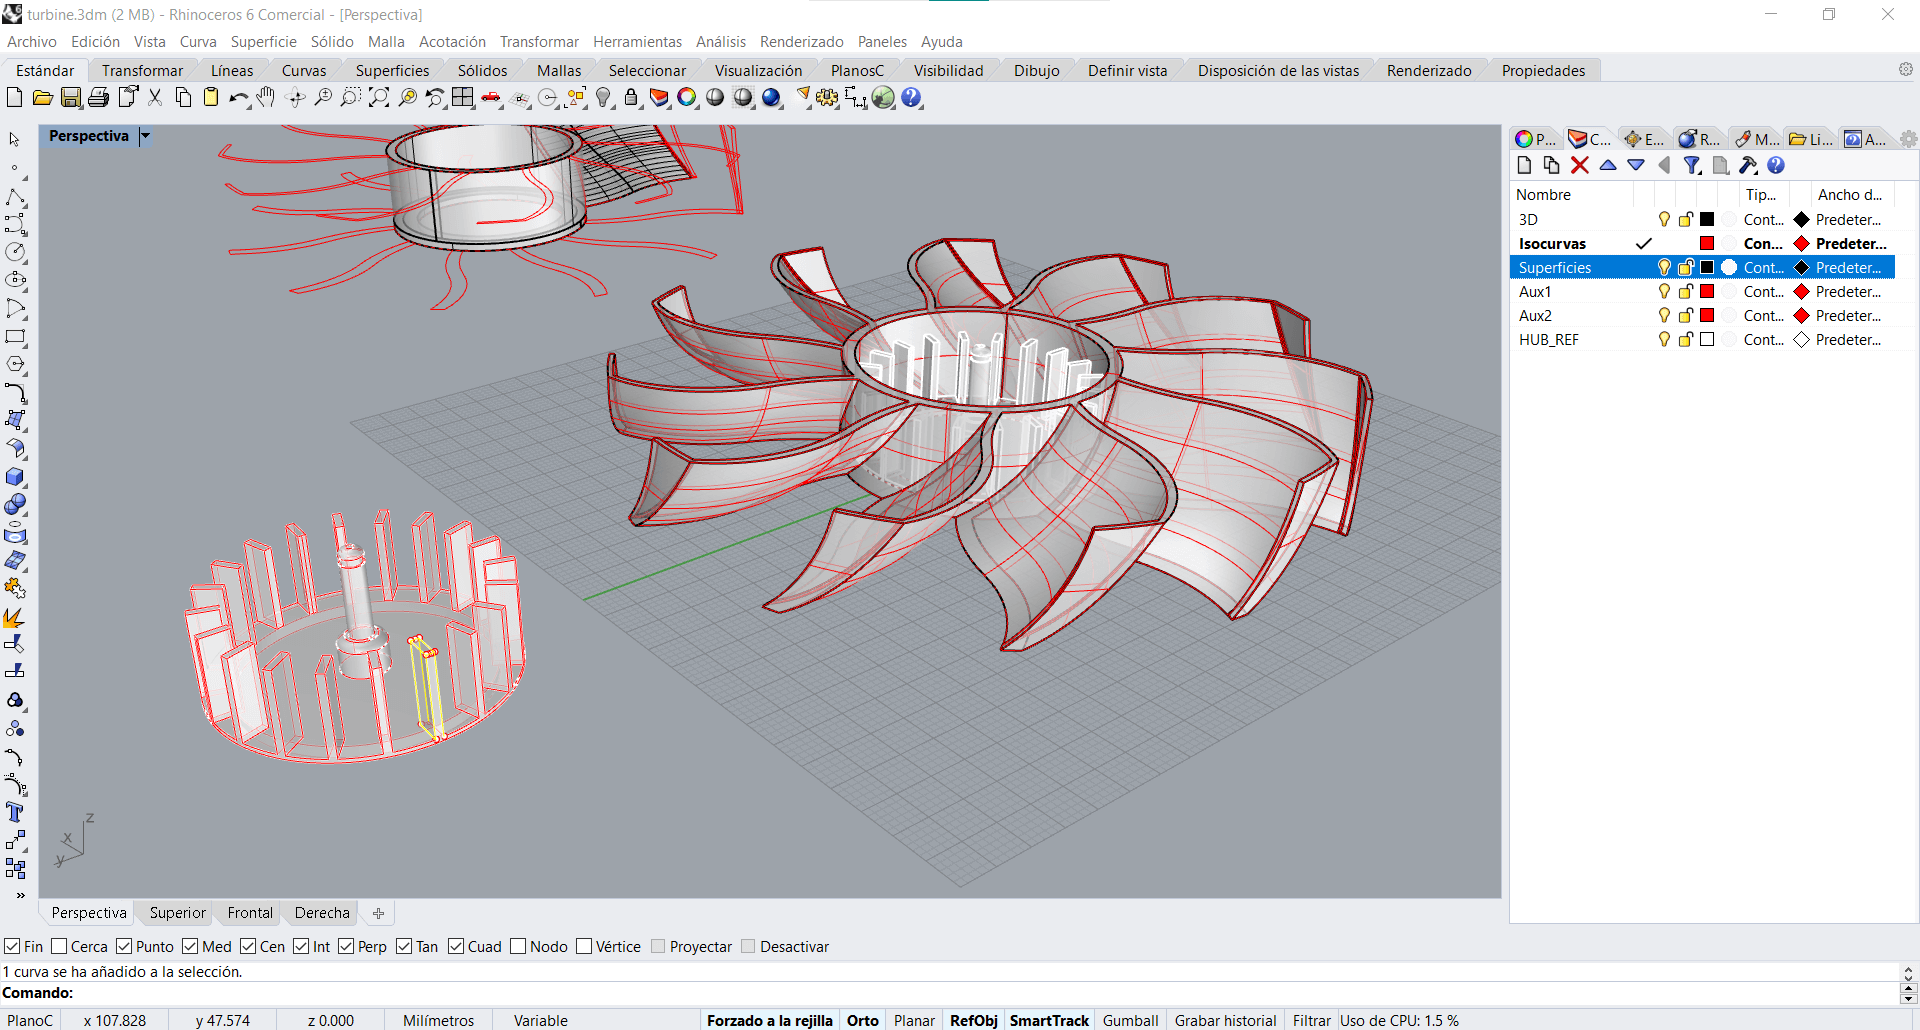
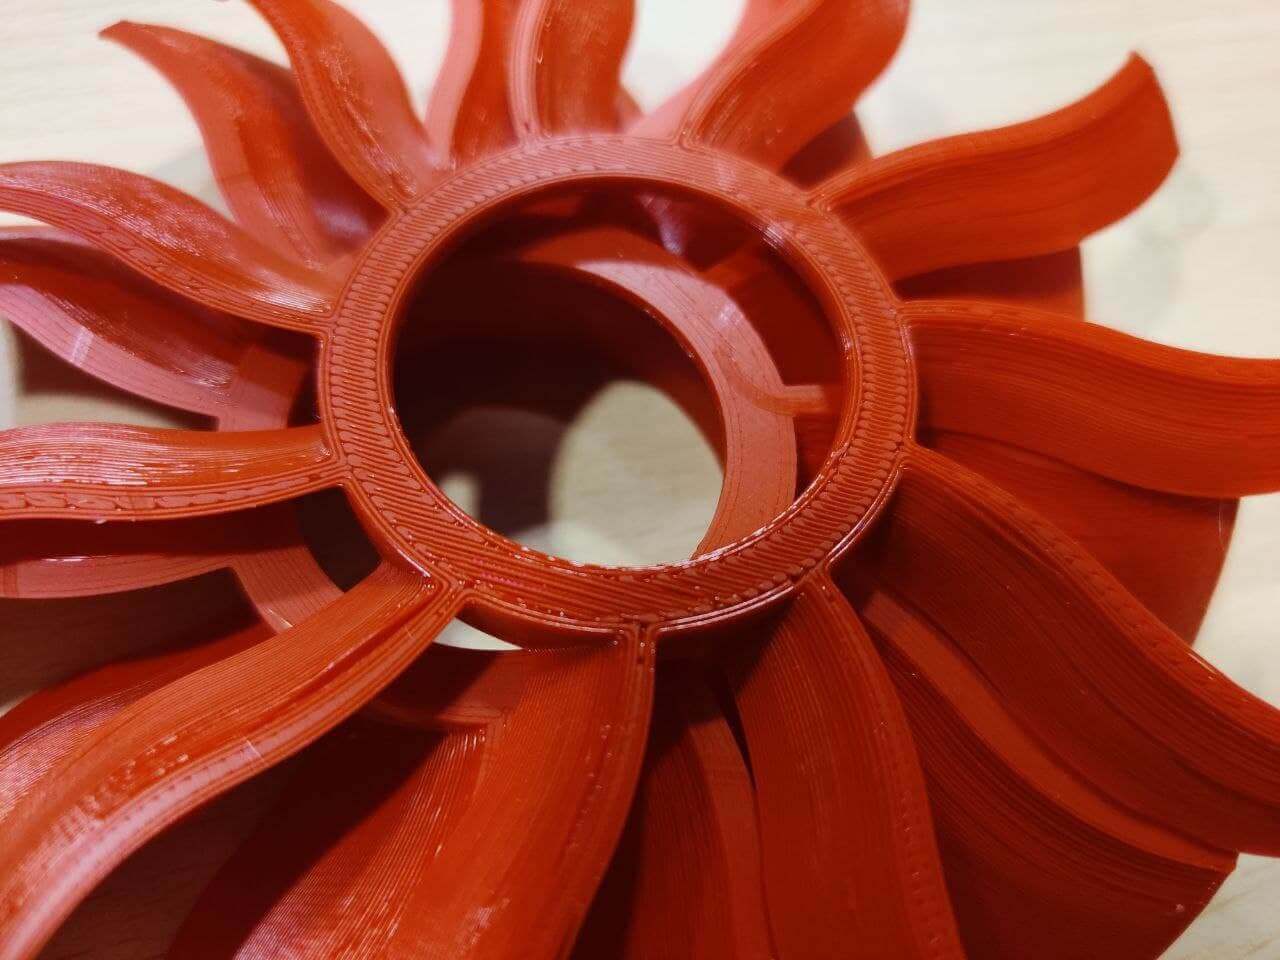
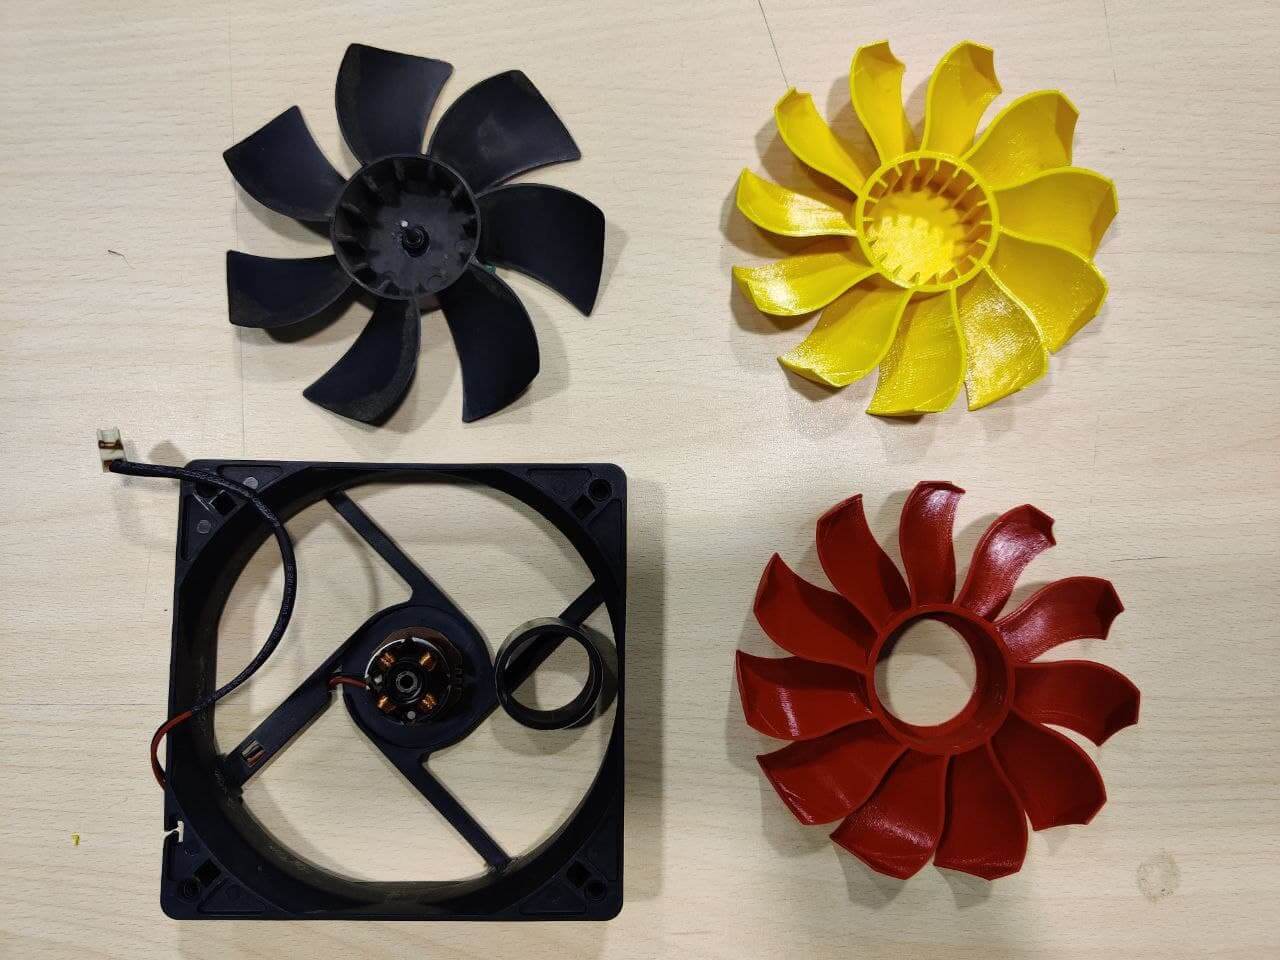
Custom fan⚓︎
As I follow a pretty funny fan showdown in Youtube, where one guy test multiple fan designs that people send to him, and also as I already did a fan for the CAD week to fit the laptop dock model, I thought it could be cool to make a more polished fan design.
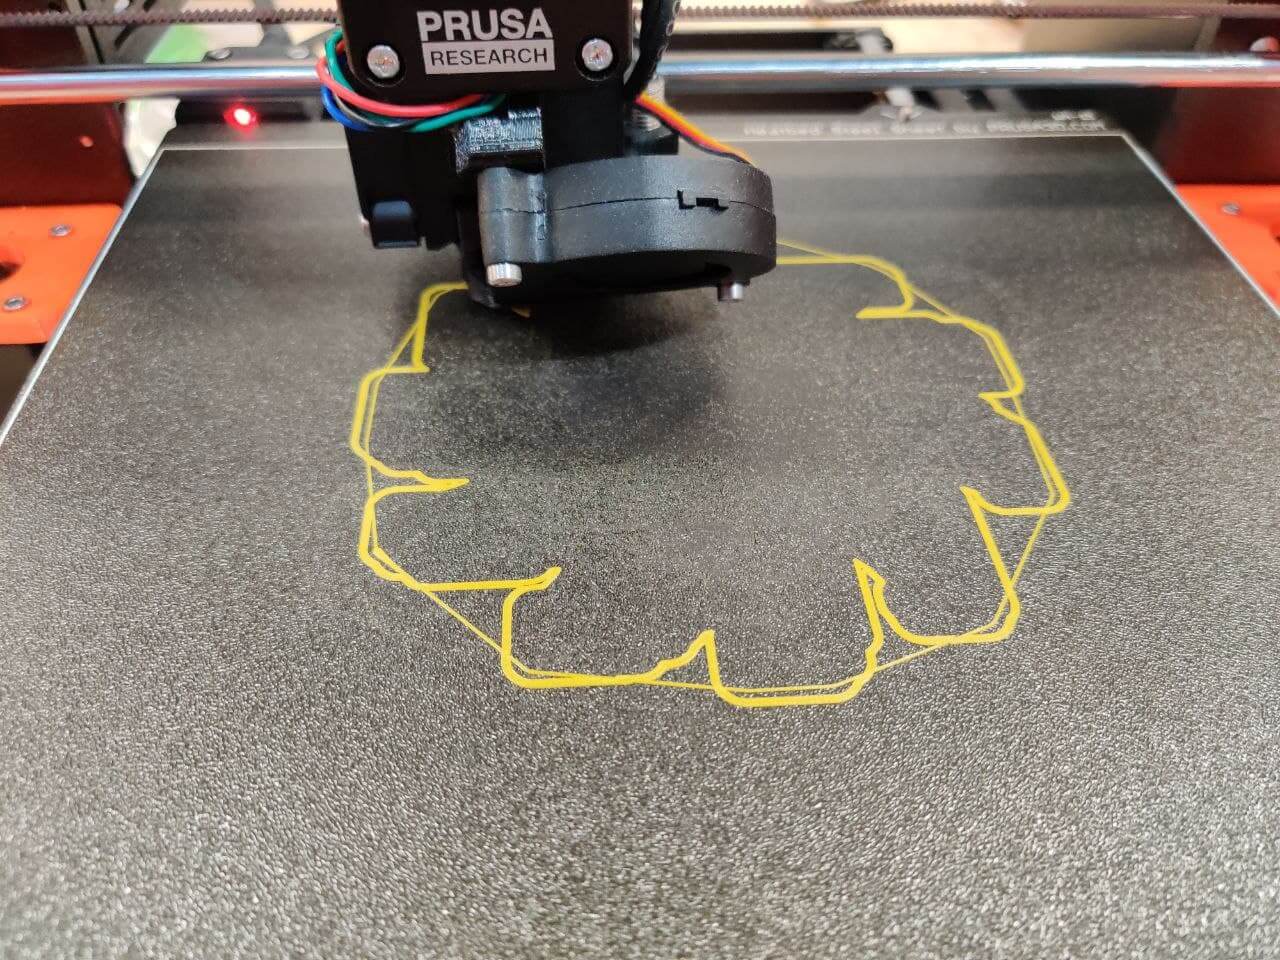
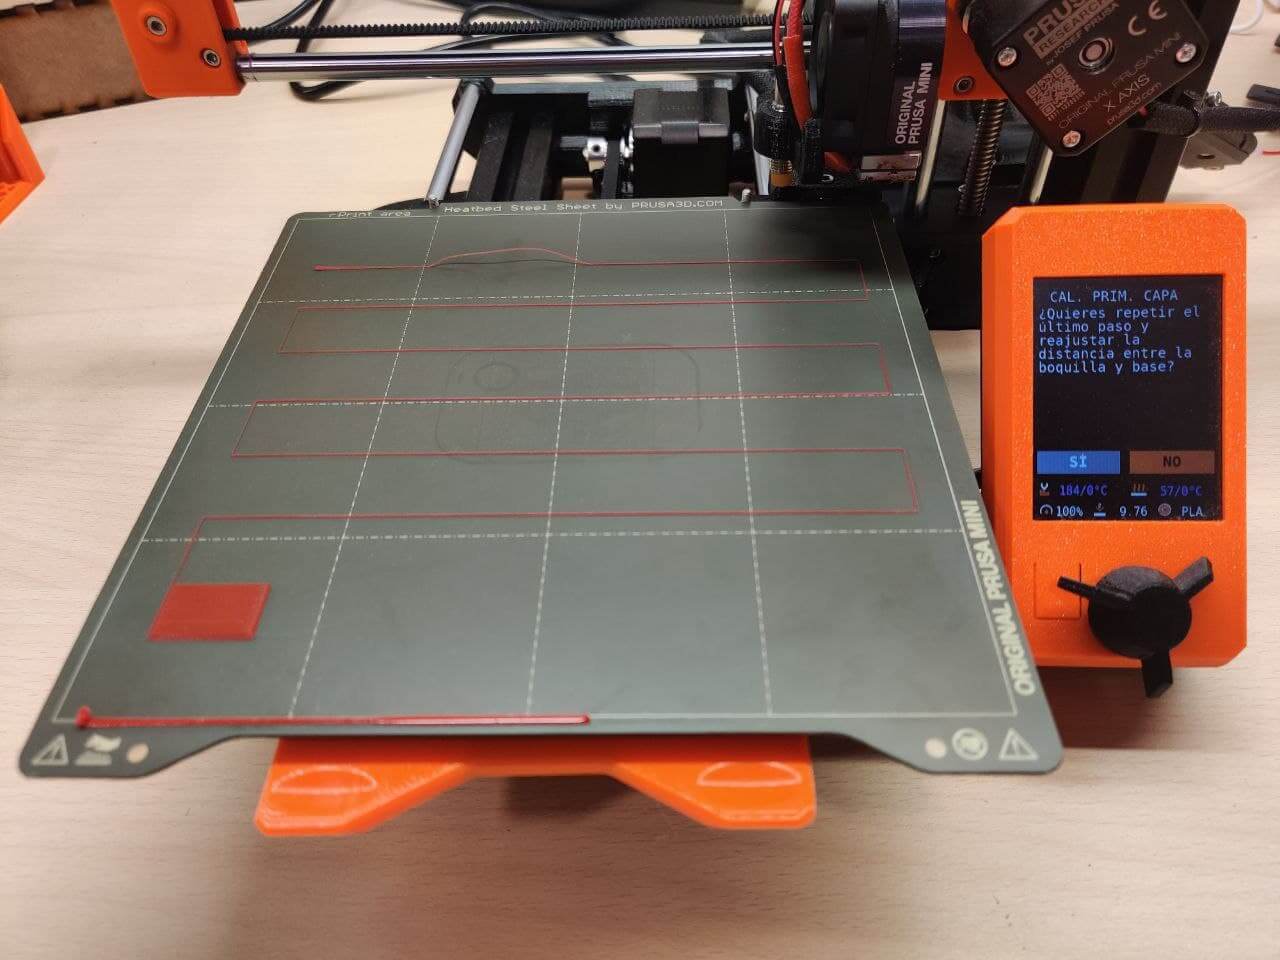
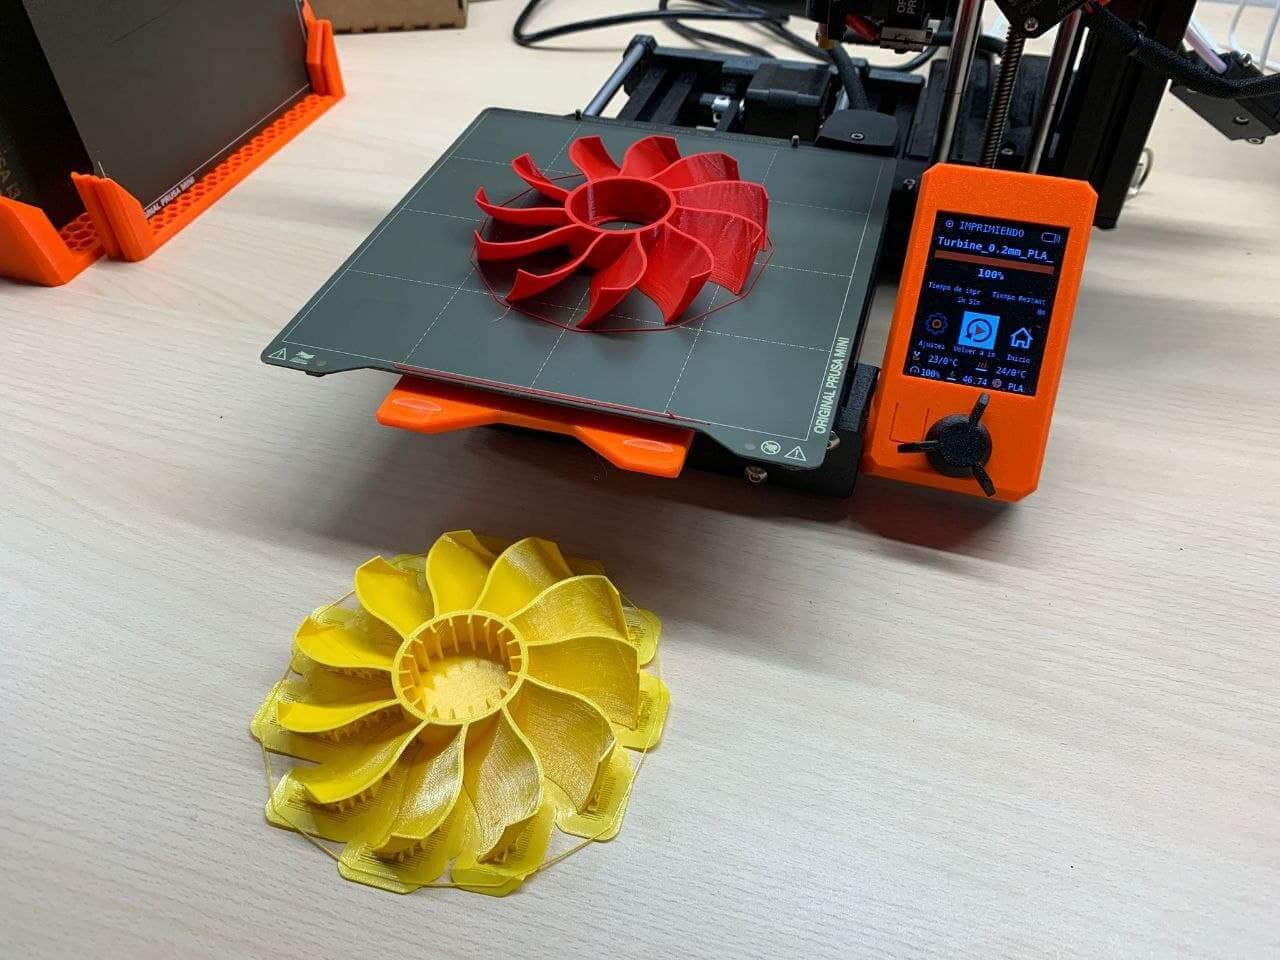
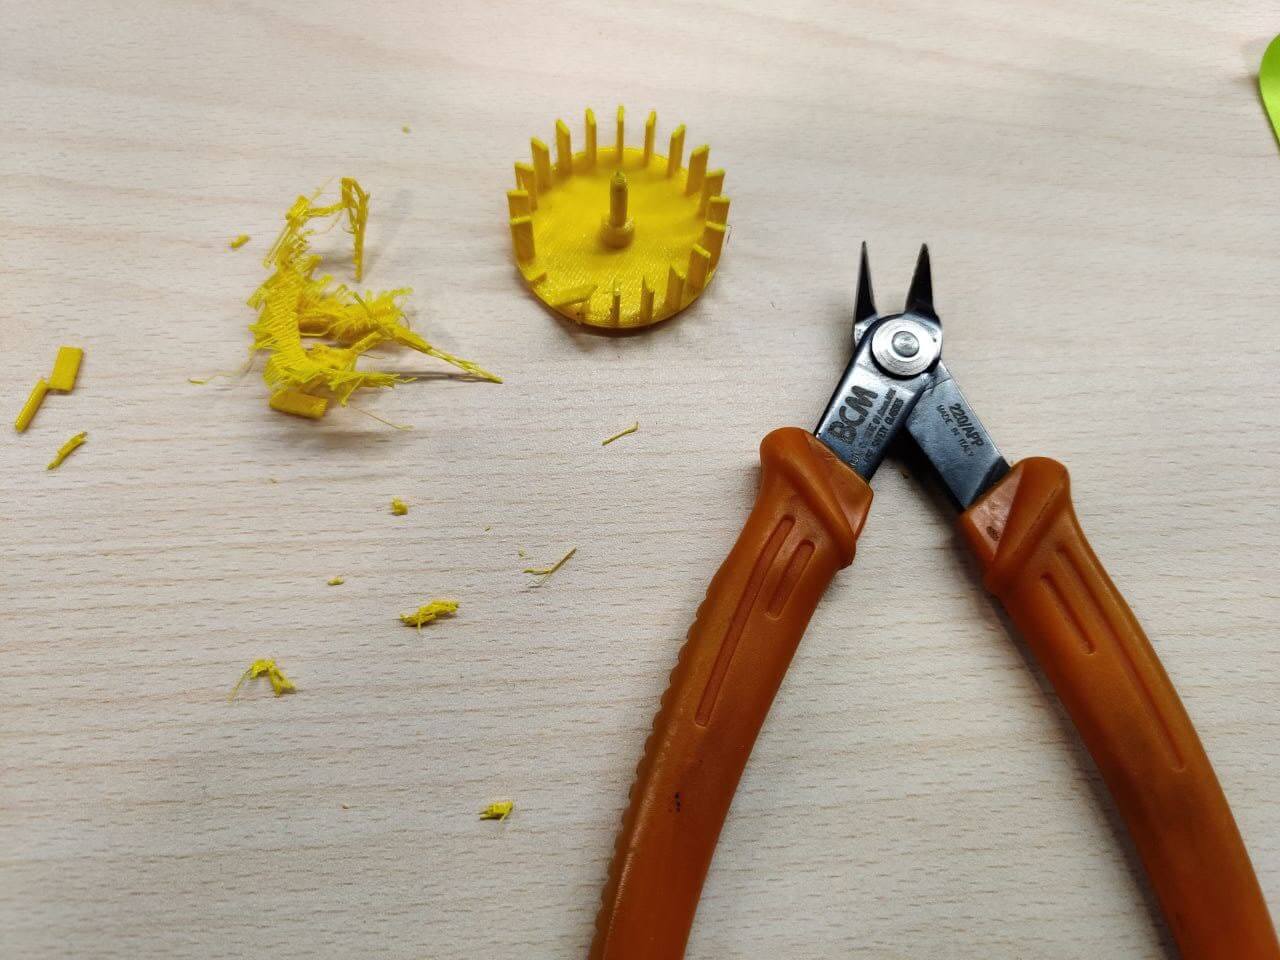
I’ve printed the fan both in PETG on the MK3s and in PLA on the mini. At first I had a first layer problem with the mini, as the print didn’t stick to the bed and started creating a mesh. I repeated the print, but first I made an auto first layer calibration. I love prusa software. In my printer this will take me 5 hours instead of 5 minutes.

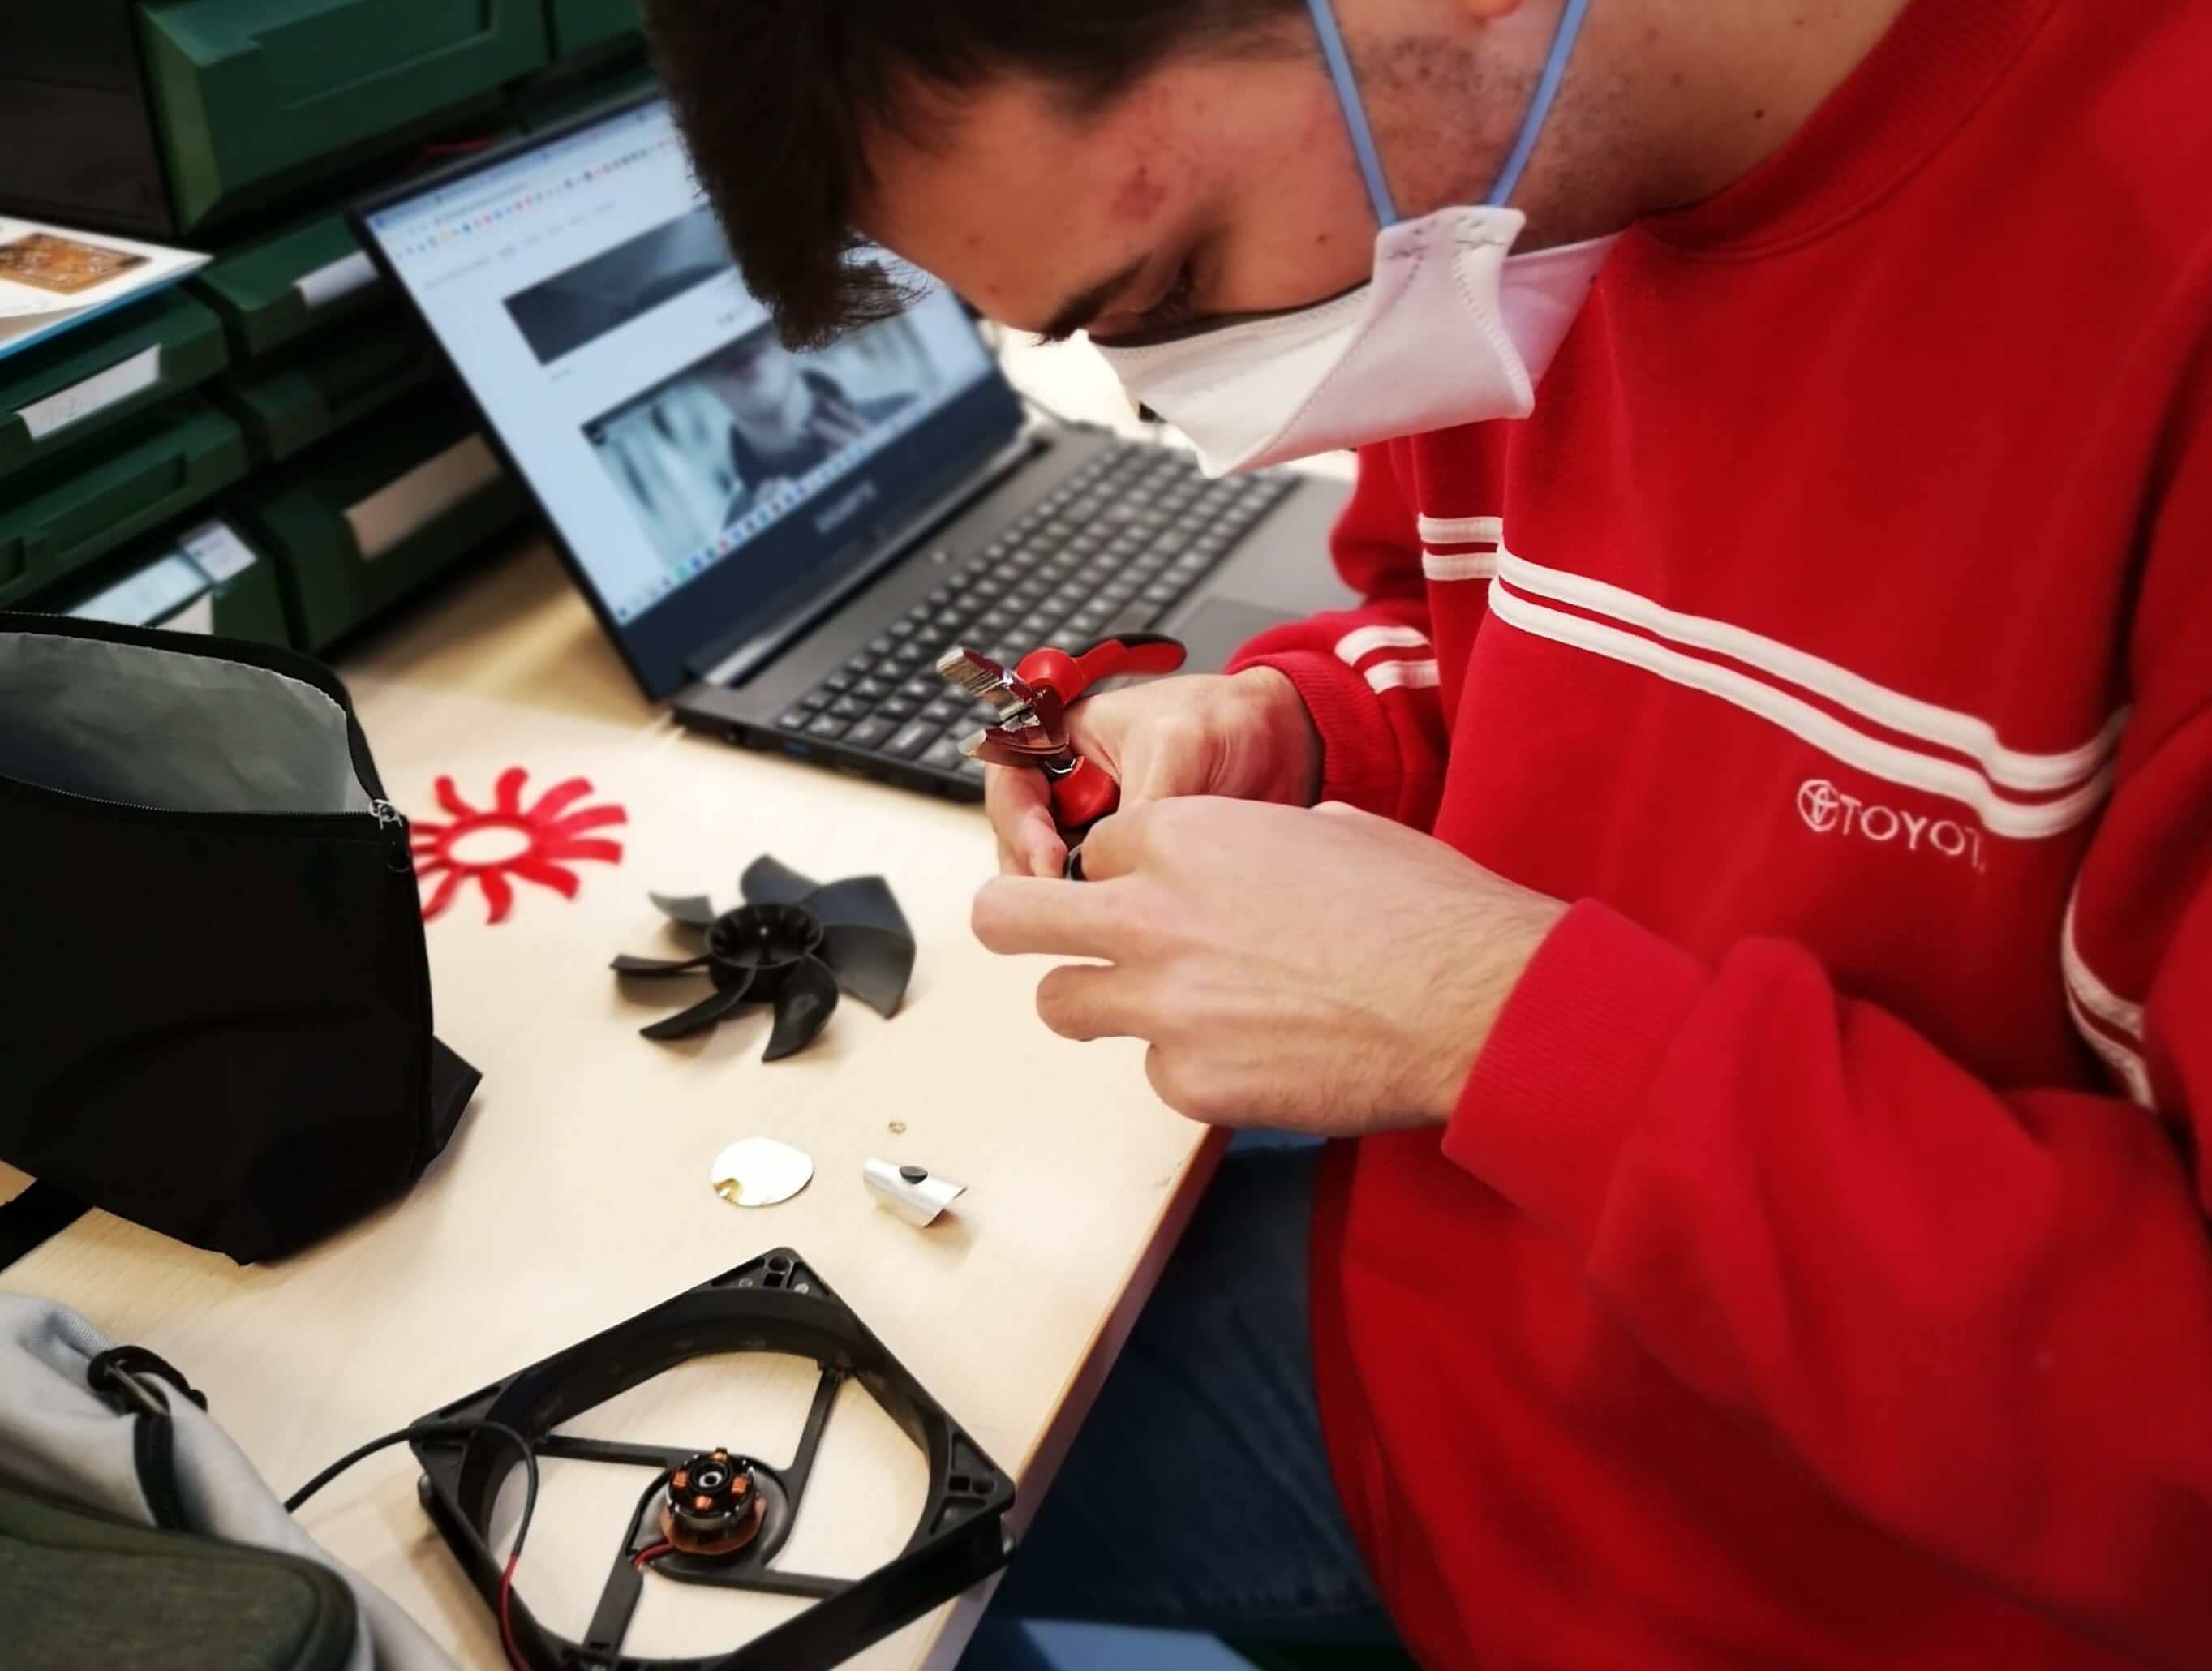
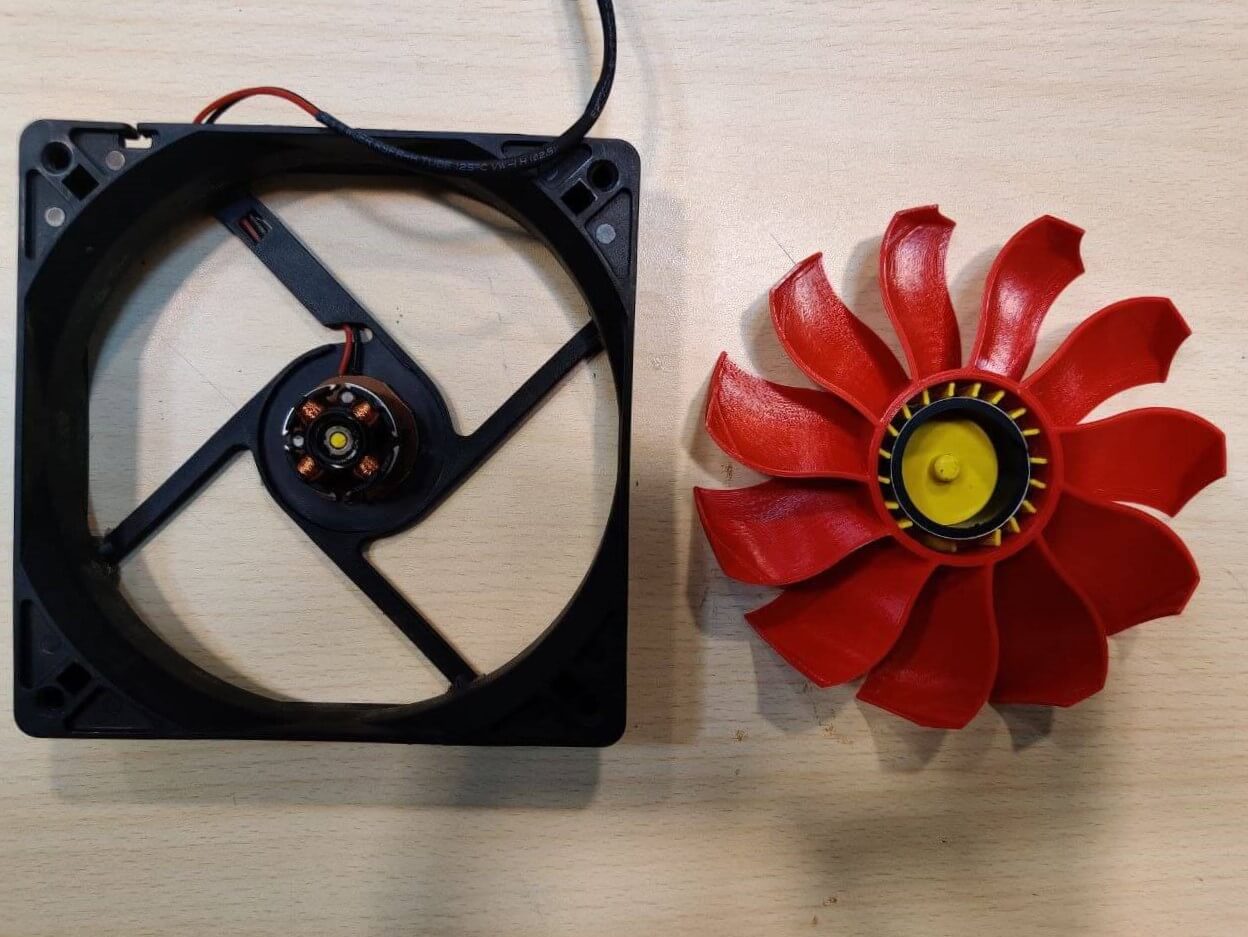
Then I picked and old fan that was laying around the lab and disassemblied it to use it’s core for my new fan design. Sadly in the process I broke some pieces and also had to make a center piece for the red fan to fit. Finally I haven’t had time to fix it so I can test my design and see how it performs.
Artistic work⚓︎
Apart from the fan, 3D printing has always amazed me for the design and artistic capabilities it allows. I saw an article about 3D printed coral reefs and I though it will be a cool thing to make a design for a modular cube coral reef, even to print one and put it in my pond at home. I’ve been following Nervous as design inspiration and casually it matches the feel of a reef, so I’ll start from something like that.
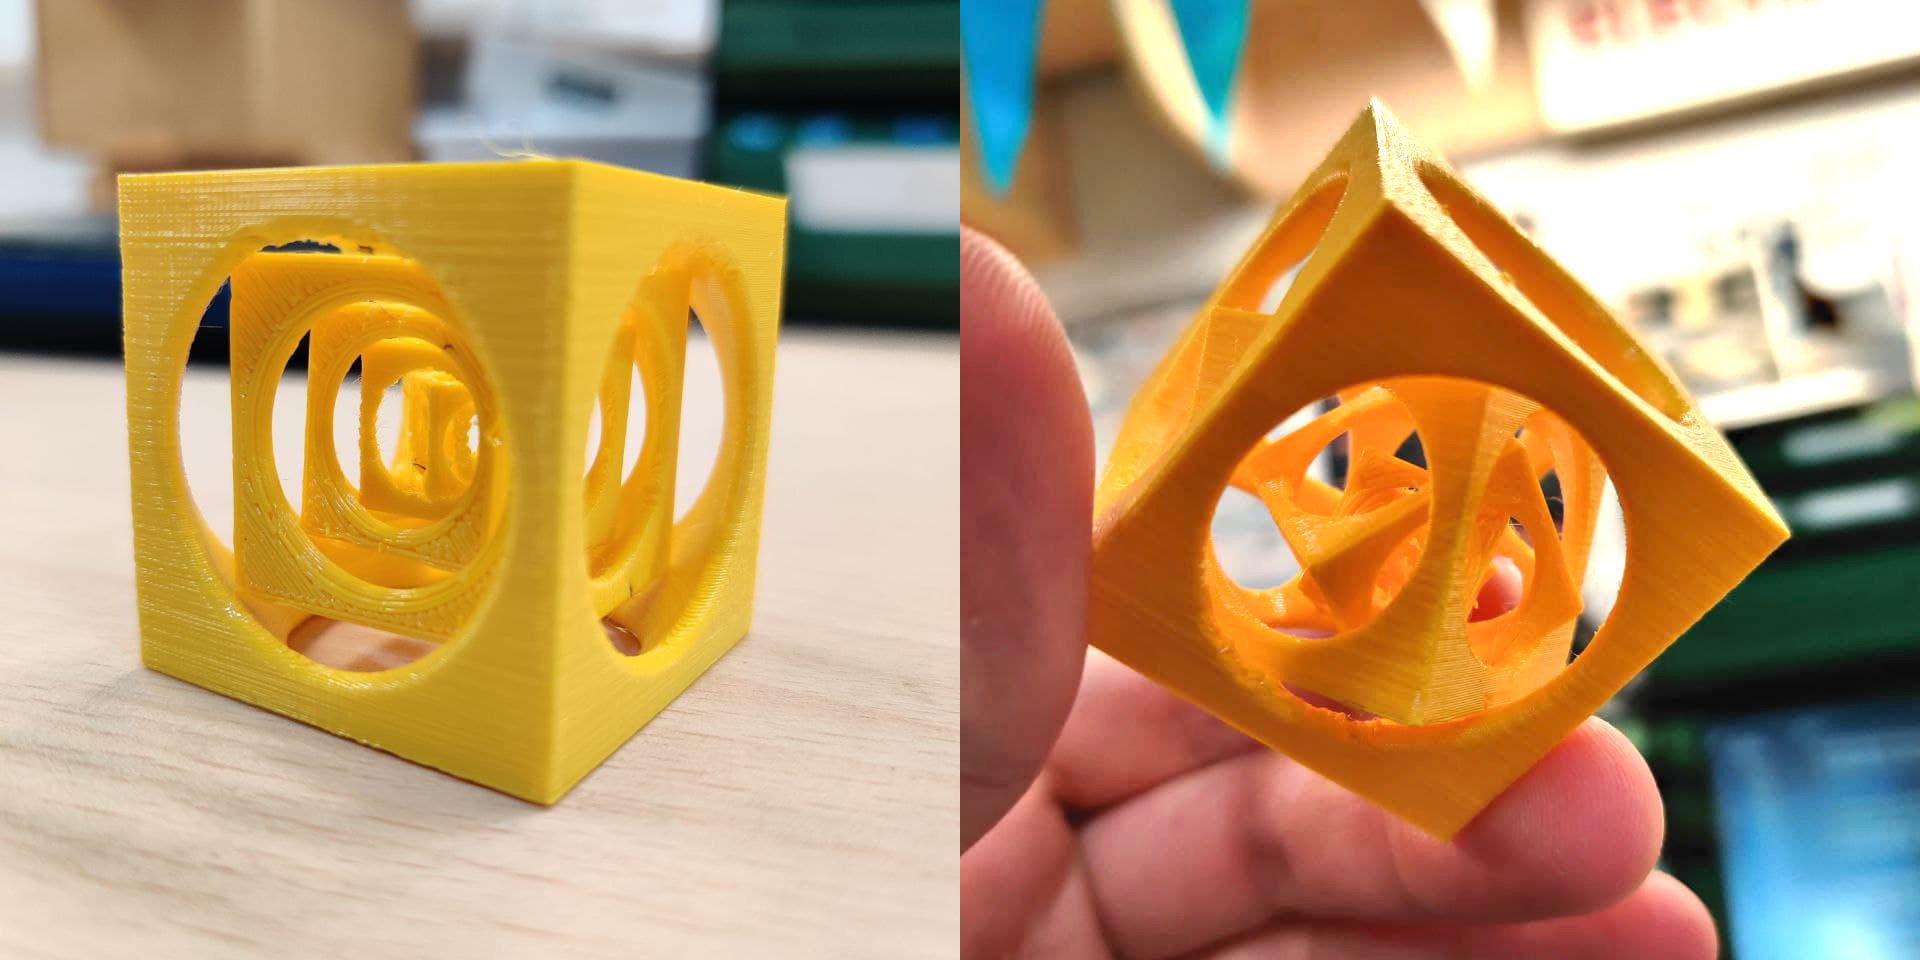
Infinite cube⚓︎
Timelapse of the design process:
Finished models:
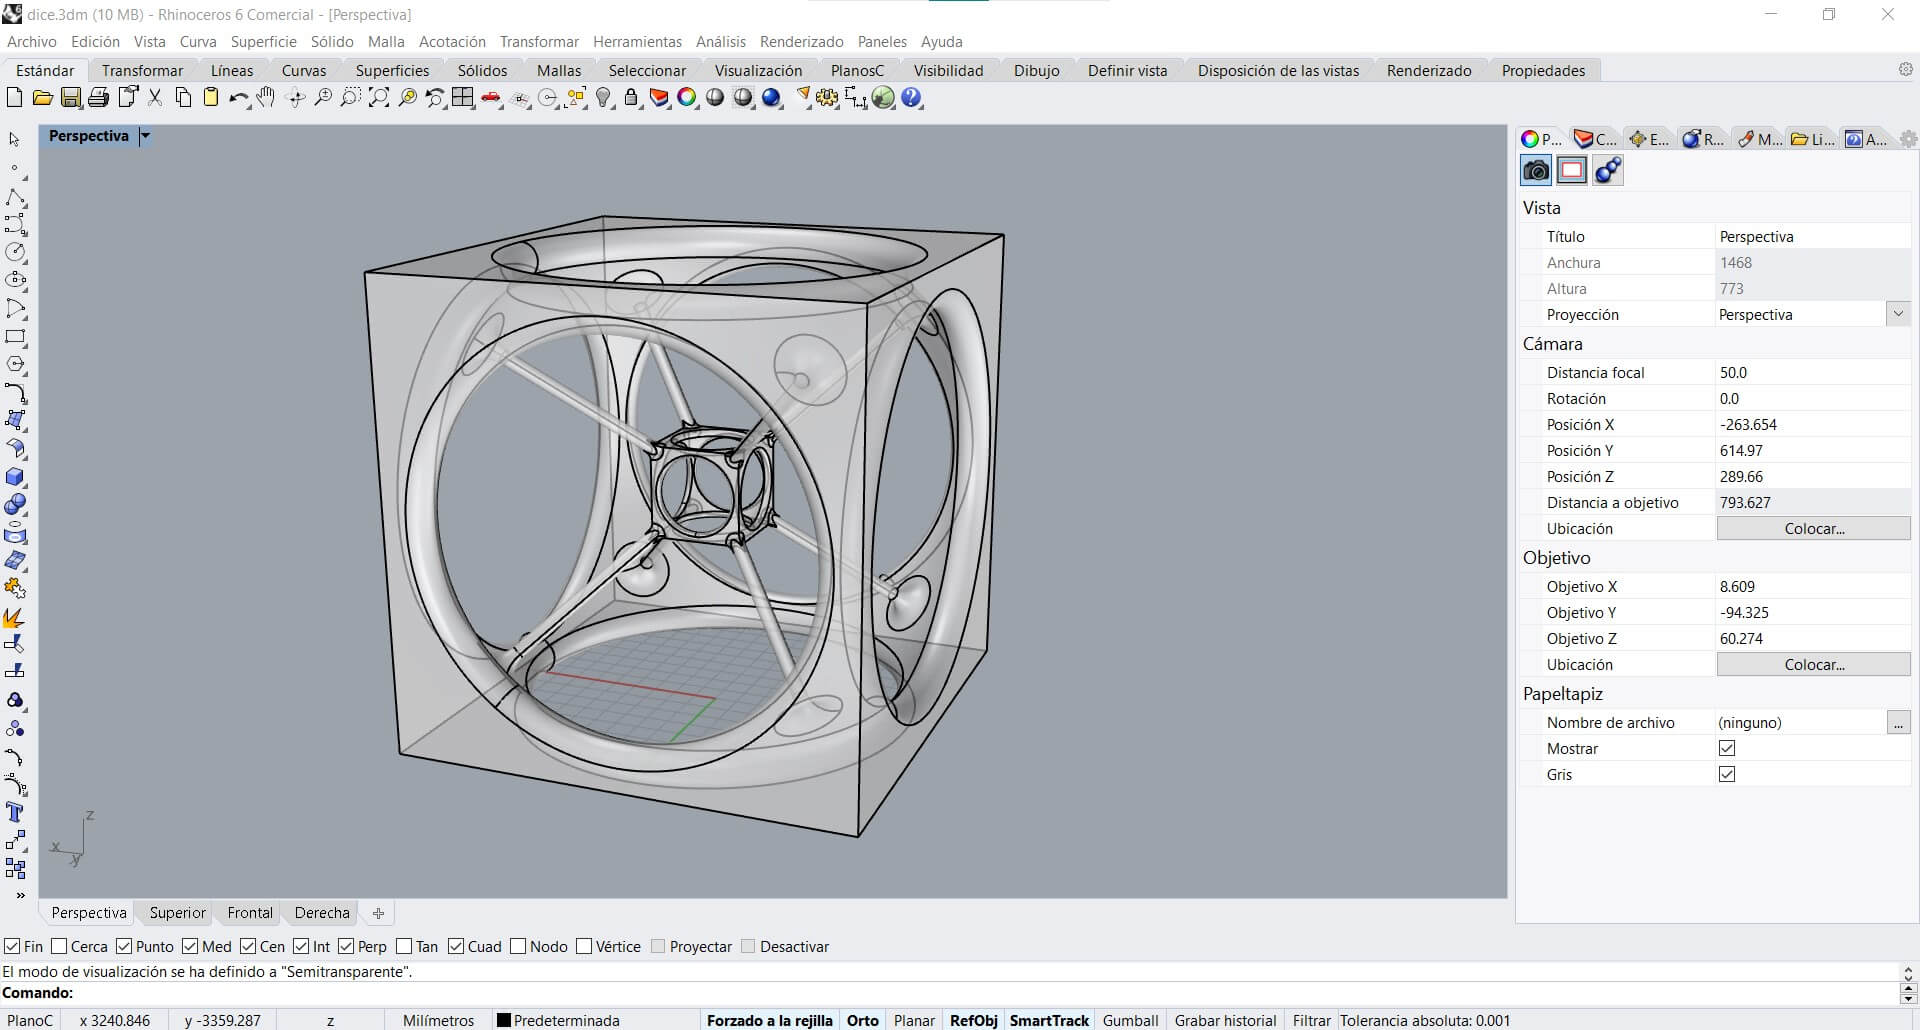
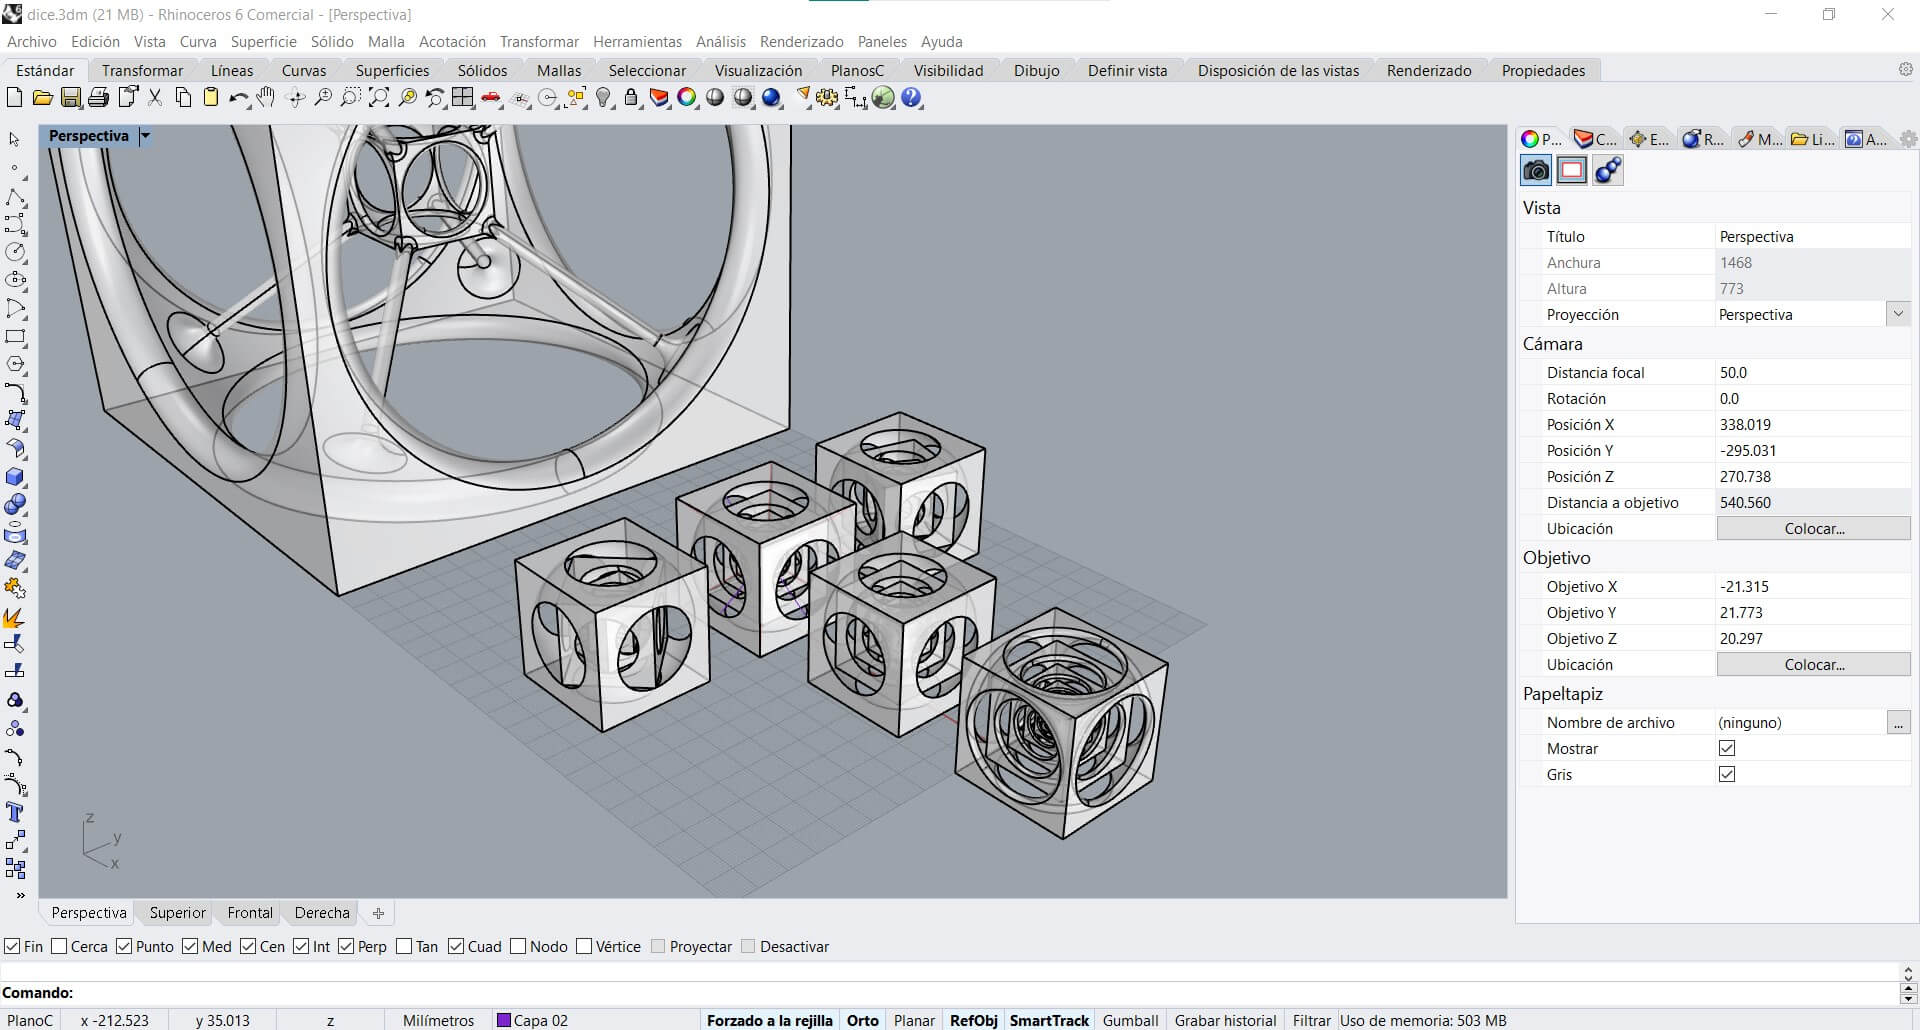
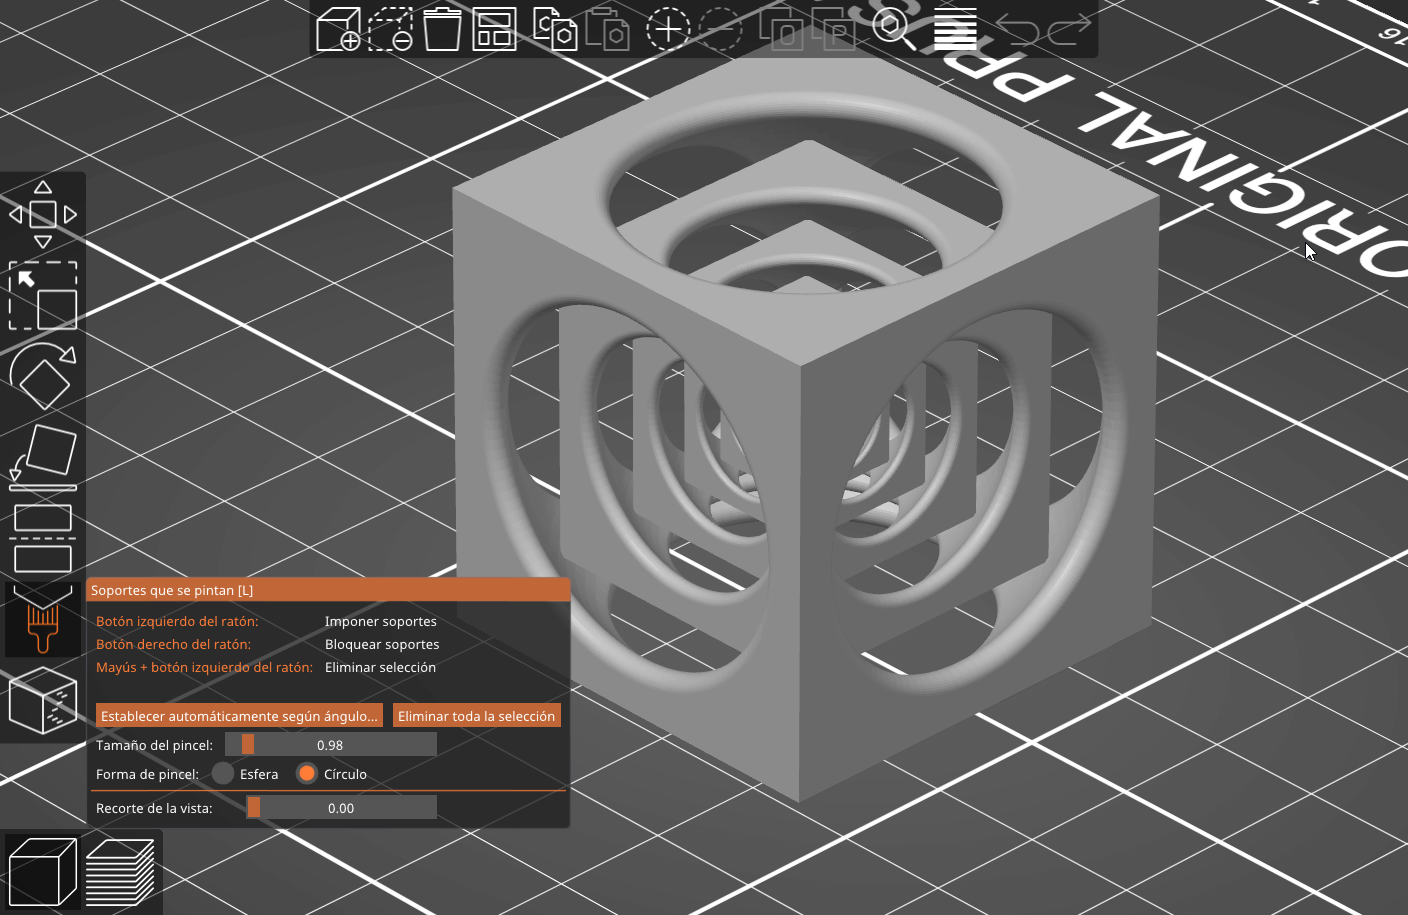
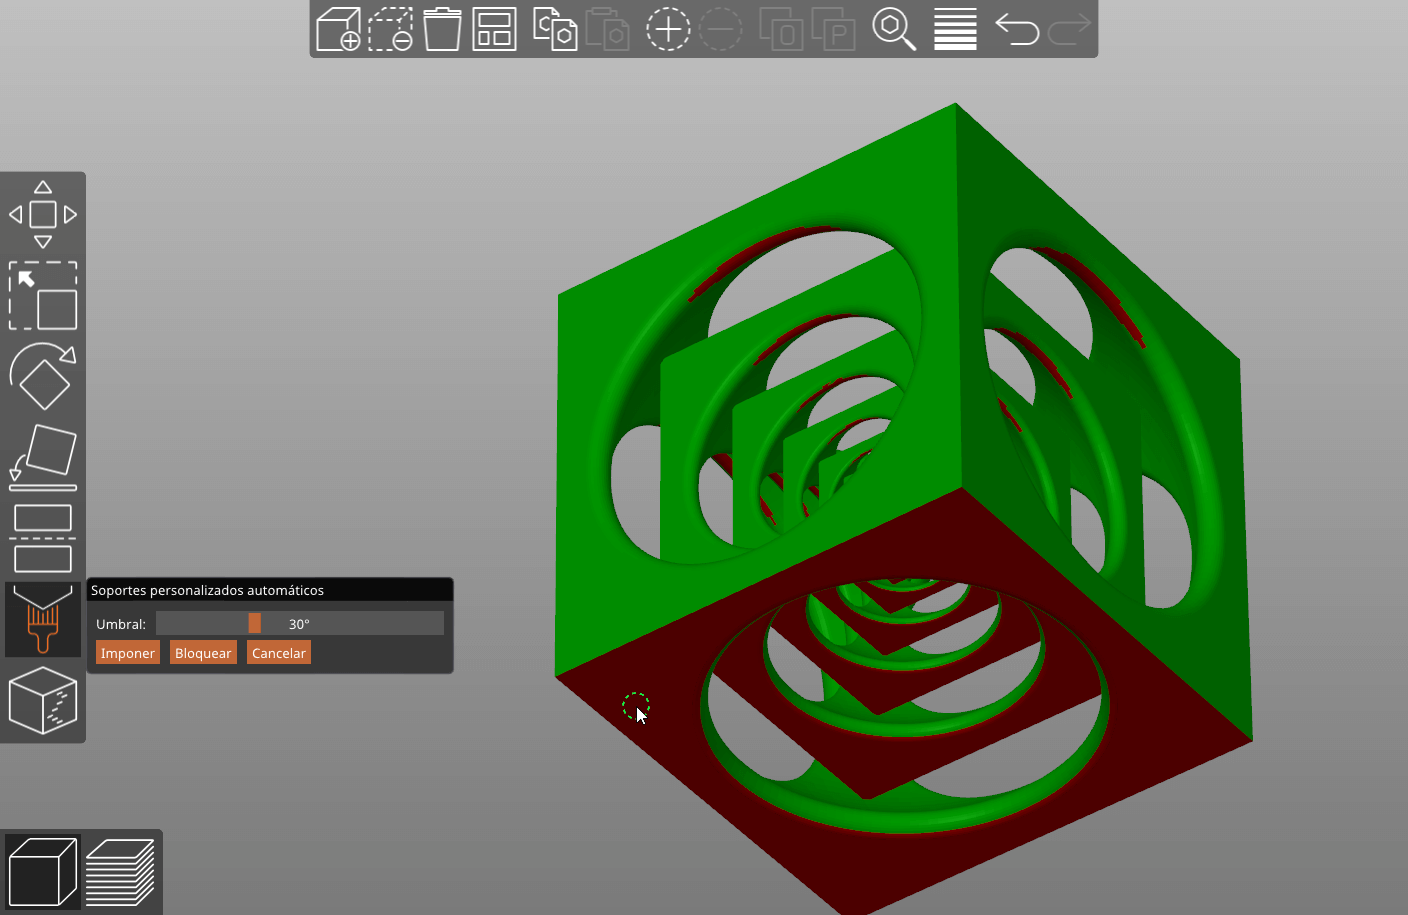
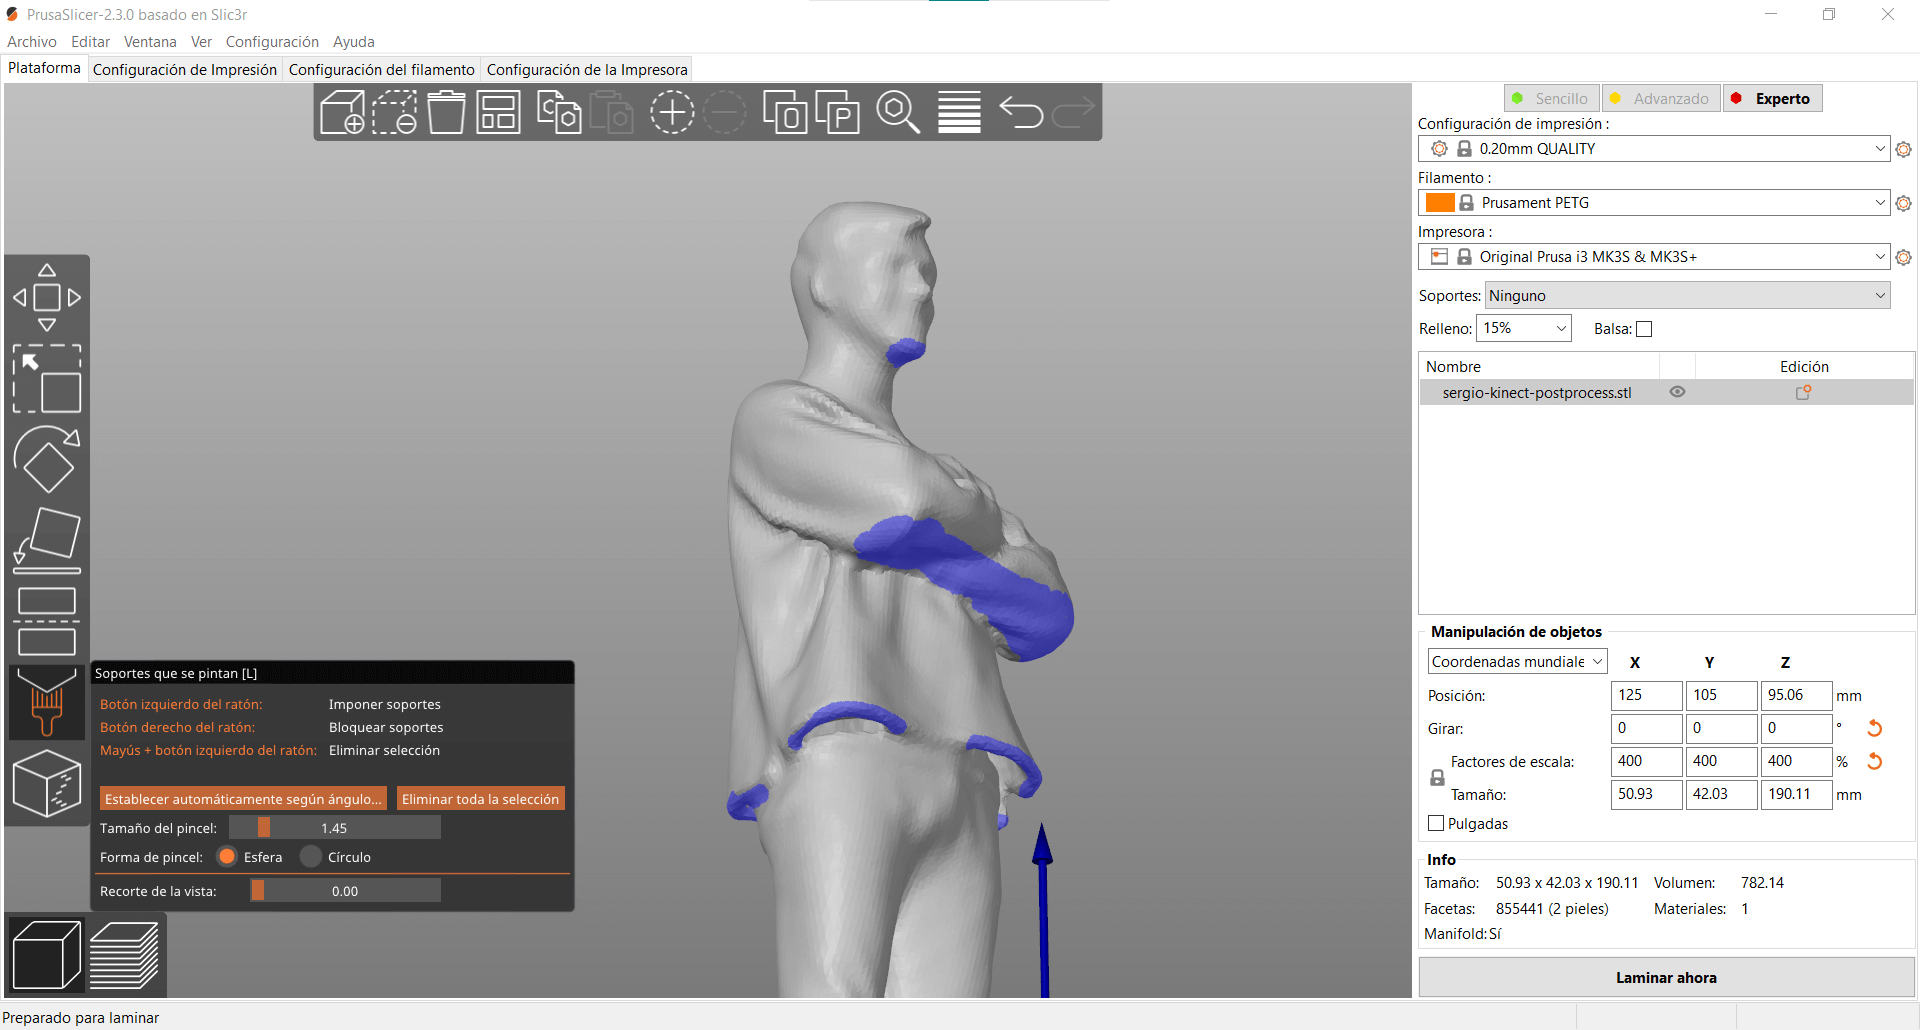
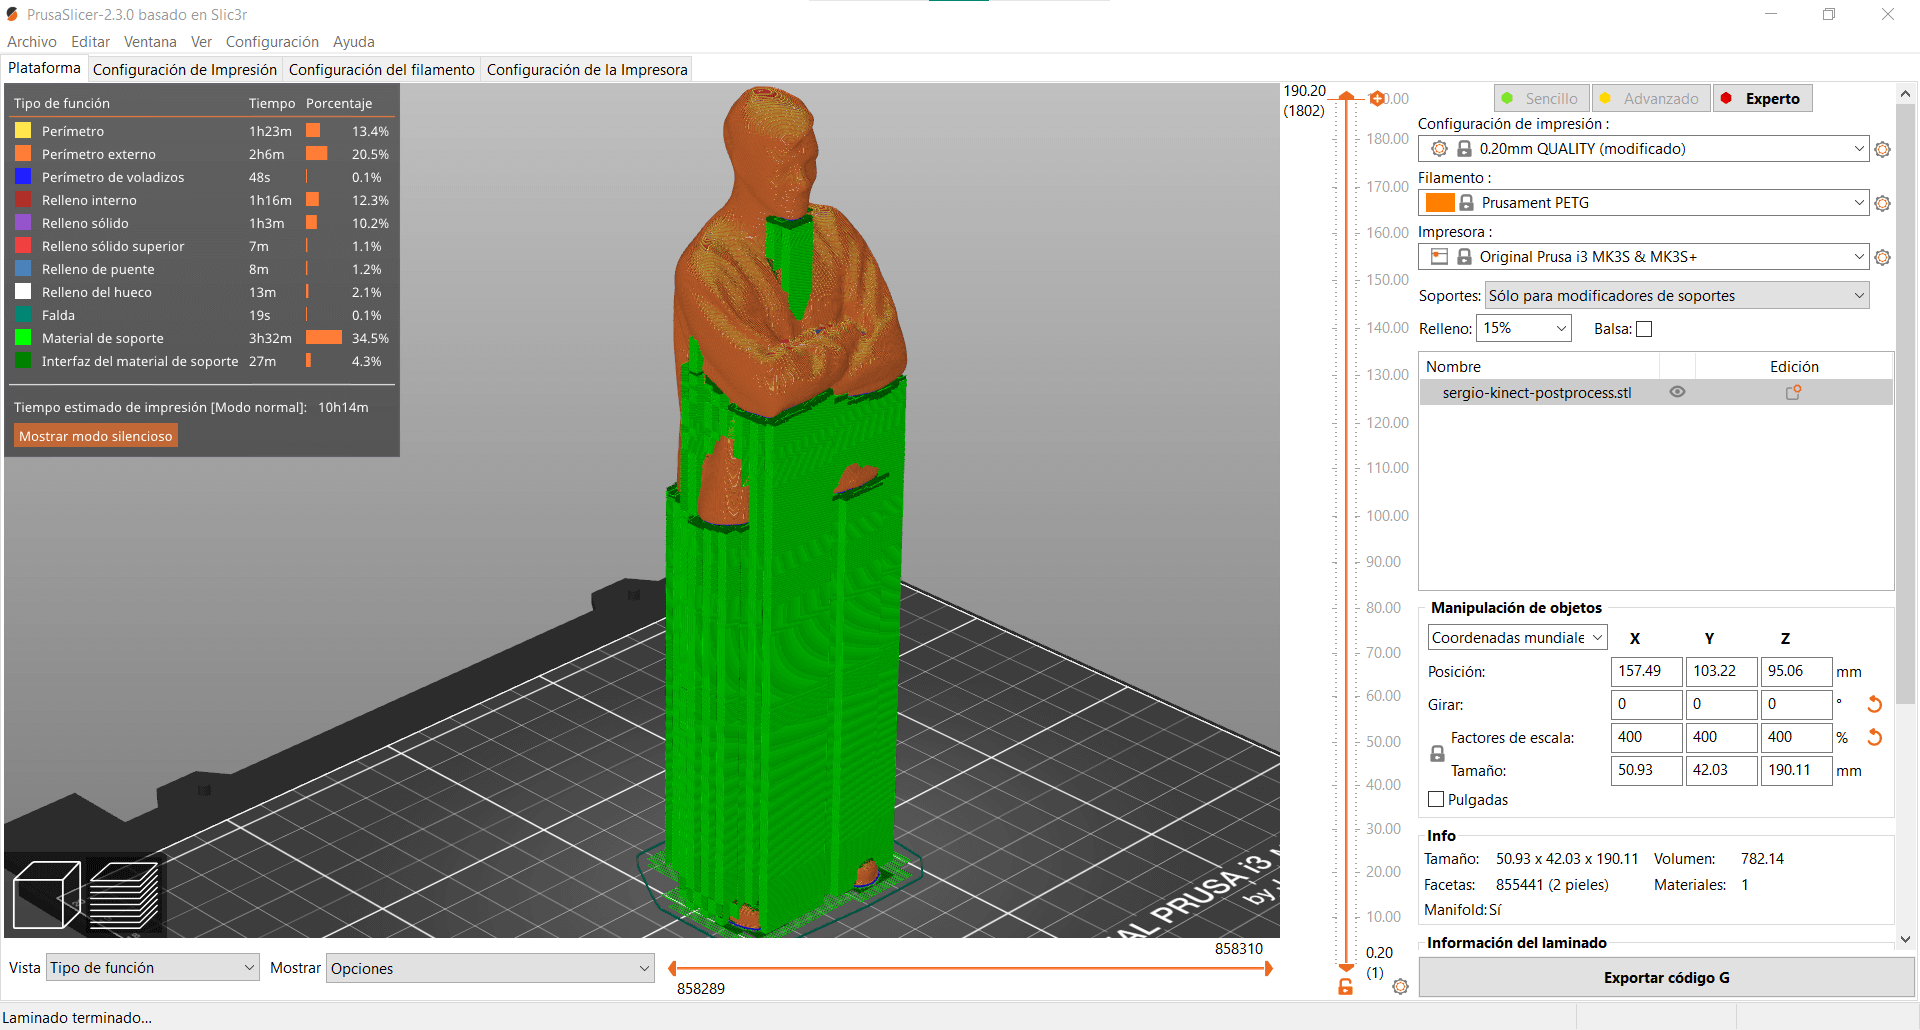
To print the cube I have had to create some supports for the arcs and the inner cubes. Adrian has shown me this painting brush tool for creating supports in the Prusa slicer. It’s really usefull.
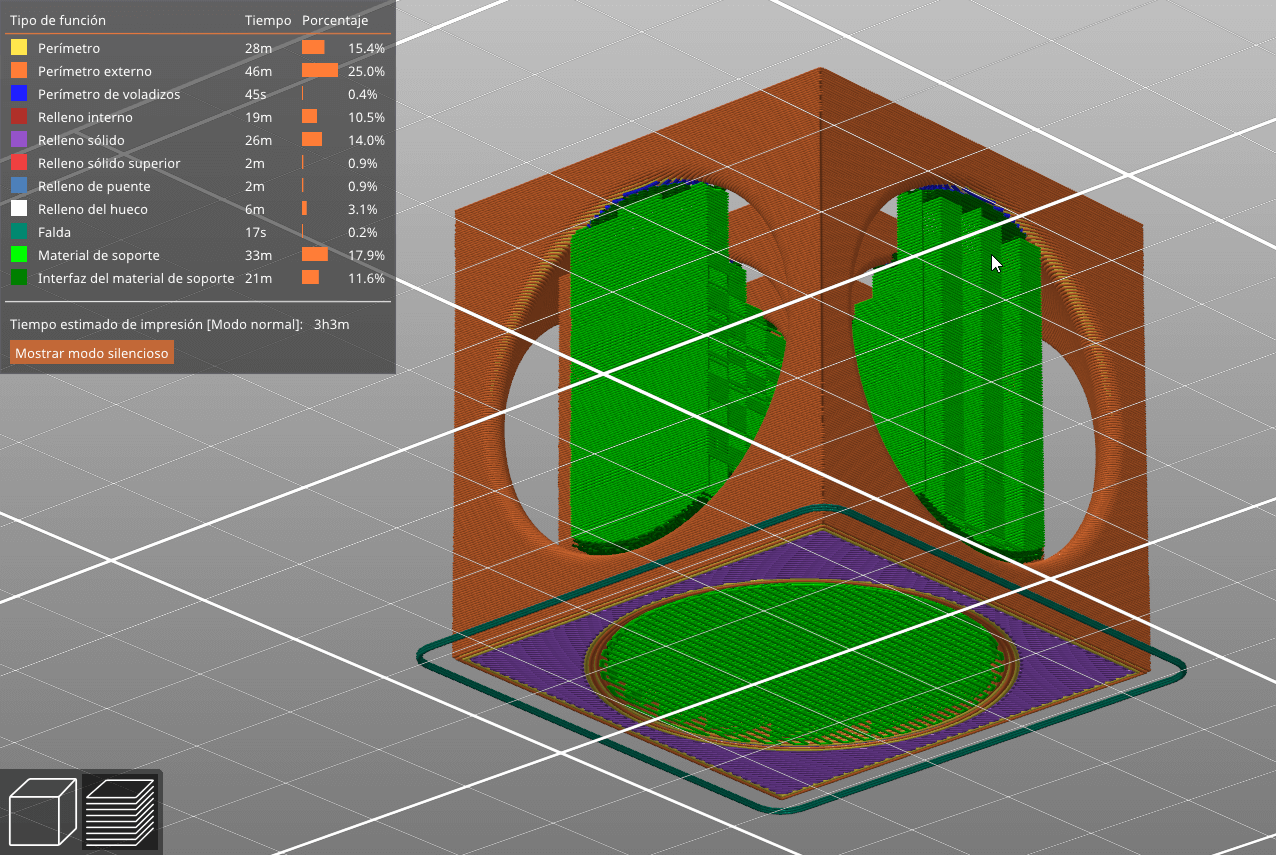
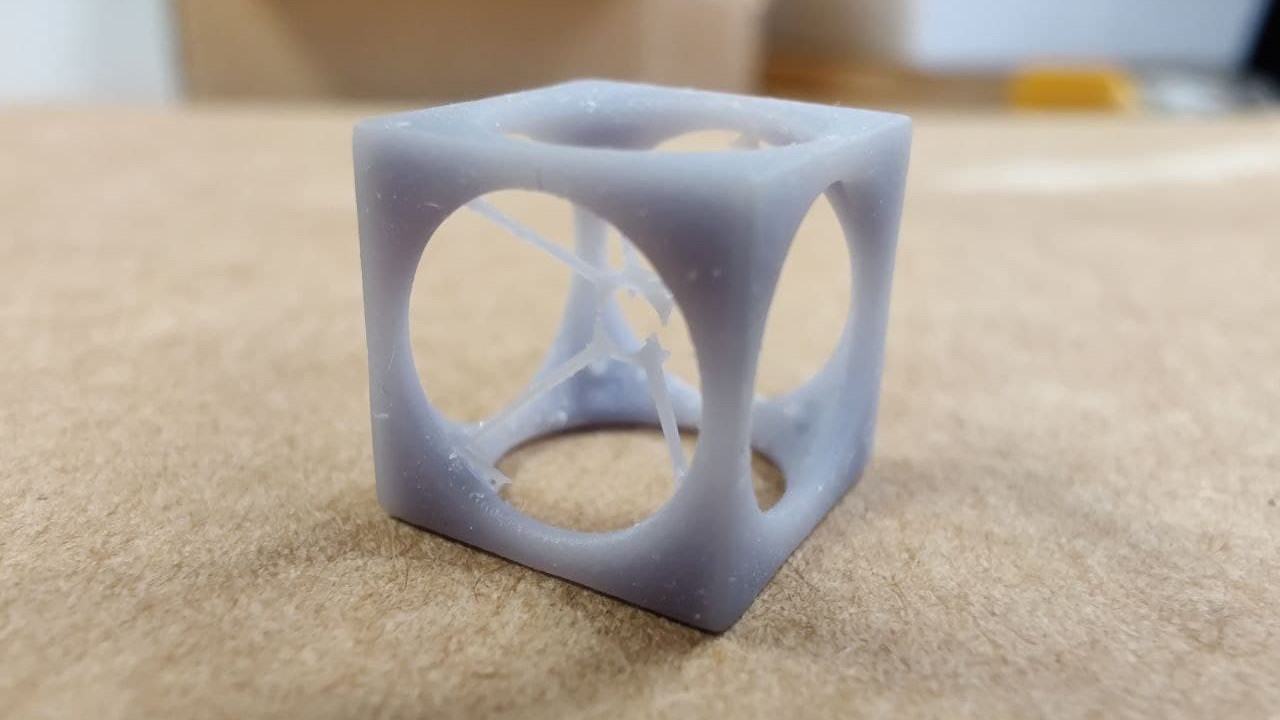
I have printed the infinite cube in the MK3s of PETG at a 4cm size. Also my instructor Pablo has kindly printed the coral cube in his home resin printer, as it’s shape was way too mesy for a FDM regular printer. It’s a tiny beatiful 1cm cube. 
3D scanning⚓︎
3D scanning is the process of analyzing an object from the real world, to collect all the data in order to recreate its shape and appearance, digitally. Thanks to this process, the object can become a 3D model, which could help you as a base for the 3D project you are about to develop, but it can also be useful to reconstruct, analyze, or simulate ideas.
Different machines and methods exist to 3D scan objects. There are a lot of different 3D scanning methods, but three of them are considered as the main ones: Laser 3D scanning, photogrammetry, and structured light scanning. The choice of the 3D scanning technique will be made regarding your project or its context.
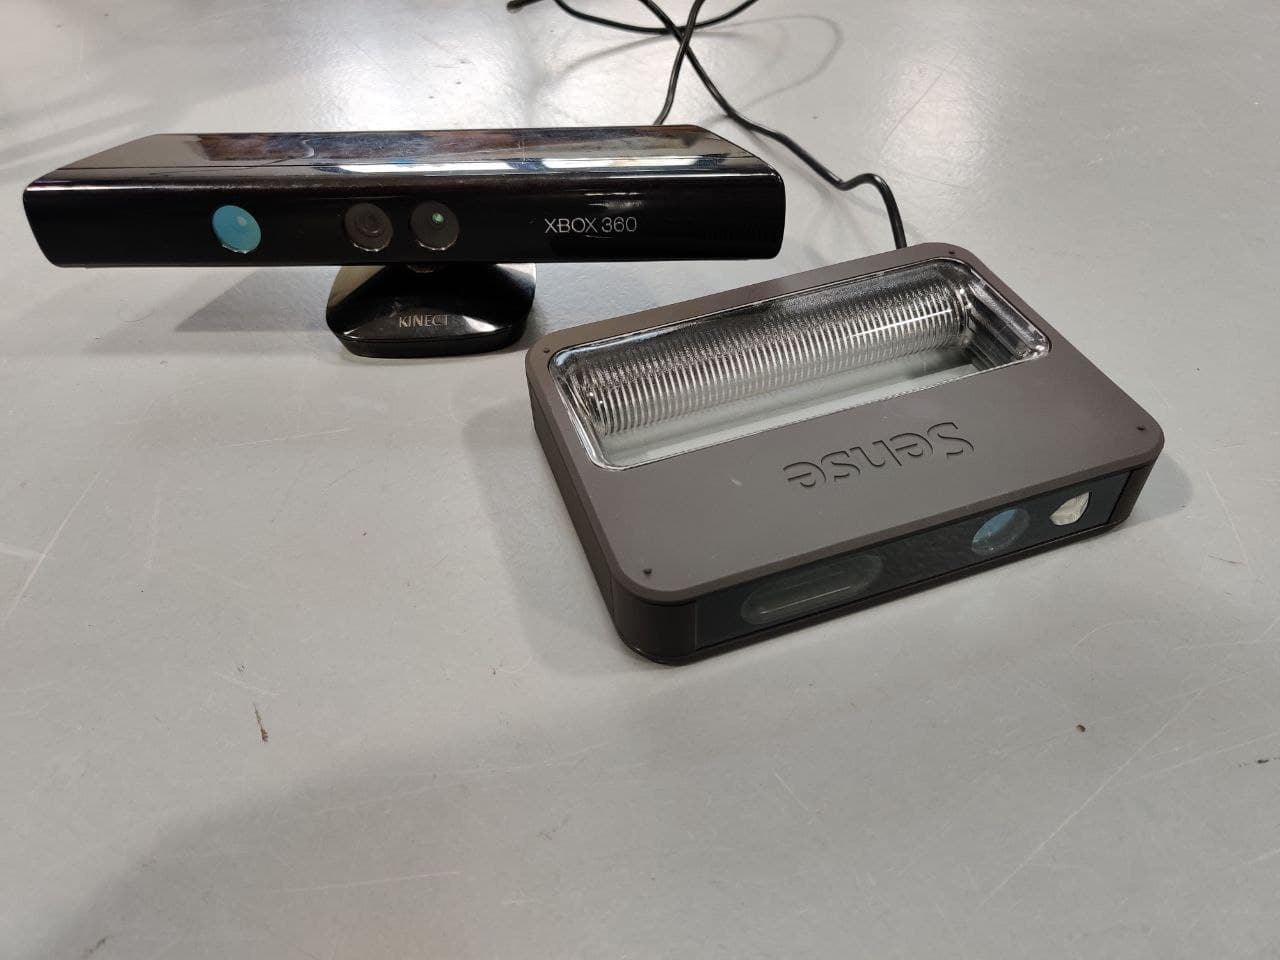
Scanning⚓︎
Here at the lab we have the Kinect and Sense scanners. Both are good quality for their prices scanners, specially the Kinect. The problem is that this version of Kinect is no longer available, because it has been replaced with a newer one, and you can only do the following process with V1. This article outlines some of it’s major differences. About he software, Kinect uses Skanect software and Sense a proprietary one.
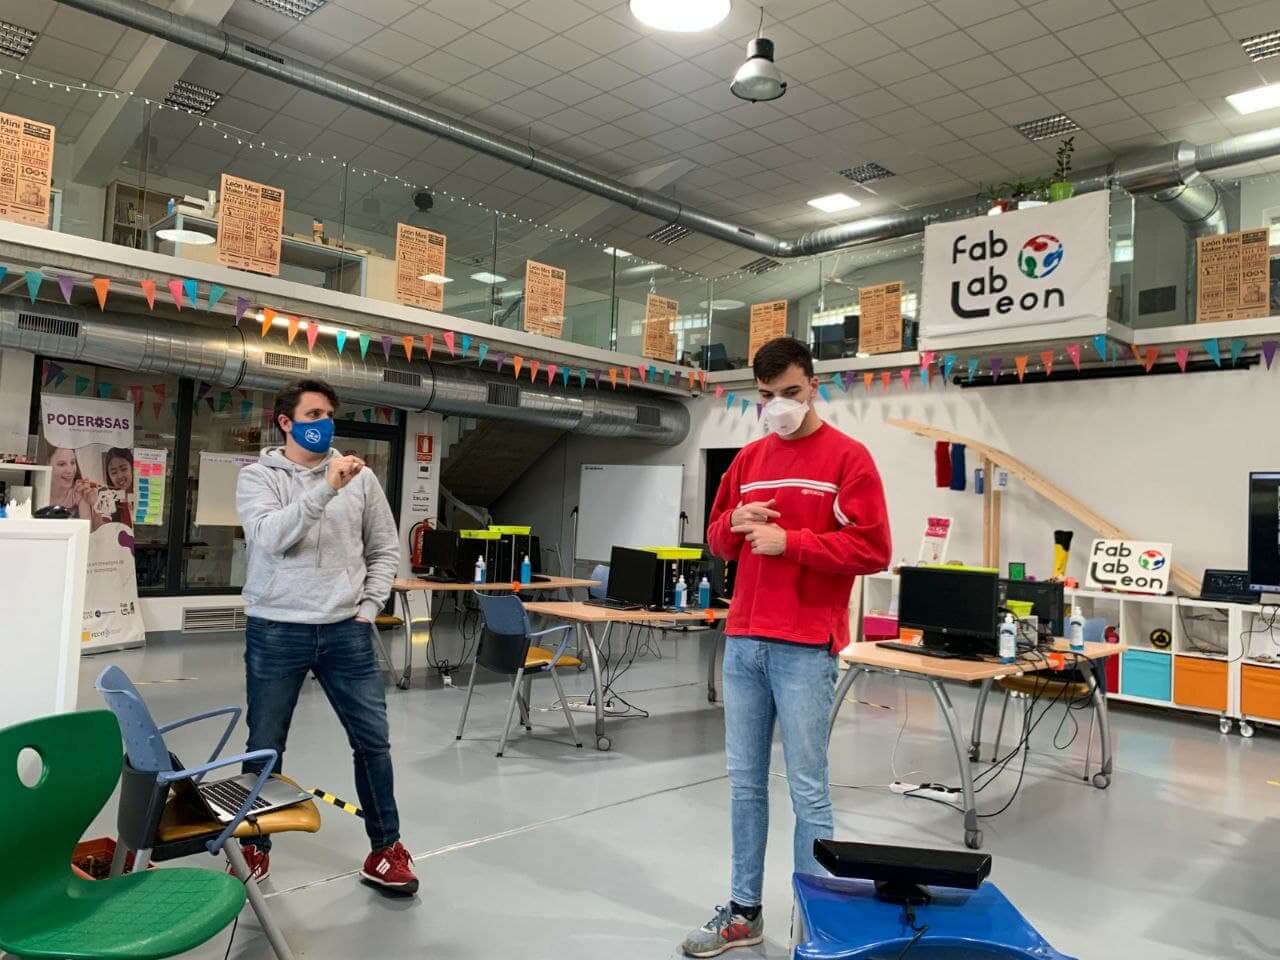
My instructor Pablo heled me along the process of scanning myself. Here is a quick resume of how it was done with both scanners:
Skanect⚓︎
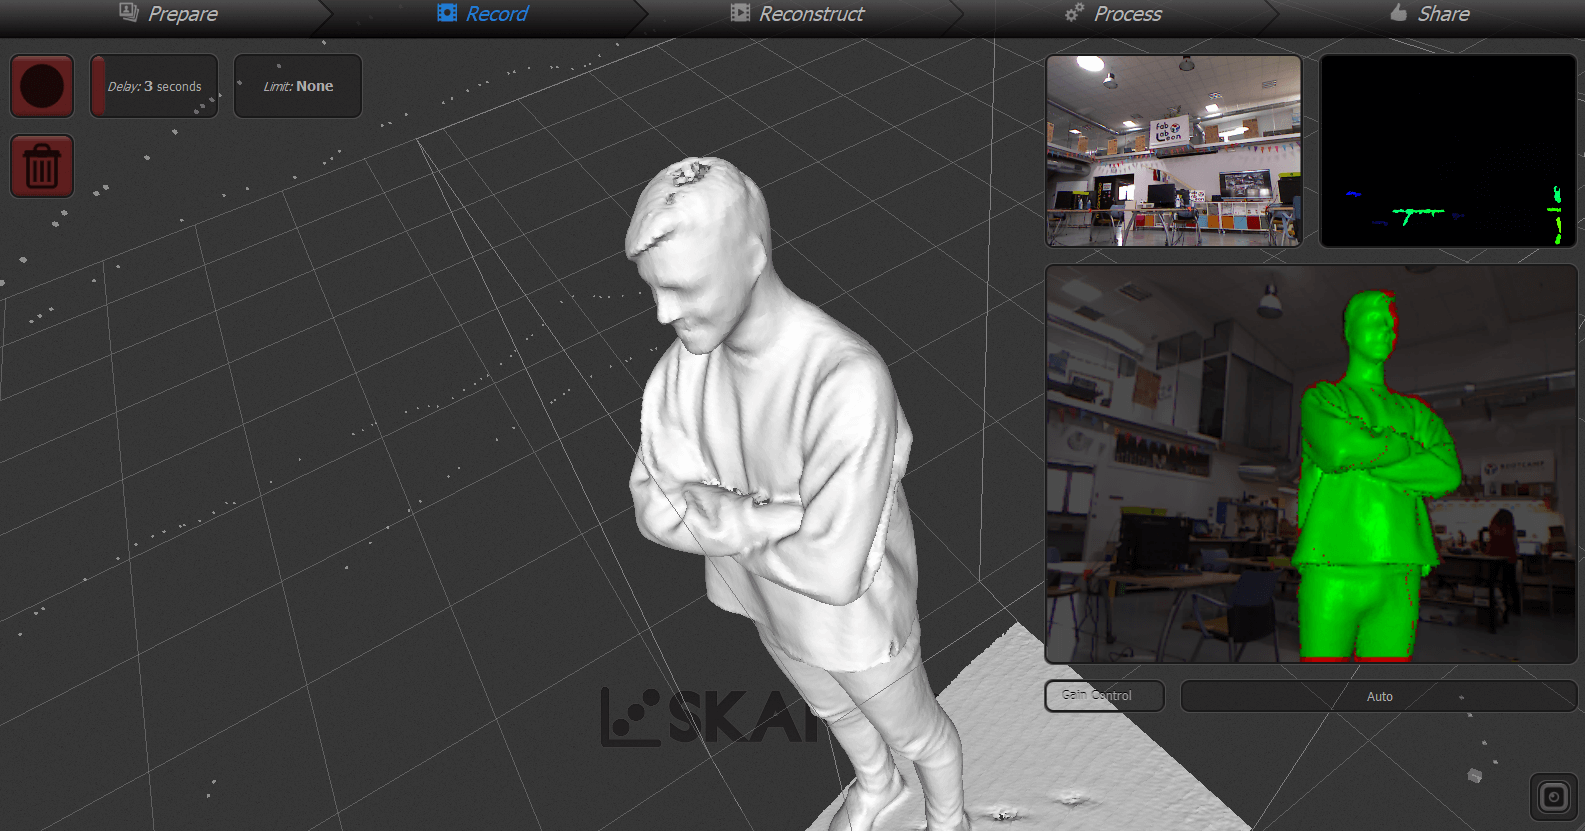
Skanect it’s a software that can transform a Structure Sensor or Structure Core depth sensor into a low-cost 3D scanner able to create 3D meshes out of real scenes. Skanect can acquire dense 3D information about a scene at up to 30 frames per second. Move around the Kinect captures a full set of viewpoints, creating a 3D mesh in real time.
To start a scan, first we have to define some parameters to make th process more accurate. It has options for different scenes, like Object or Room, but in our case we will use the Body preset. We have to set also the size and aspect ratio of the imaginary box where our scanning target will be. In this case we set a 1.4 x 1.4 x 2.8 m width by depth and height box, to match my size and leave some extra room for the scanning.

It’s recommended to do this process in an open space to avoid picking any unwanted object into the scan. Also if you want a more guided toor of the process you can follow up this tutorial for scanning with Kinect and Skanect.
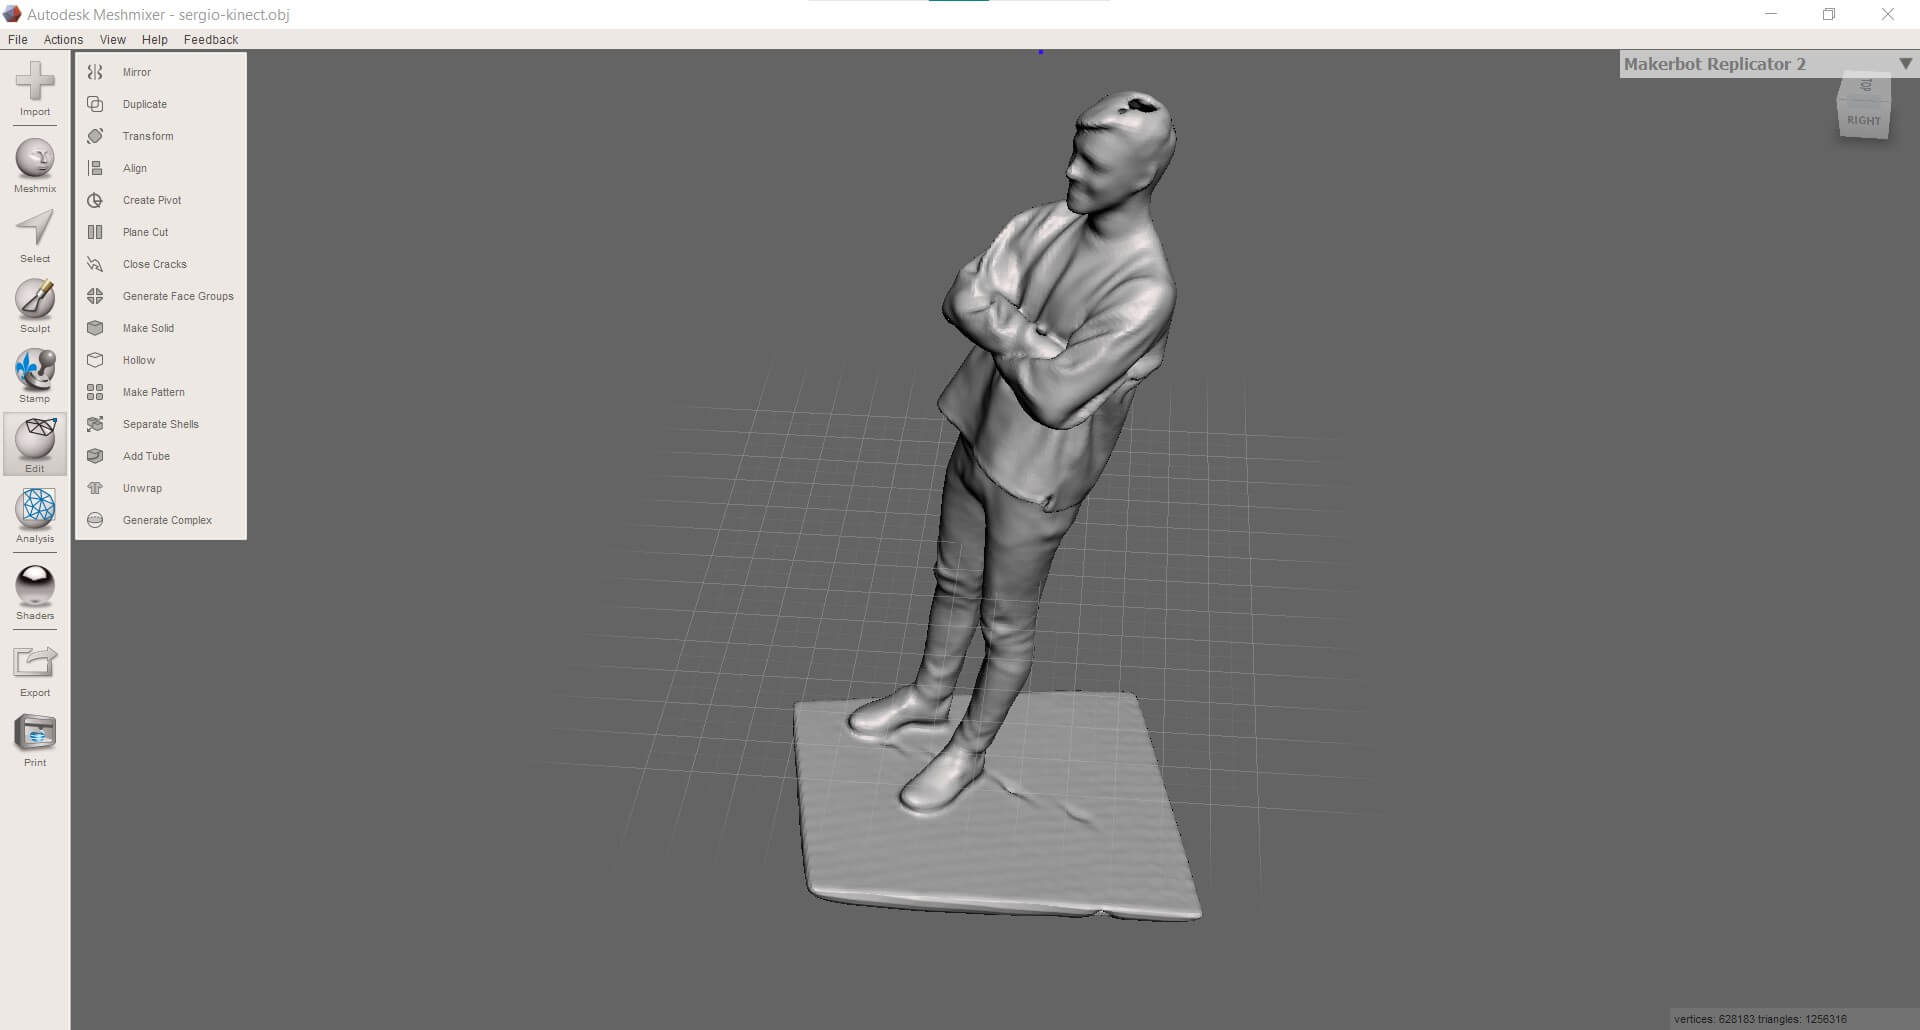
Meshmixer⚓︎
Although Skanect does a good job smoothing the textures, 3D scanning always creates a lot of artifacts in the process. That’s why I am going to postprocess the scan with Meshmixer. This is a powerfull software from Autodesk which is really usefull for cleaning up a 3D scan, do some 3D printing, or designing an object that fits something else. As I have never used before and it’s a bit cpmlex program, I followed up this tutorial which also has the same purpose as ours. These are some of the commands I have learned:
S: selection tool.Edit>Transform: to rotate and move the object.Edit>Plane cut: to remove extra planar surfaces.Edit>Separate shells: to get rid of imperfections or floating glitches.
Because of having made the post-processing first with the Skanect, the mesh is already smooth, but it also has created some errors in it.The mesh created has is now doble layer. This is because of missed zones during the scanning process that left some “holes” in the scanned figure. When the program tryied to close the mesh, the zones where to big to cover so it has turned on itself creating this double mesh.
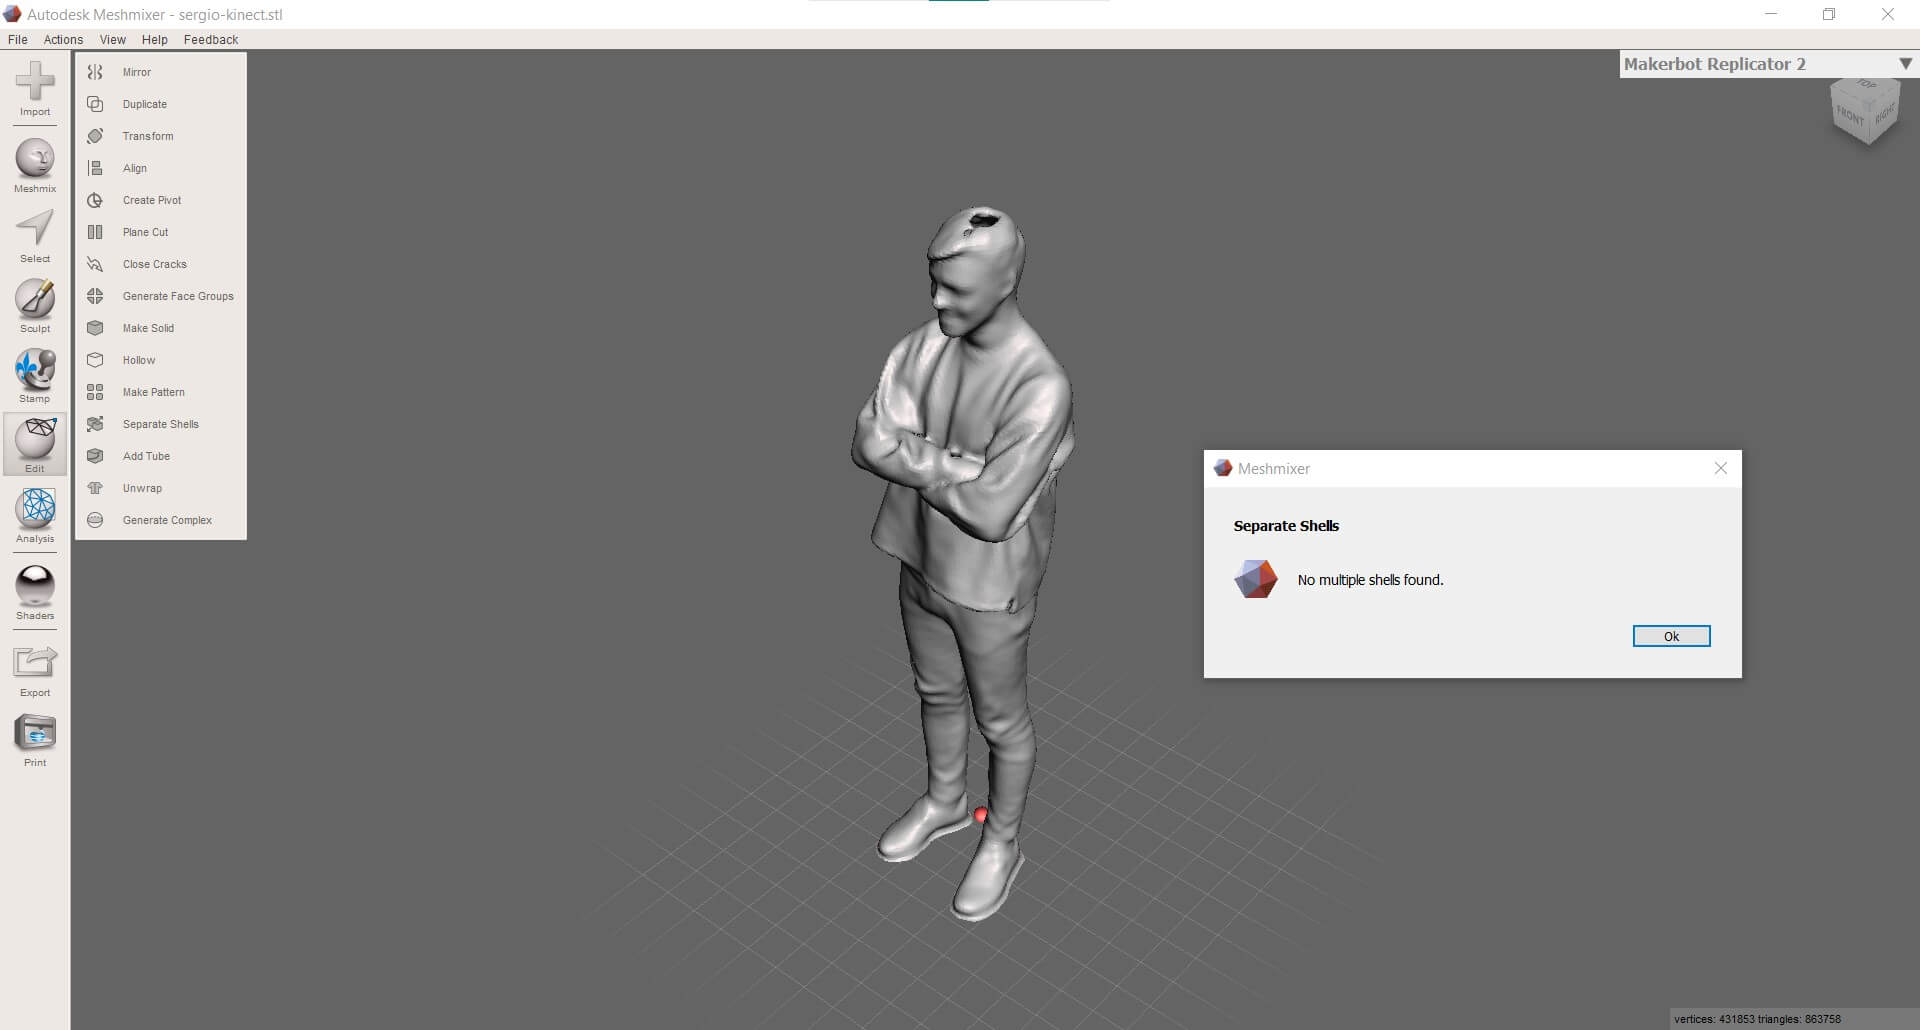
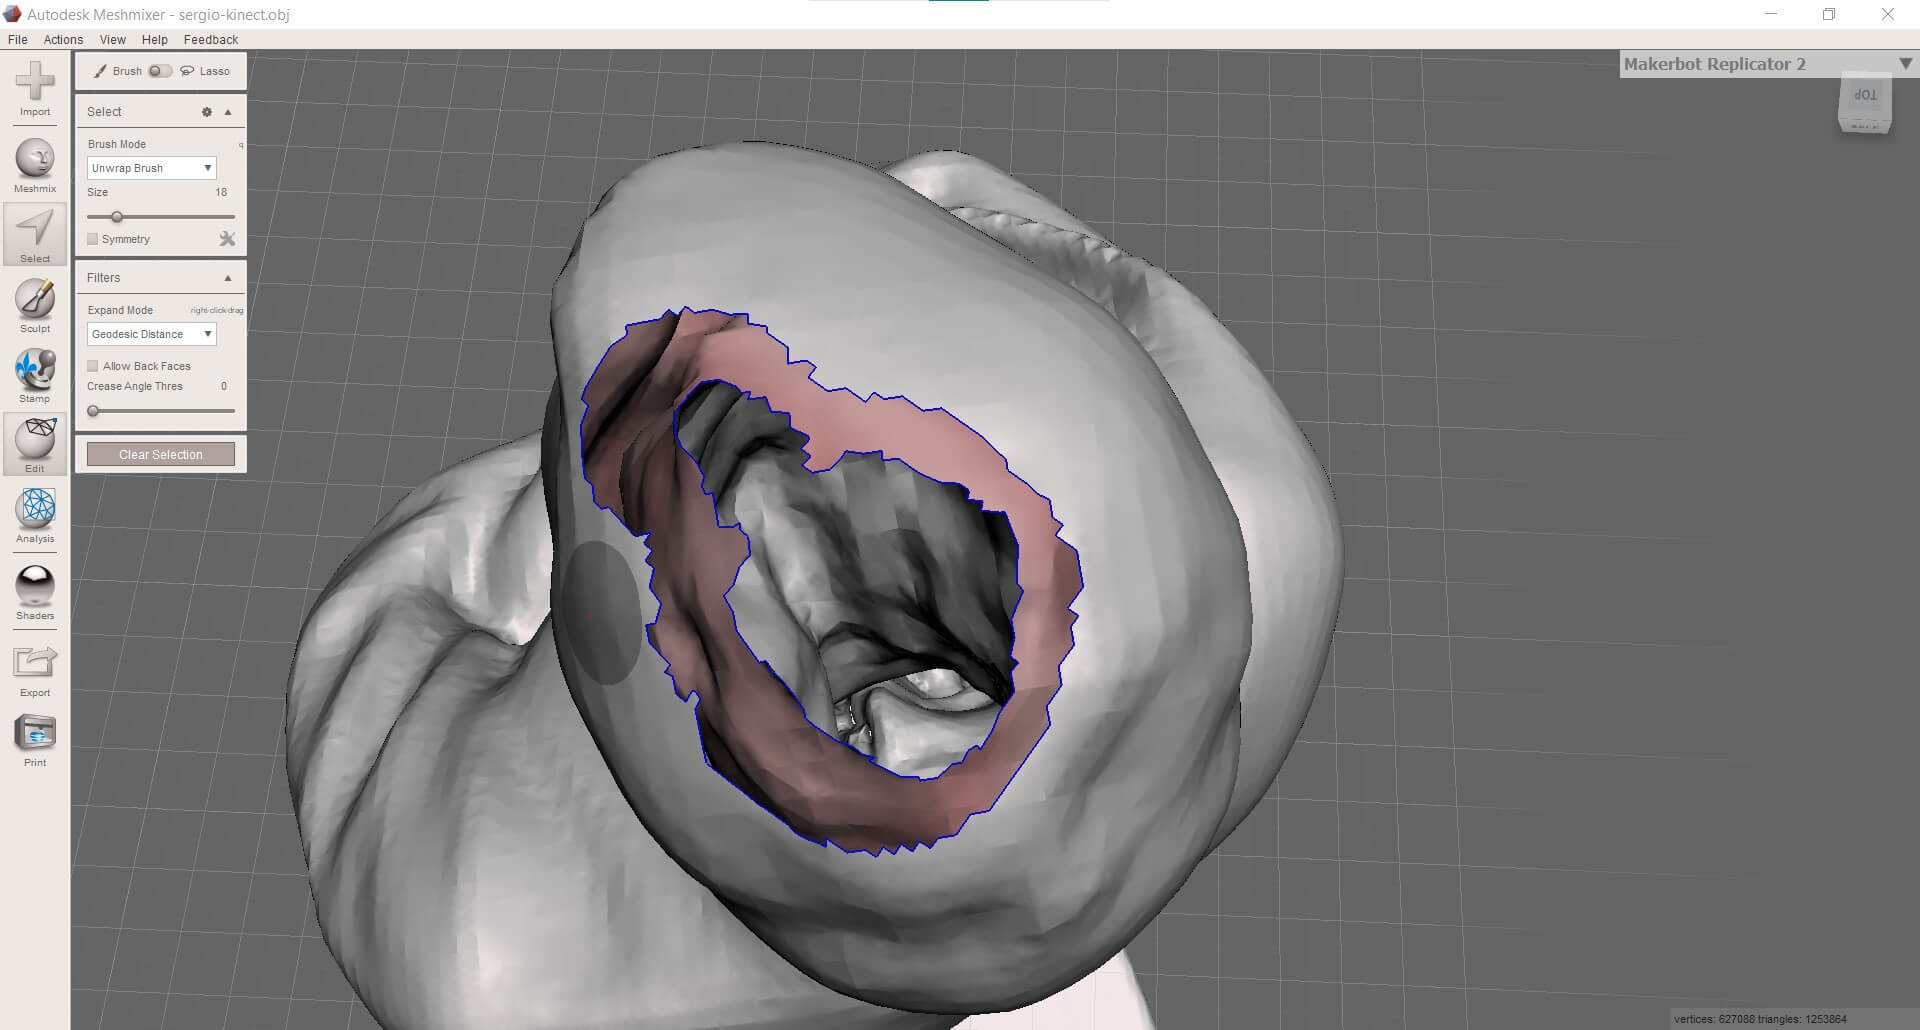
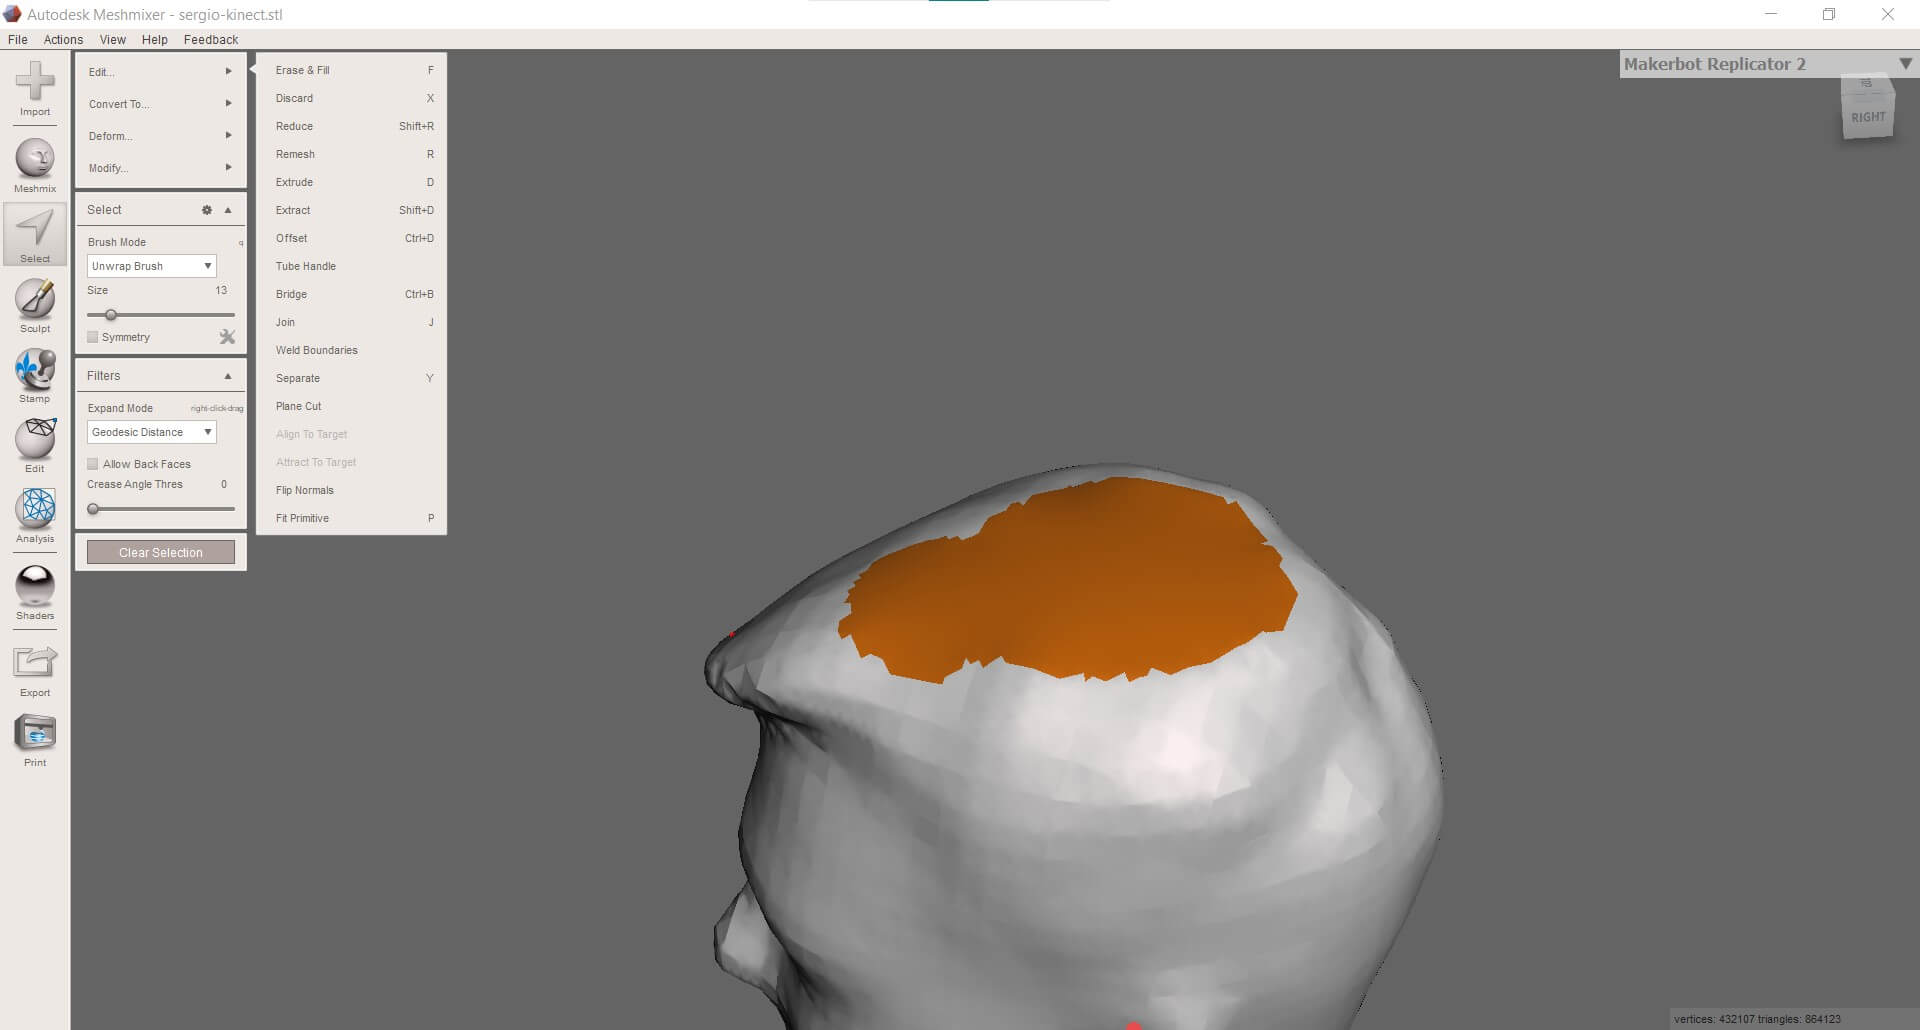
Also I have managed to clean all the holes an make an external looking like clean surface, there are a lot of errors in the mesh and it can’t be turned into a solid 3D print. Probably I will have to scan myself again to fix this problem covering all the zones (pablo couldn’t reach over my head, I need a taller assistant ) or not letting the Skanect program post-process the figure and fix it later with Meshmixer.
Printable scan⚓︎
Files⚓︎
This week I have a huge problem with file sizes. I’ve managed to compress most of the files to upload them to the repo, but I will not be able to upload neither the Raw 3D scan as .obj or .stl (only as .ply) and the post-processed one with the meshmixer file. As you can see in the image below, the sizes are too big to stay behind the 10MB push limit, even compressing them twice.
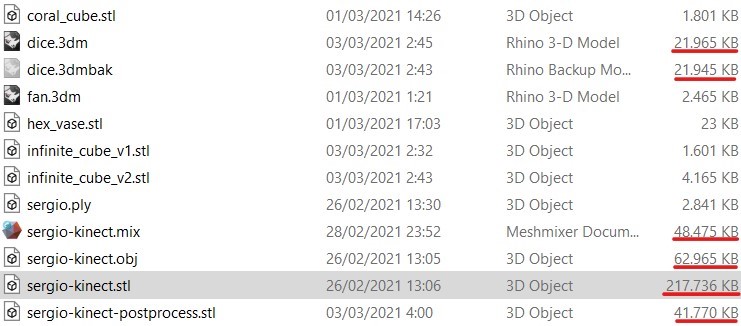
Update
Finally I’ve managed to get all the files except the post-processed 3D scan of myself. I will be hosting this fab in sketchfab, as you saw in the 3D preview earlier. I’ve linked it directly to the download link. To reduce the size of the Rhino files, ther is an option when you save them that says save small.
- Test: clearance (
.stl): file - Test: angle (
.stl): file - Test: overhang (
.stl): file - Test: surface finish (
.stl): file - Test: hexa bowl (
.stl): file - Turbine fan design in Rhino (
.3dm): file - Turbine fan (
.stl): file - Coral cube (
.stl): file - Infinite cube with sharp edges (
.stl): file - Infinite cube with rounded edges (
.stl): file - Cube design in Rhino (
.3dm): file - Raw 3D scan of myself (
.ply): file - Post-processed 3D scan of myself (
.stl): file