8. Computer controlled machining⚓︎
-
- Test runout, alignment, speeds, feeds, and toolpaths for your machine.
- Document your work (in a group or individually).
-
Individual assignment
- Make (design+mill+assemble) something big.
-
Learning outcomes
- Demonstrate 2D design development for CNC production.
- Describe workflows for CNC production.
-
Have you?
- Linked to the group assignment page.
- Documented how you designed your object (something big).
- Documented how you made your CAM-toolpath.
- Documented how you made something BIG (setting up the machine, using fixings, testing joints, adjusting feeds and speeds, depth of cut etc.)
- Described problems and how you fixed them.
- Included your design files and ‘hero shot’ photos of final object.
Group assignment⚓︎
This week, Pablo has been my partner in crime, aka instructor. He has been the one who has guided me through the whole process of machine safety, workflow, and the ins and outs of this great world of CNC manufacturing. I am eternally grateful for his patience and the way he has made me learn. For this week we will call him my mentor.
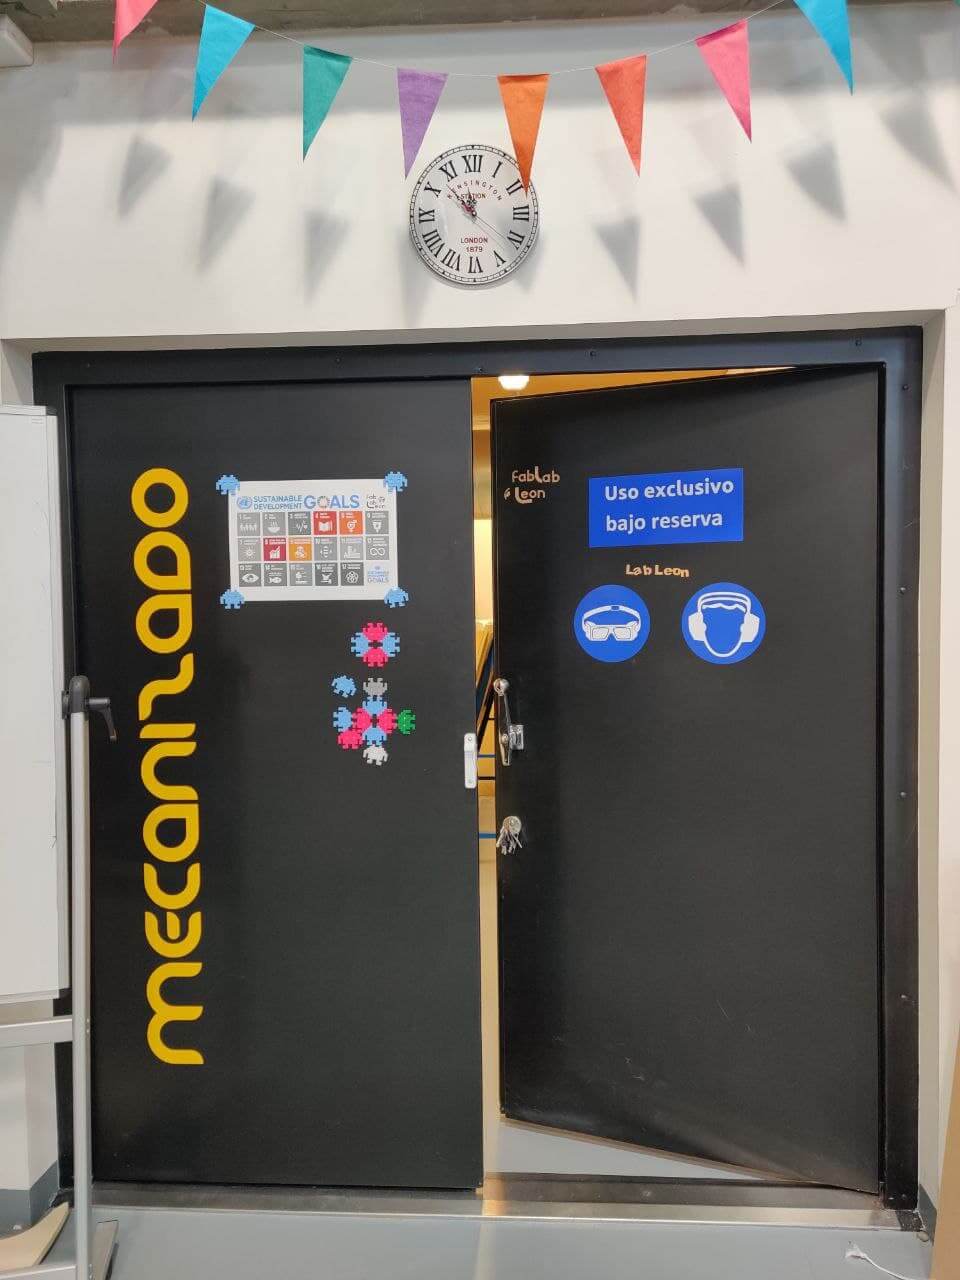
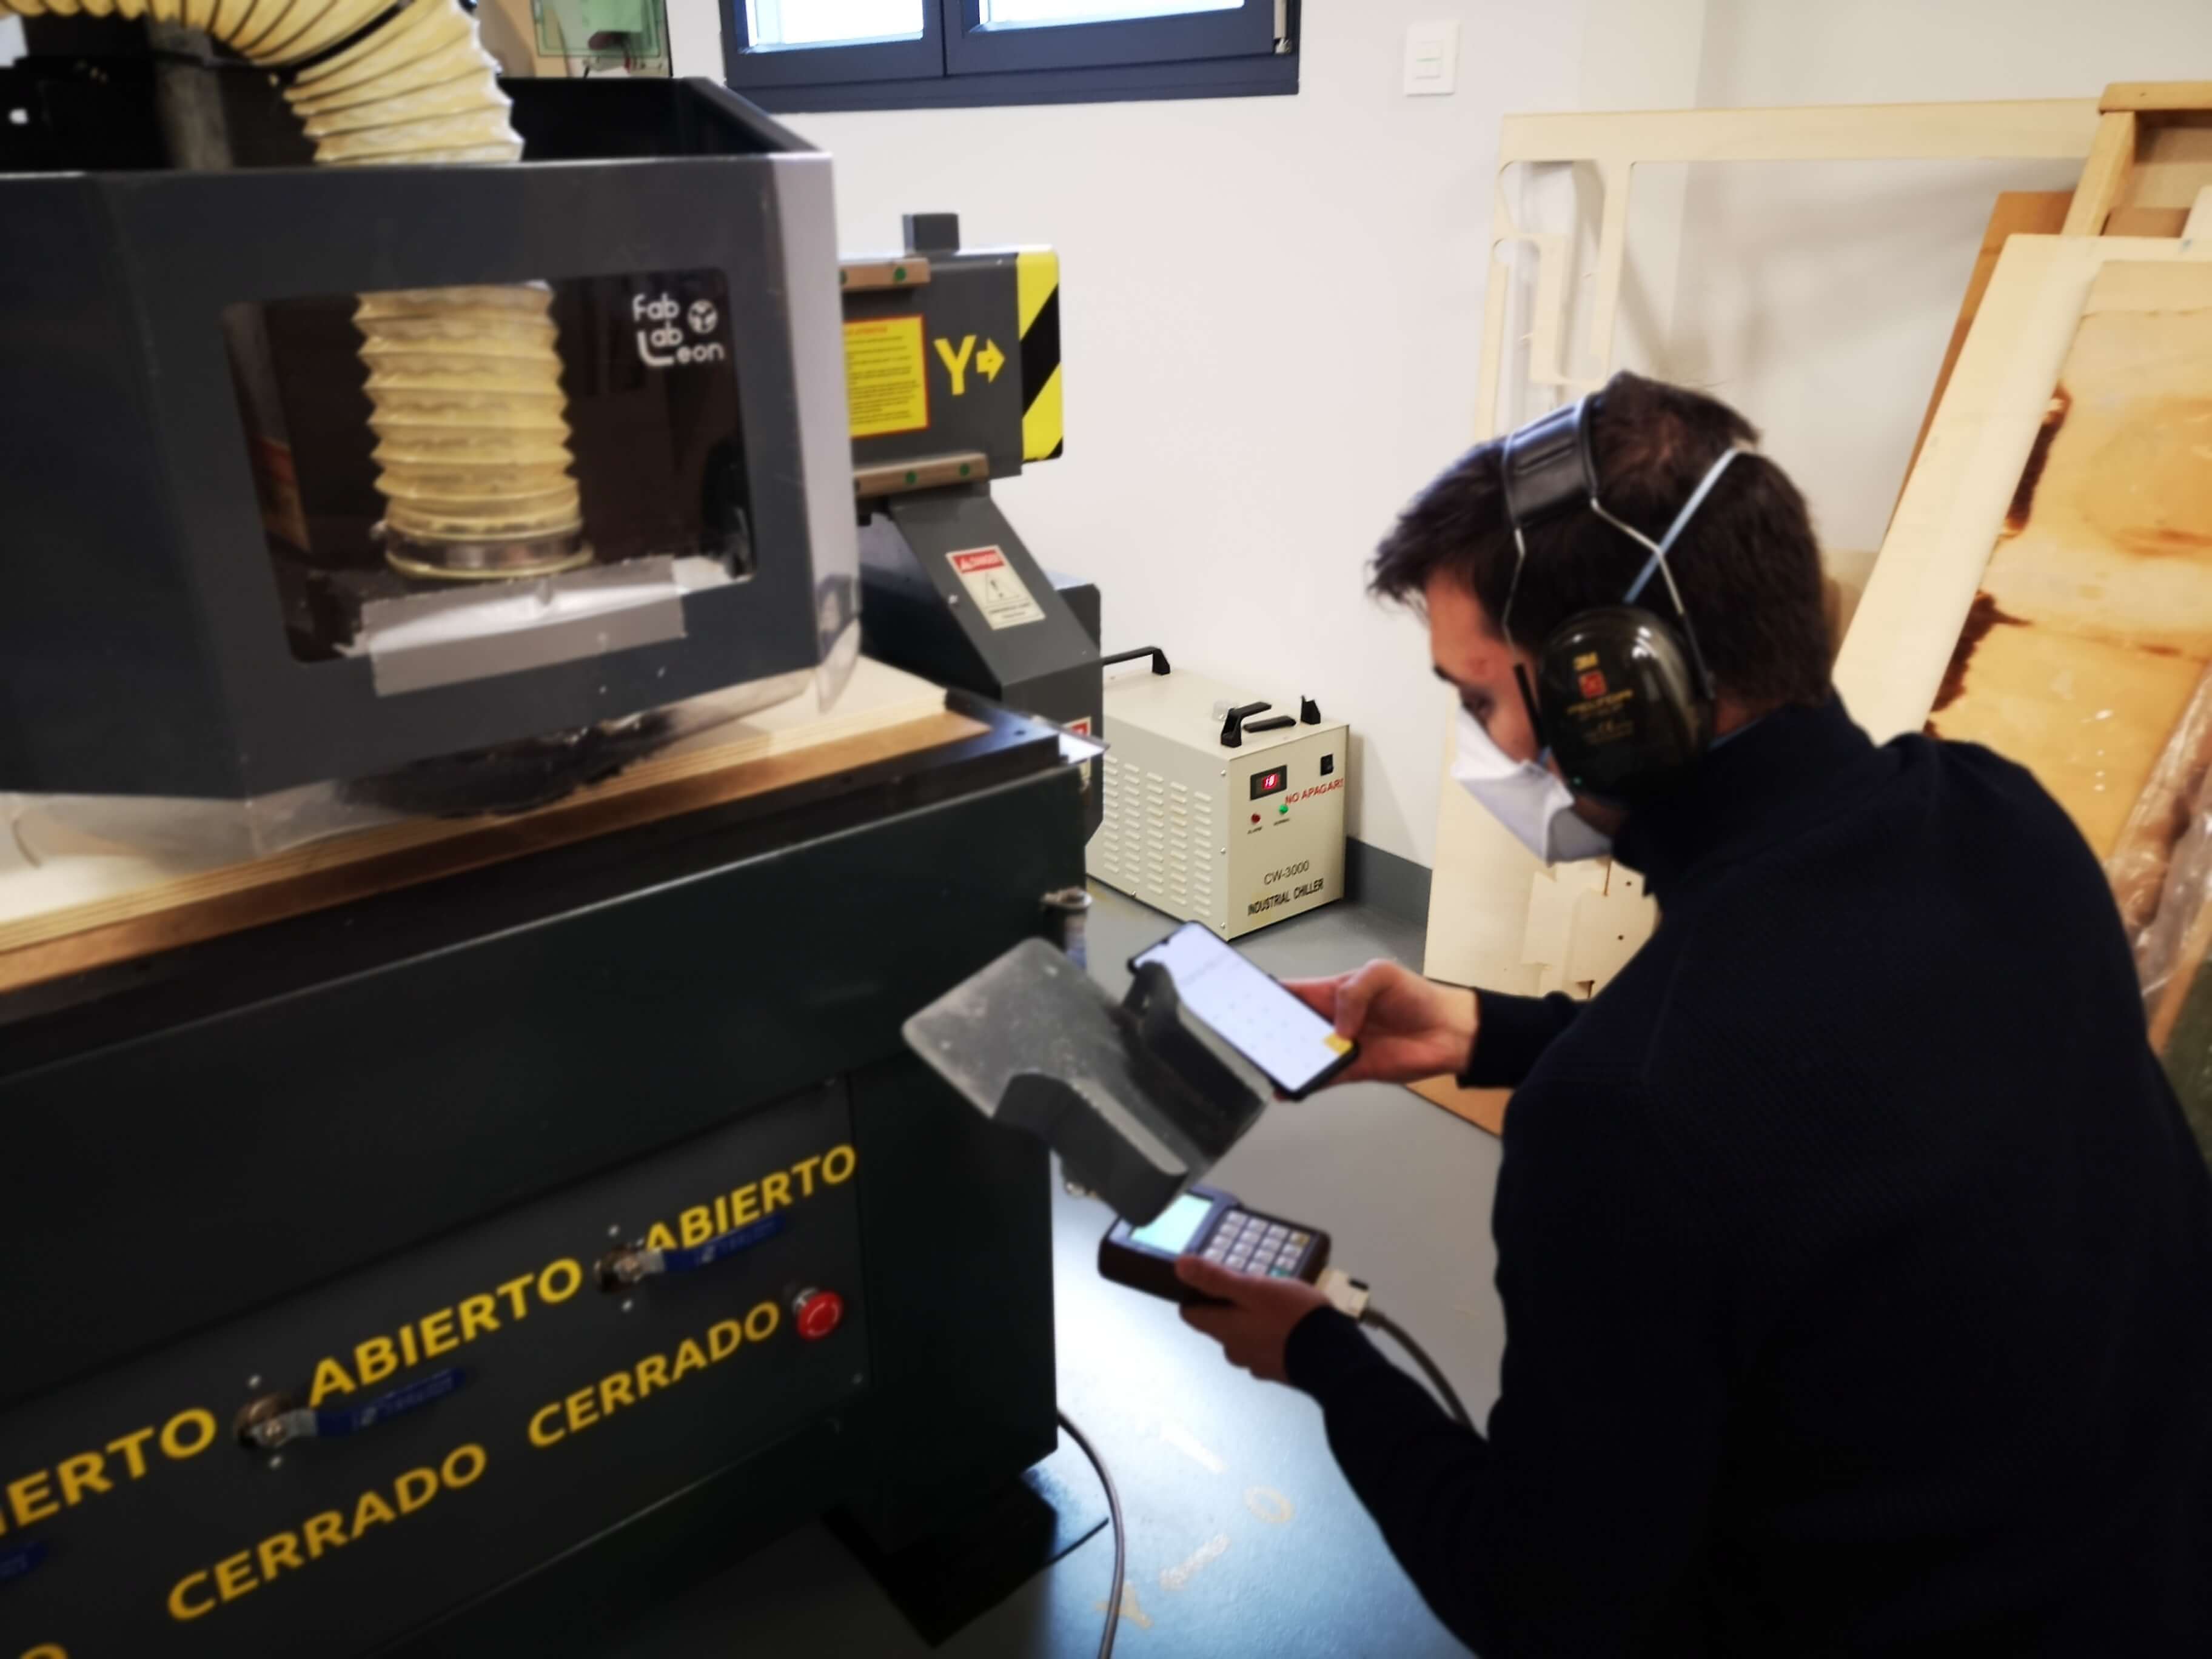
Workshop⚓︎
This is the workspace where the CNC is located in the Leon Fab Lab. The room is soundproofed to be able to work with the machine without disturbing the rest of the Lab’s spaces.
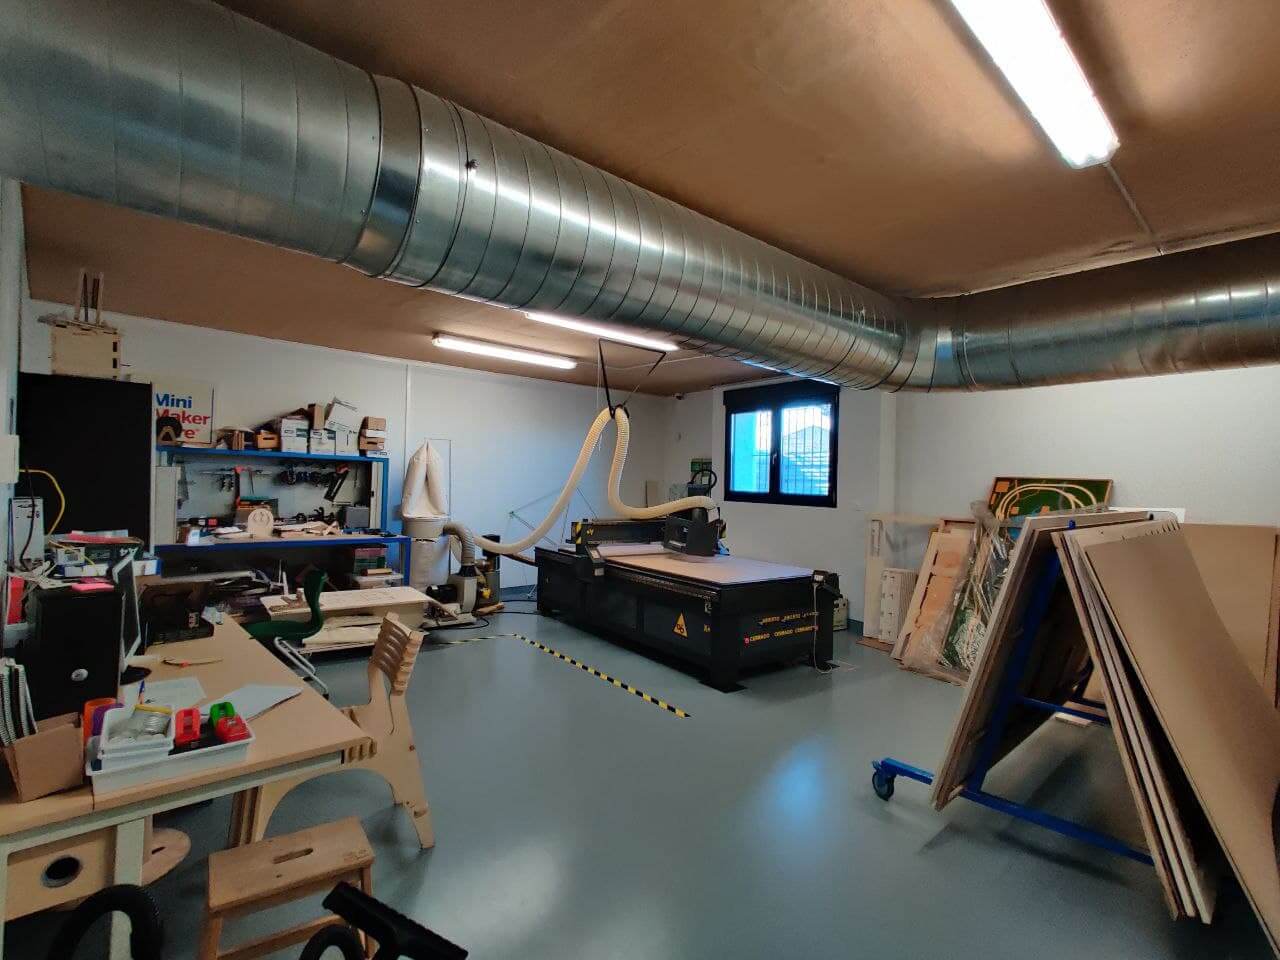
- Model: Milling Machine CNC TEC-CAM 500
- Software: Aspire VCarve
- Work area: 1300 x 2500 mm
- Bridge height: 120 mm
- Maximum thickness of the material: ~ 40 mm (depending on the mill)
- Vacuum table: yes
Safety⚓︎
Danger, risky machine on board. Big CNC machines can be quite dangerous that’s why he have to learn some important safety features before getting to work with the big boy.
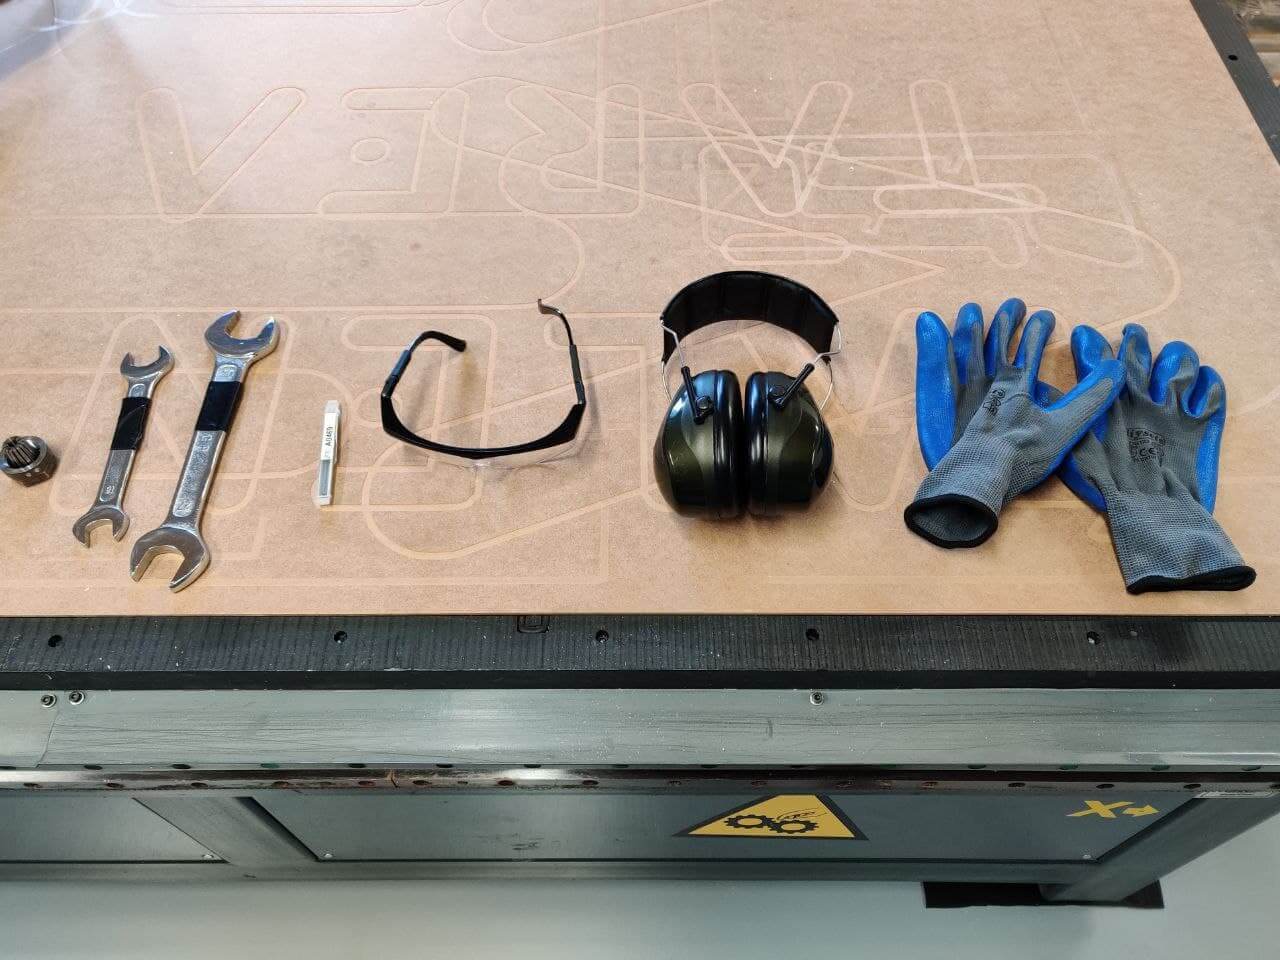
These are the tools we are going to use to protect ourselves and handle the machine. The gloves are to handle the wood and avoid getting splinters or hurting ourselves with the edges, the goggles to avoid getting shavings in our eyes, the ear muffs for the noise and the spanners to tighten the milling bit.
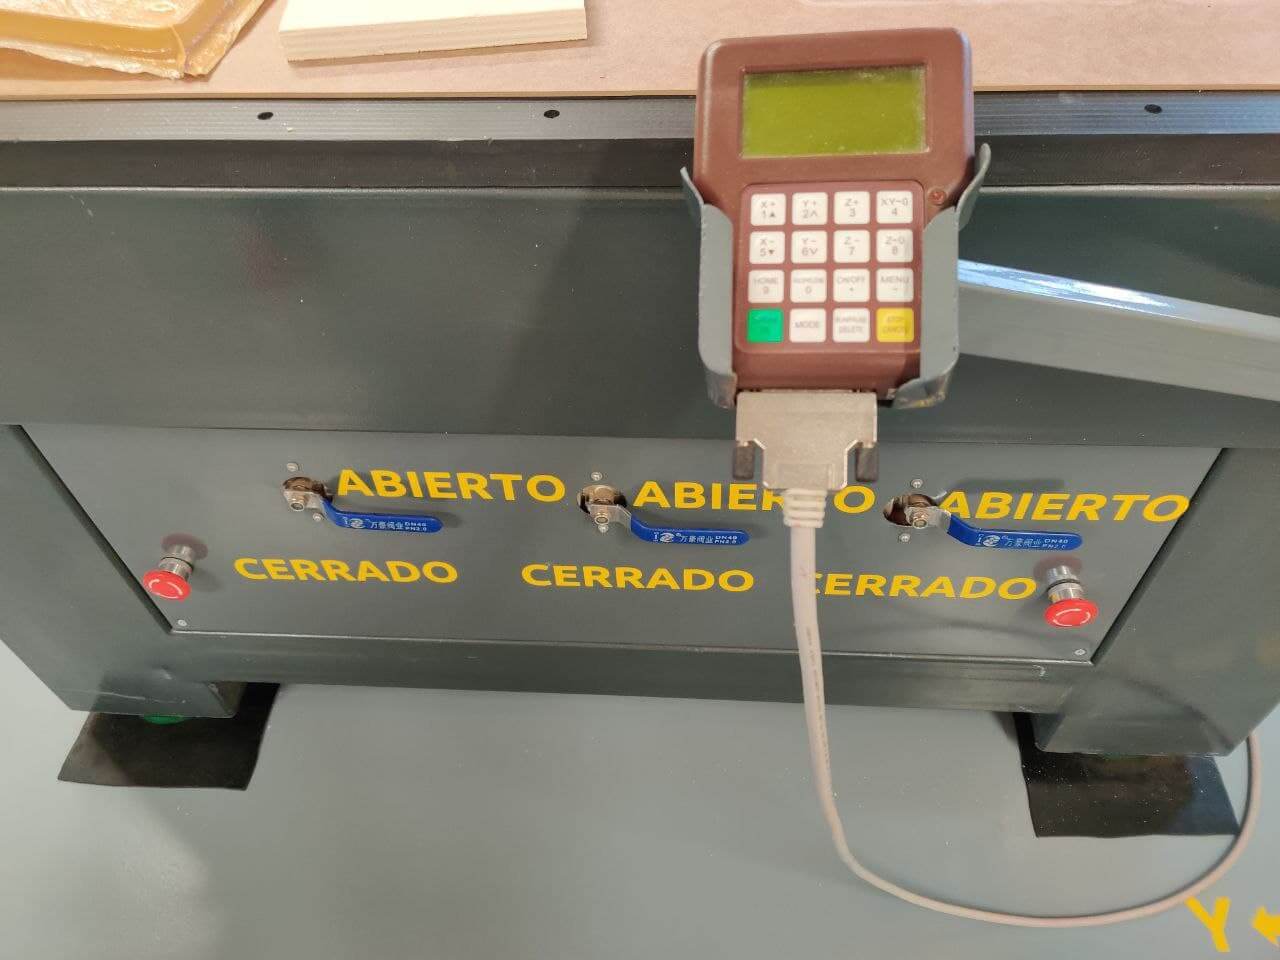
This is the CNC control knob, and at the bottom you can see the three vacuum bed stopcocks and the emergency buttons, easily accessible for a quick tap of the foot.
Features⚓︎
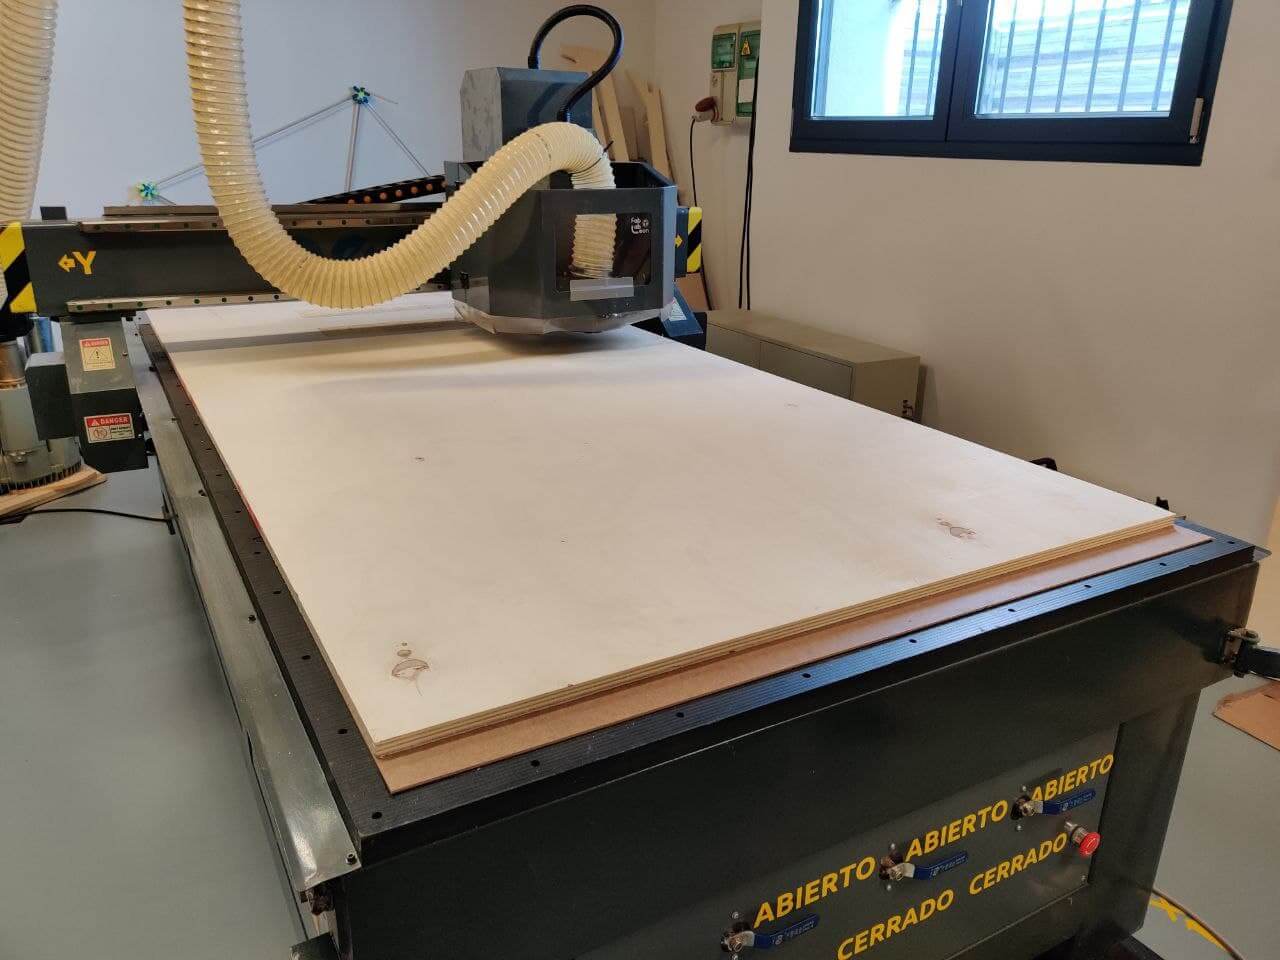
- Vacuum bed:
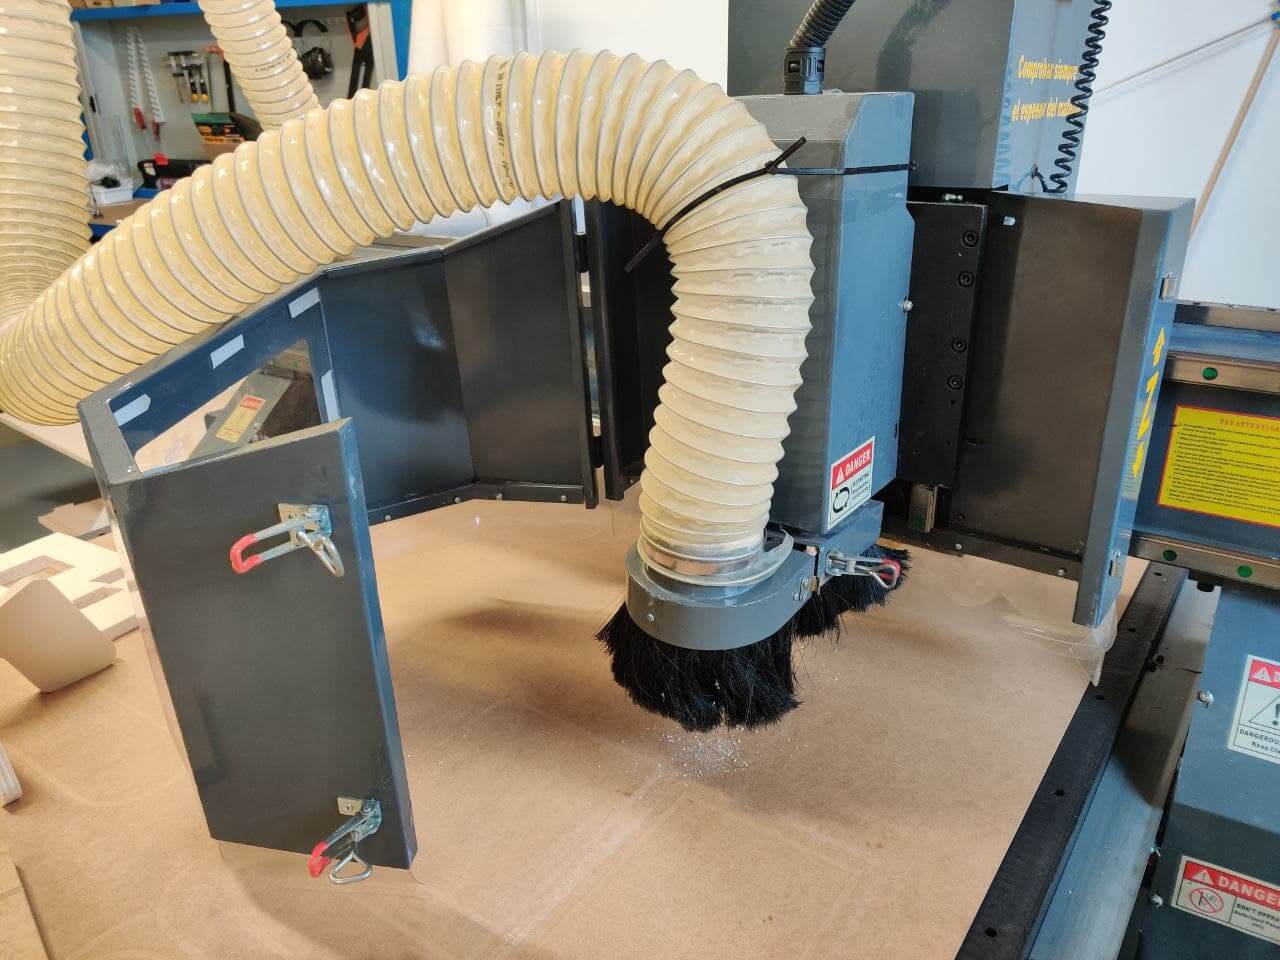
- External guards to prevent material from flying off and the chip suction tube:
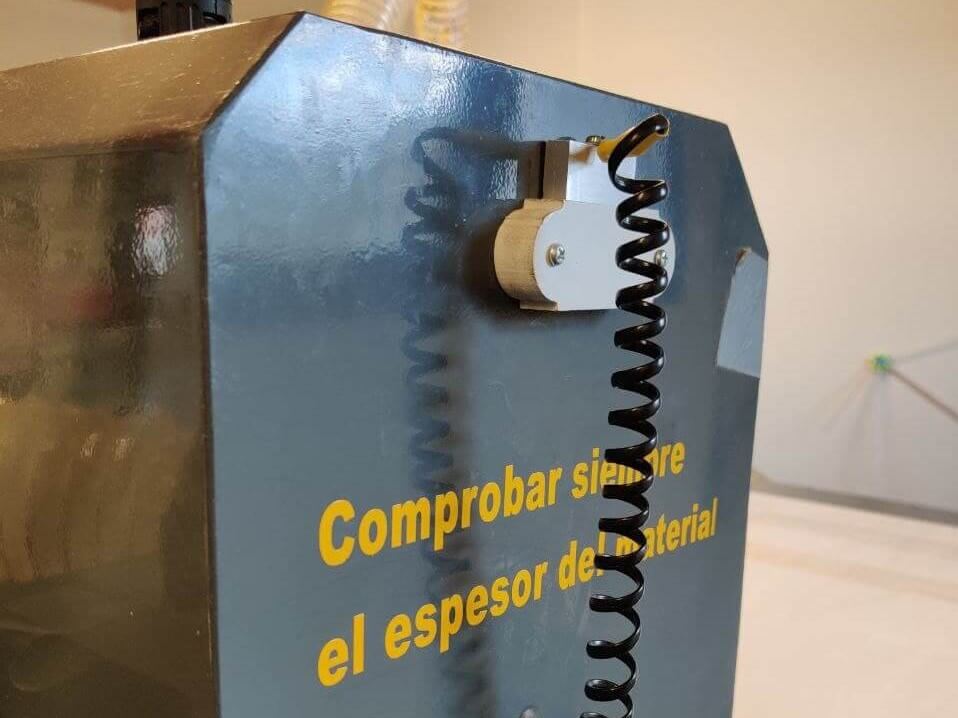
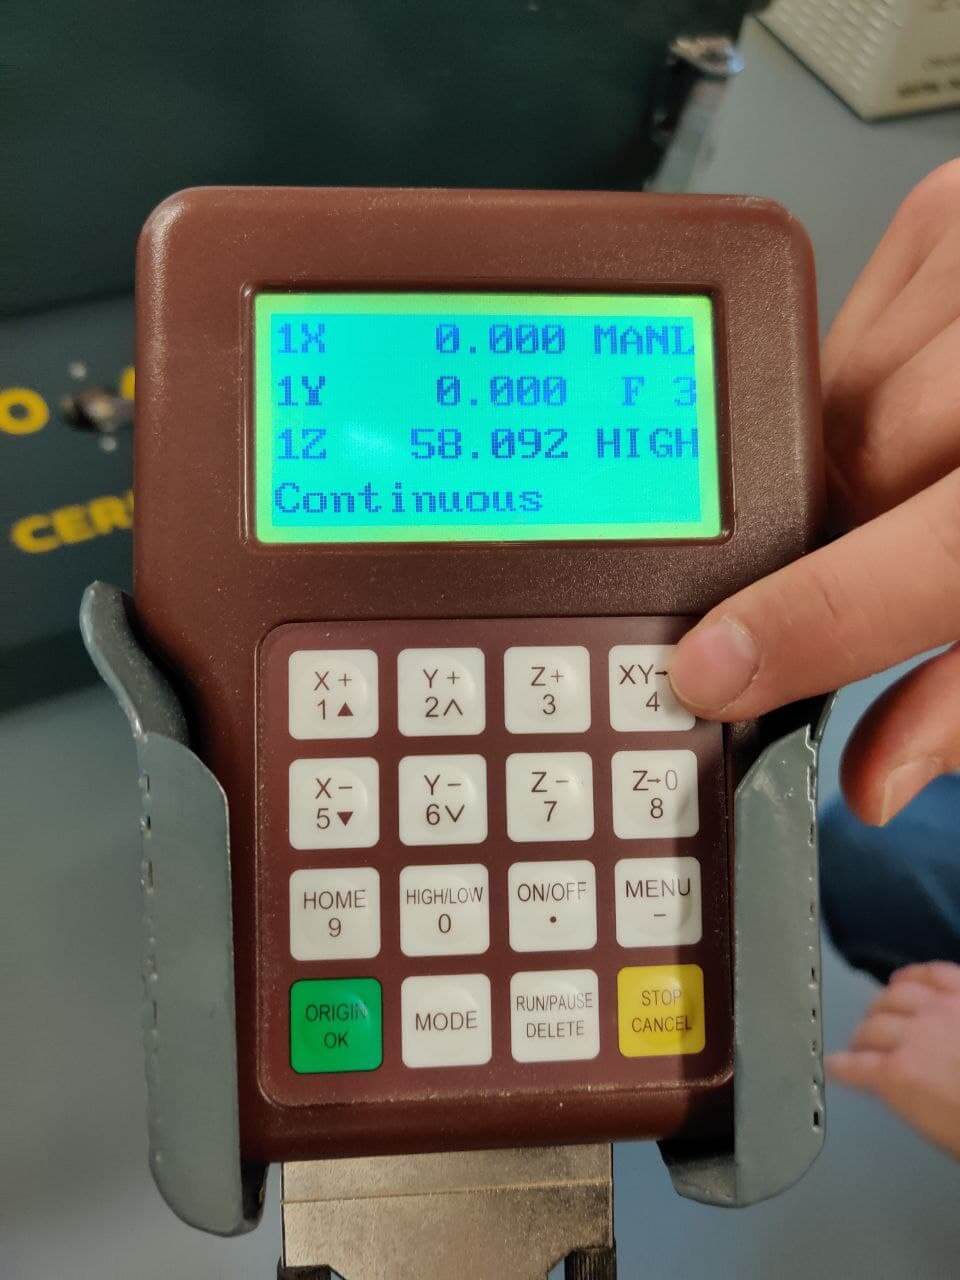
- Z probe measuring tool:

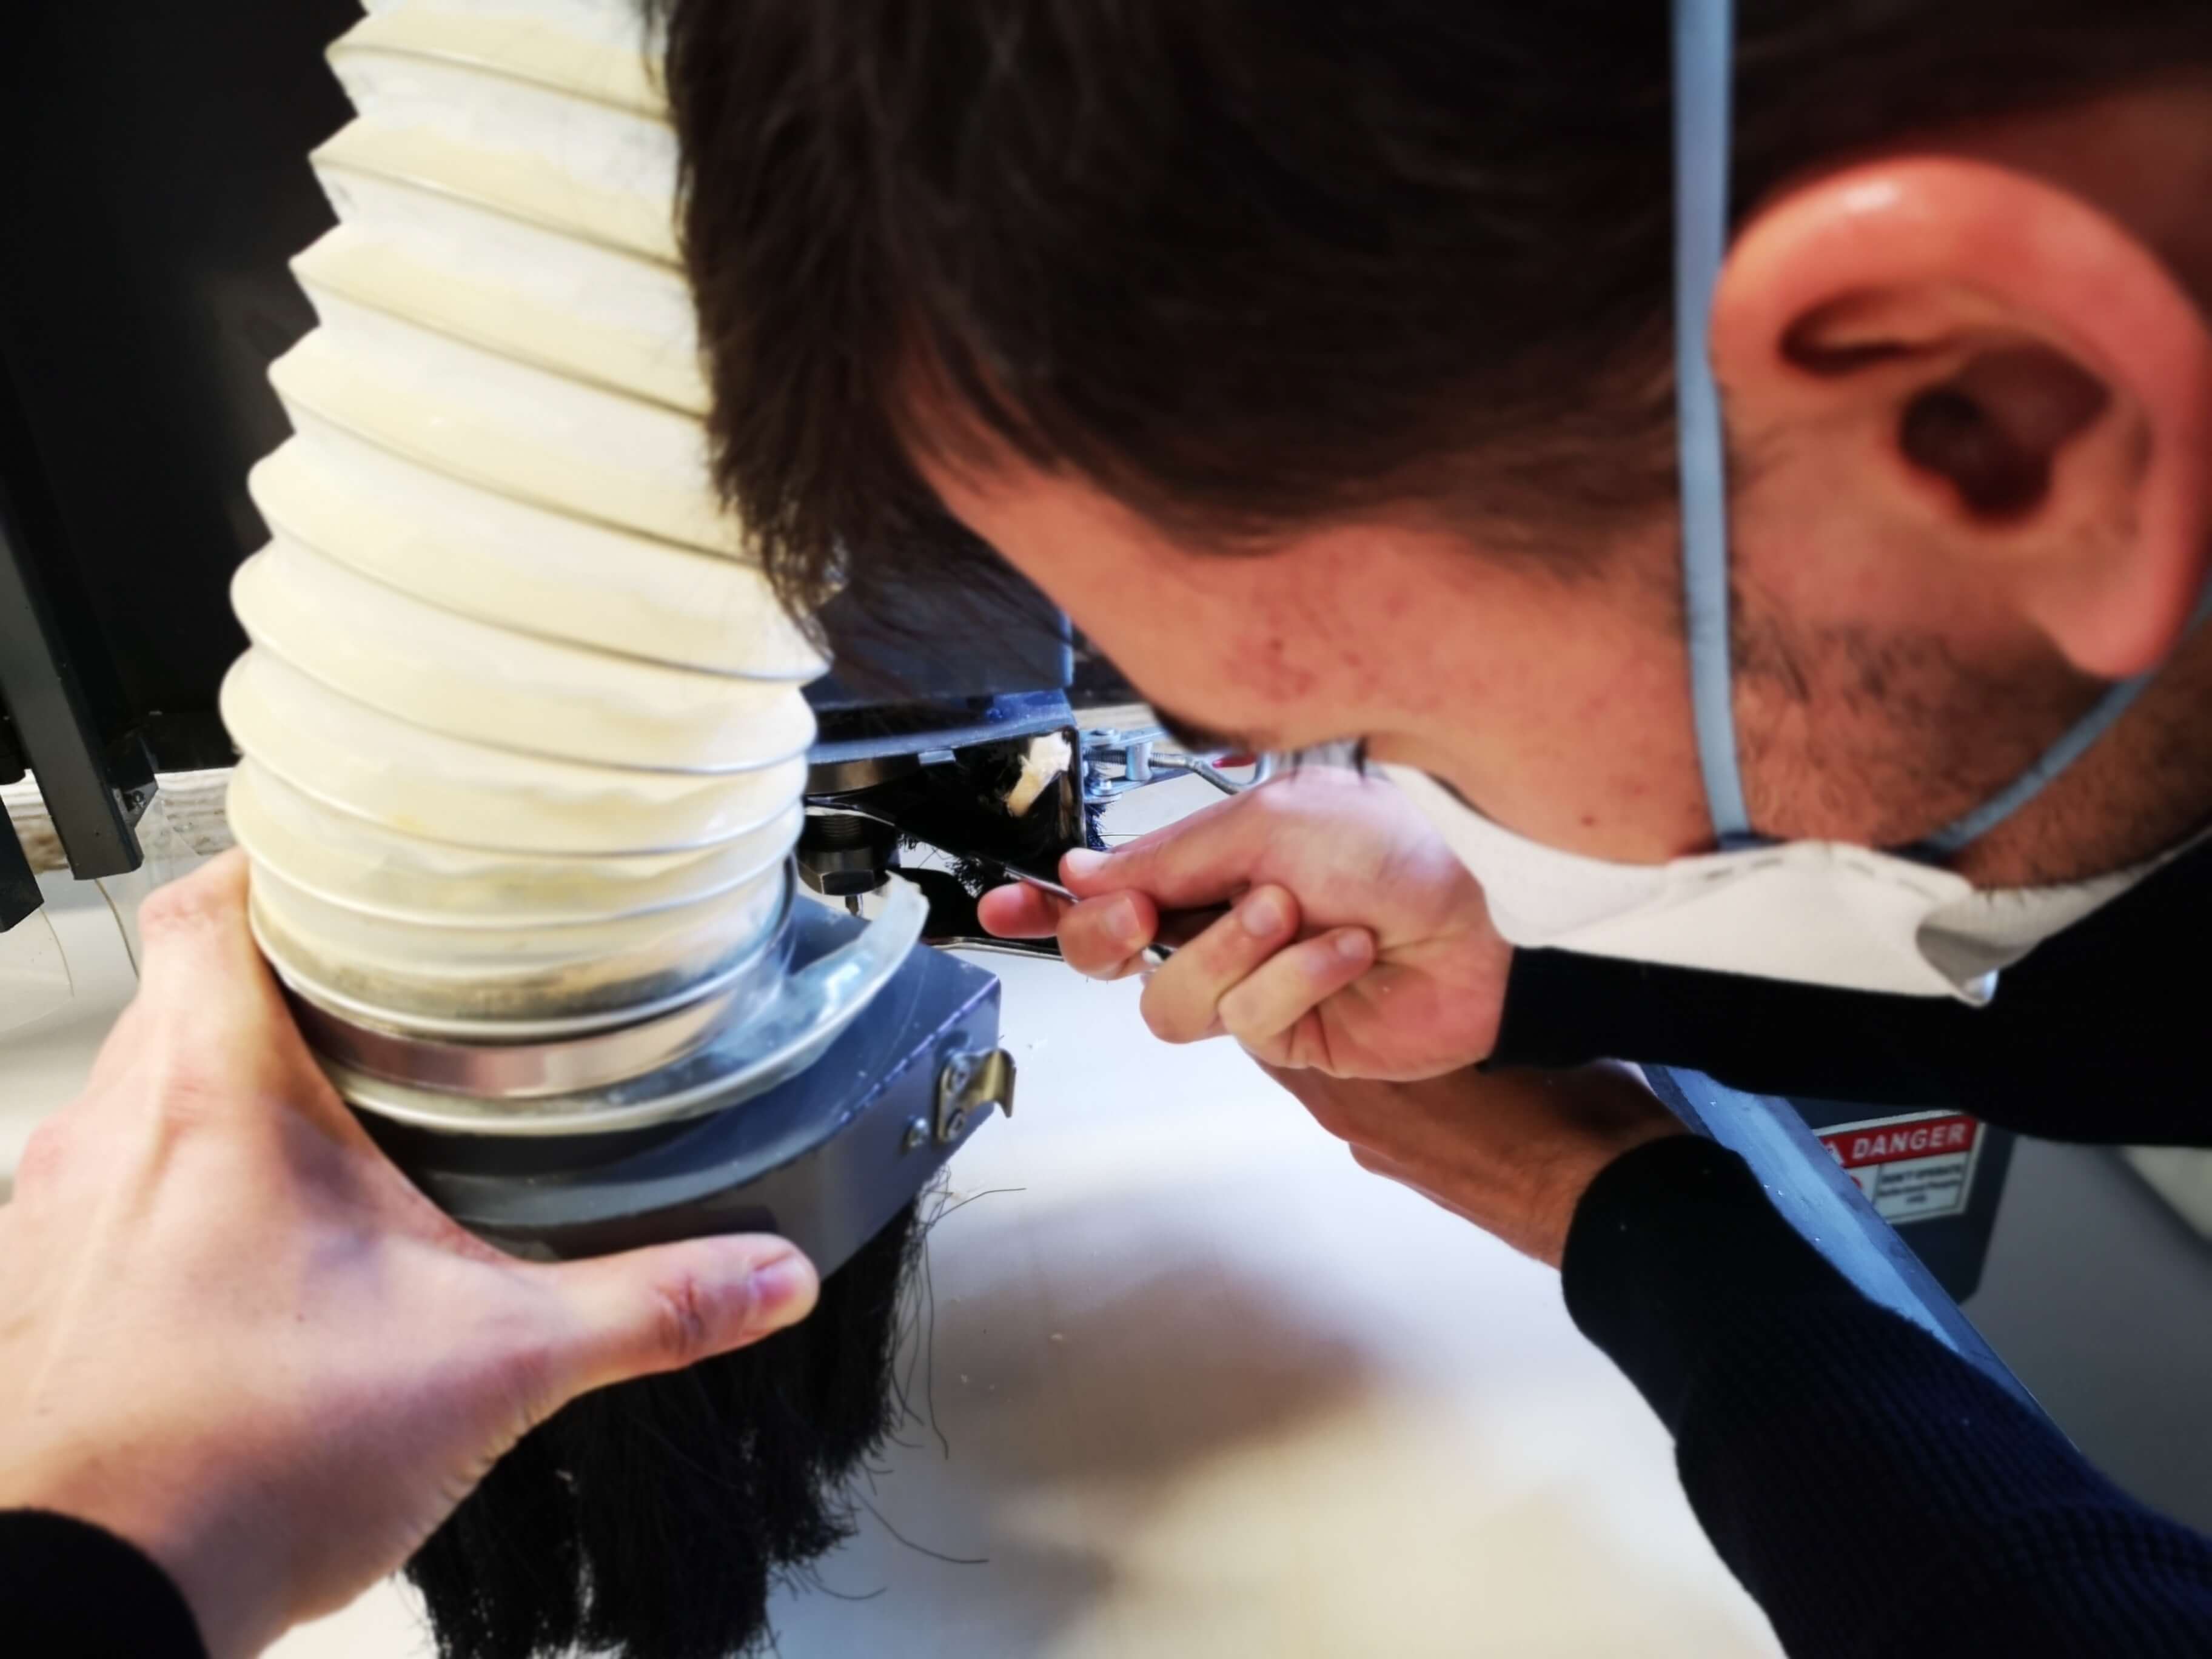
First works⚓︎
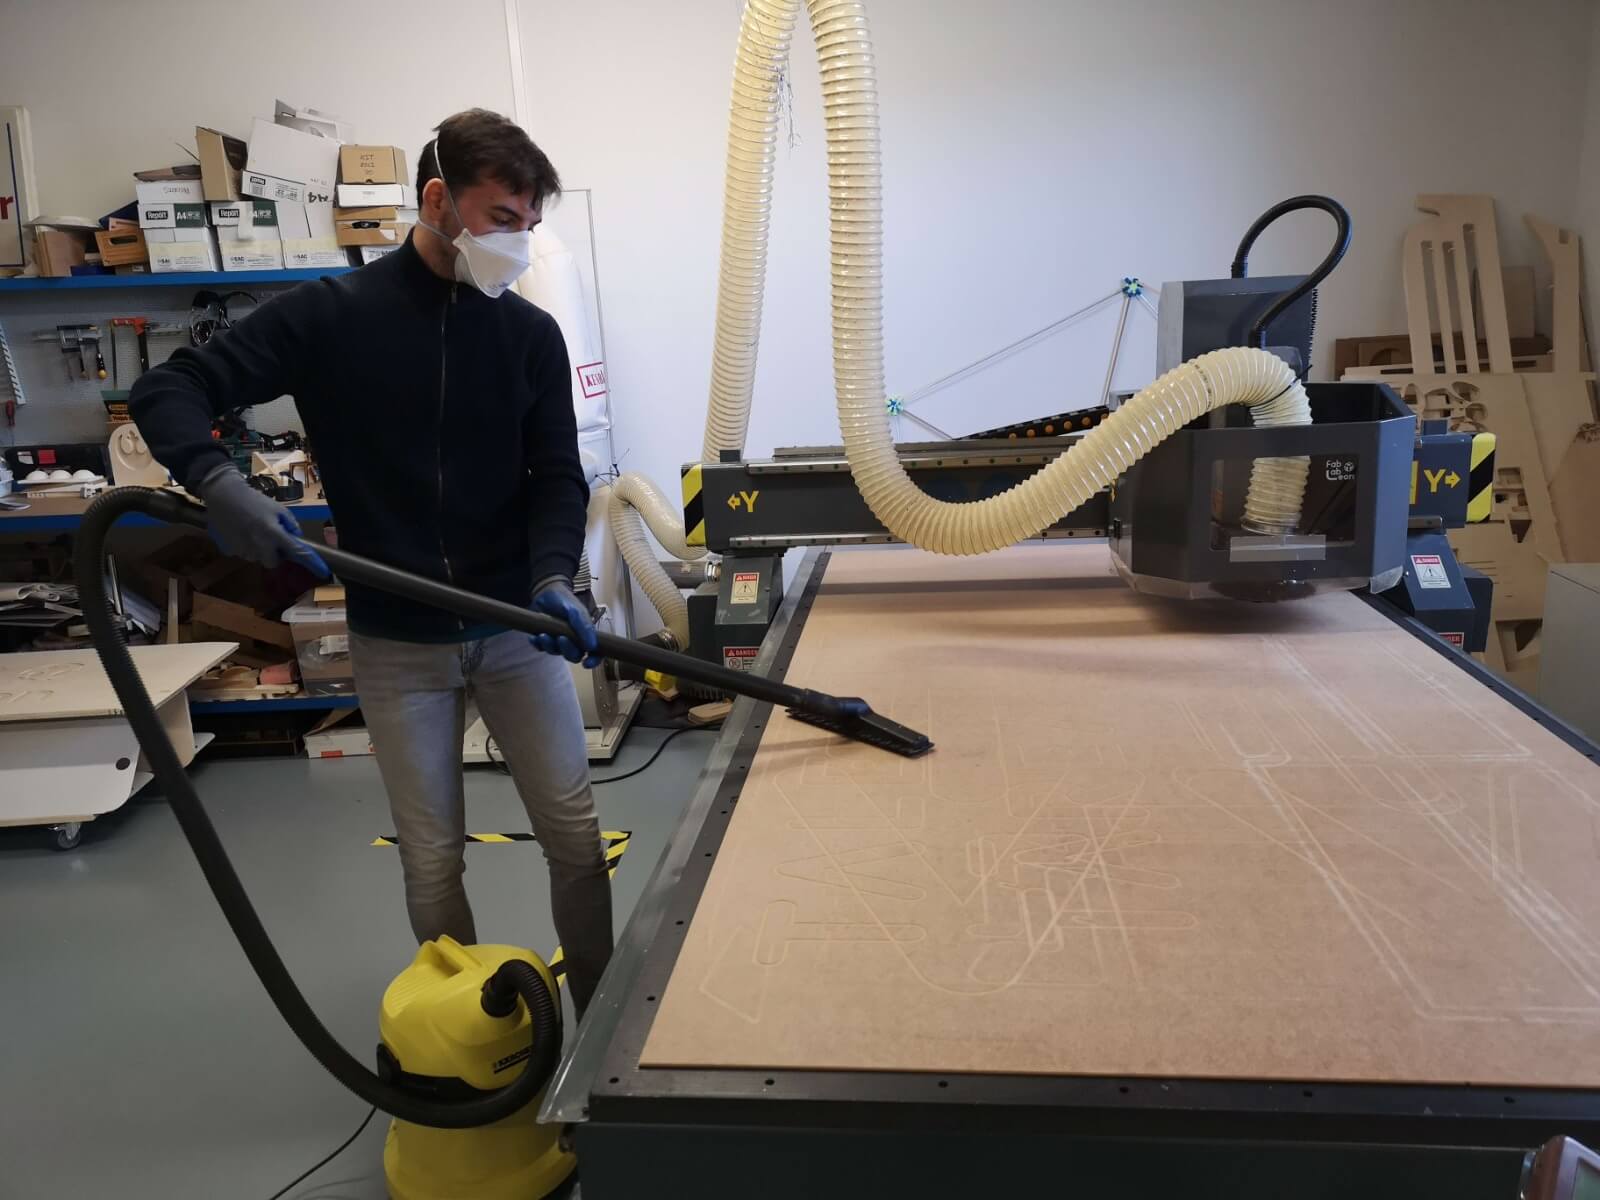
Cleaning the vacuum bed for better suction of the wooden board:
Attaching the milling bit, setting the xy 0 and calculating the thickness of the material in suction with the z probe:
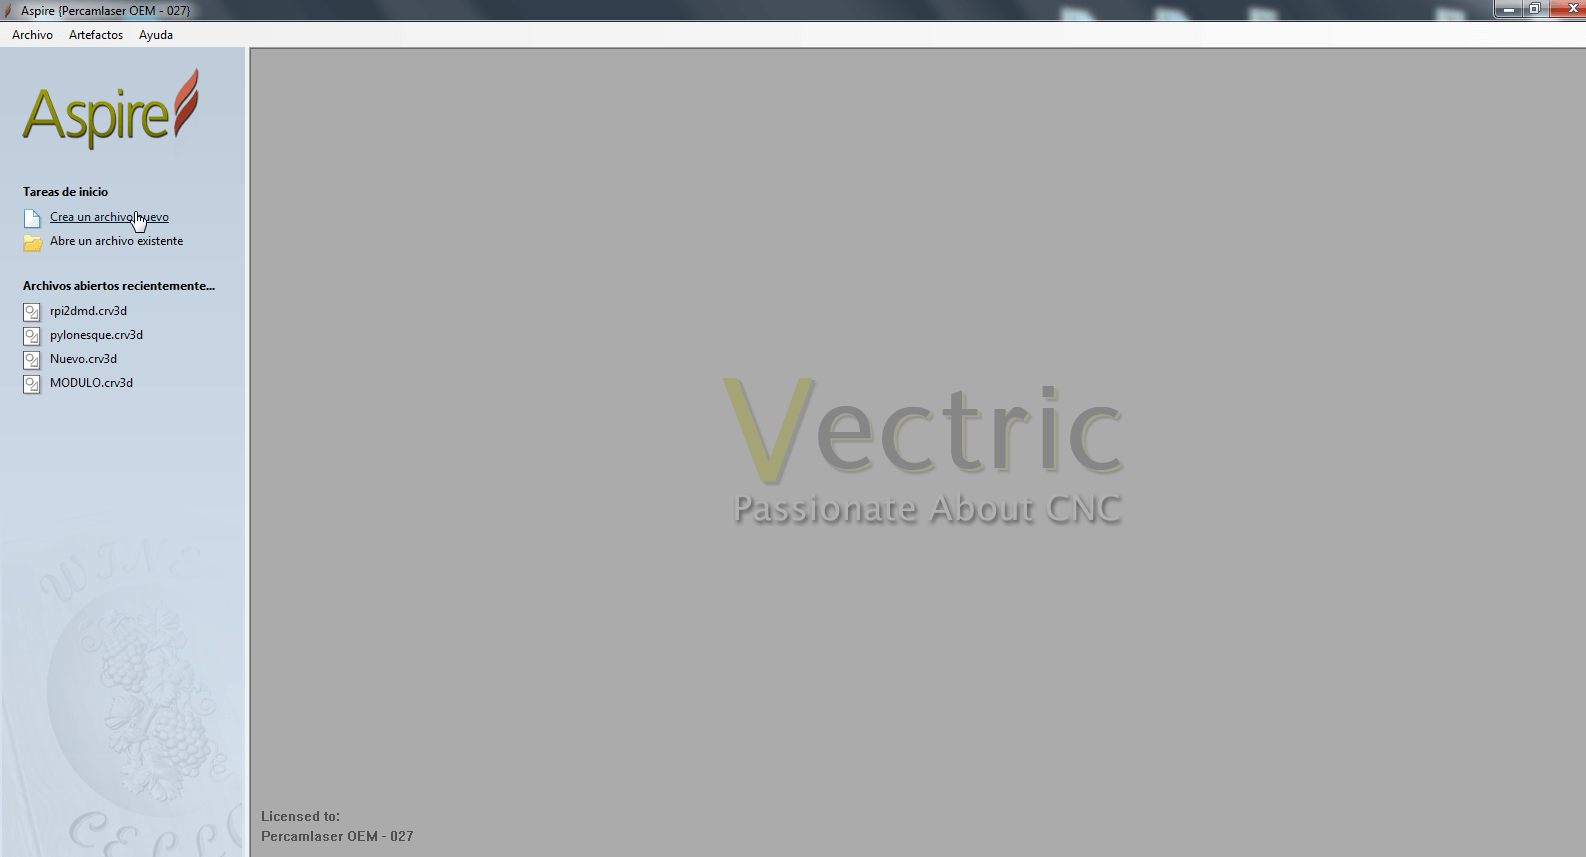
Software⚓︎
We are using Aspire VCarve for CAM.
- Open Aspire, and create a new file:
-
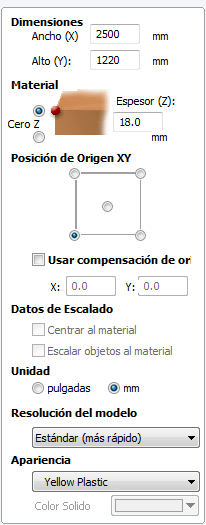
Configurate the dimmensions of the material we are working on (the best is to stablish just the usable space you’ve in the board, and the adjusting xy 0 to start where we want) like depth, width and thickness.
-
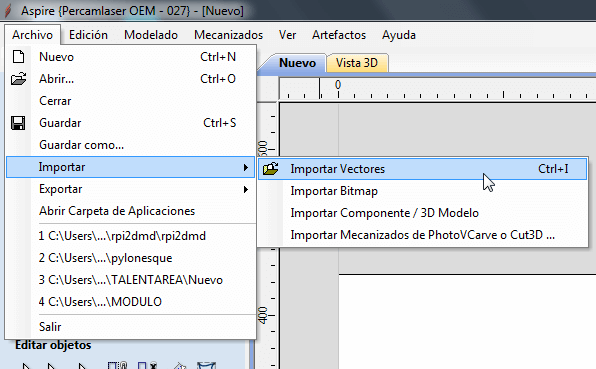
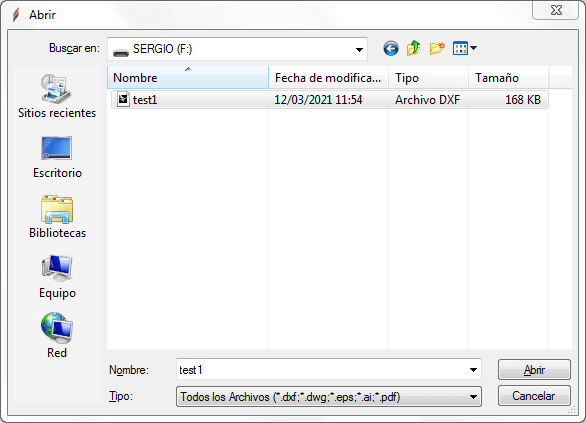
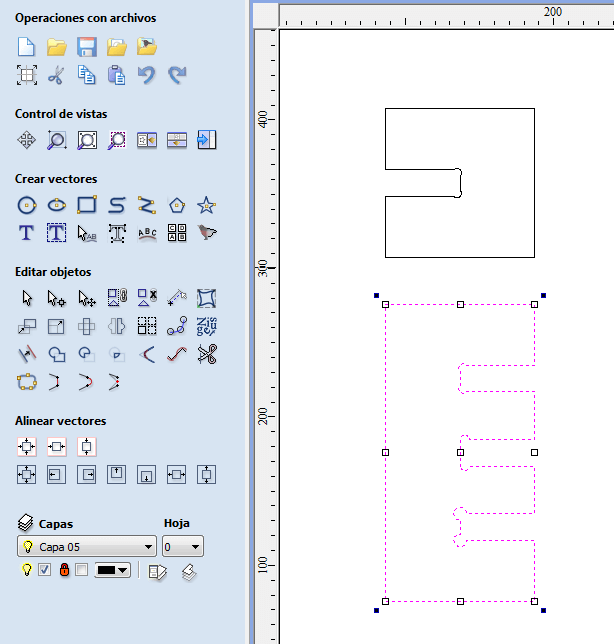
Import our design as vectors
-
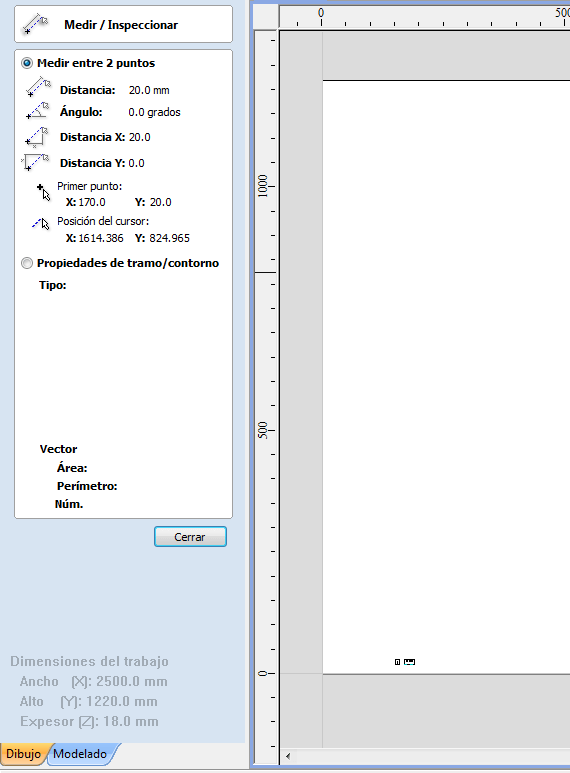
Check dimmensions of our model. Mine was modeled in cm and the working space was in mm so it appeared really small. To check, I measured an then scaled it with the built in tool.
-
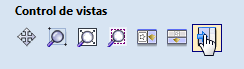
We change panels to move from “design” to “cutting” (CAD to CAM). We use the profile path option on the right panel as we are going to mill all the way through.
-
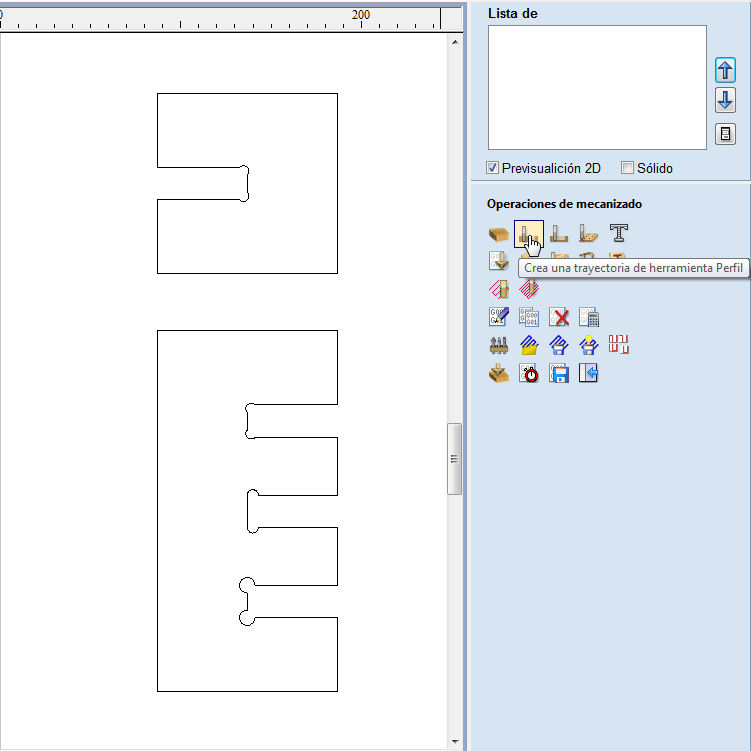
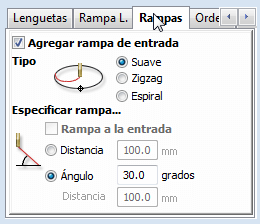
It opens this panel. Check your real thickness of the material with the aspiration, the type of path you want to mill (inner, outter or over the vector). Mine is outter path as I am cutting only the exterior and not doing any inner holes. The seect the ratational direction of the milling bit, for climbing or normal milling, and finally add an entrance ramp for the mill for a smoother way into the wood and less probability off failure or breaking the mill.
-
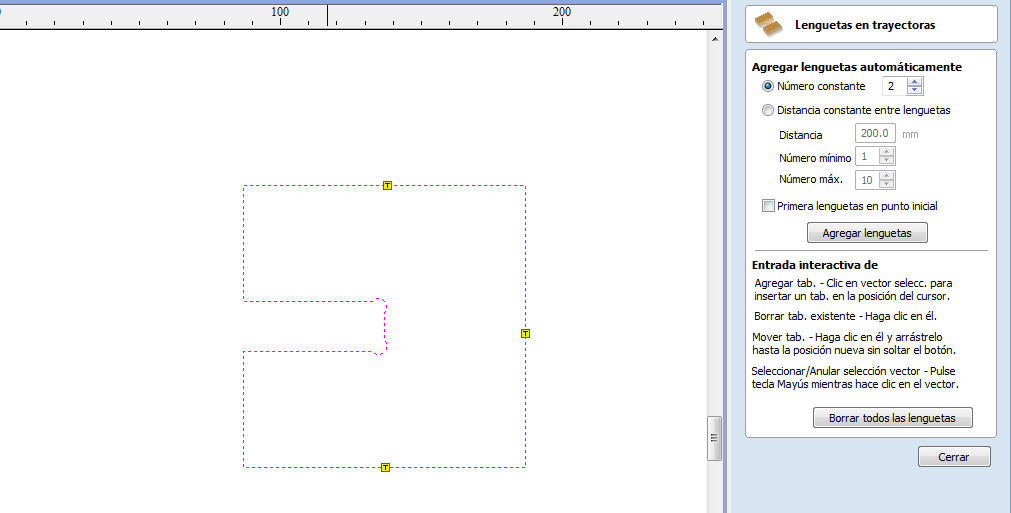
Adding tabs in small pieces to prevent them to fly away while cutted.
-
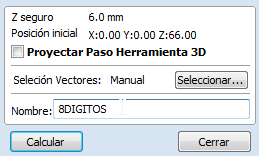
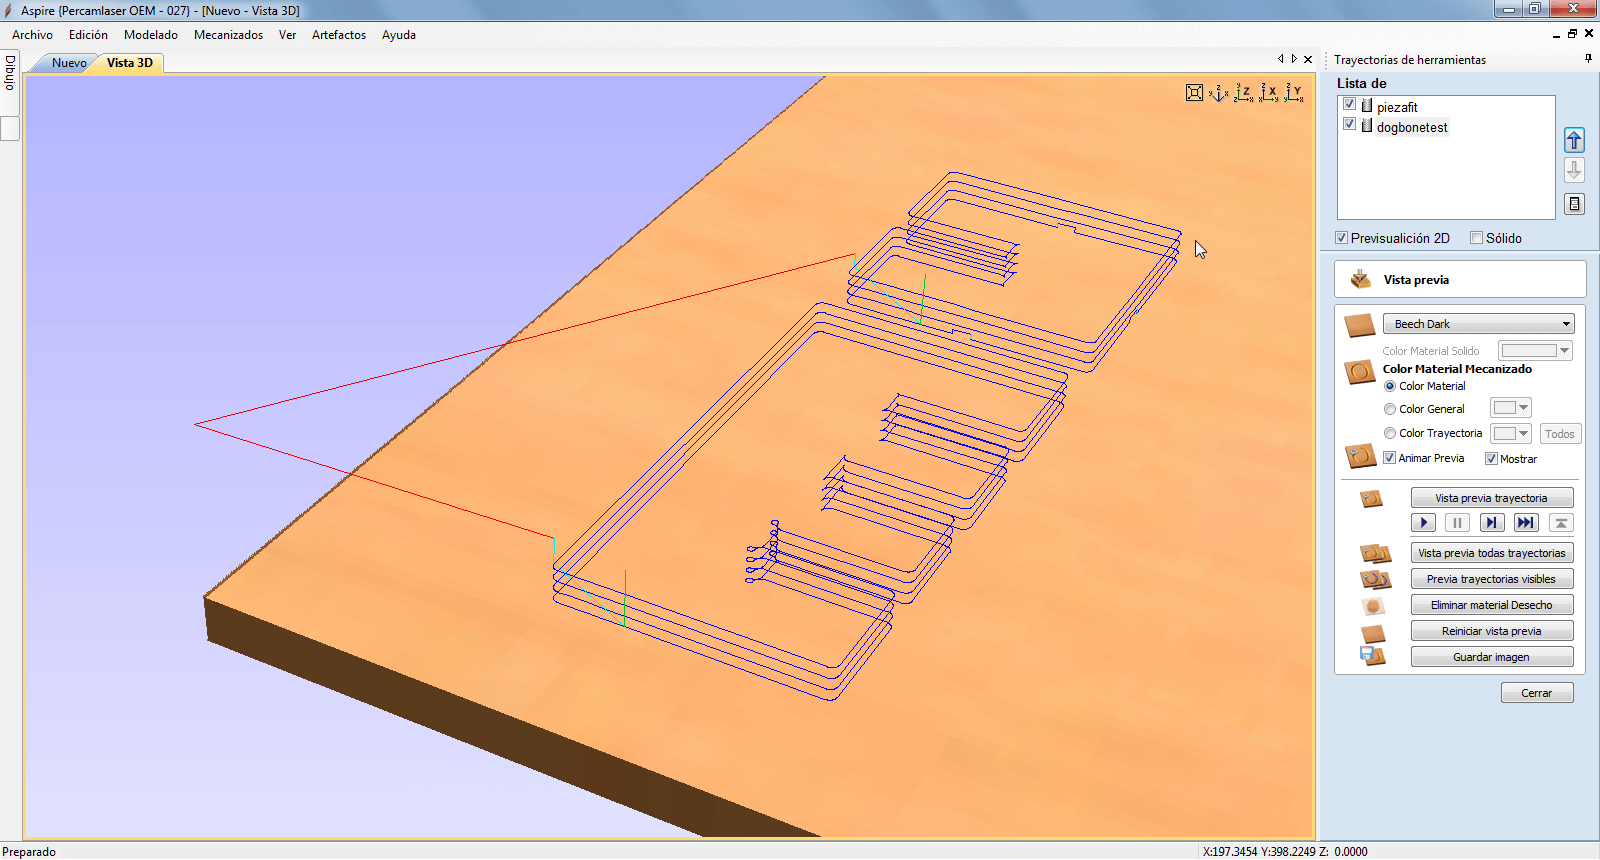
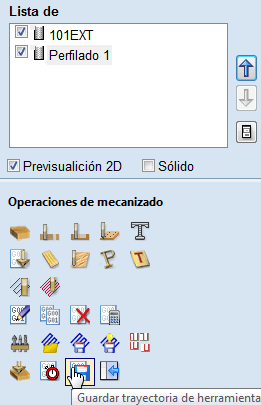
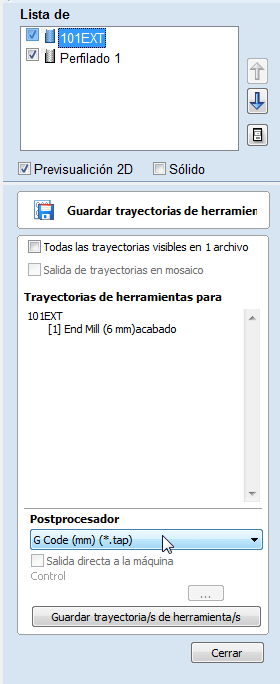
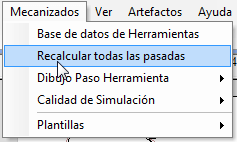
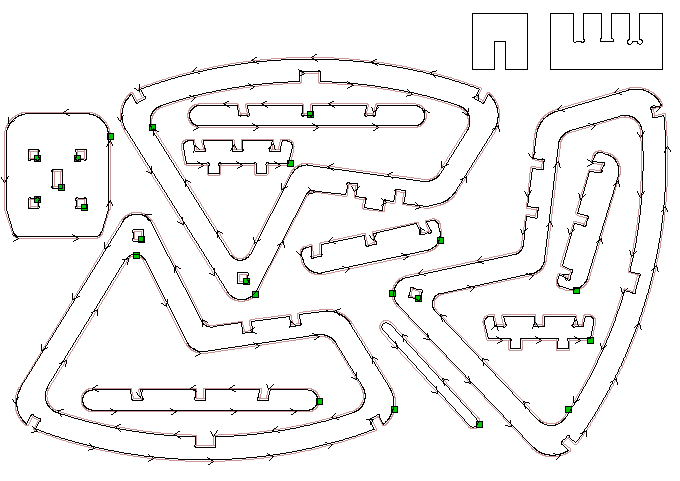
Calculating the trayectories
-
Extracting the G-code
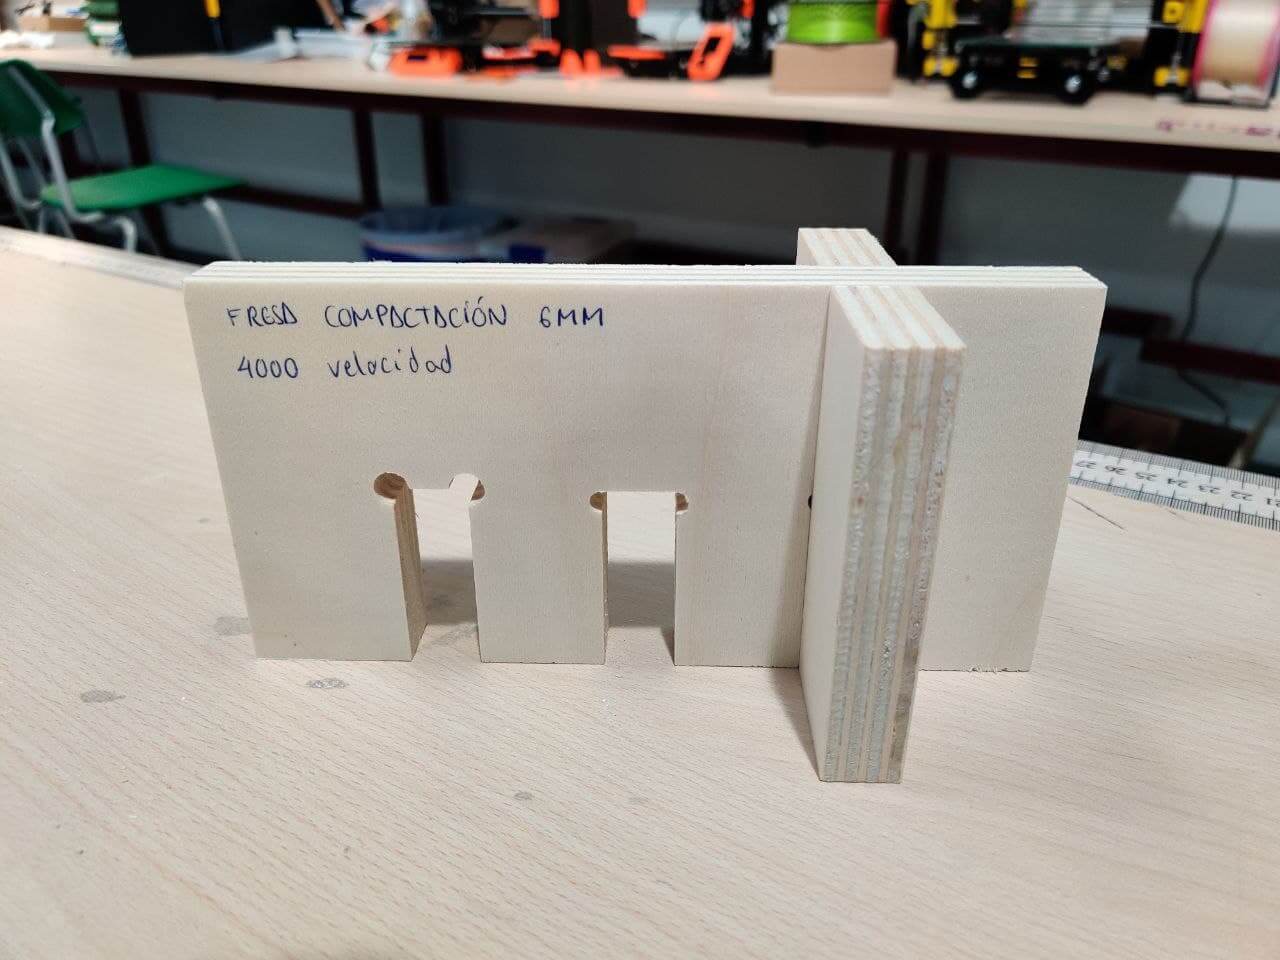
Tests⚓︎
On the first attempt it didn’t cut all the way through. That’s because for the test of trying I din’t include the z probe measurements on the gcode exported file, just the expected thickness of the board.
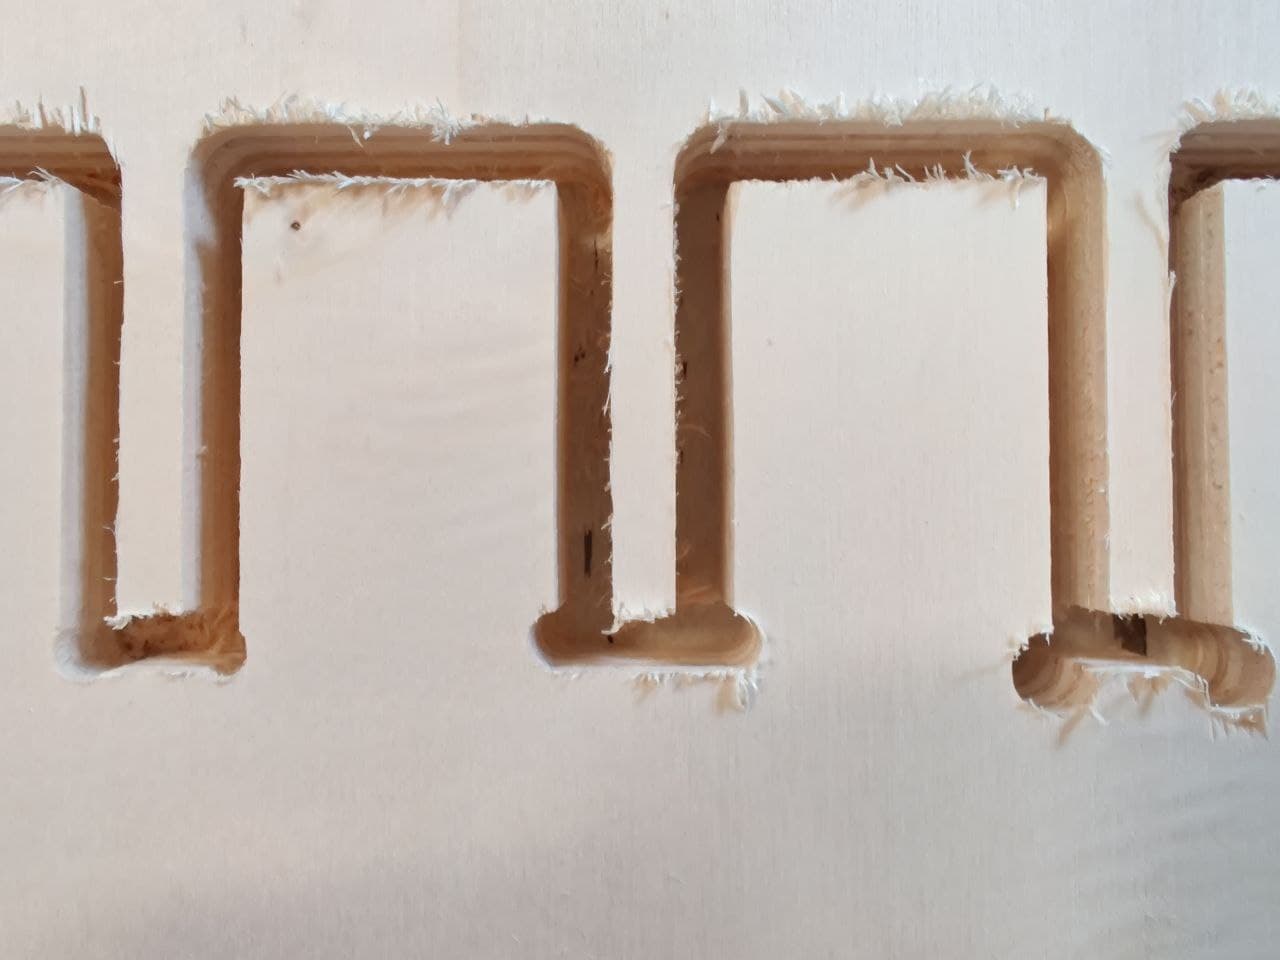
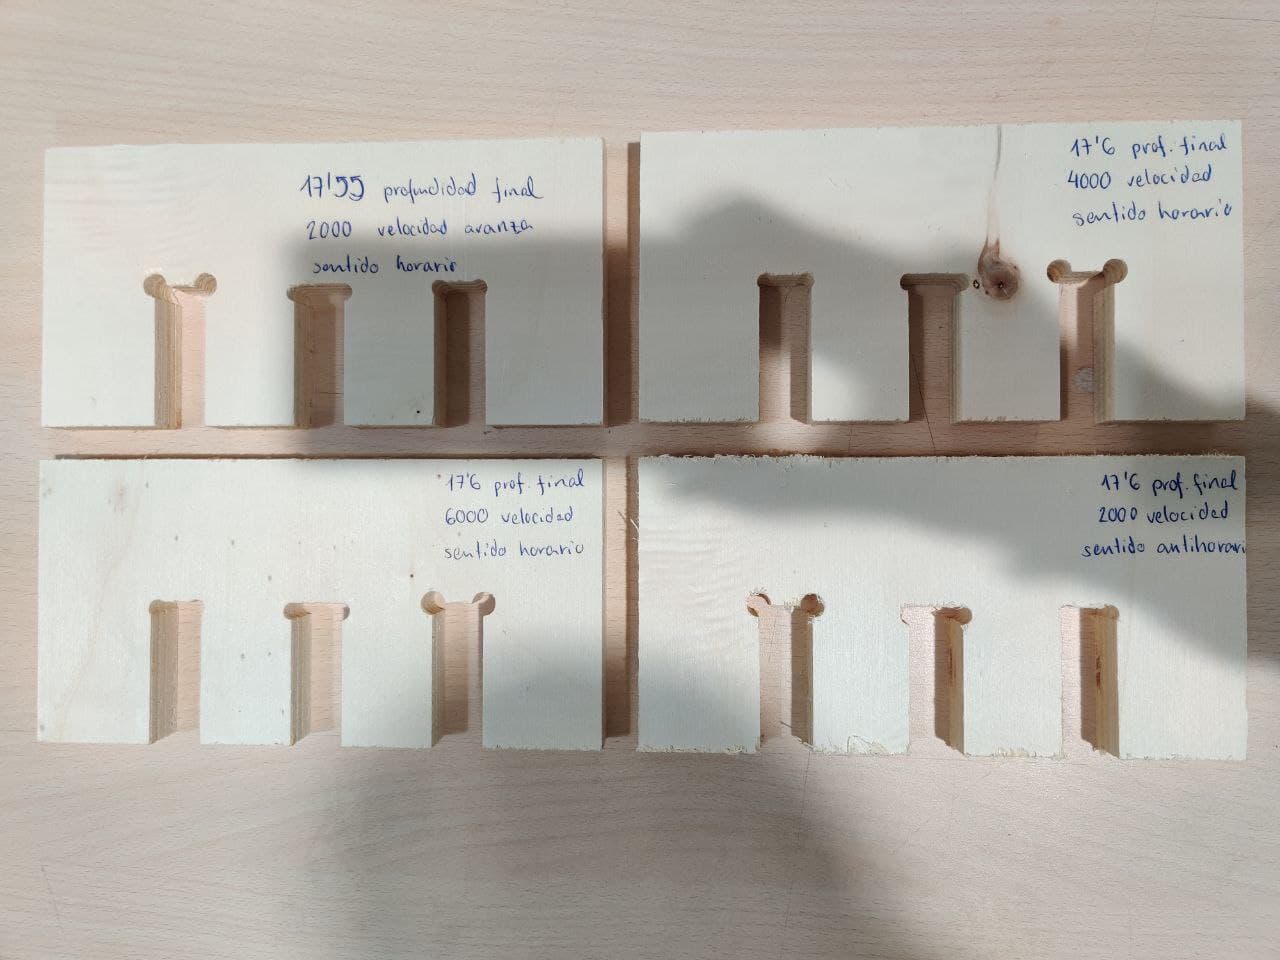
Later I tried changing moving speeds, from 2000 to 4000 and 6000 mm/min and also tried the climb method. The best finish came out with 4000 speed and normal rotational direction.

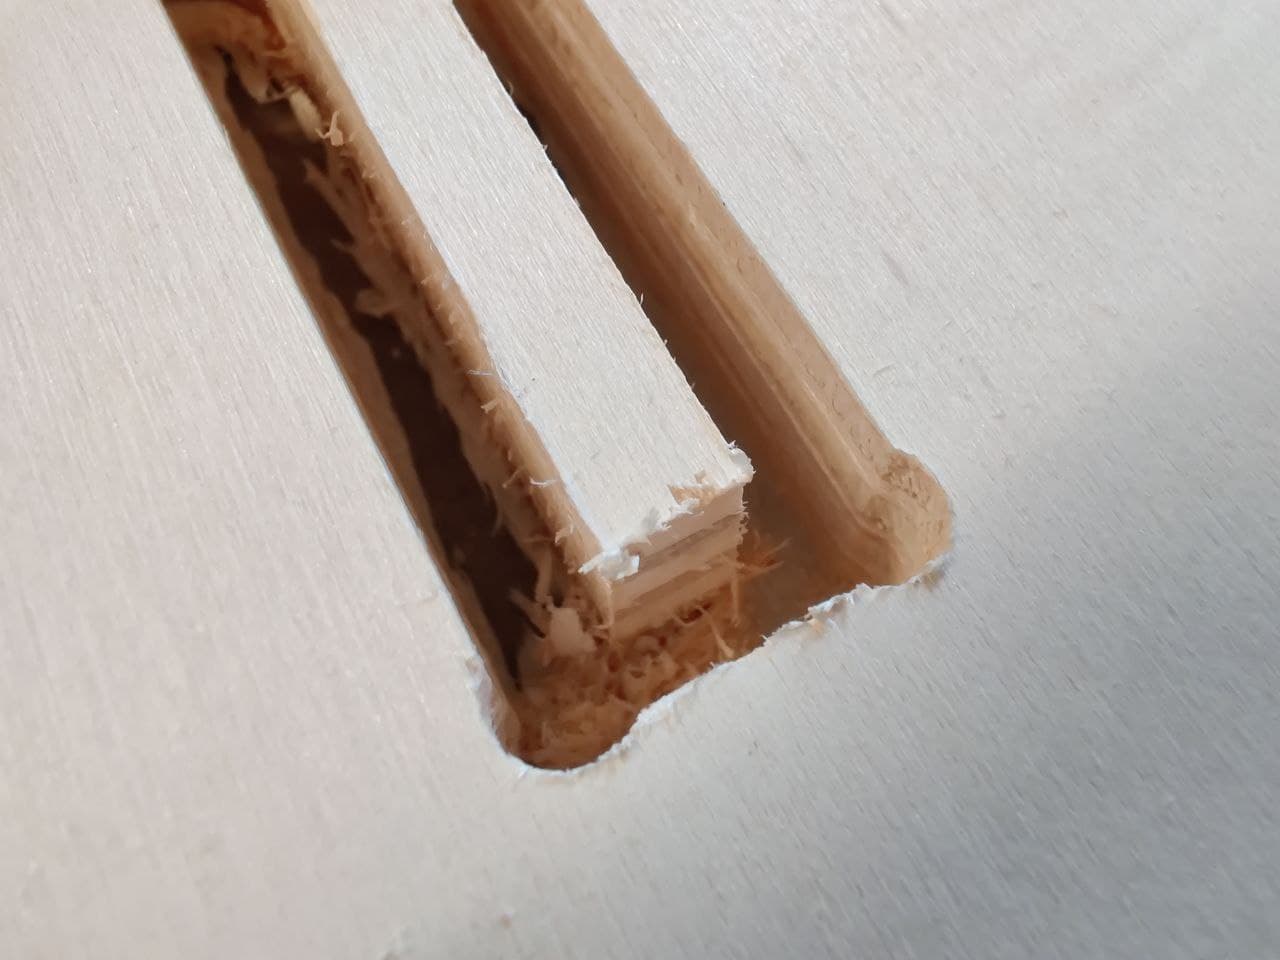
Kerf⚓︎
Losing like a tenth of a milimeter because of the vibration of the mill which causes a bit of oscilation on the tip of the mill. Nothing to worry about.
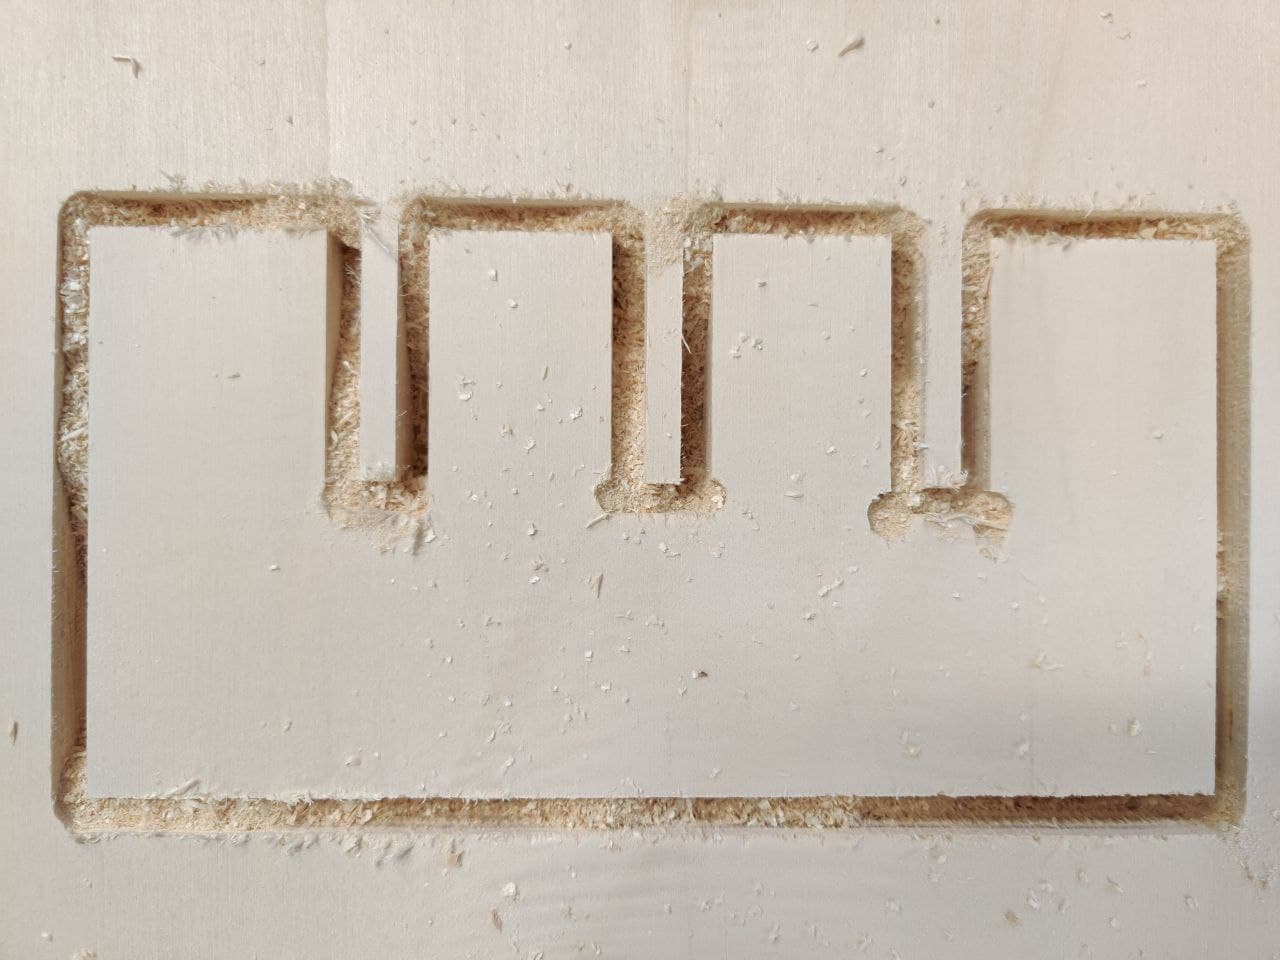
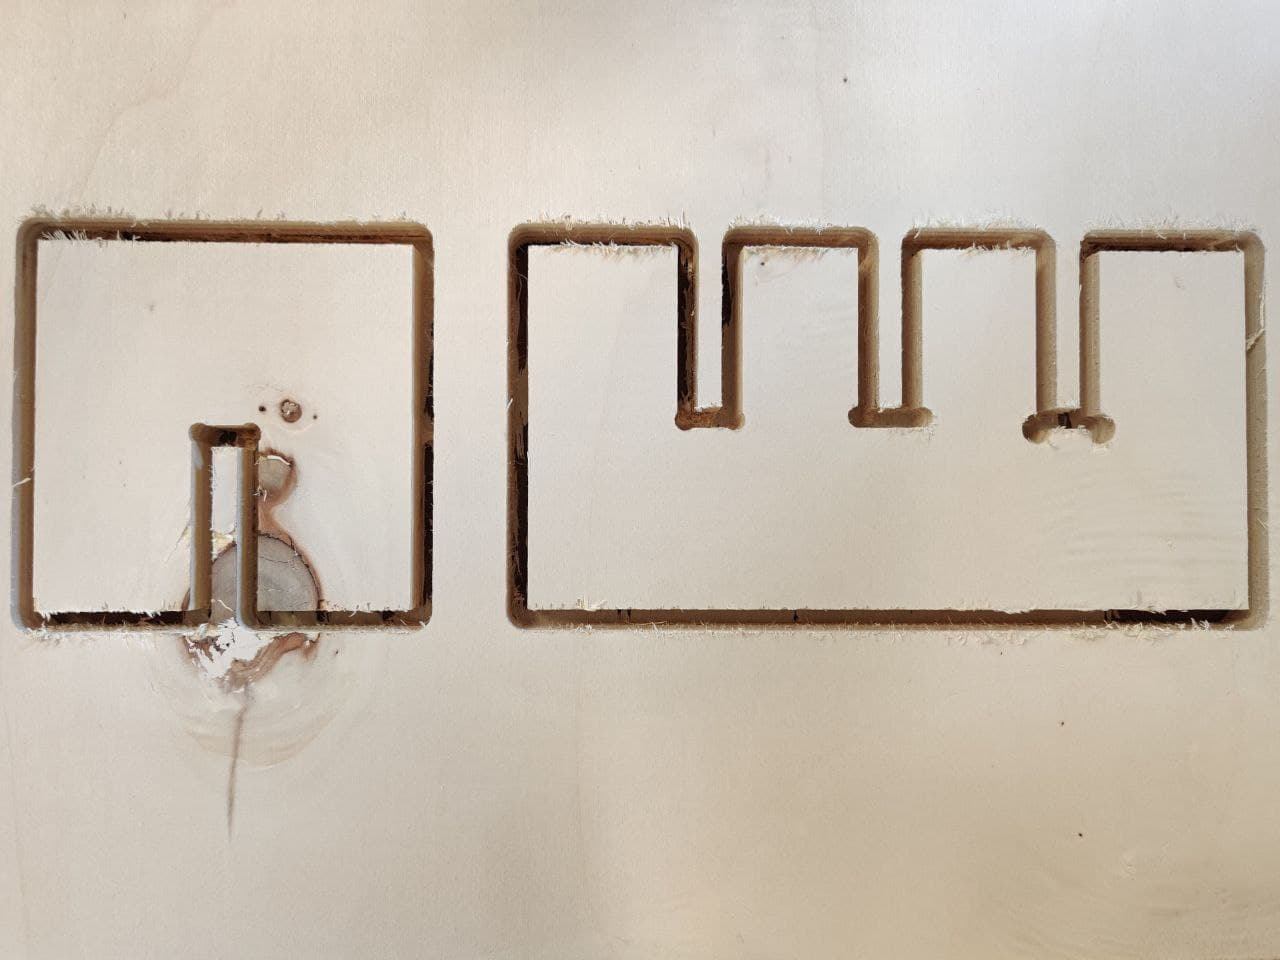
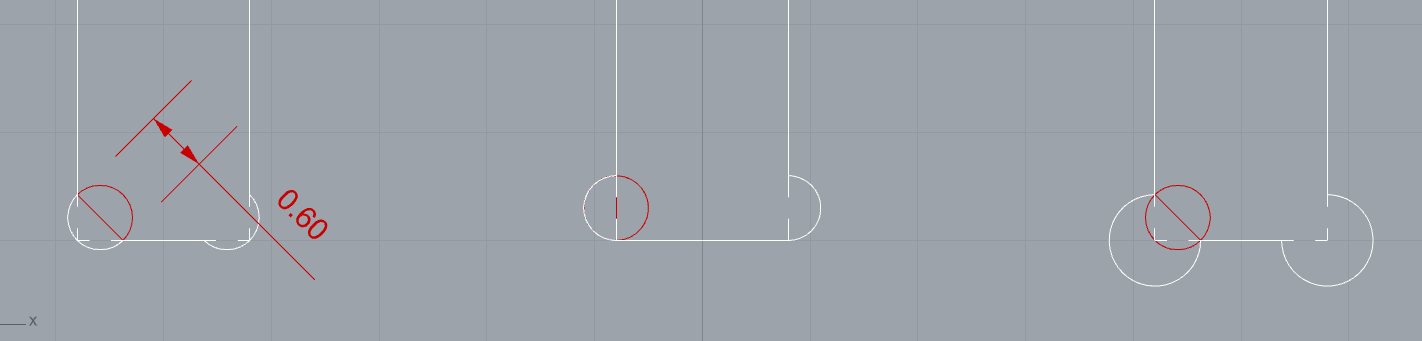
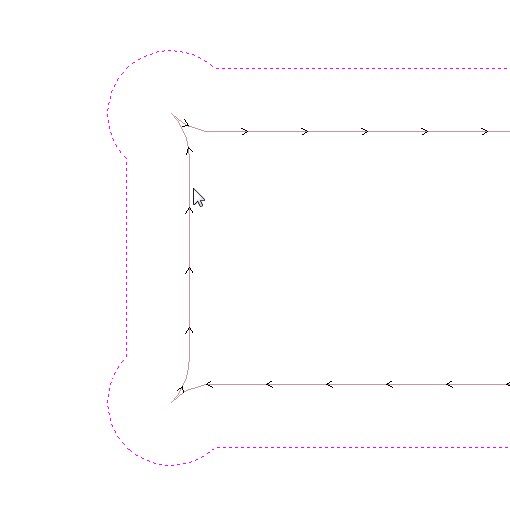
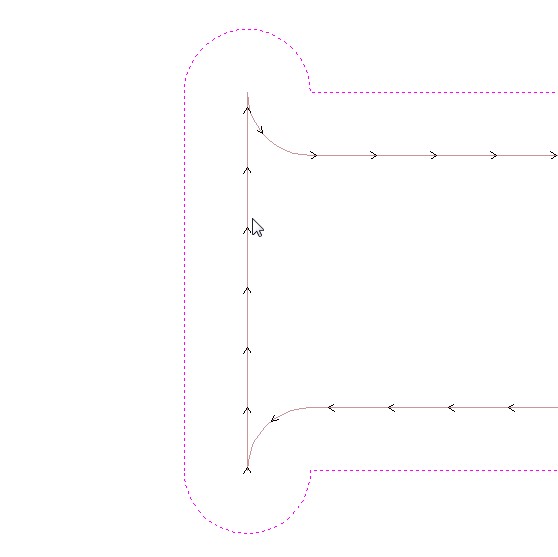
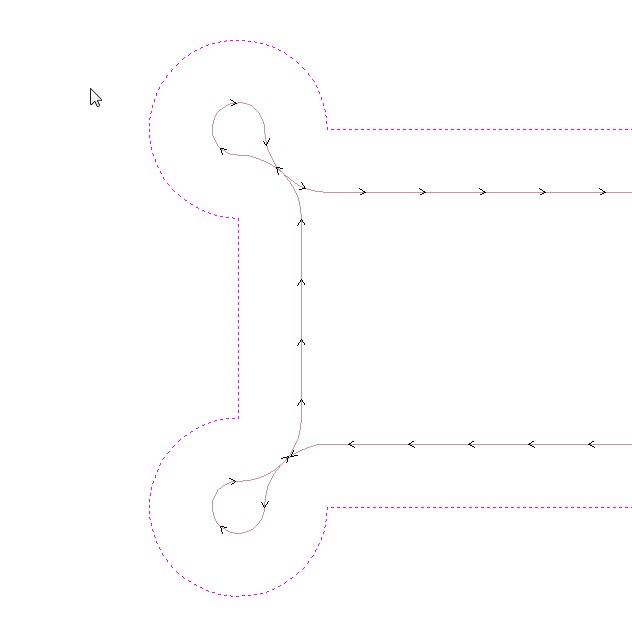
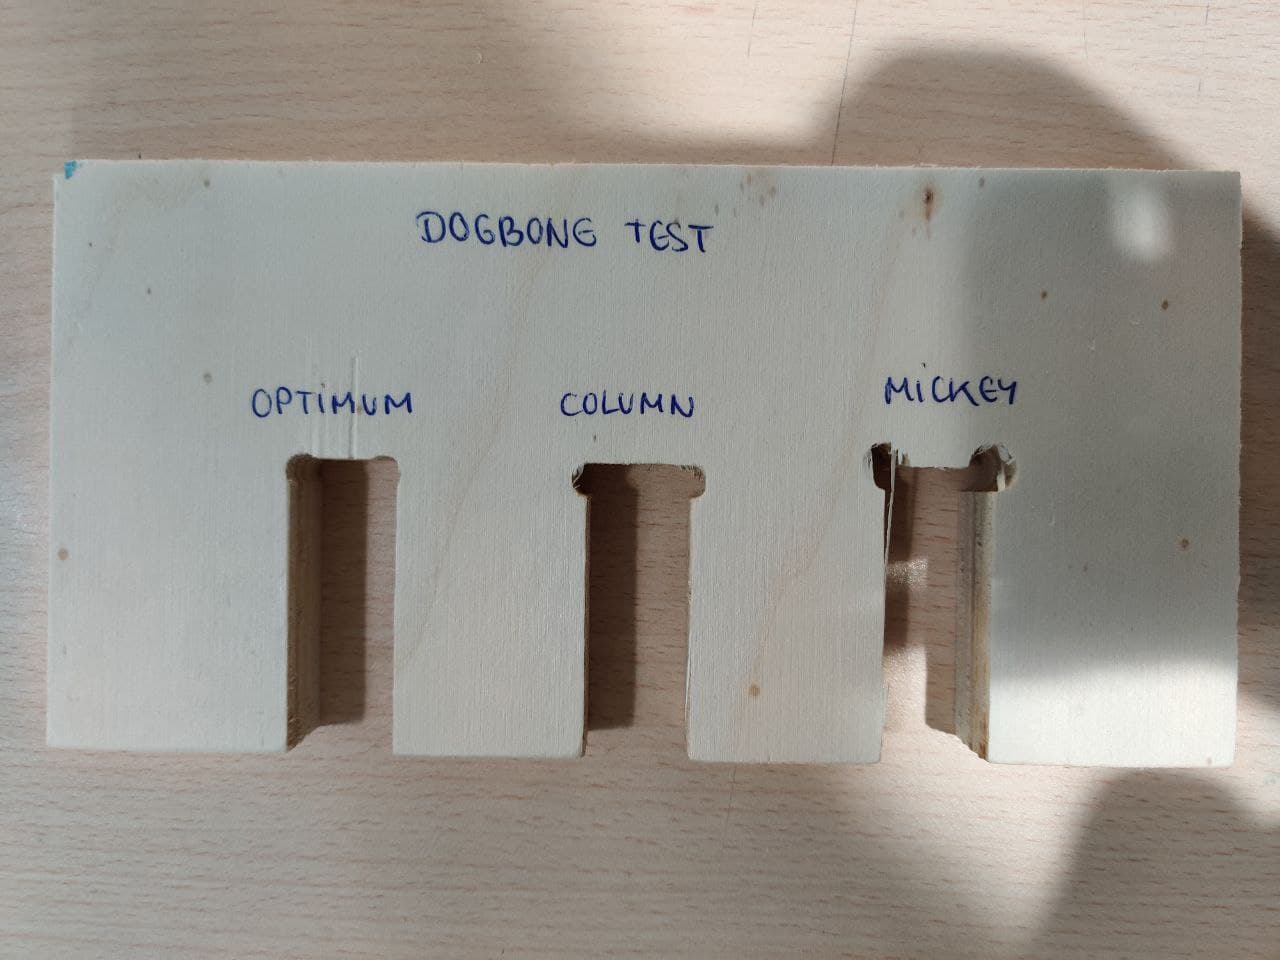
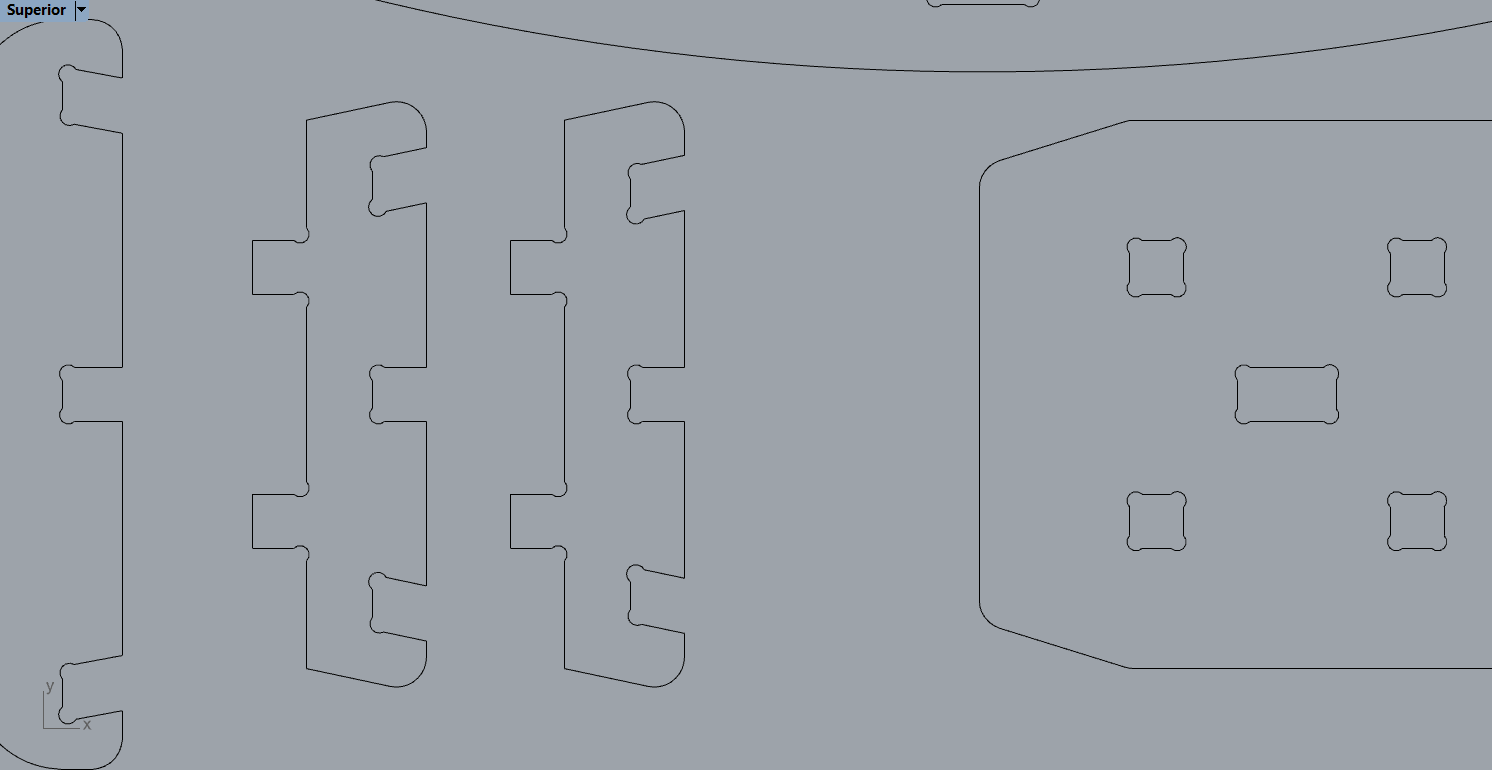
Dogbones⚓︎
I’ve designed 3 different type of dogbones to test them. As you can see, the optimum looks and fits the best.
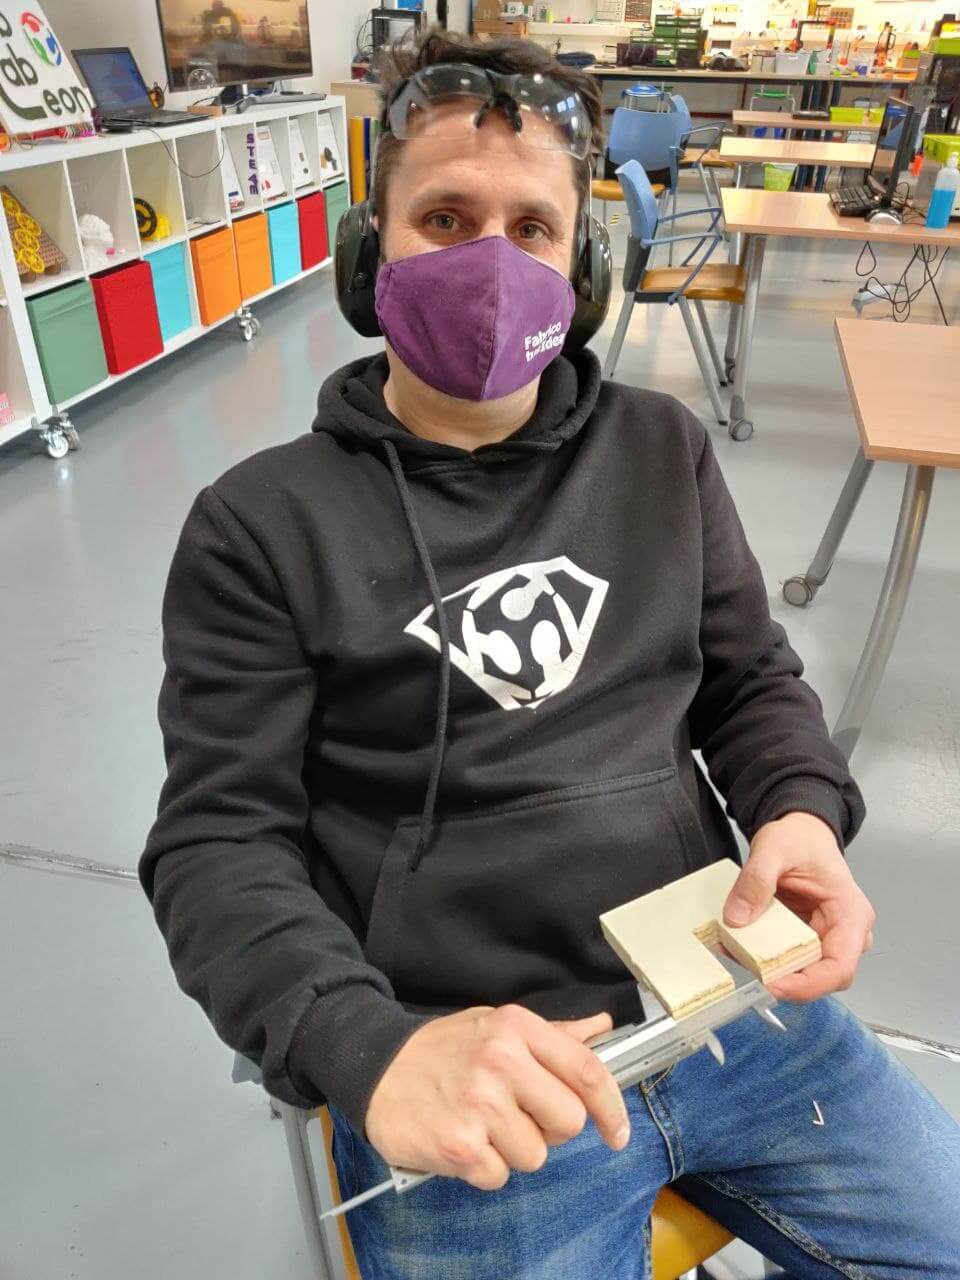
Individual assignment⚓︎
This is where the real fun begins this week. I had many ideas to do but finally I had to reduce it to just one, and as it couldn’t be otherwise, it has been the most complicated of all.
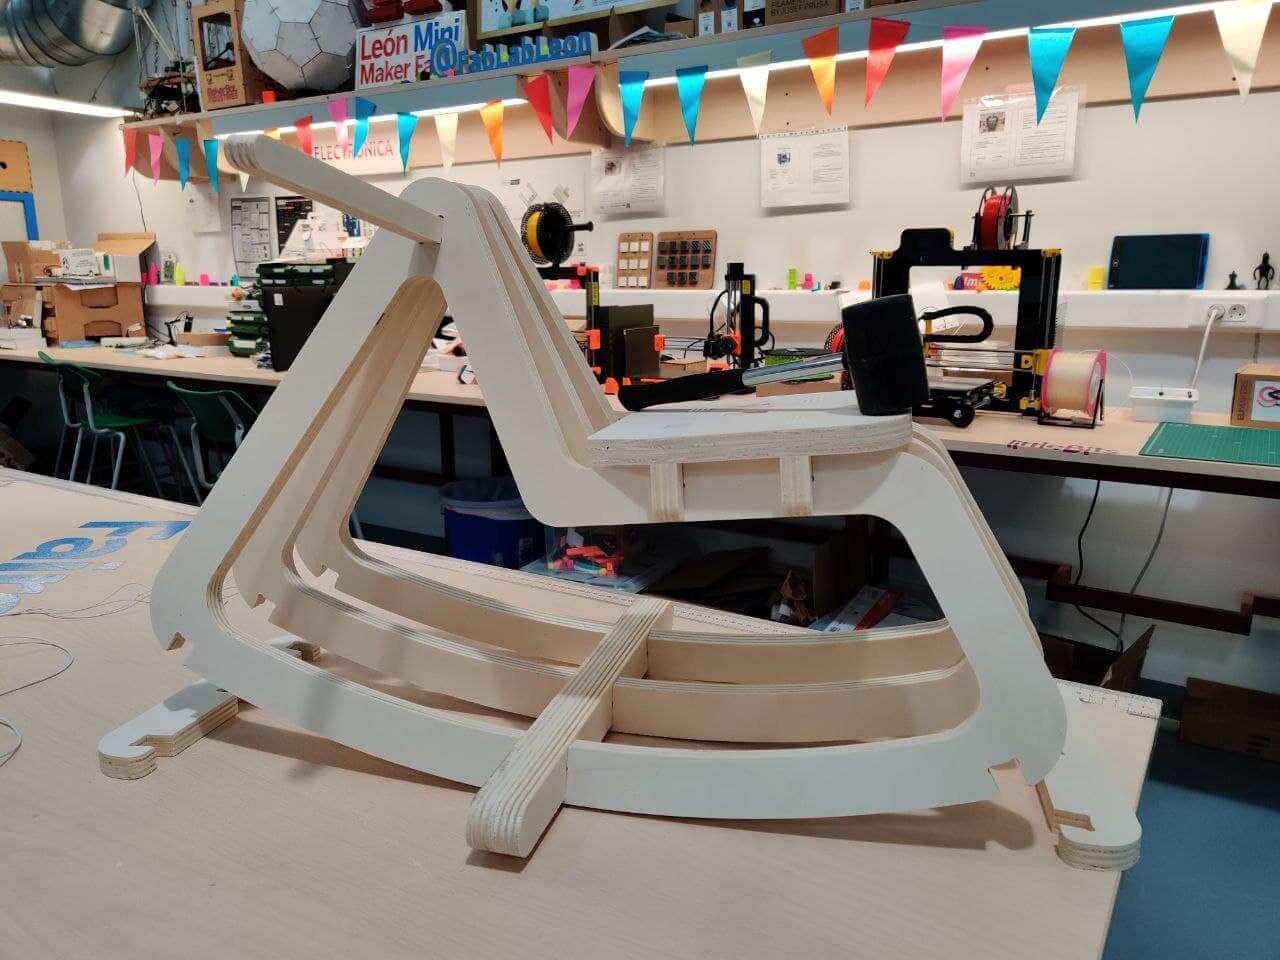
The Godfather II⚓︎
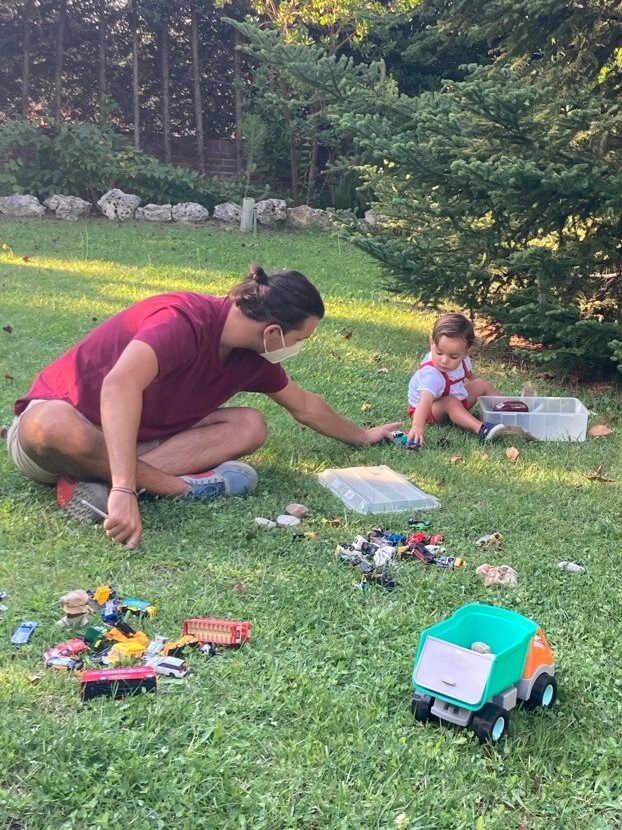
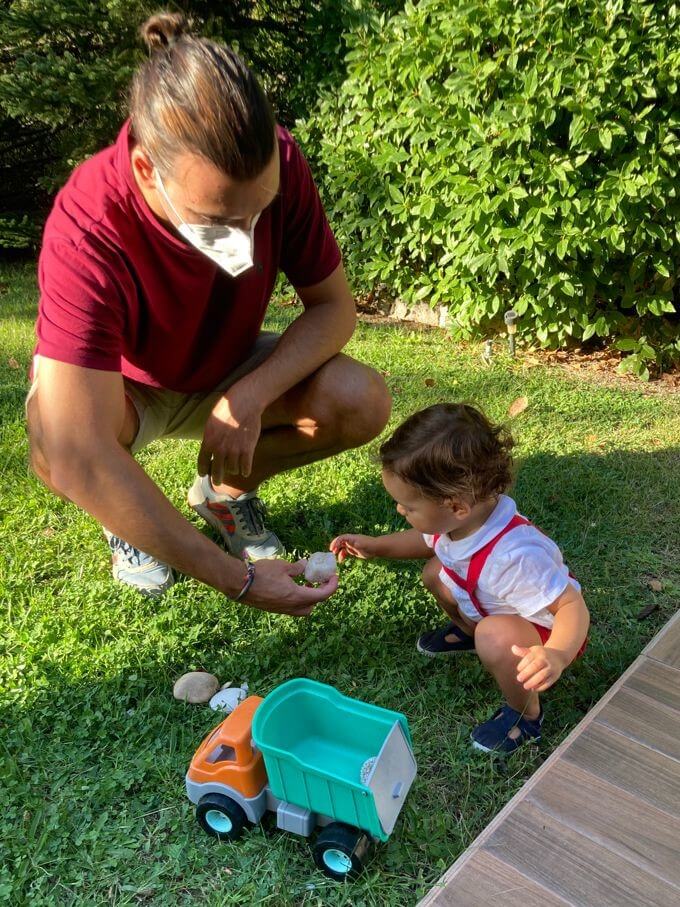
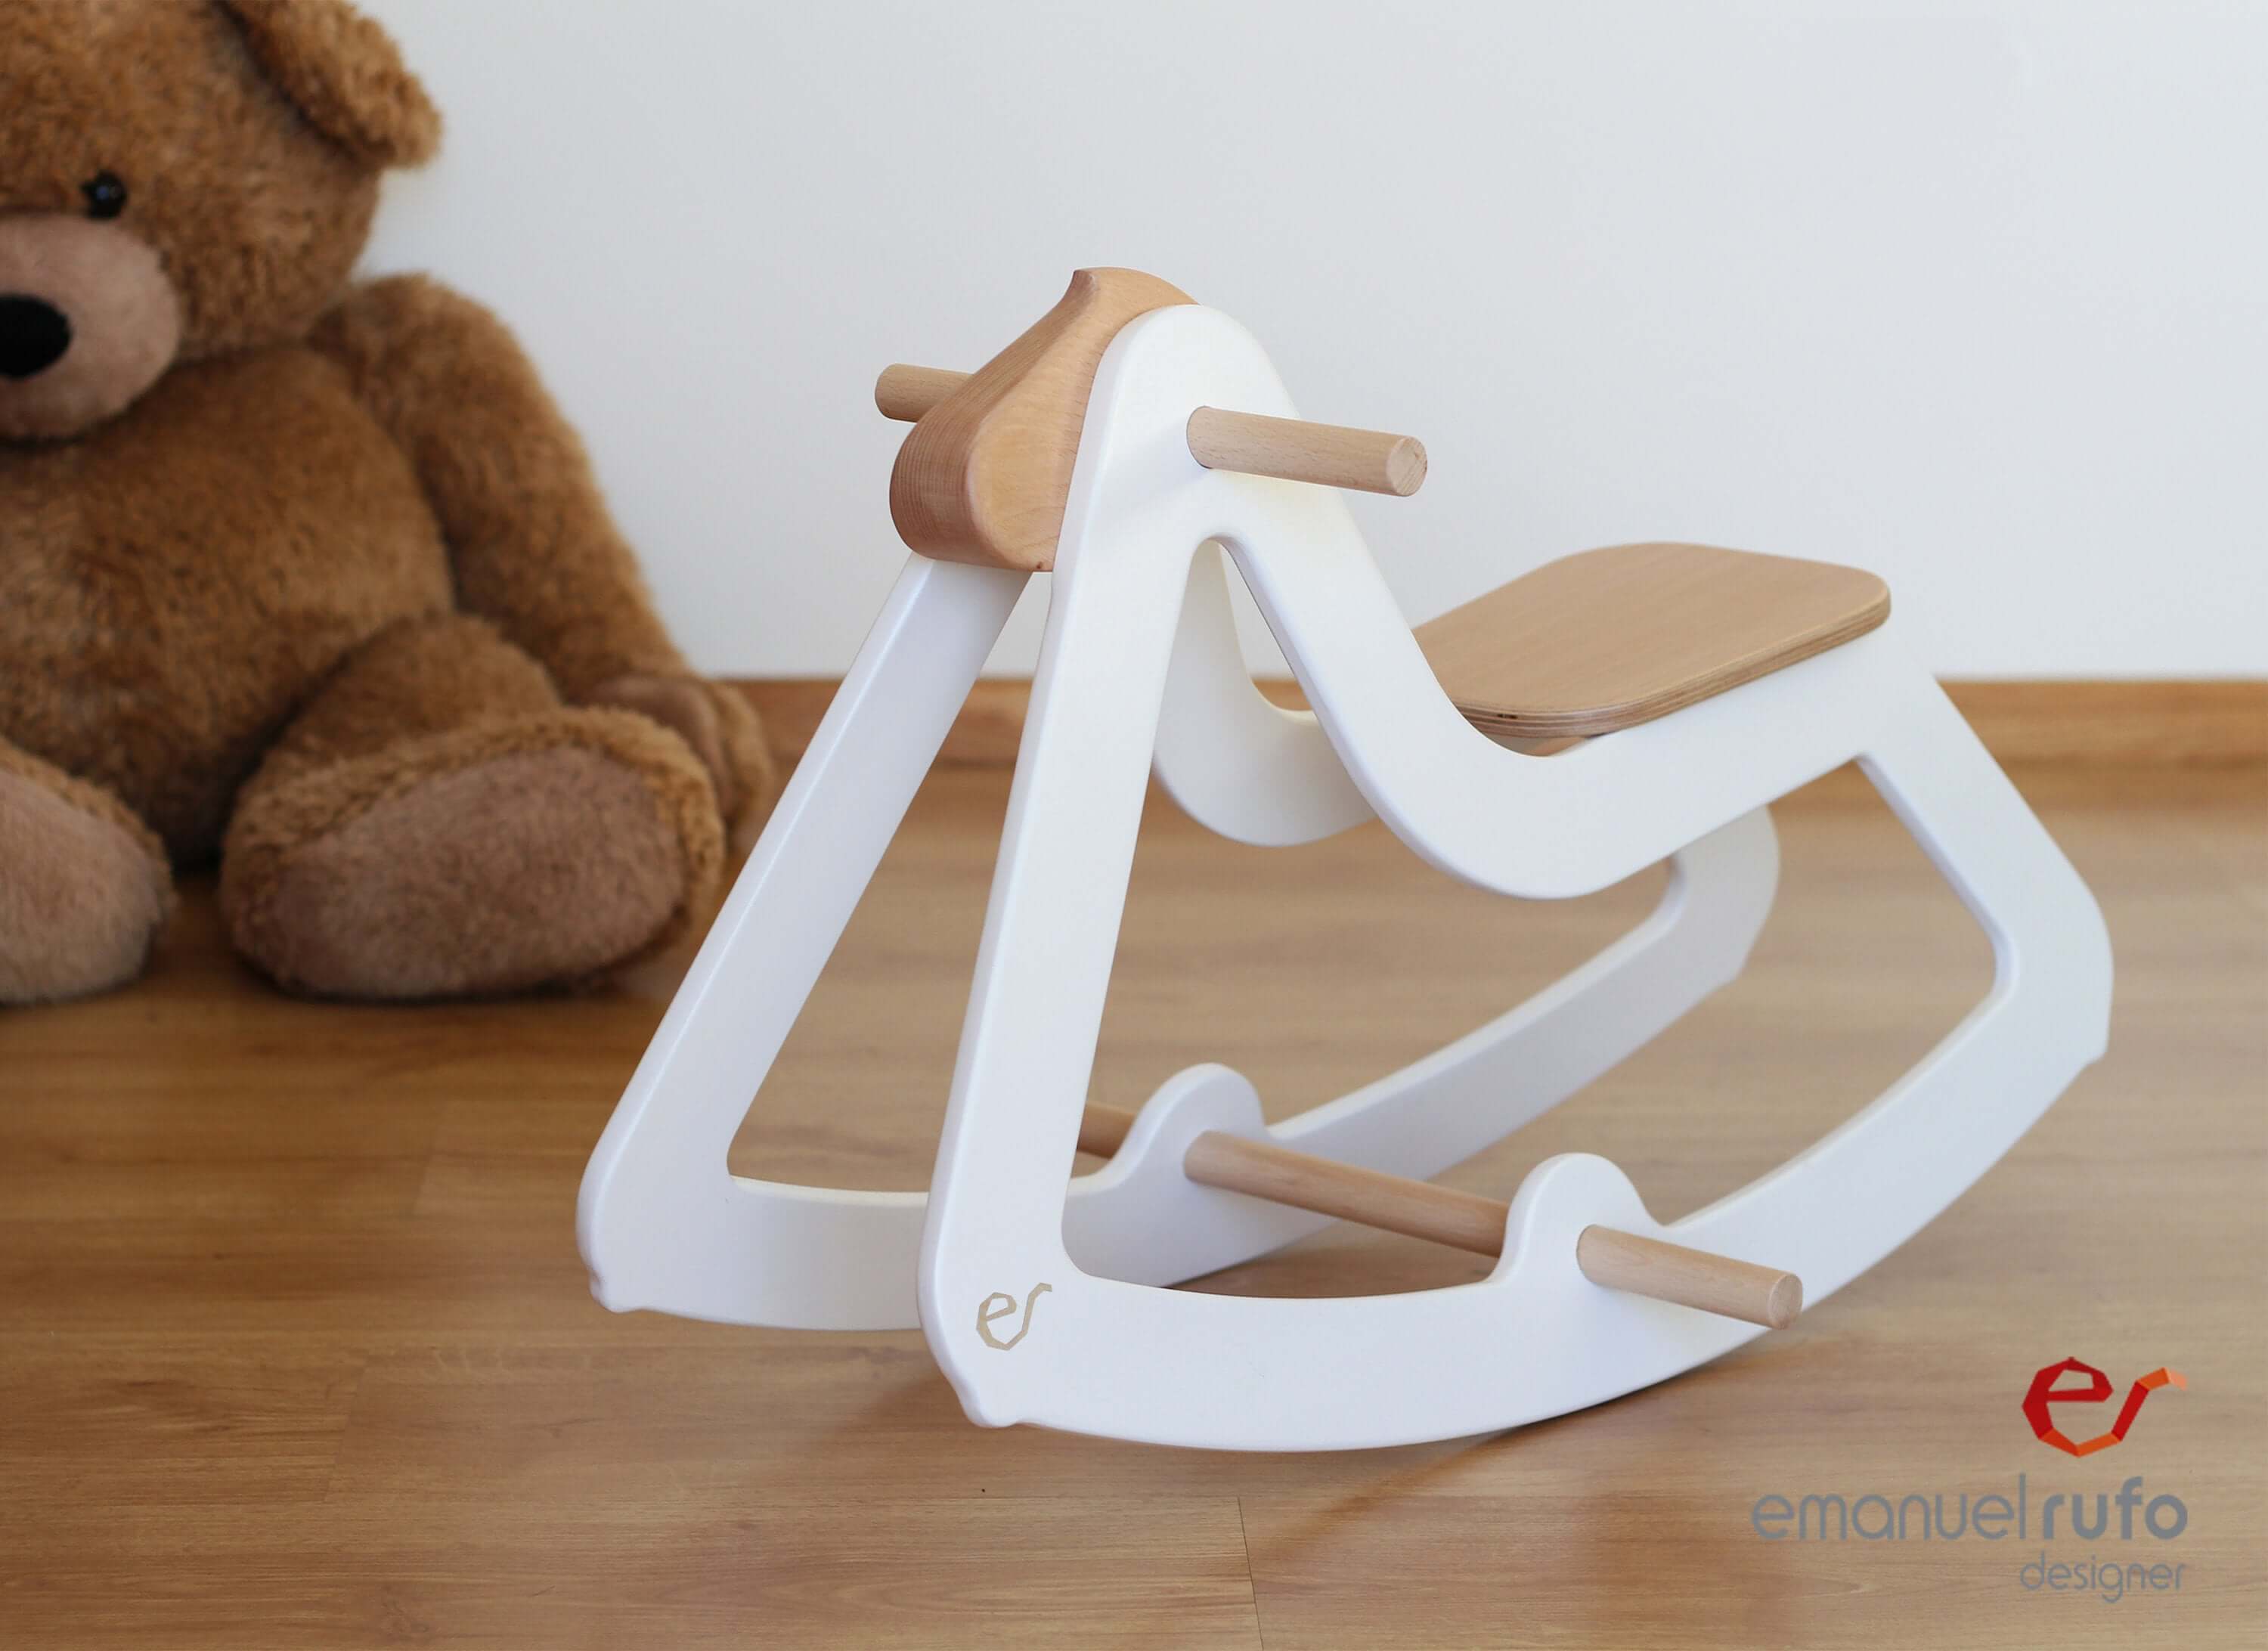
Well, a year and a half ago my cousin trusted me to be the godfather of his first child. For me it was very emotional and special and I think it is a bond that will last forever. So this week and since the covid has kept me more distant from my godson than I would like, I decided to design and make him a rocking horse.
I searched for cool designs and finally found this minimalistic one.
Design⚓︎
As soon as I have started thinking about the design I have realized it’s going to be a nightmare to put everything together. But what is FabAcademy without suffering.
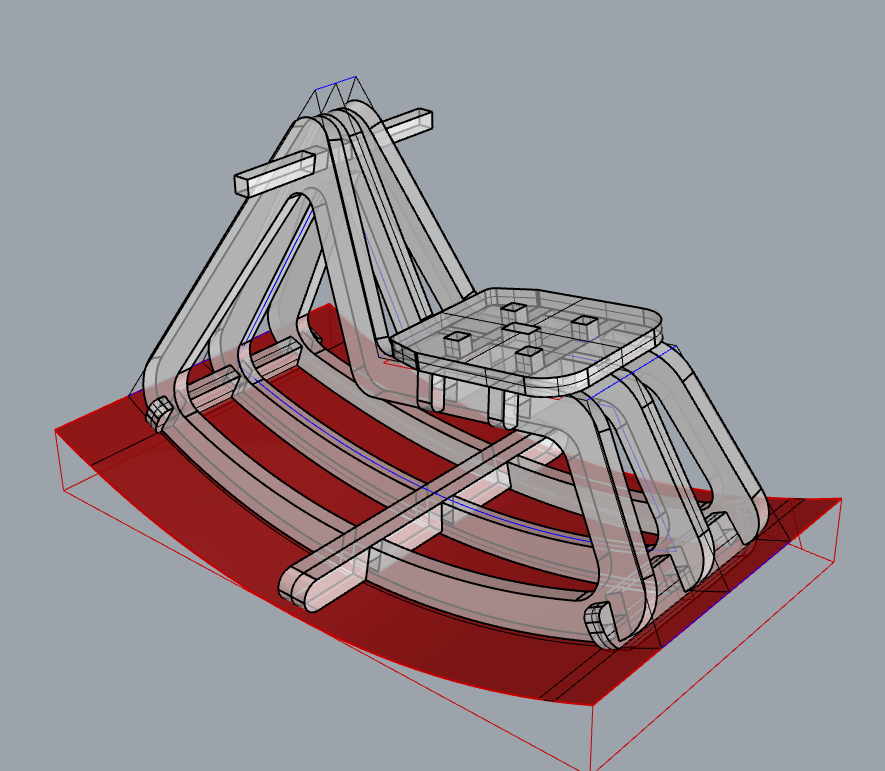
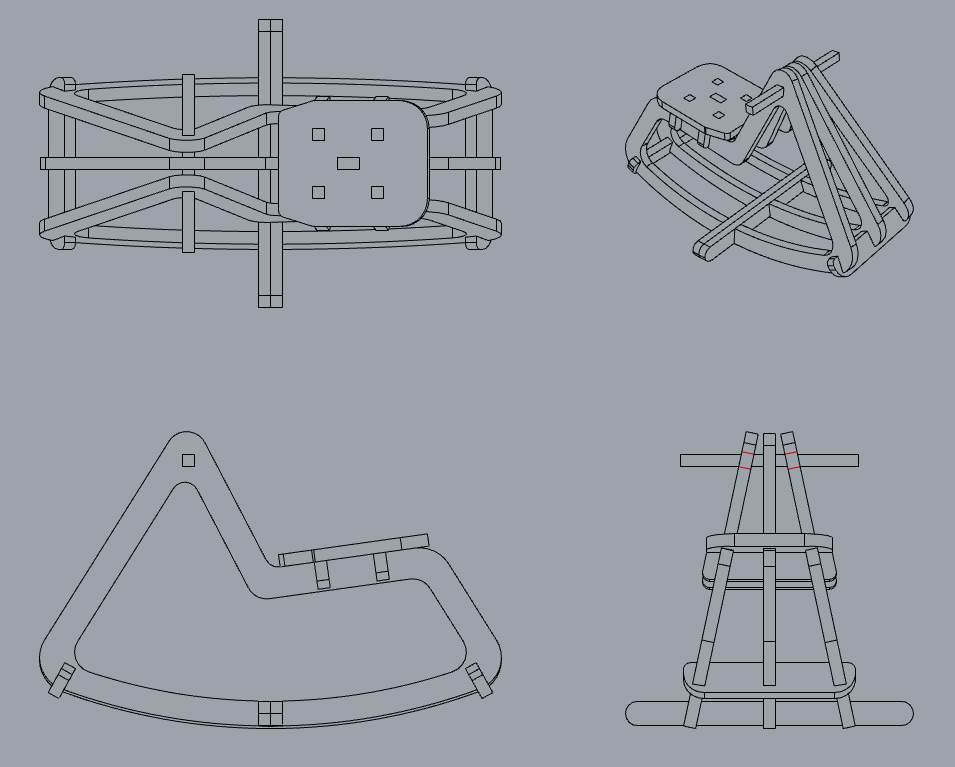
I had to design it in 3D because of the curvedfoot and angled surfaces that make some joints to be like 5D milling way. Pure fun. As you can see it took me way more time than expected and made up to a full developing process.
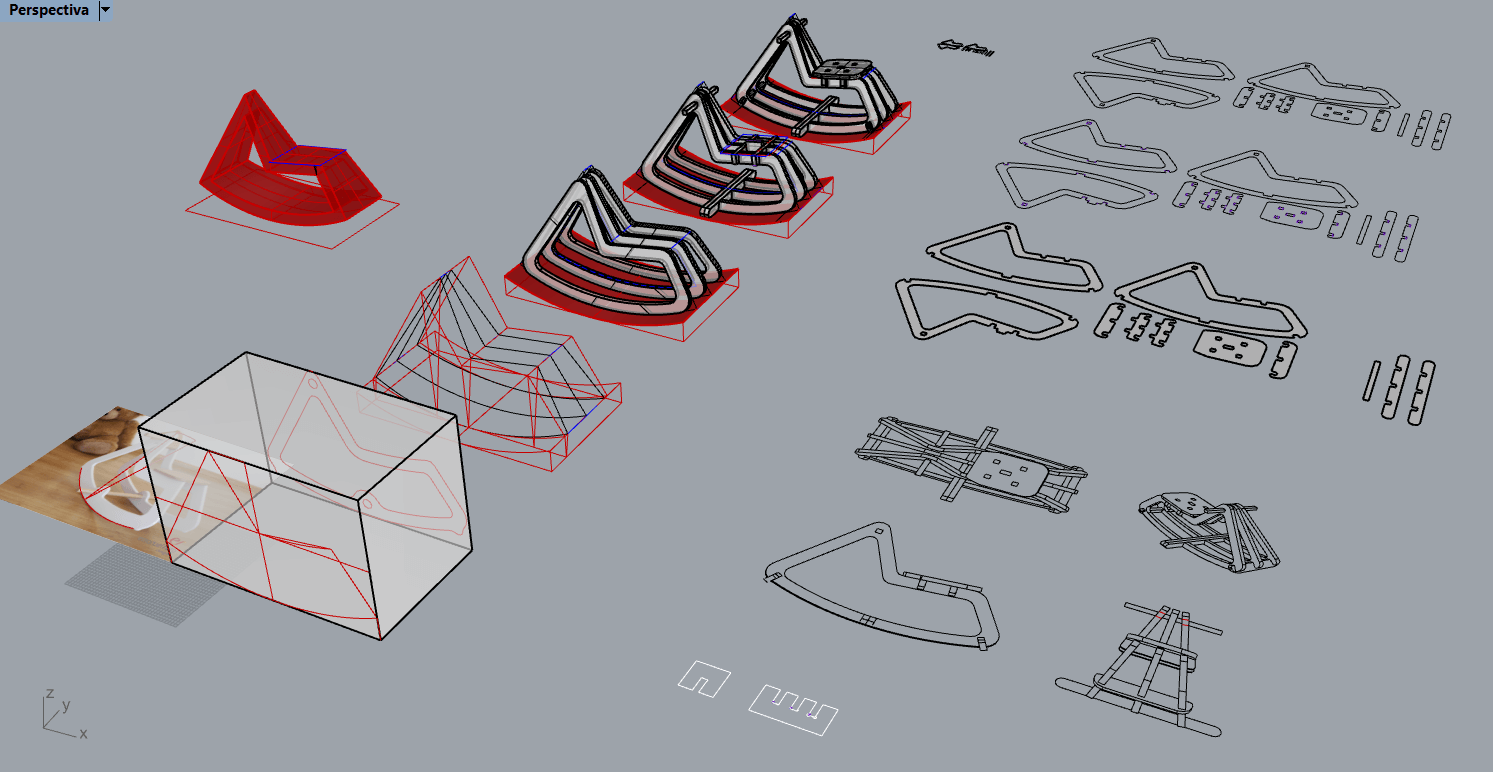
Finally I came up whith this final form. It’s not close to perfect but I think it may be functional.
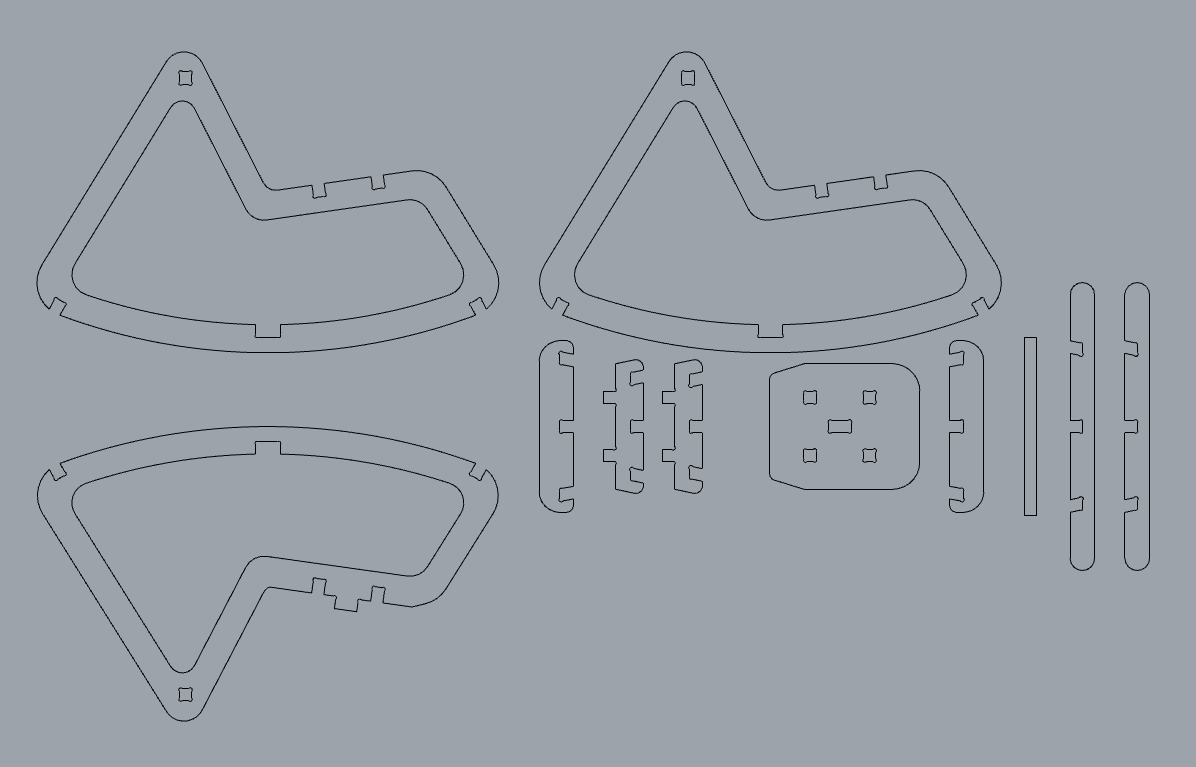
Extracted vectors from the design and integrated dogbones for a correct fitting and cutting.
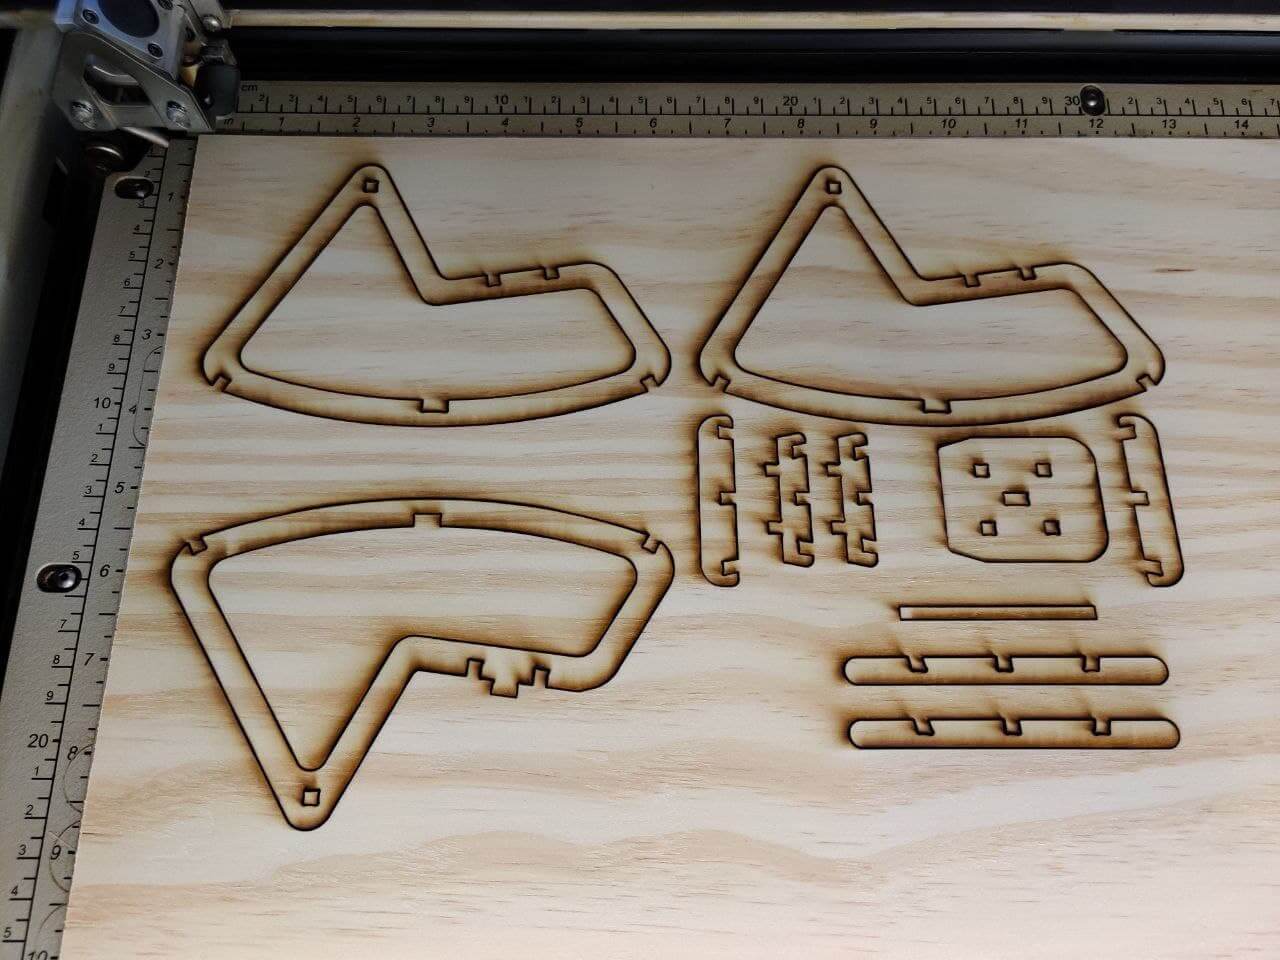
Prototype⚓︎
I made a quick trial with the laser cutter to get a first view of the design. Sadly, as I was using a non pretested material and the lens of the laser had been changed minutes before the cut, I went too hard and had too many kerf to test correctly the fit of the pieces.
Nesting⚓︎
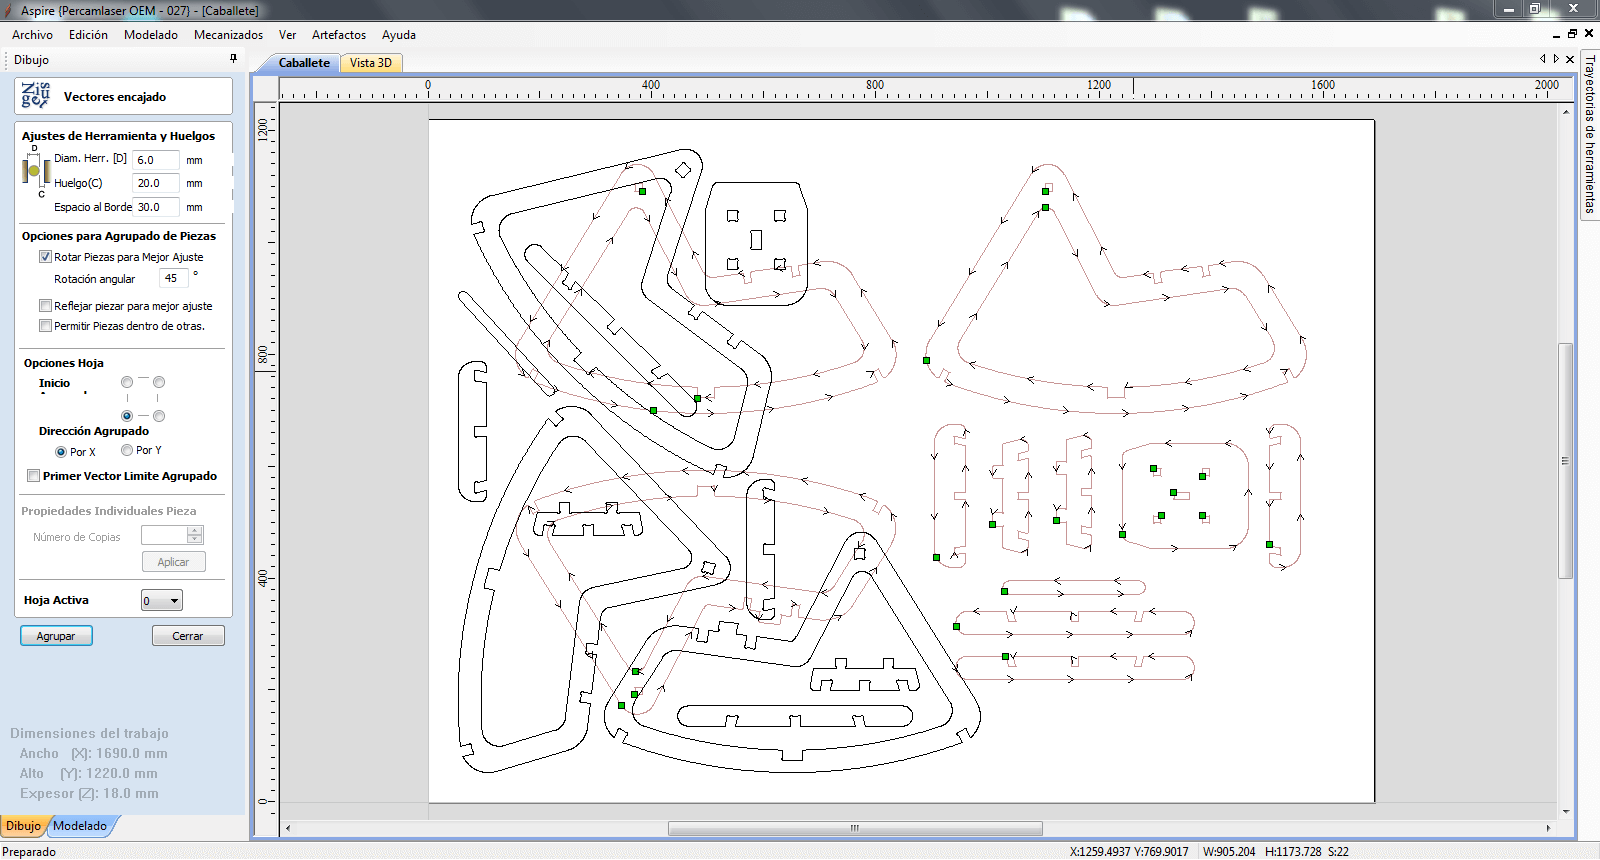
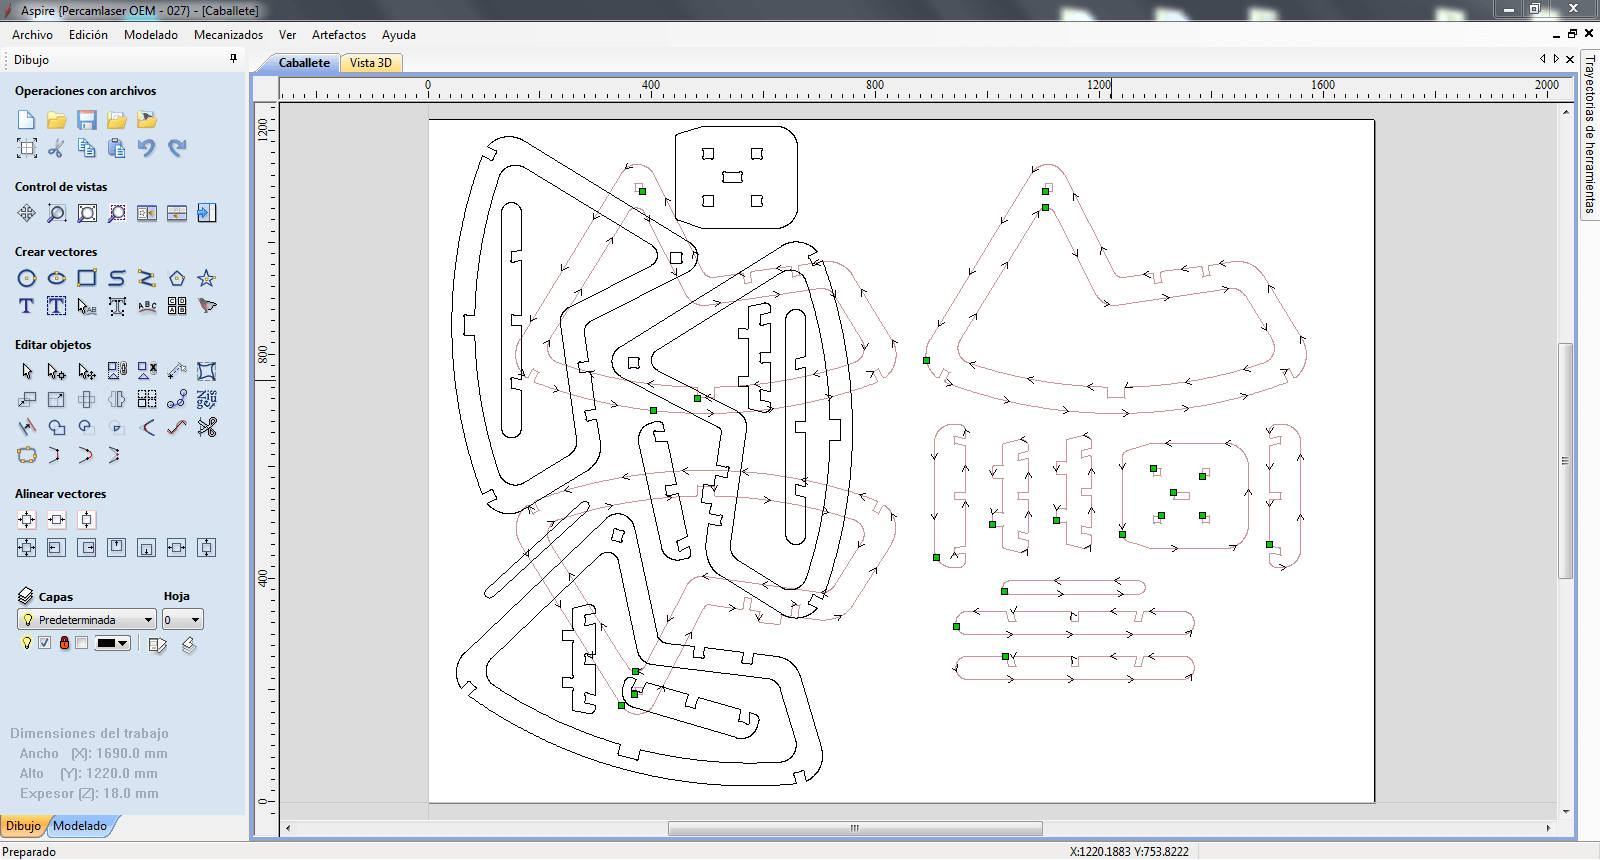
Redoing all the traces with an automatic tool
Milling⚓︎

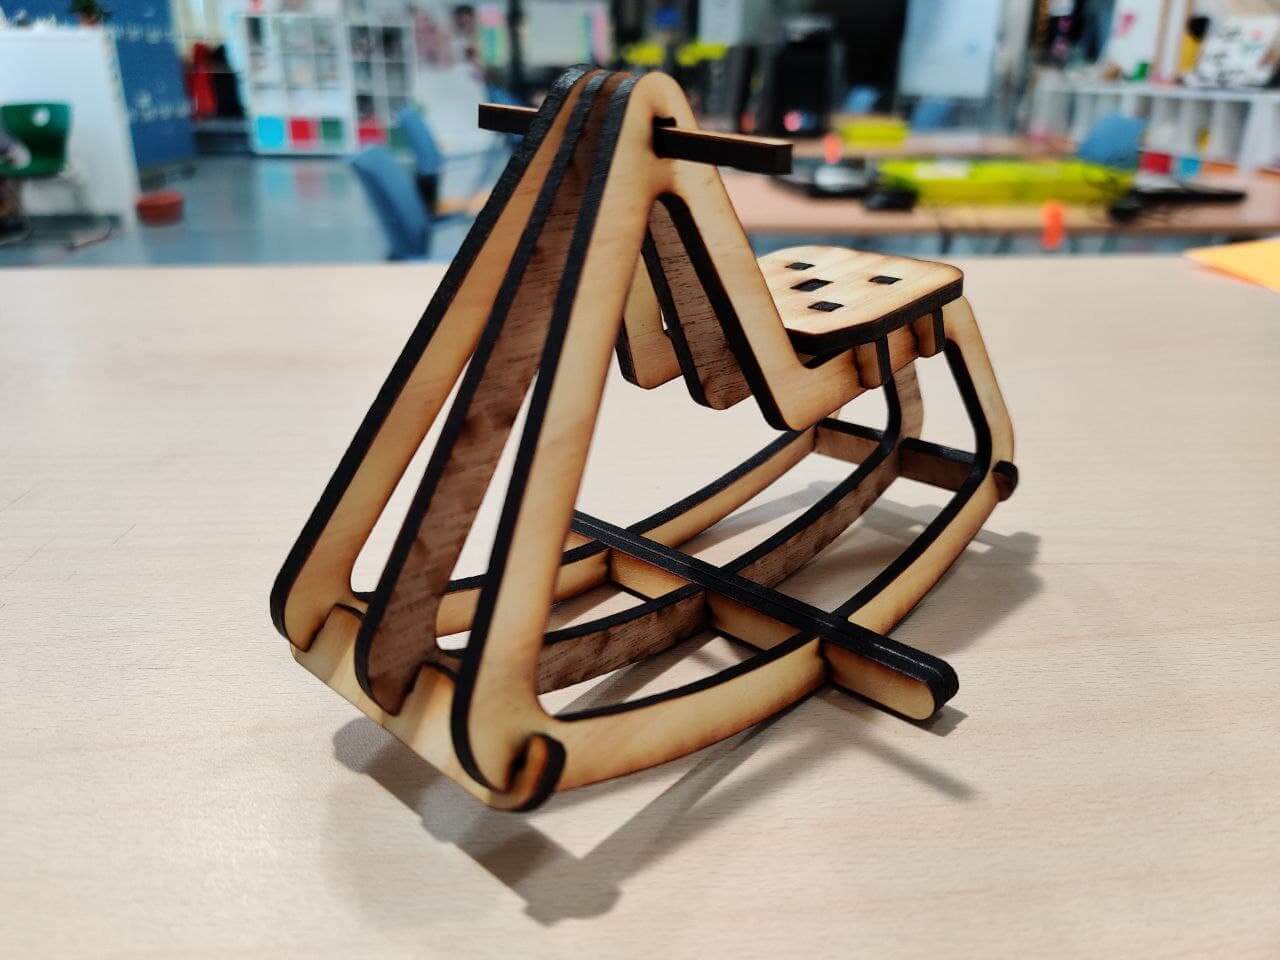
Assembly⚓︎
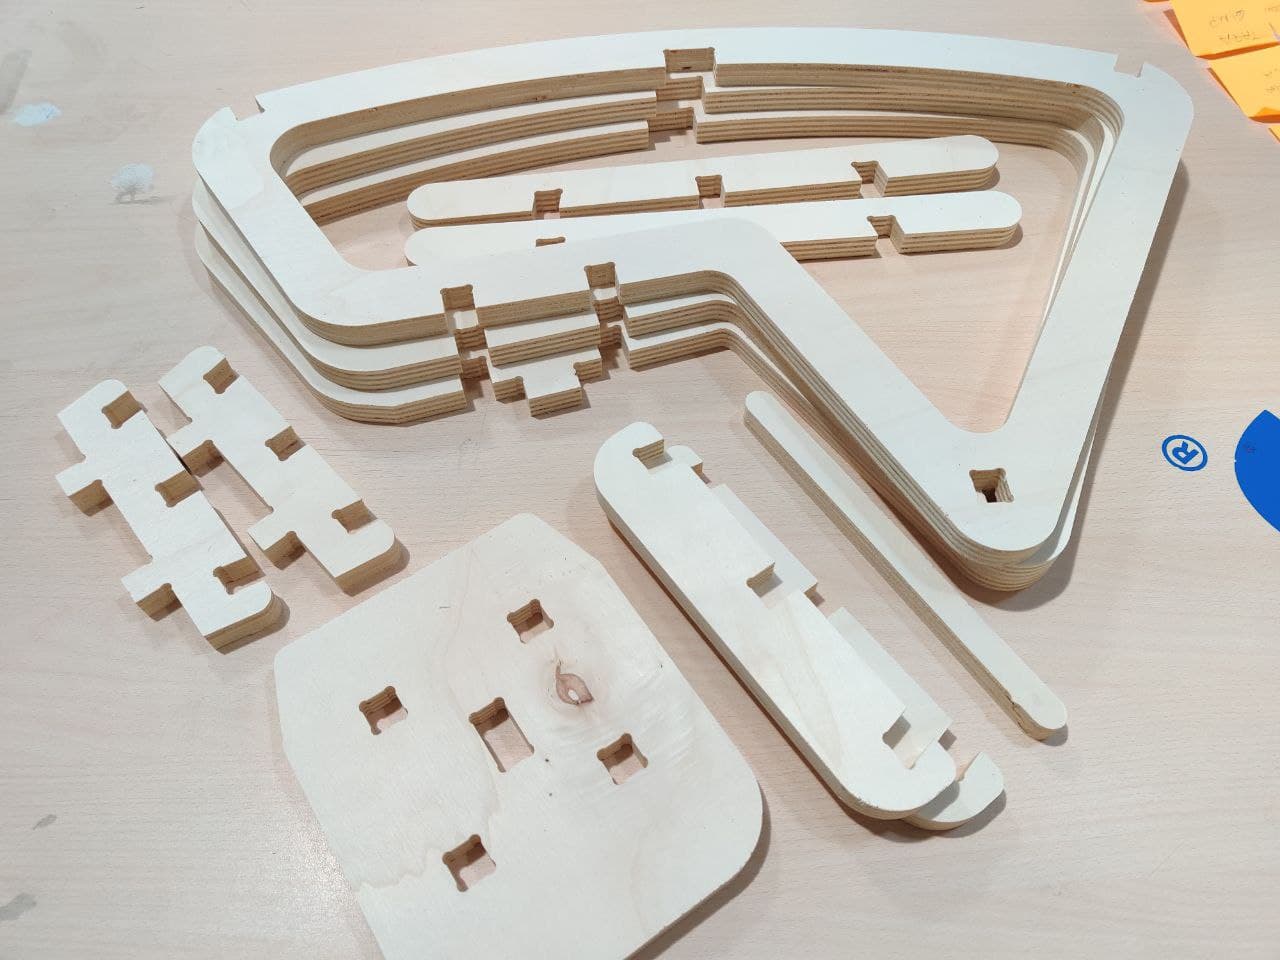
Some pieces are currently impossible to match, because all the angles this design has can only be created with a 5D milling machine, but I will sand it down because it’s just about small tolerances.
Testing⚓︎
As much as I want to give it to my godson, I need to polish te edges, maybe paint it and make some 3d printed handles.
Gifting⚓︎
Files⚓︎
- Design file in Rhino for the toy easel (
.3dm): file - Vectors file for the toy easel (
.dxf): file - Dogbones samples test (
.dxf): file