3. Computer-Controlled Cutting
This week I got introduced to vinyl cutting and laser cutting.
Vinyl cutting
Preparing something to cut
For soft landing to vinyl cutting, I decided to cut a computer sticker. I quickly realized that the company my dad works for has a cutting-friendly logo.
After downloading the logo from Google image search results, I opened it in Inkscape and used Trace a bitmap function. However, the result had cut some round shapes flat, so I thought 400 by 400 pixel logo wasn’t big enough. Back to Google and new attempt with 1200 pixels tall logo with better results.

It is worth trying different tracing options (brightness cutoff, edge detection, autotrace etc.) if result doesn’t look good.
Now I had two overlapping images, one as vector and other as raster. I moved one image aside and used Edit node path tool to identify vector image that will have small marks on lines.
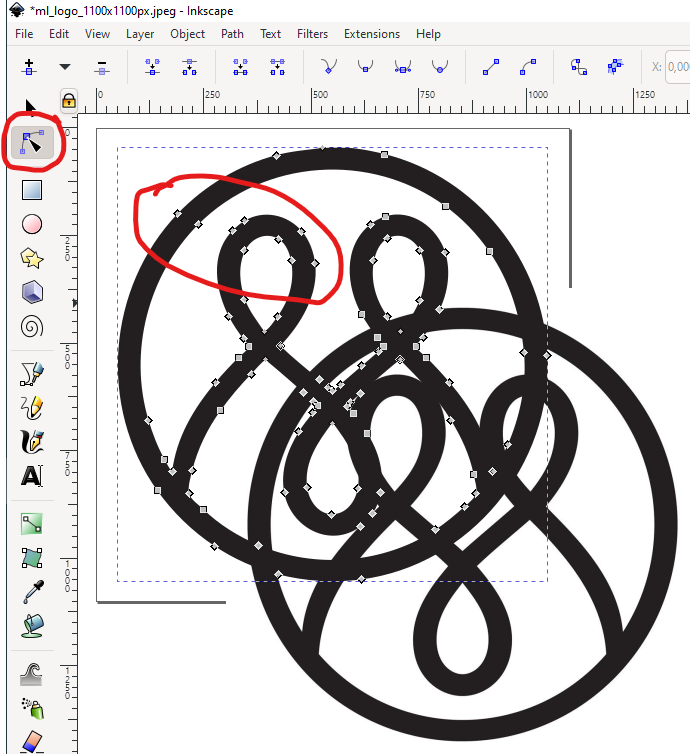
Then I deleted the raster one, selected vector image and moved it to position (5 mm, 5 mm) and changed it’s size to 40 mm.
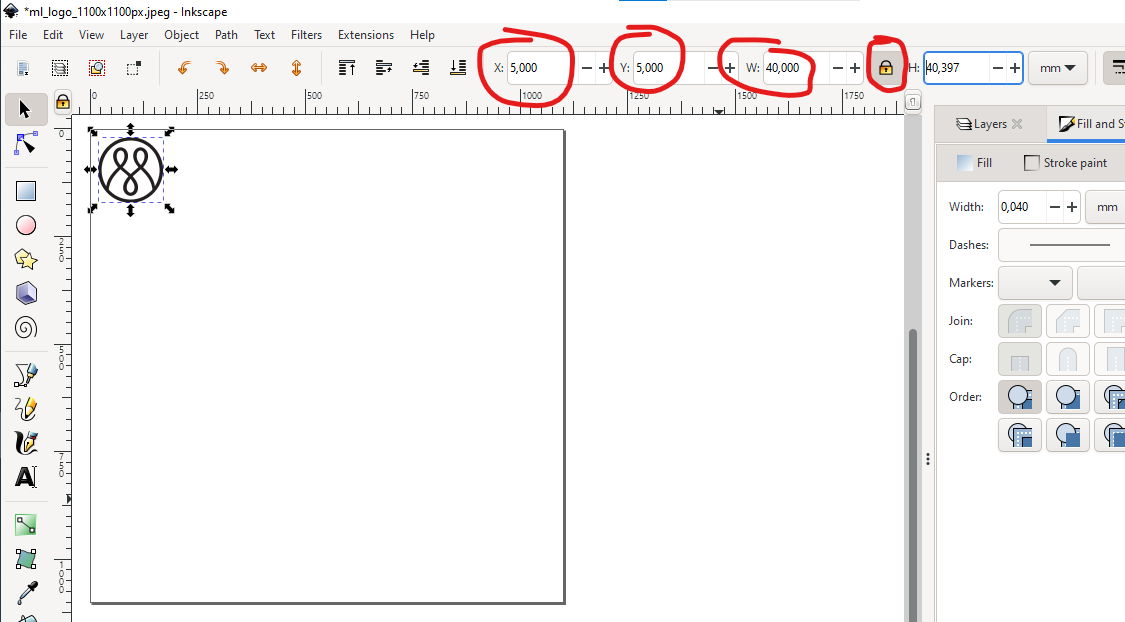
Remember to add box outline to your cut object to remove it more easily!
In Inkscape, I drew a box (any size, shape etc.), moved to position (0 mm, 0 mm) and set size to logo size + 10 mm, in this case (50 mm, 50 mm).
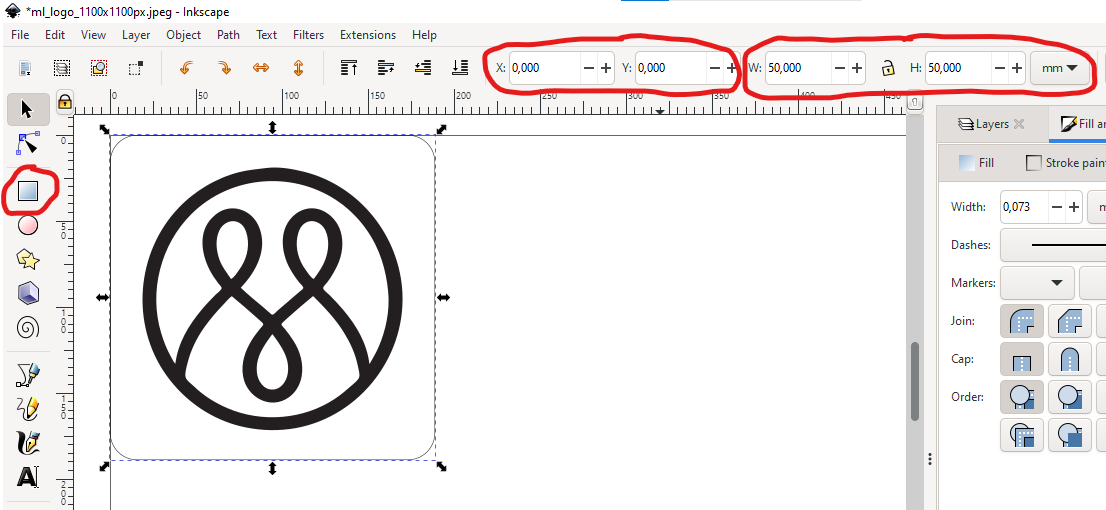
These type of logos and rectangles are easy to copy-paste and resize.
In Inkscape, move everything to bottom-left corner of document, or use Resize page to content from Document properties, “Save As..” allows saving into .pdf format, which is recommended to transfering files to Fablab’s PCs.
Year 2022 update: I’m re-making the same logo, but in 20 mm and 40 mm sizes, and also checking if edge detection’s outline drawing and autotrace’s filled drawing produce different results on vinyl cutter. Edge detection traced inner and outer edges of raster image, resulting two near-identical vector lines that made vinyl cutter run everything twice and ruining smaller size logos. Autotrace gave good results.
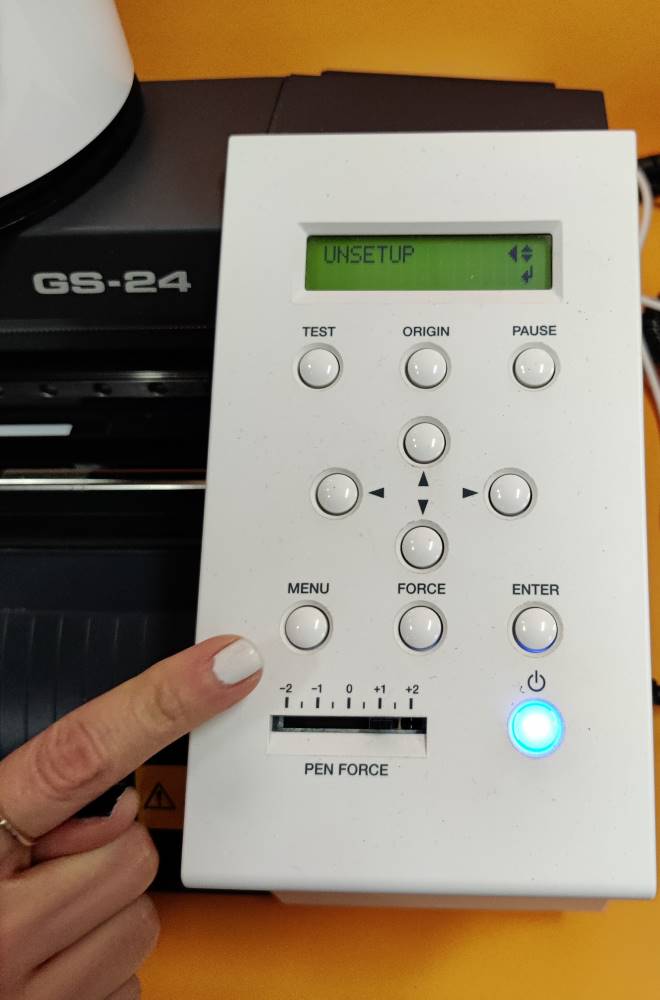
Operating vinyl cutter
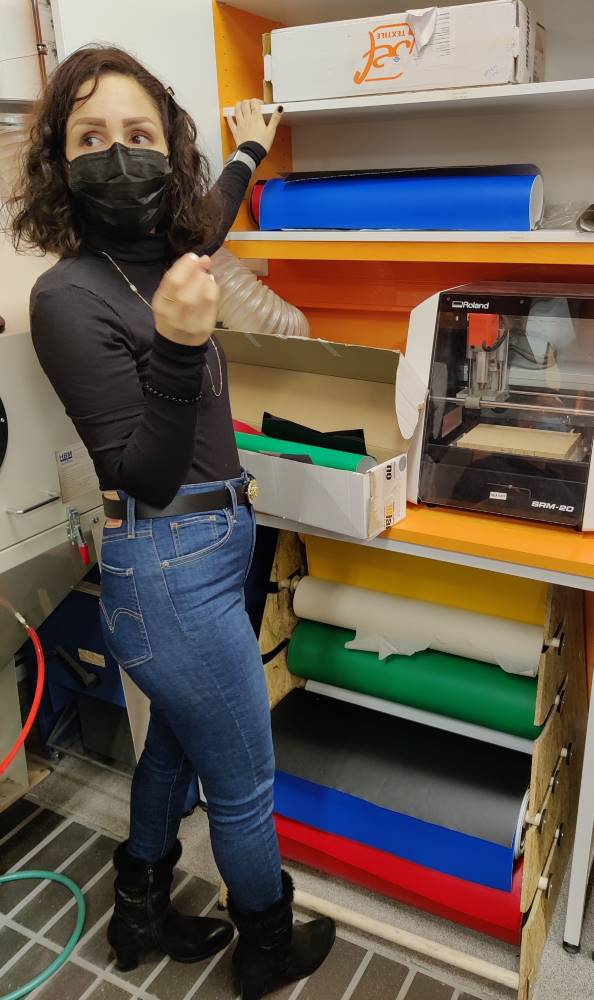
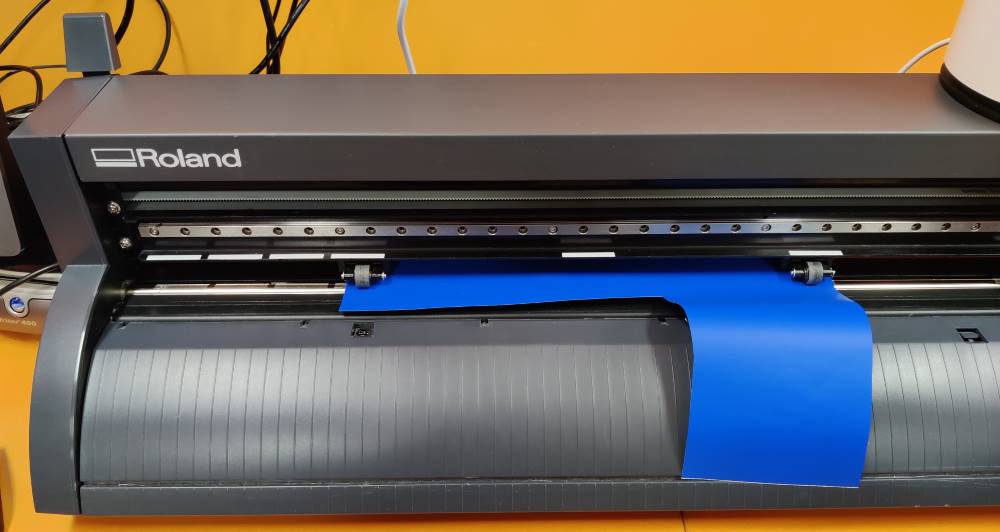
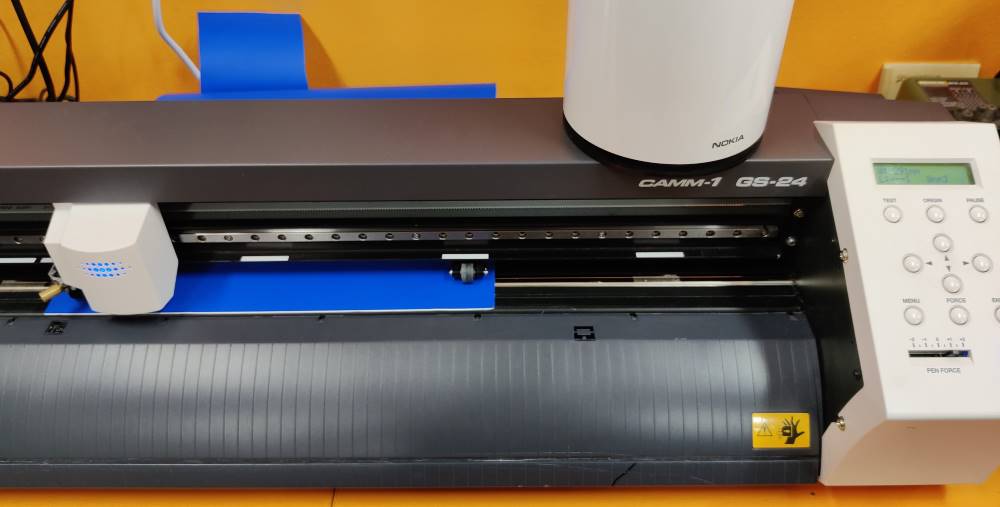
To prepare vinyl cutter, I grabbed a leftout piece of white sticker sheet and loaded it to cutter. Large rolls of vinyl material on the floor are available, but please test first with leftout pieces that are found on wall cabinet. Vinyl pieces on second picture are heat transfer sheet color options, blue also available but not in picture.

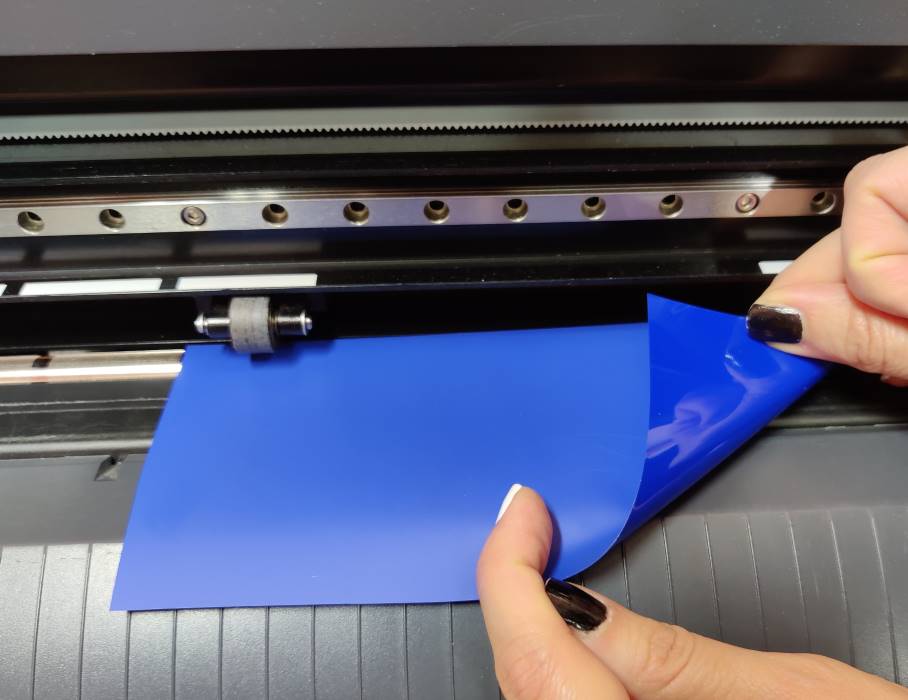
Loading vinyl sheet
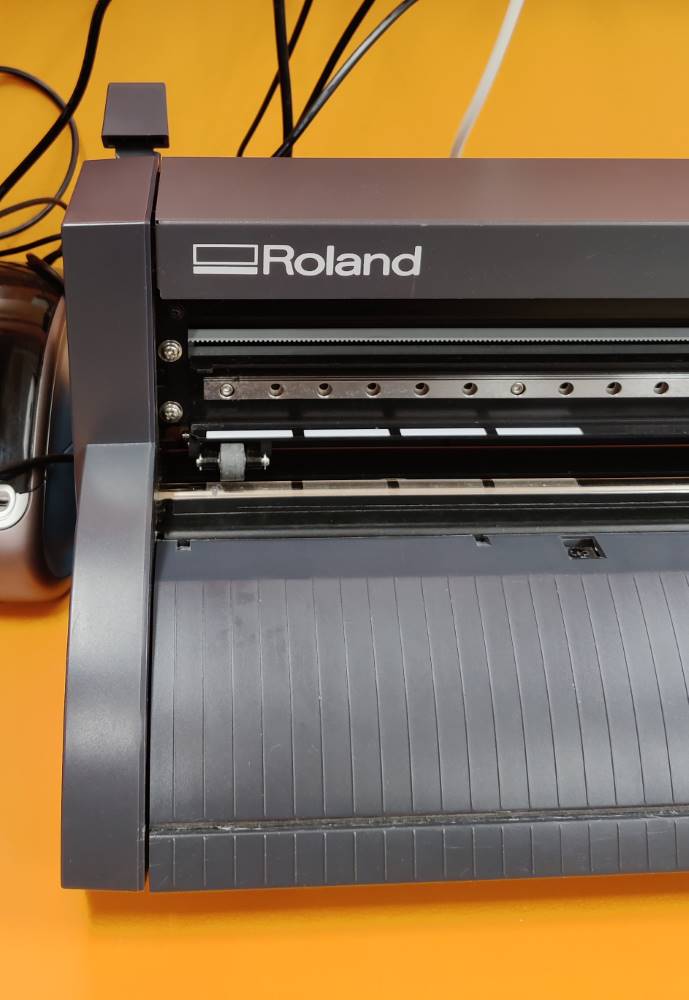
Vinyl sheet is inserted to cutter by releasing locking mechanism and inserting a piece or roll of vinyl, adjusting rollers to white marks that dictate area where cutter operates.
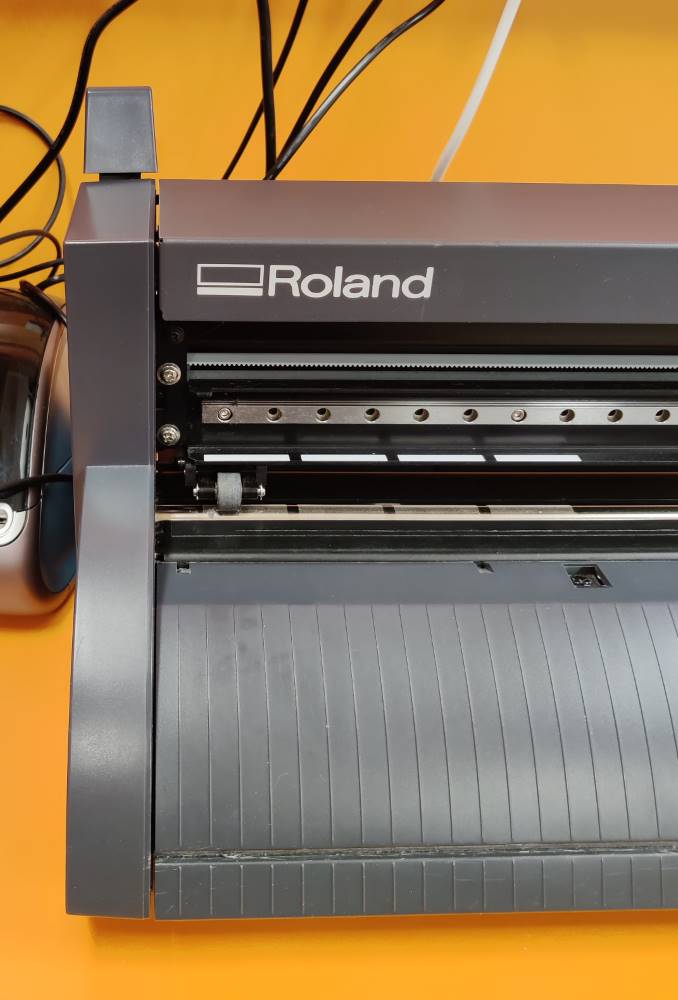
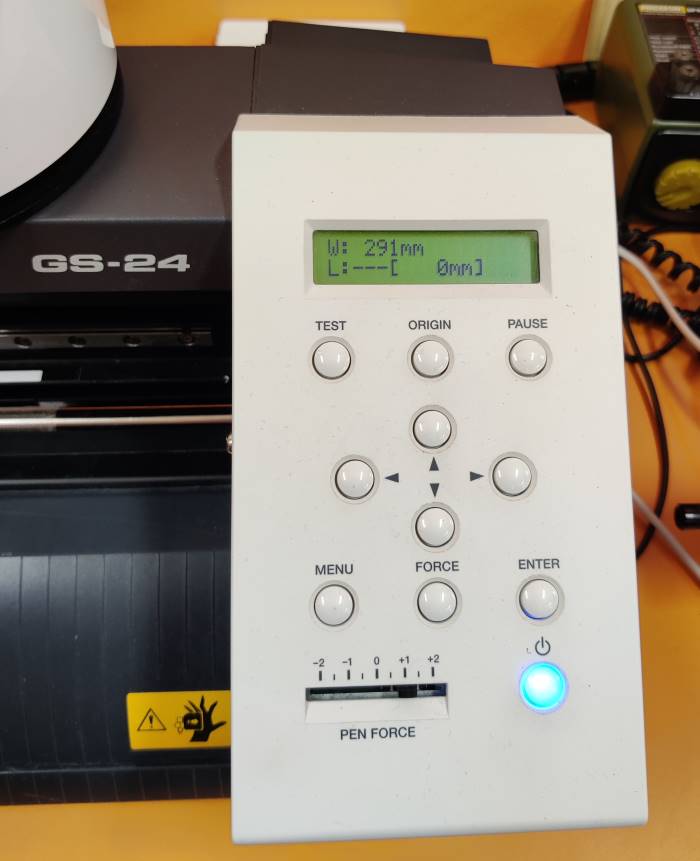
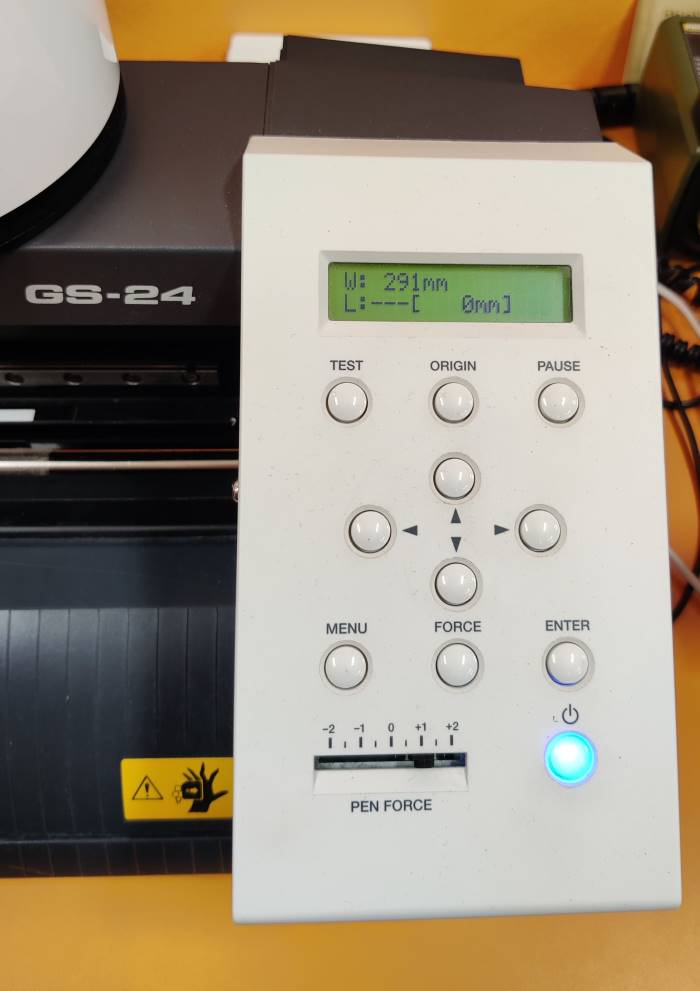
On left (or first) picture, cutter’s sheet loading is locked and roller is pressed against metal bar below it.
On right (or second) picture, sheet loading is unlocked by pushing locking lever back and sheet can move between roller and metal bar
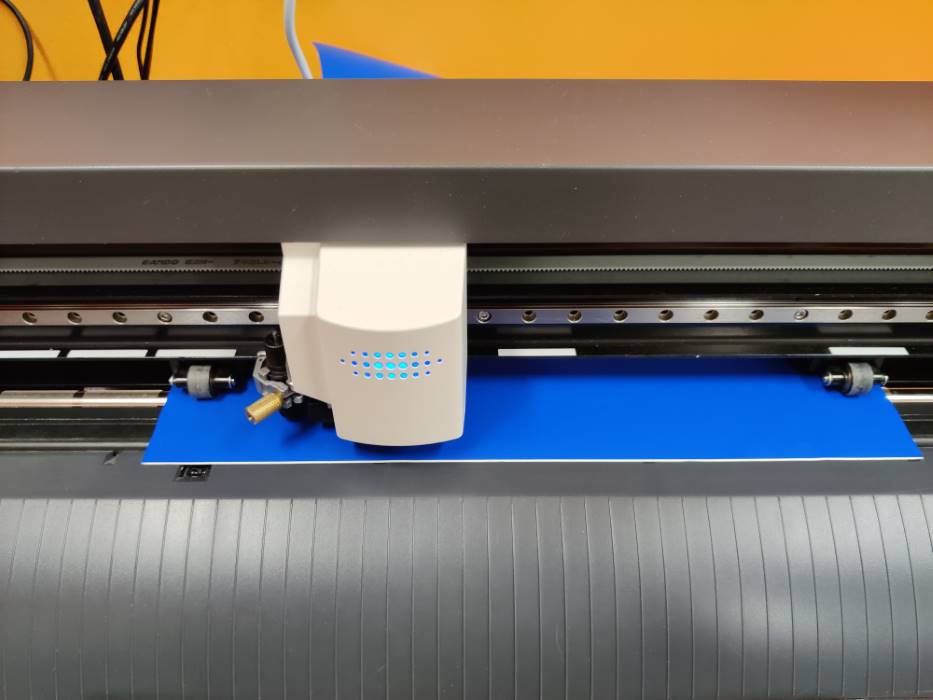
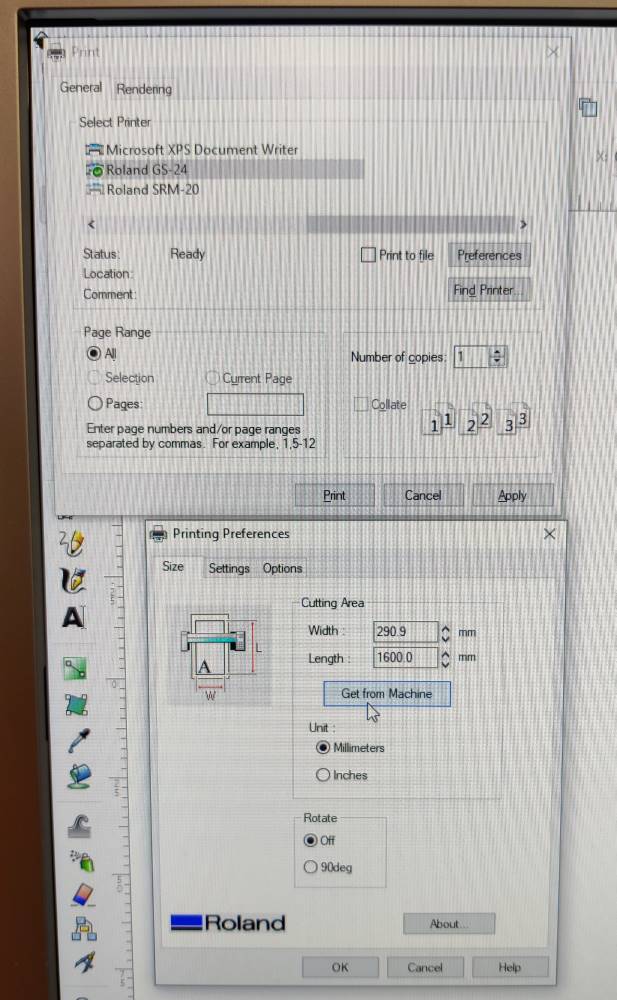
After vinyl cutter’s measurement of the sheet piece, I could resize the vector image to be cutted to fit the sheet and send it to vinyl cutter.
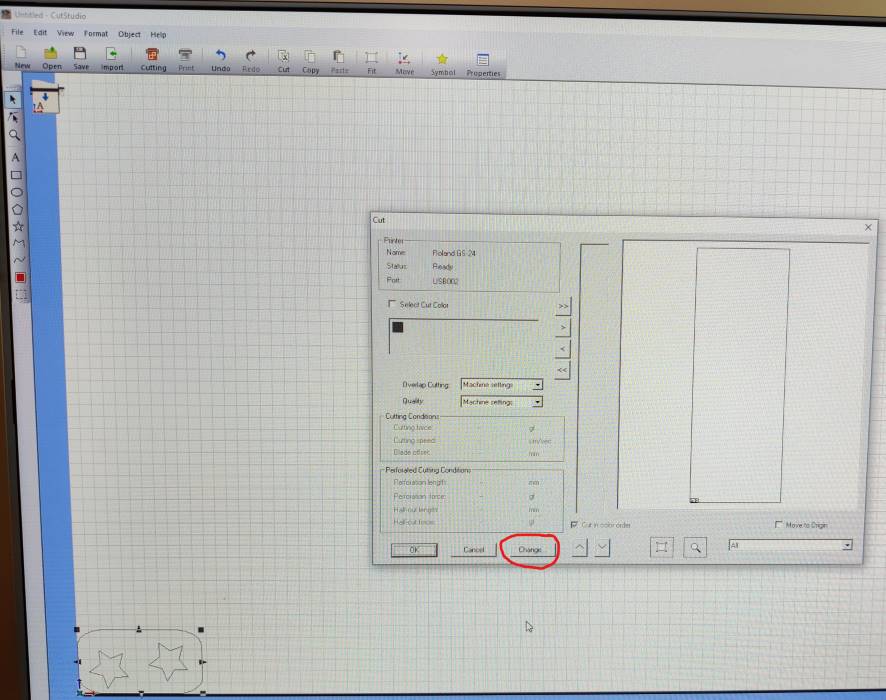
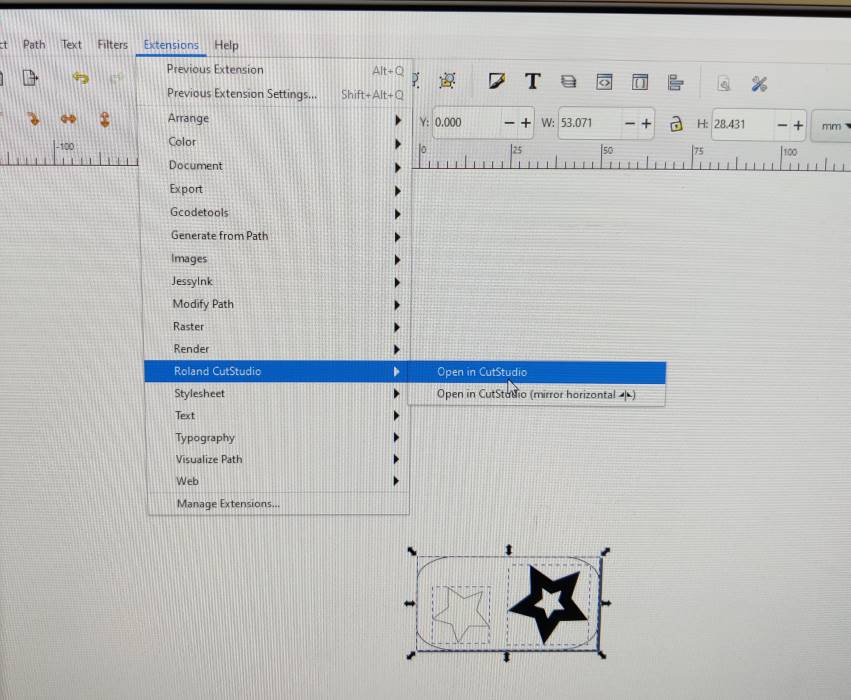
Roland CutStudio will give better results Inkscape: Saving into .pdf in Inkscape and printing that produced unpredictable 1.6-1.7x scaling factor and unpredictable origin point, also rotate 90 deg option is sometimes necessary to prevent cutter from rolling all material out without cutting anything. Selecting everything in Inkscape and going to Extensions -> Roland CutStudio -> Open in CutStudio pastes everything to CutStudio that gives reliable scaling and origin point in bottom-left corner. In cutting menu, change-button is the way to get measurements from cutter.
First cut was successful, so I set a new origin and cut another one. After cutting I removed the sheet from vinyl cutter and carefully removed extra pieces from center of the stickers with tweezers. Even though these stickers don’t have unconnected parts, I applied a transfer sheet for protection and easier application.
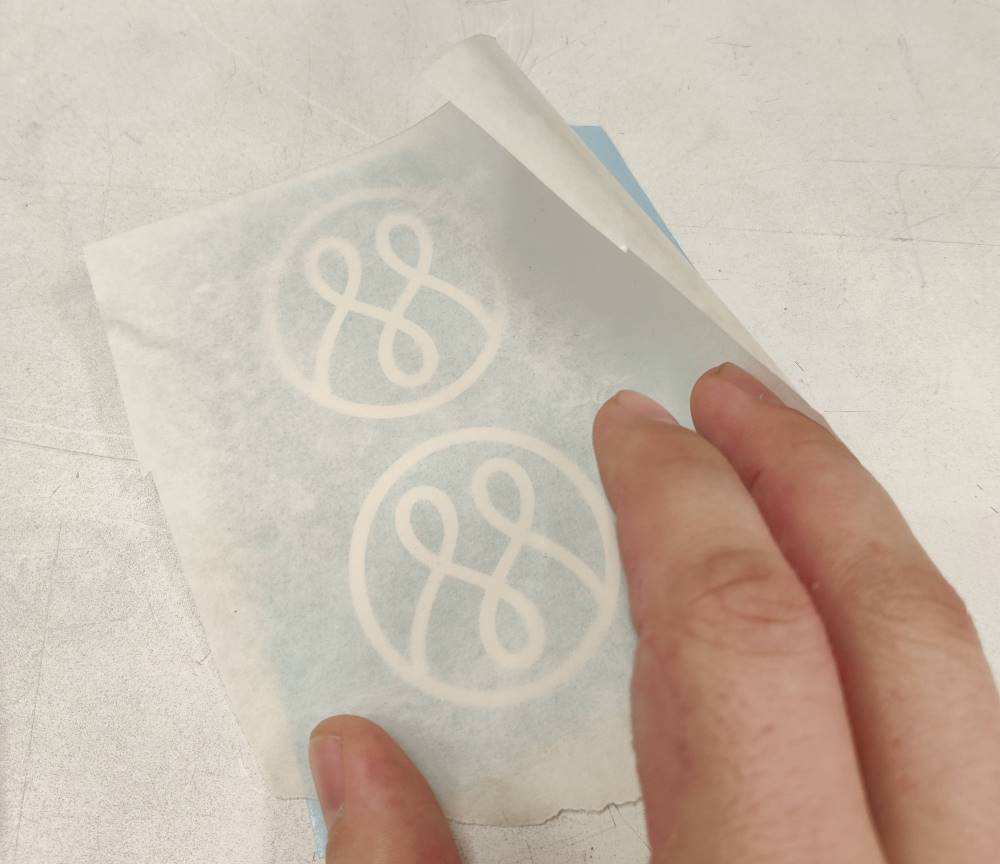
We applied one sticker to laptop and another one to phone.
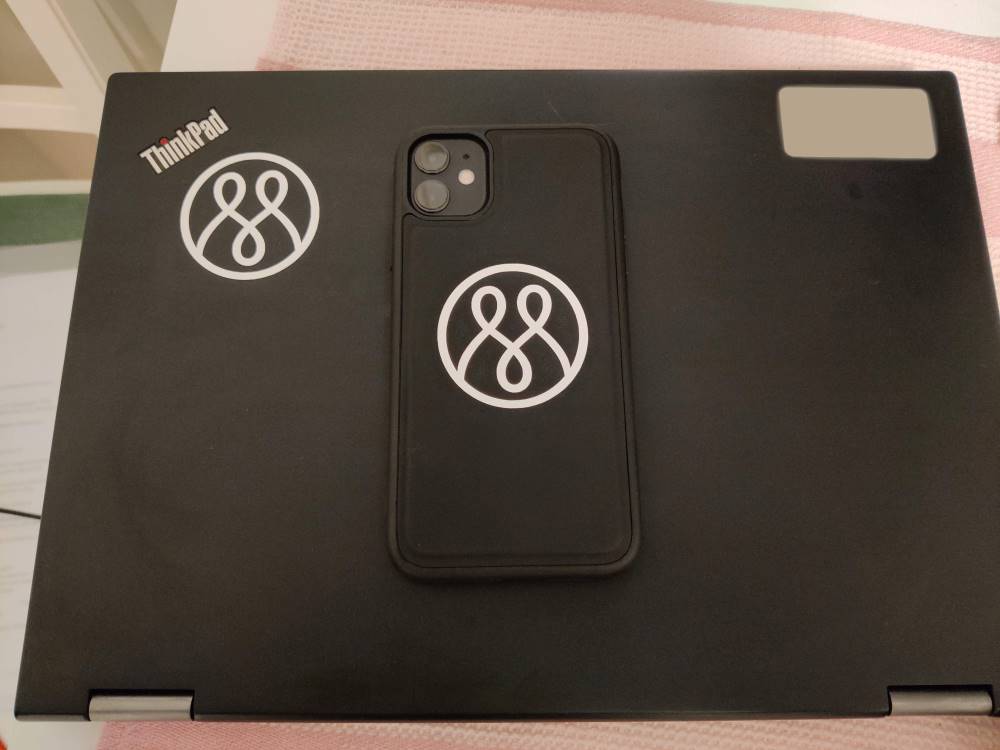
Year 2022 update: Both stickers still looking good! I’m a bit surprised that they have lasted so well.
Unused images that need context:

Laser cutting
- How to start a laser
- air assist
- exhaust
- How to prepare for a laser cut
- pdf-file with 0.02 mm line width for cutting
- set origin (jog)
- focus
- select file to run (job)
- Cutting
- fire hazard, never leave unattended
- releases poisonous gases when cutting acrylic
- After cutting
- Wait 60 seconds for exhaust fumes to ventilate away
Group assignment - Laser cutter characterization
Individual assignment - Press-fit construction kit
I will test only press-fit joint as it is the most used joint by far. Rather than trying out other interesting joint, such as chamfer, flexure or snap-fit joint.
