Tripod head (3D design and 3D print)
I tried to make the object that cannot be made subtractive by my own design for this.
The design requirements are,
- 1/4 inch screw and nut integration as a camera tripod.
- Feeling something future 6G new technology with organic type of design.
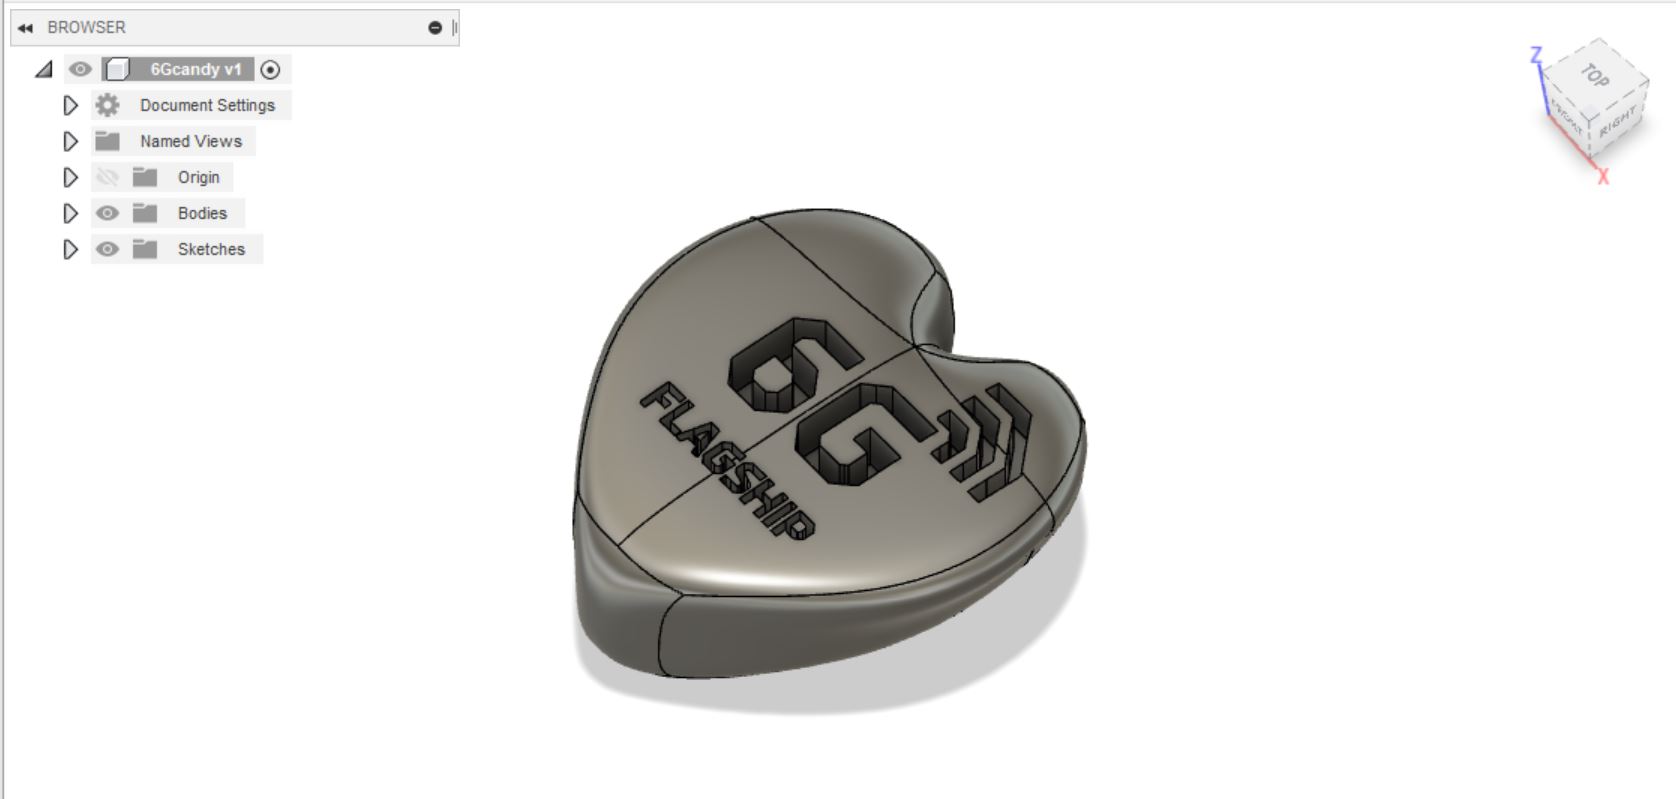
My initial idea was something camera holding plate as this organic 3D design. Then I utilized my own asset of 3D model which already designed in previous molding and casting week.
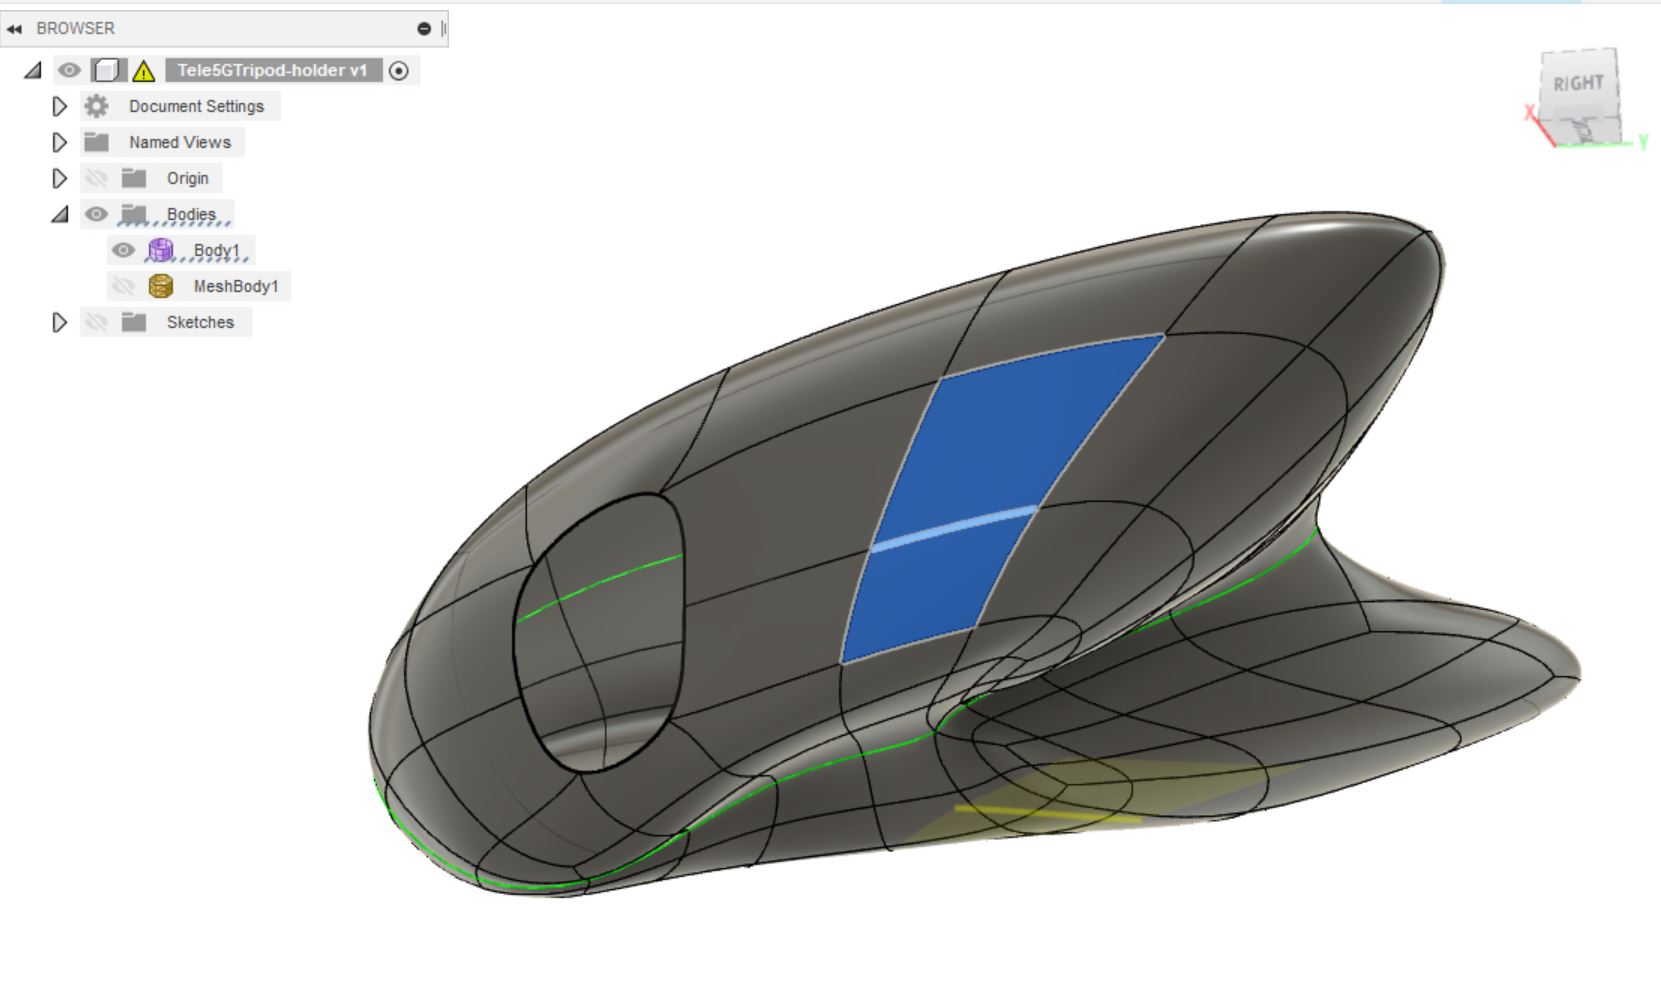
Started from modifying this ready-made 3D form, removed the 6G flagship logo then change the scale and shape using Edit Feature.
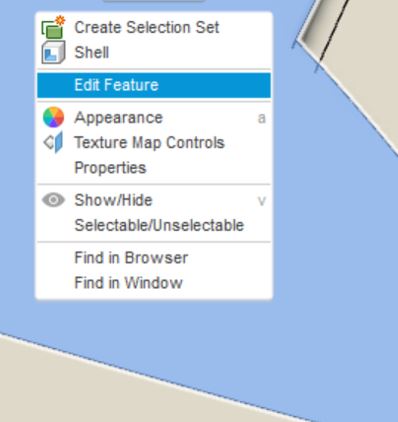
MODIFY -> EDIT FORM then modify the shape by moving the dot, line, face as your wish.
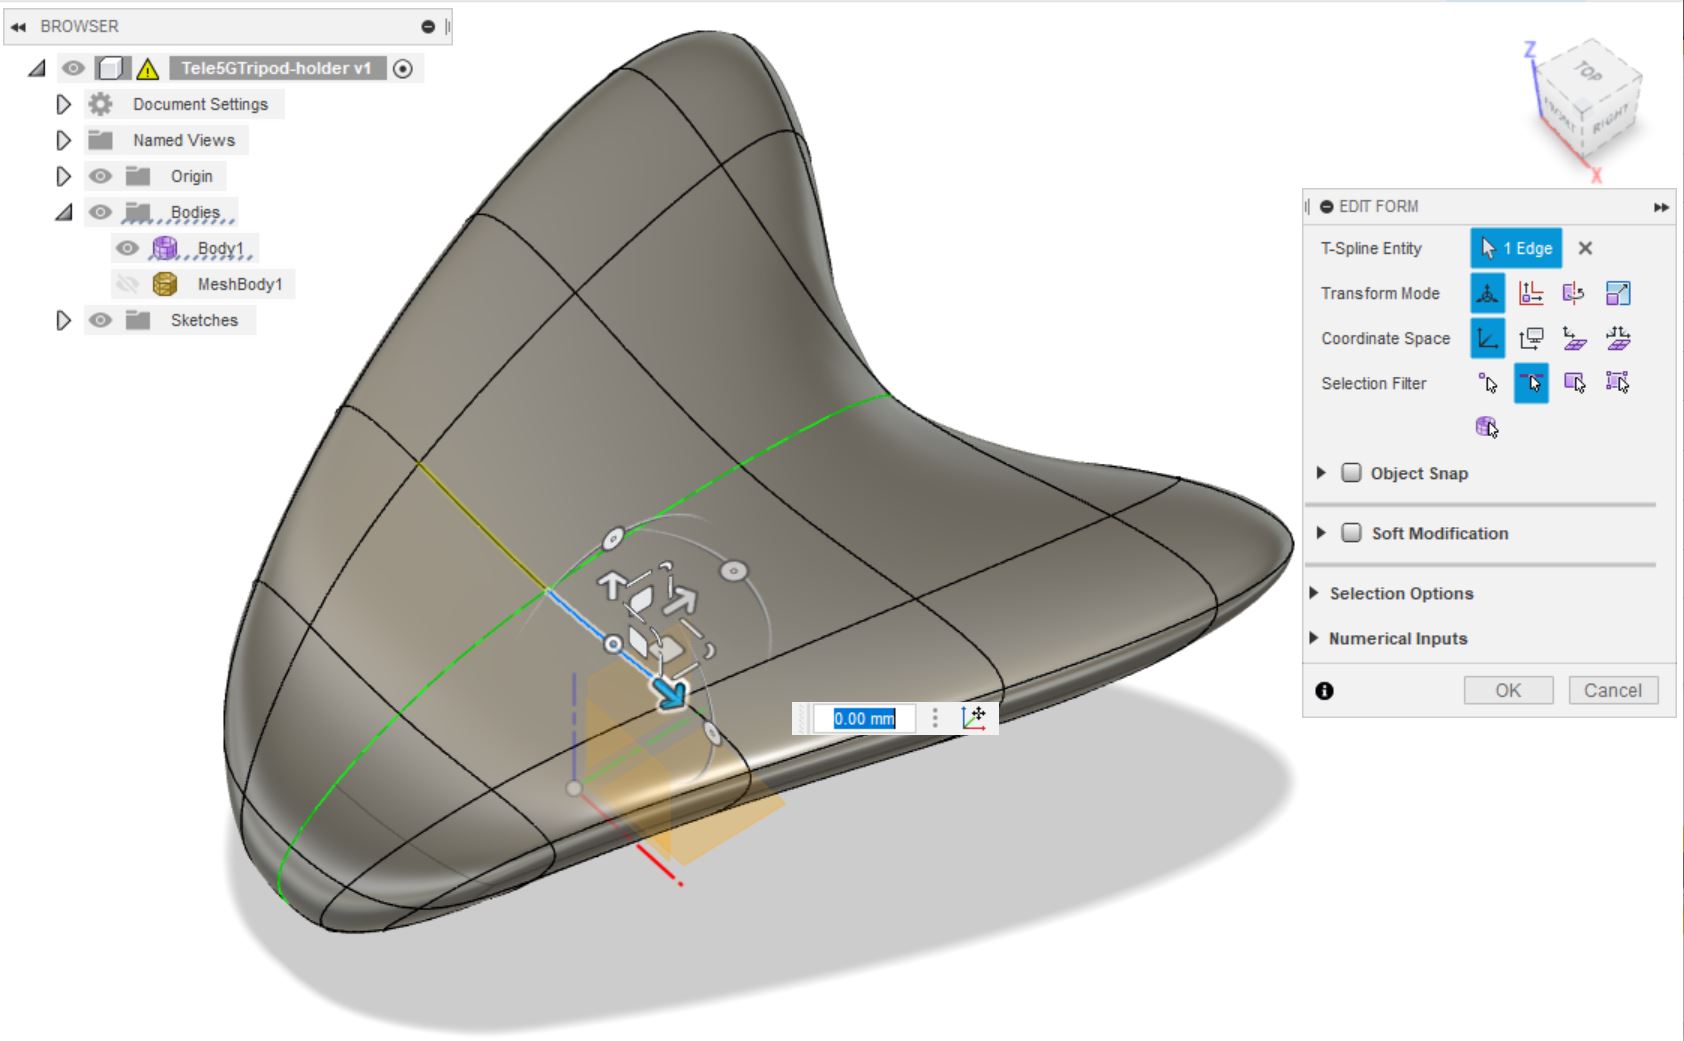
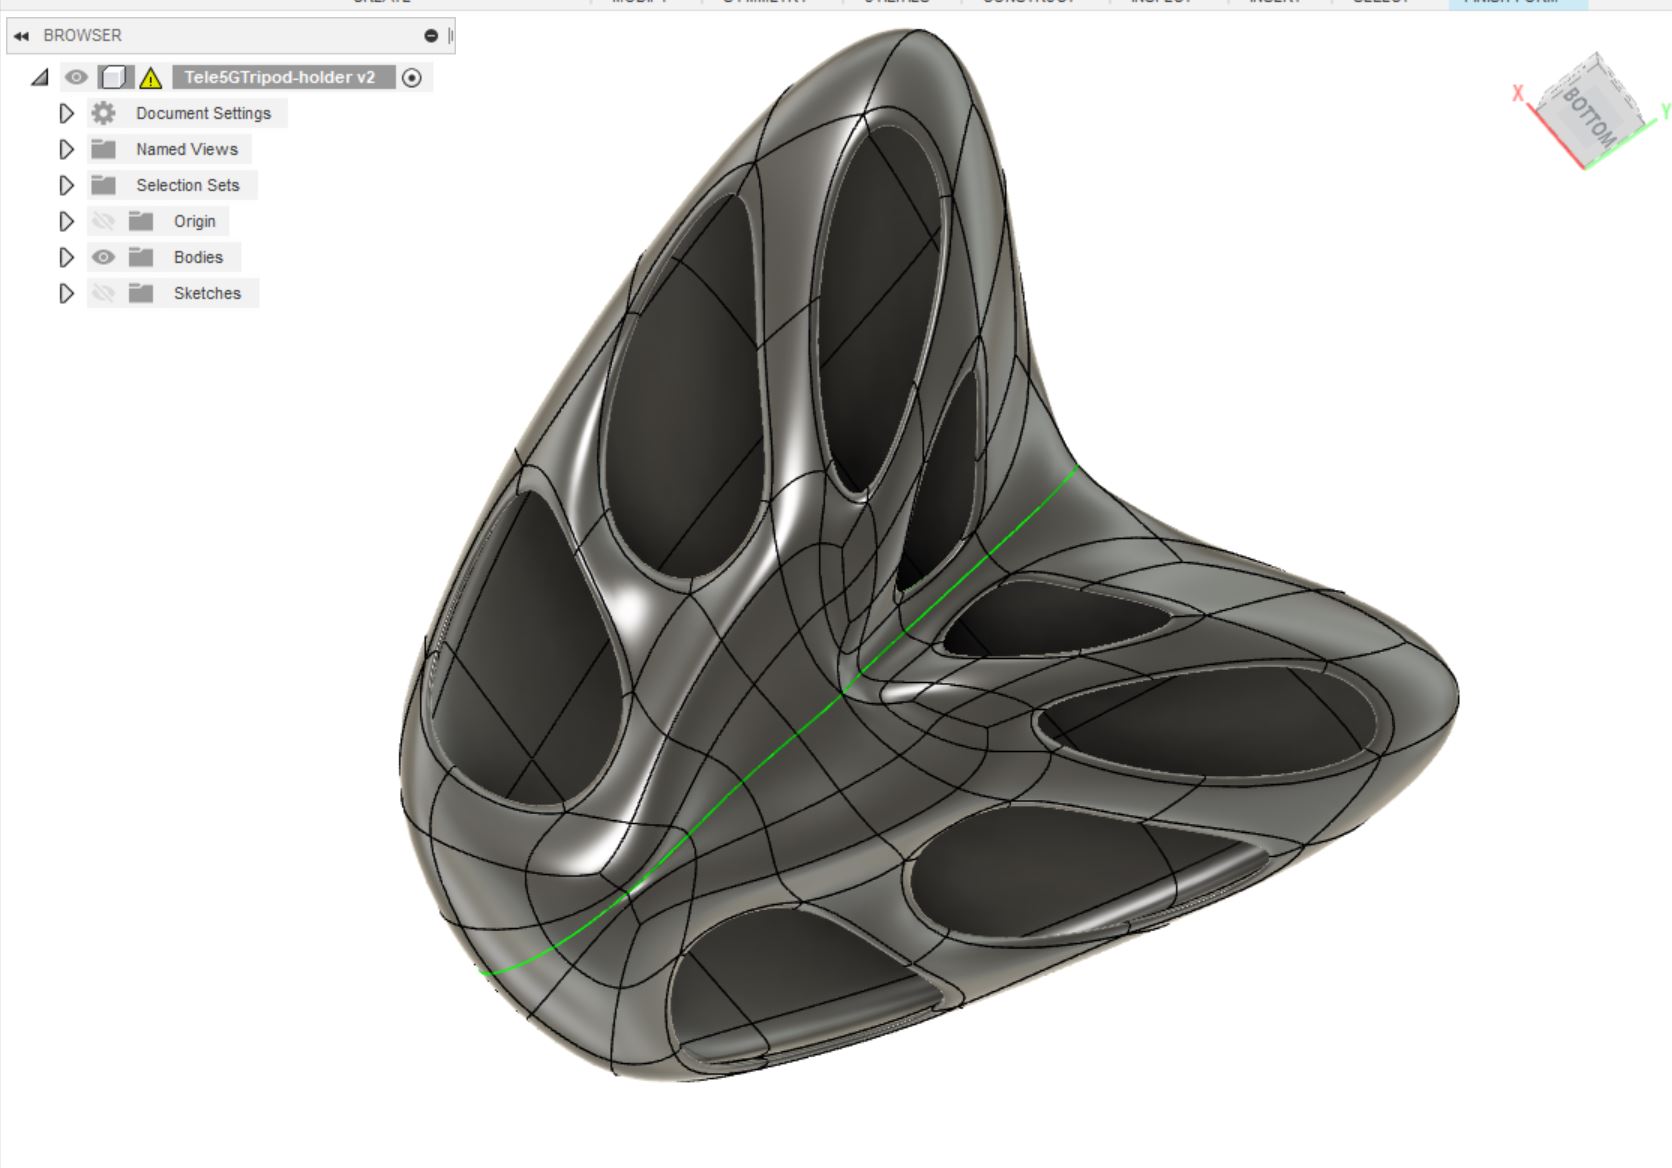
To make a hole, choose a face and then push DEL key. Fusion 360 form mode makes a nice organic feeling already, but I modified some by moving the dots and lines on the form.
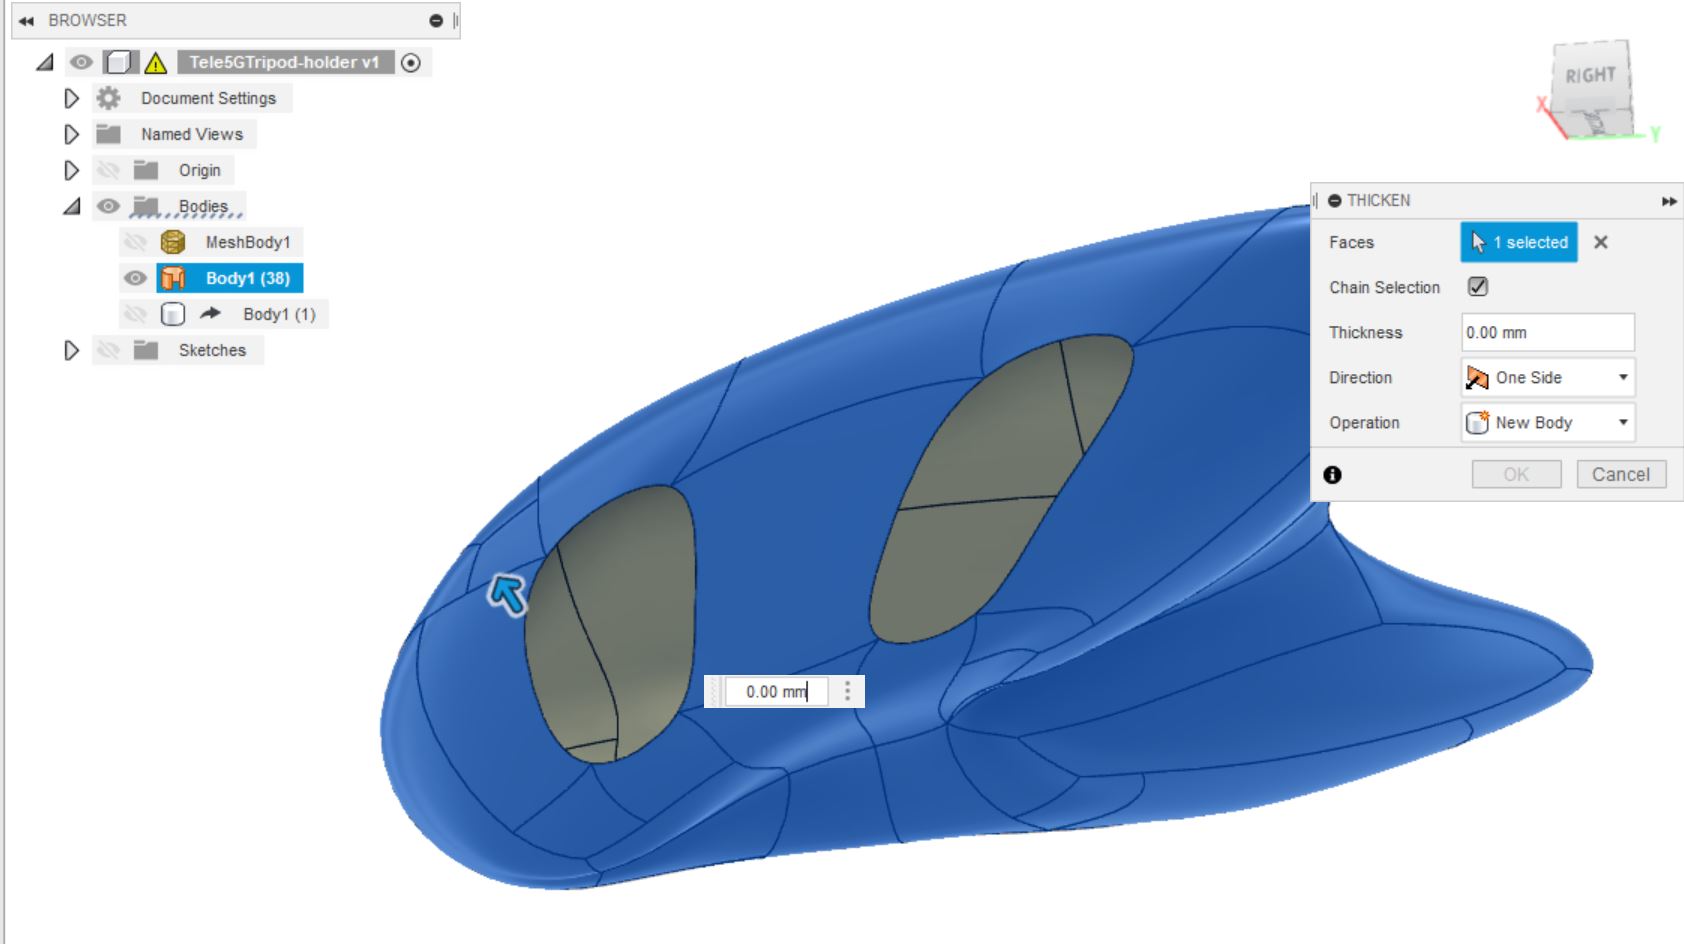
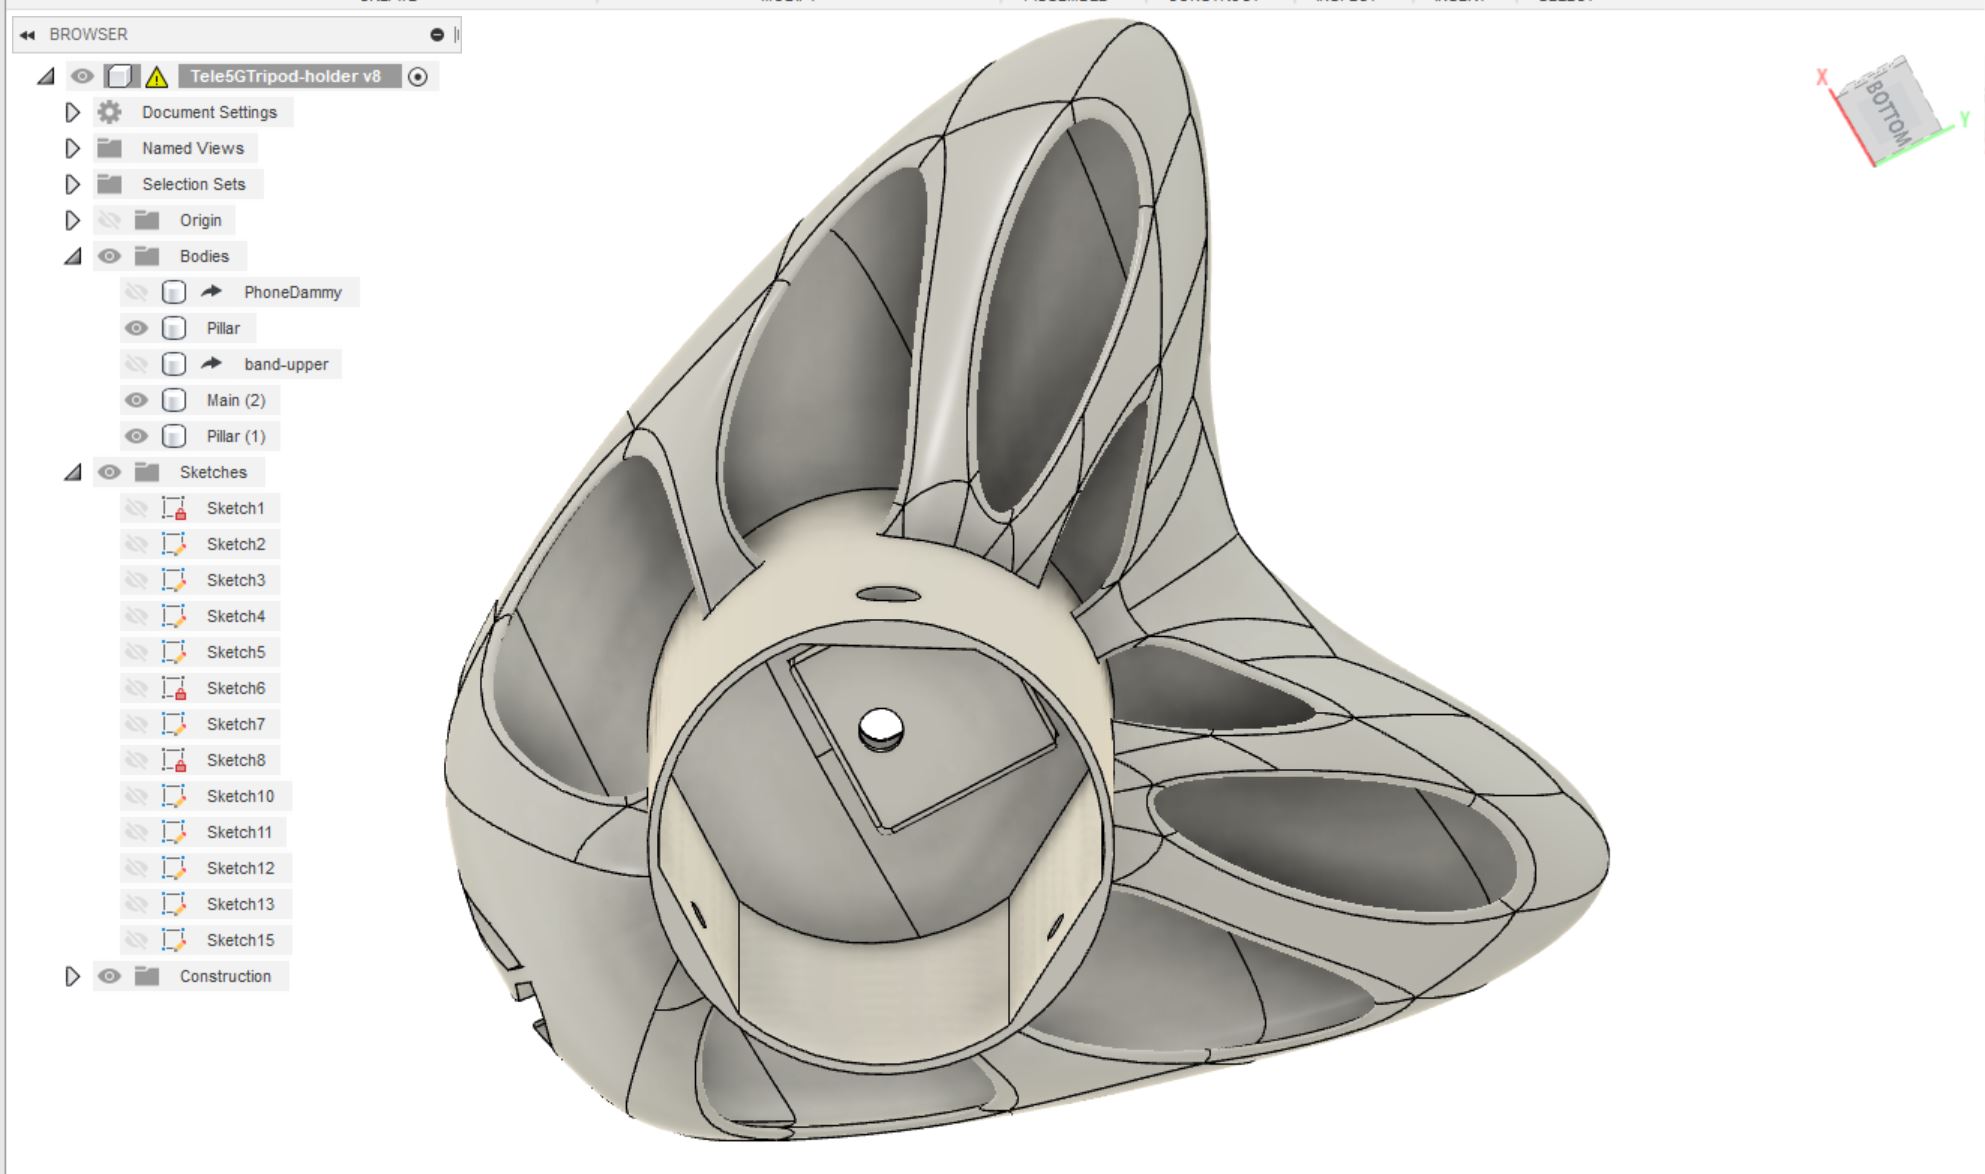
After Finish FORM, choose the object by right click and Thicken. I chose 3mm thickness for this head shape.
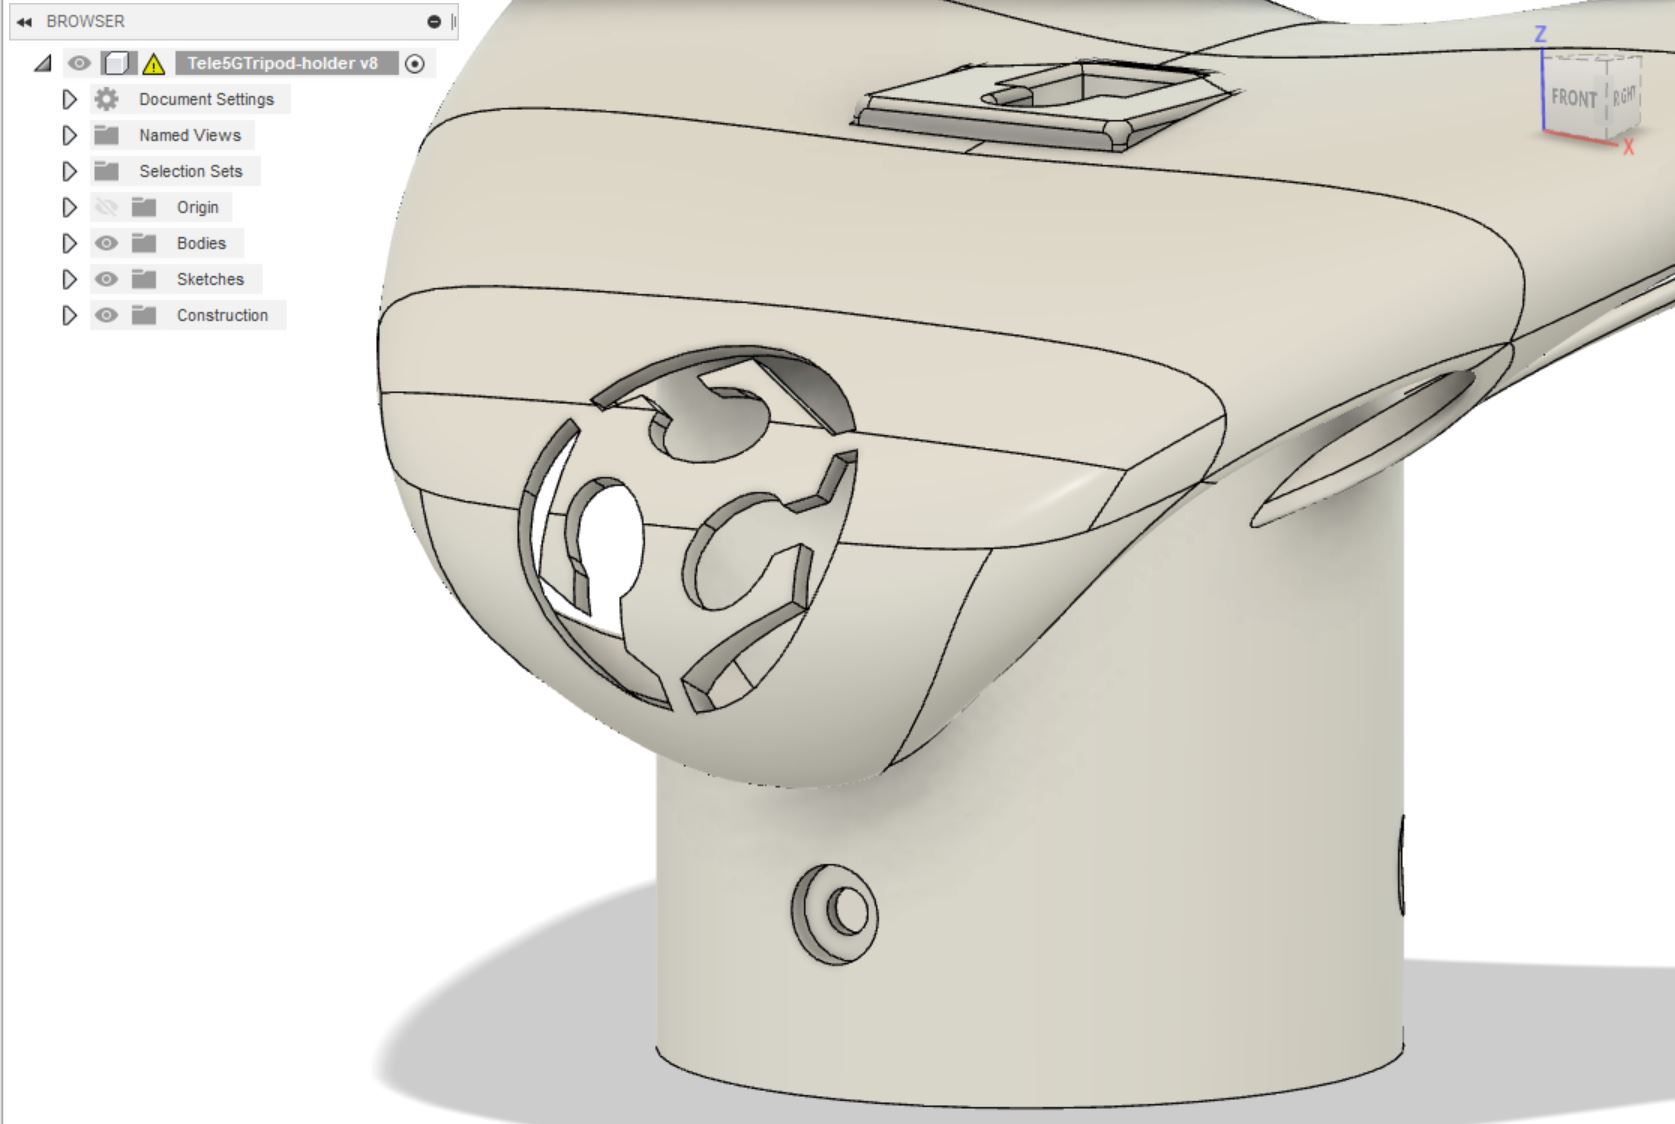
I added the connection part of pilar towards tripod body and the Fablab logo sculpture on the front side. Using the same method on Molding and casting week’s 3D model creation, prepared SVG file and import to sketch, then excluding to cut off the body.
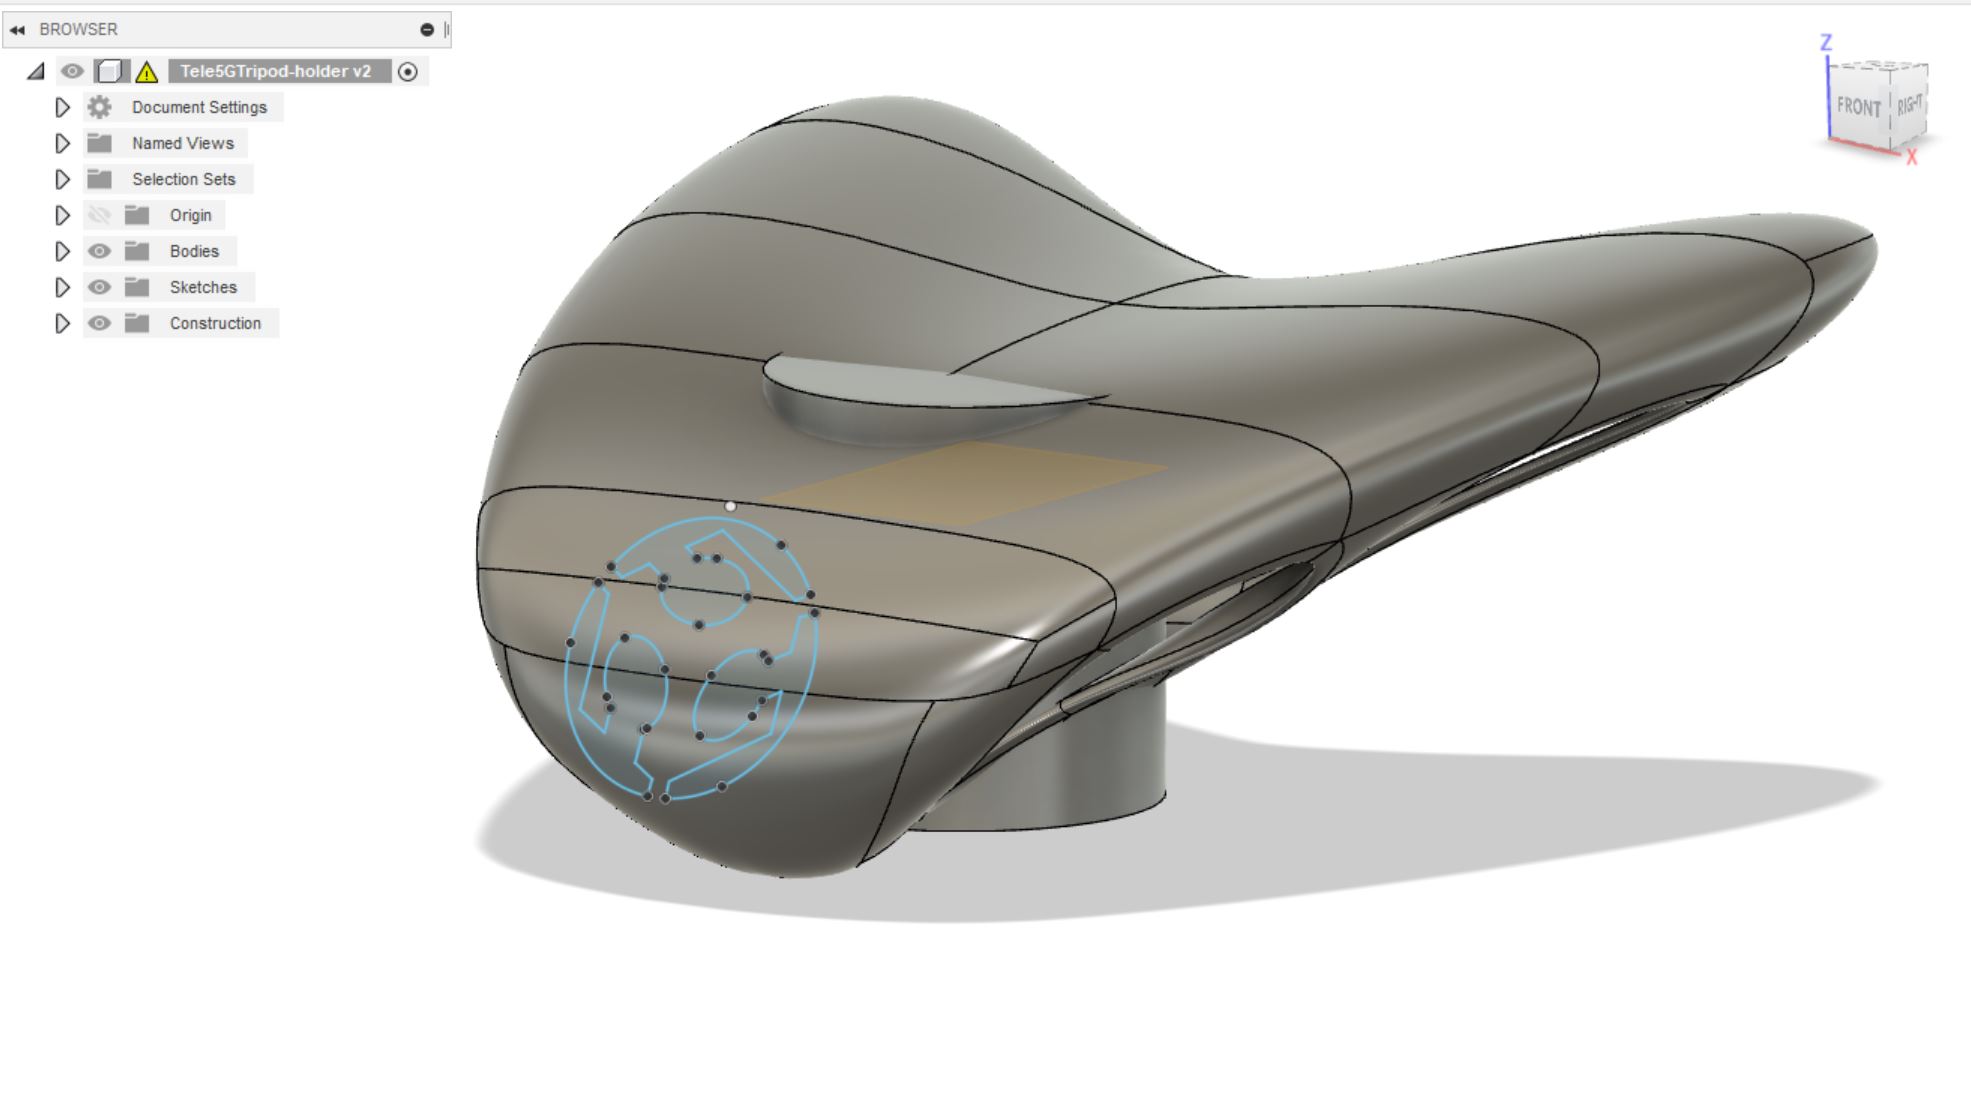
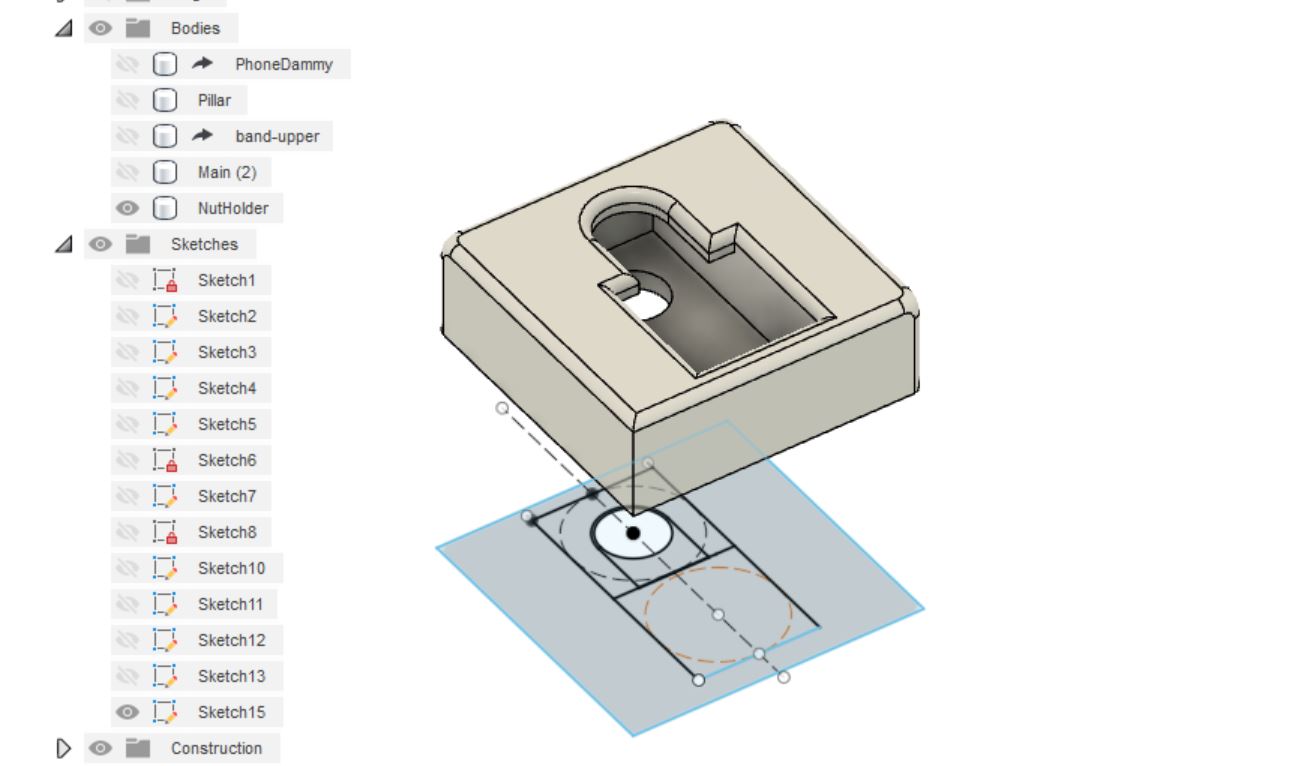
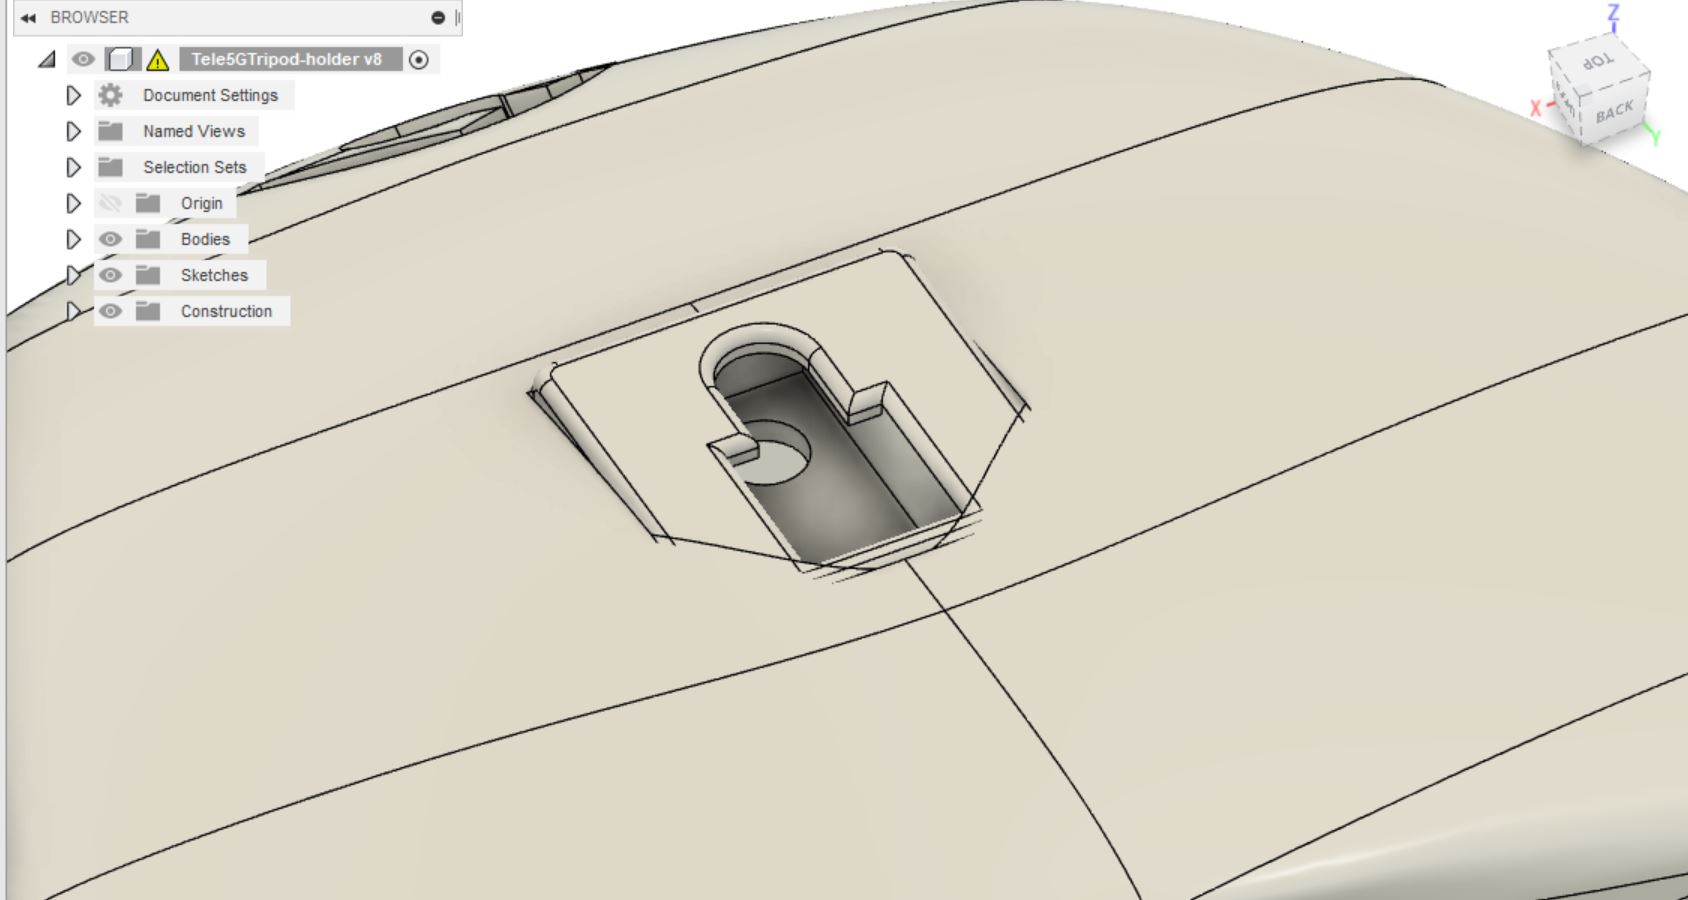
Another important feature making by 3D printer is the 1/4 screw and nut integration into one component. I made a room for nut which can be inserted from outside, then integrated the form into the tripod head.
I made screw holes connecting with the tripod upper part head, also I put 0.5mm margin by offsetting the faces where touching with tripod.
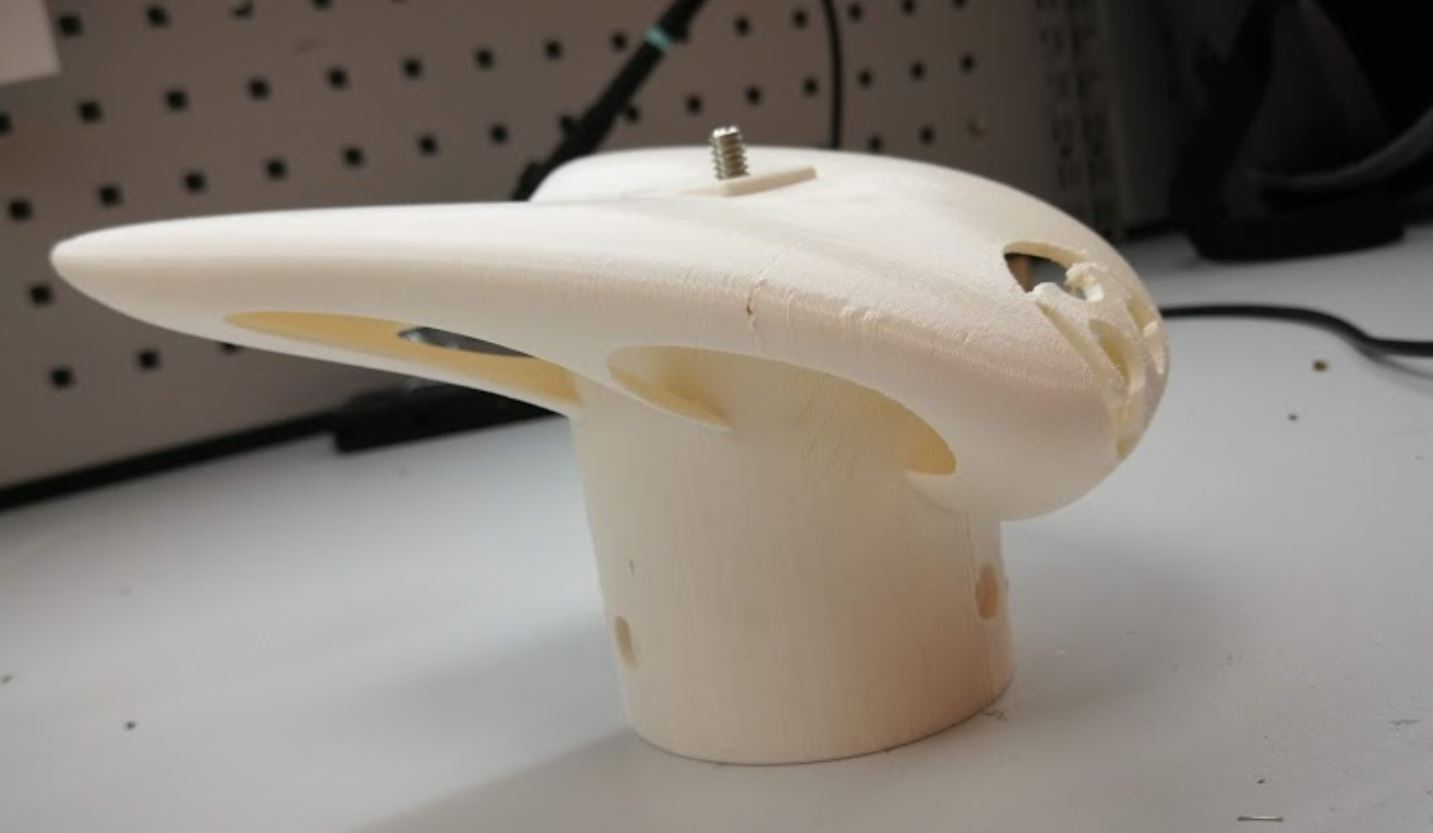
Finally, checked the design overall, also fit to the tripod model.

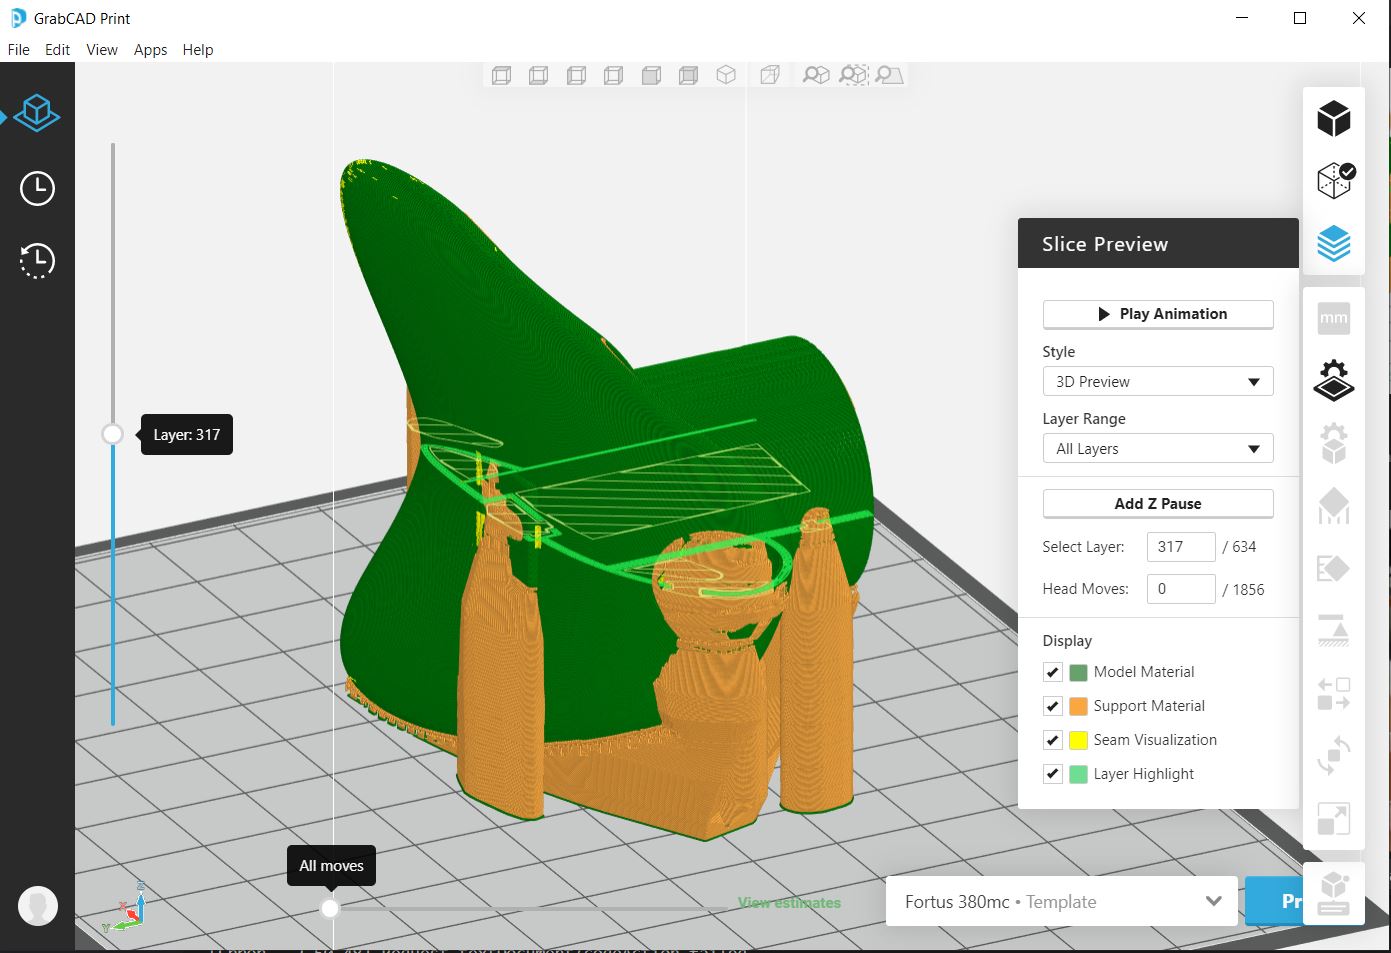
Sliced by GrabCAD, model by Sparse, support material by SMART.
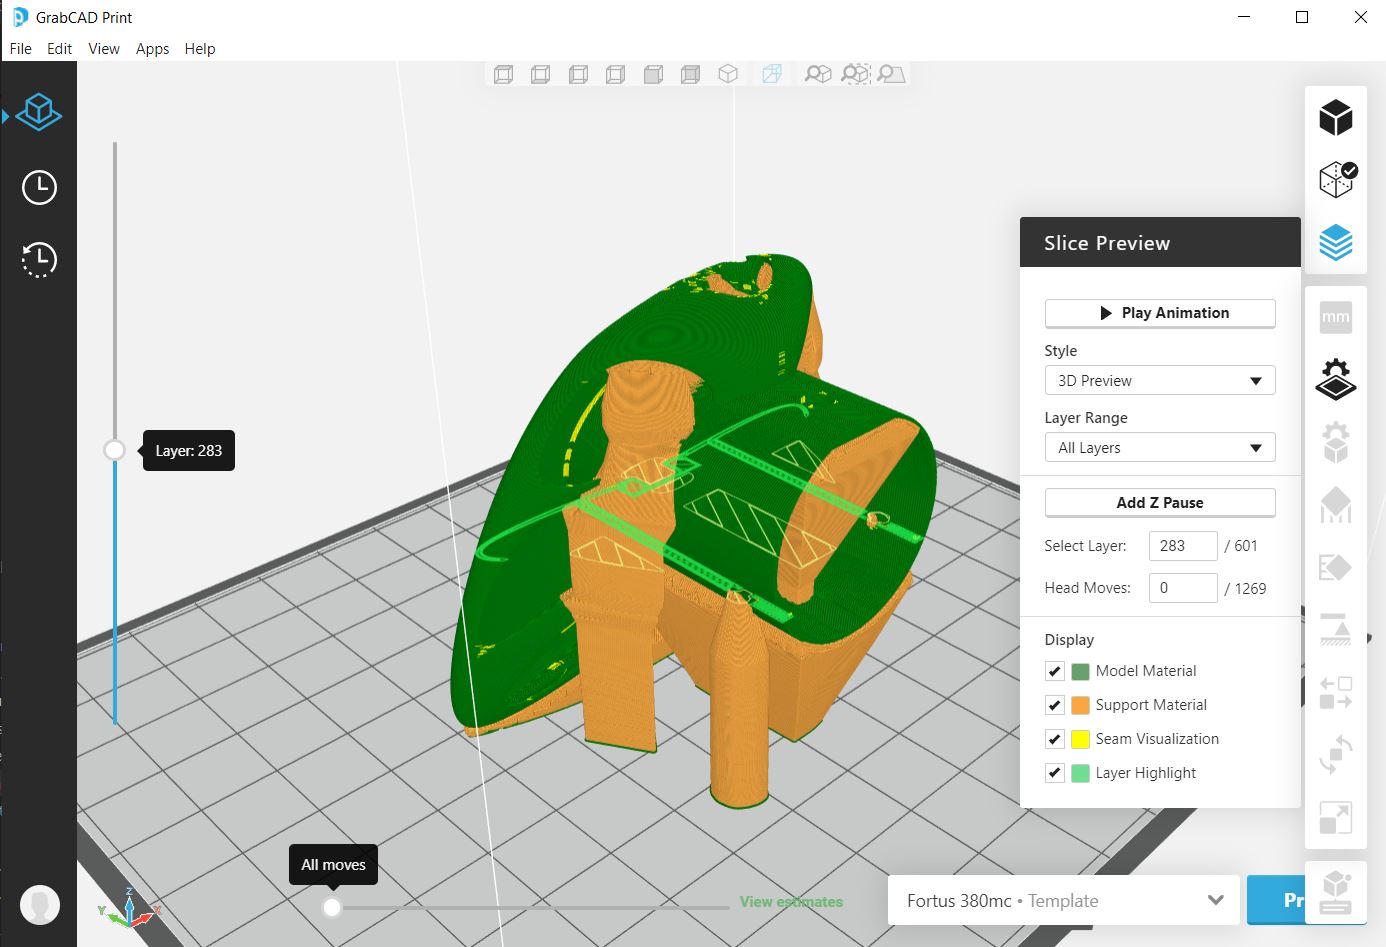
The 3D printer is used Stratasys 380mc with ABS material. The model volume was 130cm3, support volume was 100cm3, took 10 hours for print and 6 hours for soaking at bath for removing the support.
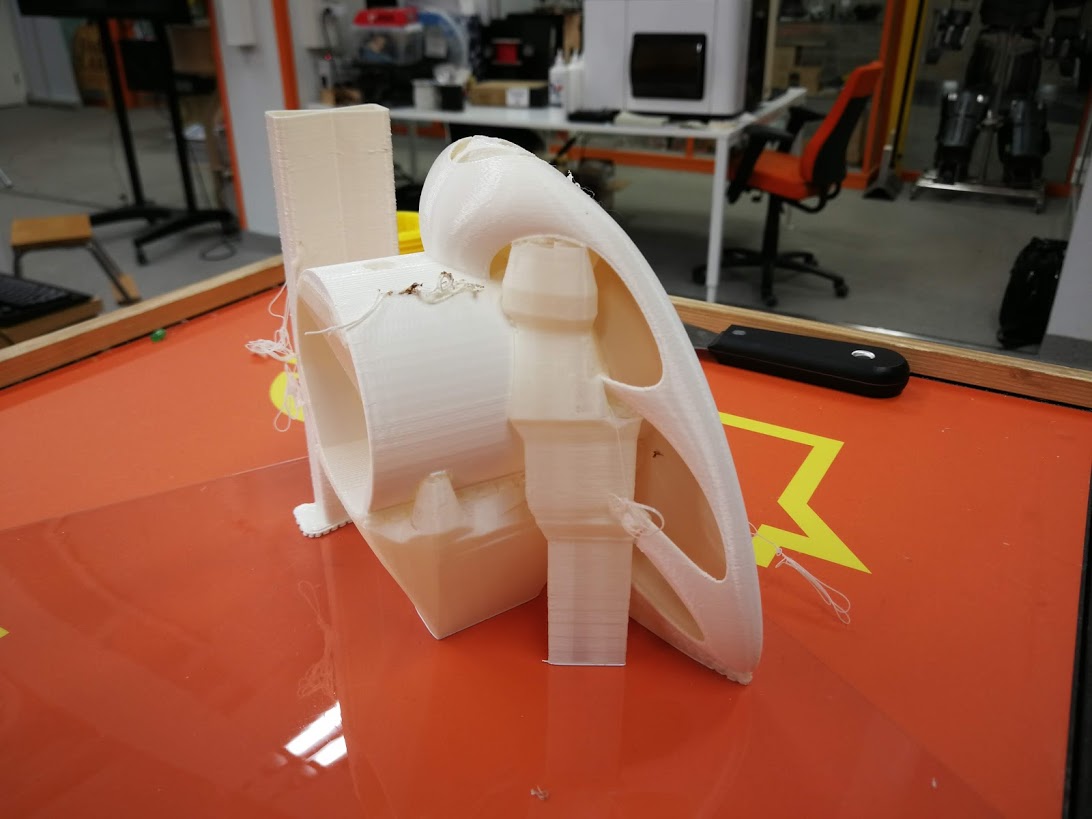
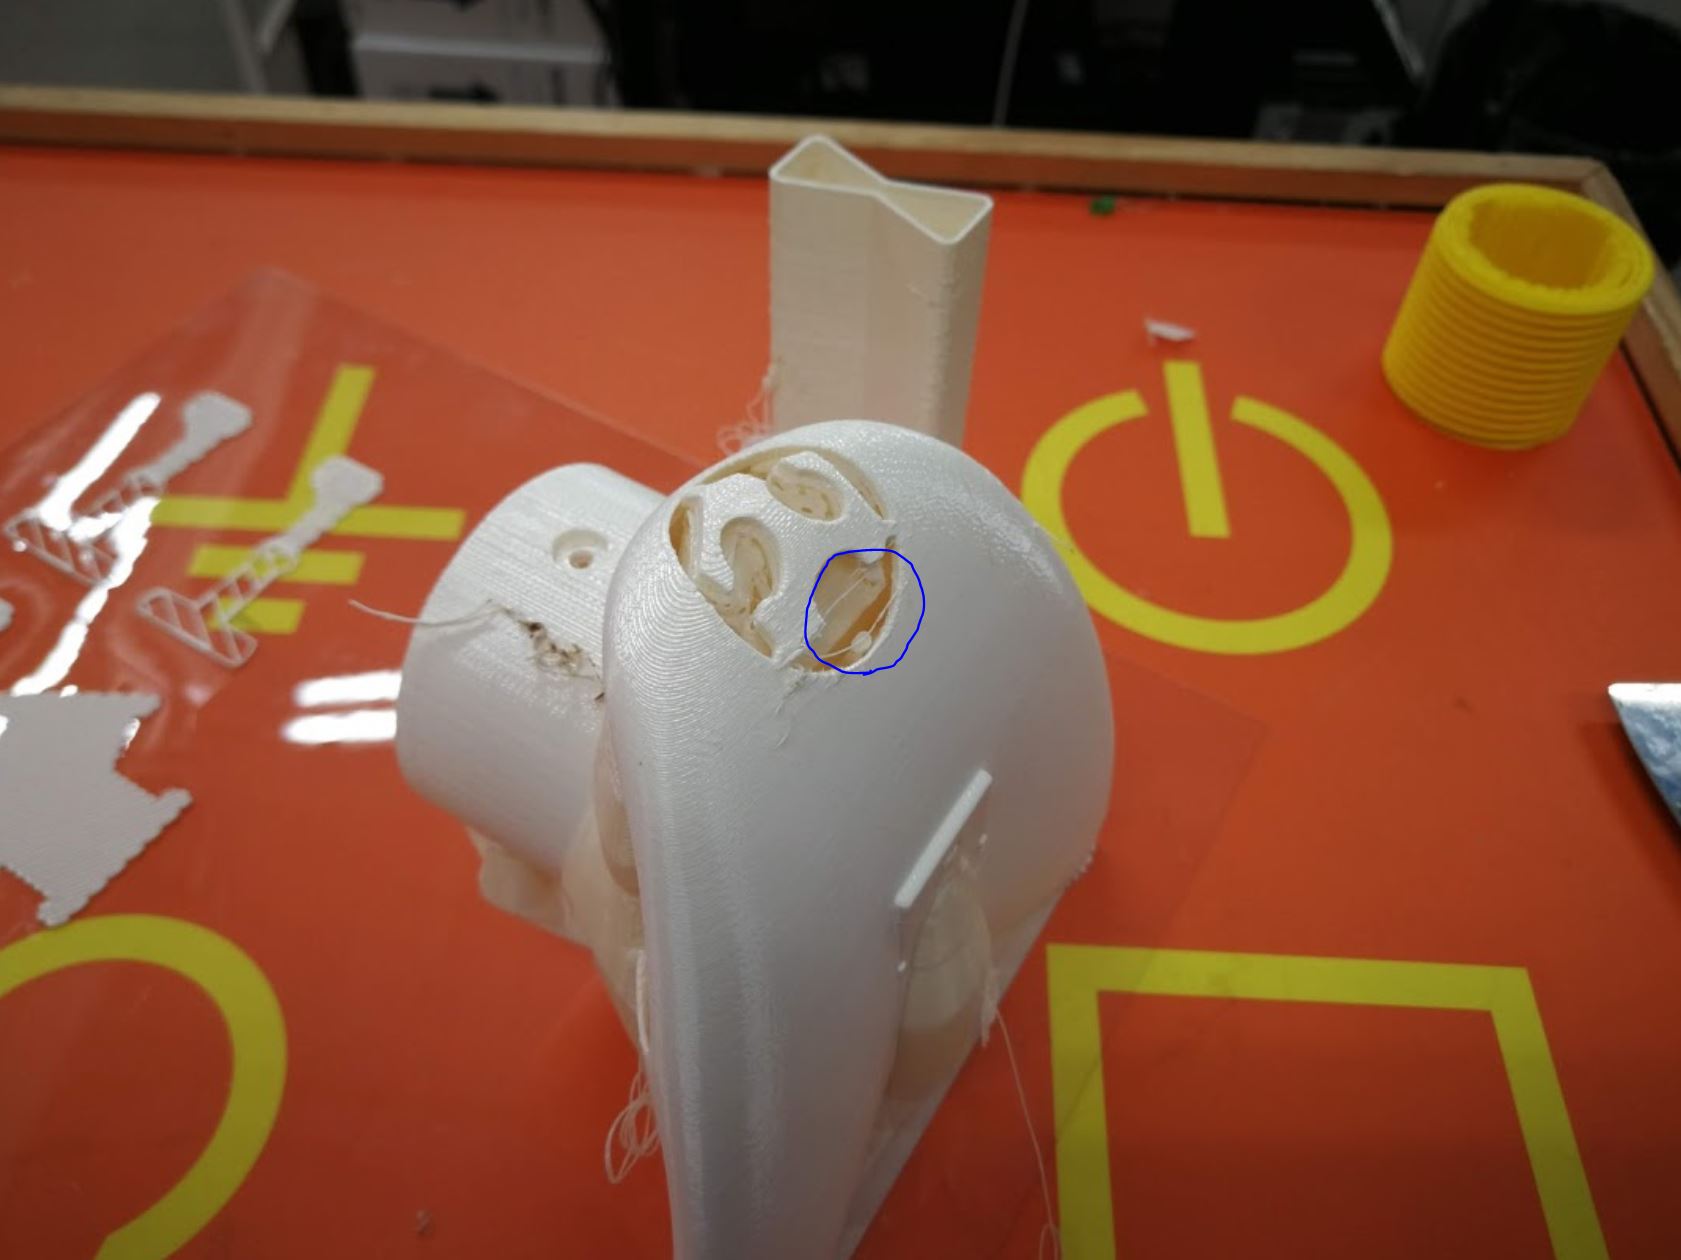
One failure point was on the Fablab logomark sculpture. This might be caused by vertical position slicing this time. Supporting material wasn’t enough and the printed part wad dropped. If printing by rotated another direction, or even upside down, this logomark can be okay to be printed.
After carefully checked the slicing data, there are some risk on logomark part with support material.
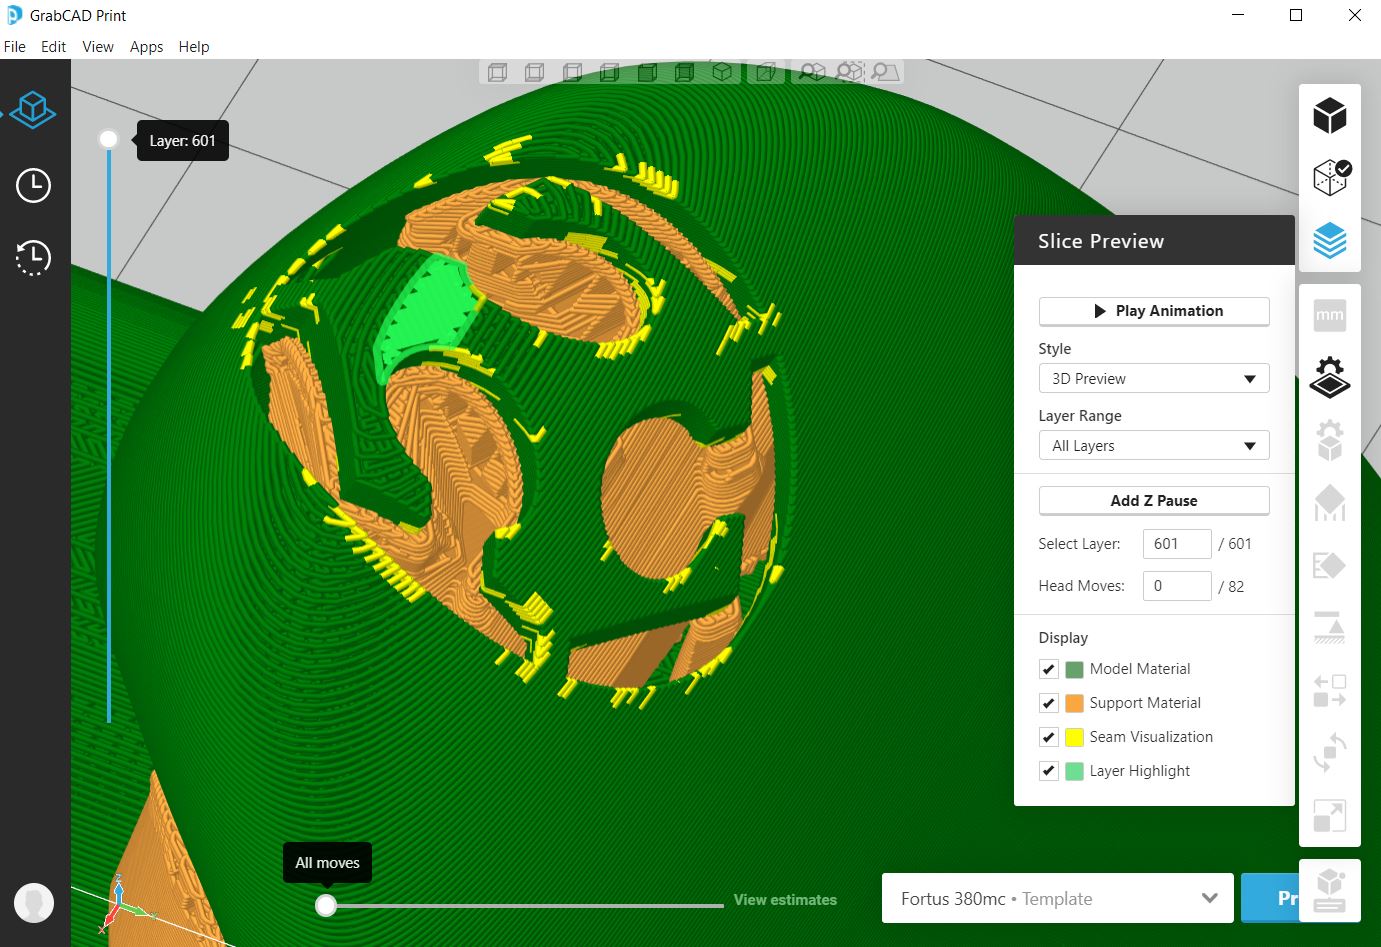
When I rotate the model Y-axis 90 degree then slice again, the logomark part looks more safer with surrounding by support materials.
with 1/4 bolt as tripod to camera mounting interface.