Week 5
Group project- Test the design rules for your printer(s)
- Document your work and explain what are the limits of your printer(s) (in a group or individually)
You can find our project here
Individual assignment
- Design and 3D print an object (small, few cm3, limited by printer time) that could not be easily made subtractively
- 3D scan an object, try to prepare it for printing (and optionally print it)
3D Printing
3D printing is an addittive process that allows to create objects in different forms and materials, but what are the pros and cons?
Pros
- Price. It is quite affordable technology that one can purchase and use also at home
- Creativity. It gives the possibility to materialise almost any shame and object designed on 3D modelling software
- Possibilities. It has a wide application in different fields: thanks to 3D printing it is possible to create models of organs for educational purposes or as an internal/external supports, it has wide application in museums in terms of reproduction of sculptures/artefacts etc.
- It just can be fun!
Cons
- Time. It requires a lot of time to print somethings: obviously it depends on the model, but unless you are printing something tiny hours and hours of work are garanteed.
- Recycling. The most commun and used material is plastic: it is not a recyclable material, that for its affordance is the most used also at our Fab Academy. The worst in the list of used materials is resin, although 3D printing offers also a series of biomaterials that could be a good substitution.
- Finishing. Once something is going wrong either you stop the machine, but most probably it would be better make it complete the task, but in any case there is no way to improve the work that has been done. Very often the object can fall down while being printed or the supports built can damage the surface.
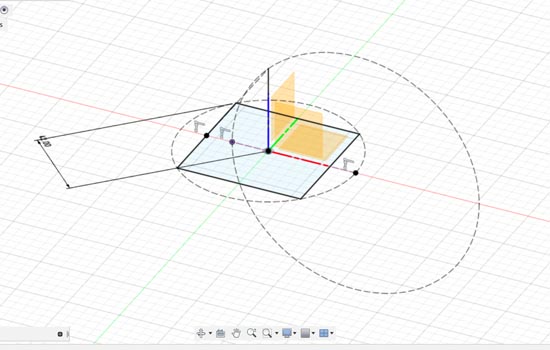
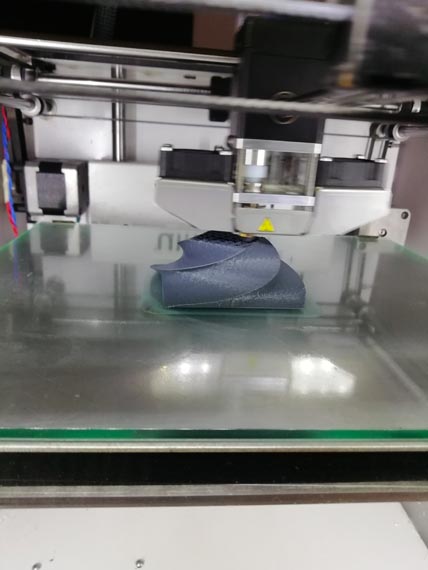
For this assignment I decided to model a twisted pyramid because this curved shape is not possible to obtain in a substractive way: every level of a curve that grows from bottom to the top creates also an inclination beneath which the spindle of ShopBot, for example, would not be able to reach, laser cut has a similar problem, but in the first place, it can create just plane formes where the curve is done by the side of the material.
I built it on Fusion360.
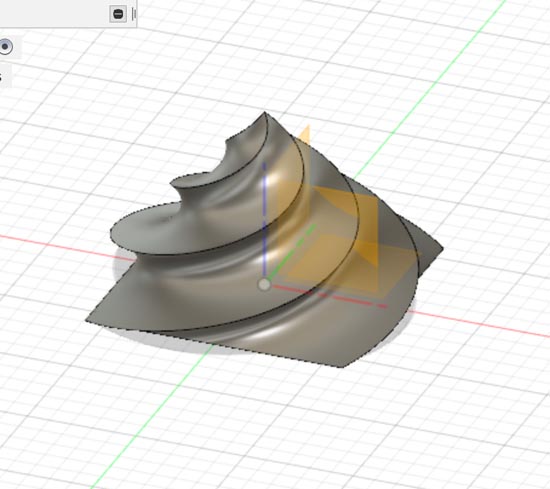
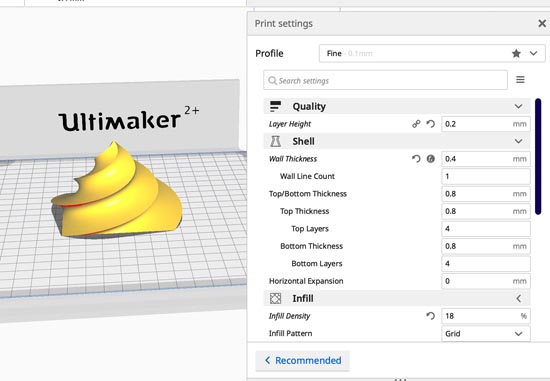
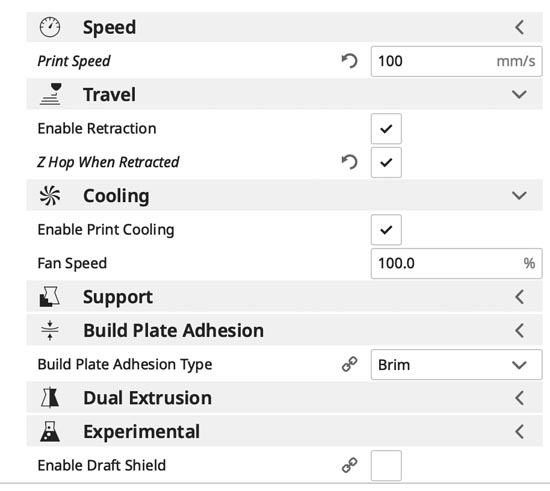
I saved the file in .stl and opened it in Meshmixer to inspect for any errors, but everything was fine. So I opened it in Cura. These are the settings that I set up. The material we are using is PLA, normally we would have to adjust the settings on the machine, but our Ultimaker2 was already ready for work. As layer height I put 0.2 cause I don't have a particularly detailed model, but I left wall thickness 0,4. It didn't change much the time and at least I could see quite nice borders on the final print.
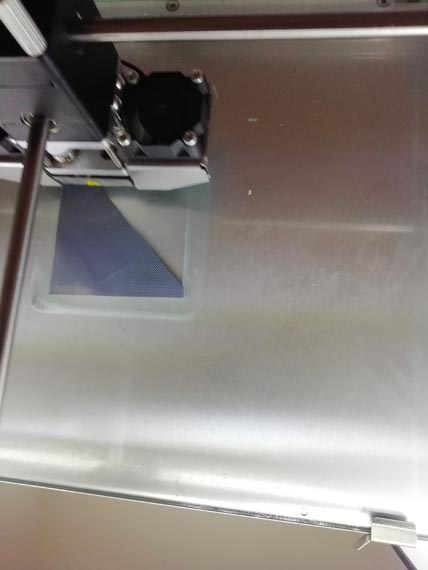
Then I saved on a memory card the file in .gcode and went to 3D print it. As I said the machine was already ok for work, I just chose the material and the file to print. This is the result:
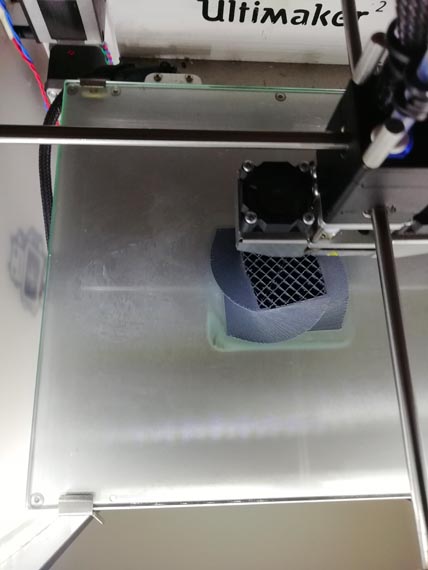
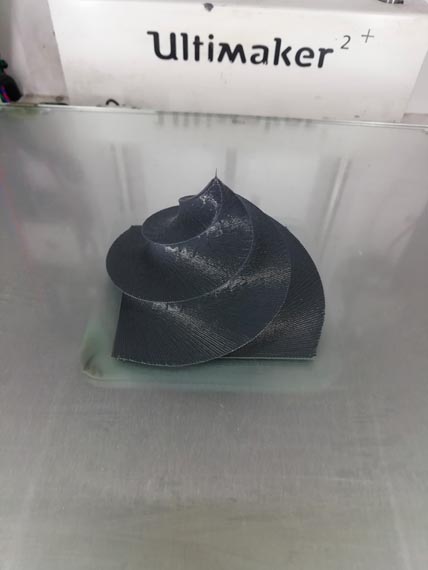
It looks a bit like poop emoji, but I like it anyway :)

Photogrammetry
Last year I had some experience in this technique and trauma that it left me is still quite freshAfter 30 + - pictures you start hating the world, walnuts, but continue anyway .-.
The requirements for the object are the following:
- not shiny (no glass/plastic)
- not transparent
- not black
- with a complexe texture/structure
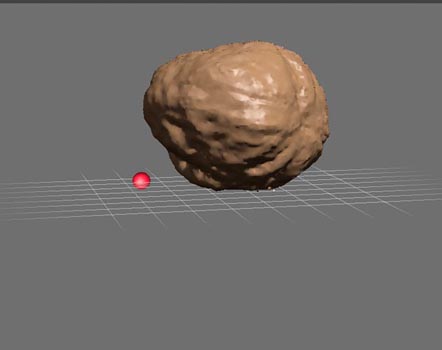
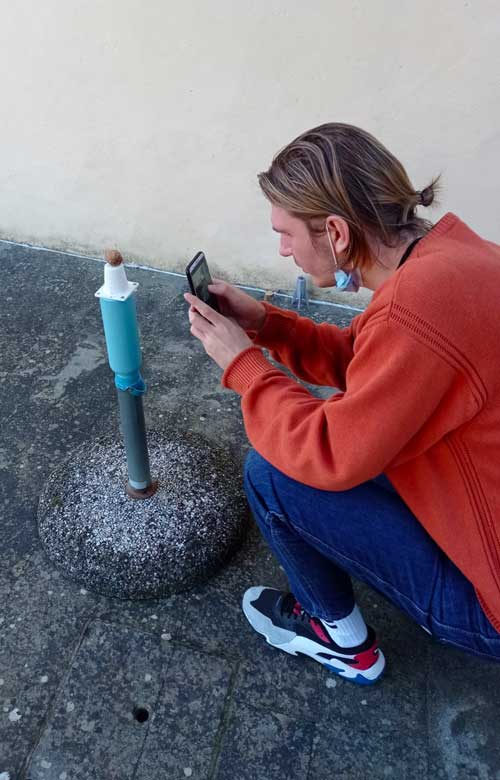
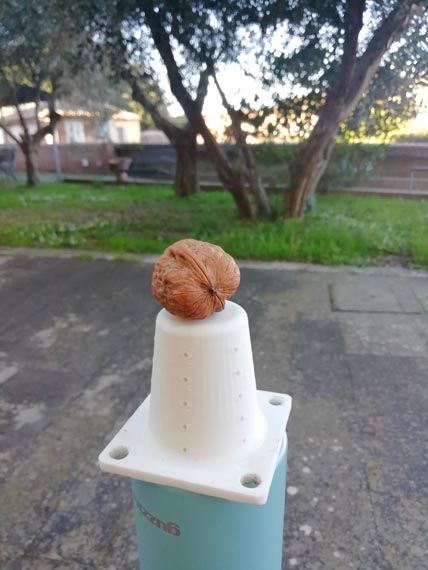
For this reason, the object that I chose was a walnut that I tried to capture in 4 steps and in 3 different ways.
First try
Second try
Third try
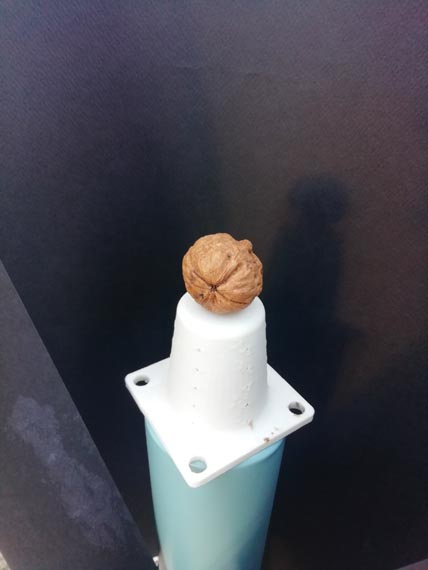
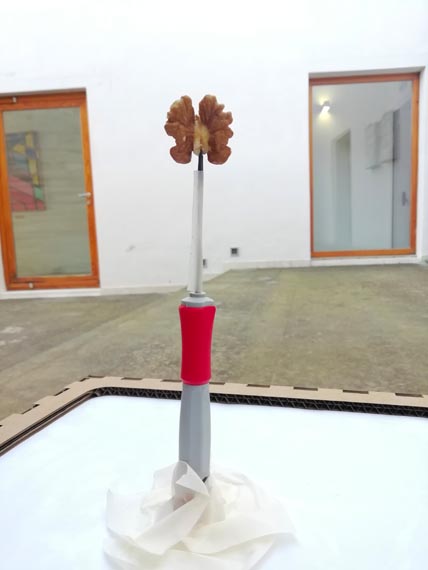
This time I opened the walnut, not very carefully, so the intern part splitted into pieces. I applied some glue on two parts of it (lol), put the glued pieces on the screwdriver and fixed the base of it with scothtape
So for the first try, I found a place with no direct sun and took 55 photos of it. Then I tried to use also a black background. After these two steps I uploaded the pics onto Metashape. I proceeded like this: right click on chunk1 > Add.. > Add photos Then: right click on chunk1 > Process > Align photos
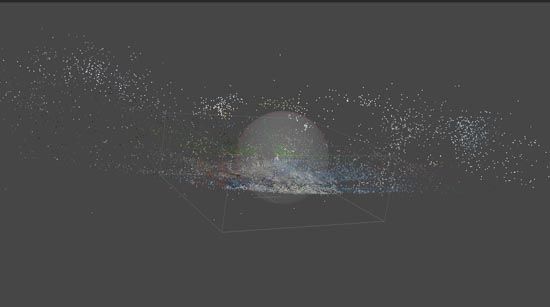
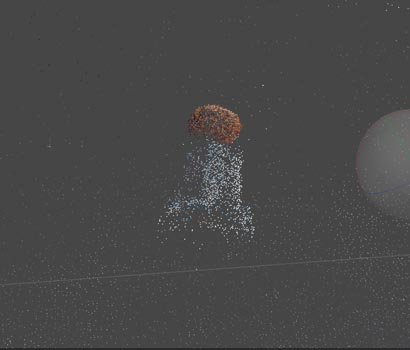
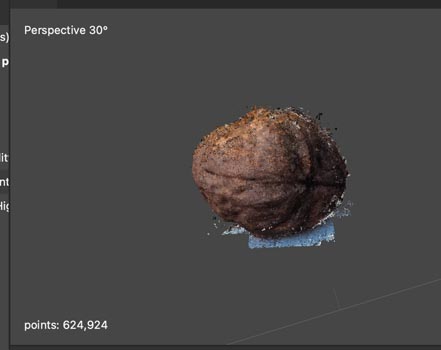
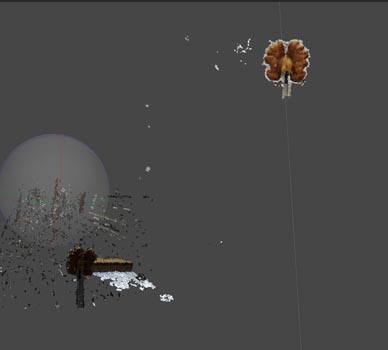
When I did that I noticed that the bottom part of walnut was missing, so I went to take other 32 pictures of that specific part and repetead the process above. I continued then building Dense cloud. Kind of party-mood with fireworks result:
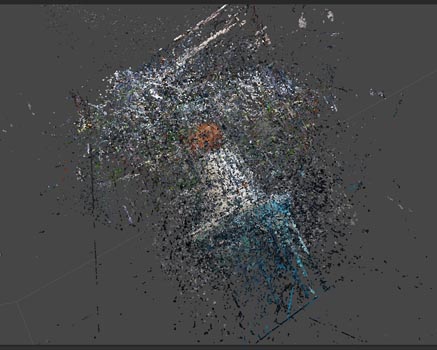
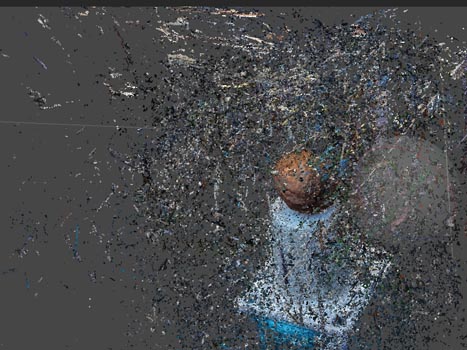
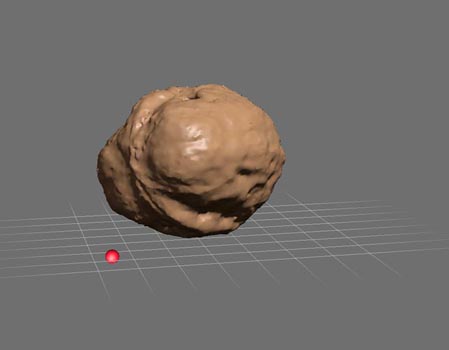
So I cleaned it up and it was quite something
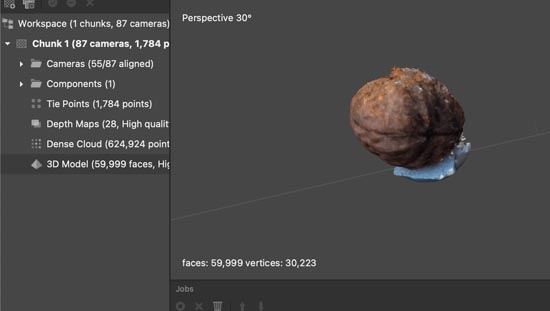
Then I built Mesh
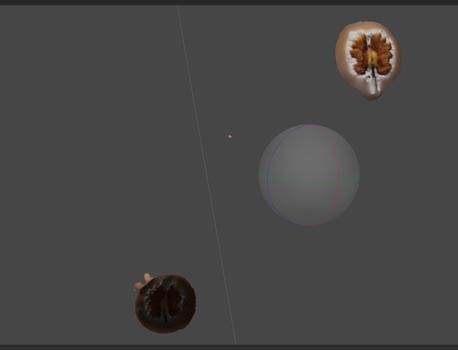
While the try with black background didn't work at all, the one with a screwdriver gave a bizarre result. It divided the walnut into two pieces placing them in different positions. I wanted to export it anyway, but mesh was strange, too. So I left it to rest in peace.
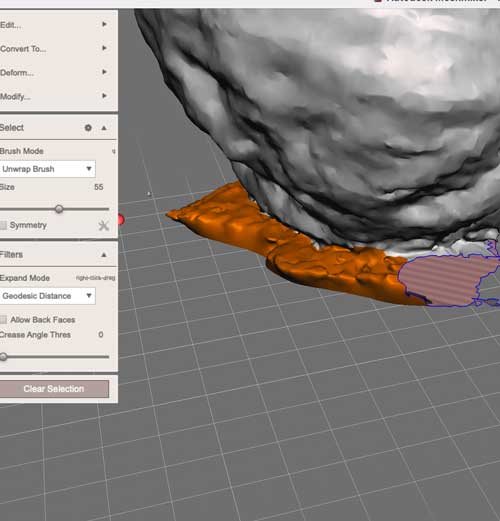
Afterwards, I opened the most successful version in Meshmixer. I placed it on the plane
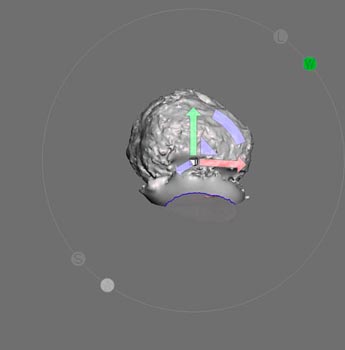
Plane cut
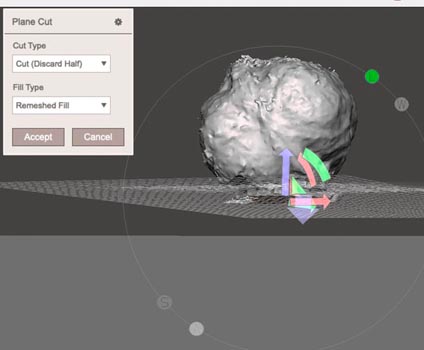
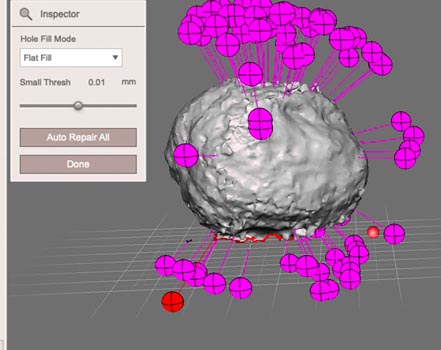
Selected parts to delete and turned ot Inspector to identify errors and to close holes in the object.
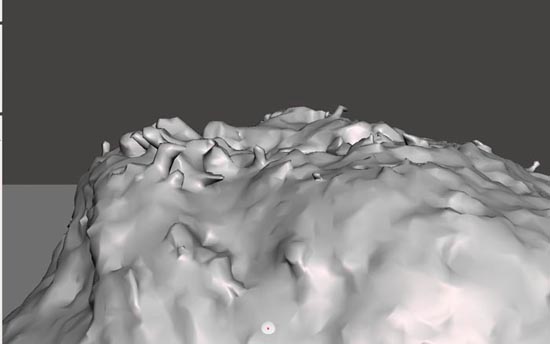
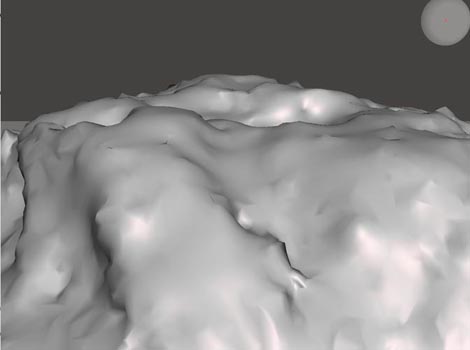
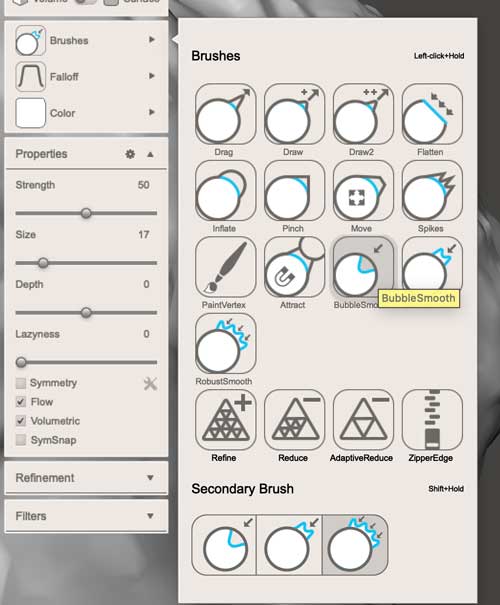
I used "Bubble smooth" brush to smooth the surface where it was necessary
This is the outcome with color applied on it