3. Computer Aided design
On this week I have worked on furbishing my design skills. I have worked before during my college days on Solidworks and autocad and this week I tried different programs. you will know more about this experience below.
Fusion 360 for 3D design.
During my current job I have had the chance to Fusion 360 but the current version on my laptop was old and I had to update it as the first step. Since I have decided to make my learning tool looks like a laptop it was logical to watch some videos on how to draw a 3d laptop. you can see in the picture below the first stage in the 3d design.
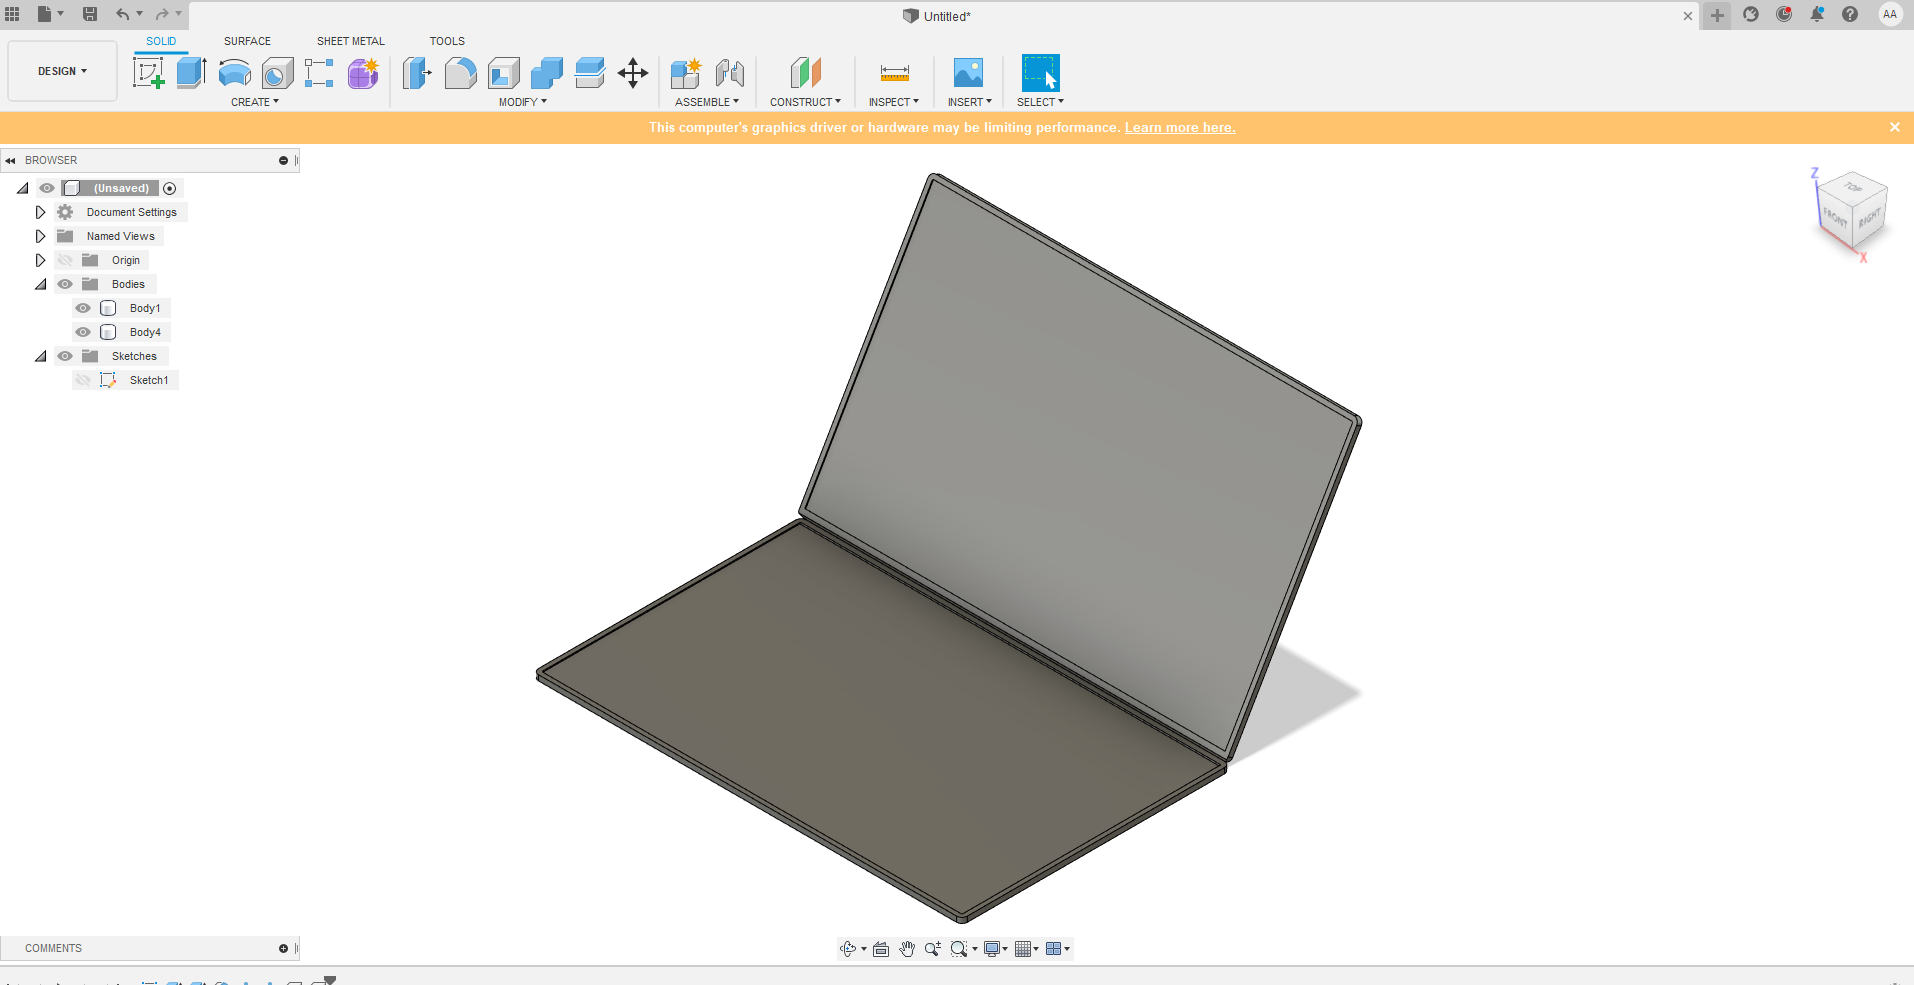
first I started by designing the lower part of the device I have had used many tools like fillet, shell and more. then I mirrored the lower part using circular patterns to have the upper part ad you can see in the image below:
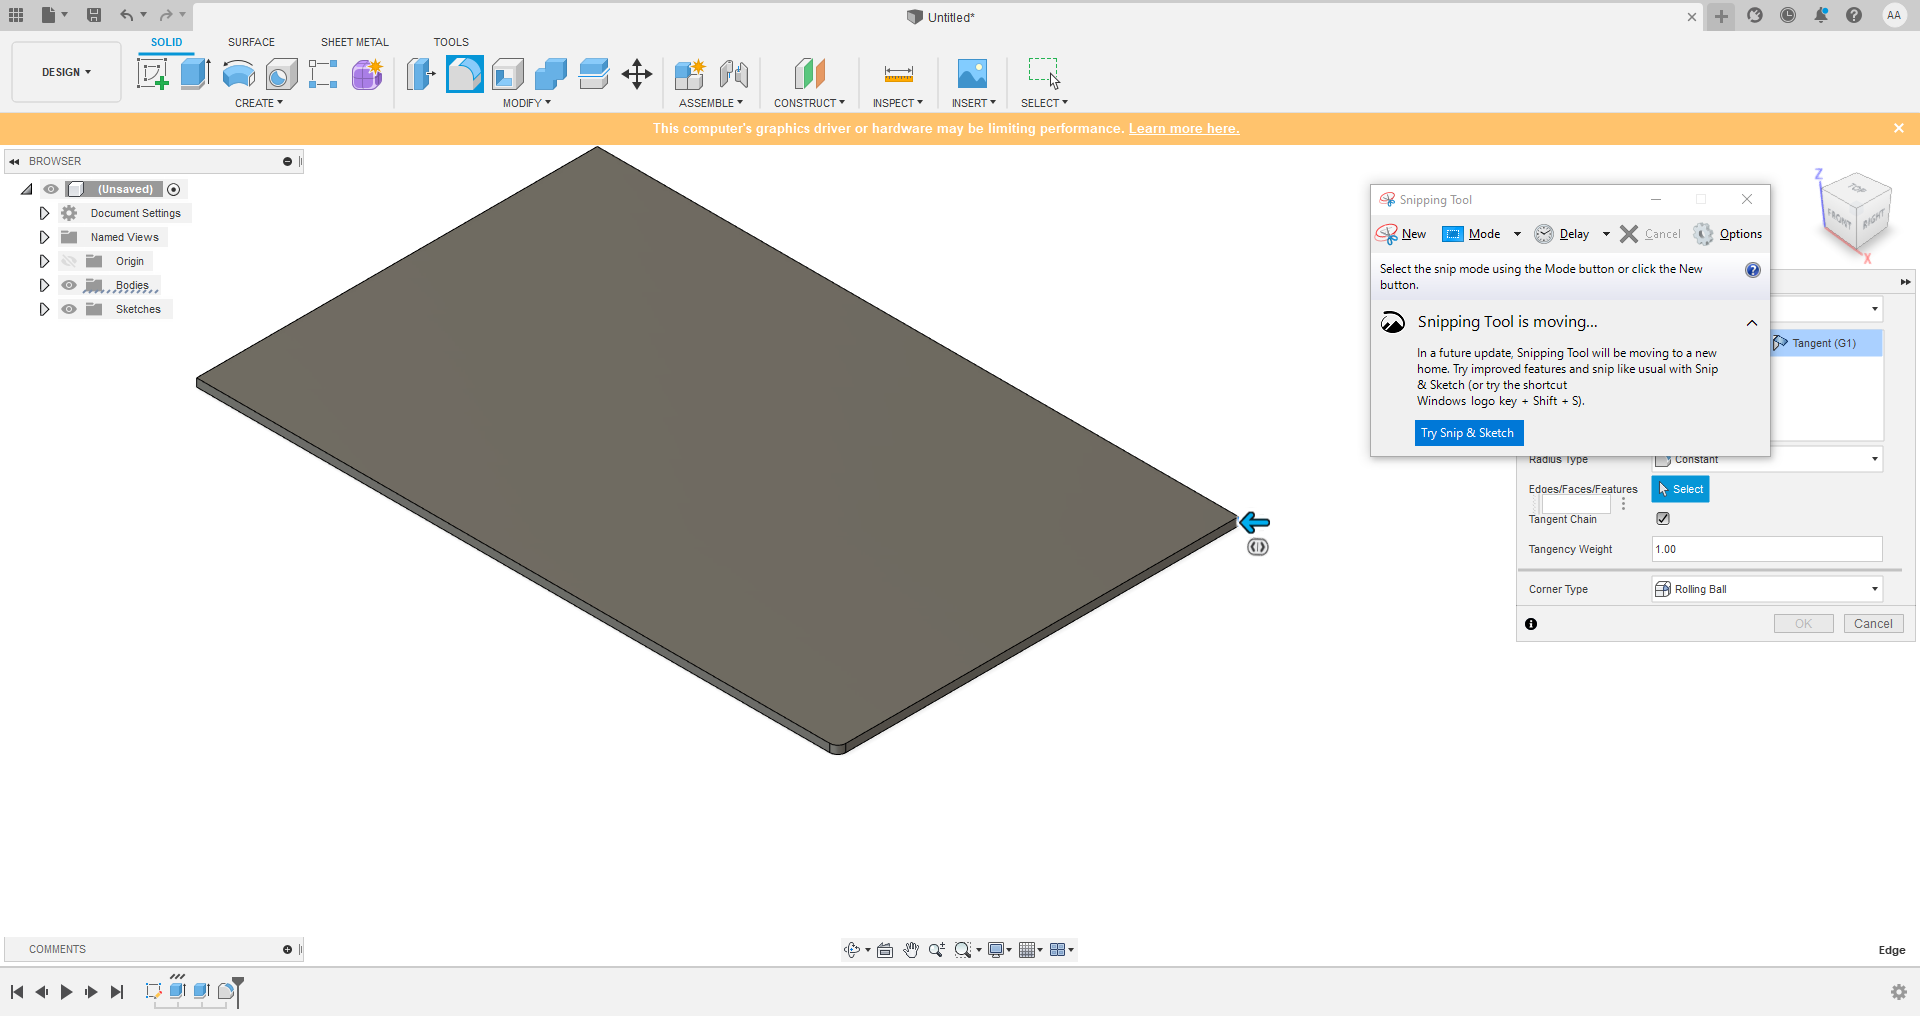
after that I added to the top part some thin boxes like in the picture below:

where I started a new plane on the surface of the top part to be able to draw those boxes using the pattern tool.
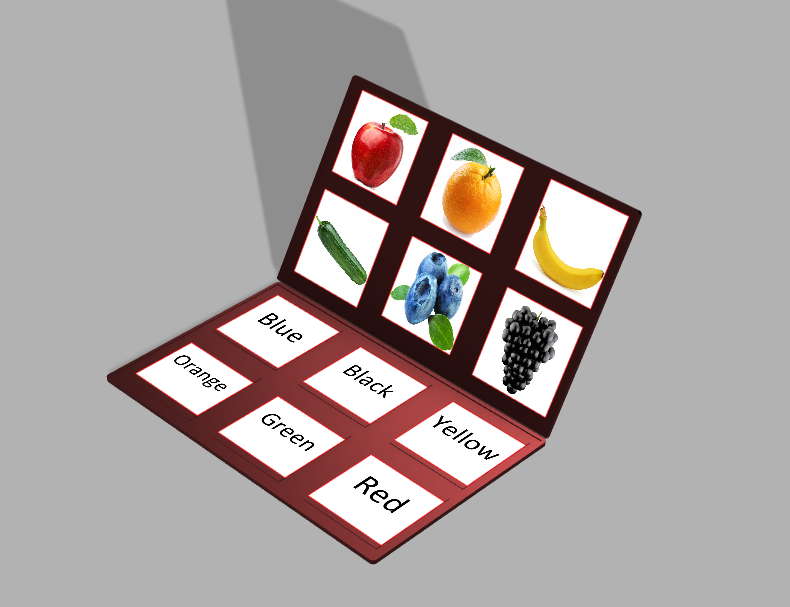
Then I added words and pictures to the boxes I made on both parts. those boxes represent interactive buttons for the child. and the final result can be seen below.
CorelDraw for 2d design.
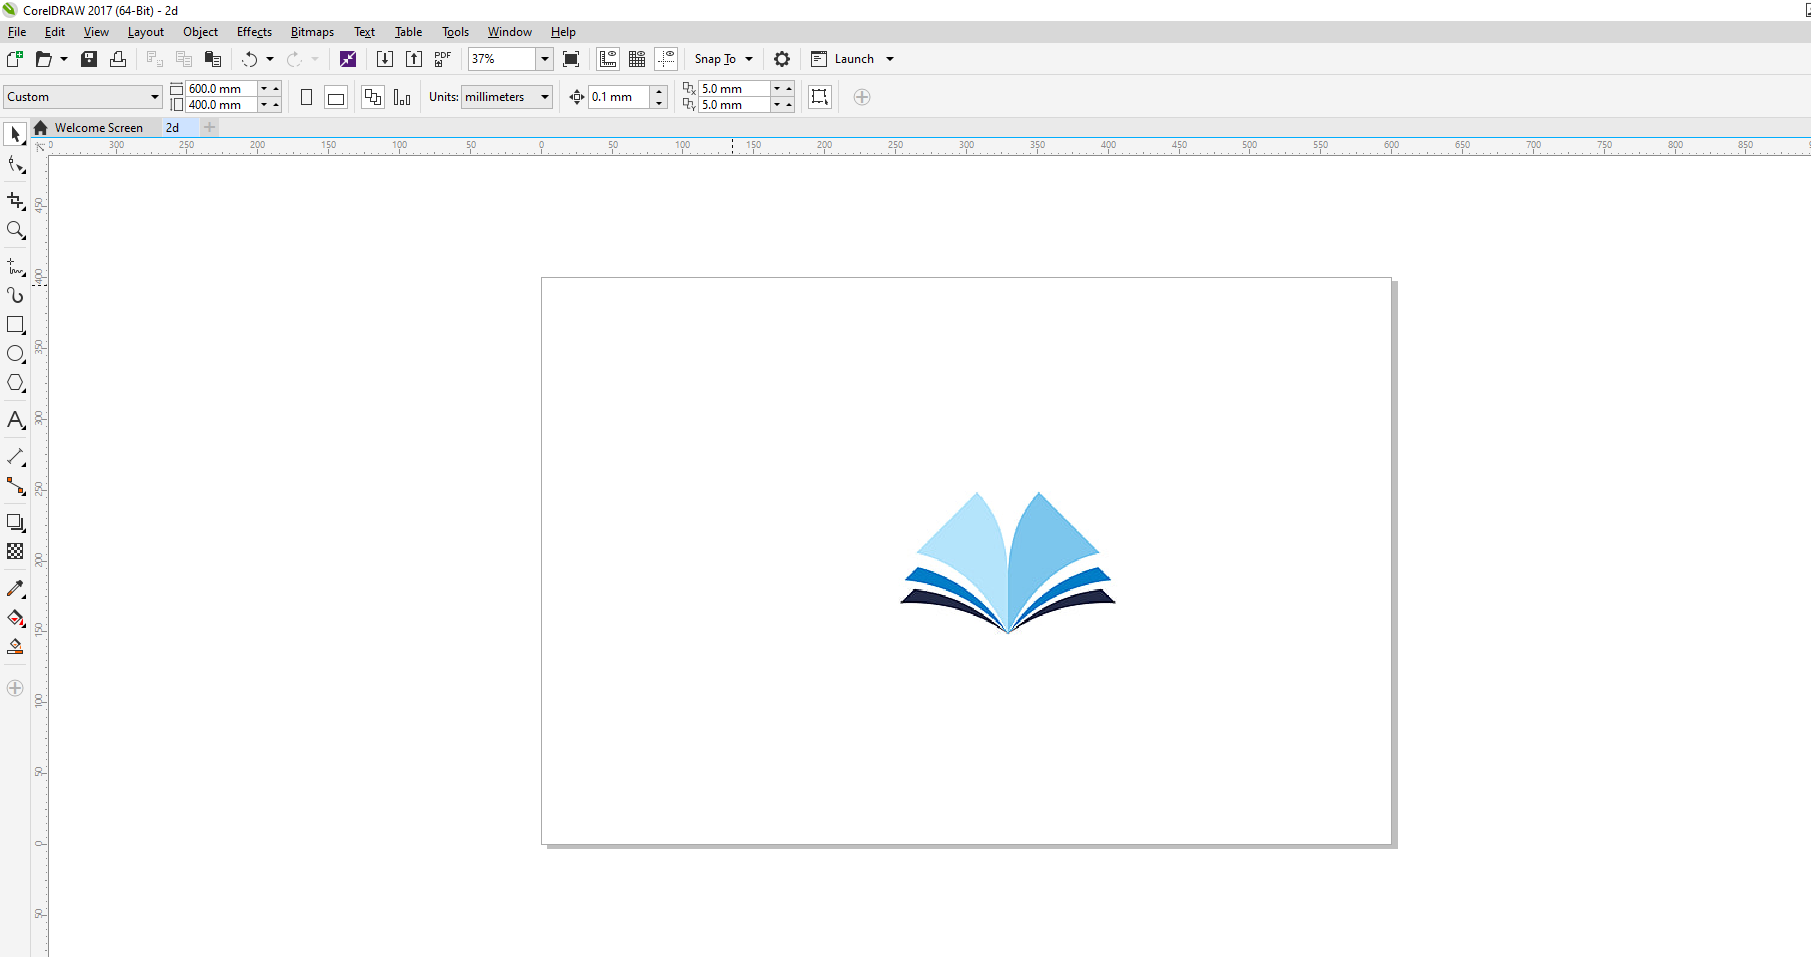
I have worked lightly before on CorelDraw. I used it here to make the victors im going to use as a logo to laser print it on my device. first thing was importing the raster picture.
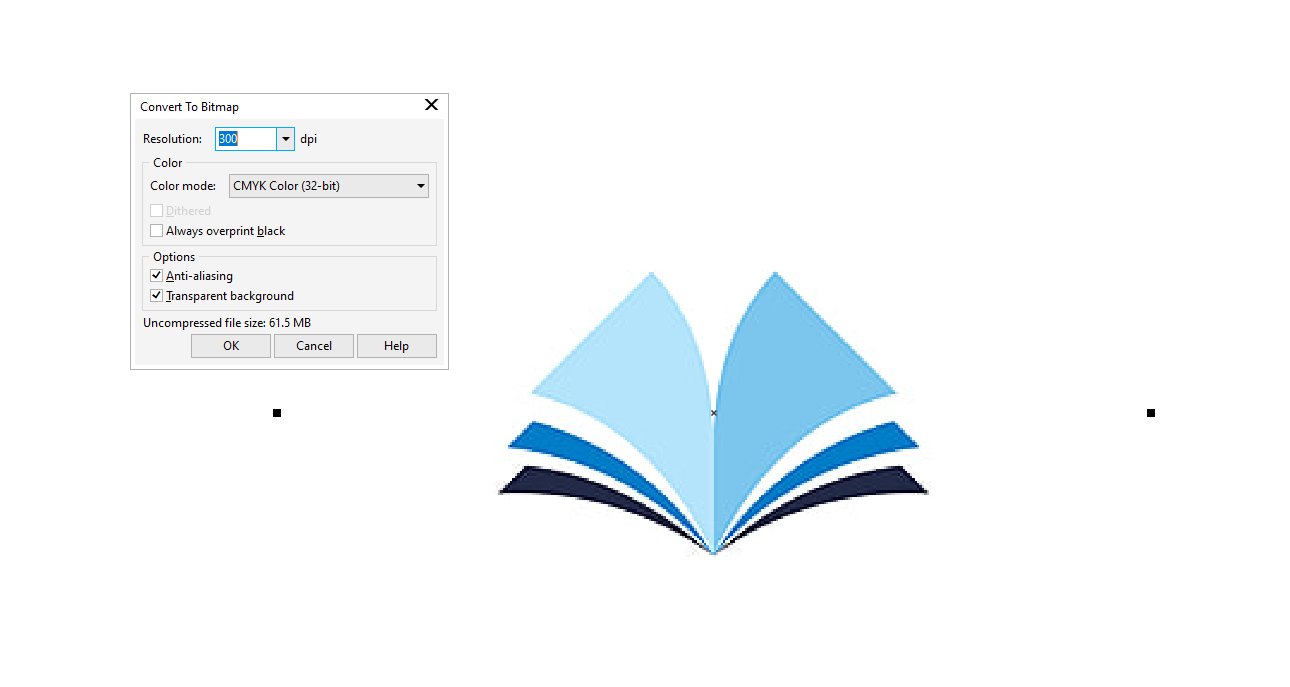
then I converted it to bitmap
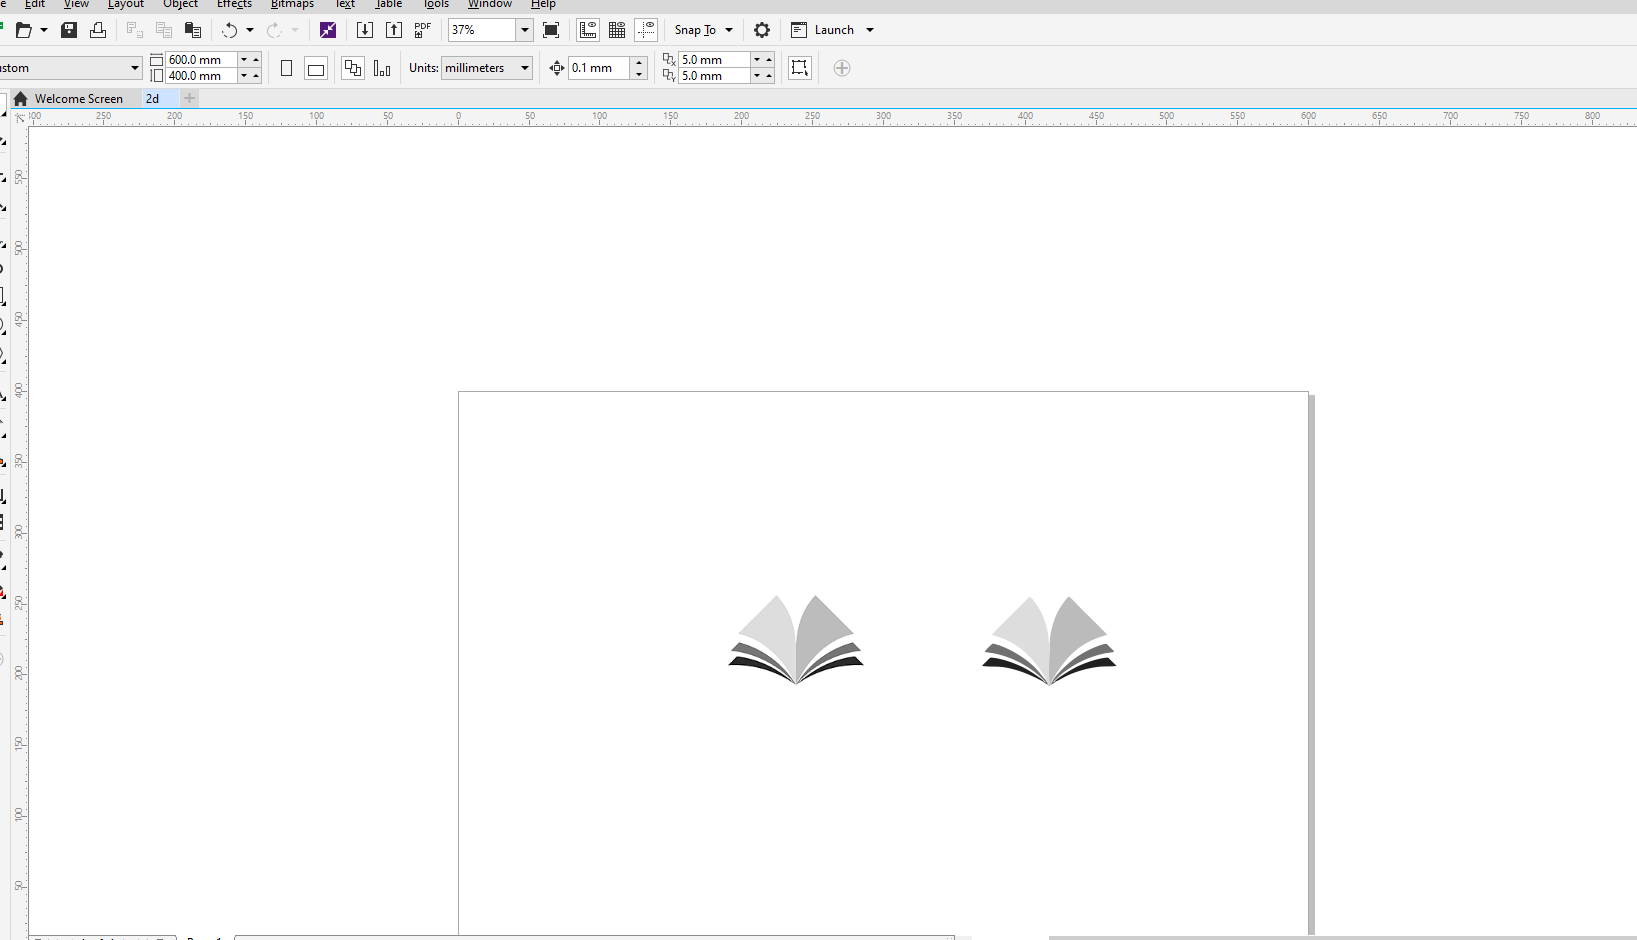
then I traced it for vectors.
after that I added text
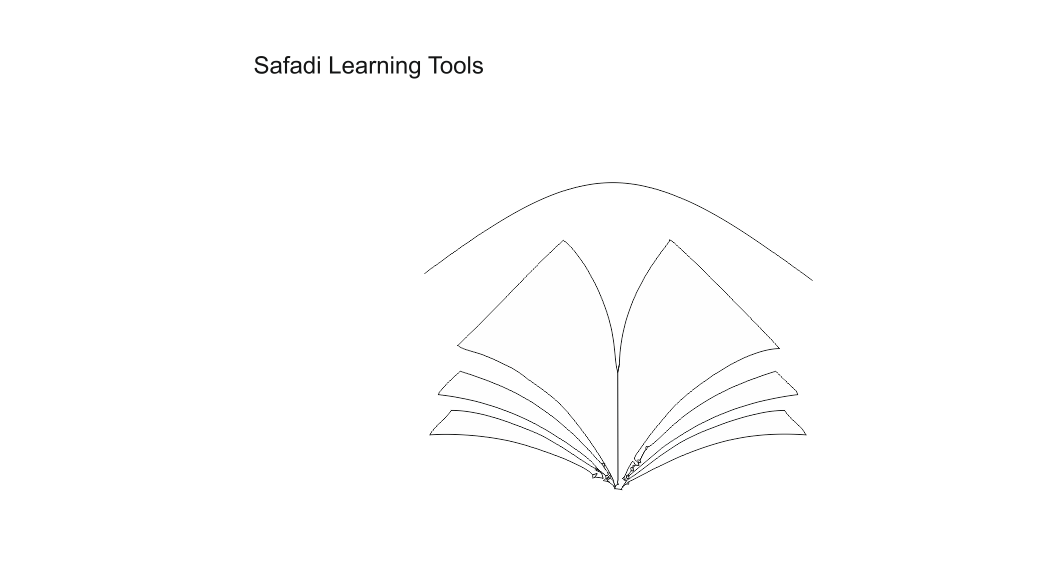
and finally I aligned the text into a certain path and you can see the final results below:

Gimp for photo Editing.
I used Gimp for the first time in my life, but I just wanted to try photo editing. I used my photo and a photo of a forest and I combined them so I can look like Im in a forest.

snipping for screenshots.
I used the snipping tool in windows to screenshot my progress and crop it to be able to ass it to my website.
