3D Scanning and Printing
Experiments with 3D scanner and printer
Intro.
Happy to see you here. This is my fifth week assignment in Fabacademy.This week is about 3D scanning and 3D printing Wow! I remember when I was child and great artist I use to often imagine to build a machine that can help me in build things like One day I will make my own 3D printer house. Still nothing change but ofcourse now I had little more sense on enviroment and sustainablity so why not 3D print house made of eco and sustainable material. Ofcourse many have done already but wait I am not into competition since whatever is been done until I cant use that it is incomplete for me. I tried to build my own long back but left project incomplete. Hope one day I will complete it and use it.
.jpg)
Week Task:
Group assignment: Test the design rules for your 3D printer(s)Individual assignment: Design and 3D print an object (small, few cm3, limited by printer time) that could not be made subtractively. 3D scan an object (and optionally print it)
Group assignment: summary
So we have done multiple test to study design possibilities with 3d printing. click here to known more...
Here I dicuss some test done by me in group assignment
Bridge Test: This test is done to see without support how long 3d printed can make brigde. As you see on second image when distance between point A and B get increase it get little deform in begining but at end still managed to print well
.jpg)
.jpg)
Surface Test: So this was just see how it print curve surfaces and as you see images It done very well
.jpg)
.jpg)
This whole printing is done with abs material.
Individual assignment:
3D Designing and Printing
Here We have julia series printer in our lab like any other additive 3d printer it have nozzle to extrude material. Here we have two material available to use abs and pla. Both are thermo plastic it get soft when heated it. So here in this 3d printer nozzle is get heated which help material to liquify so it can be extruded and another is bed also get heated which let design to stick on surface properly. It have x,y and z cordinating mechanism control by stepper motors.
supported software:
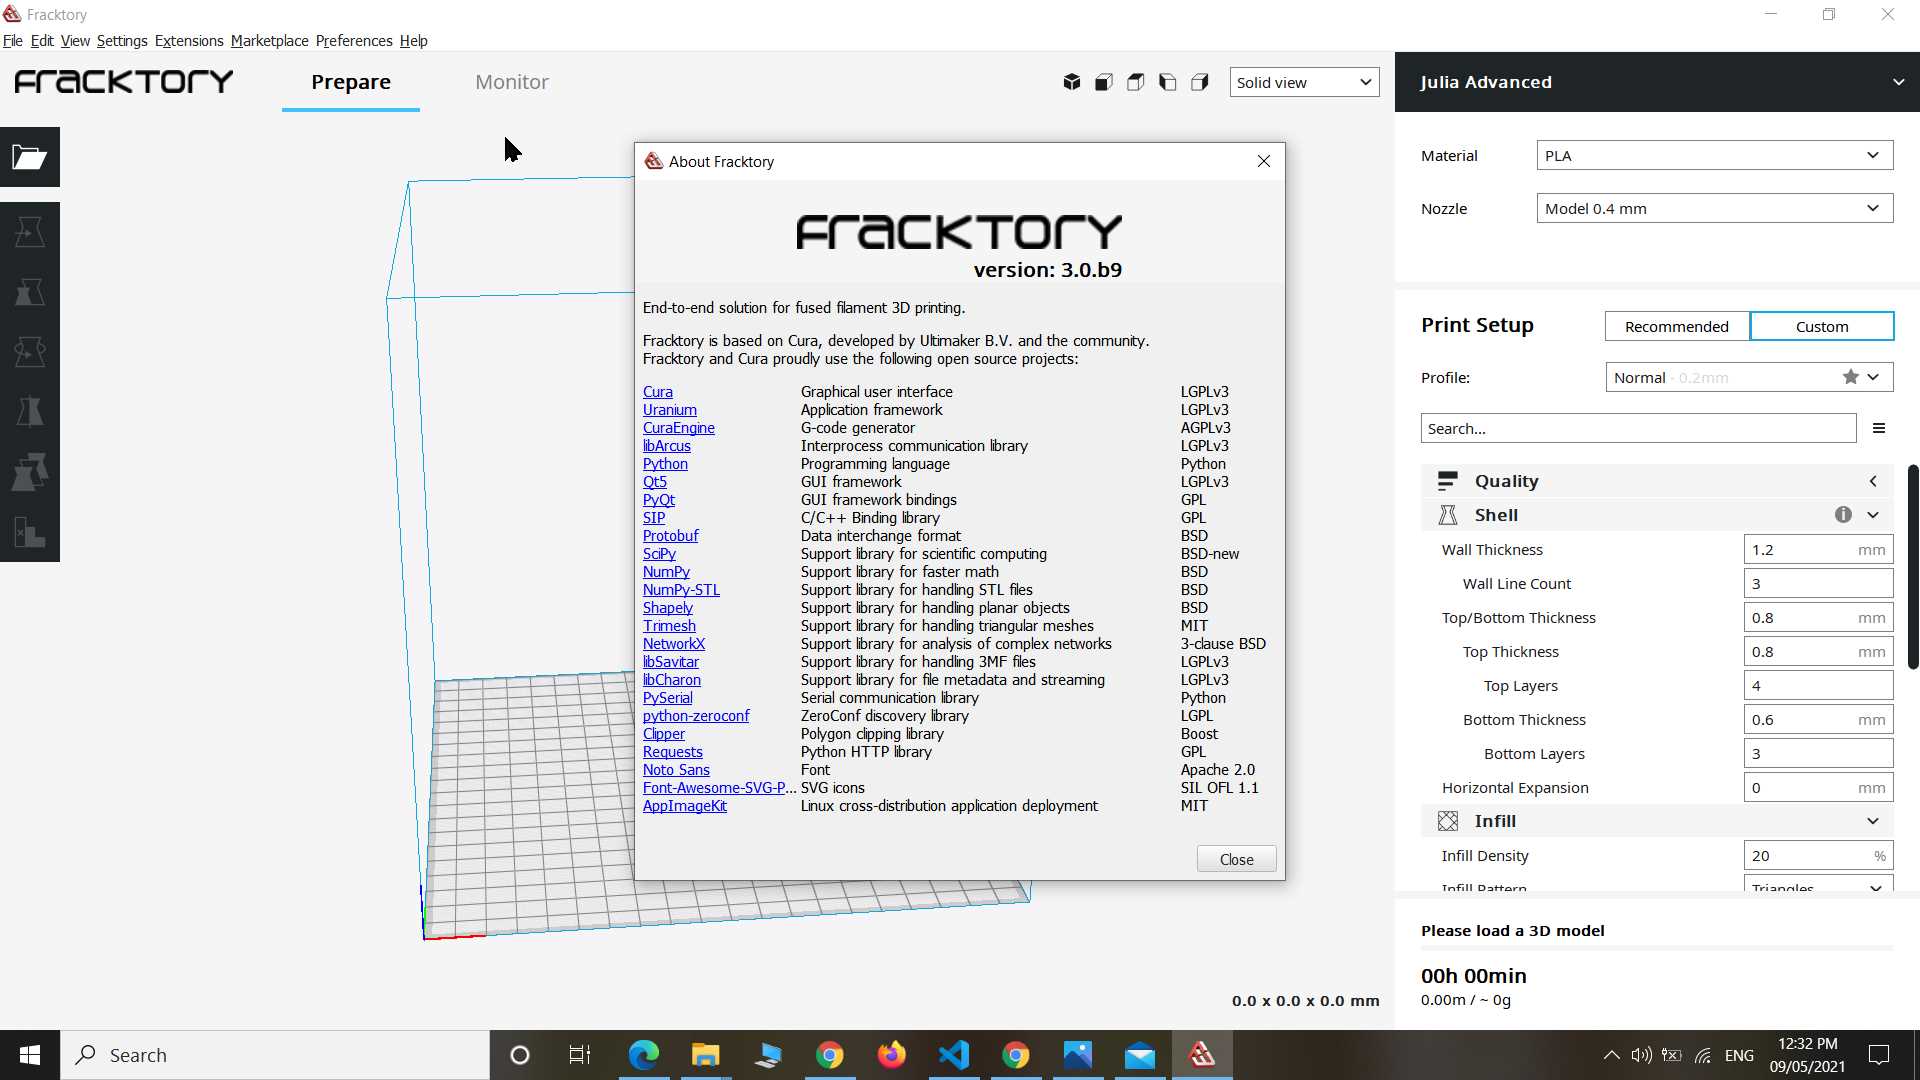
you can download it from their site. It support stl file and based on cura almost similar to it.
what is subtractive and additive manufacturing?
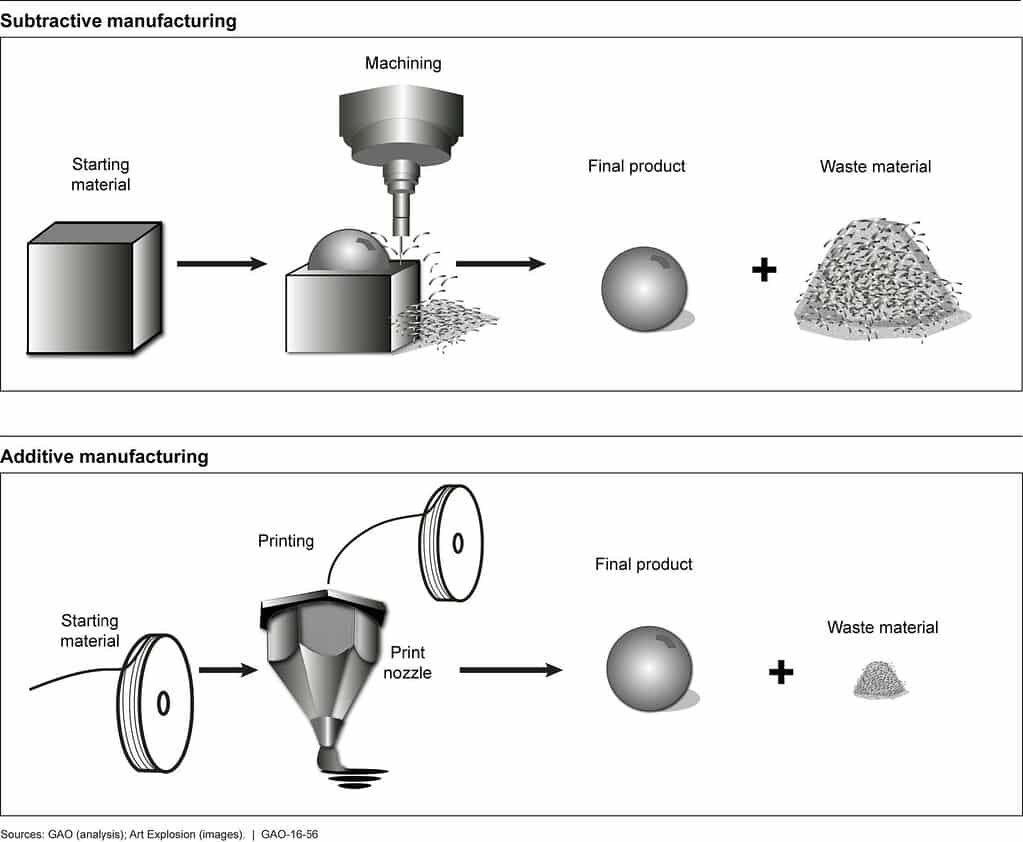
as you see in image different between SM and AM. Here in our 3d printer we using AM method. This build object by putting material layer by layer so I can build more complex shape easily compare with SM machines. Here I will try such design in this assignments which is easy only with additive manufacturing.
This week went dificult for me all because I got fever and left no enegry to focus on doing assignment. But I will complete what I planned soon.
I was thinking of printing wire mesh model of 3d object so I tried to explore different settings on software level
I made thick stroke 3d model of pyramid in blender to 3d print it as it is.
For that I took default solid Pyramid shape in blender and in editmode delete Only face
by selecting all and pressing delete

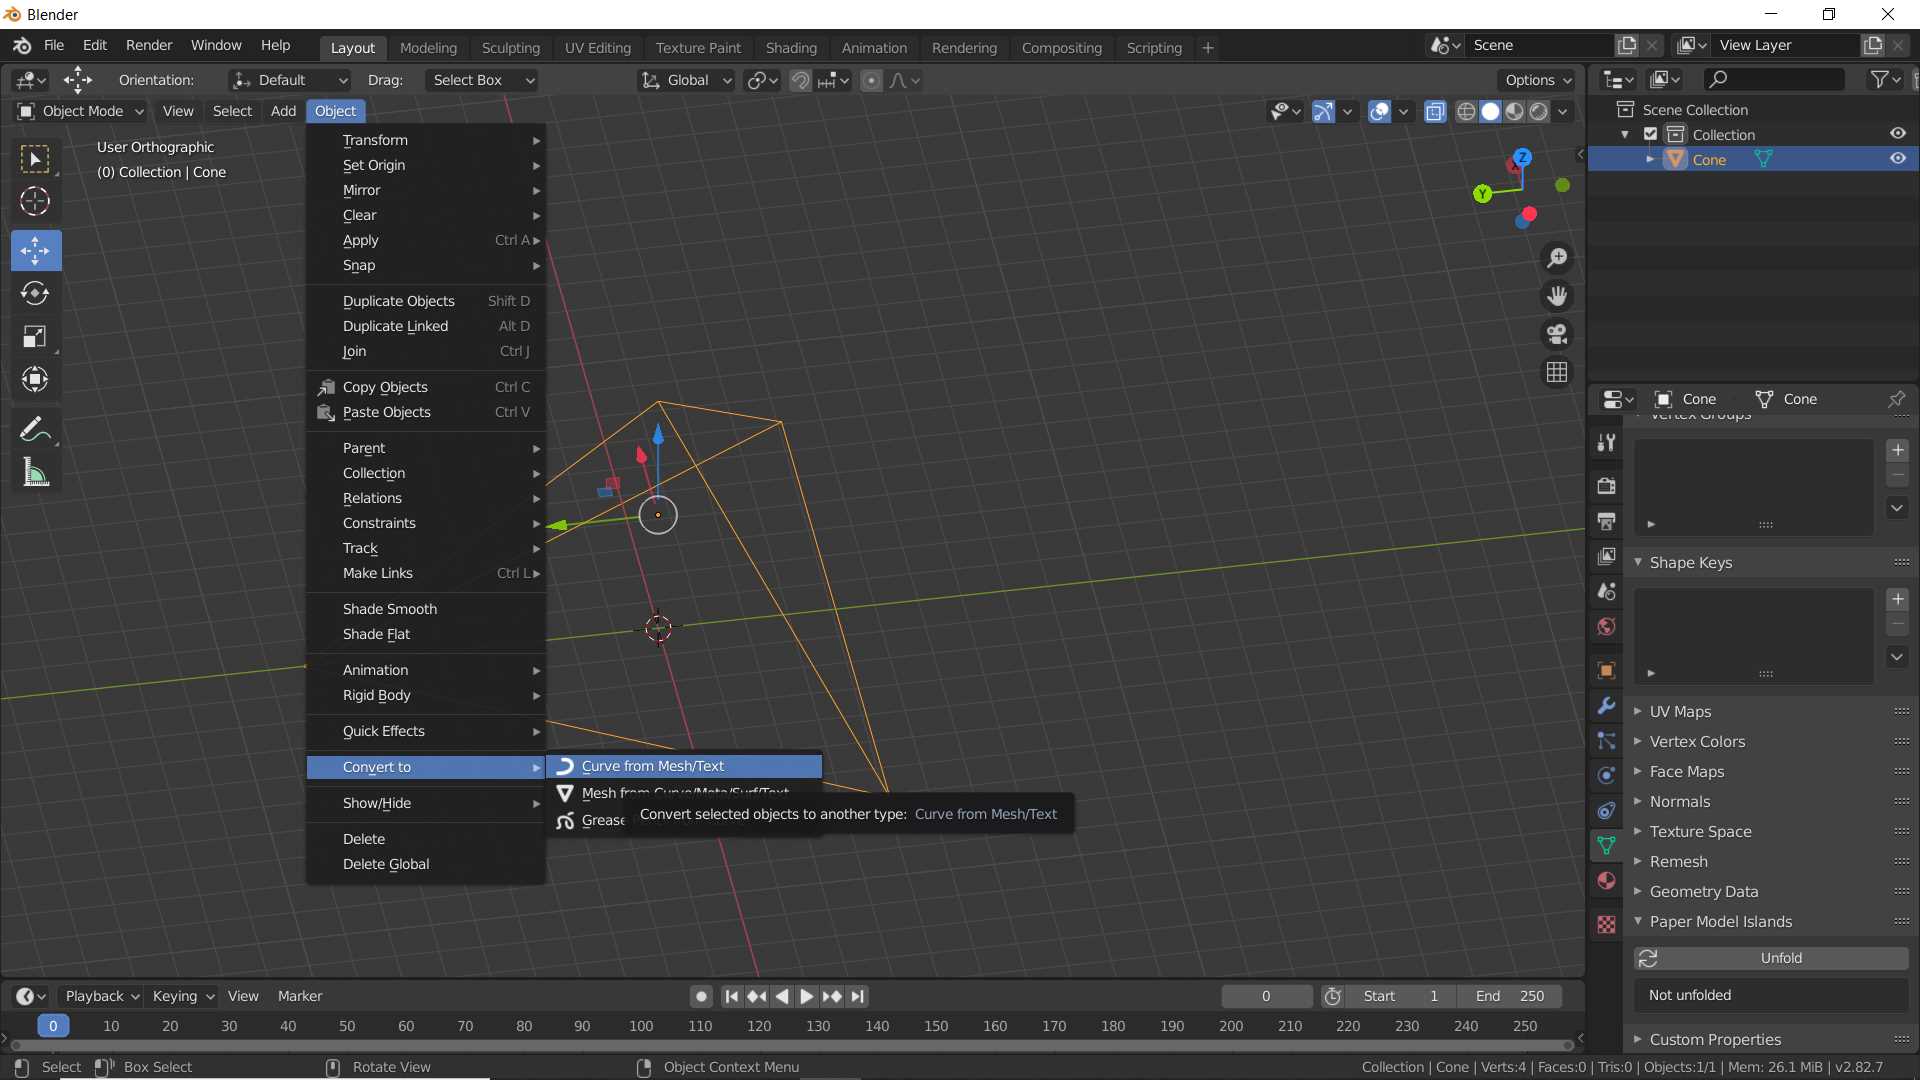
You see only edges and vertex of object, no face. Select object in object mode and goto Object menu
Select convert to/ curve from mesh/text
In property panel in Object Data propertiesIn option Geometry/Bevel/depth
change it to needed thickness
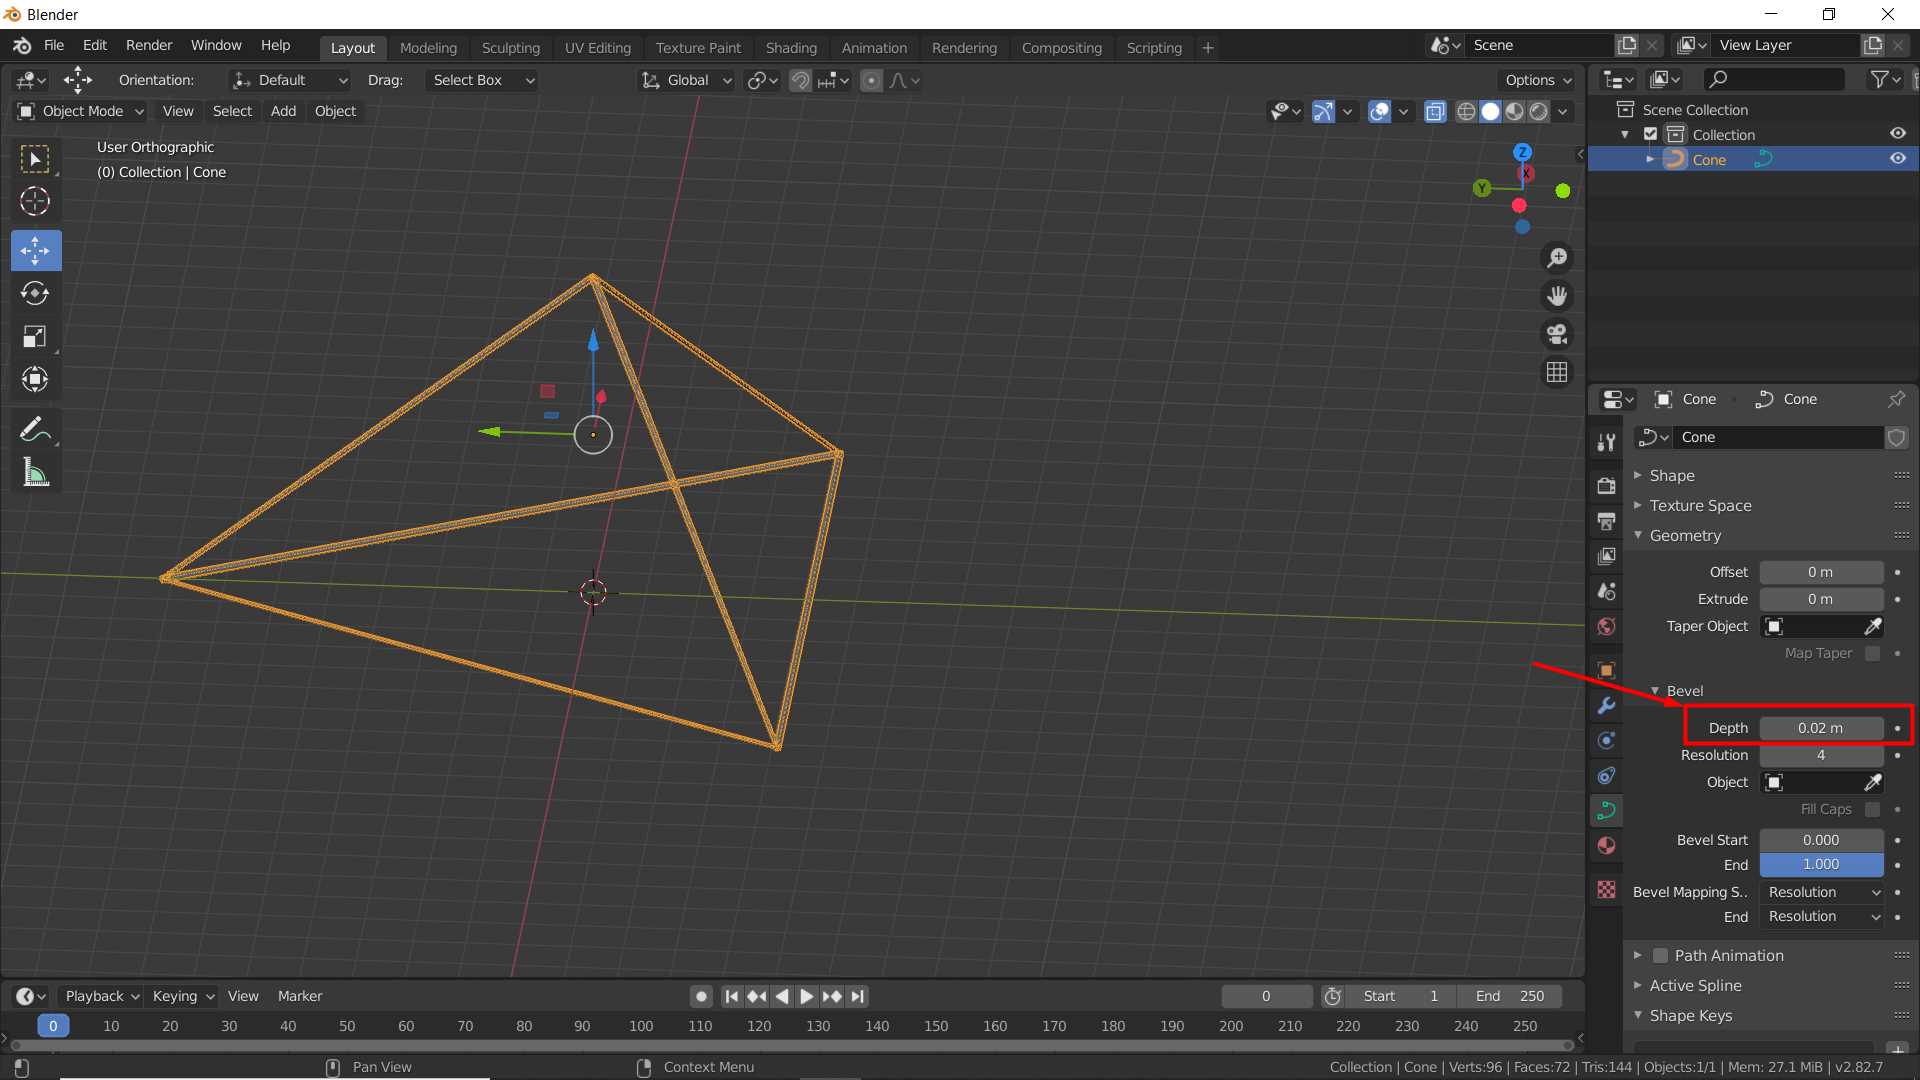
I made this kind of model to see if it can print it in single wires structure ]
But when I open it in Gcode generating software It was not like I was expected but I have idea why it not happening because software is program to 3d print model by slicing it on 2d layers. It cant print using continues stroke in z axis
This have explained me the behaviour of software and hardware of 3d printing. I have not printer it because I dont want to so I move to next design
I thought to make spheres in sphere kind of object. I began with designing it on cad software autodesk inventor...
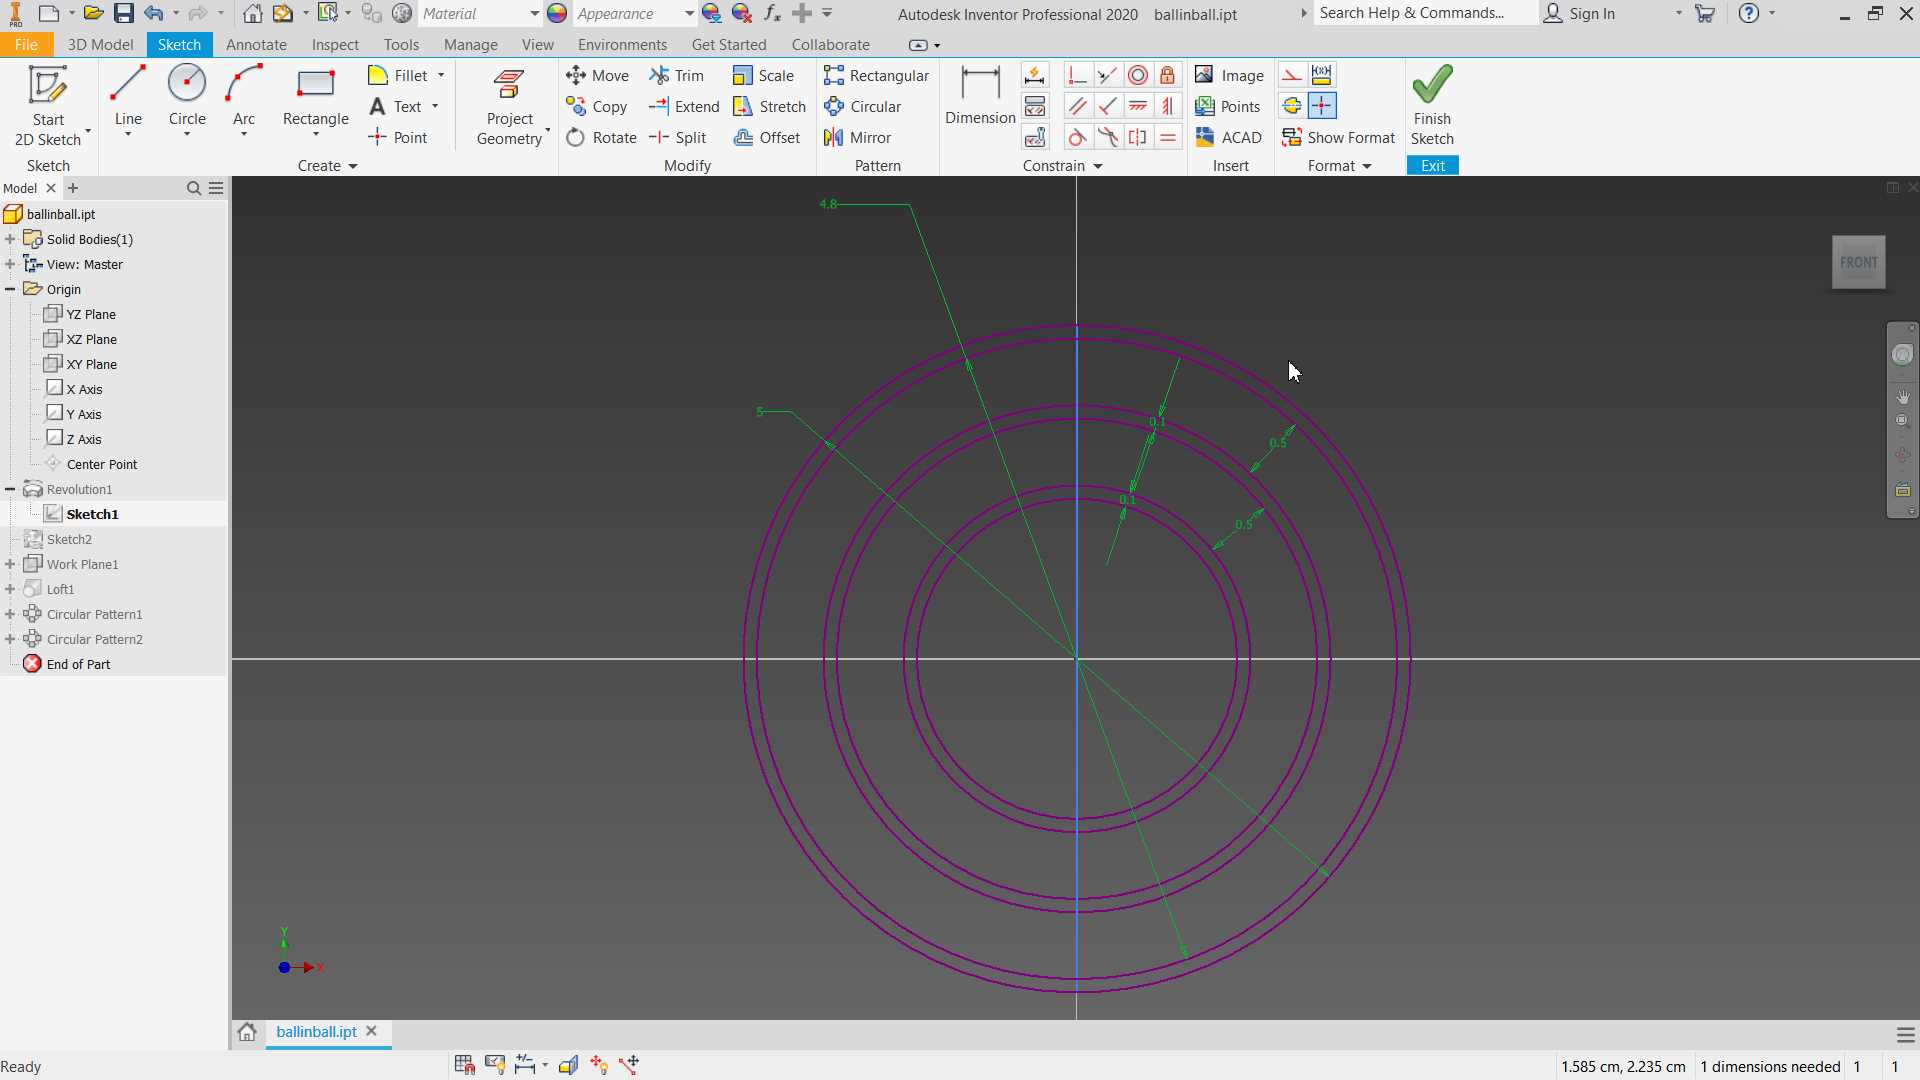
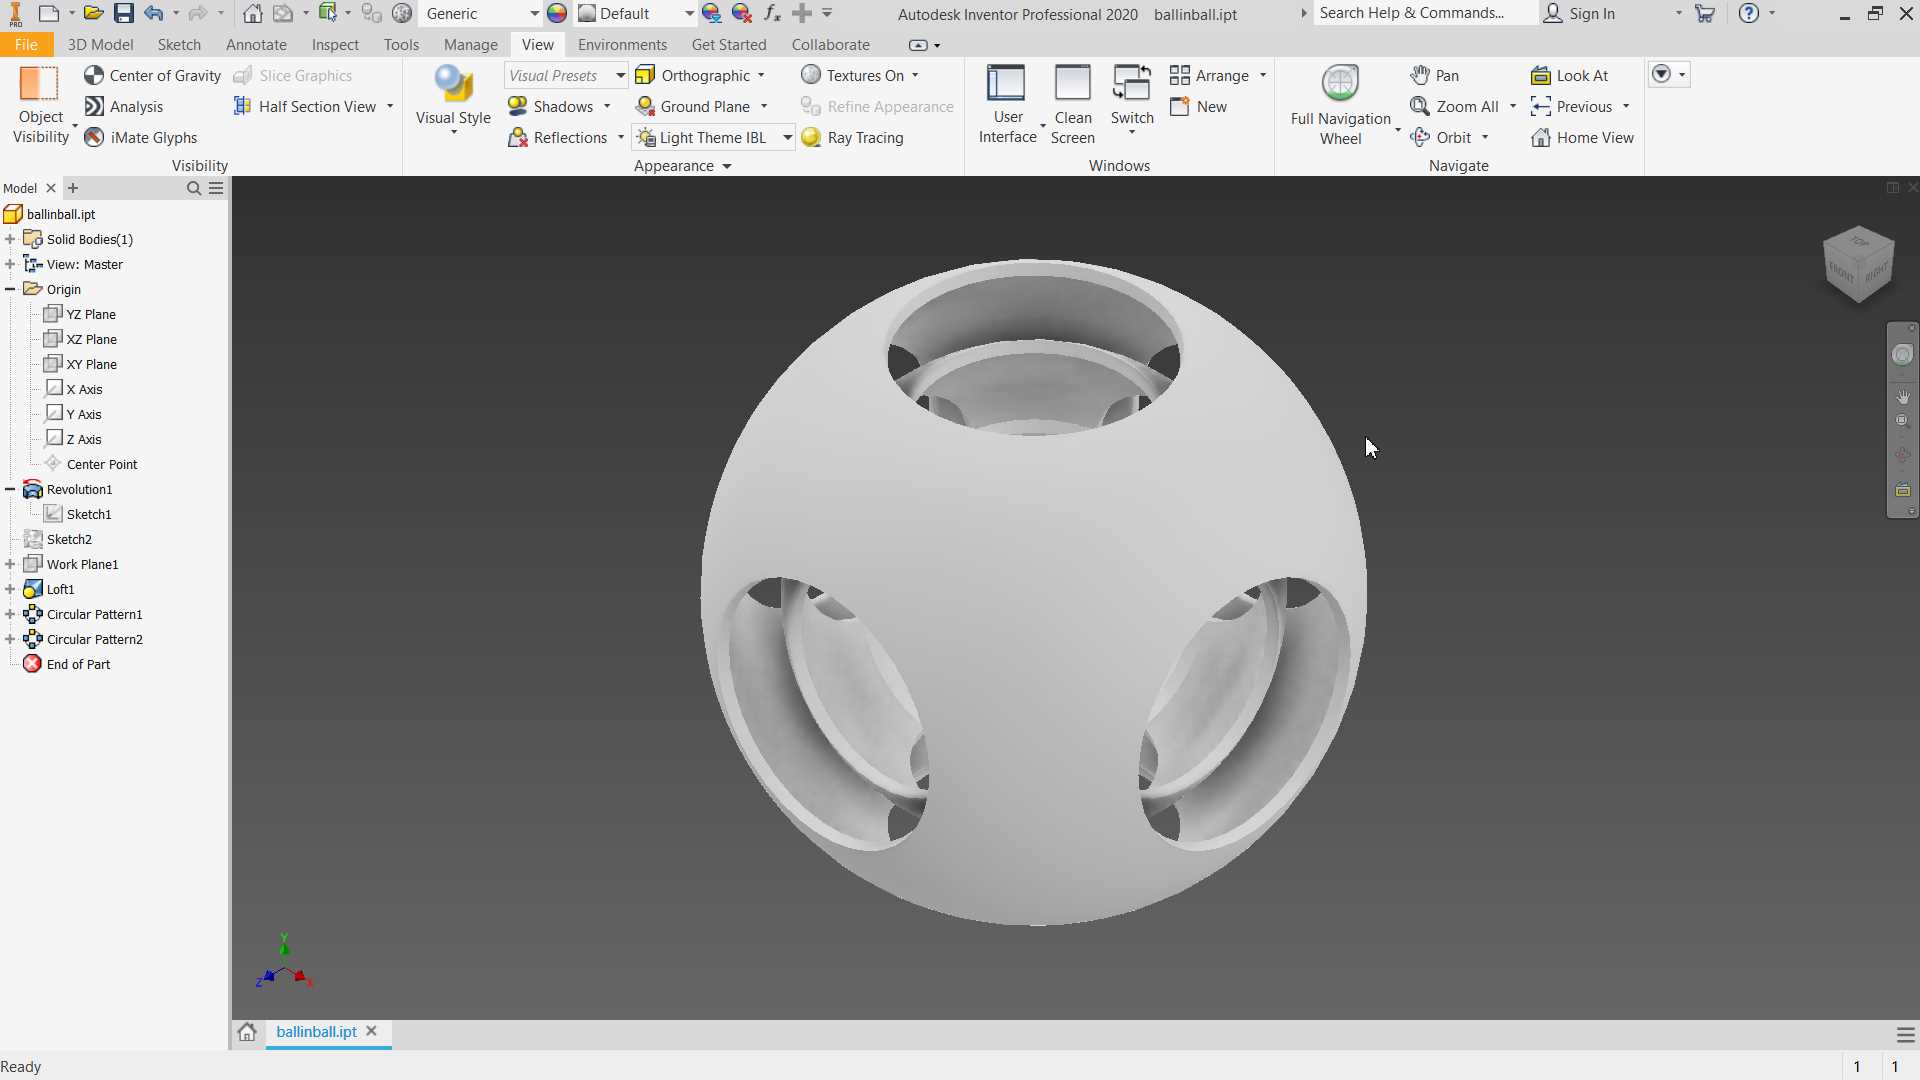
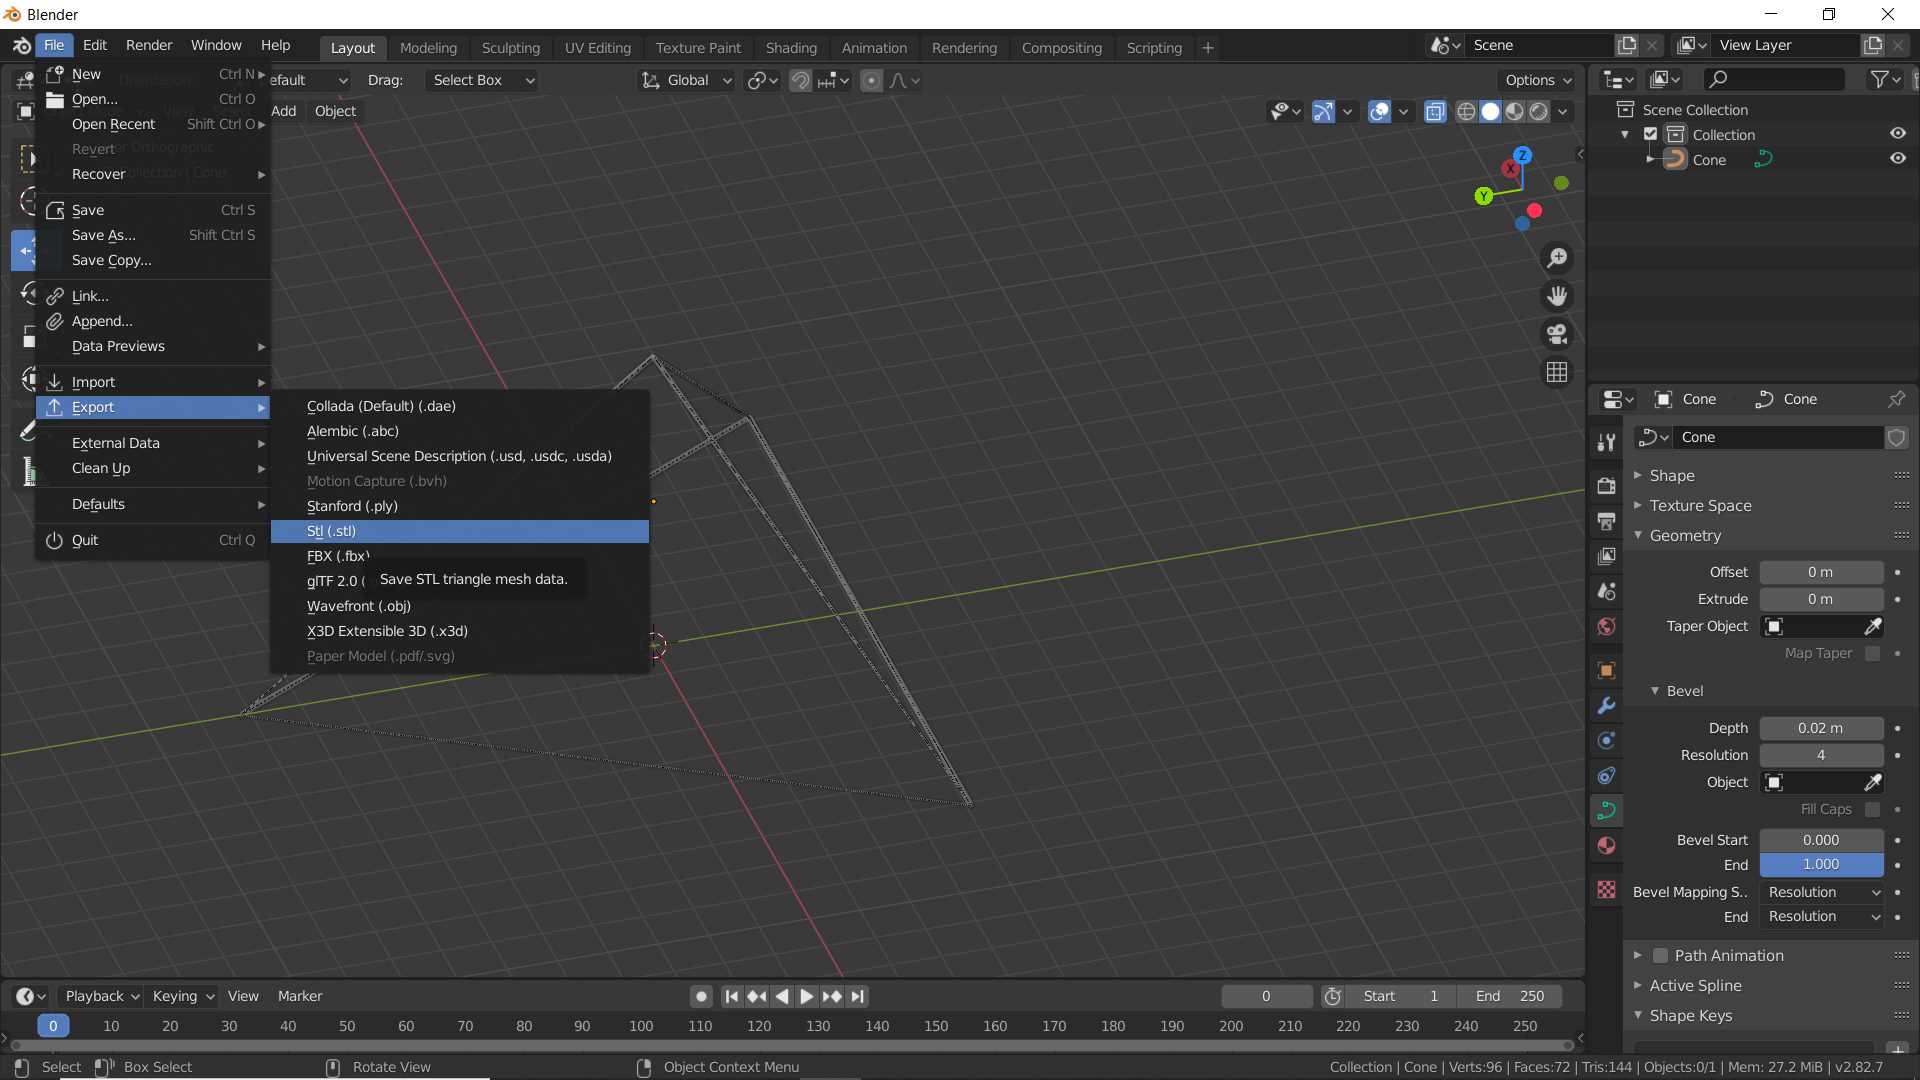
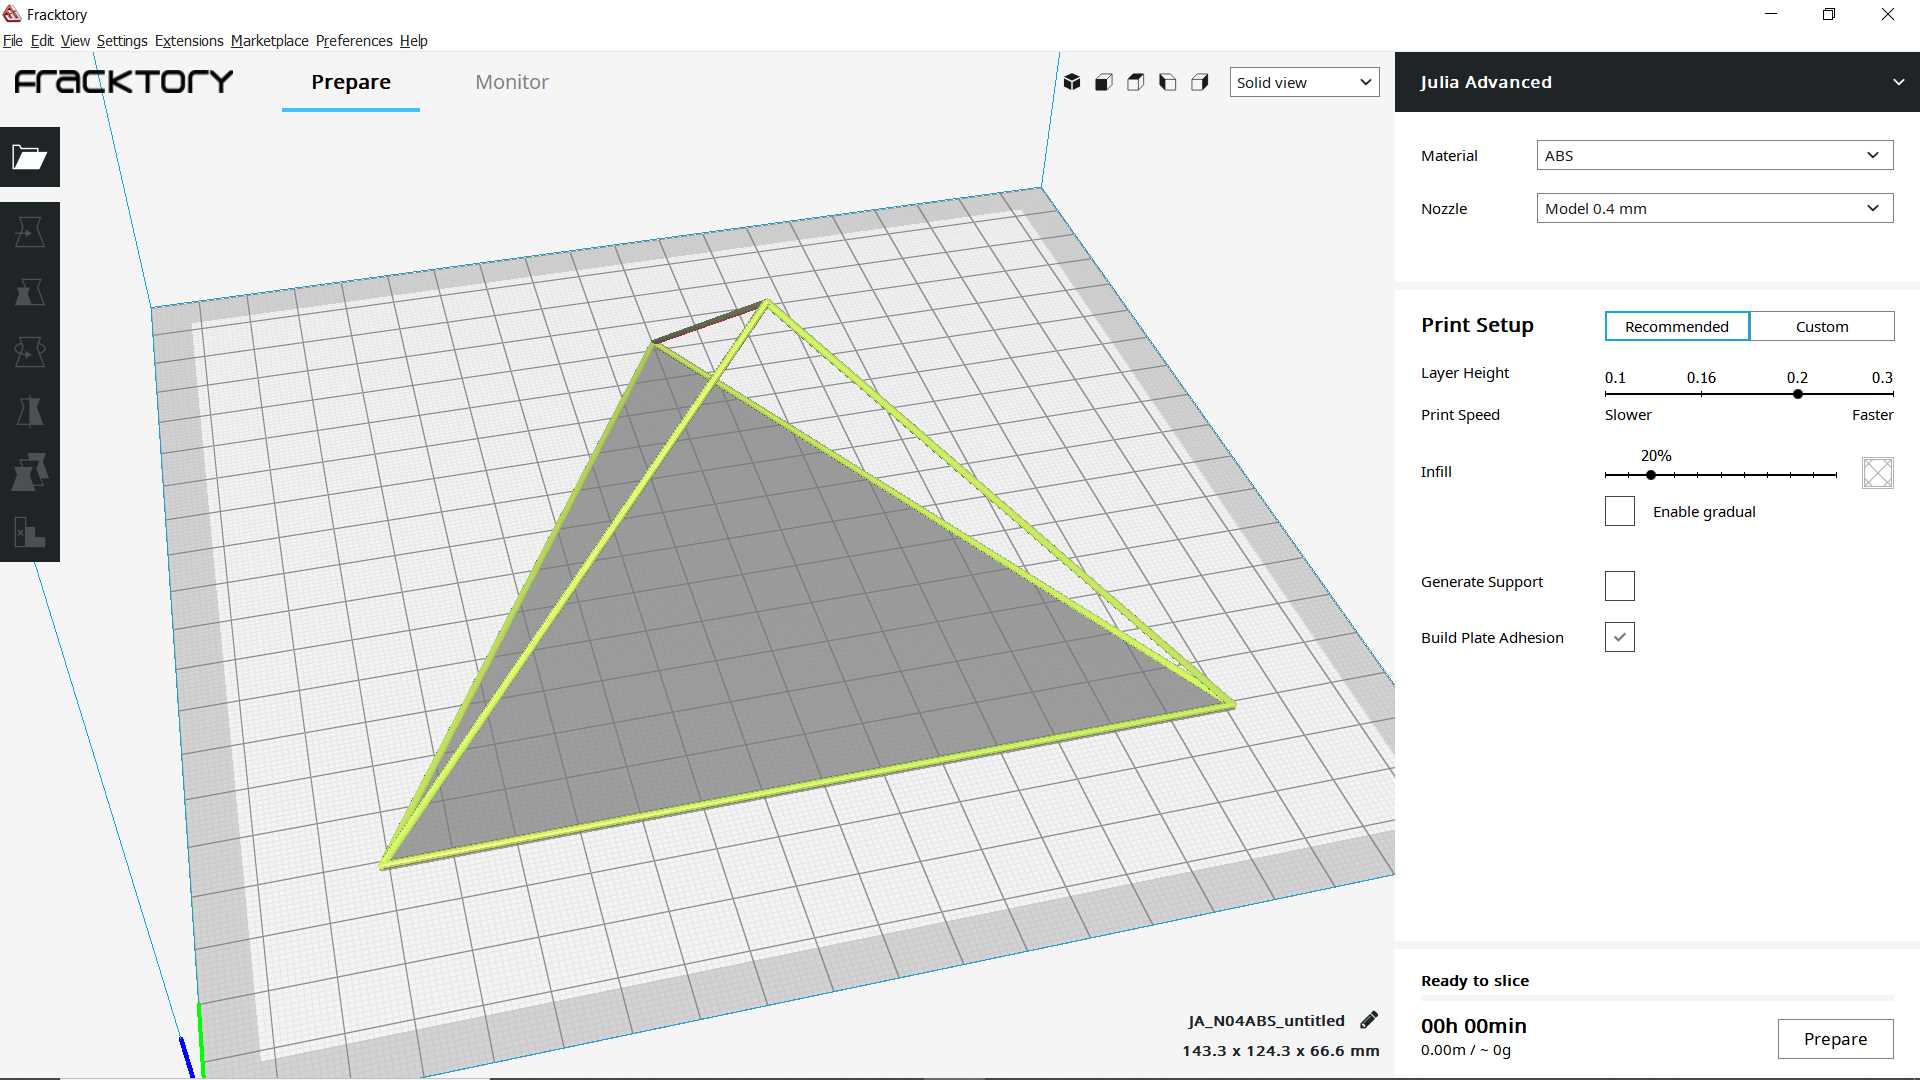
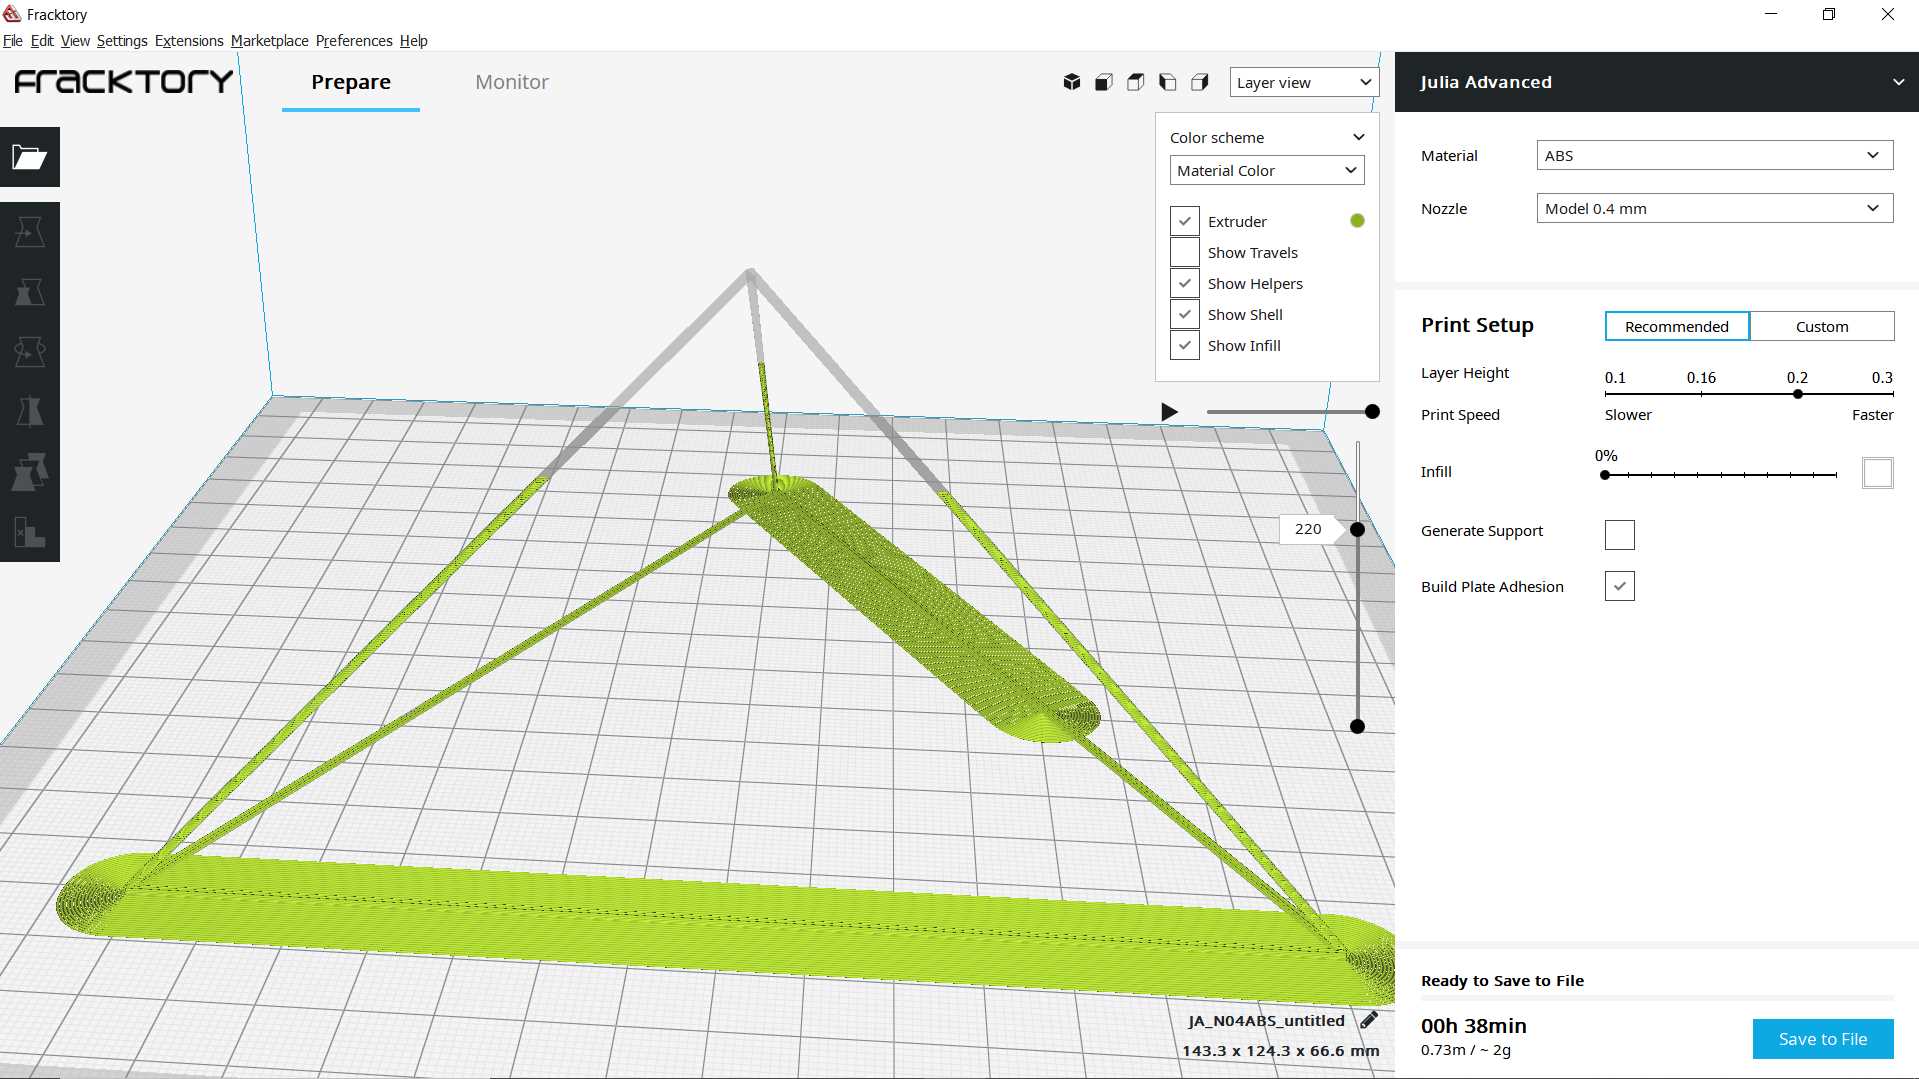
Once my design got ready I exported it in .stl file and open it in Fracktory software which our 3d printed software very or almost similar to cura
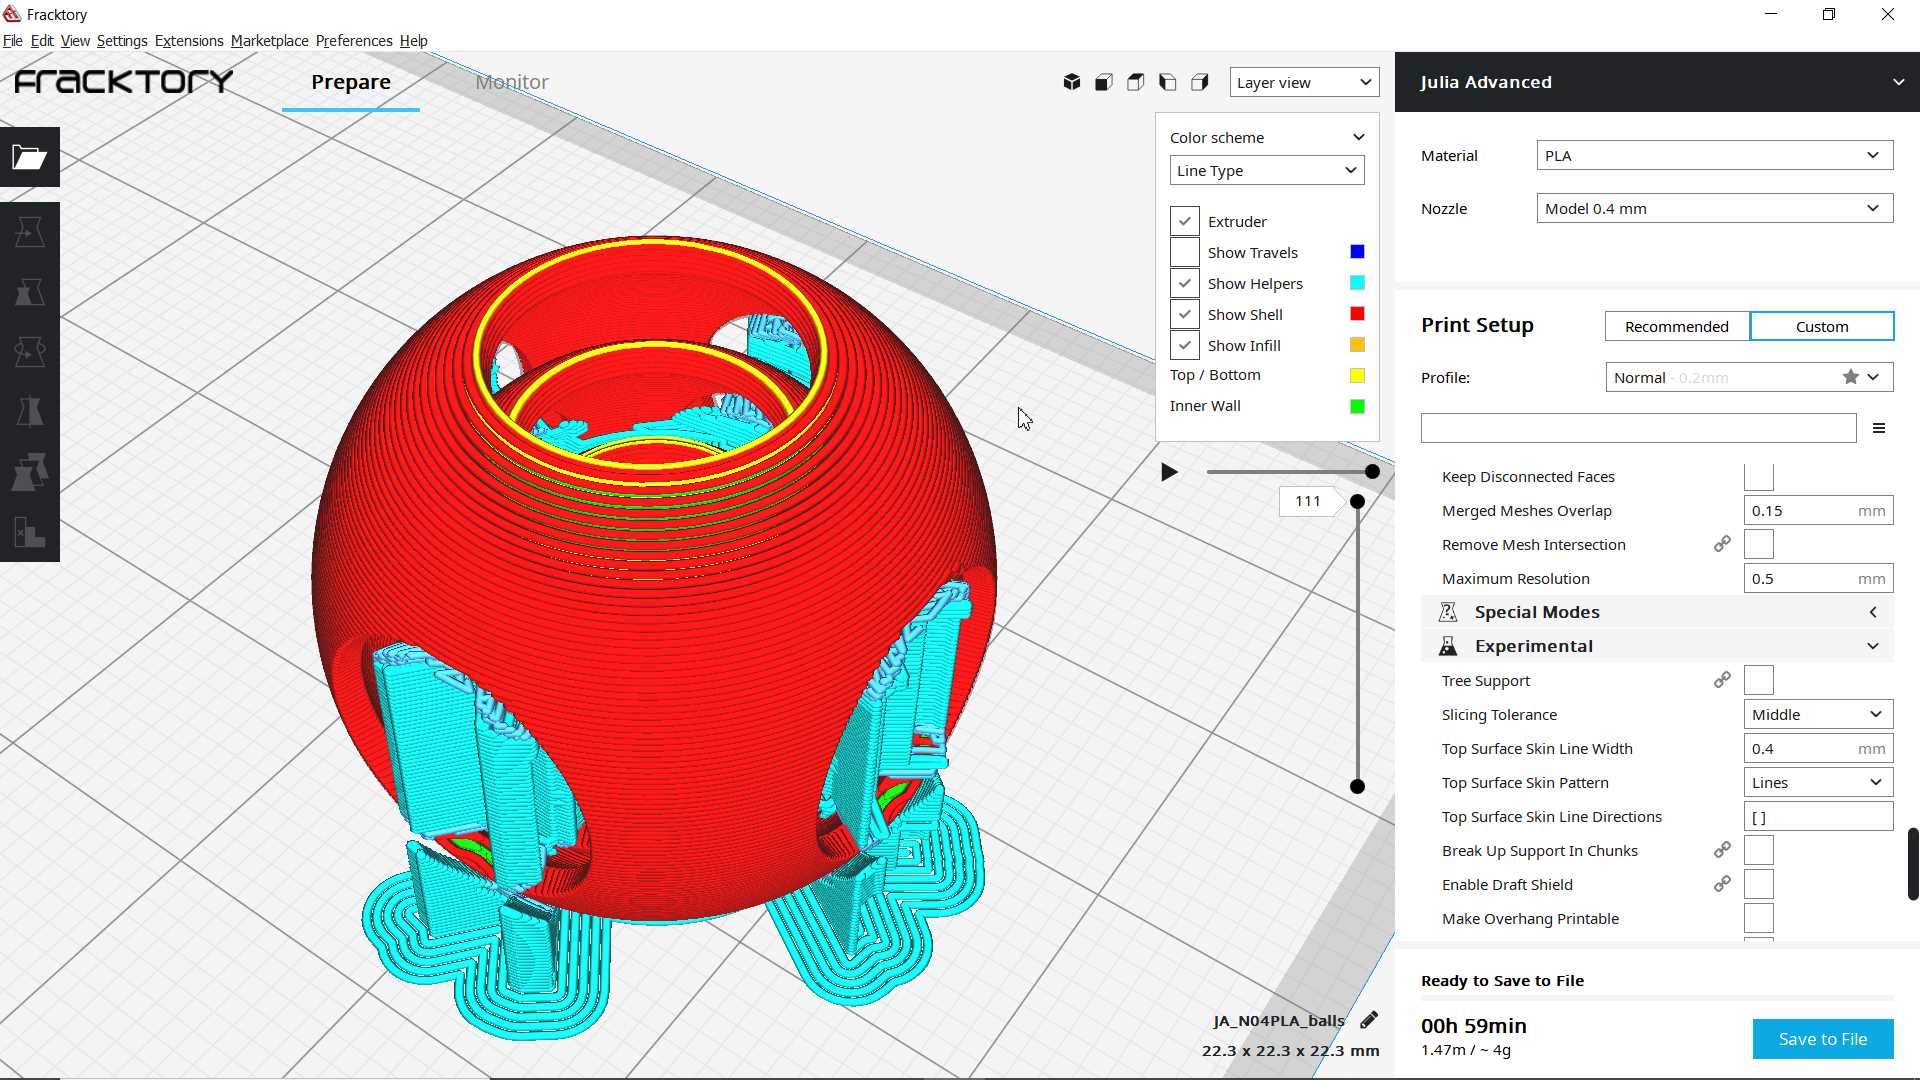
after scaling object little it showed increase in printing time so to reduce it and also to optimize material use I modified supports and kept for printing.
.jpg)
.jpg)
In begining it print well but after sometime the inner sphere left bed and started moving while nozzle want to print it hence shape got deform and afterward the moving inner sphere made middle sphere to move hence printing went wrong so in middle i pause the machine and removed half printed inner two sphere since my design have three spheres so last outer sphere was printing well so I continued. now while printing the inner spheres it extrude on air forming no shape but magic happen after some repitation it started to form inner shape. since I removed inner spheres already so remaining half was for no use. This was failed printing but I continued to observe it.
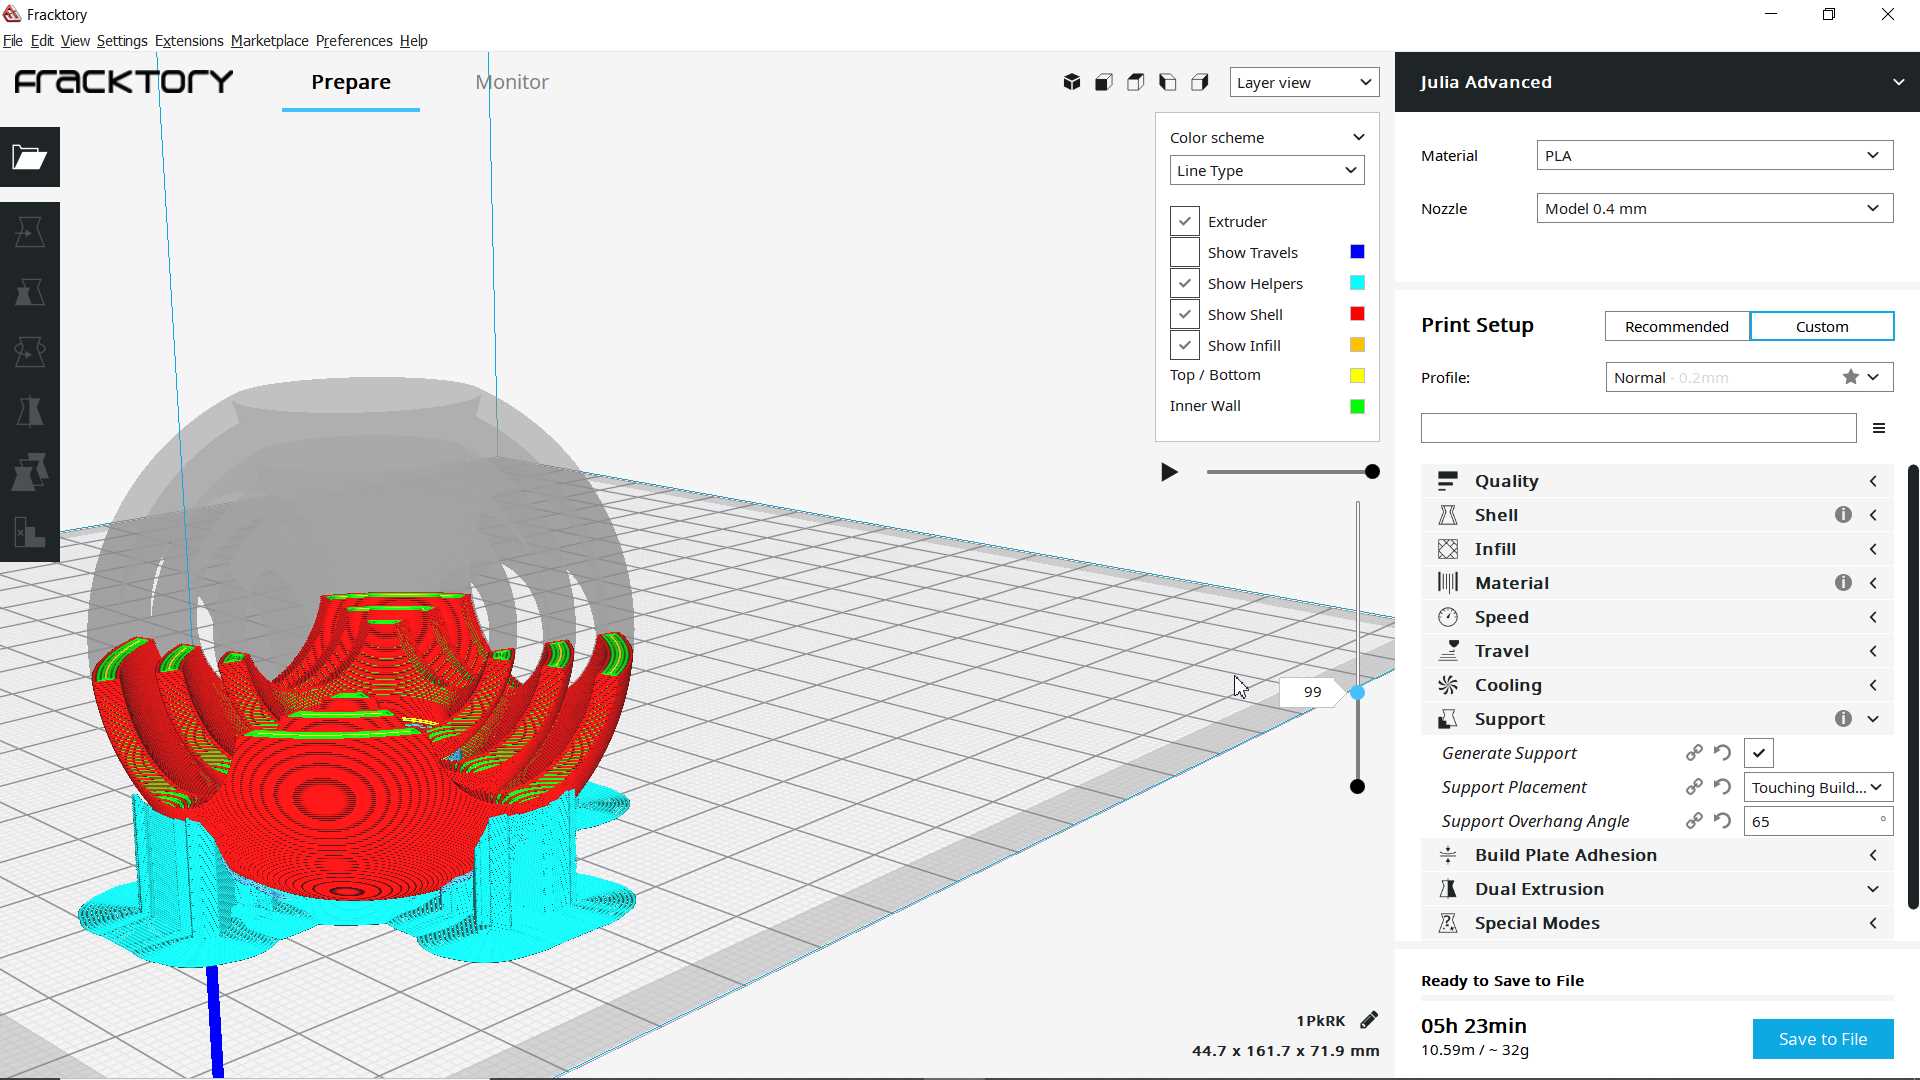
later I 3d printed it again but this time with more supports added while making gcode in fracktory.

It Came out well, much better print compare to last attempt.
.jpg)
.jpg)
Finally Done it!
since designing in cad was time consuming and my design actually dont need parametric design and that whole Geometry base designing was also limiting possibility of creativity. so further I prefer to go with blender.

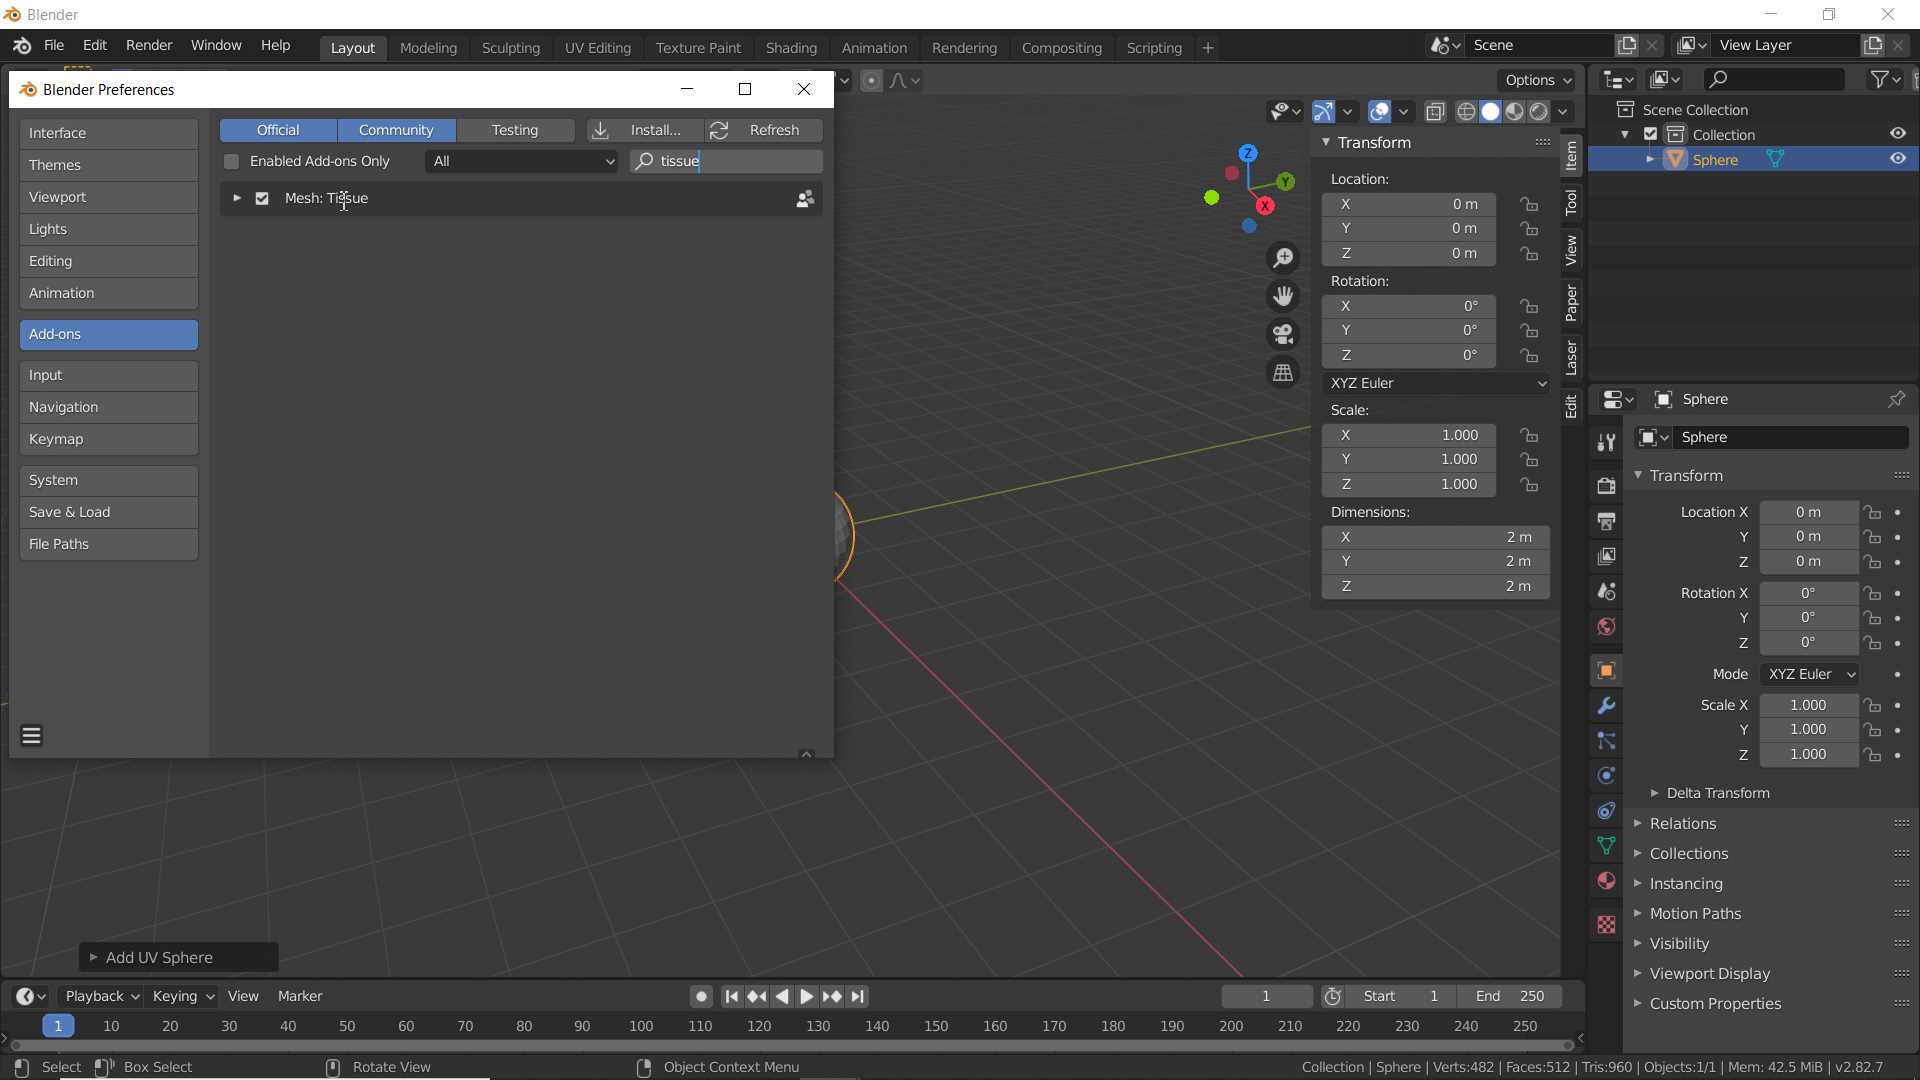
So I opened blender and created UV sphere. Since I wanted sphere only but wanted to change design of it wires mesh so for that in added addon called tissue.
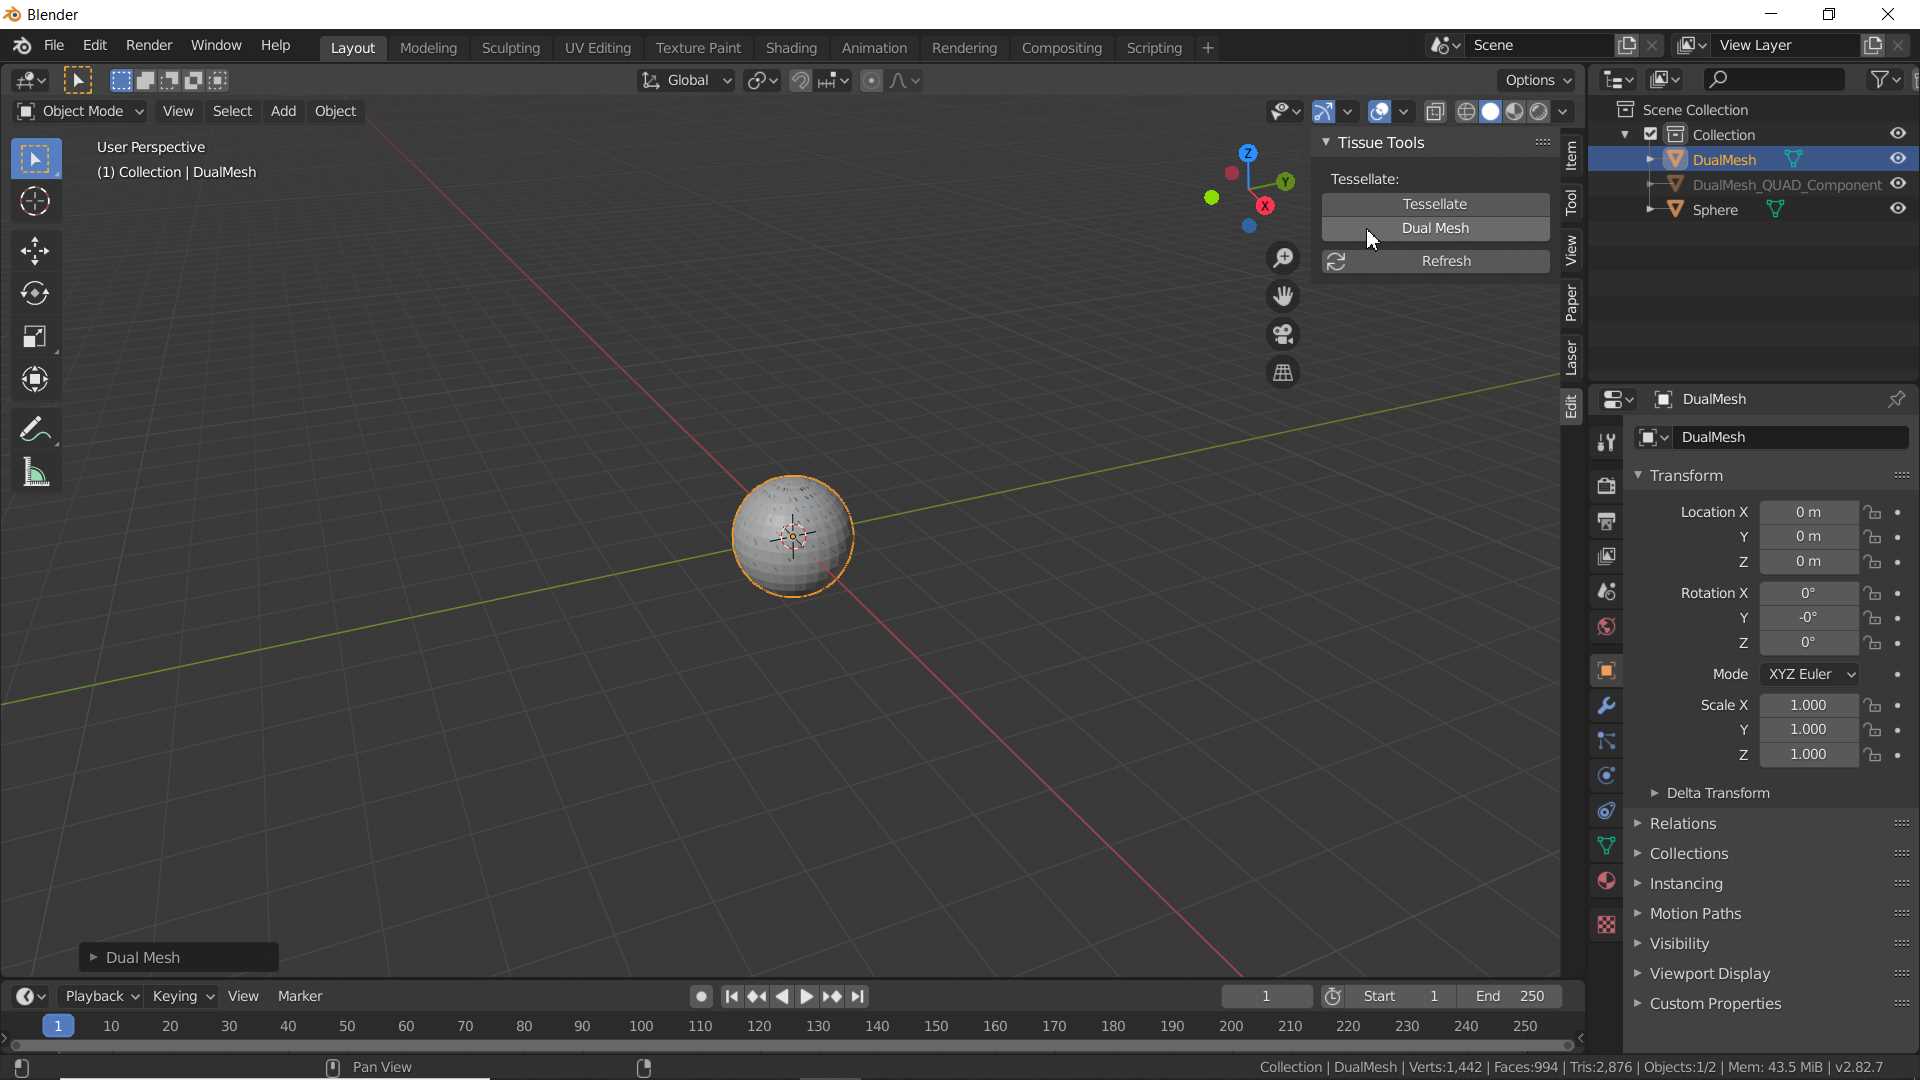

playing around with this addon gave this kind result. now I deleted all face so remain only wire model that I convert it to curve and applied bevel on it And last added subdivide modifier.
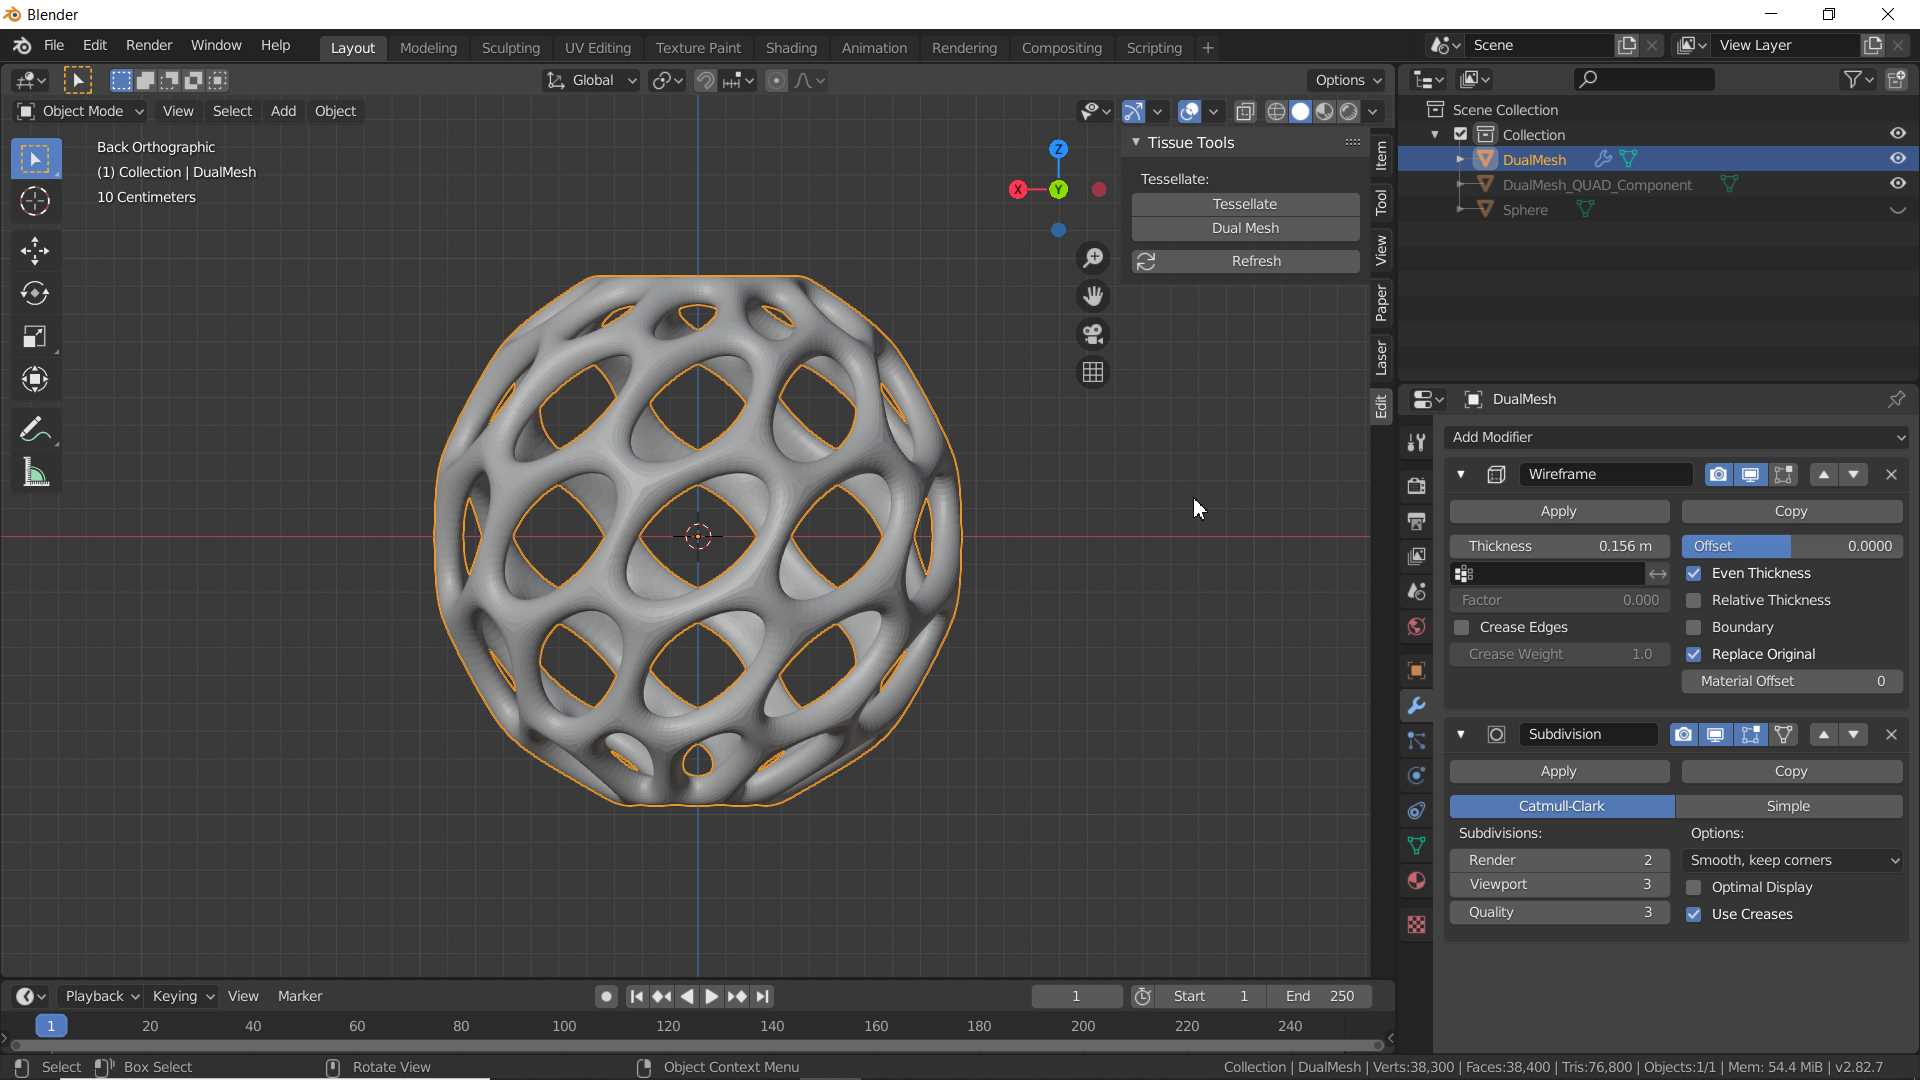

Design is almost ready just one thing to avoid support while 3D printing I manaually added some support to hold inner sphere.

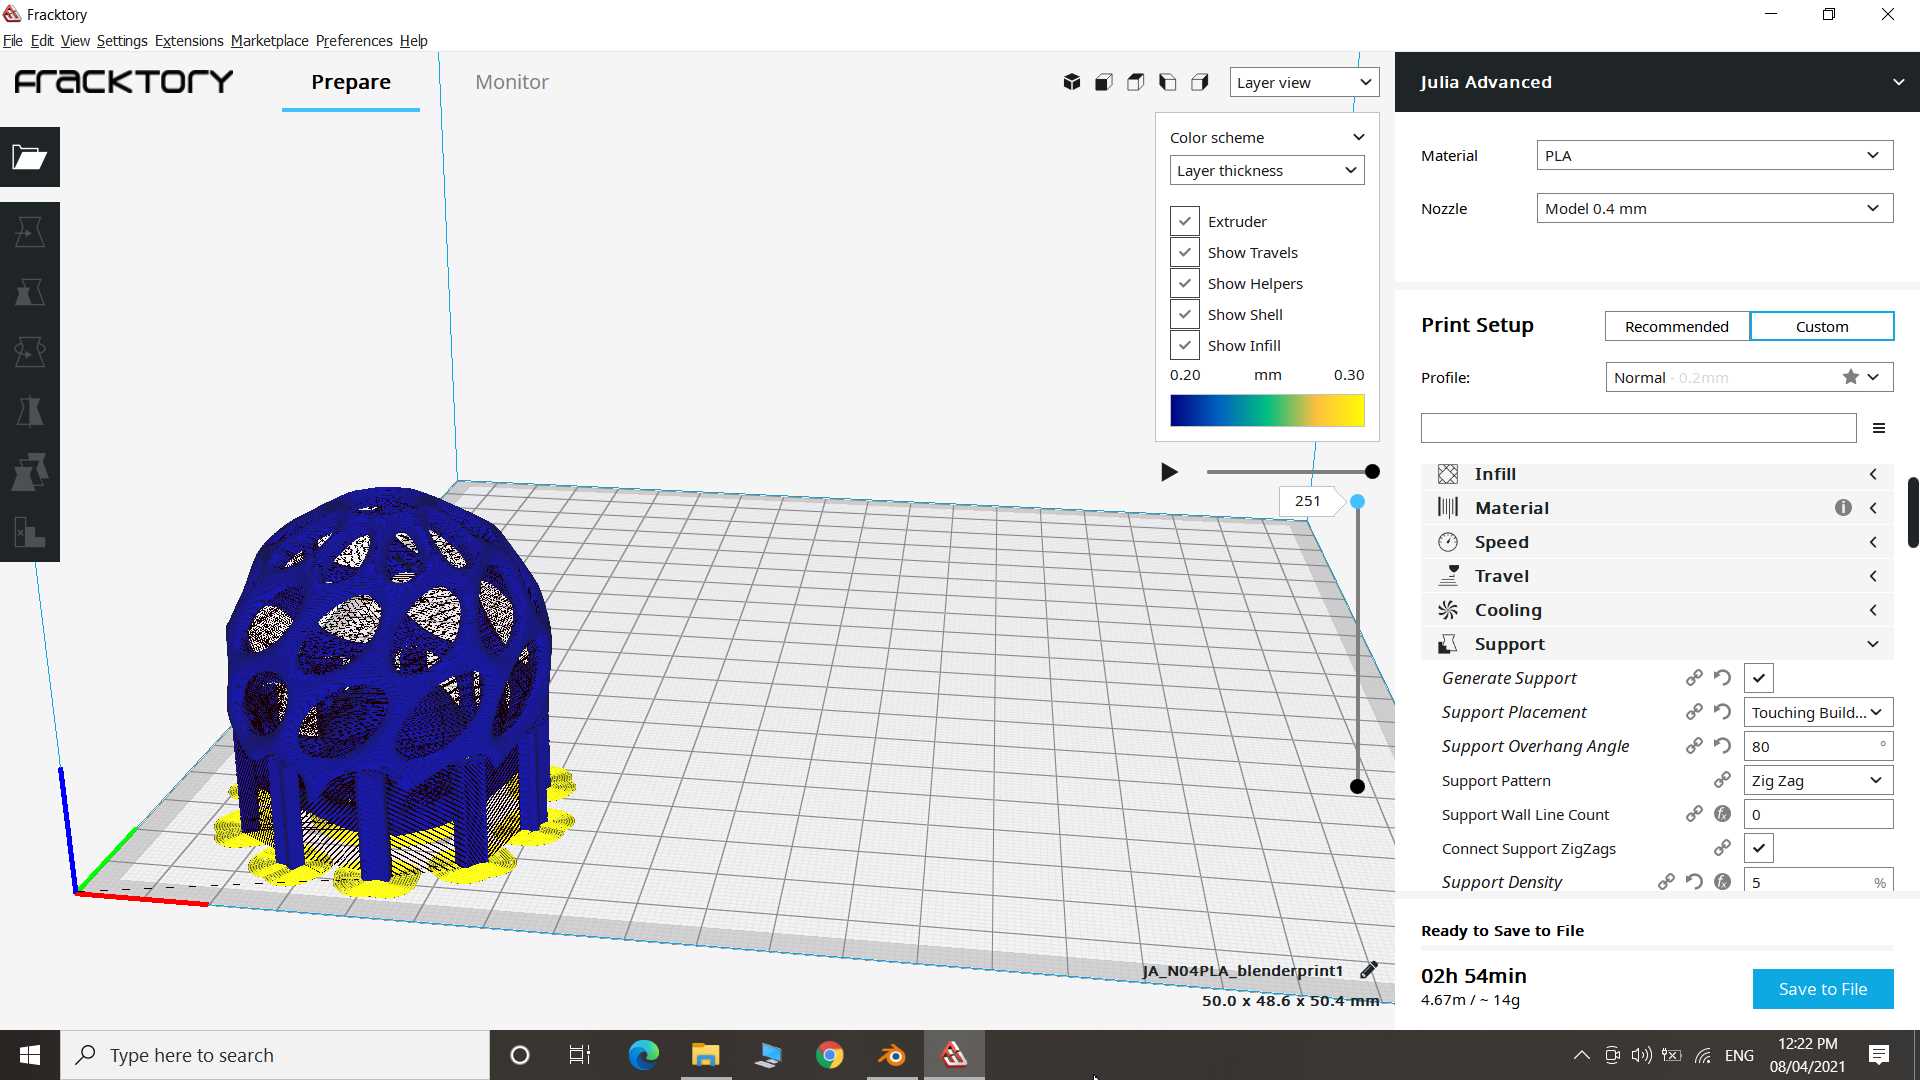
Calculating the printing time with different support settings.
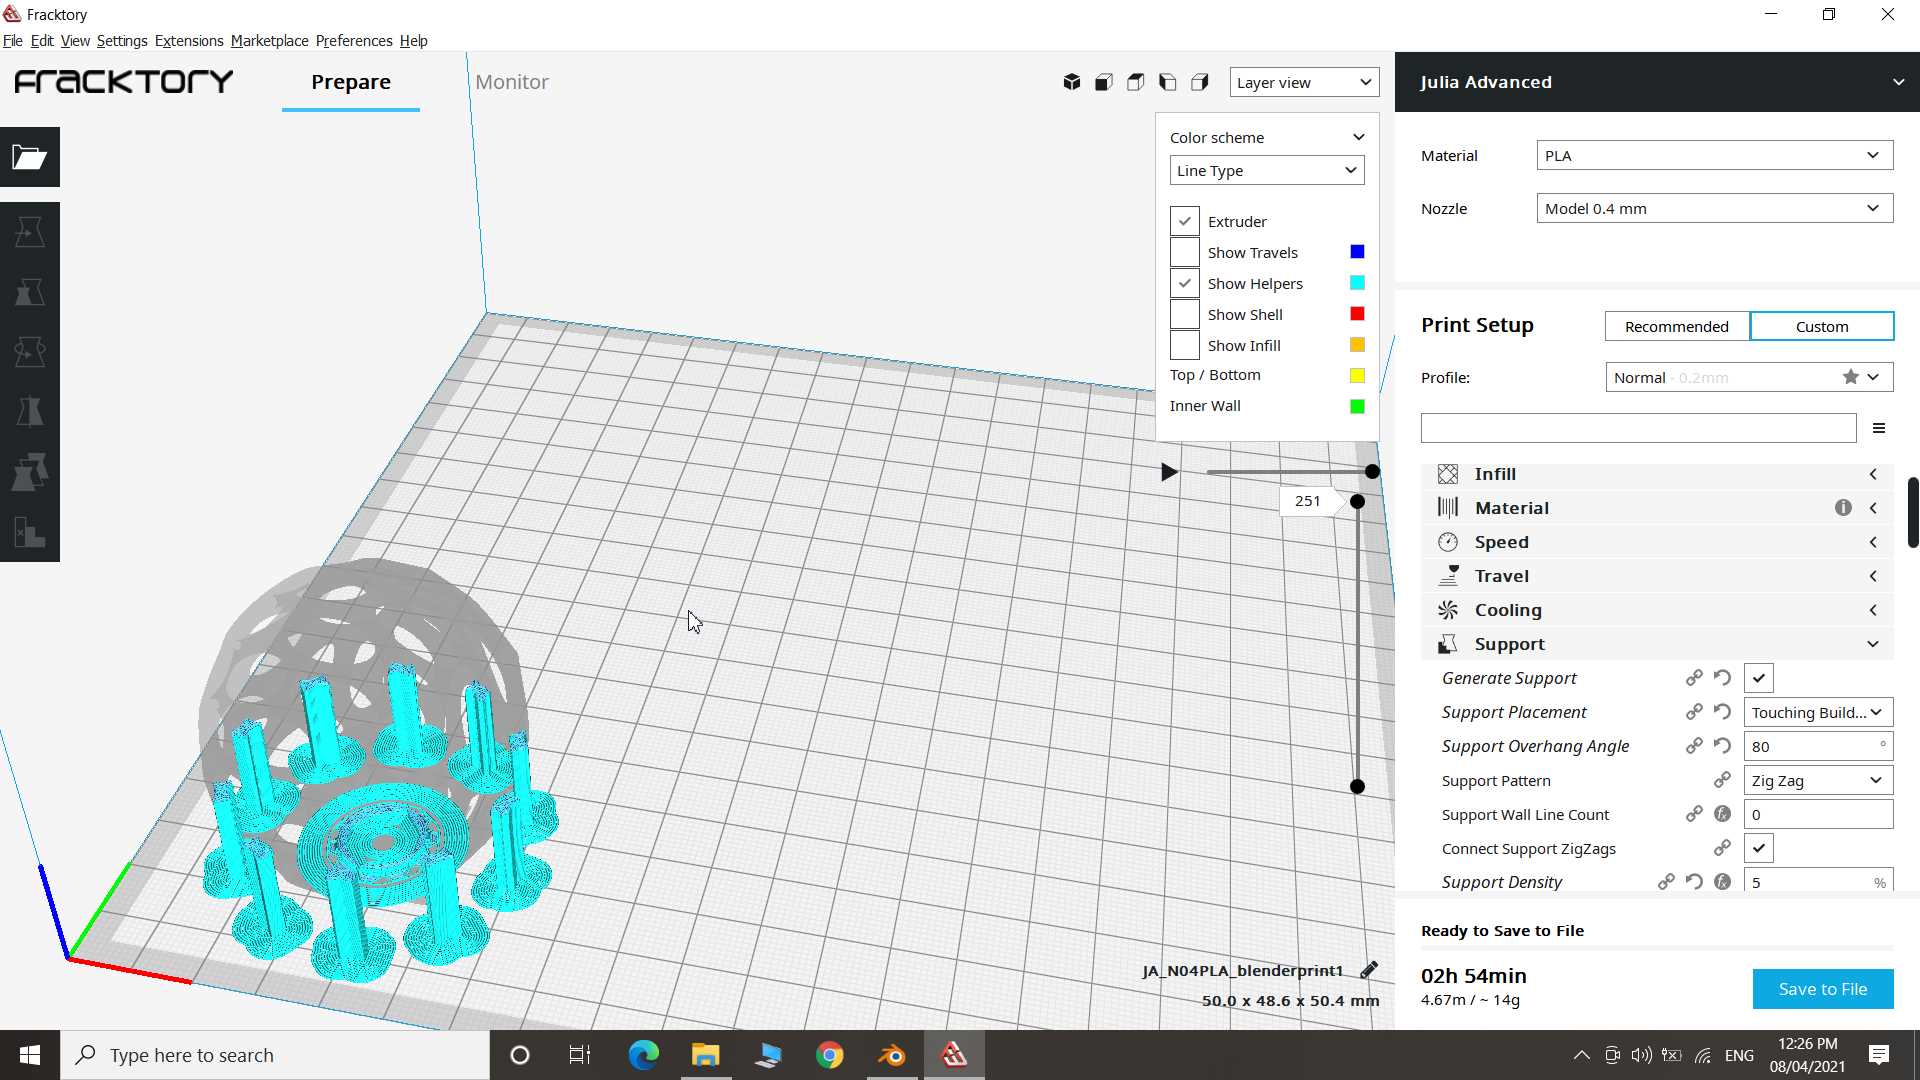
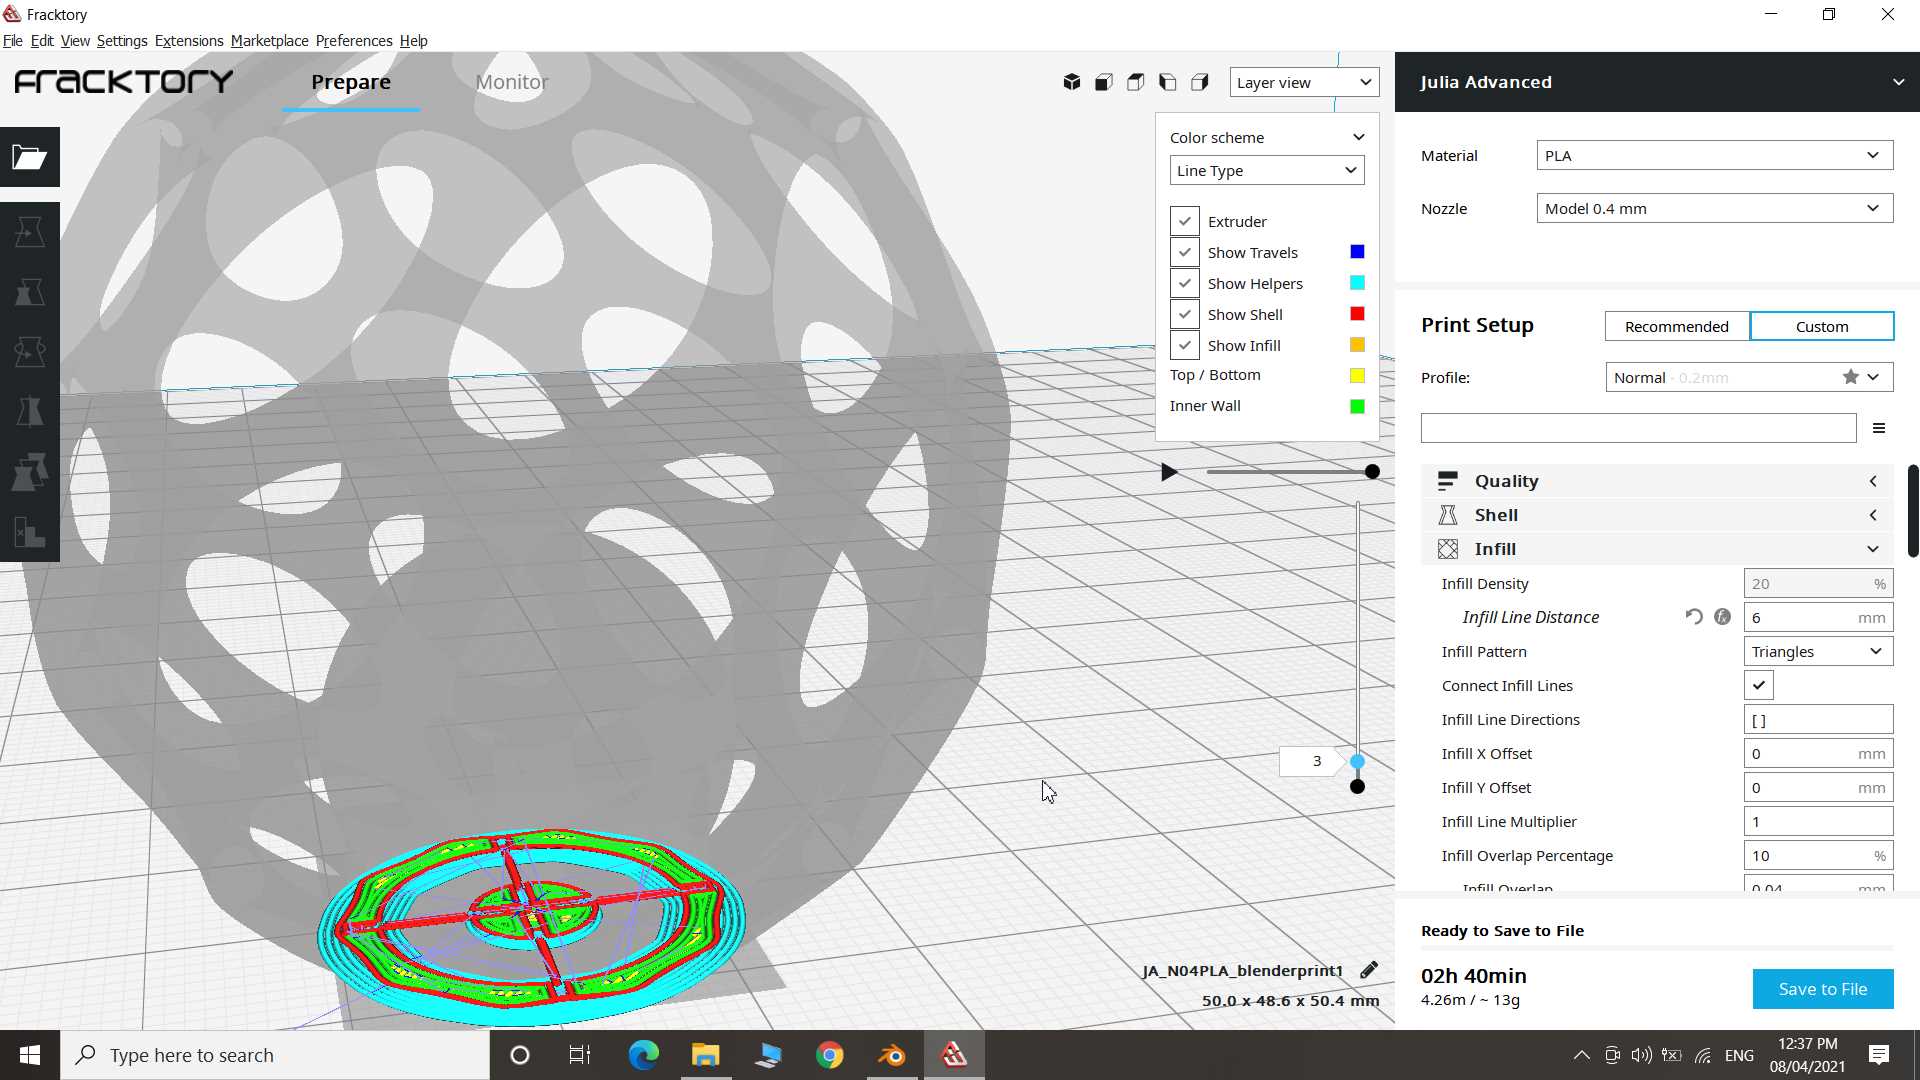
since I design to avoid auto support thing hence I turn the support option off and started to print.
.jpg)
Without any support it printed the whole object well
Hurrayyyy!!! sucessful print after whole error and mistakes
3D Scanning and Printing
So for 3D scanning I have used 3D sense scanner from 3d systems. It no longer manufactured and supported
.jpg)
Features:
- Minimum scan volume: 0.2m x 0.2m x 0.2m
- Maximum scan volume: 3m x 3m x 3m
- USB data interface
- Compatible with Windows 7, Windows 8, and Mac OS X 10.8 or later
- Exports to STL, PLY, or OBJ
This device need specific software to run and that also no longer available .Still found old software version that support this device.
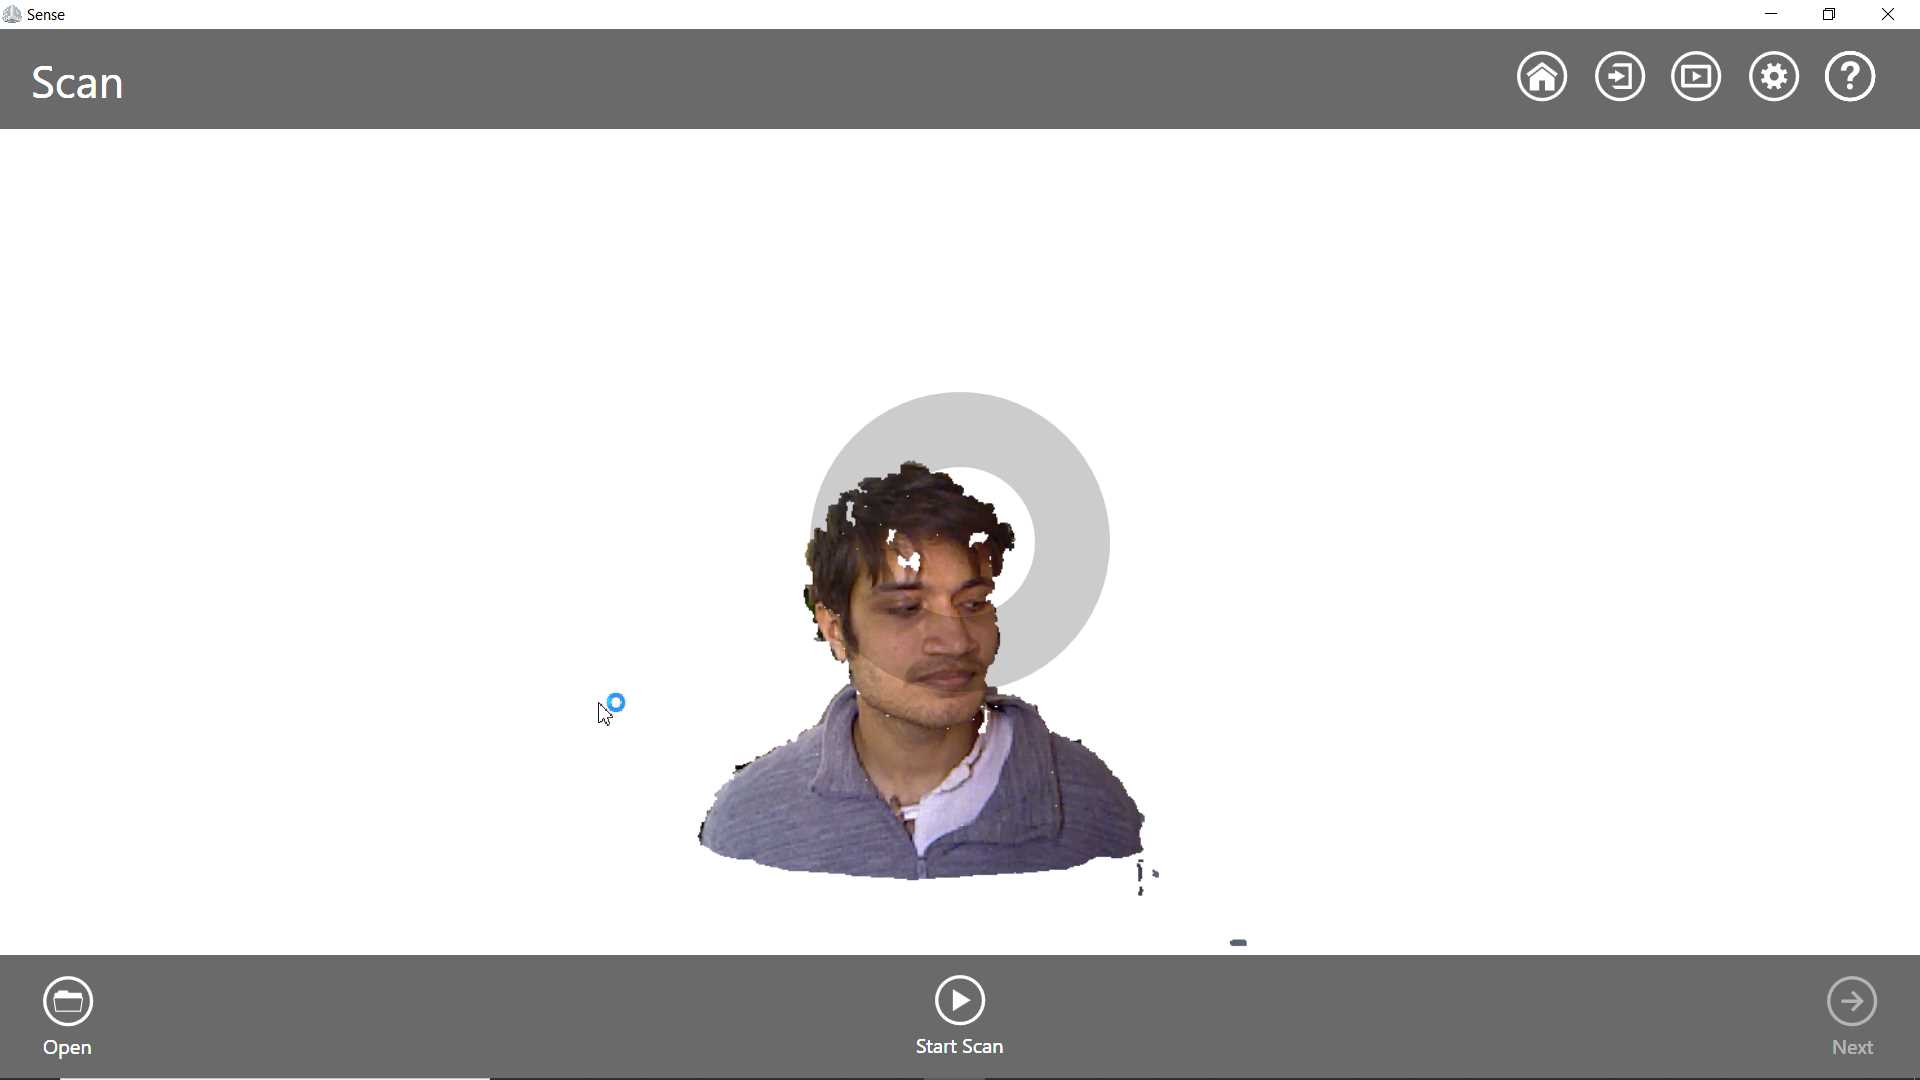
In group we have tried to scan still object and moved the scanner but most of time it loss it track on object. Then we tried to set scanner still and rotating the object and It gave much better result. Here I have rotated myself and kept scanner still.
So I scan myself. scan result is not that realistic as I expected nose got little deformed. But yes it have almost captured shape of my face.
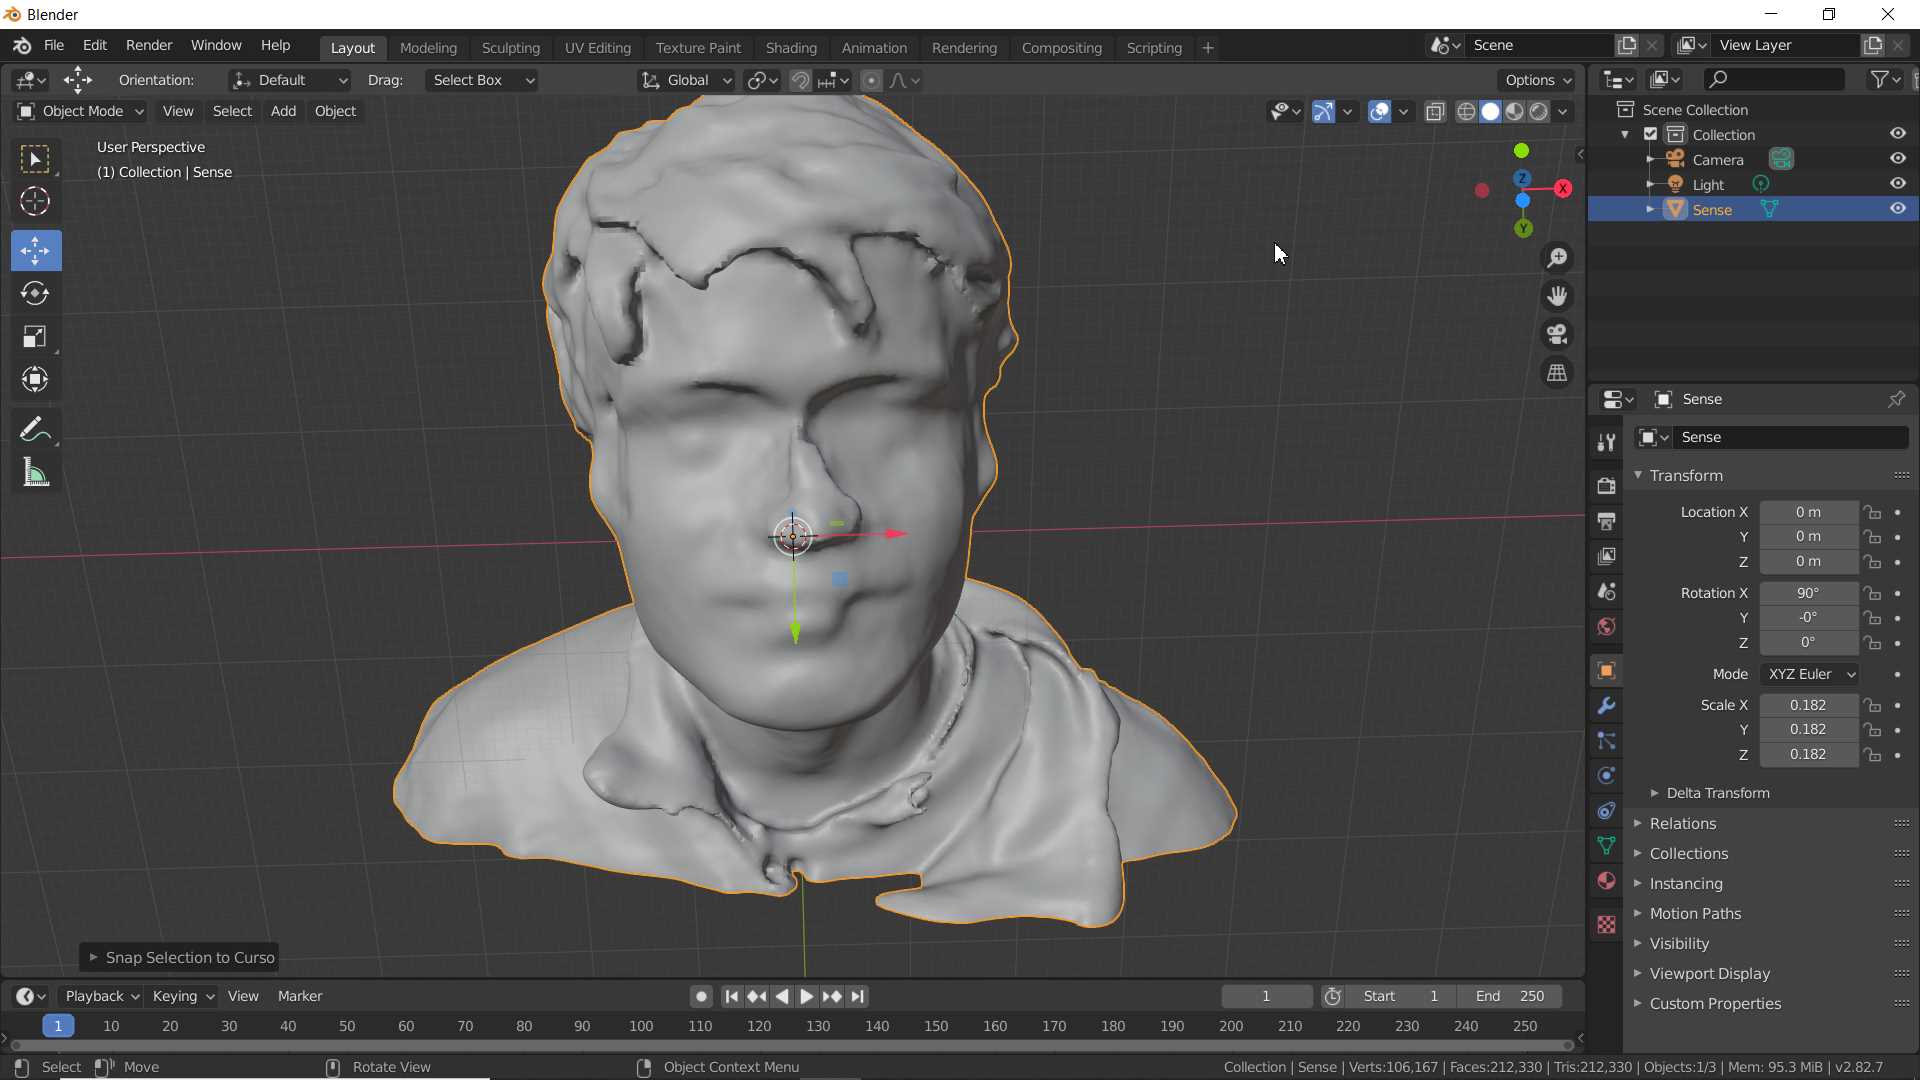

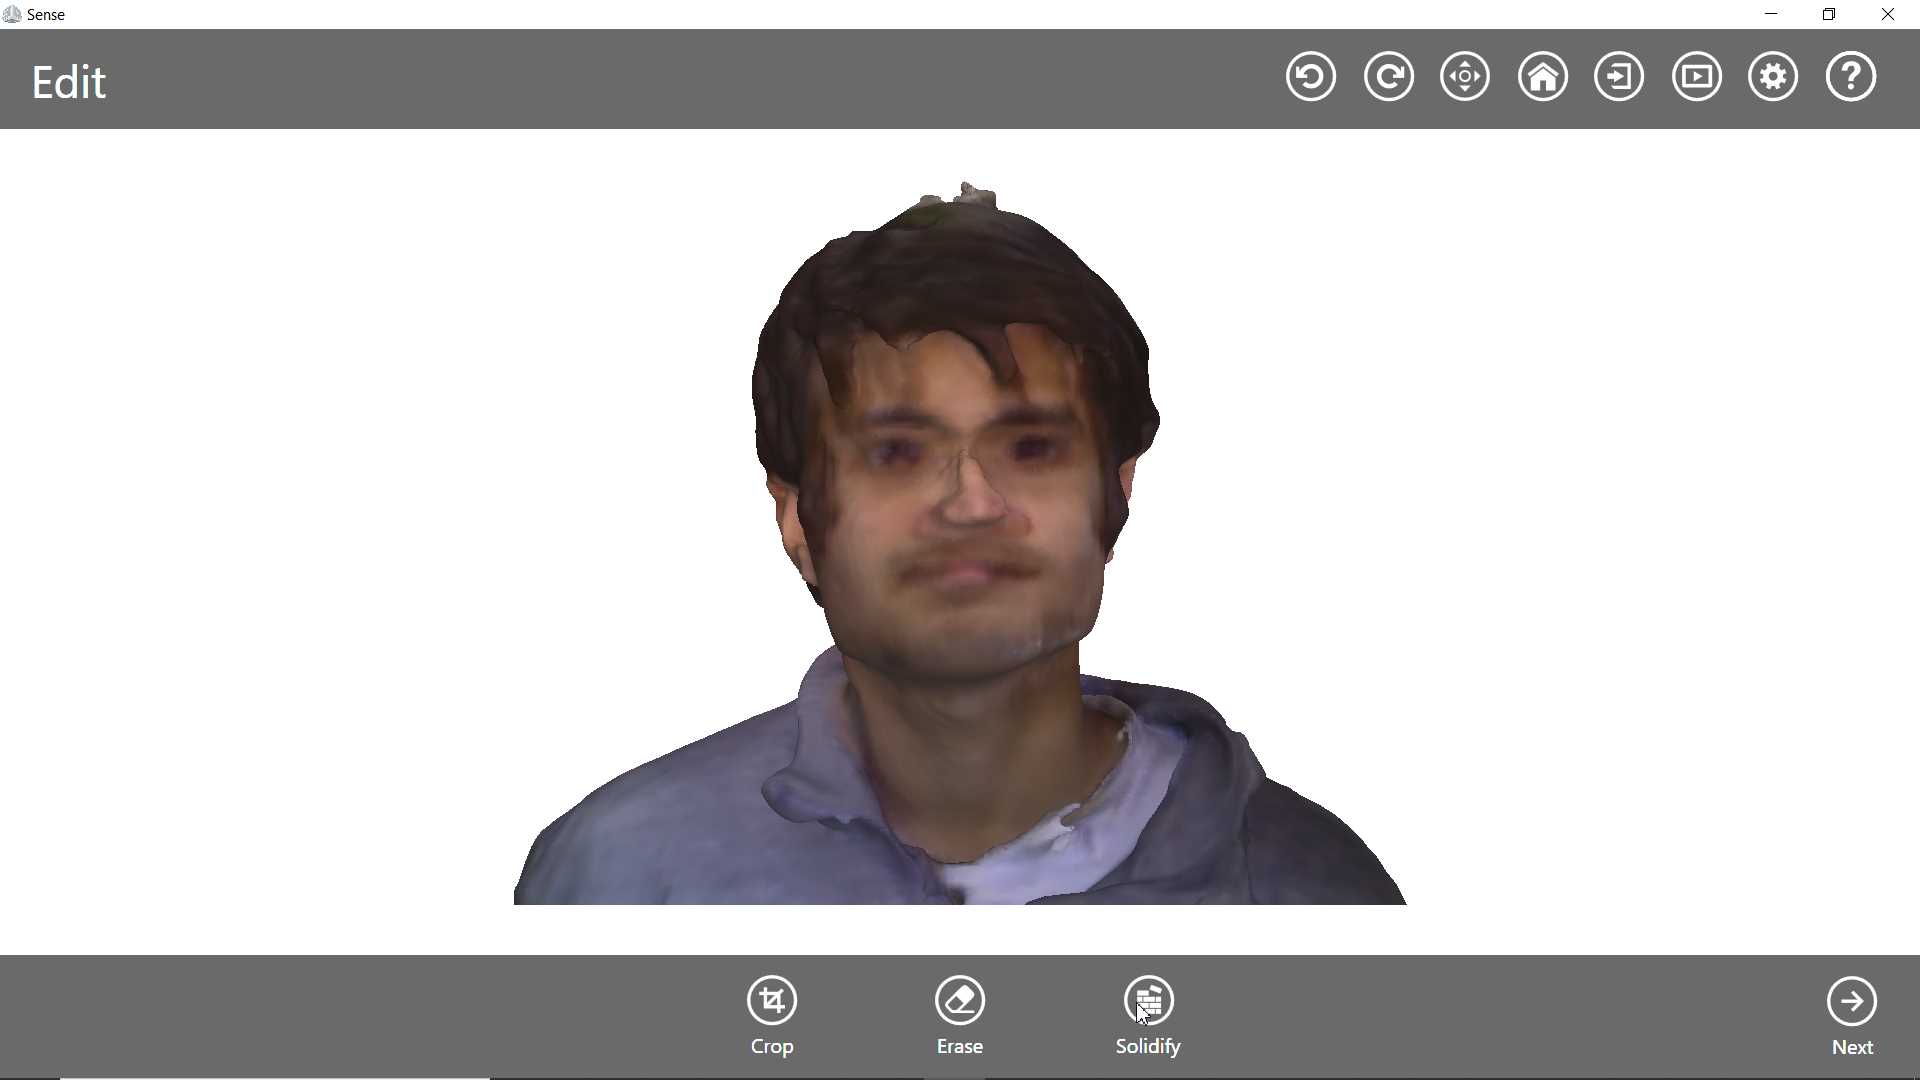
after saving the result I import it in blender and using scuplture tools I corrected and modified scanned result little more and prepared the file for 3d printing using same process
.jpg)
Boom! Boom! Boom! That how it print out it took little support which easily been removed
Learning Outcomes:
Since I got fever in this week I have not able to complete it in one week but later I done some more Experiments and I am happy with it. last experience was full of error and mistake and I learned from it and Improved my design. I like 3d printing It easily print those designs which may take much effort and time if made by hands. I have explore two material polylactide (PLA) and Acrylonitrile butadiene styrene (ABS) in 3D printing. I like PLA compare to other because it degradation is easy. Yes! I am not fan of plastic. 3d printing technology is developing we have found many different material which can be use in 3d printing, many alternative are possible. click here to known more