Computer-Aided-Design
2d/3d designing
Intro:
Hello! This is my second week assignment of fabacademy. So as I remember my teenage days when I use
to work as VFX artist I have tried and used multiple applications for making animations and designs.
I continued for two year then took long pause so now It is like completely beginner kind of
situation for me.
Assignment:
Model (raster, vector, 2D, 3D, render, animate, simulate, ...) a possible final project, compress your images and videos, and post it on your class page
2D Designing and Editing :Raster and Vector:
2D stand for two dimension or direction. If you know cordinate system then (x,y)/(z,y)/(x,z) are 2d
plans or in simple your shadow is nice example of 2d image. In 2D visual there is absent of
depth
'Raster' image are array of pixels where 'Vector' image are image made of equations,
hence when you
stretch raster images it start to loss details at certain point and show up pixels. But because
vector image are
kind of made of equations it modify itself accordingly as adjustments so there is no pixelization.
Good example of Raster
image is your camera photos. Vector Images are mainly require only during editing and require some
special
file format that can store vector information. Mostly at the end Vector images are convert to raster
image after editing for
further applications.
Gimp: Raster Image Editing Software:
Gimp is Image editing software. It has almost all feature that adobe photoshop
have and It is Open Source and run smooth with no issue in mac/linux/window. I have used photoshop
as well but I prefer this more.
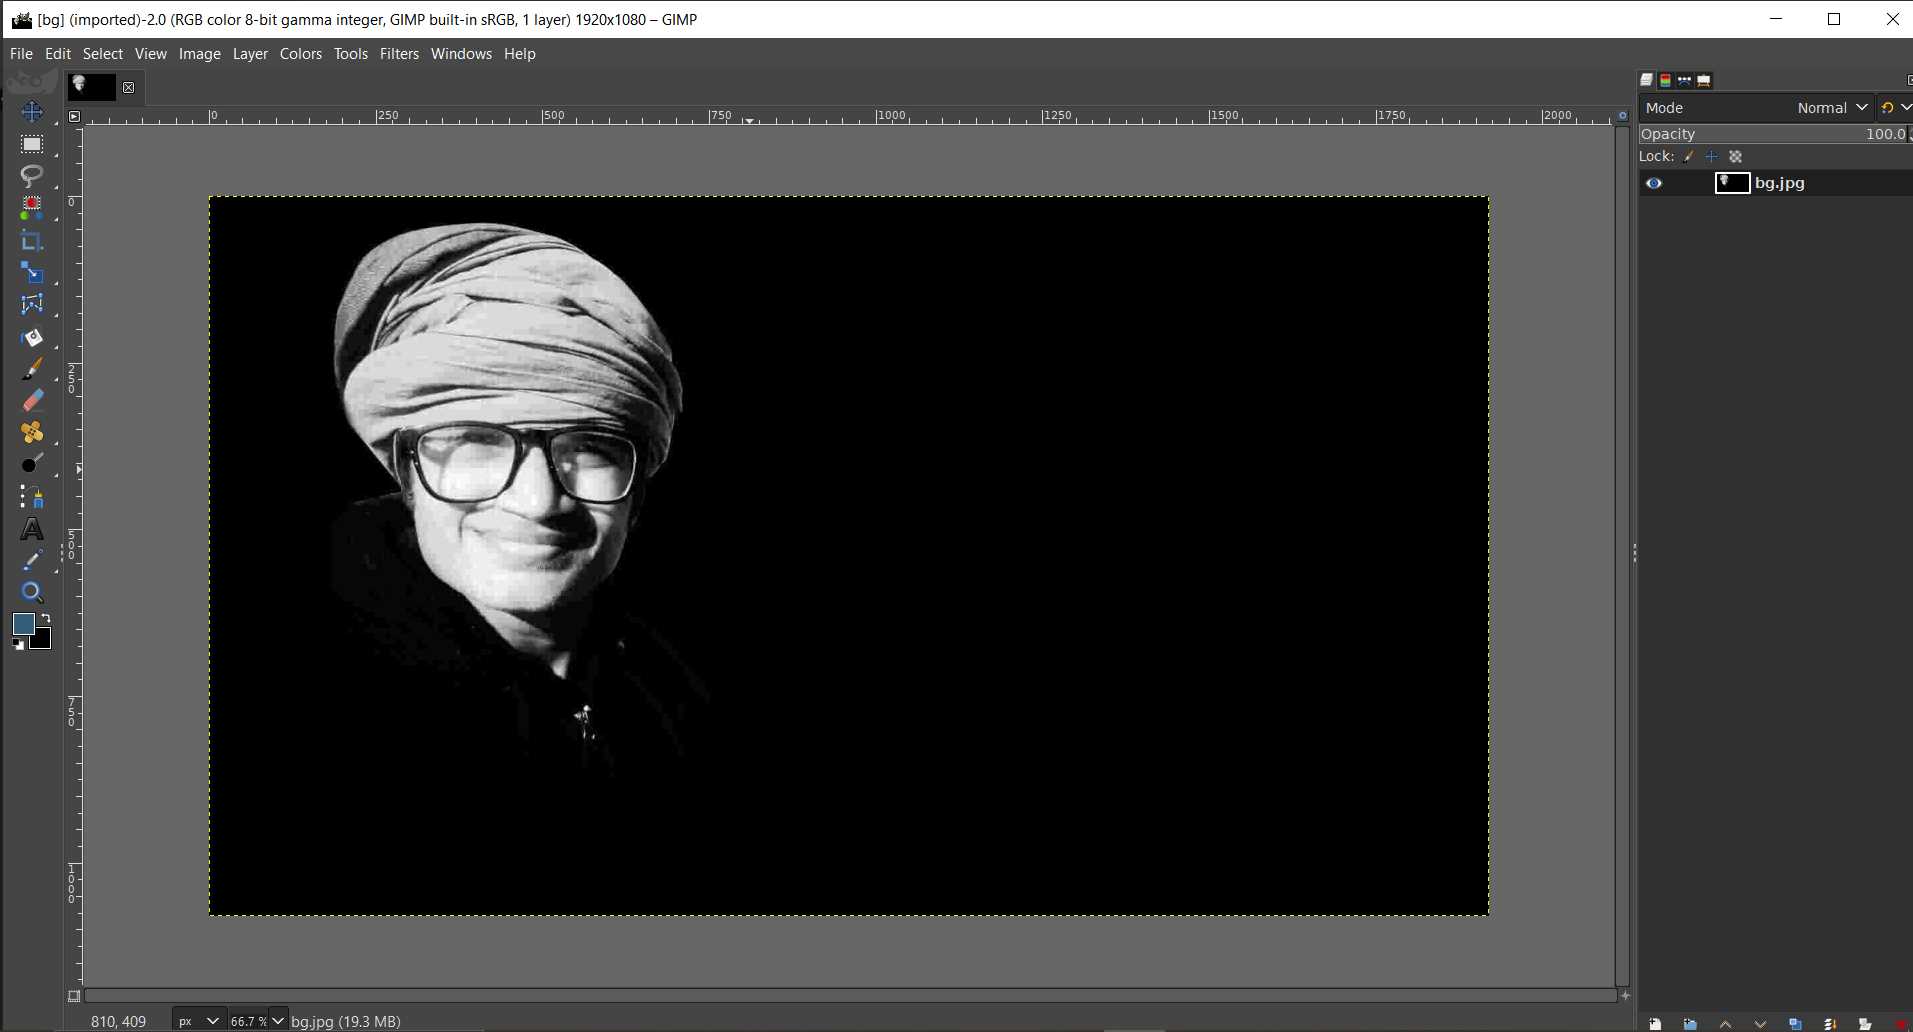
So I used gimp for my webpages background designing. Here I want to put my photo that appear little dissolved in background.
Run Gimp on your system.
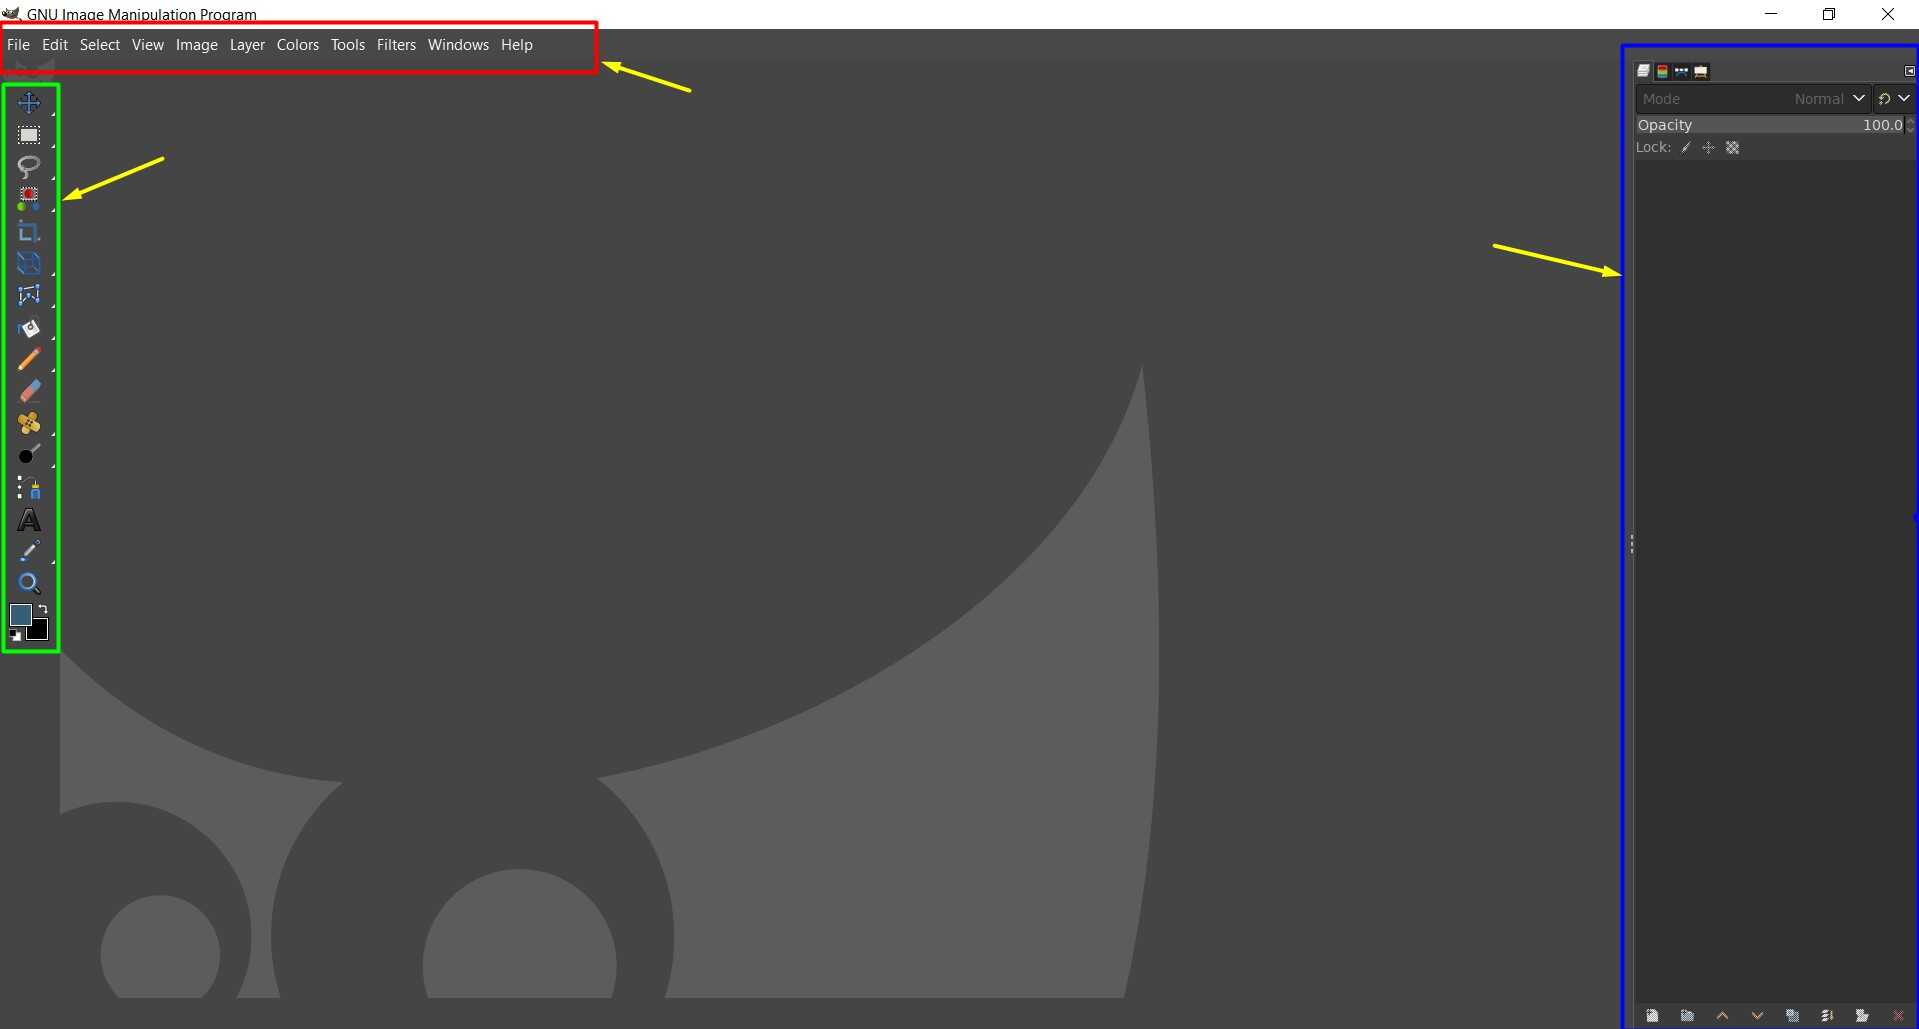
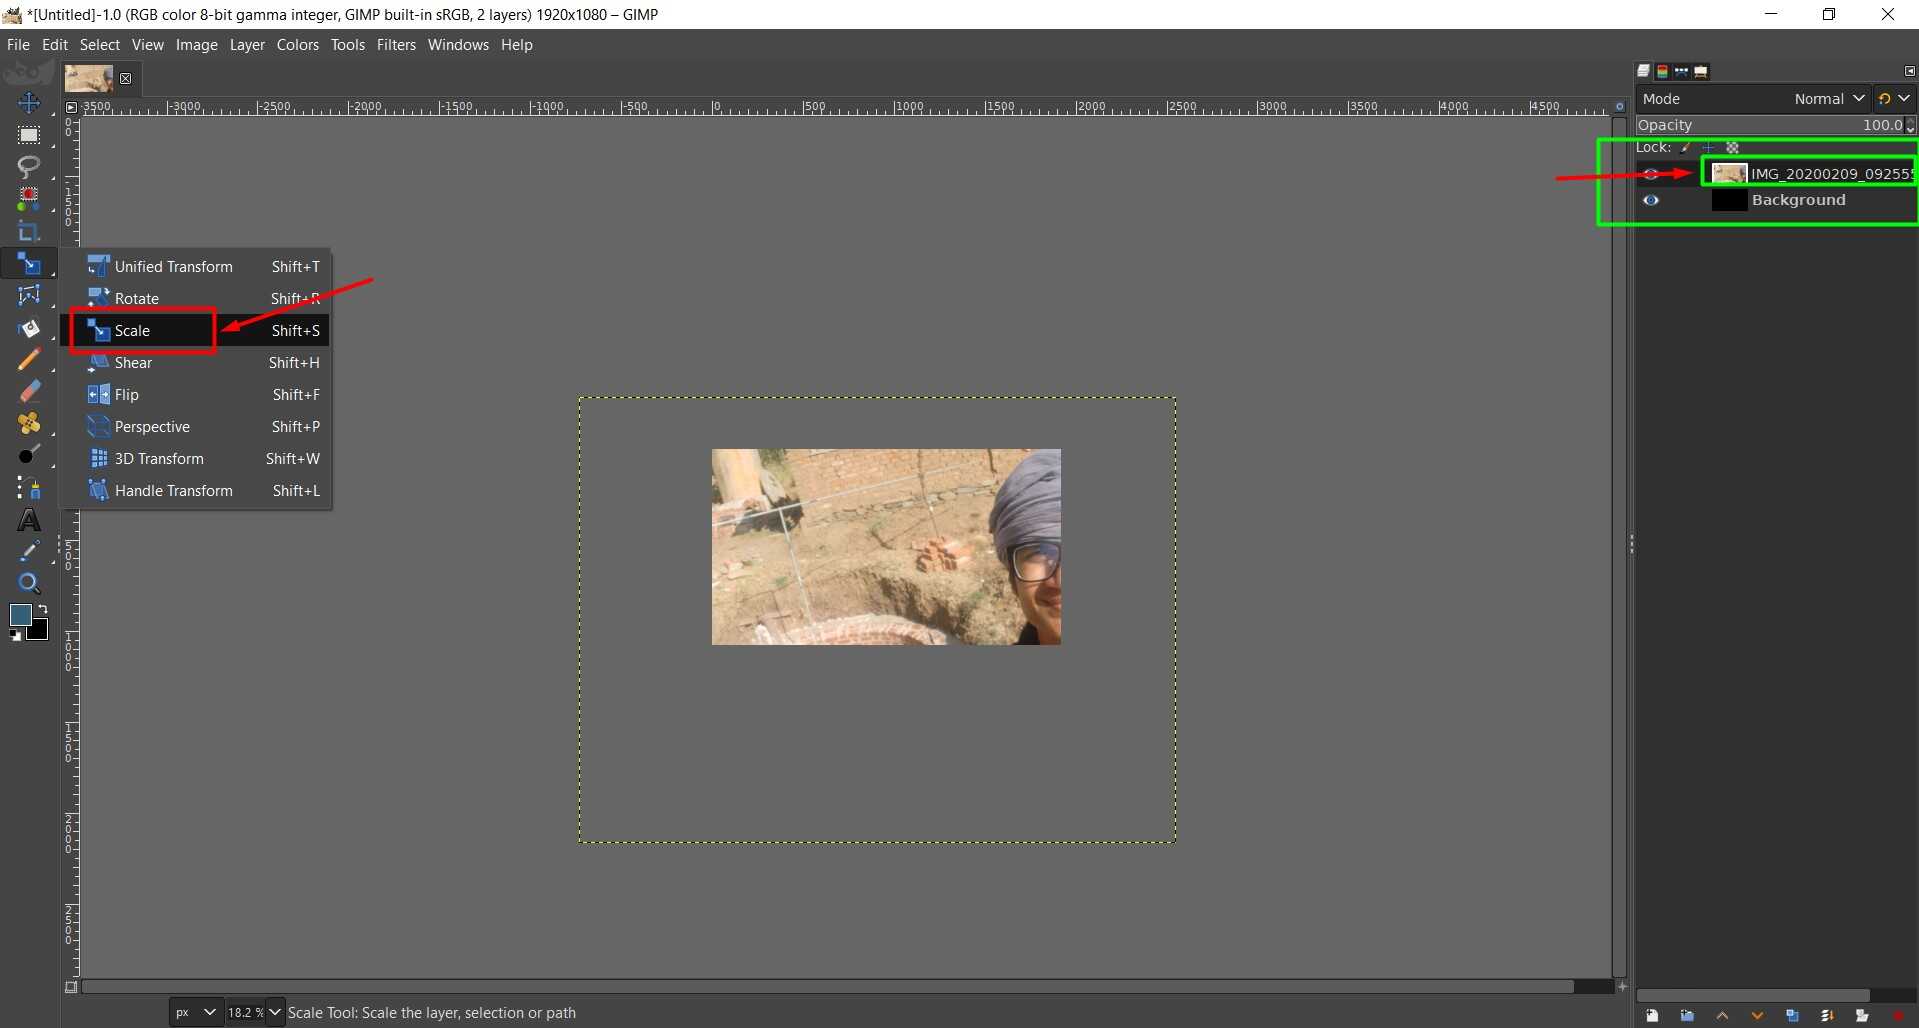
Once it get opened it will look like below image. Since interface can be change overtime but yes mostly tool will remain as it is. Inside Red Mark is Menubar which have every option you may needed to work with, where inside green mark is toolbar where you find tools require while editing.
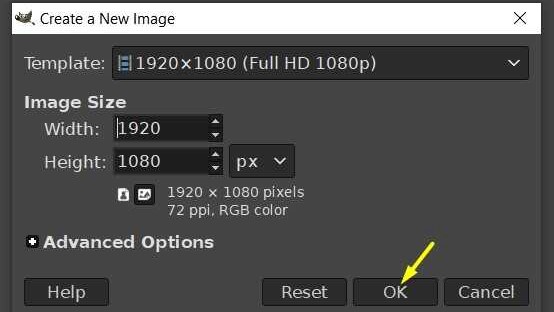
Create a New blank Image of 1080x1920 or as you need. Open or Import photo you want to work on and scale it to match your new image size. In this way I have set my photo to my require resolution.
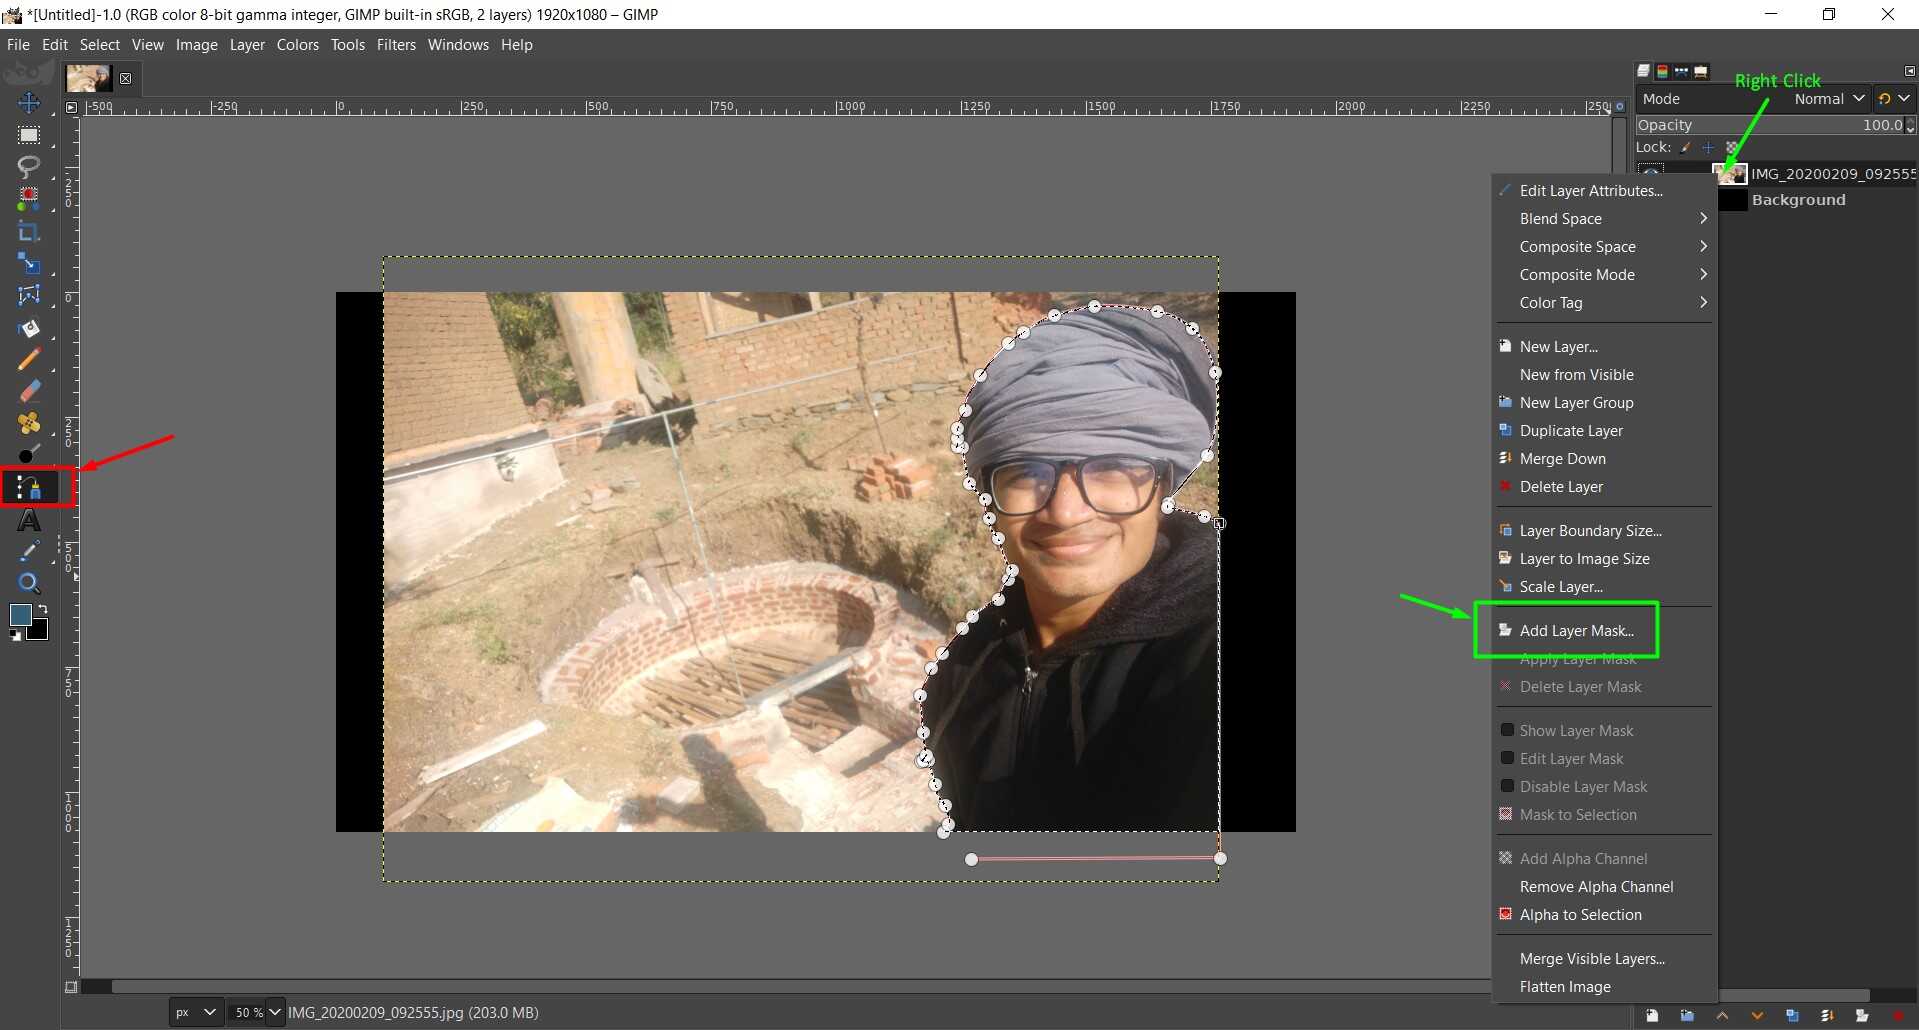
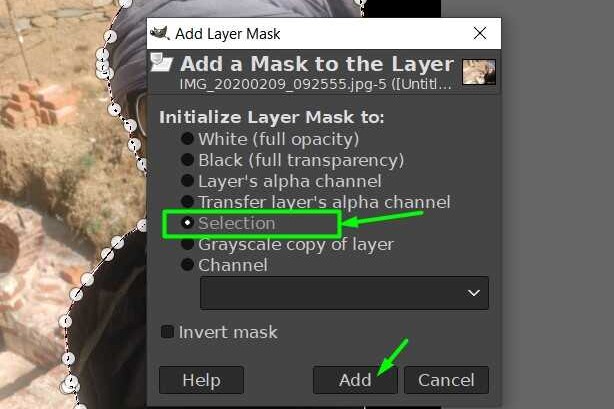
Since I dont need whole photo for my background so I roto some part from photo. This can be done using path tool in Toolbar. You need to manually trace all so here you require skill and patient. And Once you do that add layer mask as show in picture and next apply layer mask.
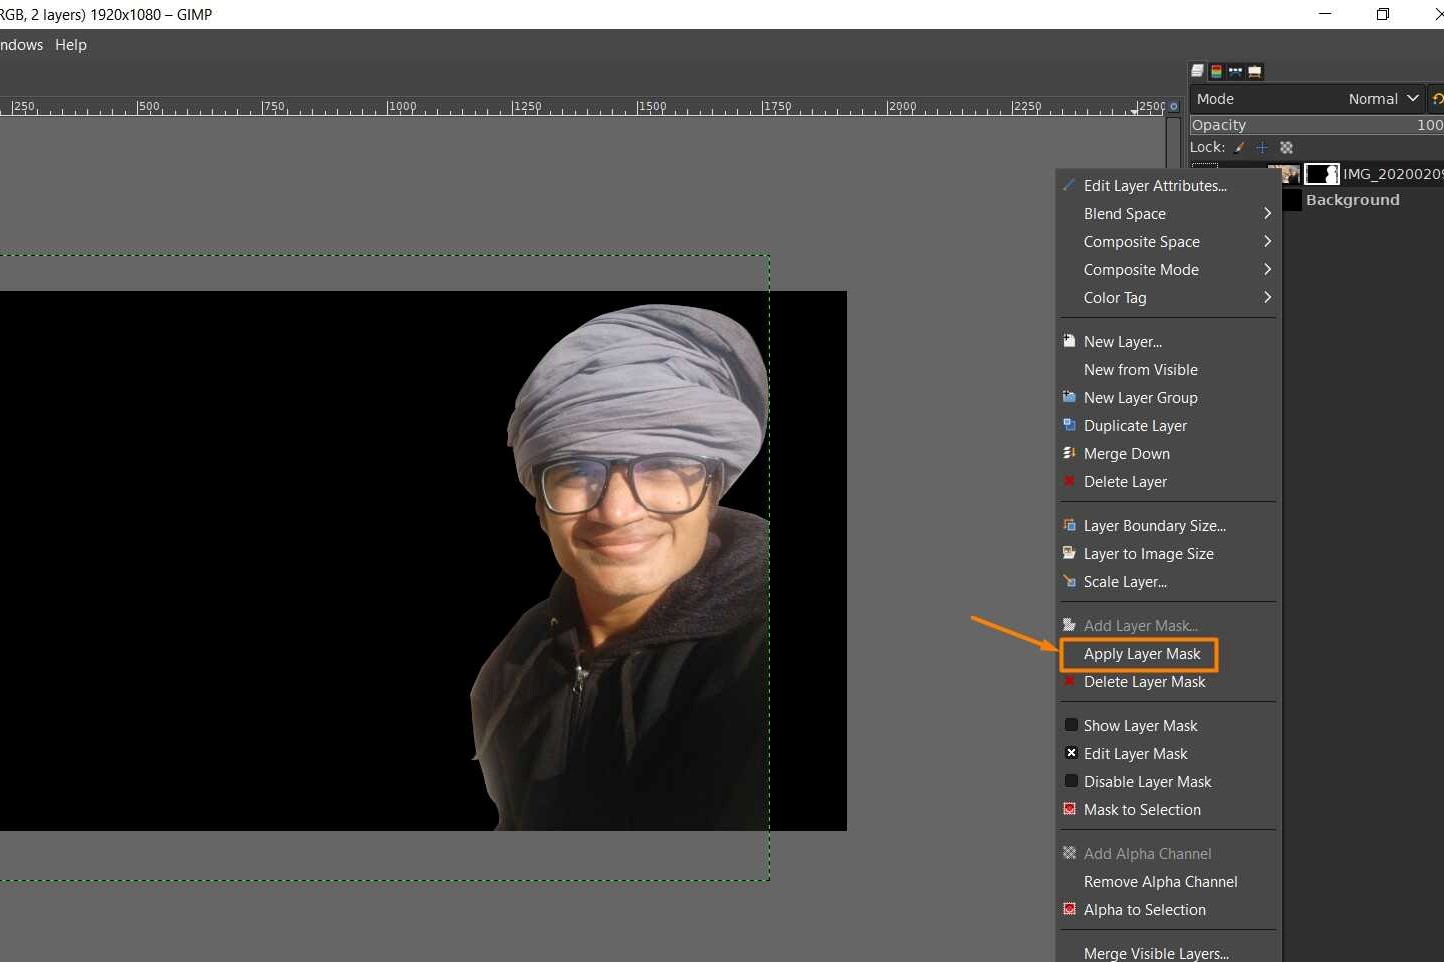
Merge or flattern layers to one layer and then apply color effects to make what you want. I turned image to black-white and played with level setting to get what I wanted.
Inkscape: 2D Vector Drawing and editing Software
Inkscape is another best and useful software. It is OpenSource and run smooth in my system. It is very much similar to CorelDraw and illustrator. If you know any vector designing software then learning this is not that hard.
So I was thinking to make something but I was not getting idea what to make that time. so I started with random shapes and Quick designing. I have no idea what to make but since I am cartoon loving person so it end up to some wierd characters
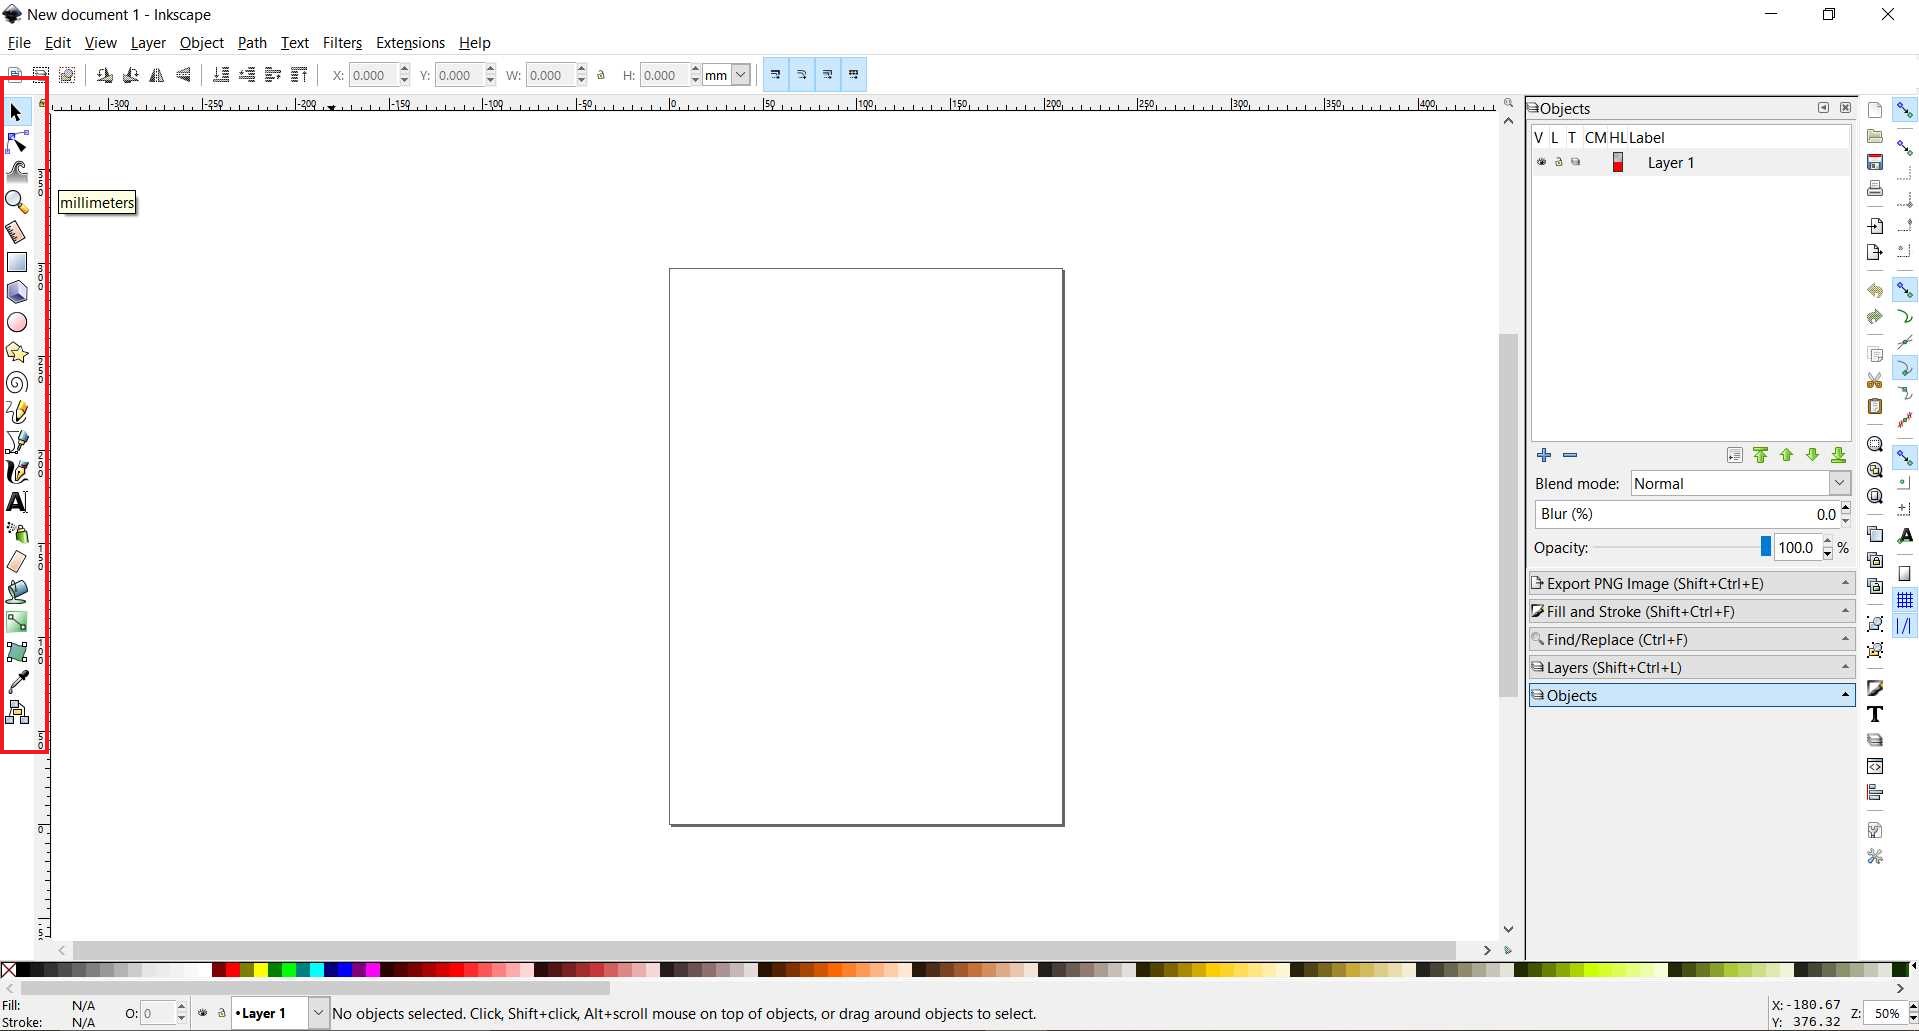
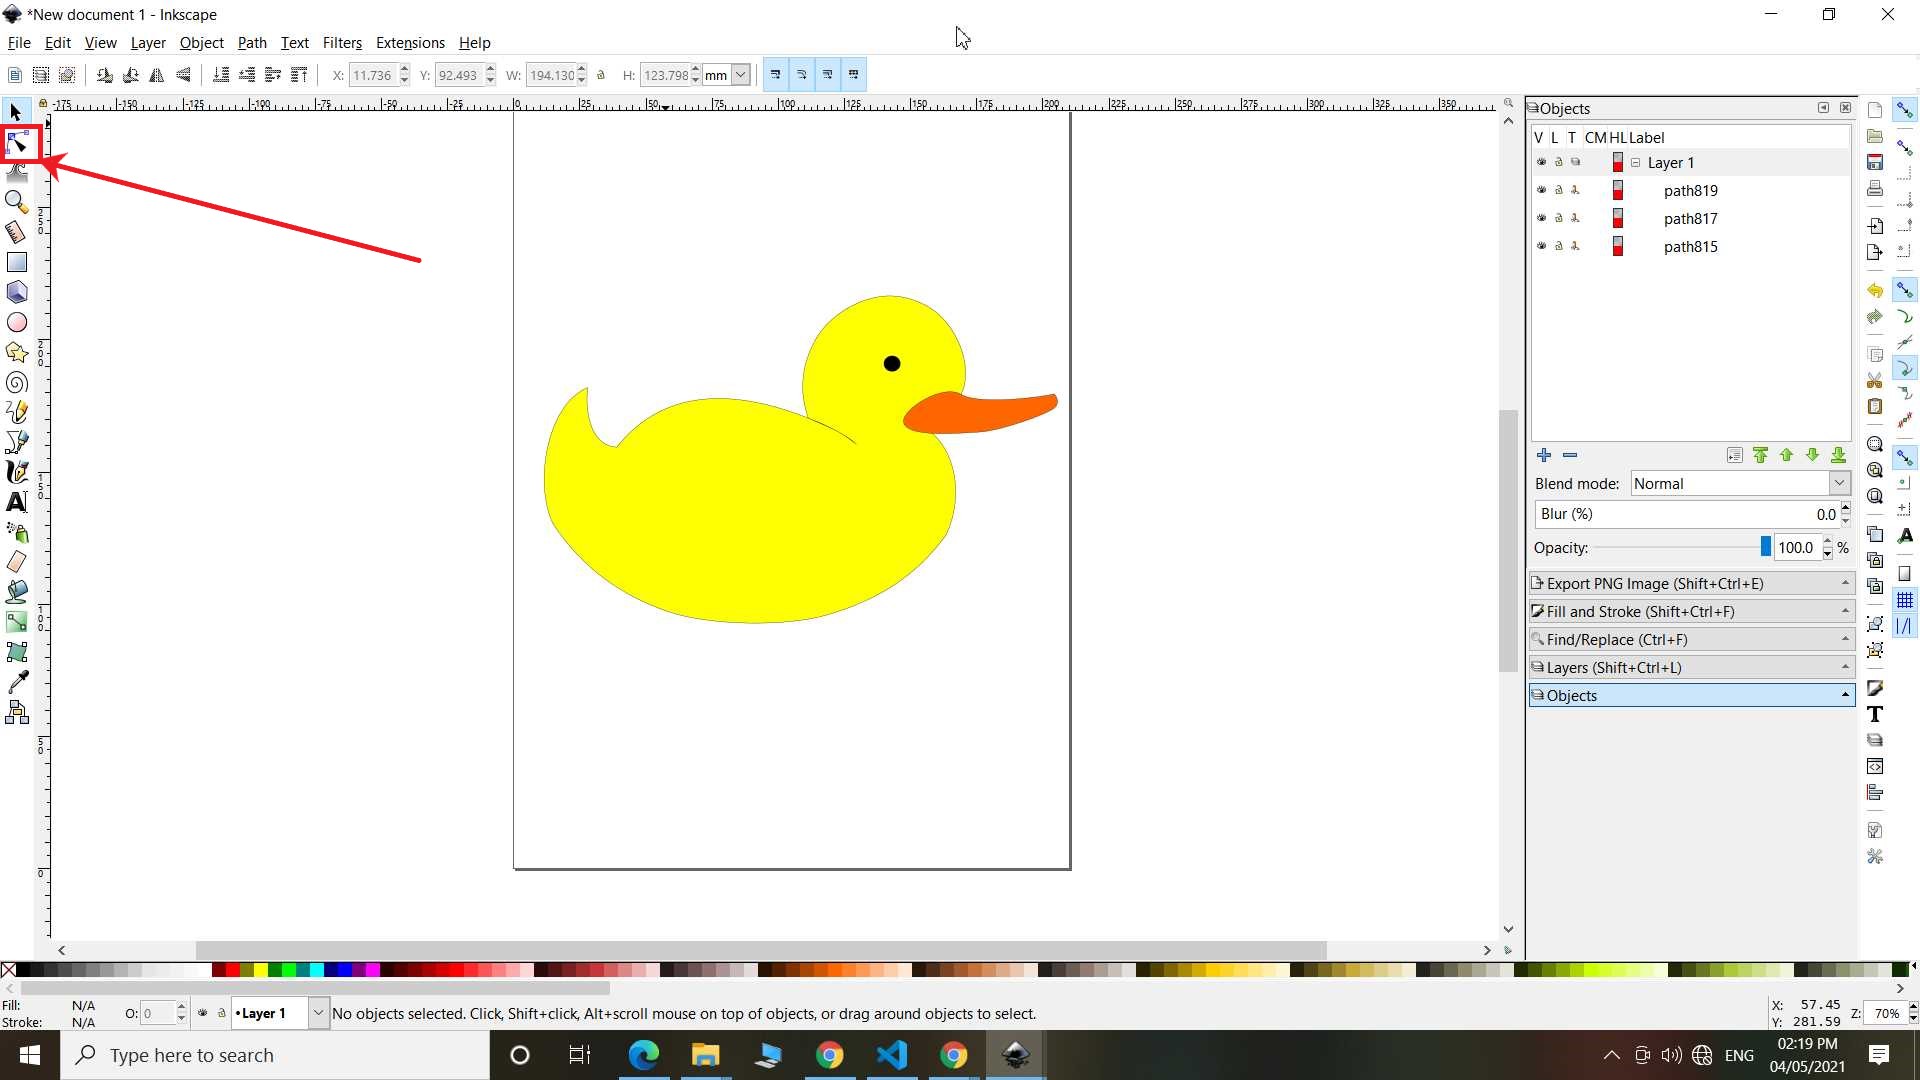
So first image is a blank page in Inkscape. On left side you find toolbar where you get tool to draw and edit.
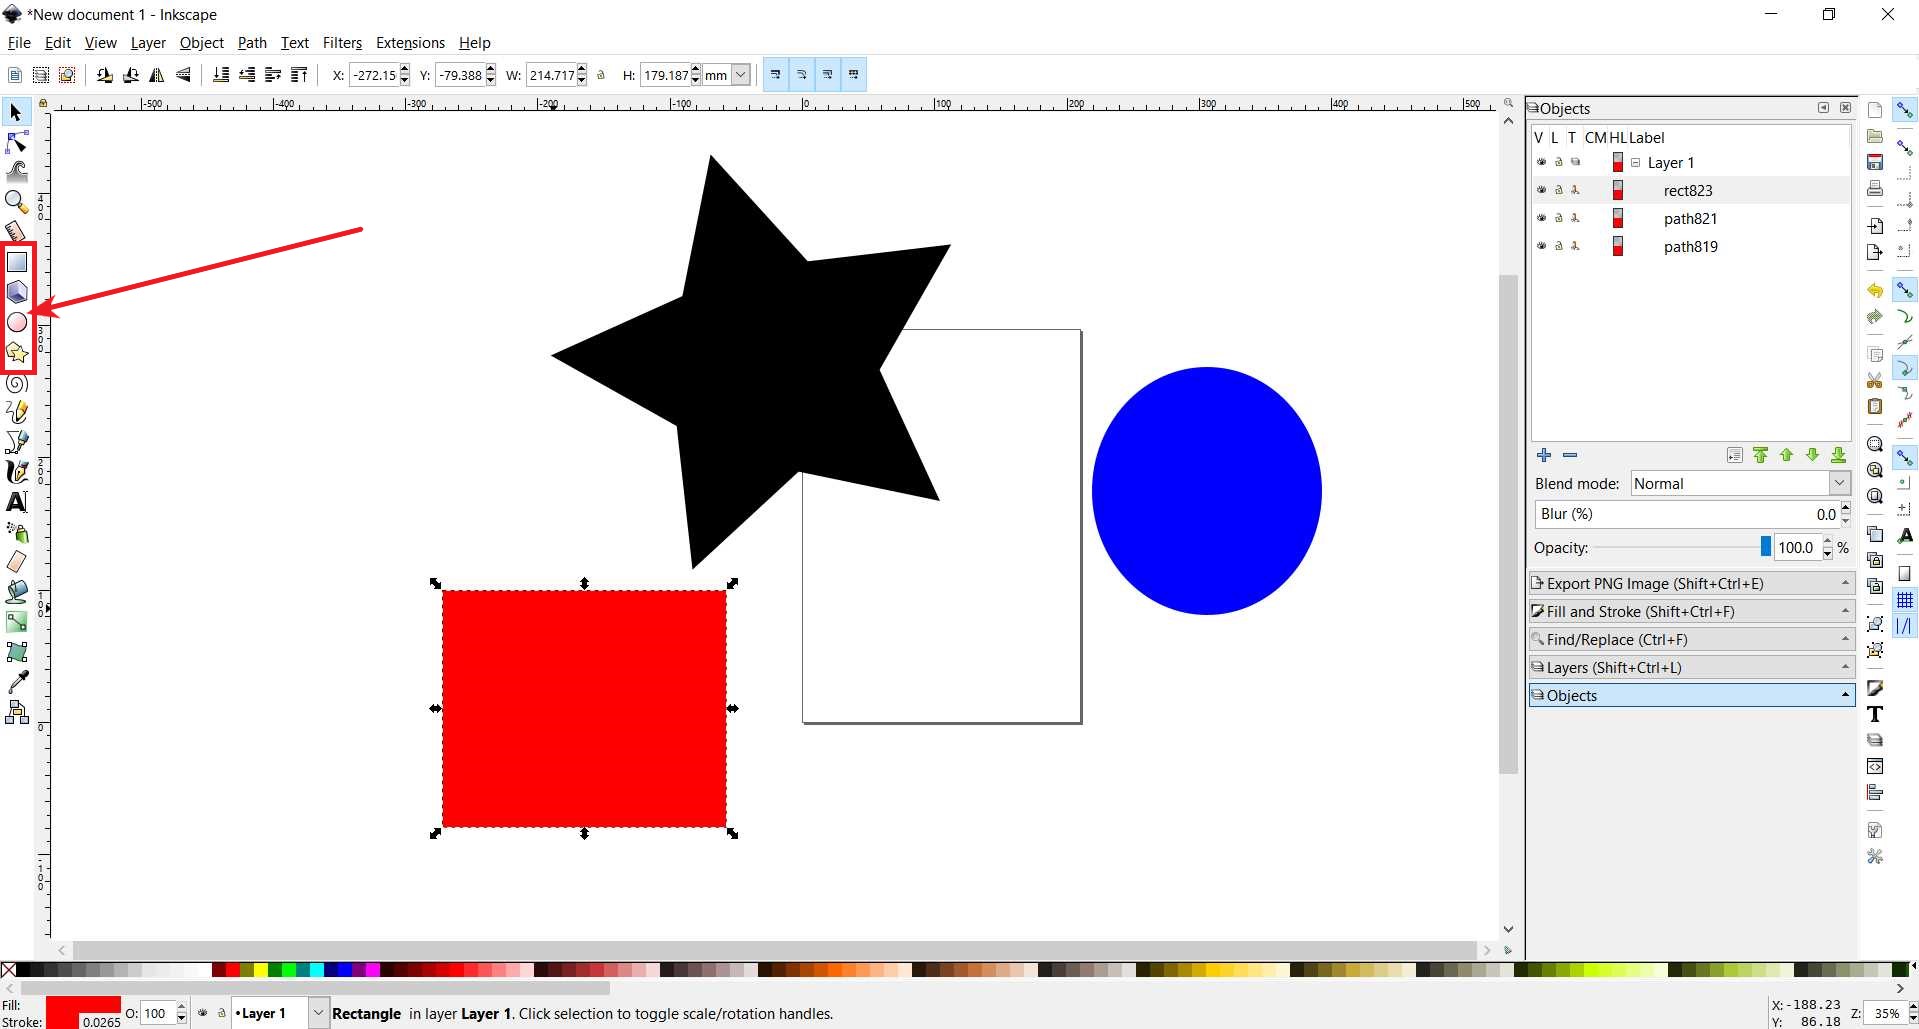
I took tools to draw circle, square and polygon on my first try.
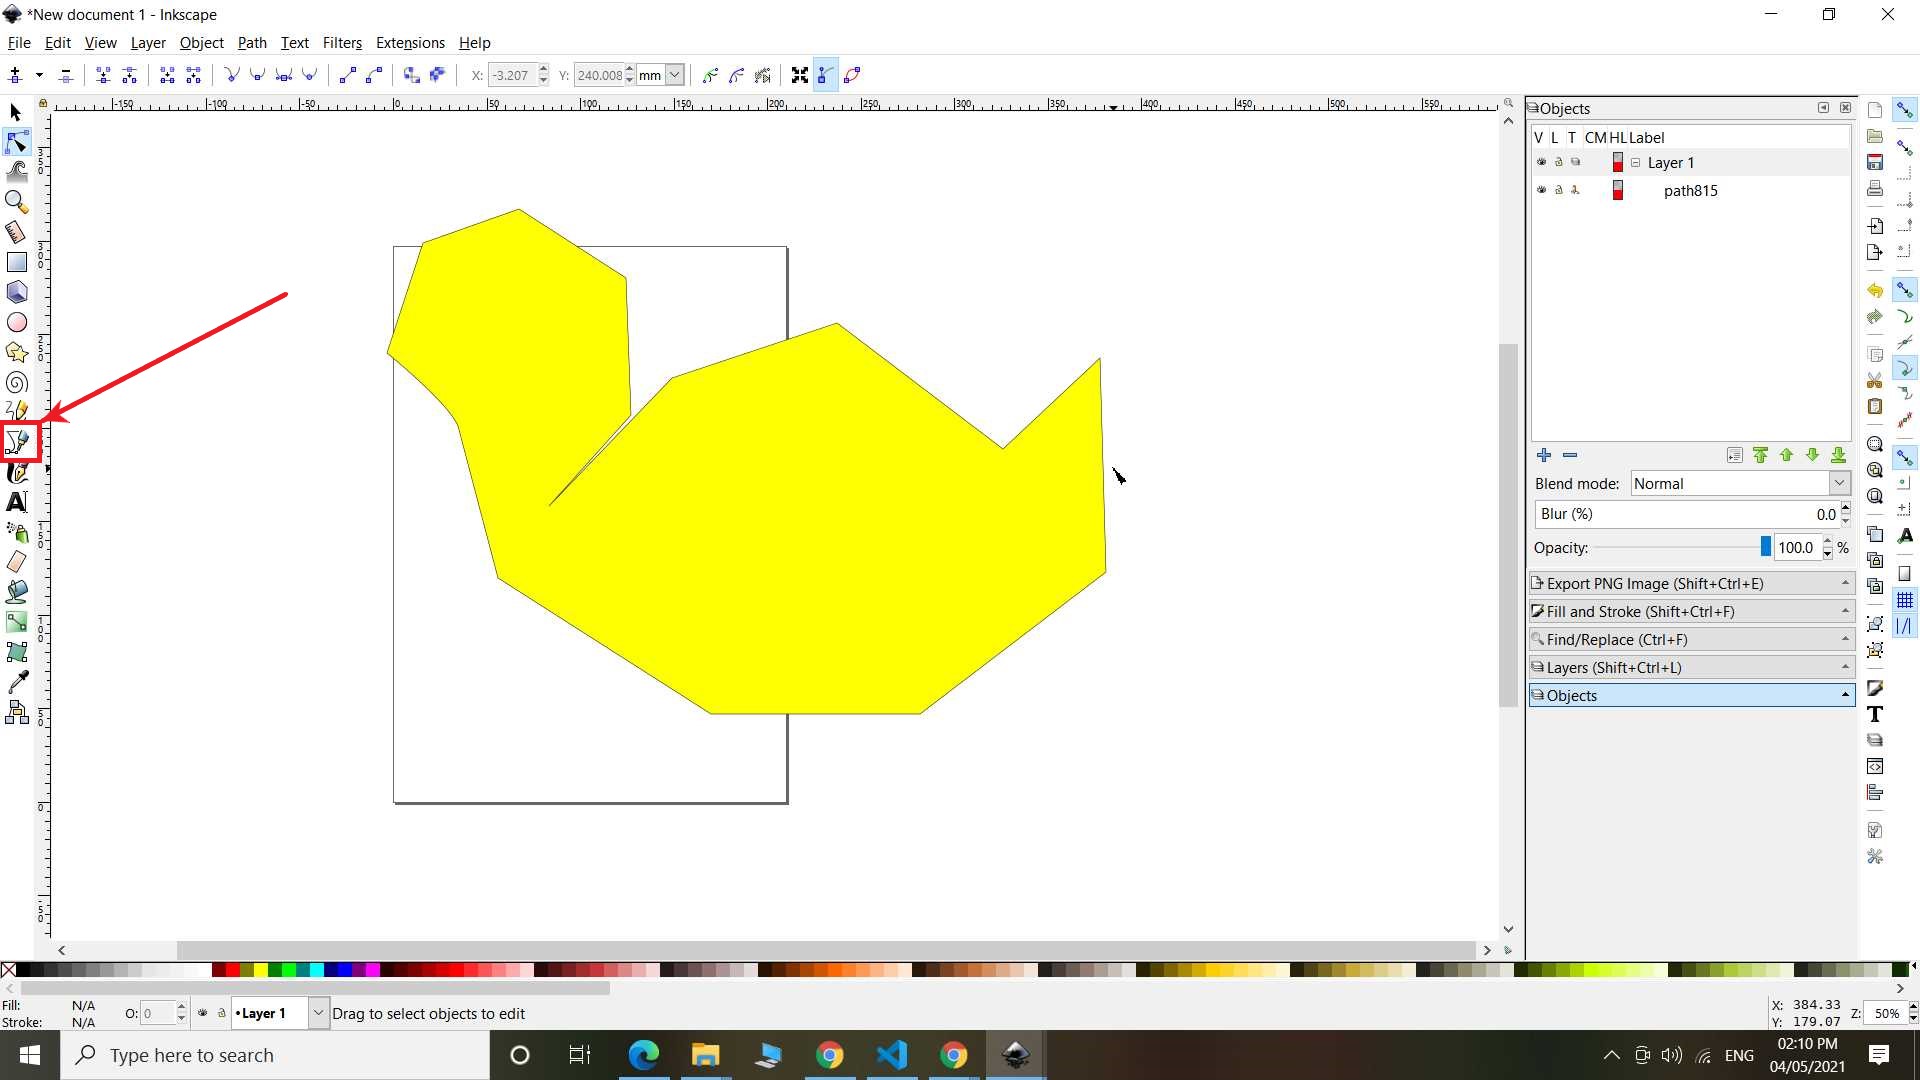
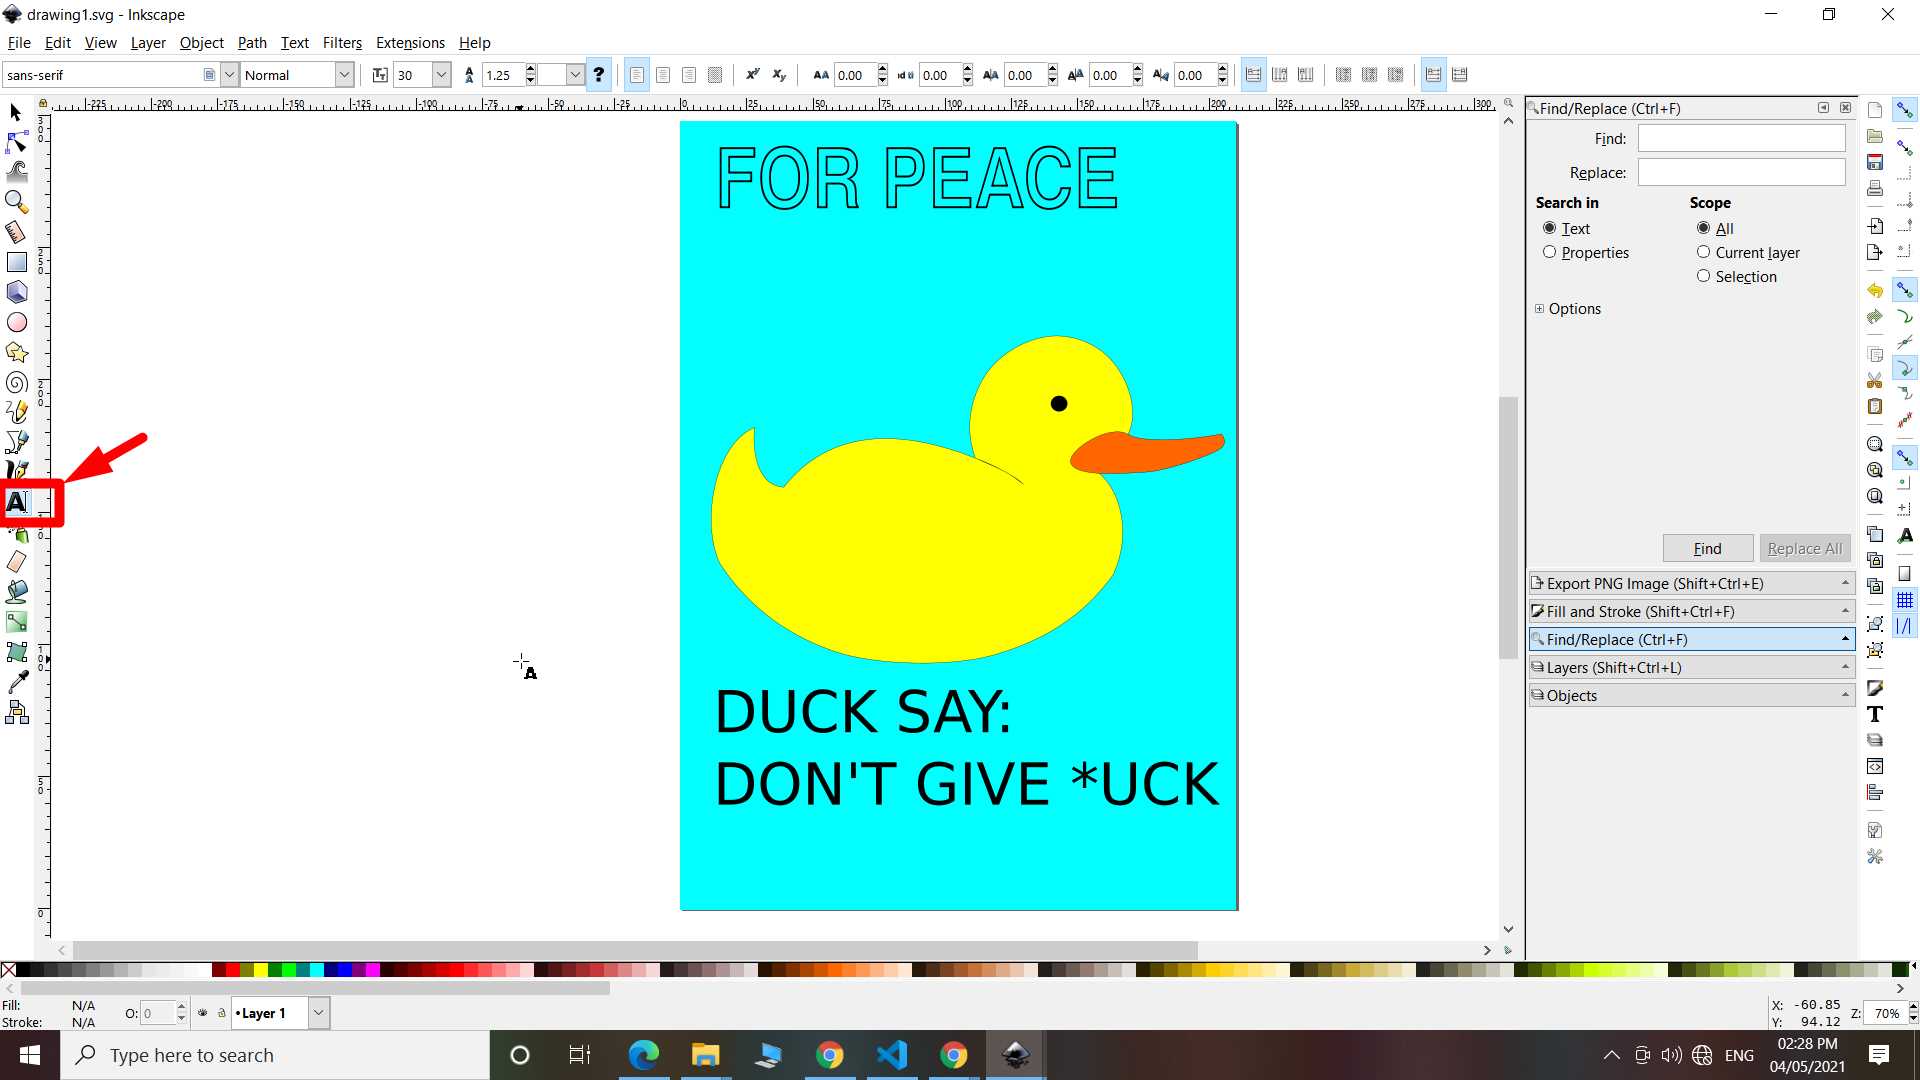
Here In my Second try I have use bezier curve tool to draw rough drawing then using shape tool I smoothen the drawing,same way I made other shape and combine them to make this duck.
and last after adding blue background I added text with text tool in toolbar.
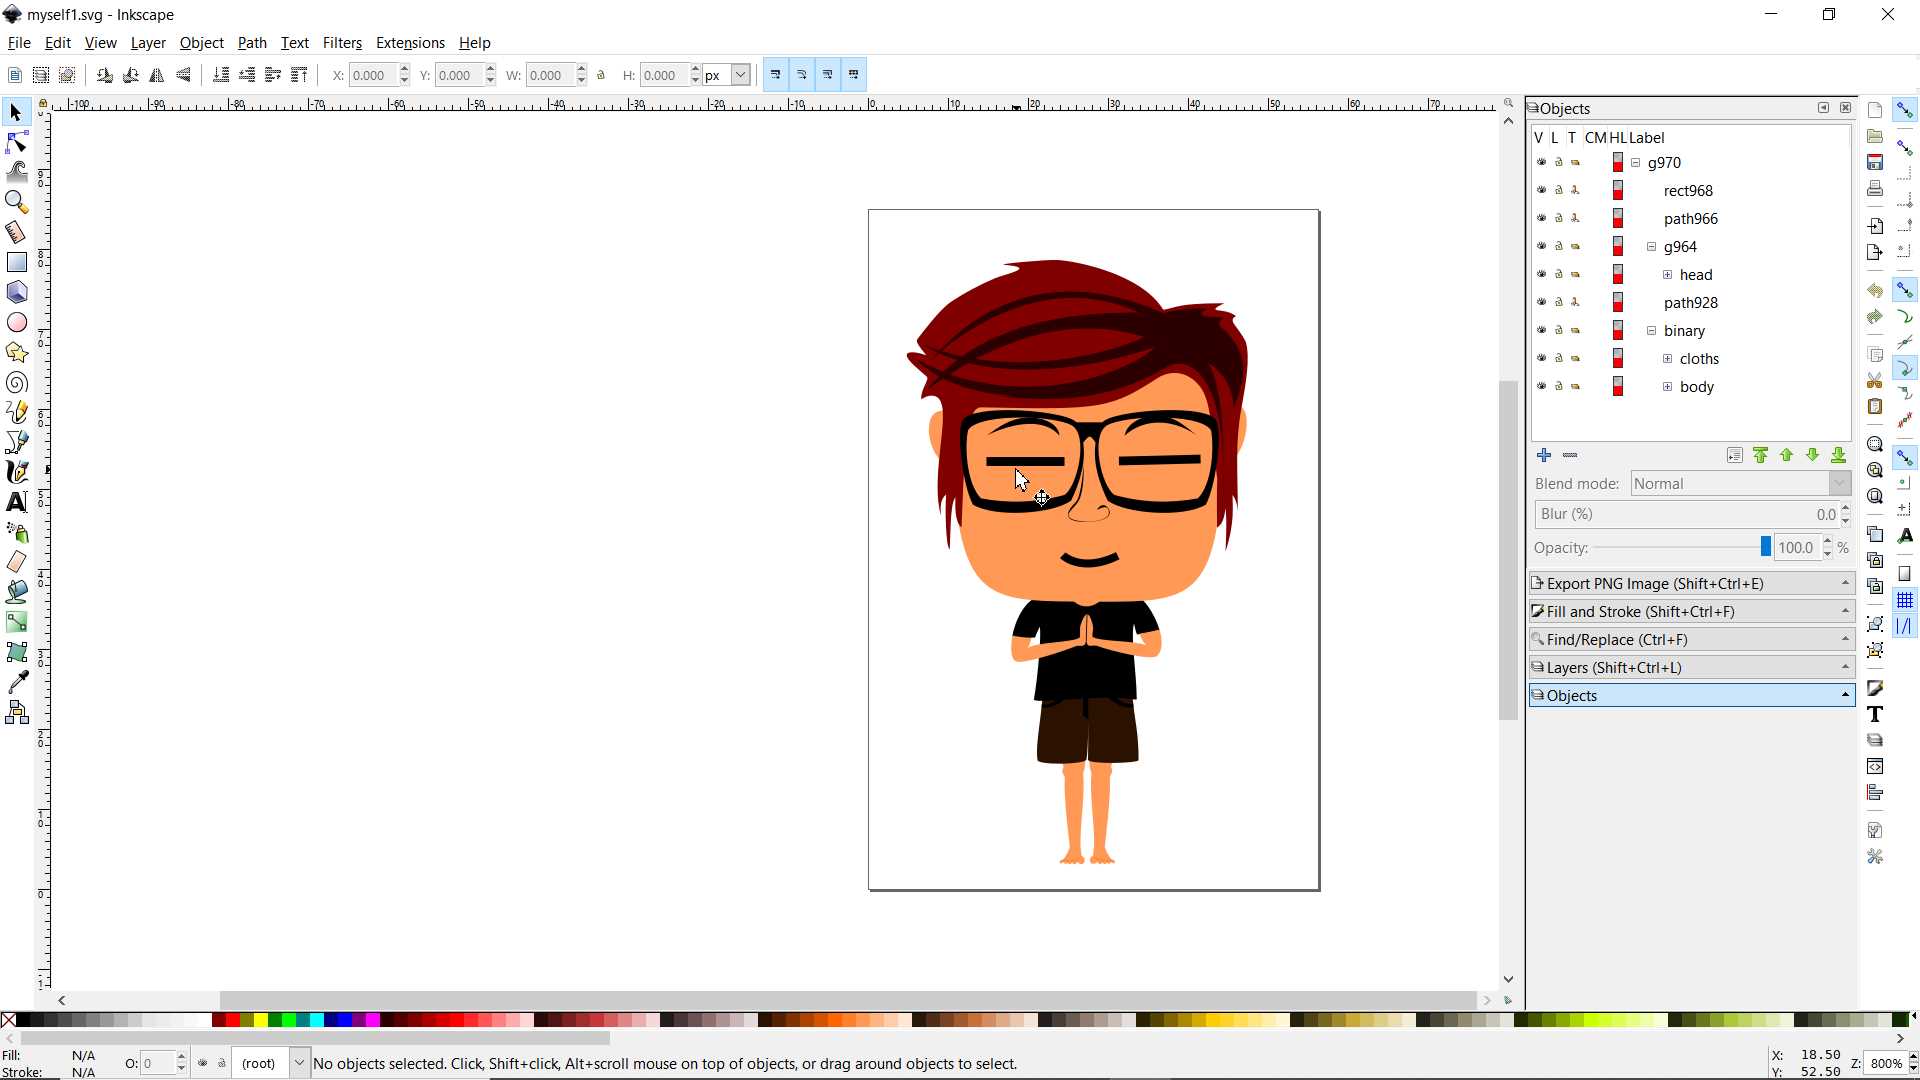
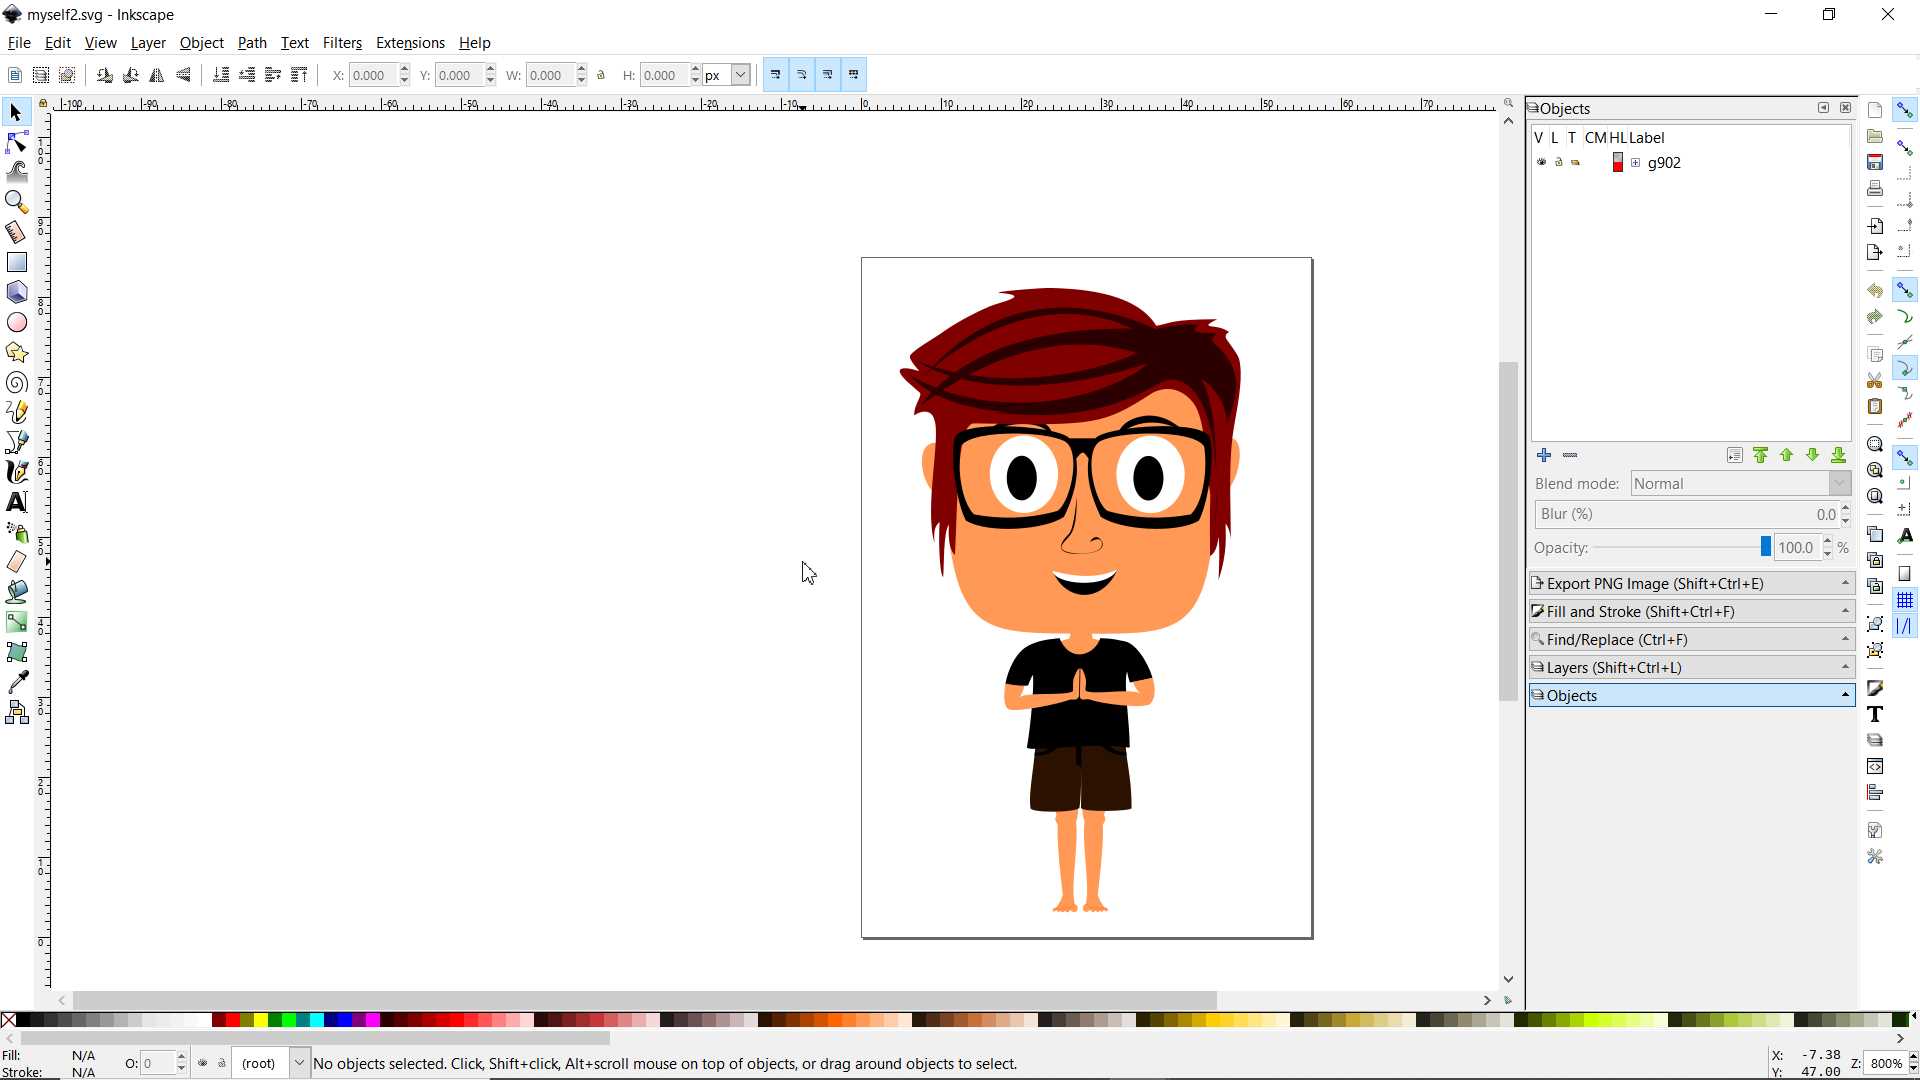
Yes! forget to tell that characters you find on my homepage are made using inkscape by me and save as svg which is vector file format that get open directly on html. and using javascript I animated it
CorelDraw: 2D Vector Drawing and editing Software
CorelDraw is a another wonderful app, I use it so much but thing is that it is not free or OpenSource
but worth using it. Almost same like inkscape. Thing that I like in corelDraw is that I can make
multiple pages in one file I am not sure why I need that maybe I am lazy in managing files.
if you know any vector designing software you can learn anyother more easily and quick because tools almost are same.
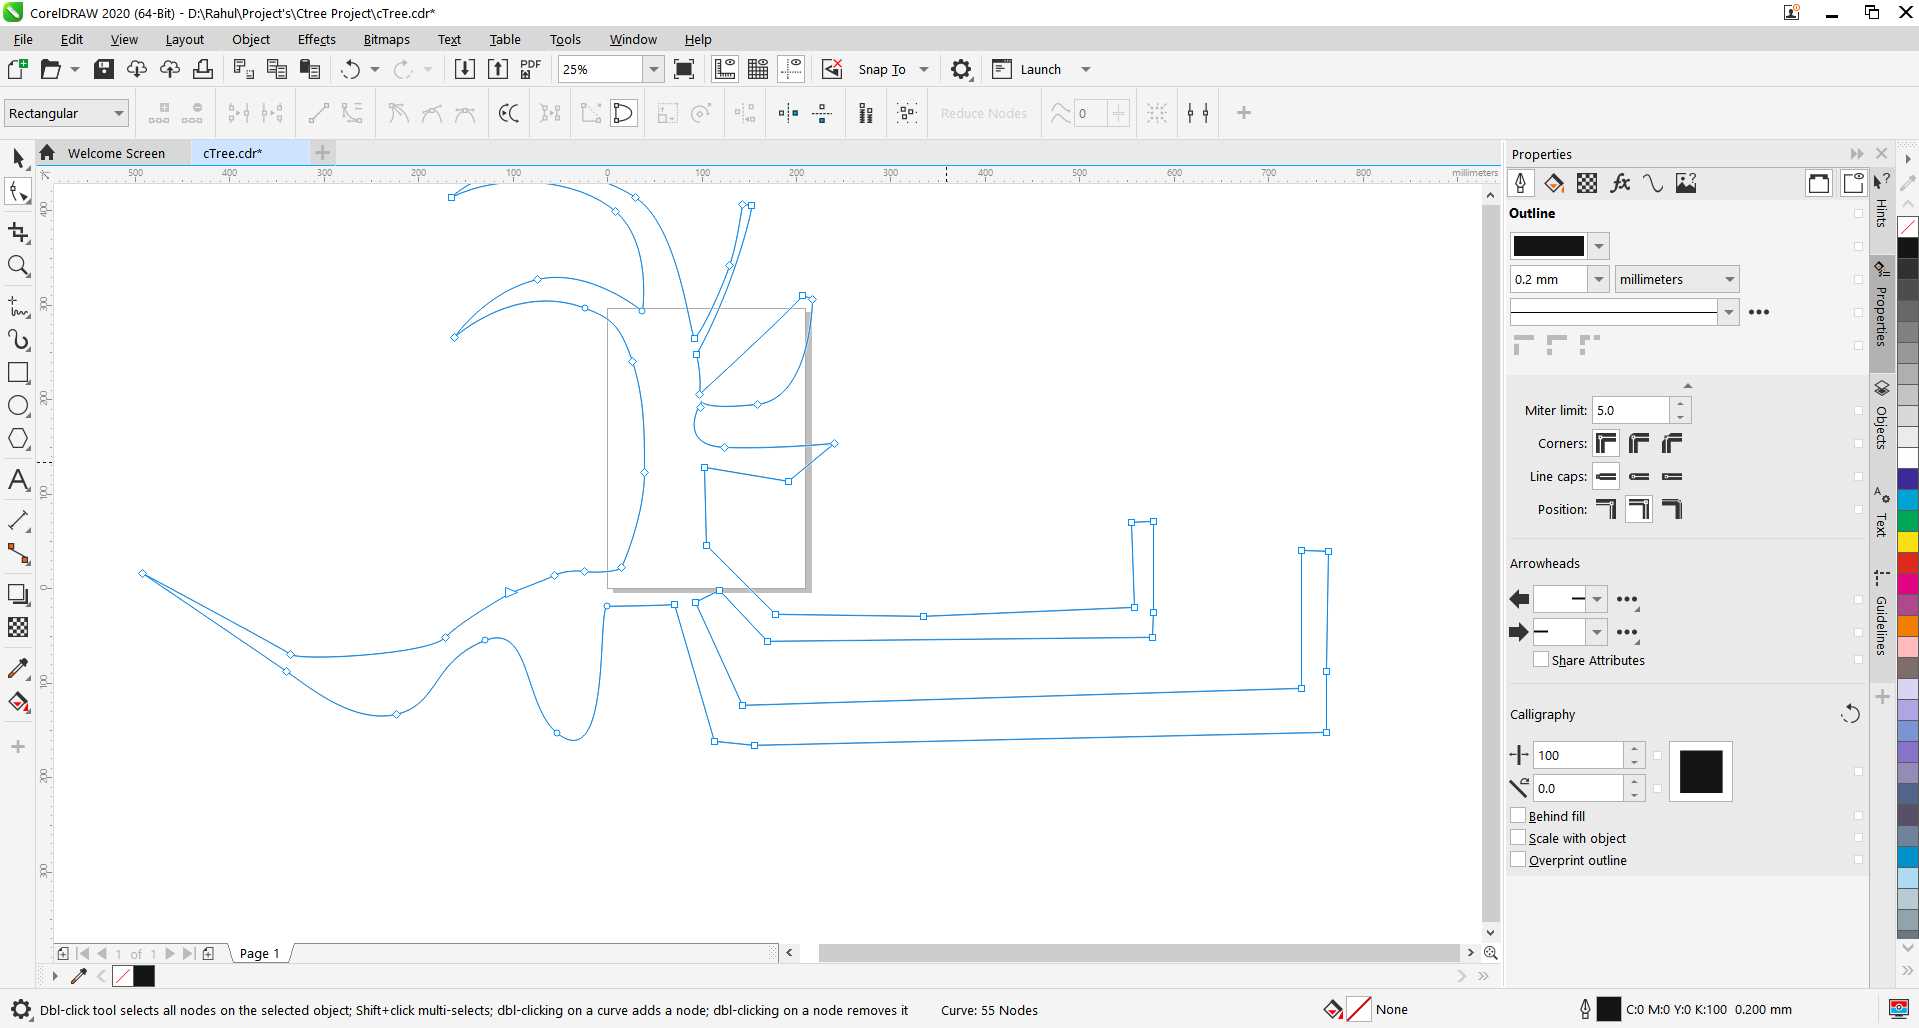
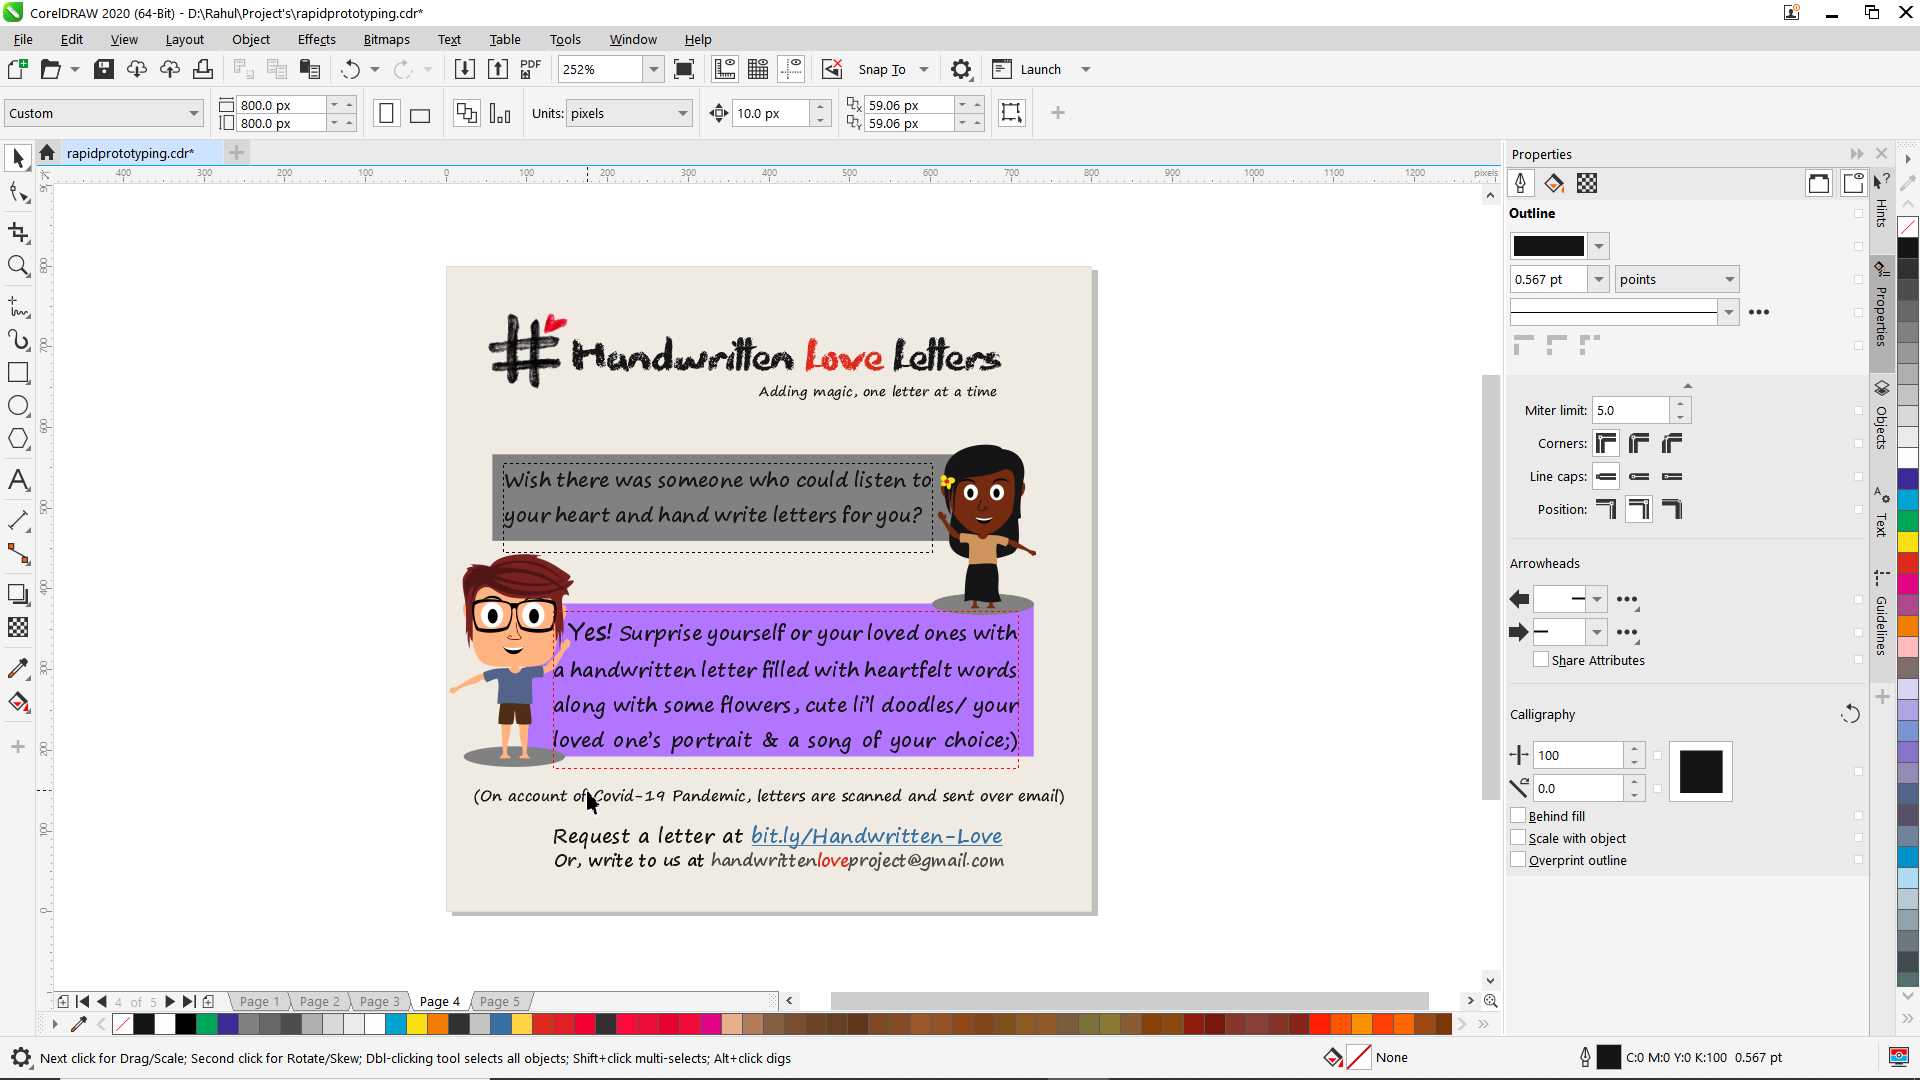
using pen tool I have made random shape then using shape tool I shap it little bit and continue to add extra features like eyes, shoes to give it look like some characters.
To fill color I select shape and left click on one color from colors palette. To give color to border just right click on color.
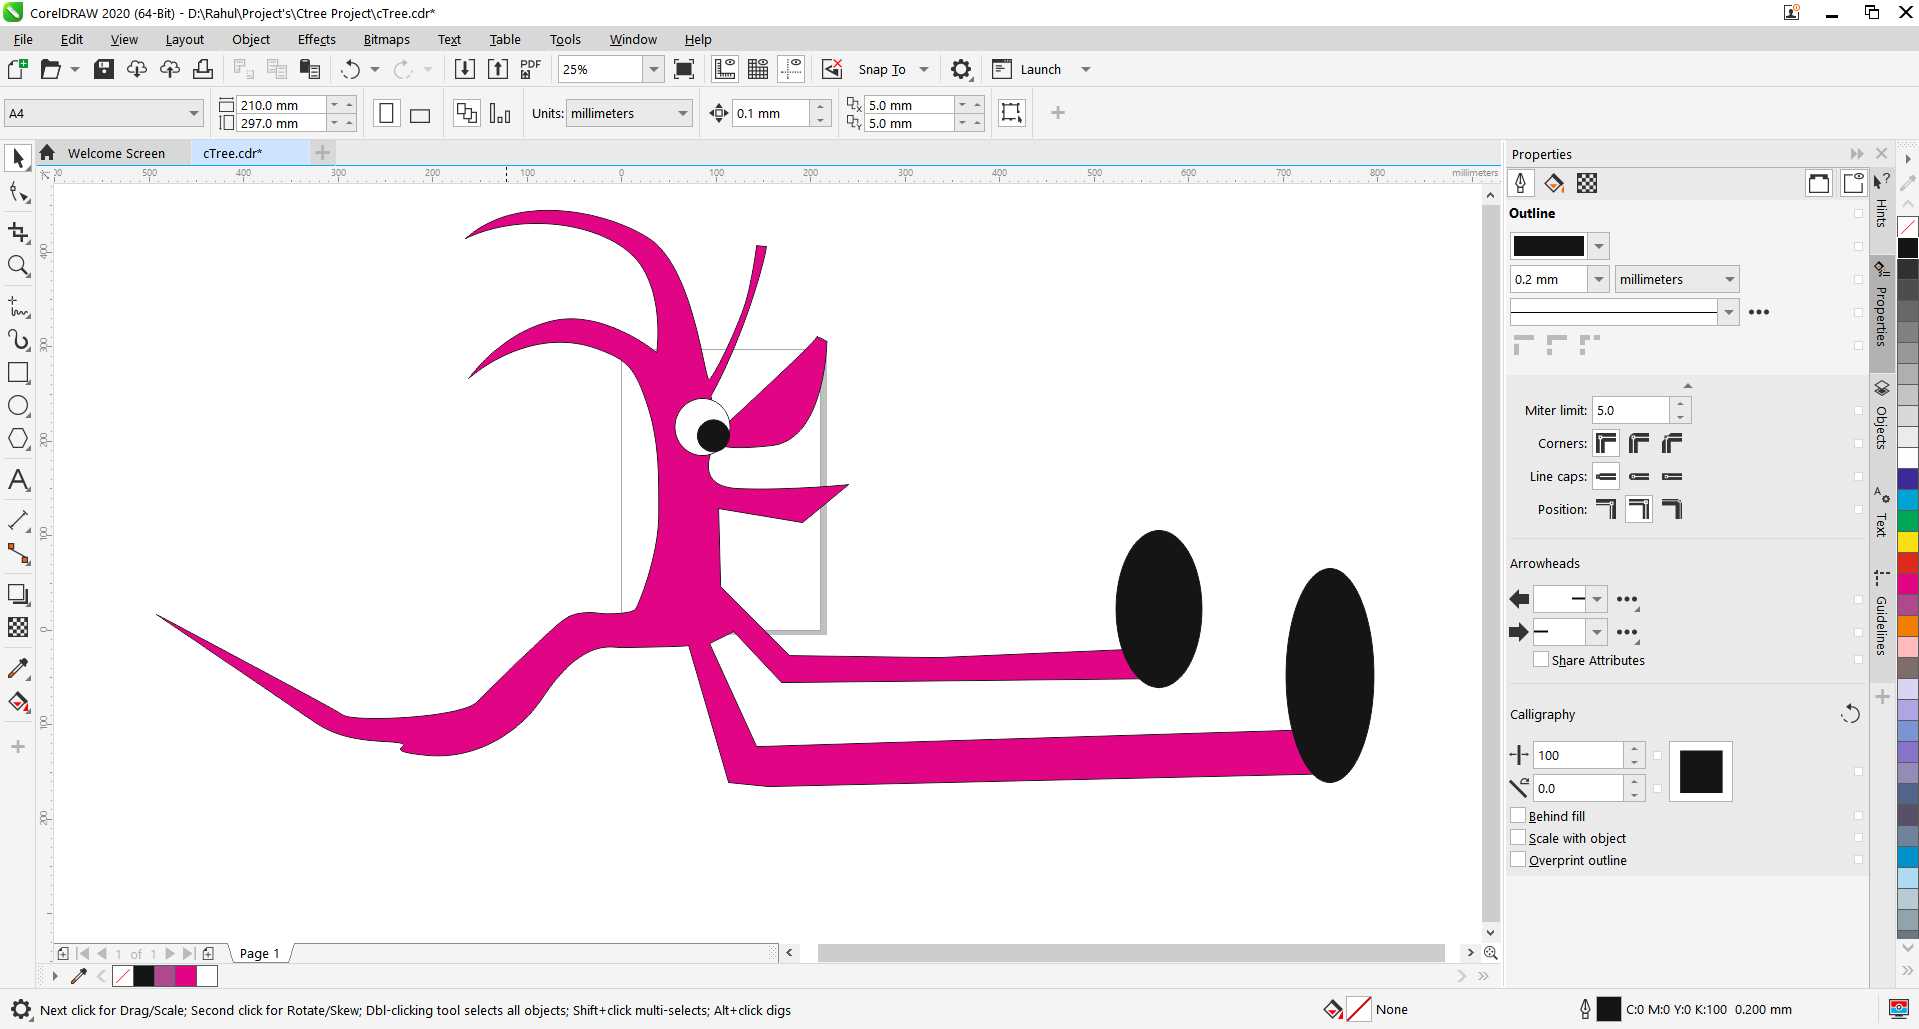
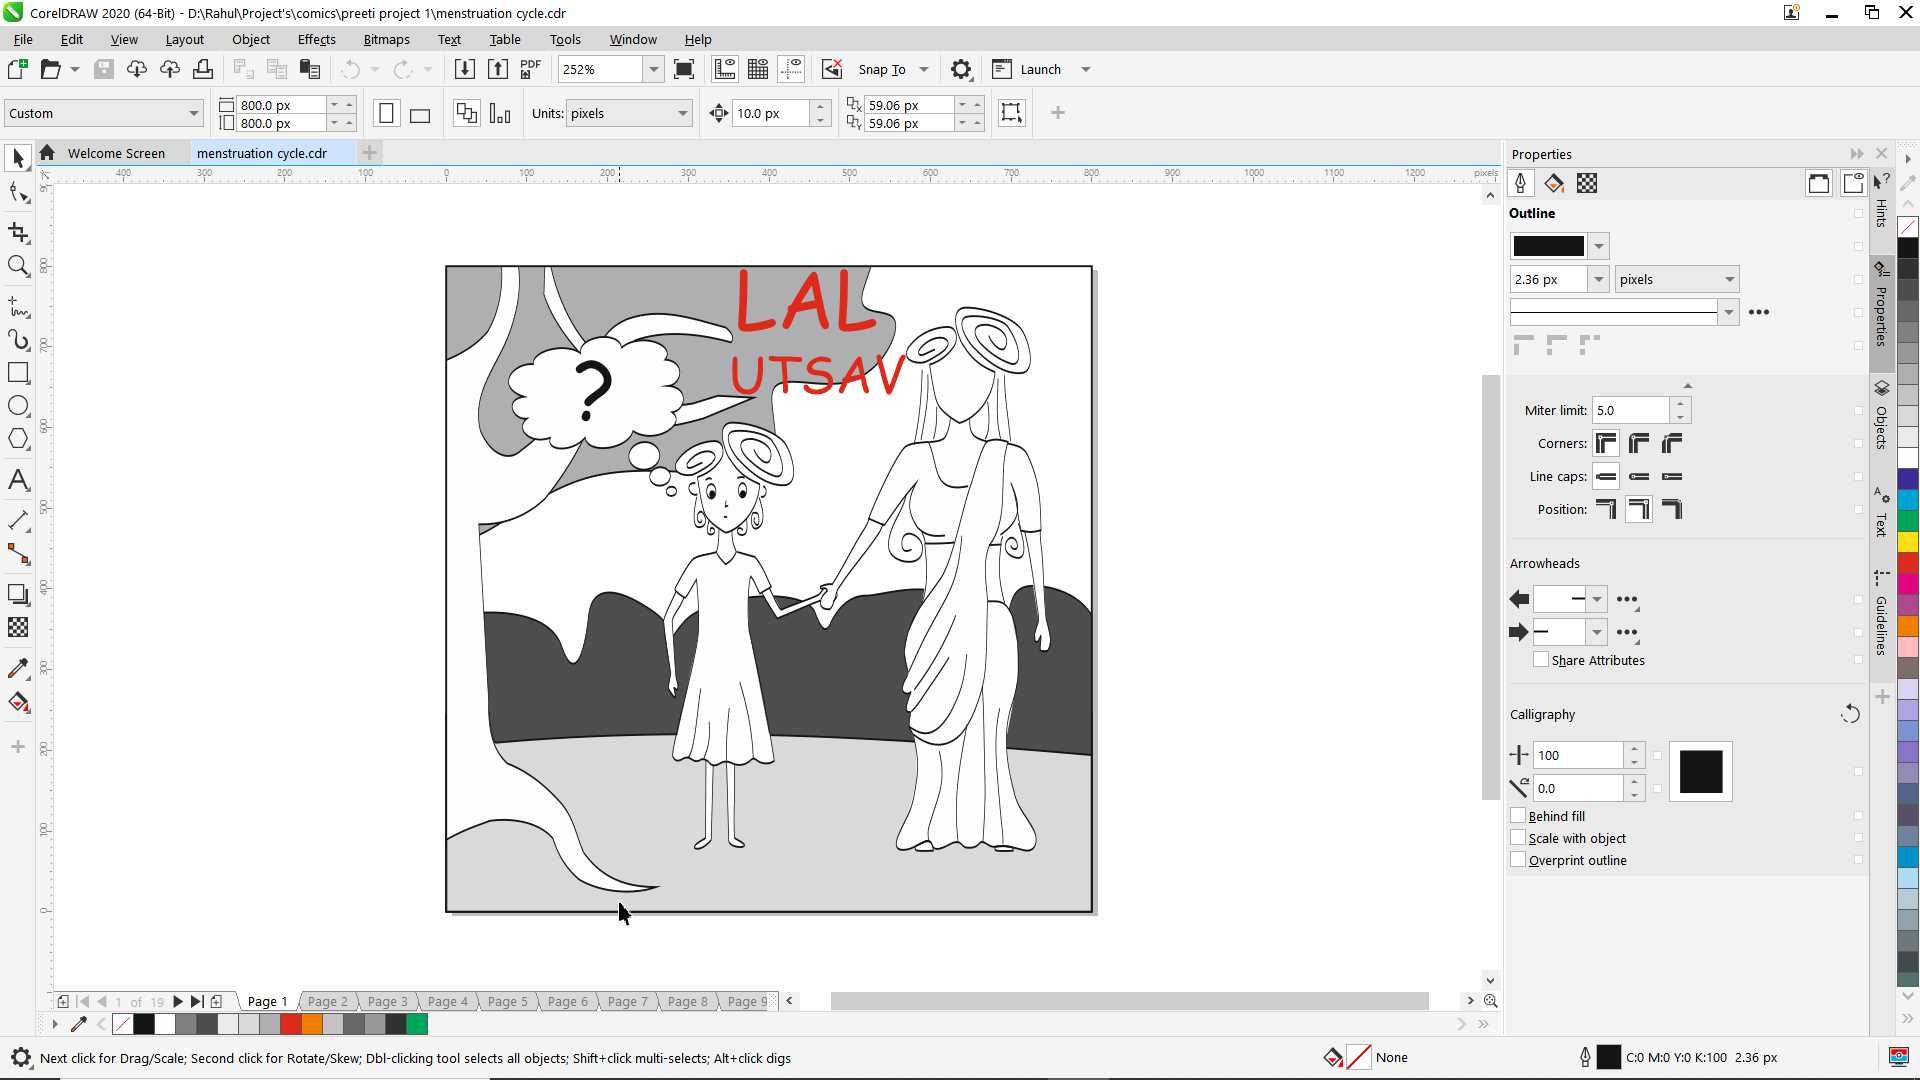
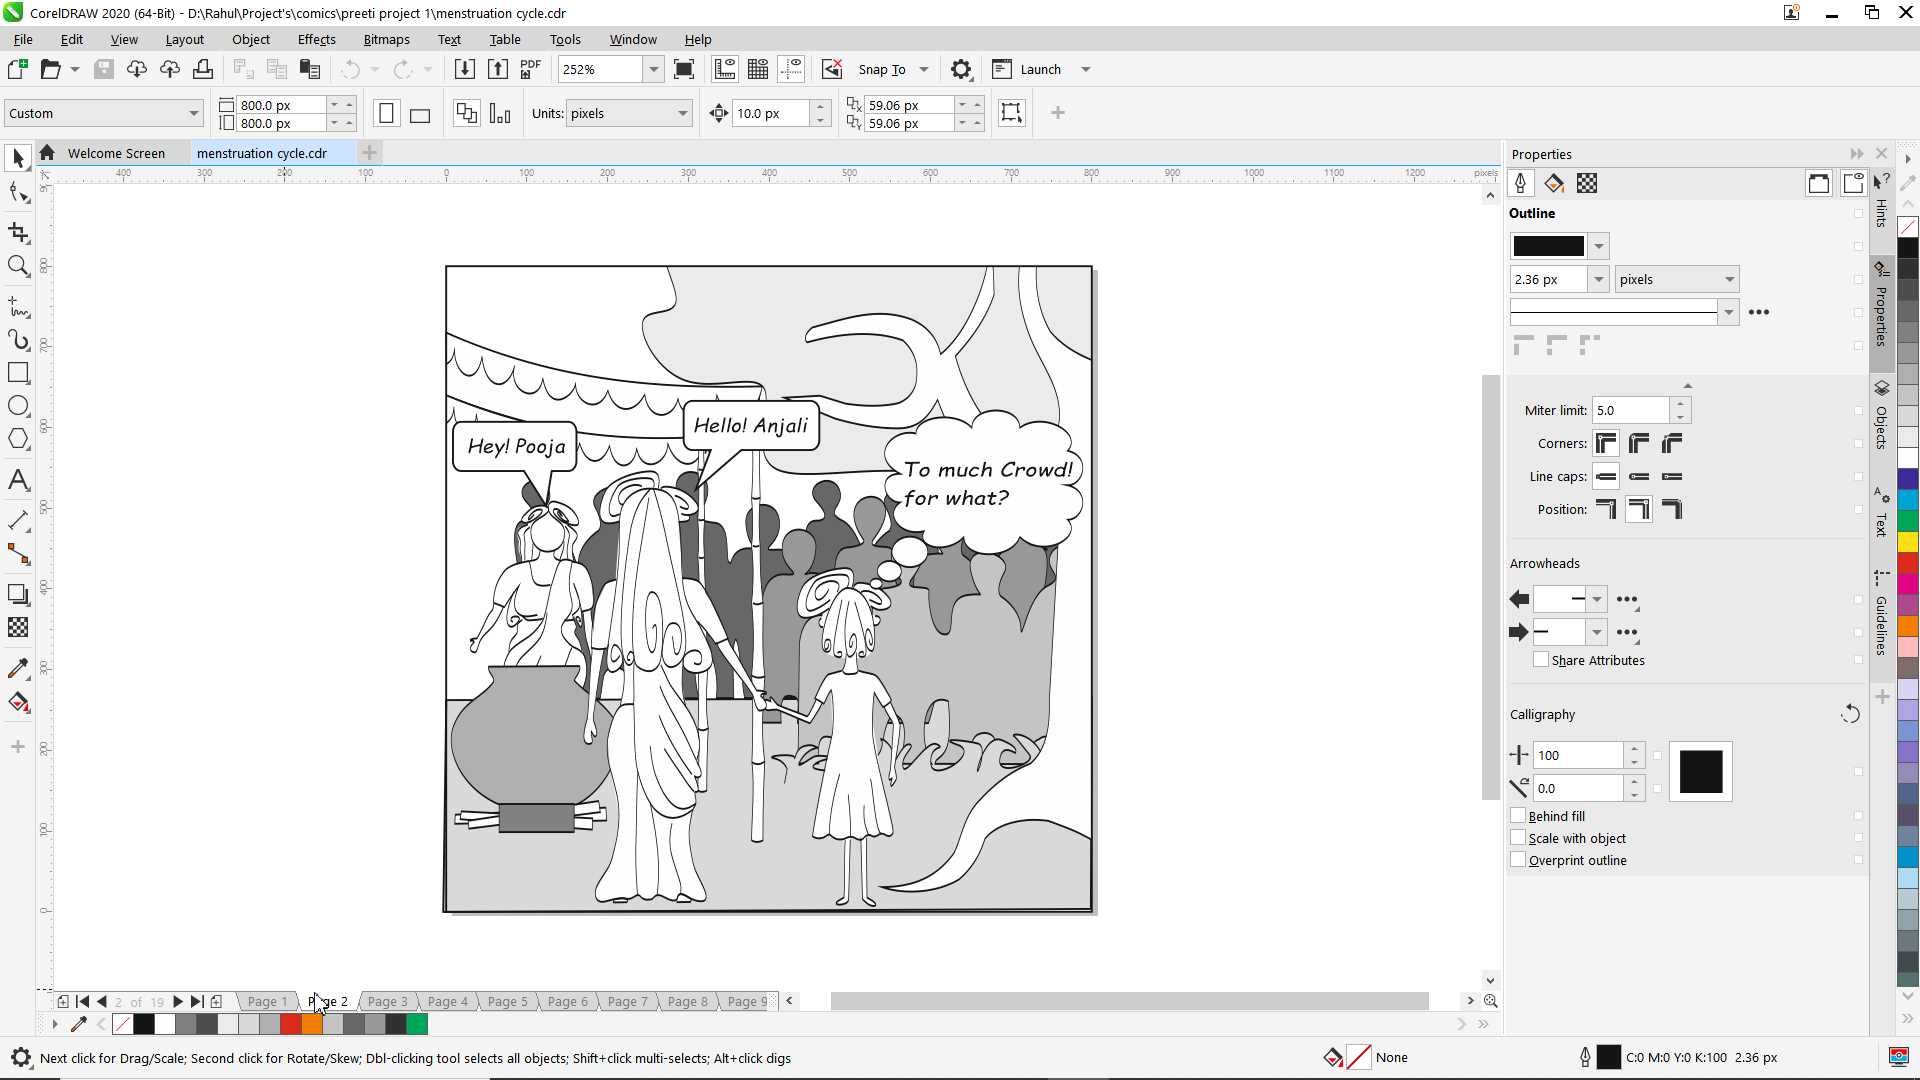
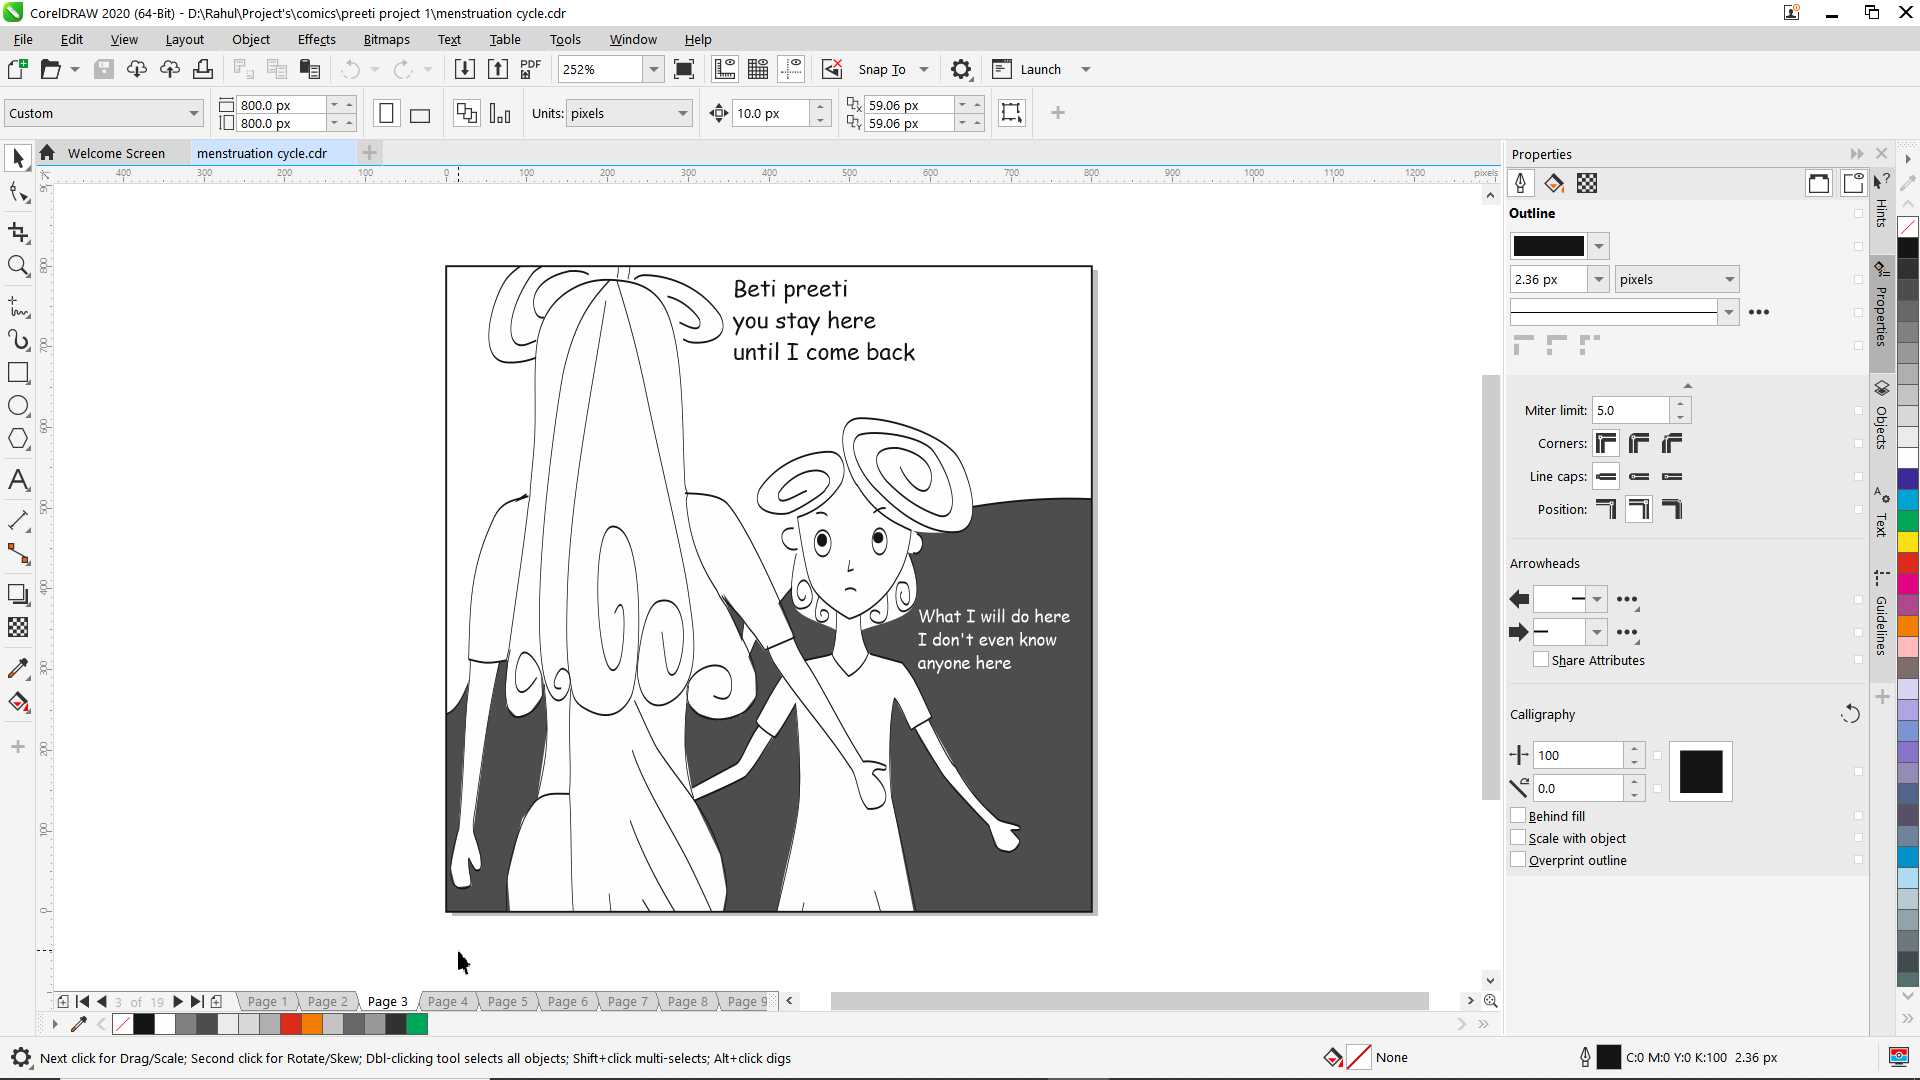
so that was very quick design I made to document but I am not that less imaginative so I would like to share some my prior work on coreldraw. Example this one is comic I tried to make still working on it. It is about women celebrating menstrual cycle.
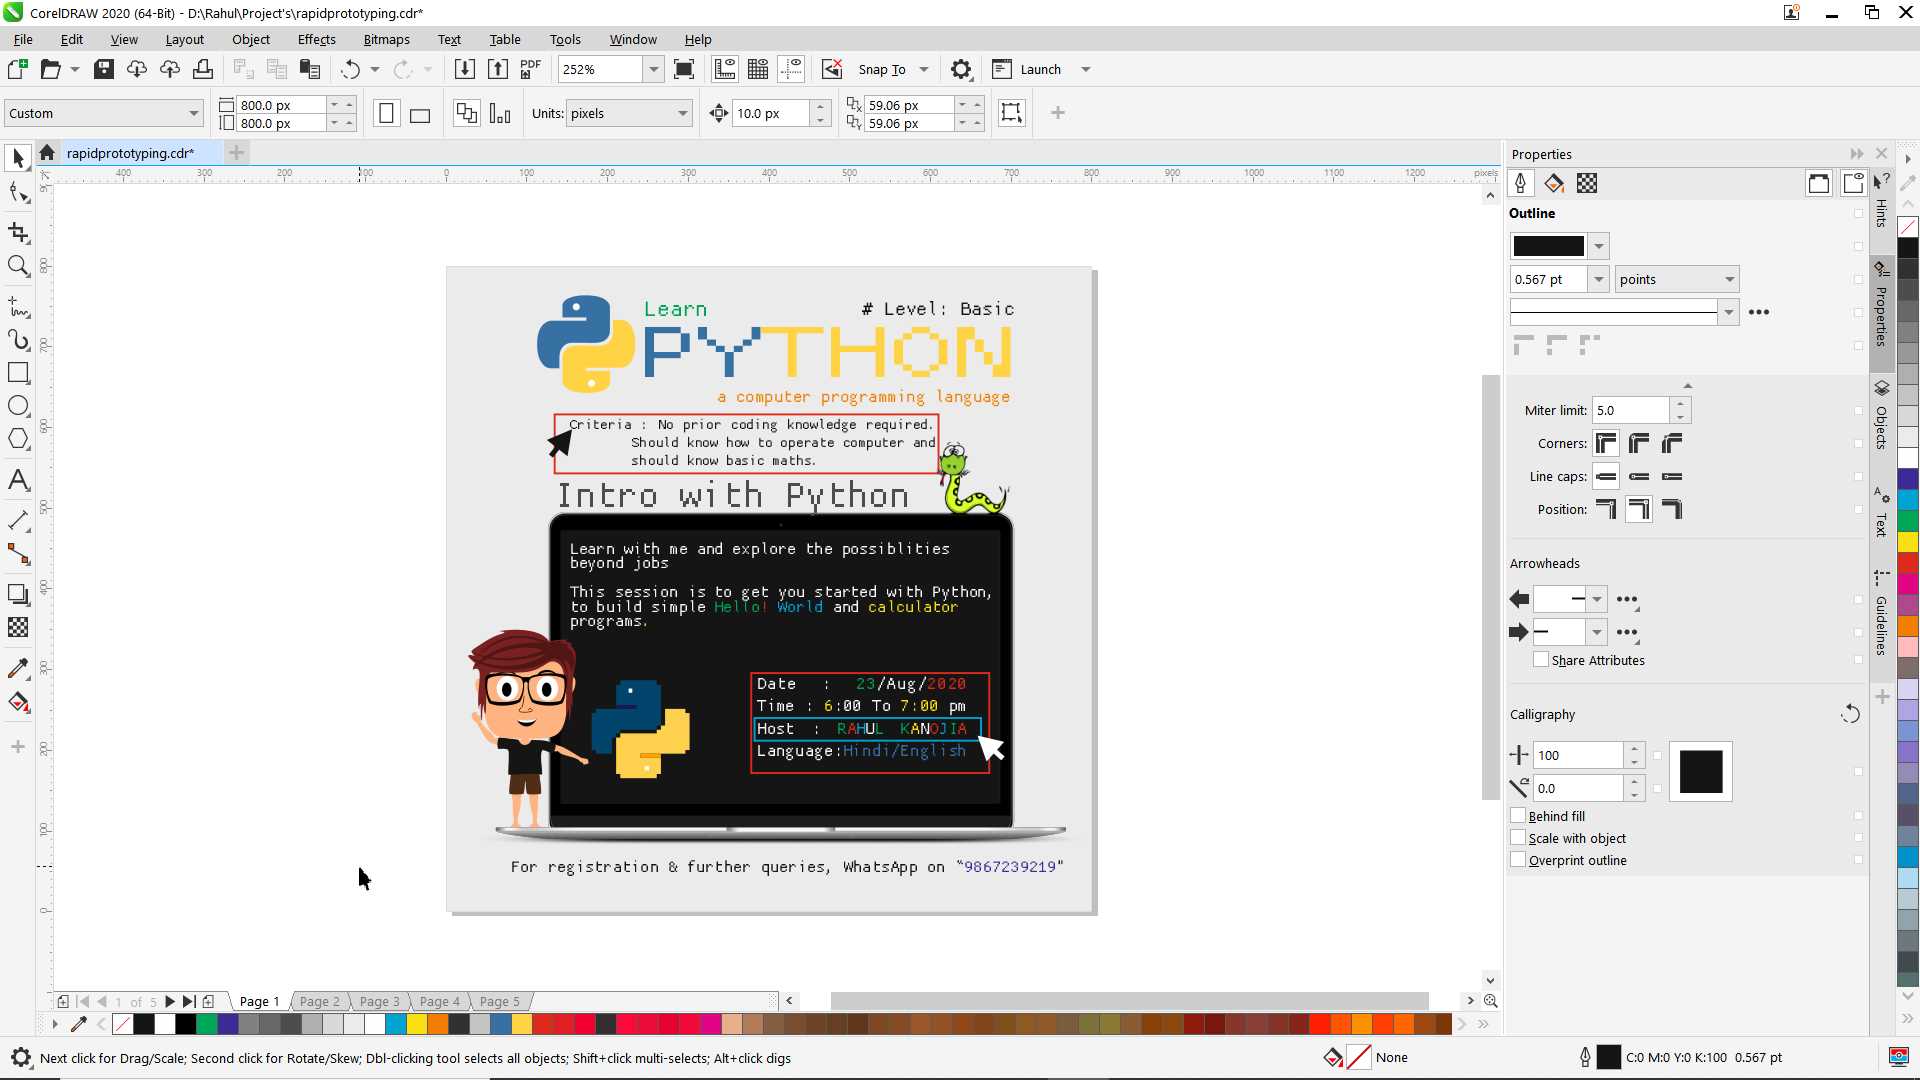
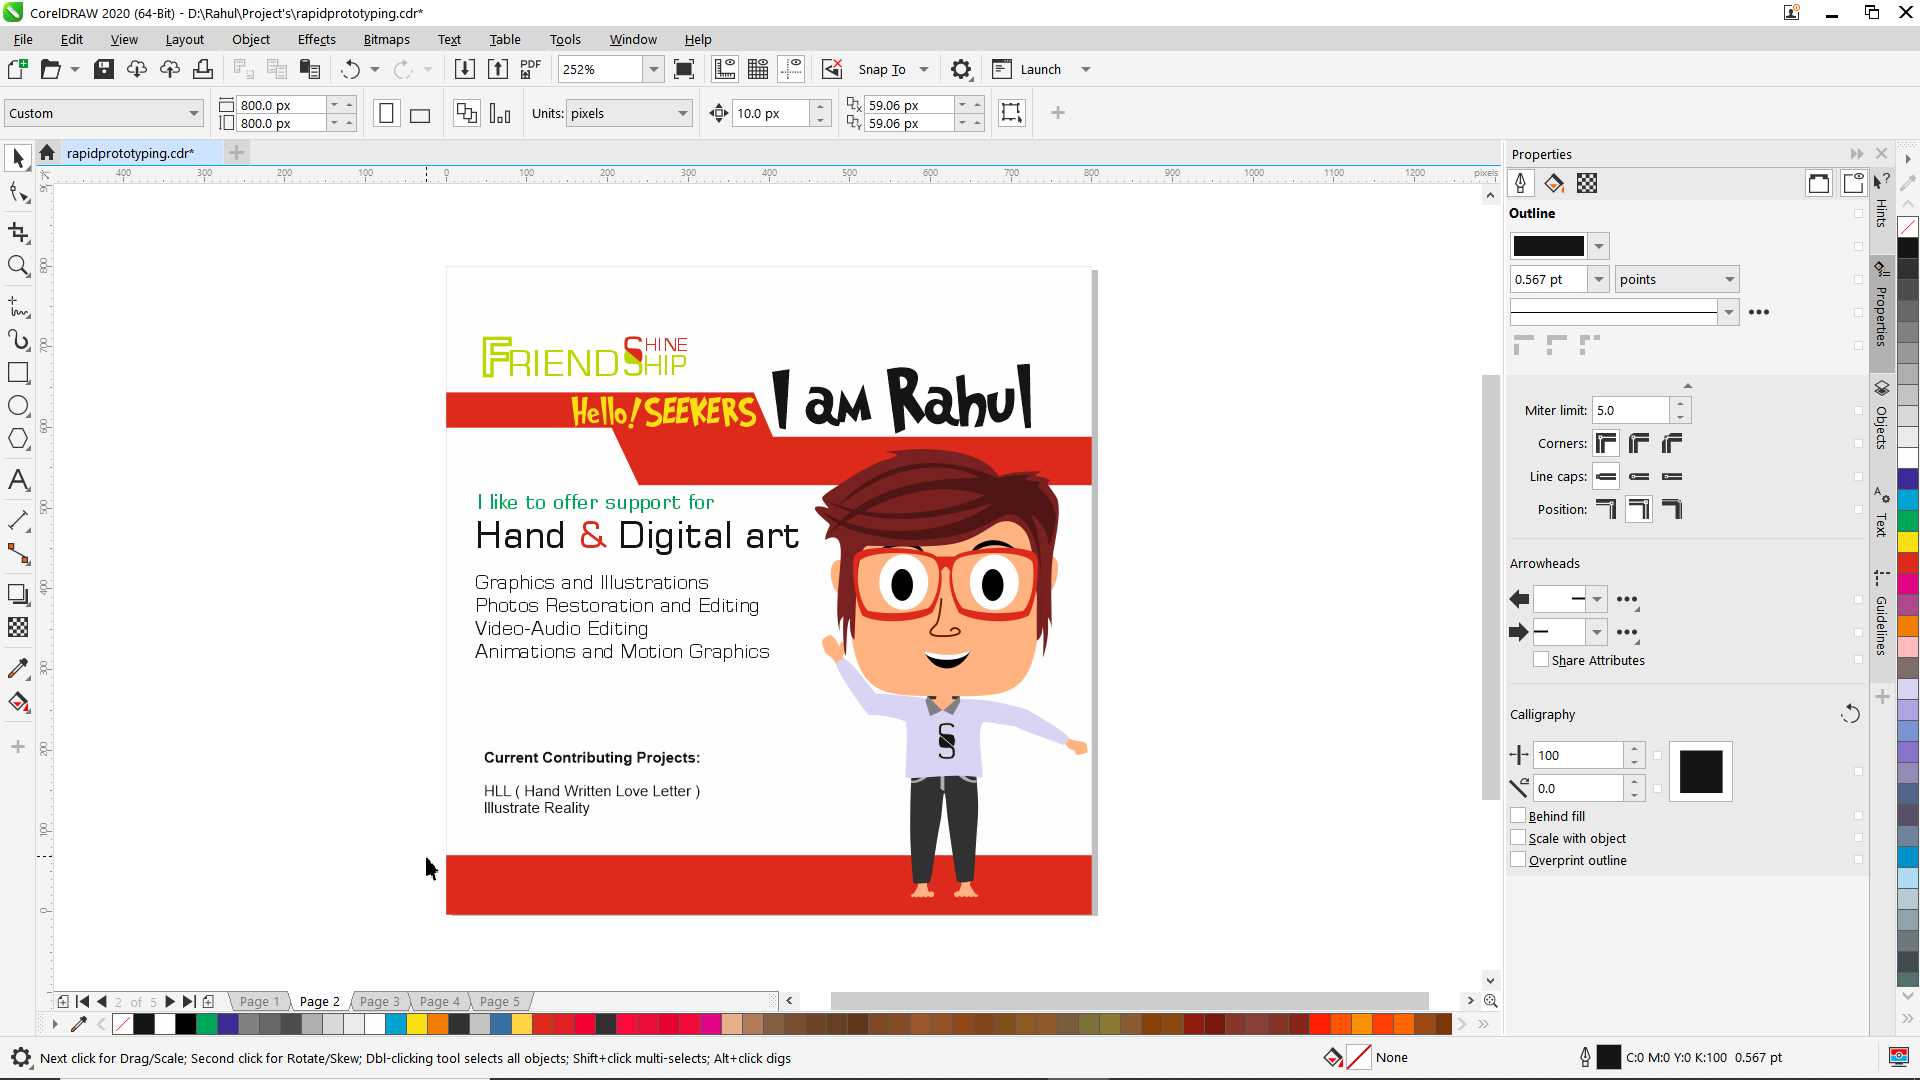
And here are some example of poster's I made on corelDraw for some initiative we have started on.
Blender: 3D modeling and animation software
God of everthing Yes! Blender is a wonderful 3D modeling and animation software I ever found. I had
used autodesk Maya, 3ds max, Zbrushs and many others but I like and mostly use blender in my work.
It is
OpenSource software and run smooth in my system and setup file is not so large and you can even do
2d animation in it using Grease pencil
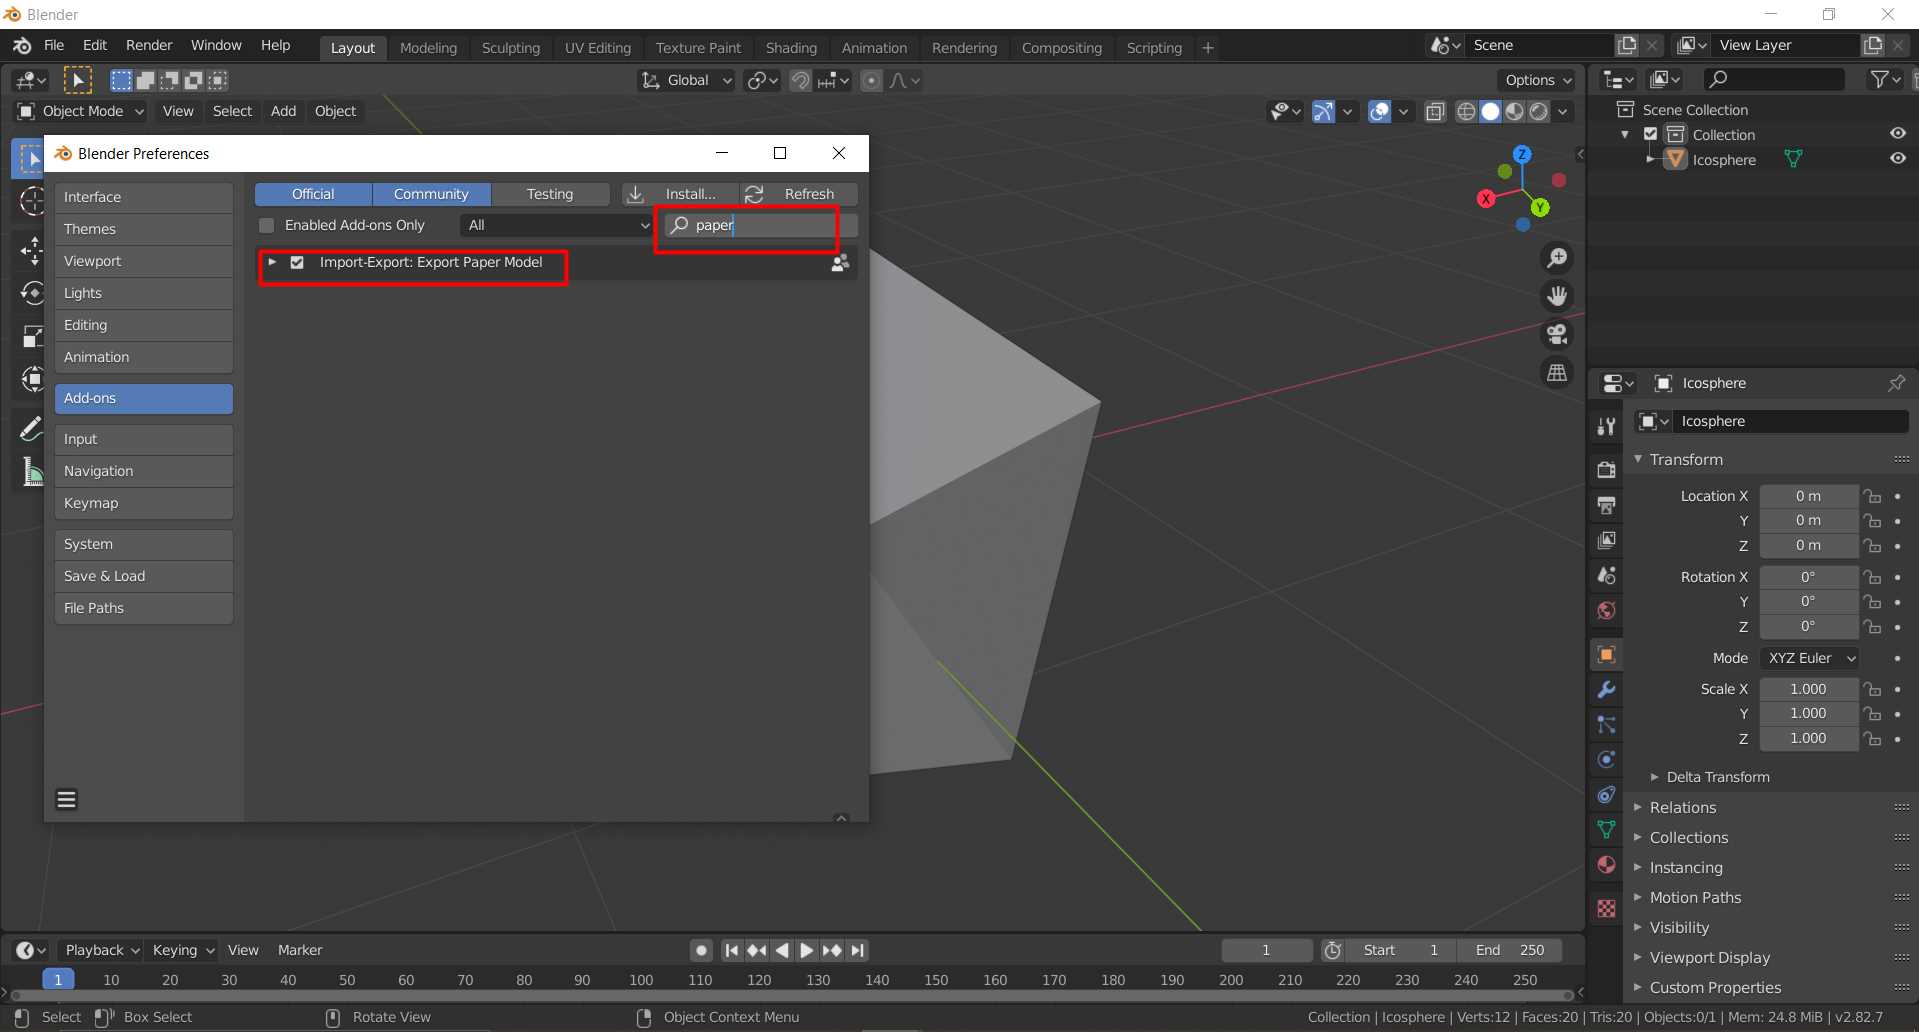
So I will not go with basic stuff here now but I share something new I found in Blender. I am still searching how blender can be use as CAD modeling software so I can only be with blender but yes still not found but I found interesting Inbuilt plugin in blender called Paper model similar to pepakura.
You can switch it on by turning option on in preferences/Add-on. search for Export paper
model
Lets make something simple first
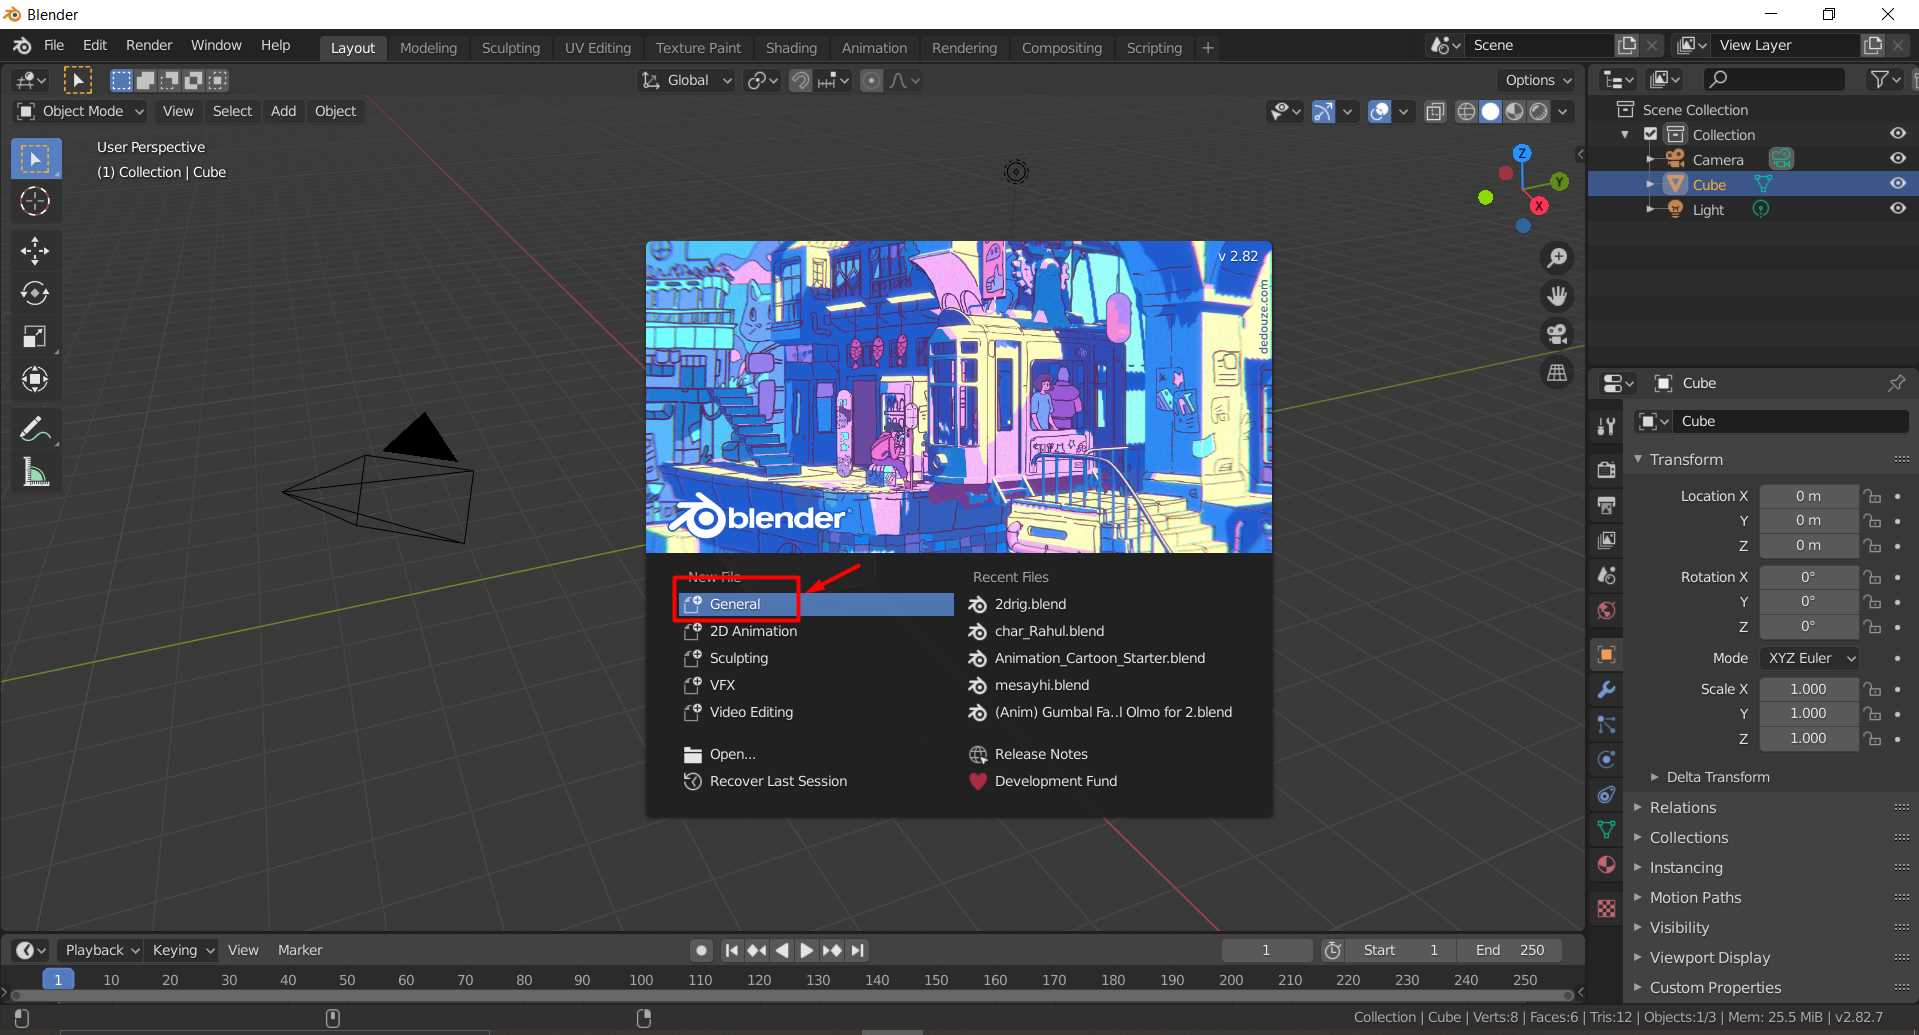
Open Blender and Select General window
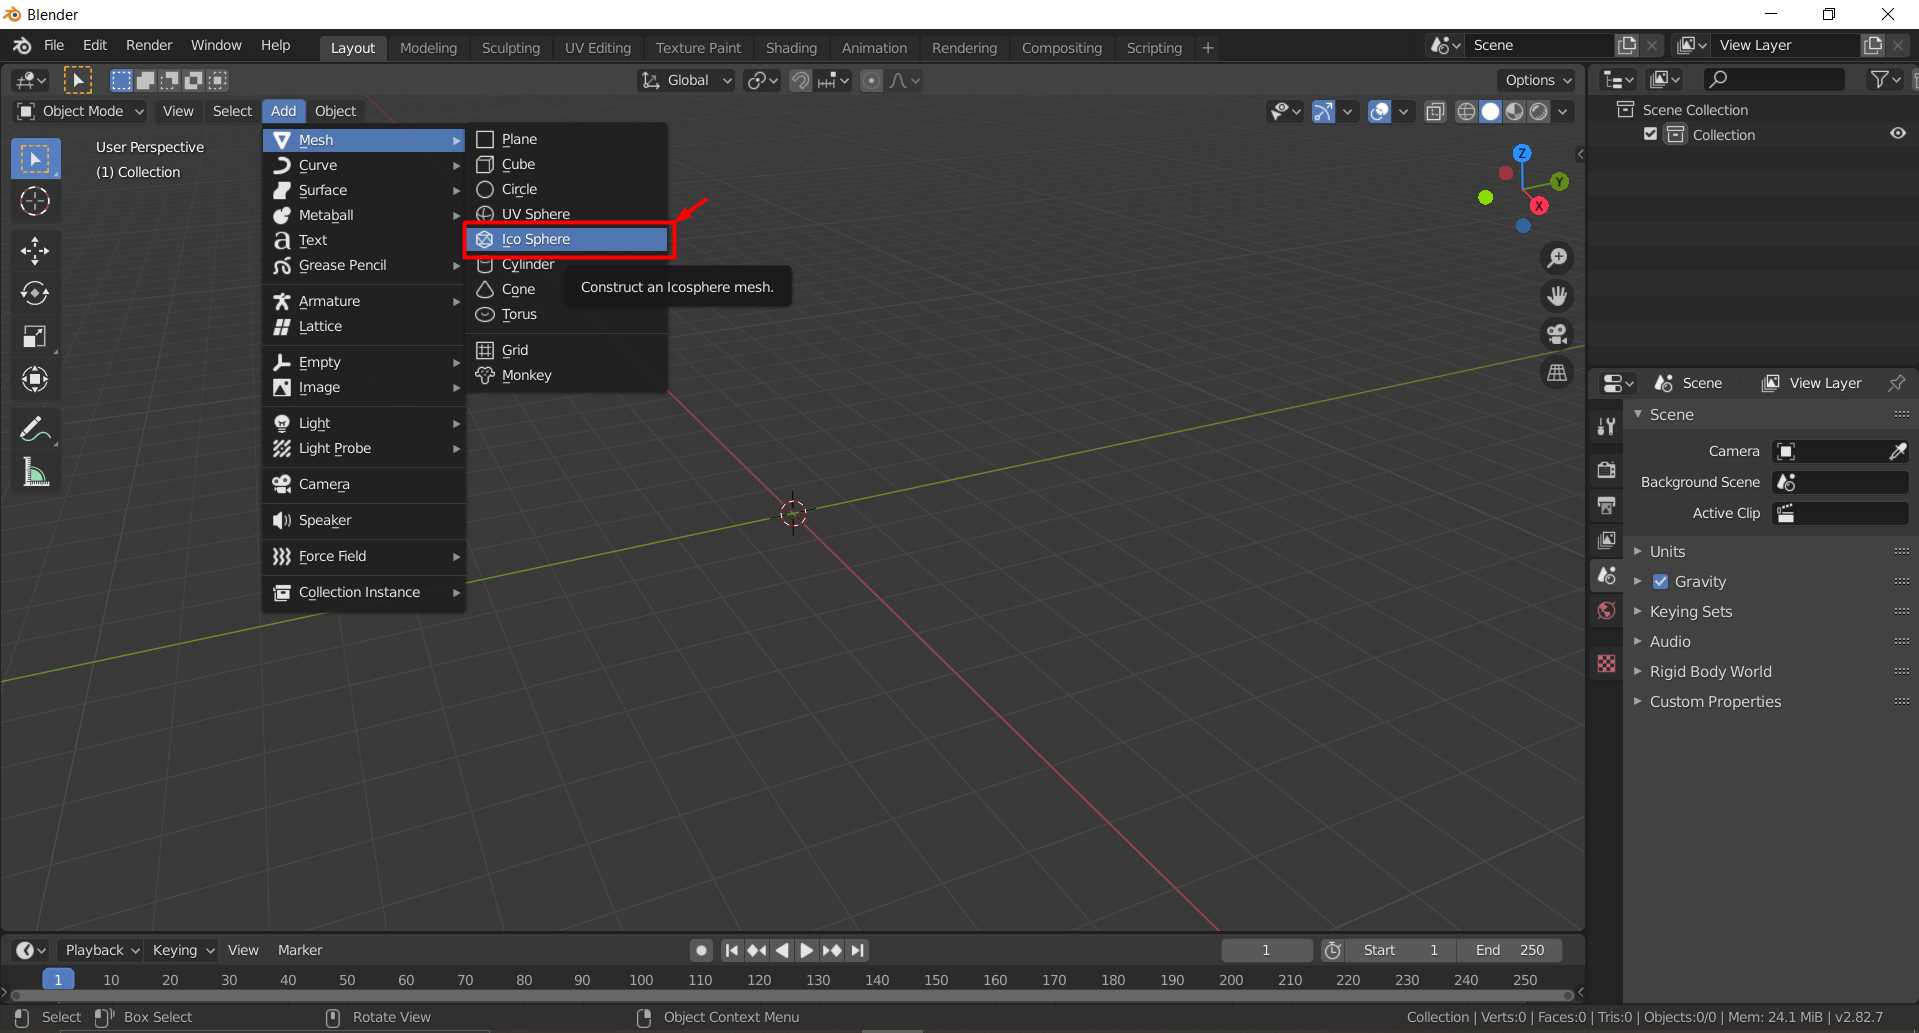
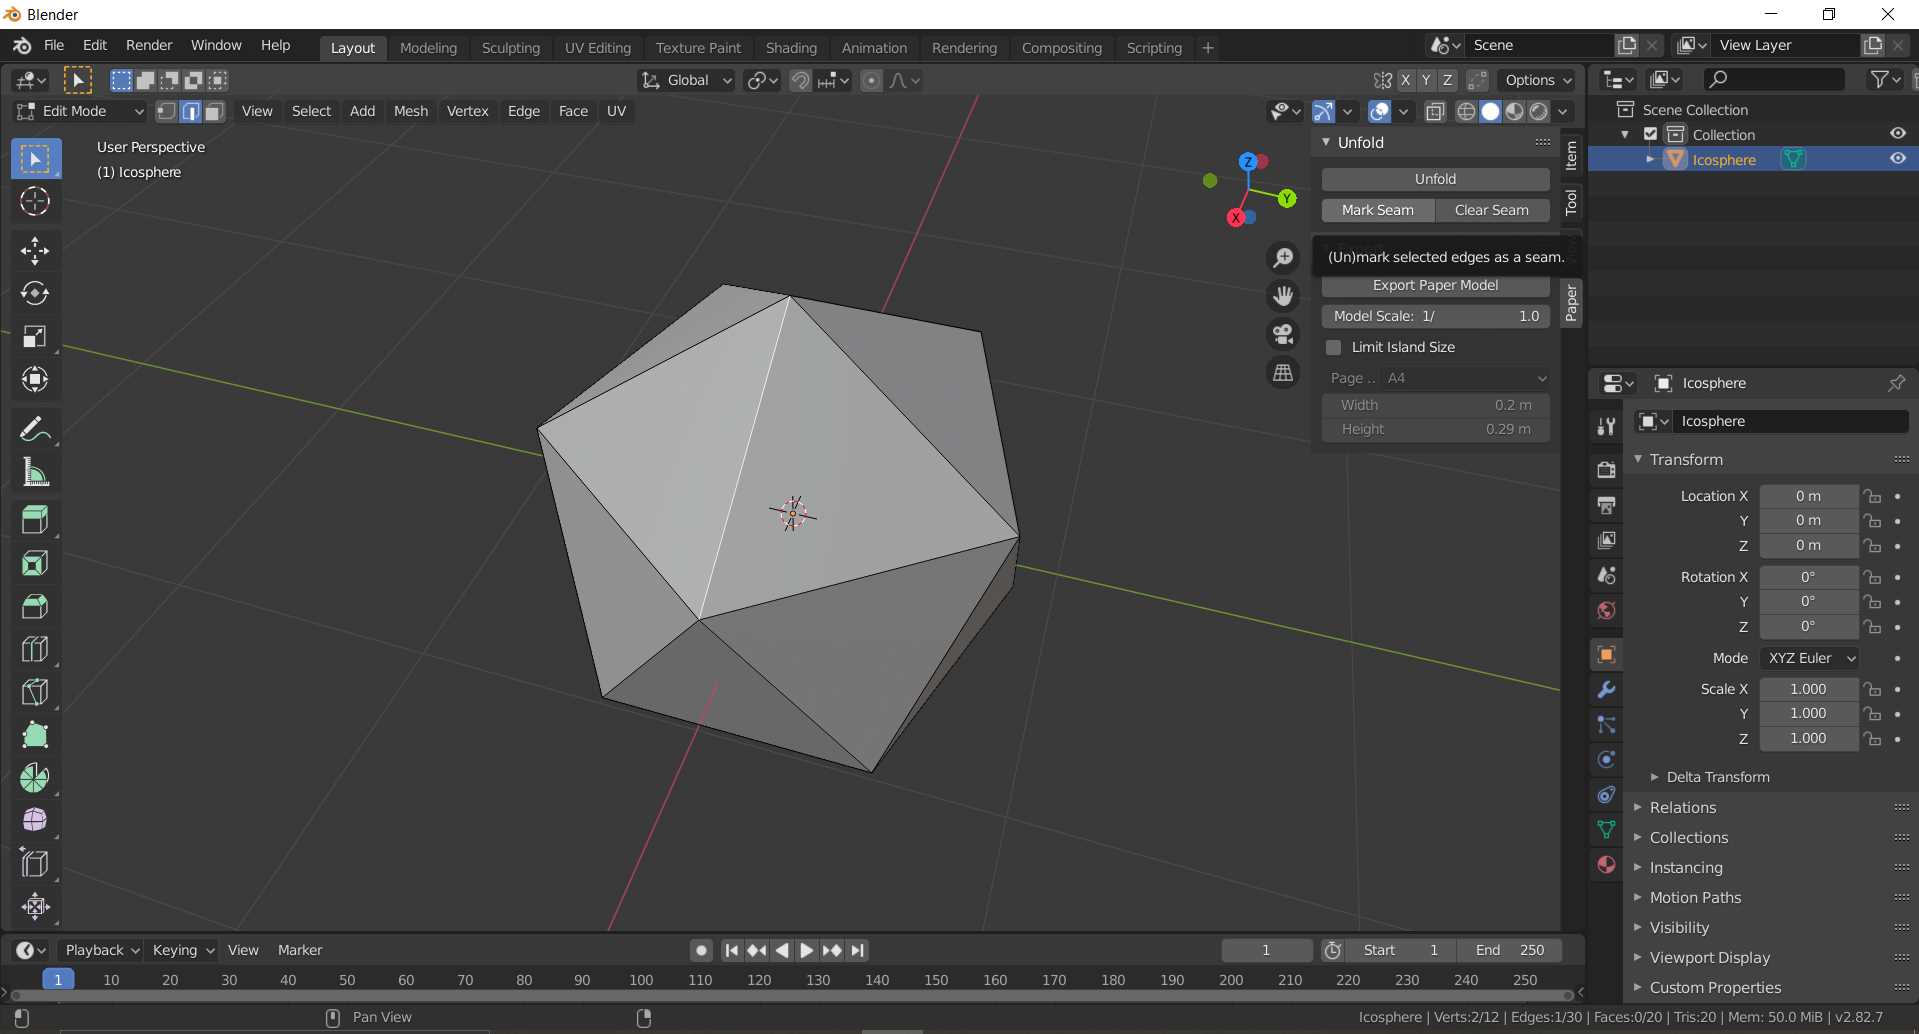
Create simple Ico sphere make sure number of polygon is less for less complicated Cuts/folds on paper
Make sure Export Paper Model is Enable. You will find setting in Object Data Properties
and for more press 'n' on your key board and click on paper tab
Clicking Unfold directly will auto generate seams which maybe not useful always. So to
manually mark seam you can go to edges mode and can select edges you want to mark seams.
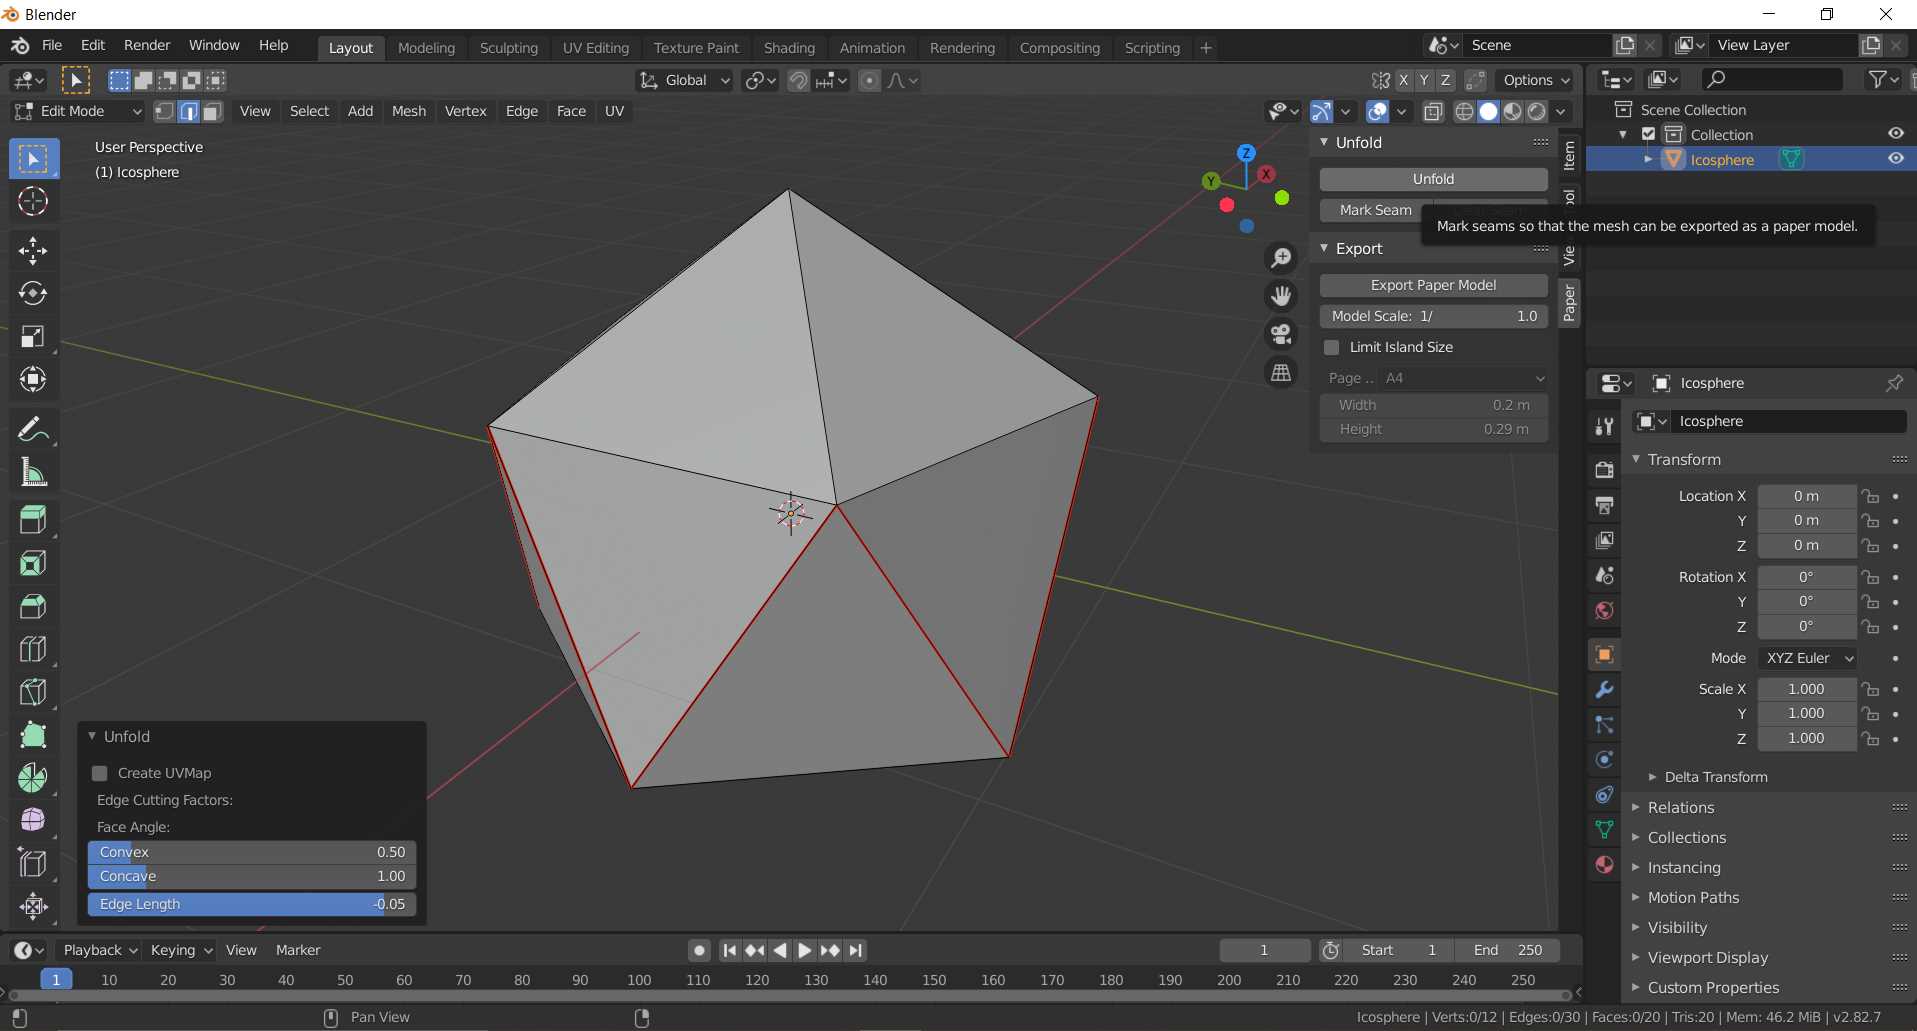
Once you mark seam apply unfold it will refer your marked seam to unfold model.
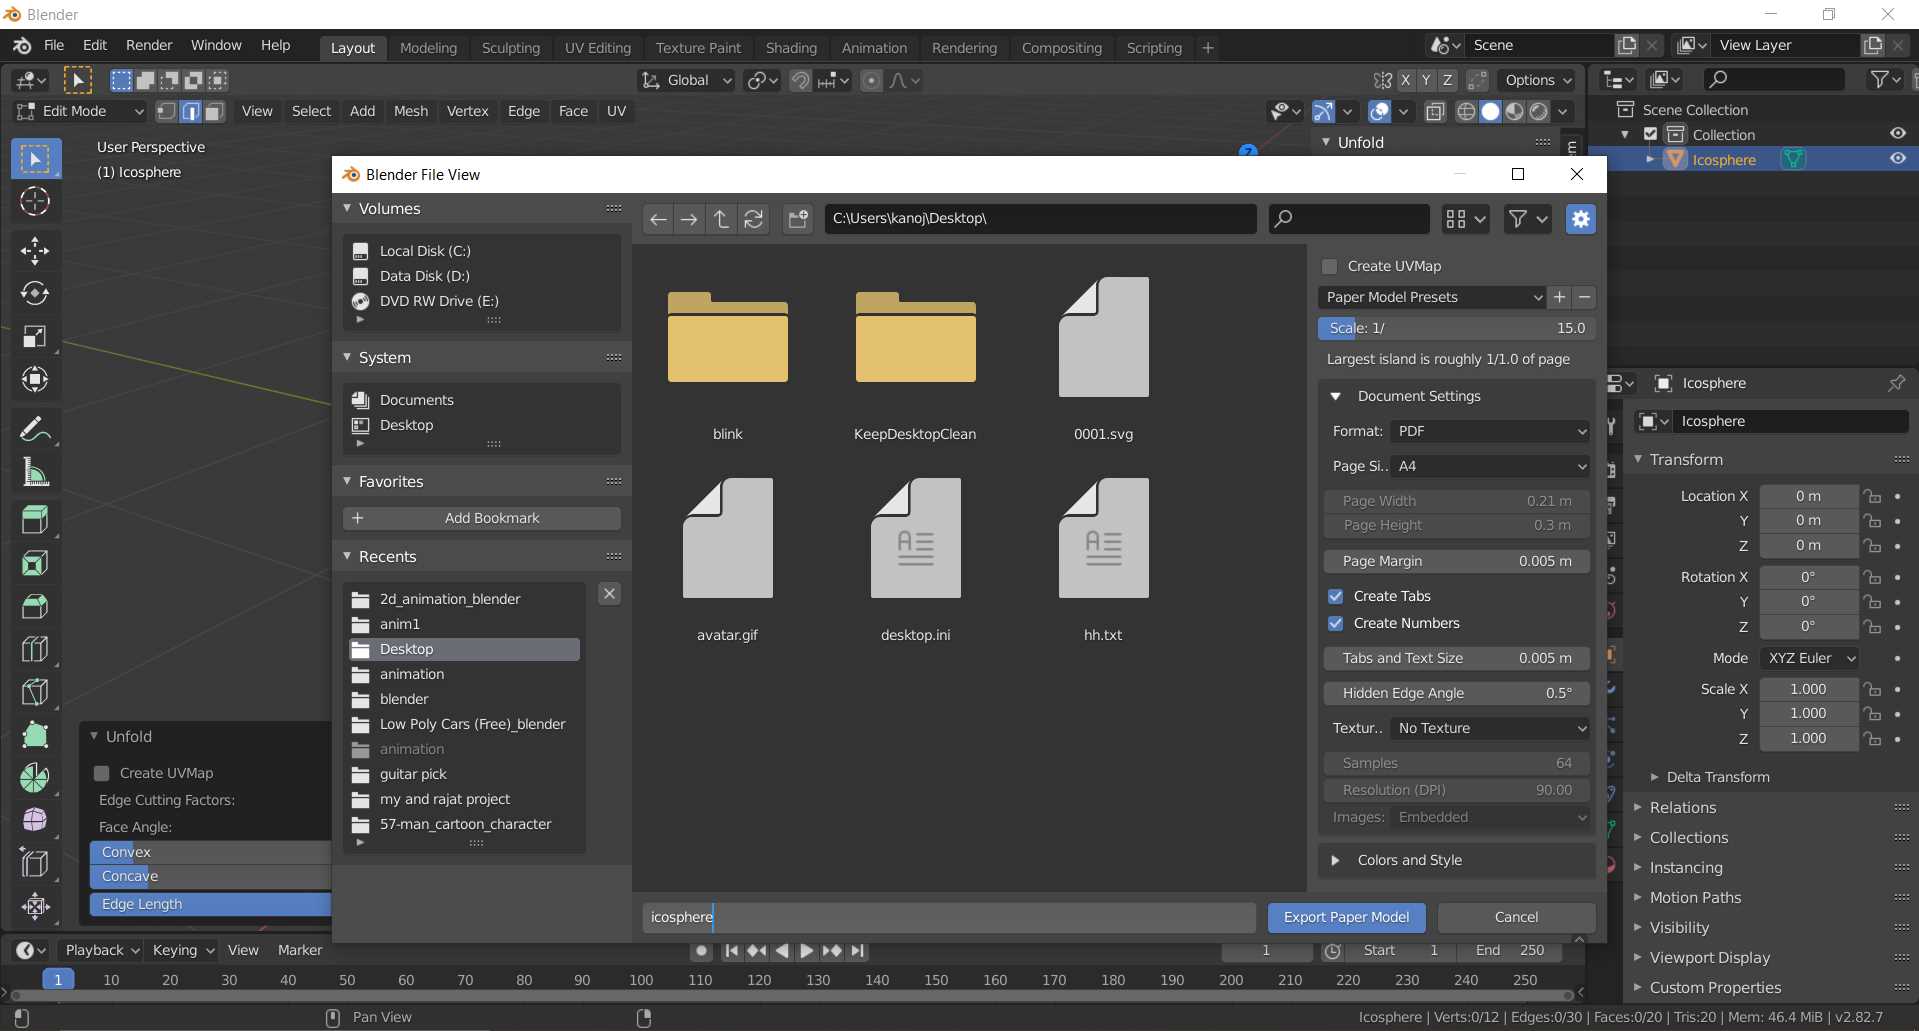
Export Paper Model save file to pdf format
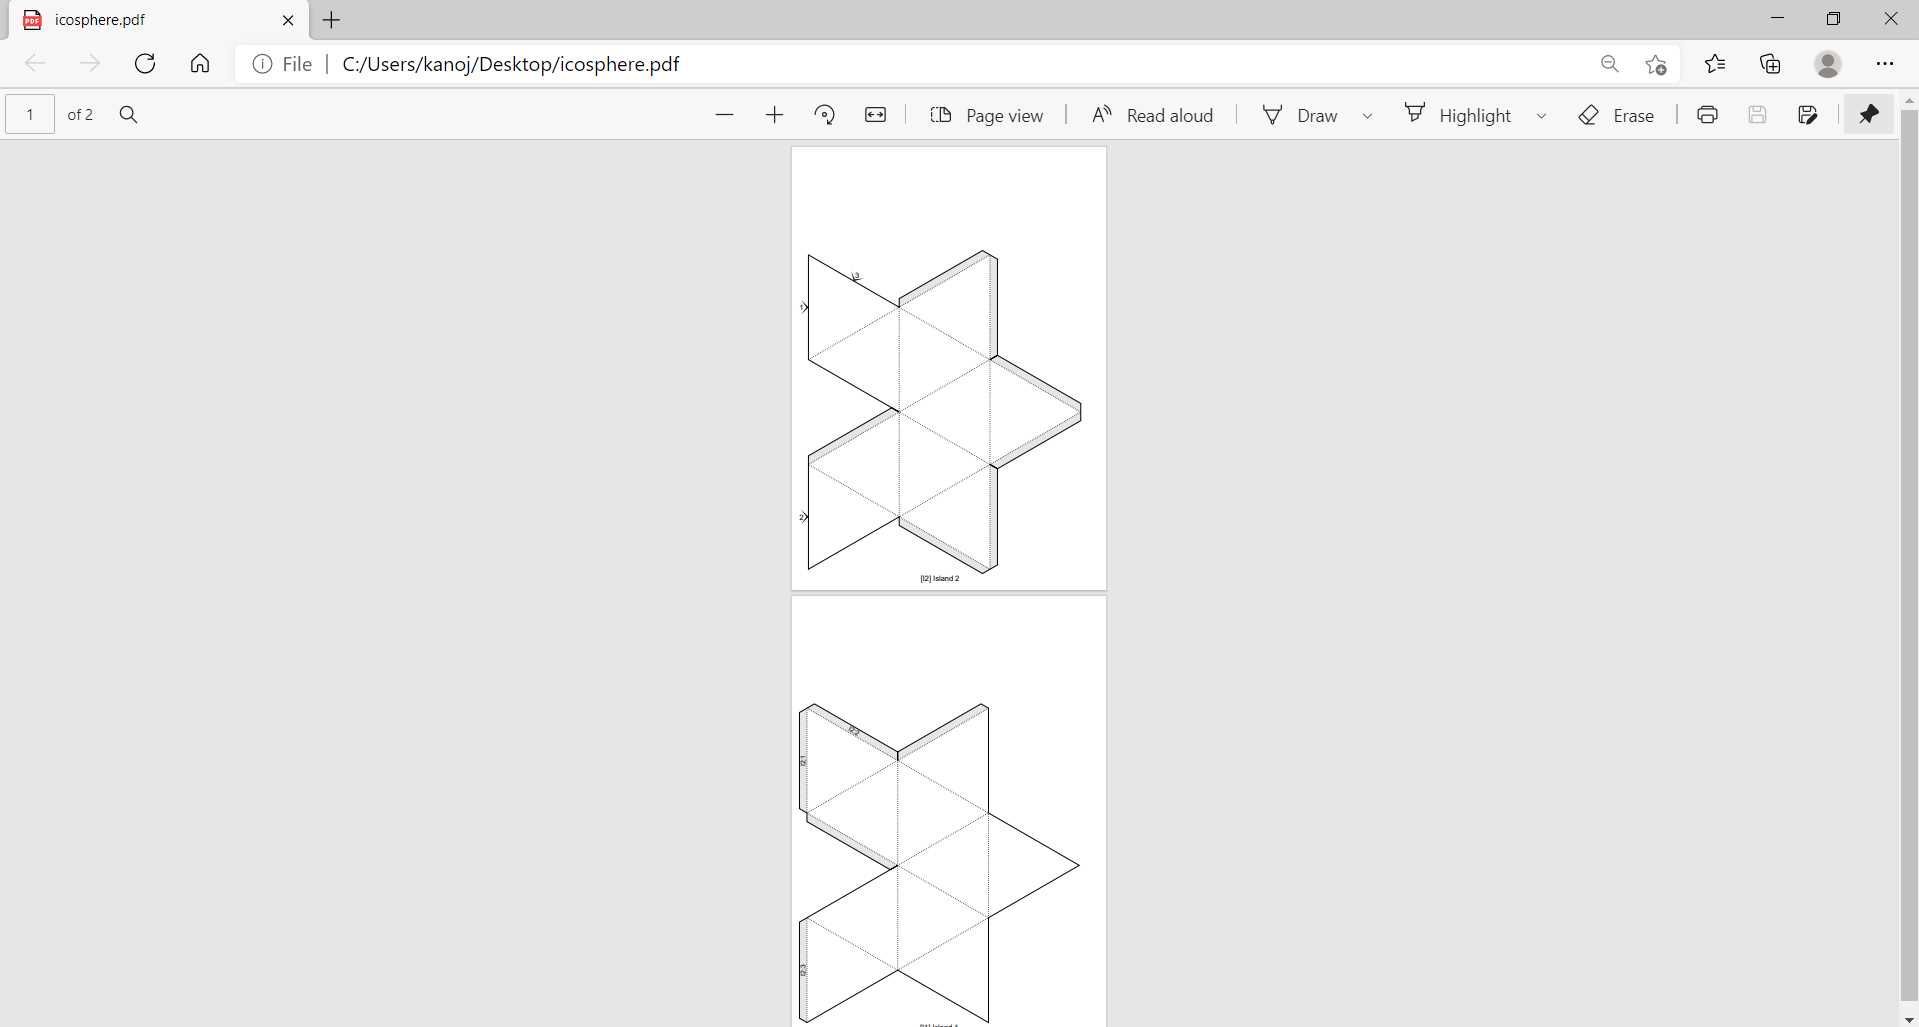
In next assignment I will cut out and stick them and will also try to make some even creative and better things to explore more possibility
I have try with simple 2d animation using another blender feature called grease pencil. Not jump into complexity I kept it easy. Done frame-by-frame animation of my name.
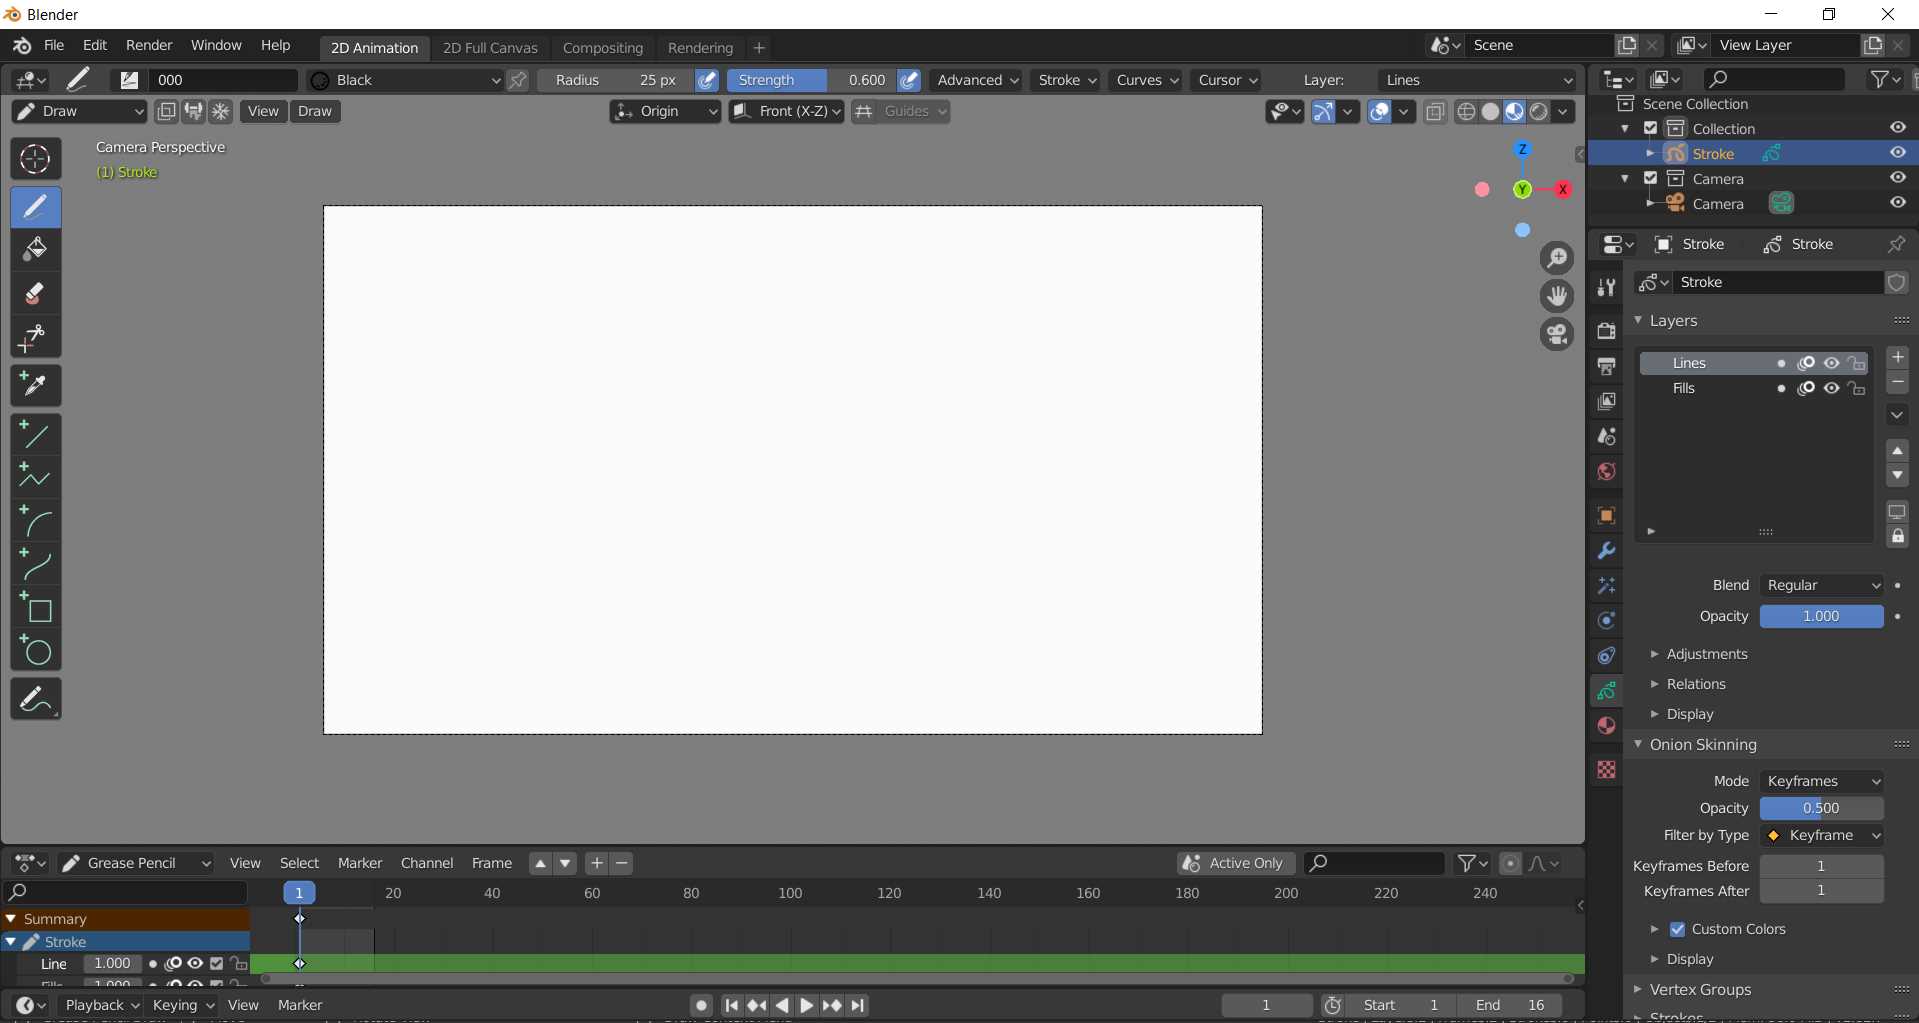
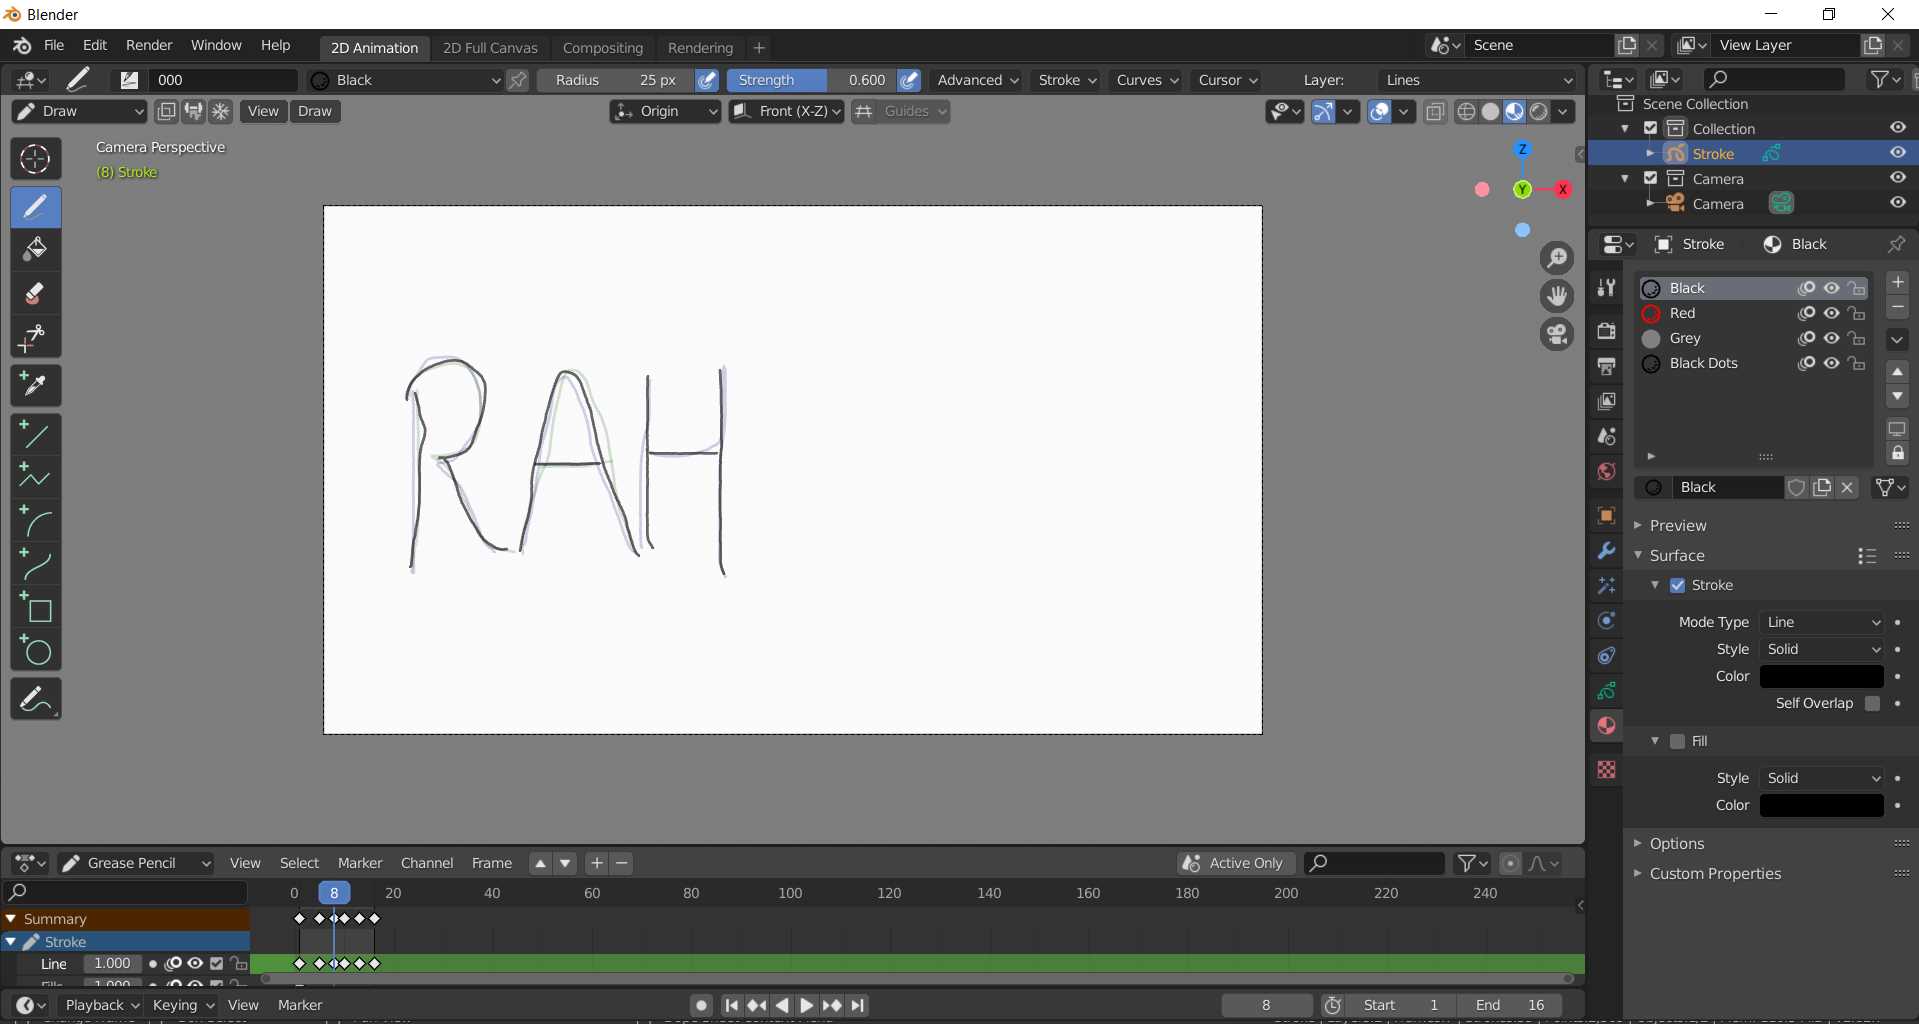
So just using pencil tool and keyframes on timeline I made this as quick as possible. I have not render it but screen recorder how it move...
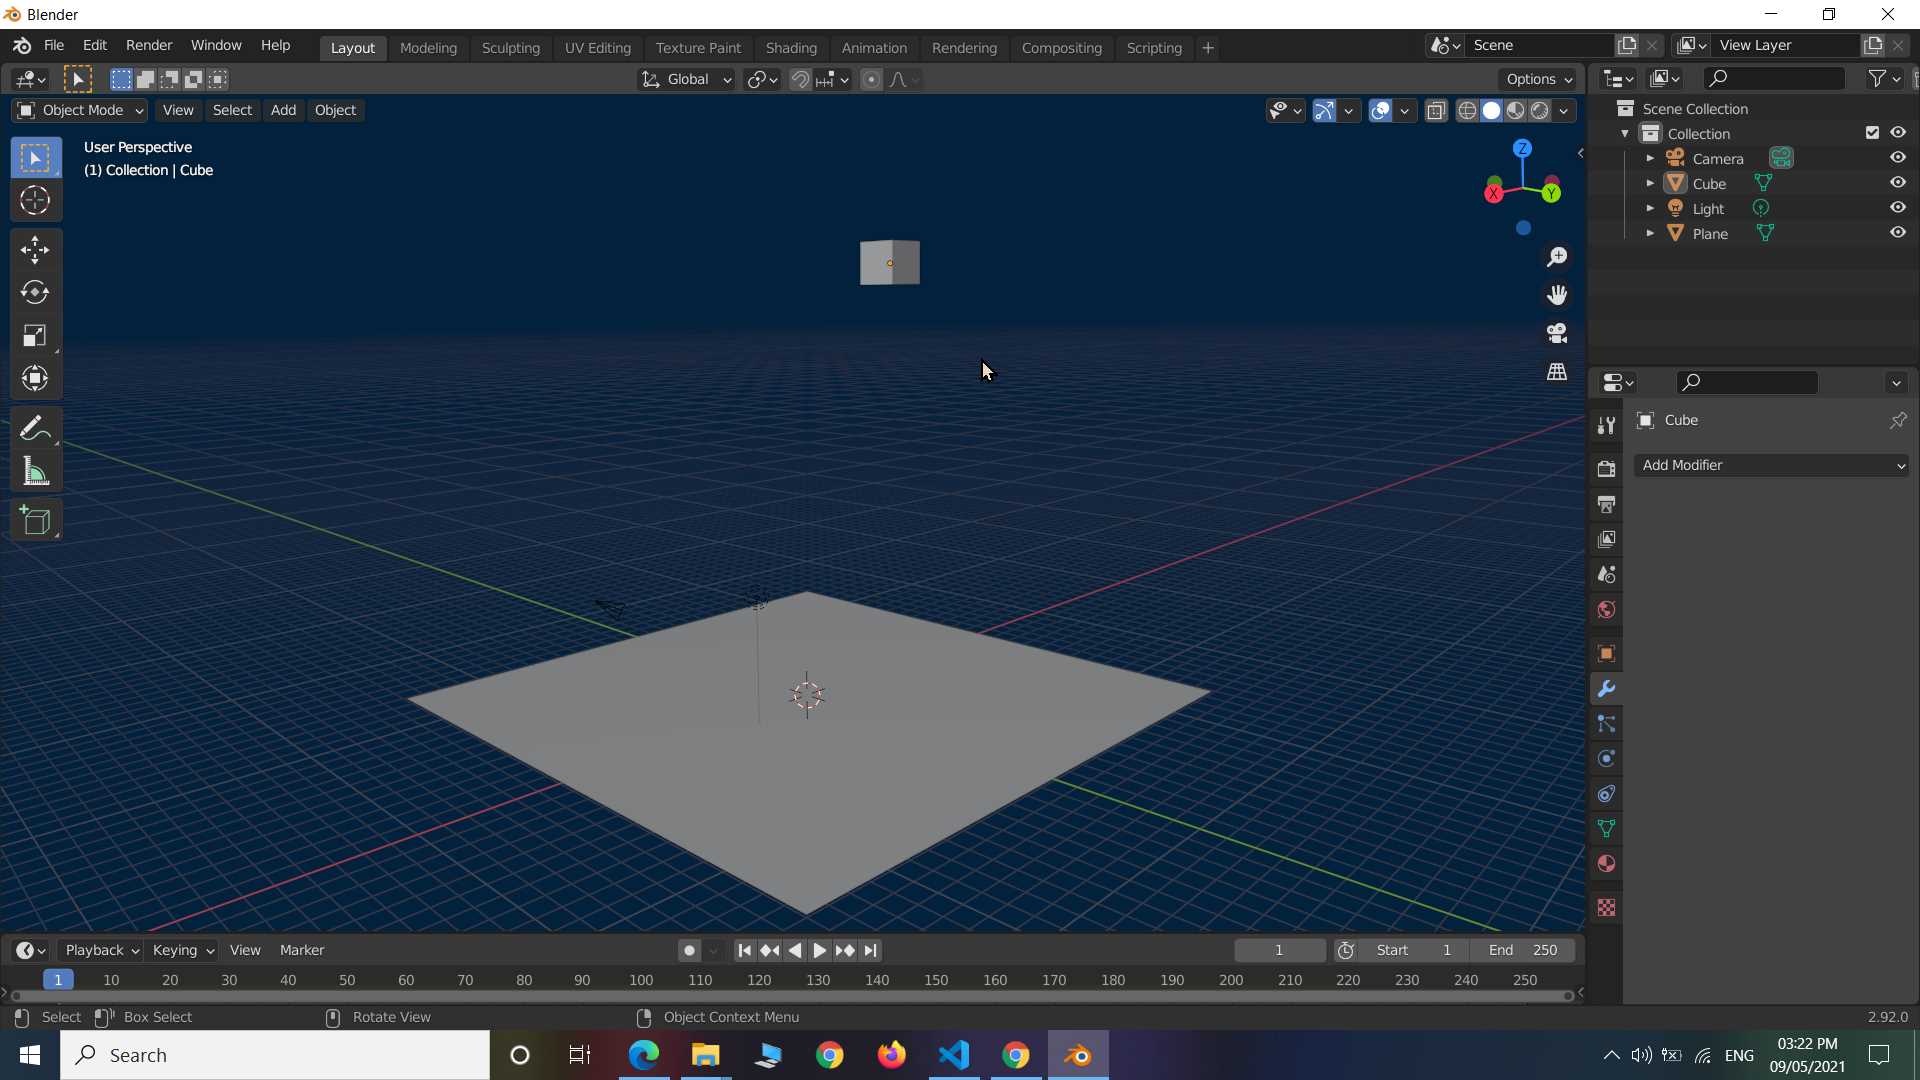
Next I try to explore blender physic engine. Here as you see I took two shape. One in cube which I lifted up and made floor with plane.
Then I selected cube and under physic tab I choose Rigid Body and not changed any setting yet by default It is a active body and have mass 1kg
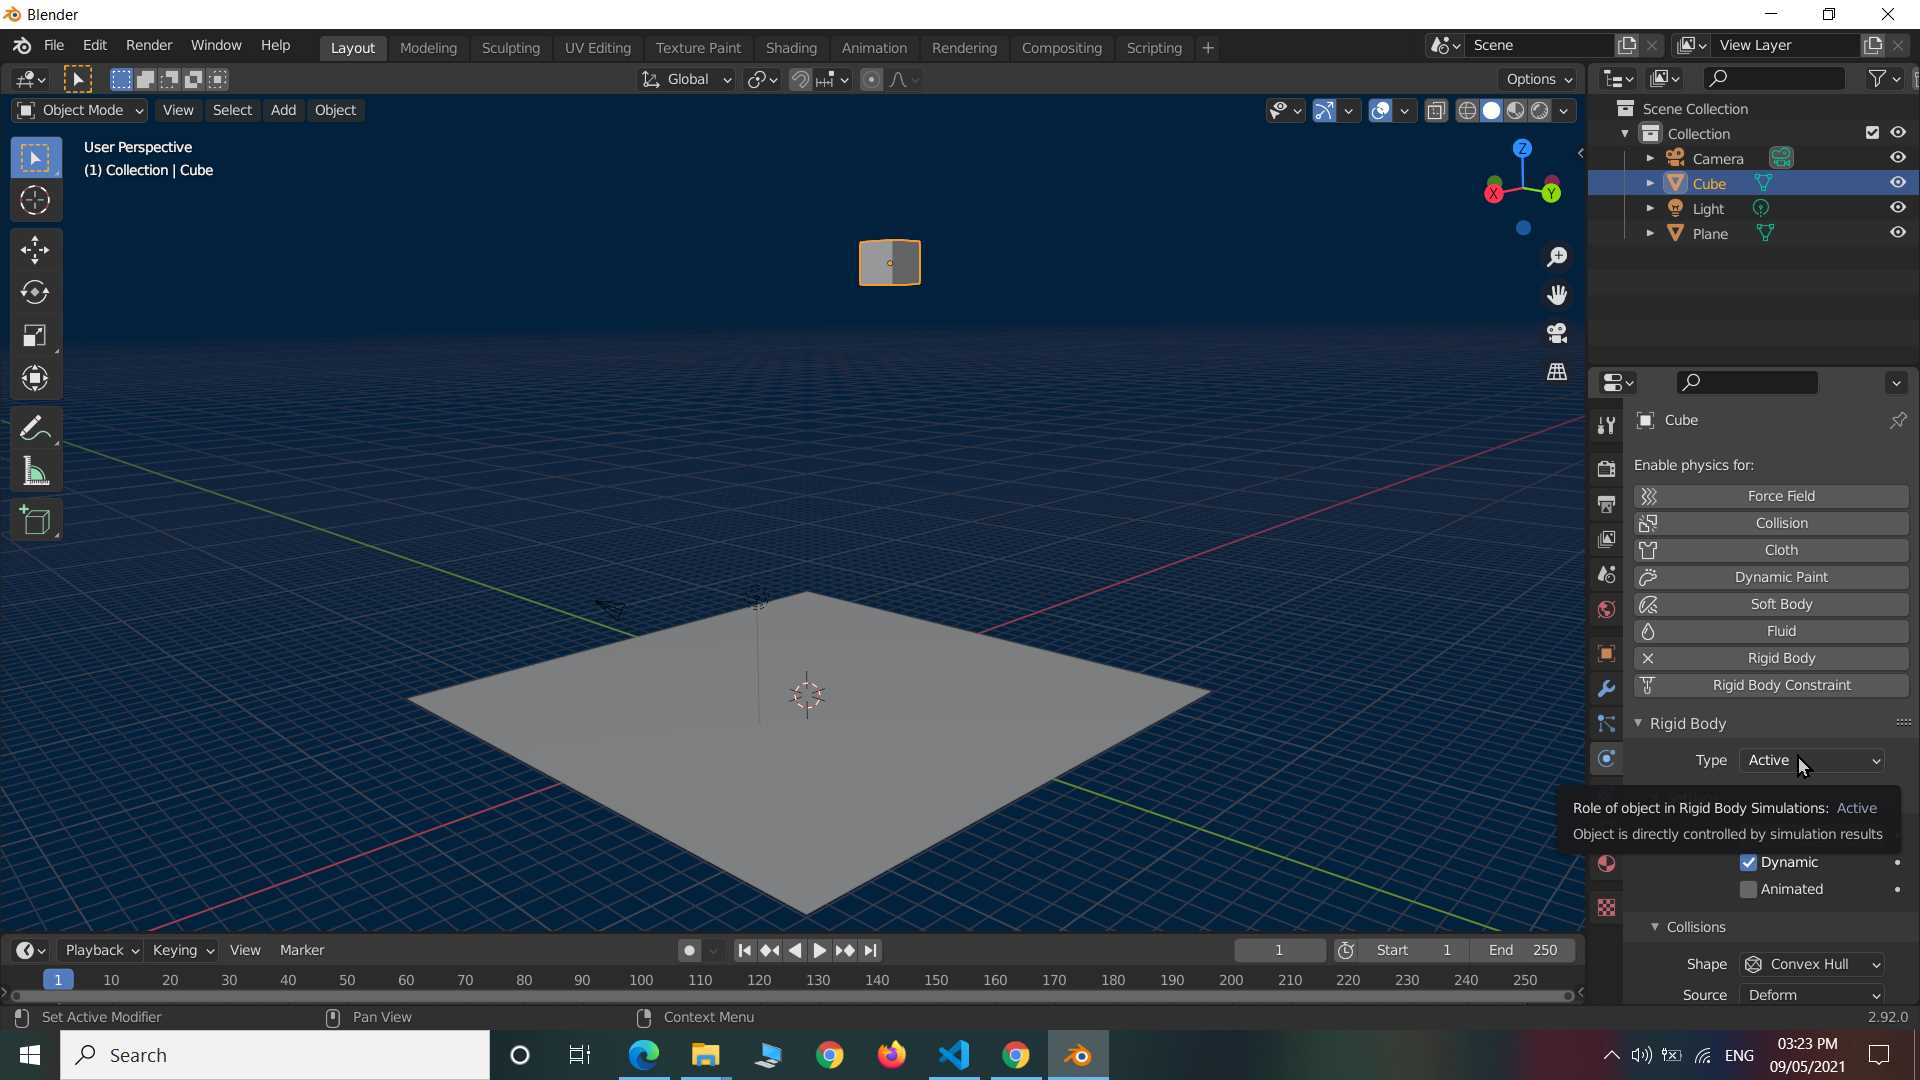
Next I adjust the bounciness to 0.5 to let cube bounce little bit when get collide with surface. Since for that need to apply physic on plane too. Almost same process but here I change body into passive for plane that in select and that will work as a floor.
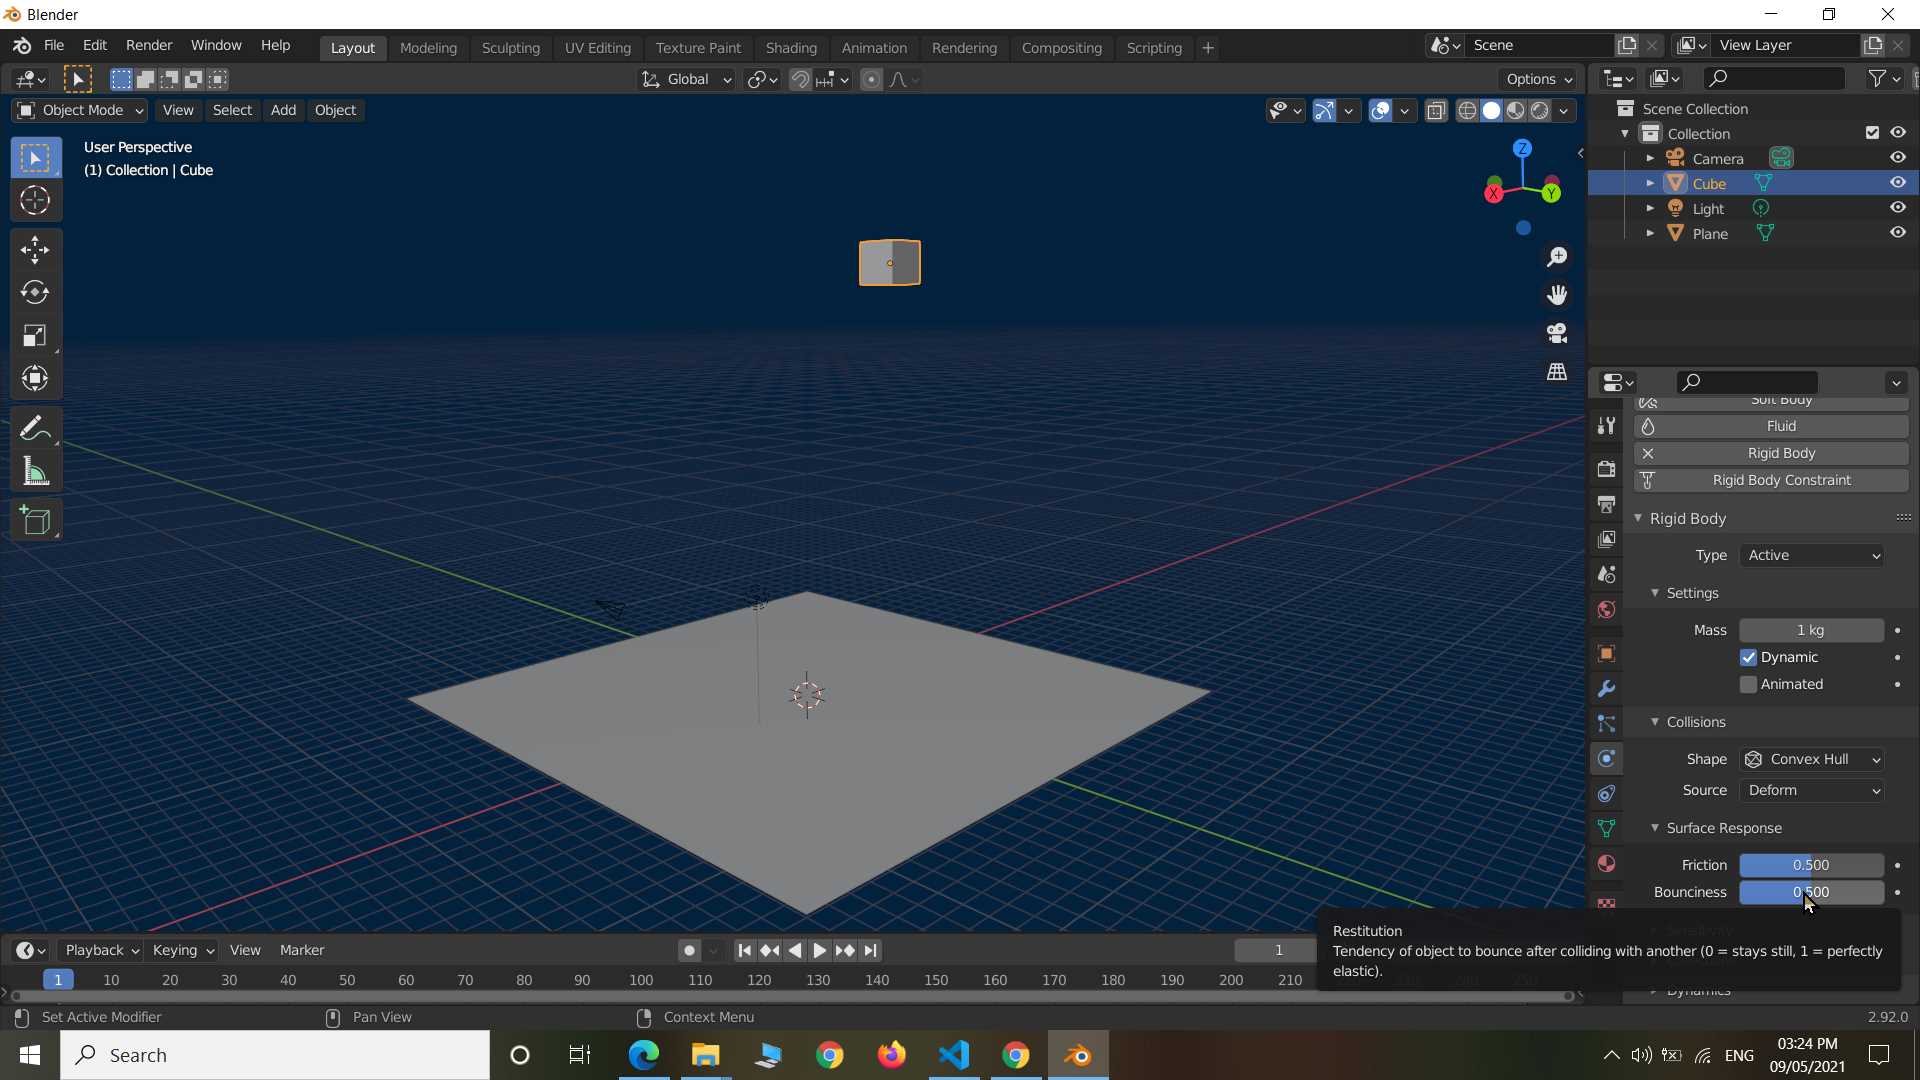

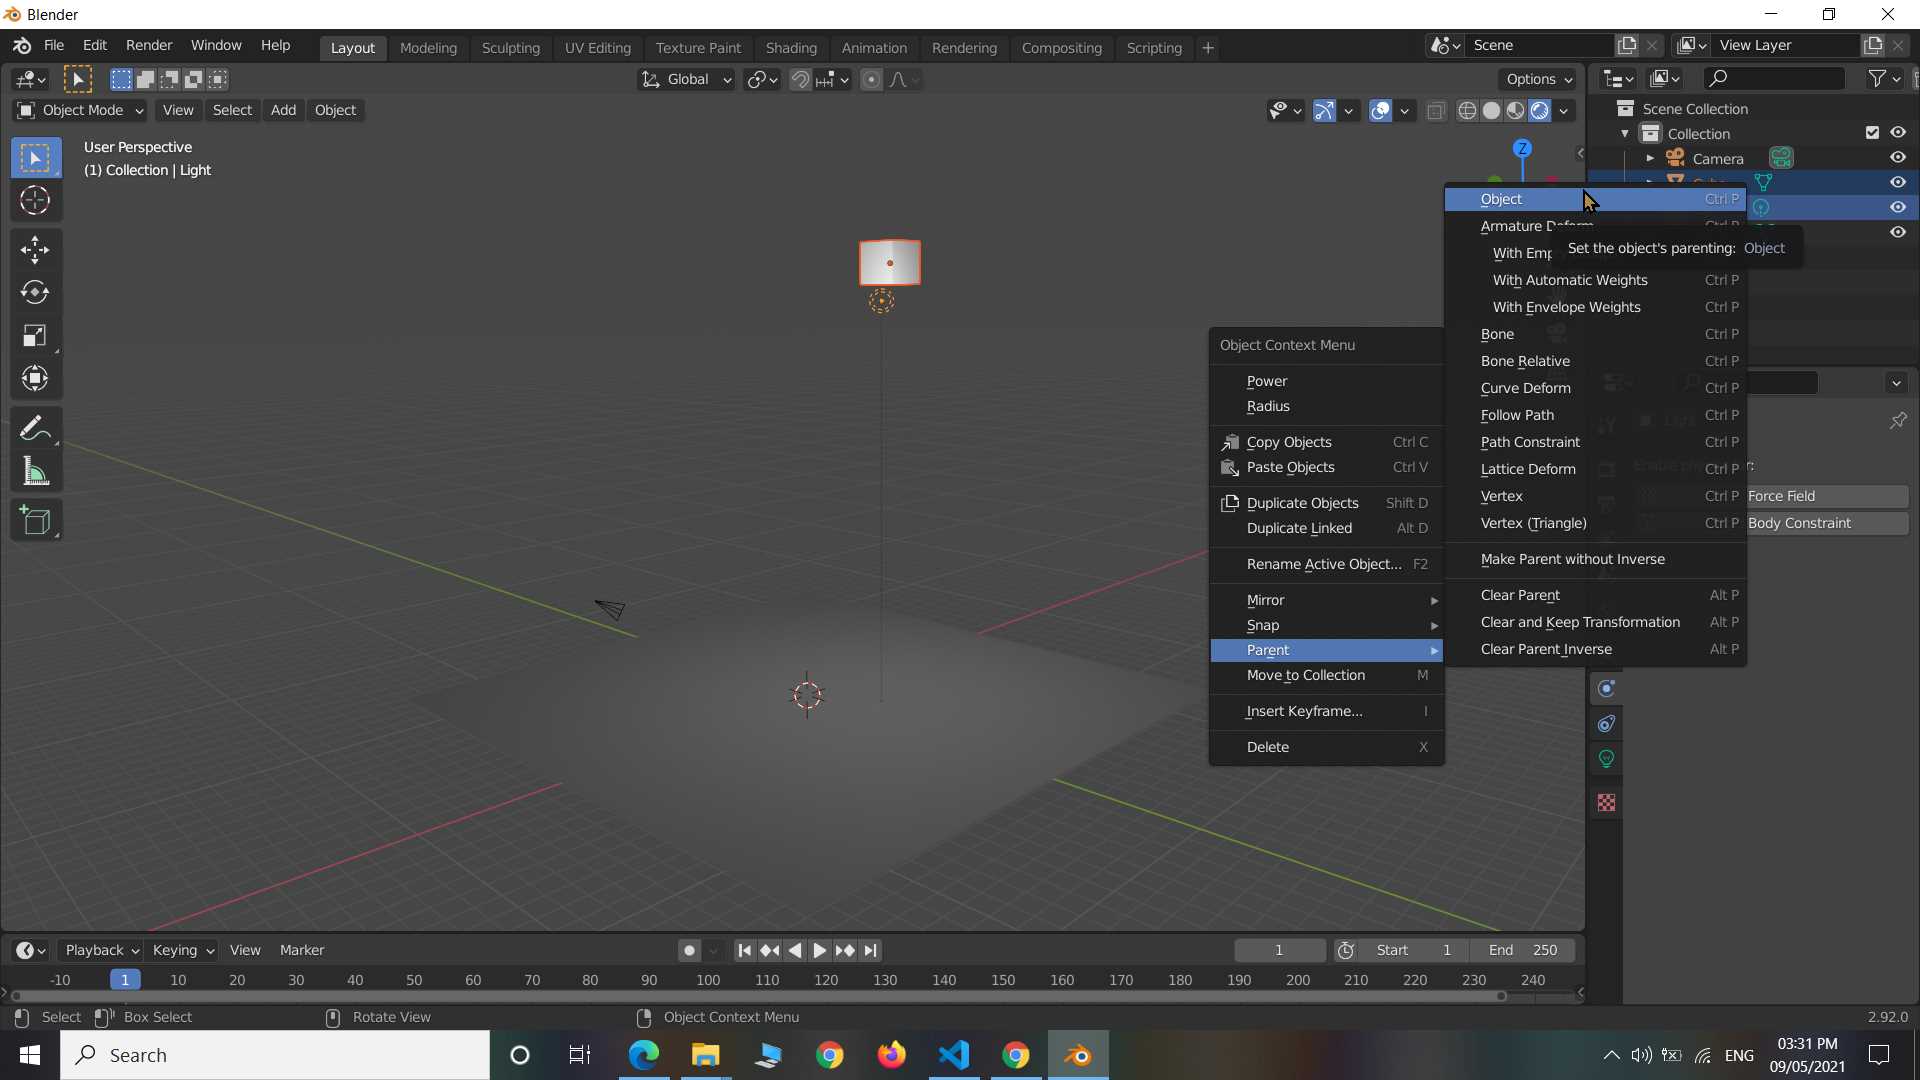
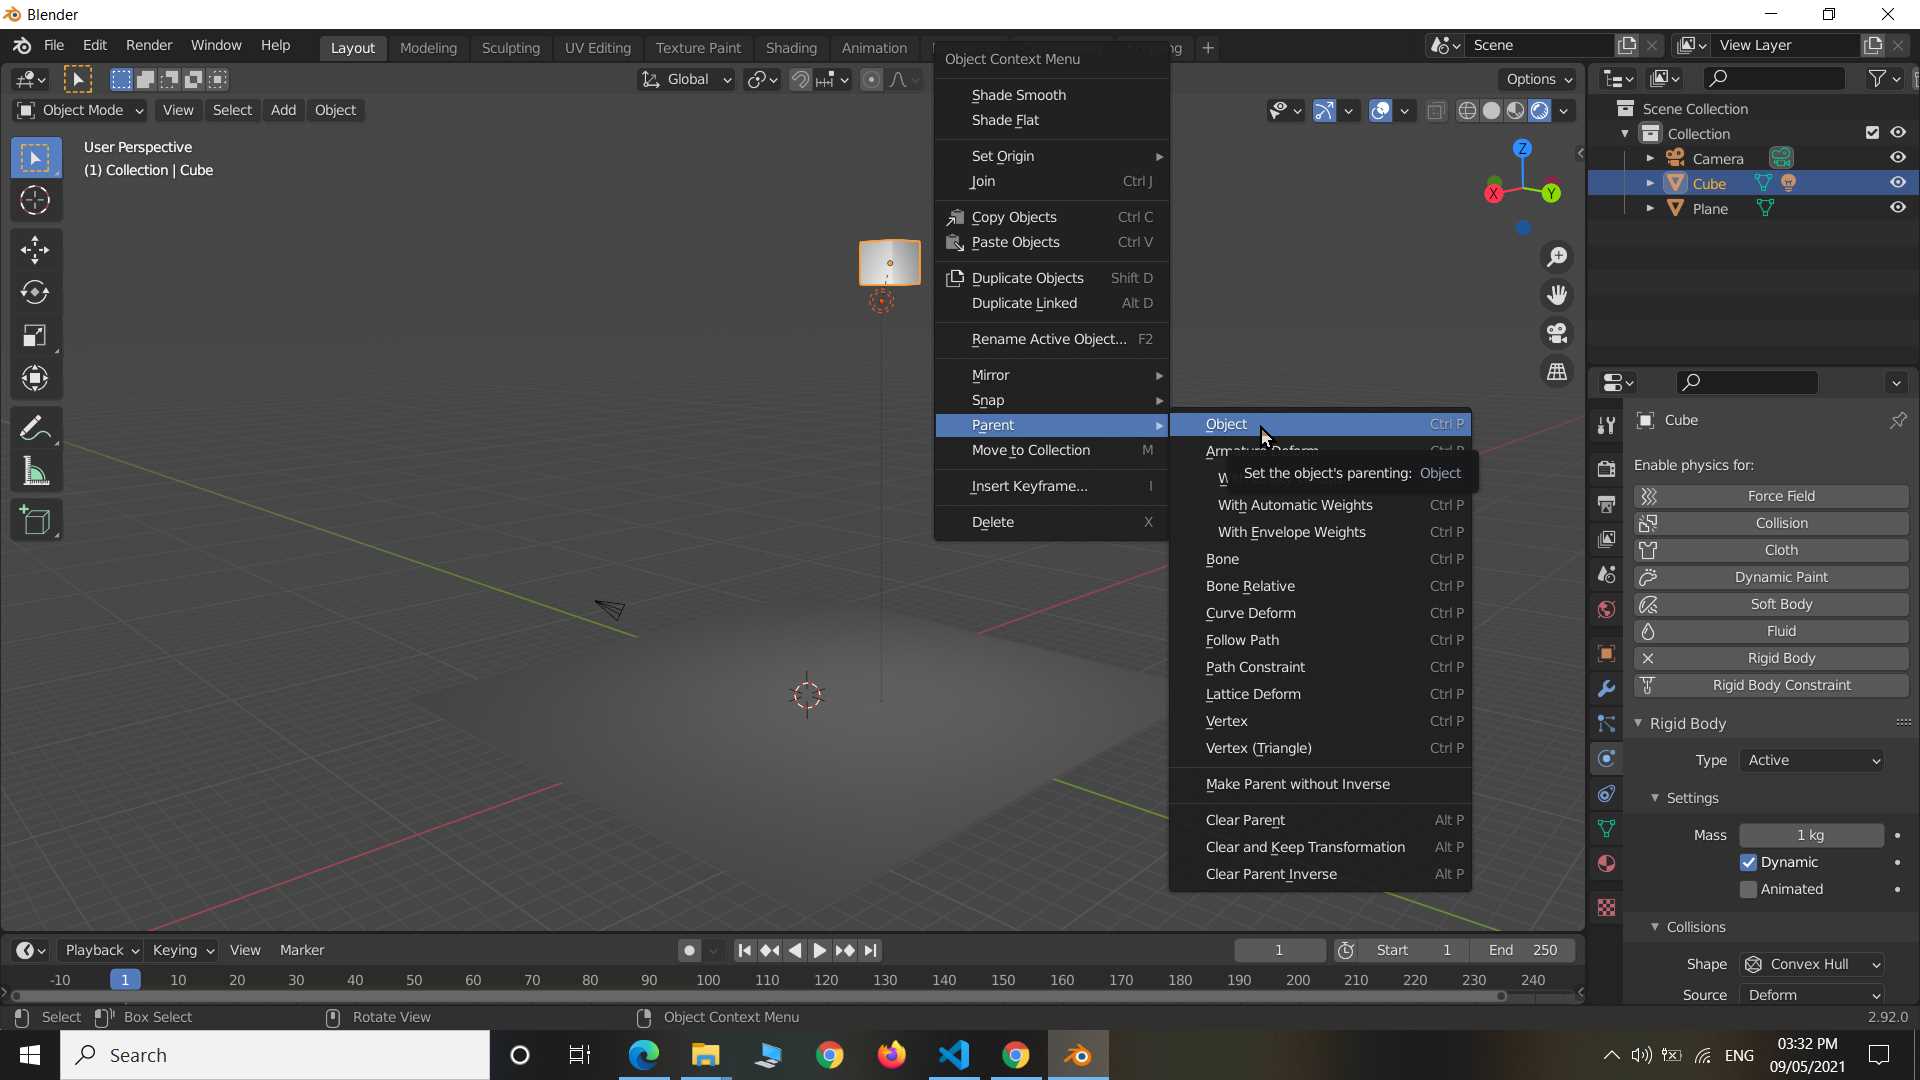
Blender have good render engines but here I not exploring that but I switch on the realtime rendering on and you see It started to give shade of light and shadow turned scene into more realistic. I parented light source with falling cube to get some effect and It came out nice.
Here I scree recorder animation that show how it work after all this setup
Autodesk Inventor: 3D Computer Aided designing software (CAD)
Autodesk Inventor is very easy to use CAD software. Use mostly for mechanical designing but can be
hack to make anything, I even designed house in it. I really like it mean compare to other software
It is bit easy to use I started with it with on prior skill and still managed well. It is paid
software,
price is high but you can get student version on registration.
I was thinking of what to make with Inventor this time I am have to design for my assignment as well as take time to teach childrens simultaneously. so I took demonstration class in which I replicated mobile charger adapter took from children. Here I said them to give me measurement and start to explain how to make CAD model using that in inventor. This way I finished well my both works.
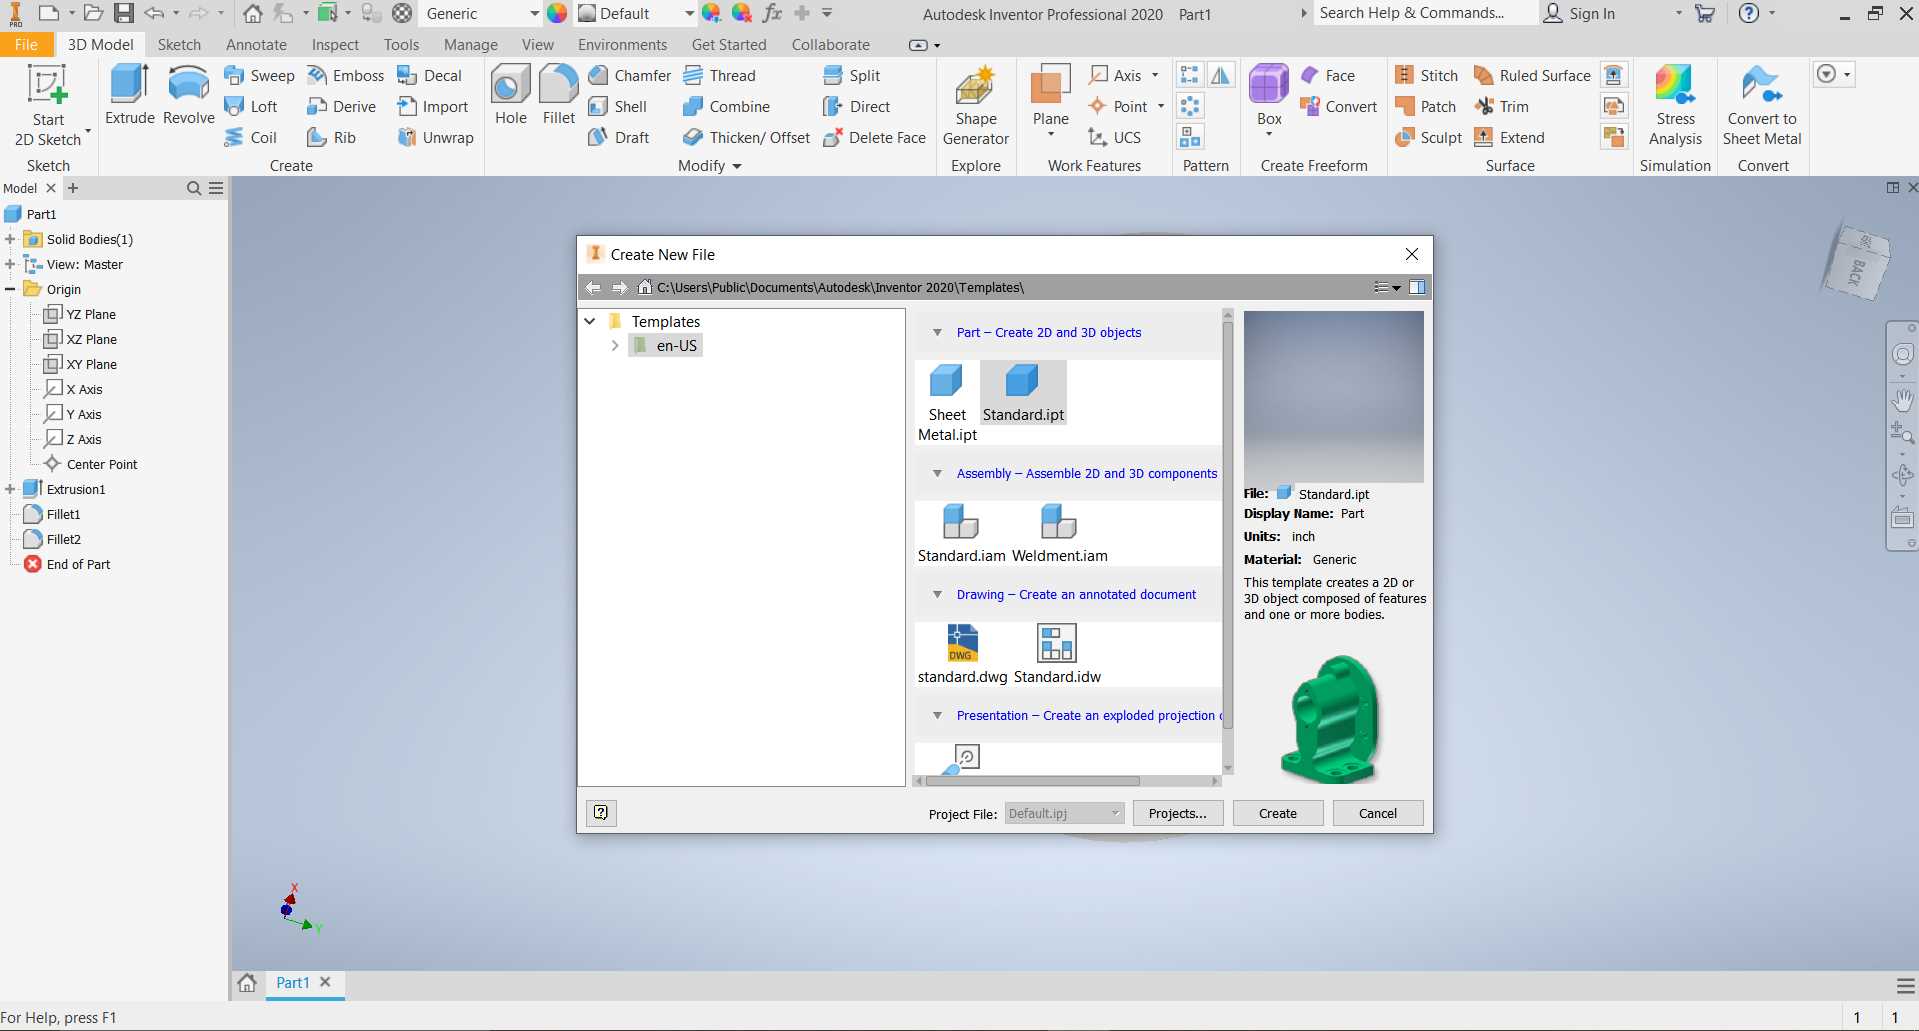
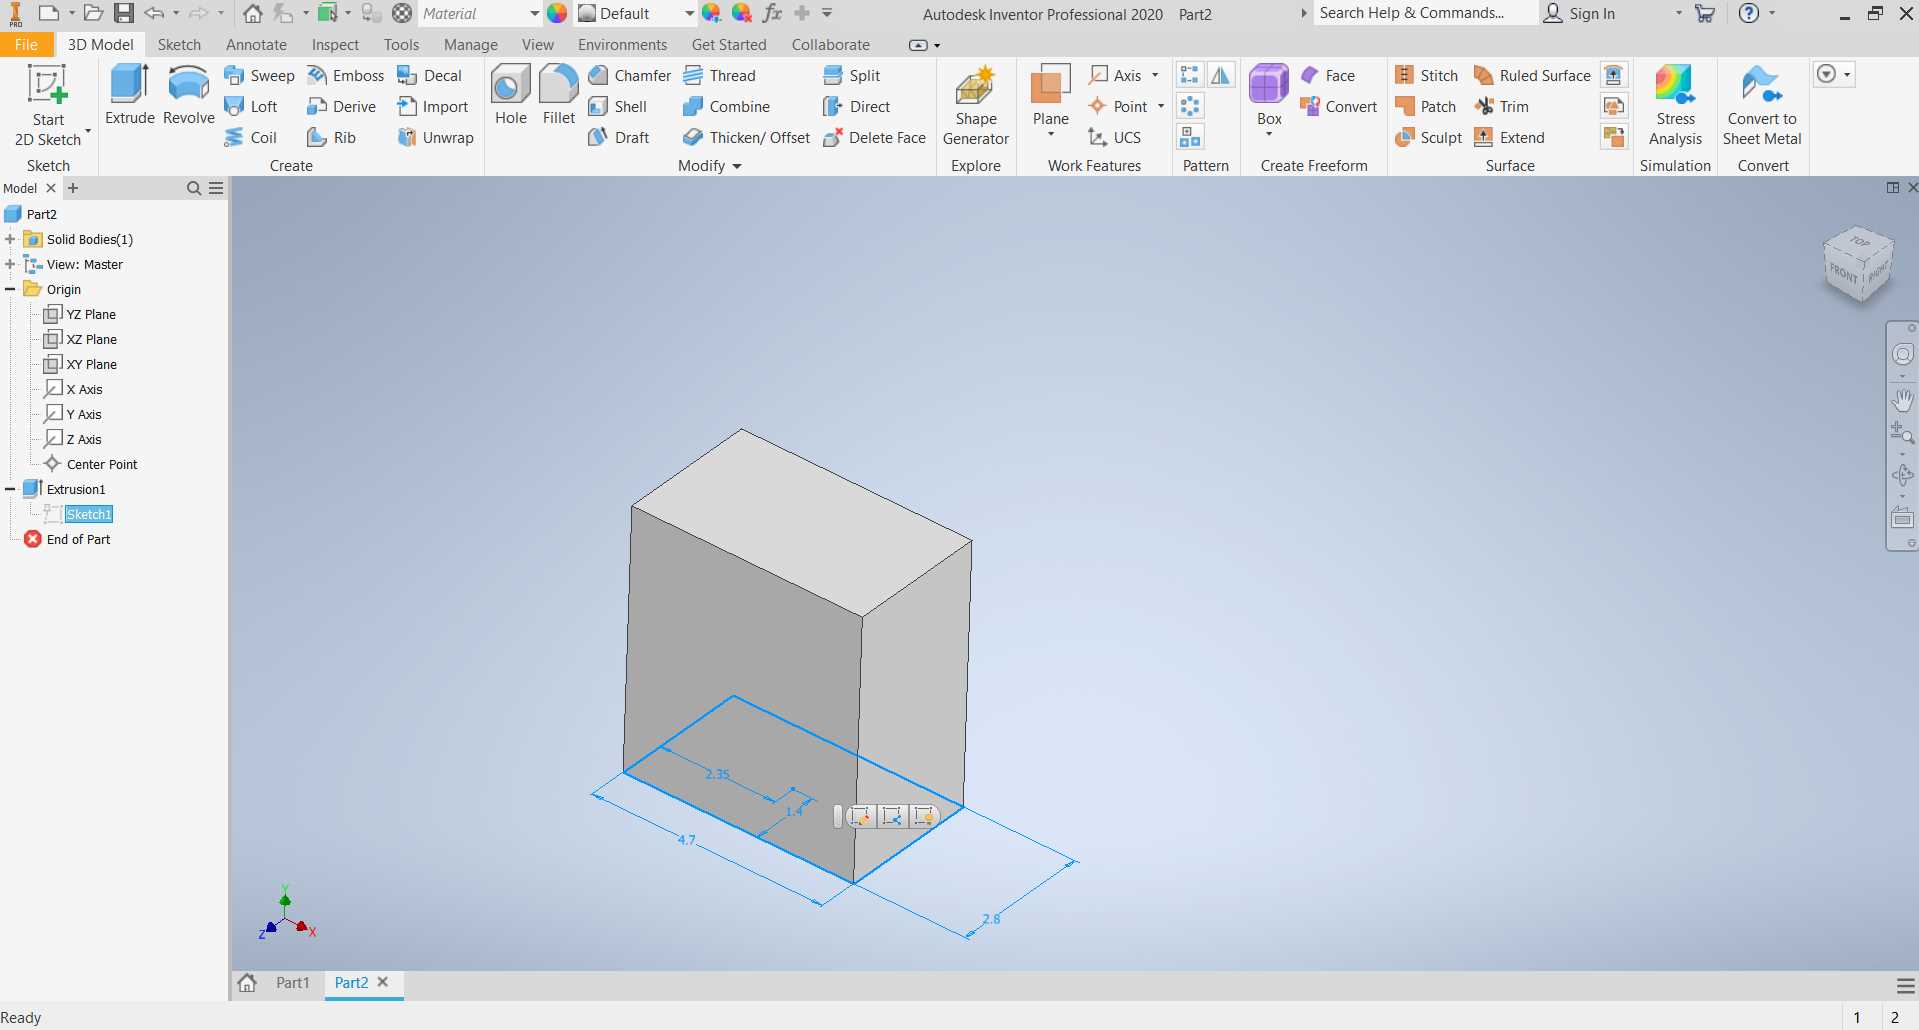
To start with Inventor Open it.
Select standard.ipt file type for make part design
Make 3d rectangular box using real measurement of adapter
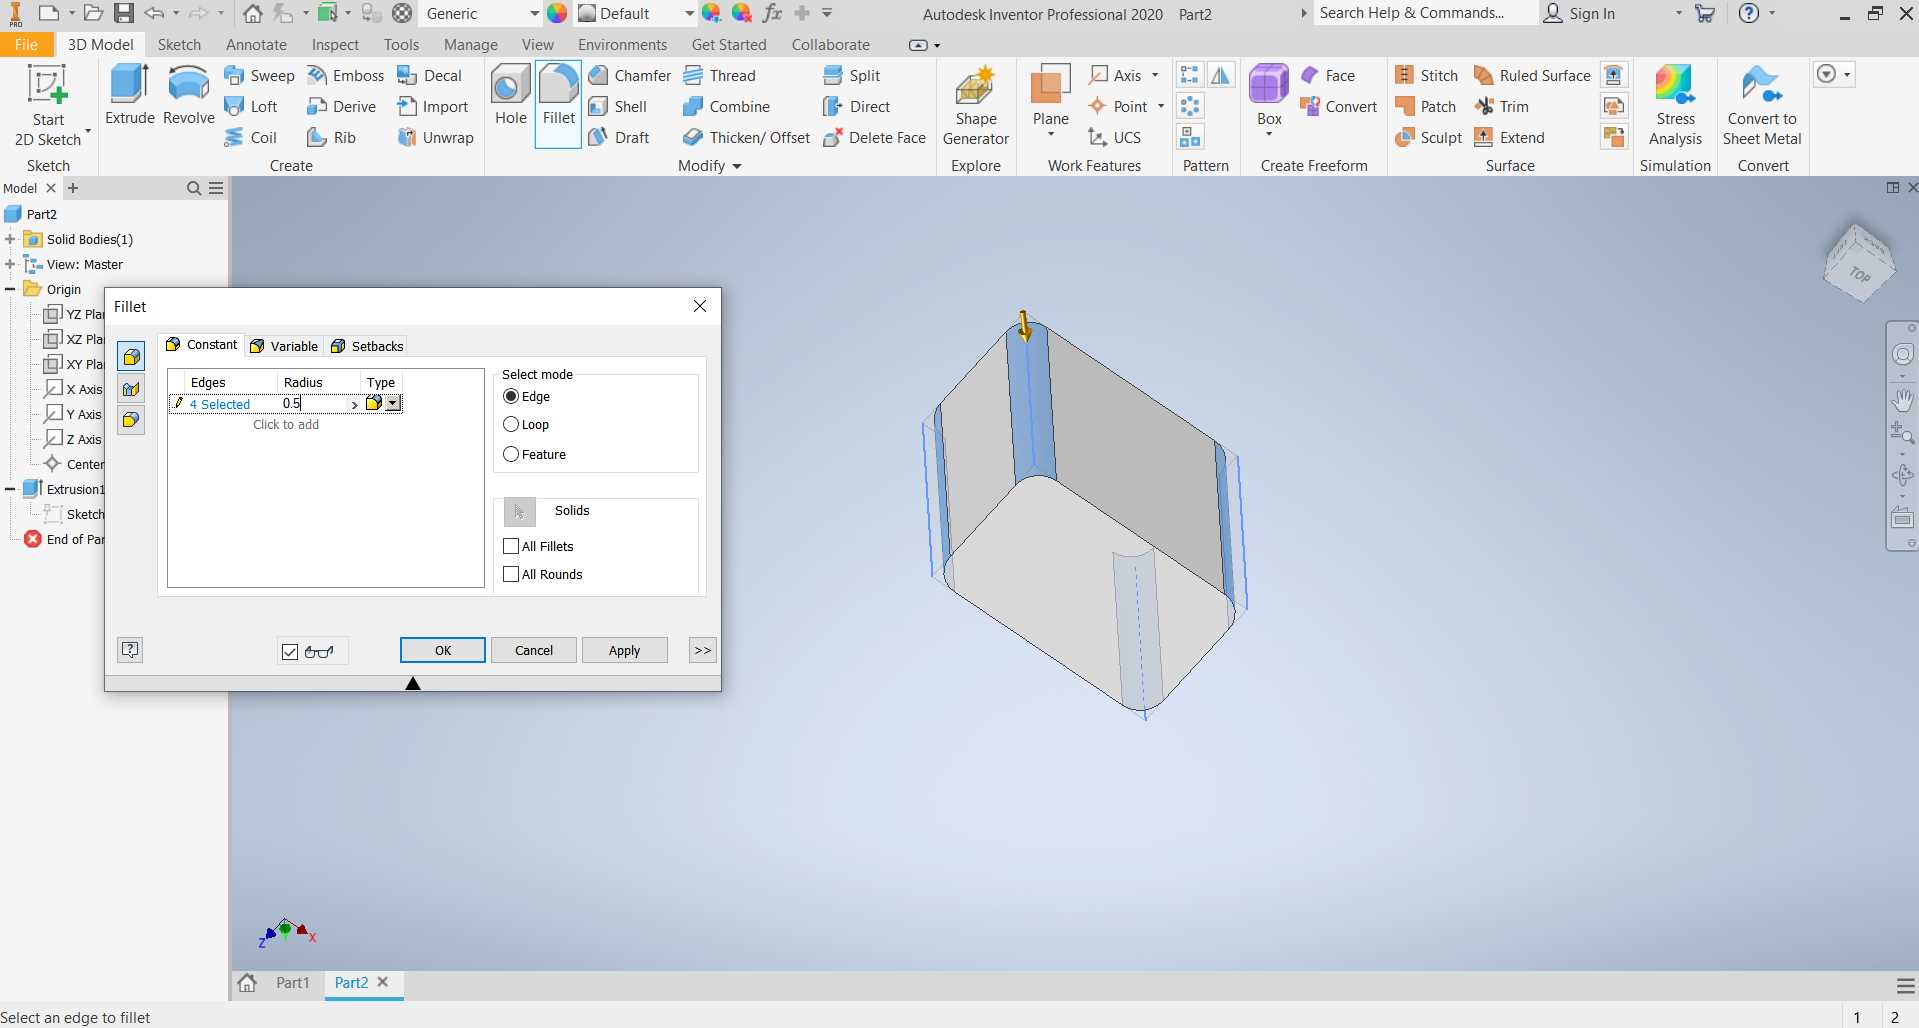
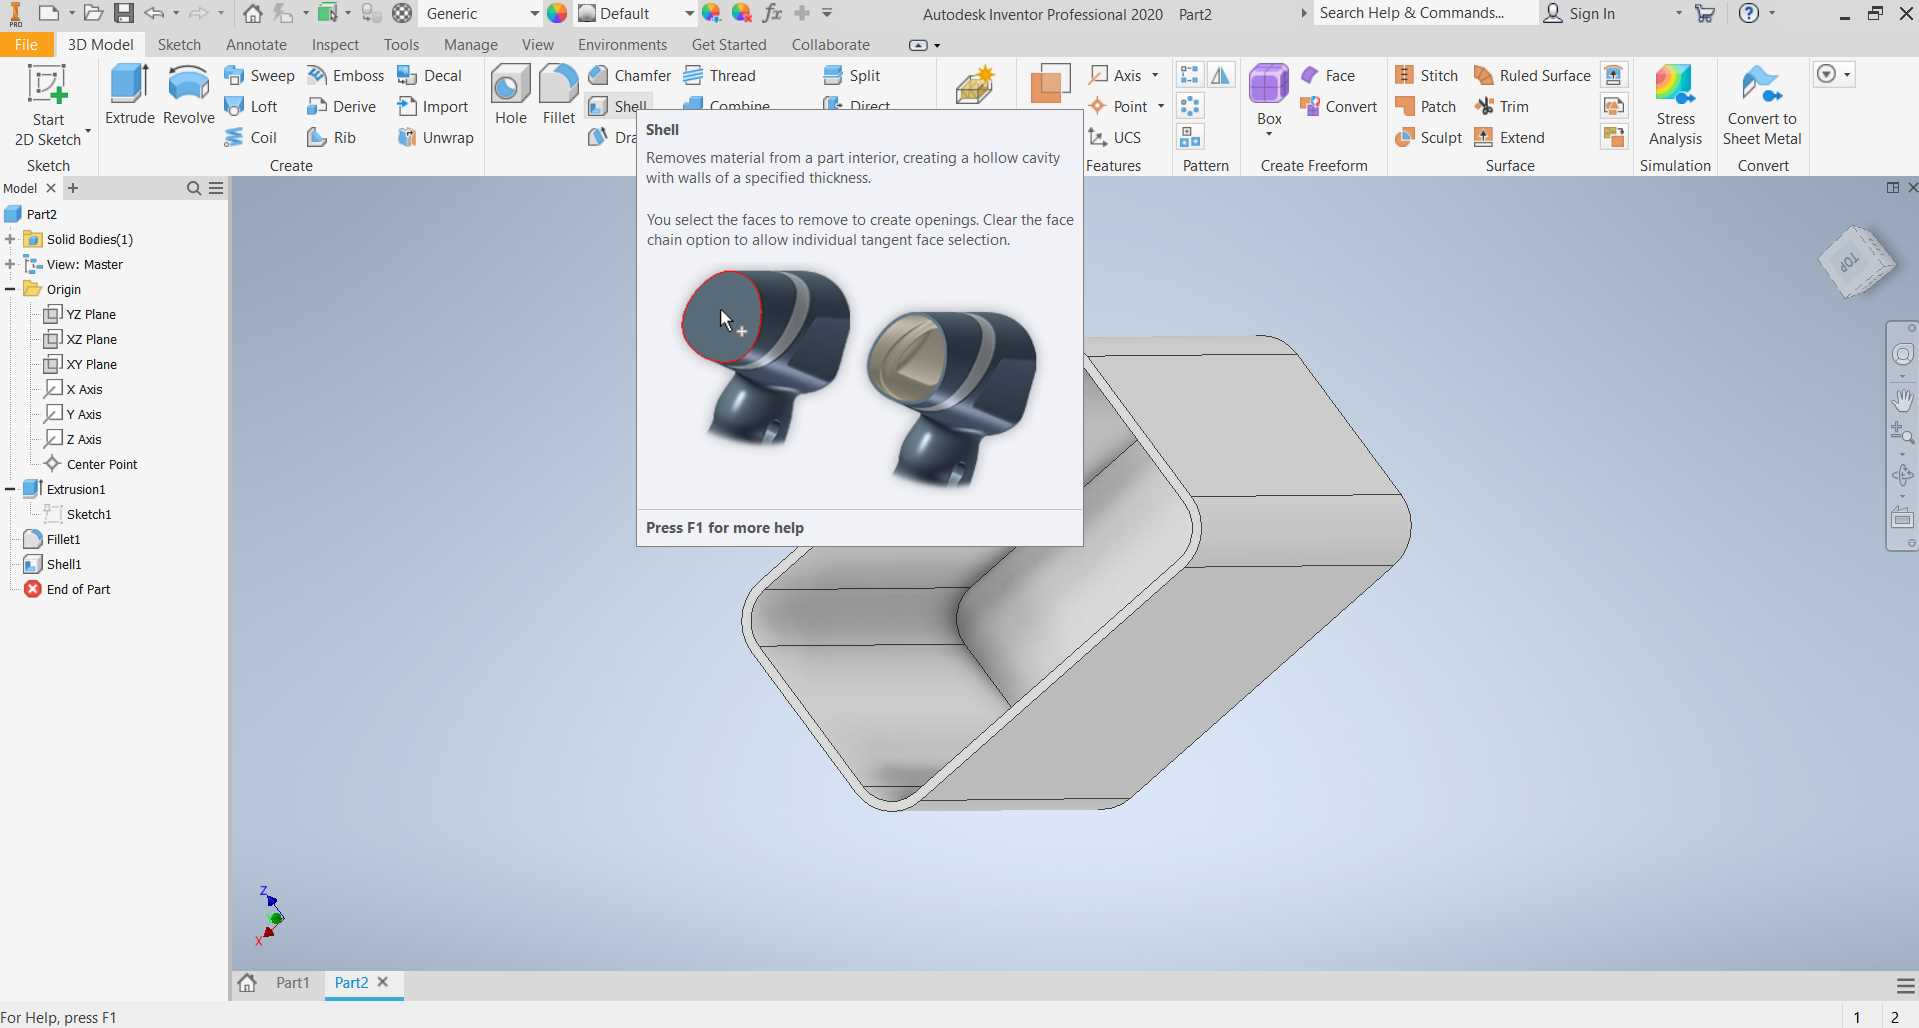
Apply fillet to four corner to round it and that using shell to cut remove inner potion of object make it hollow and open from one side
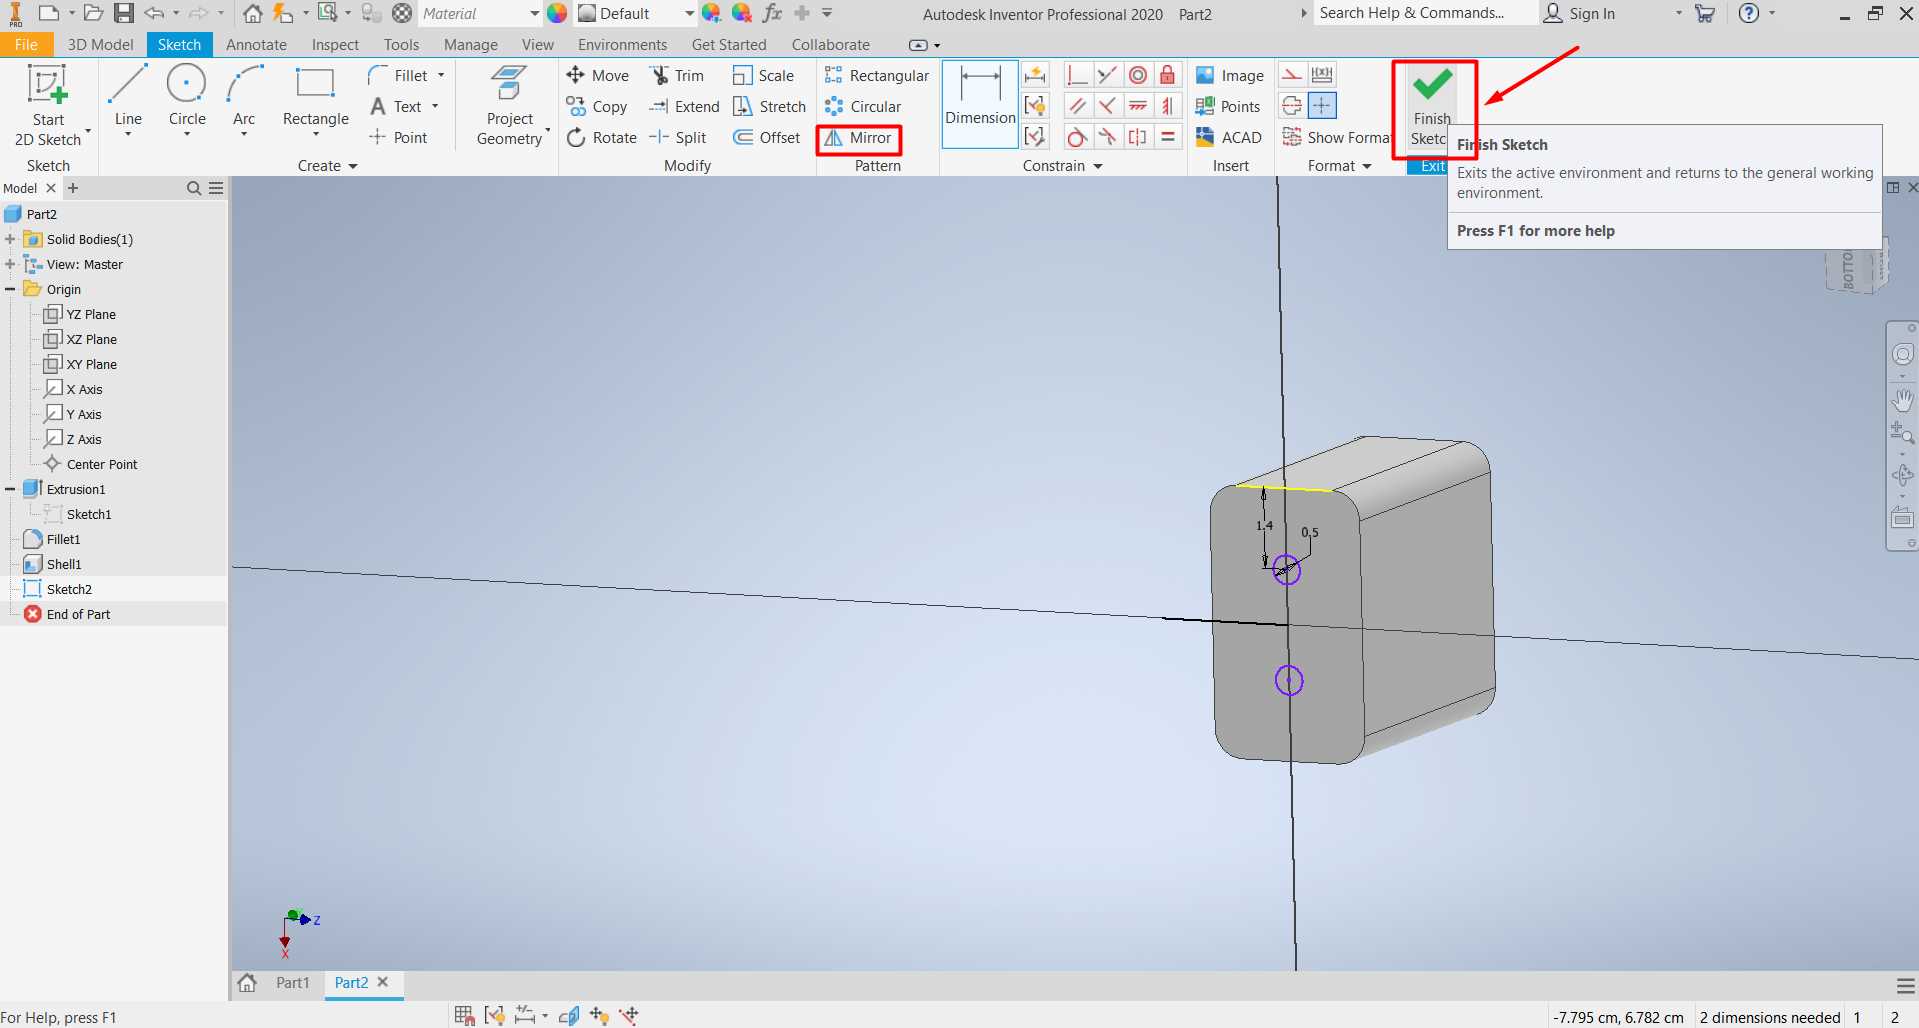
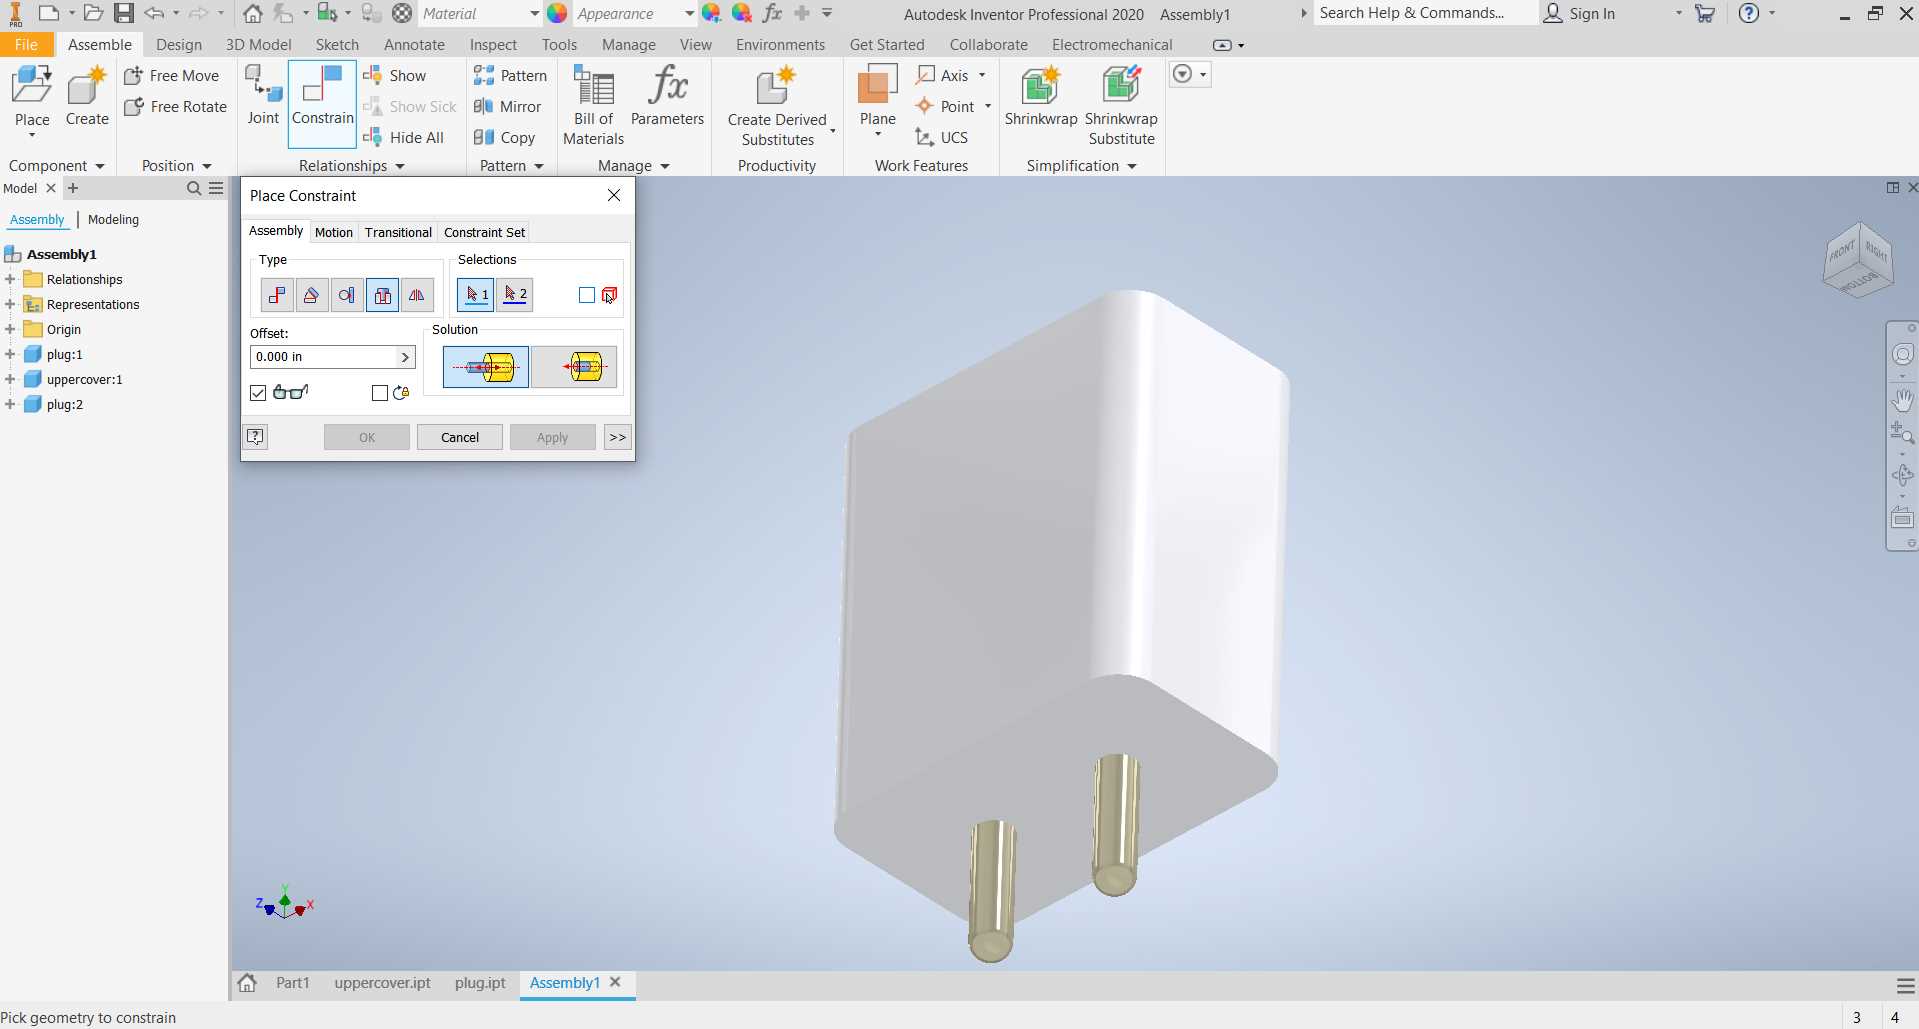
Make sketch on face of an object, Draw two circle, finish sketch holes and cut extrude to make holes.
Here in this CAD model I made three different parts and assemble them in assemble.iam
file type
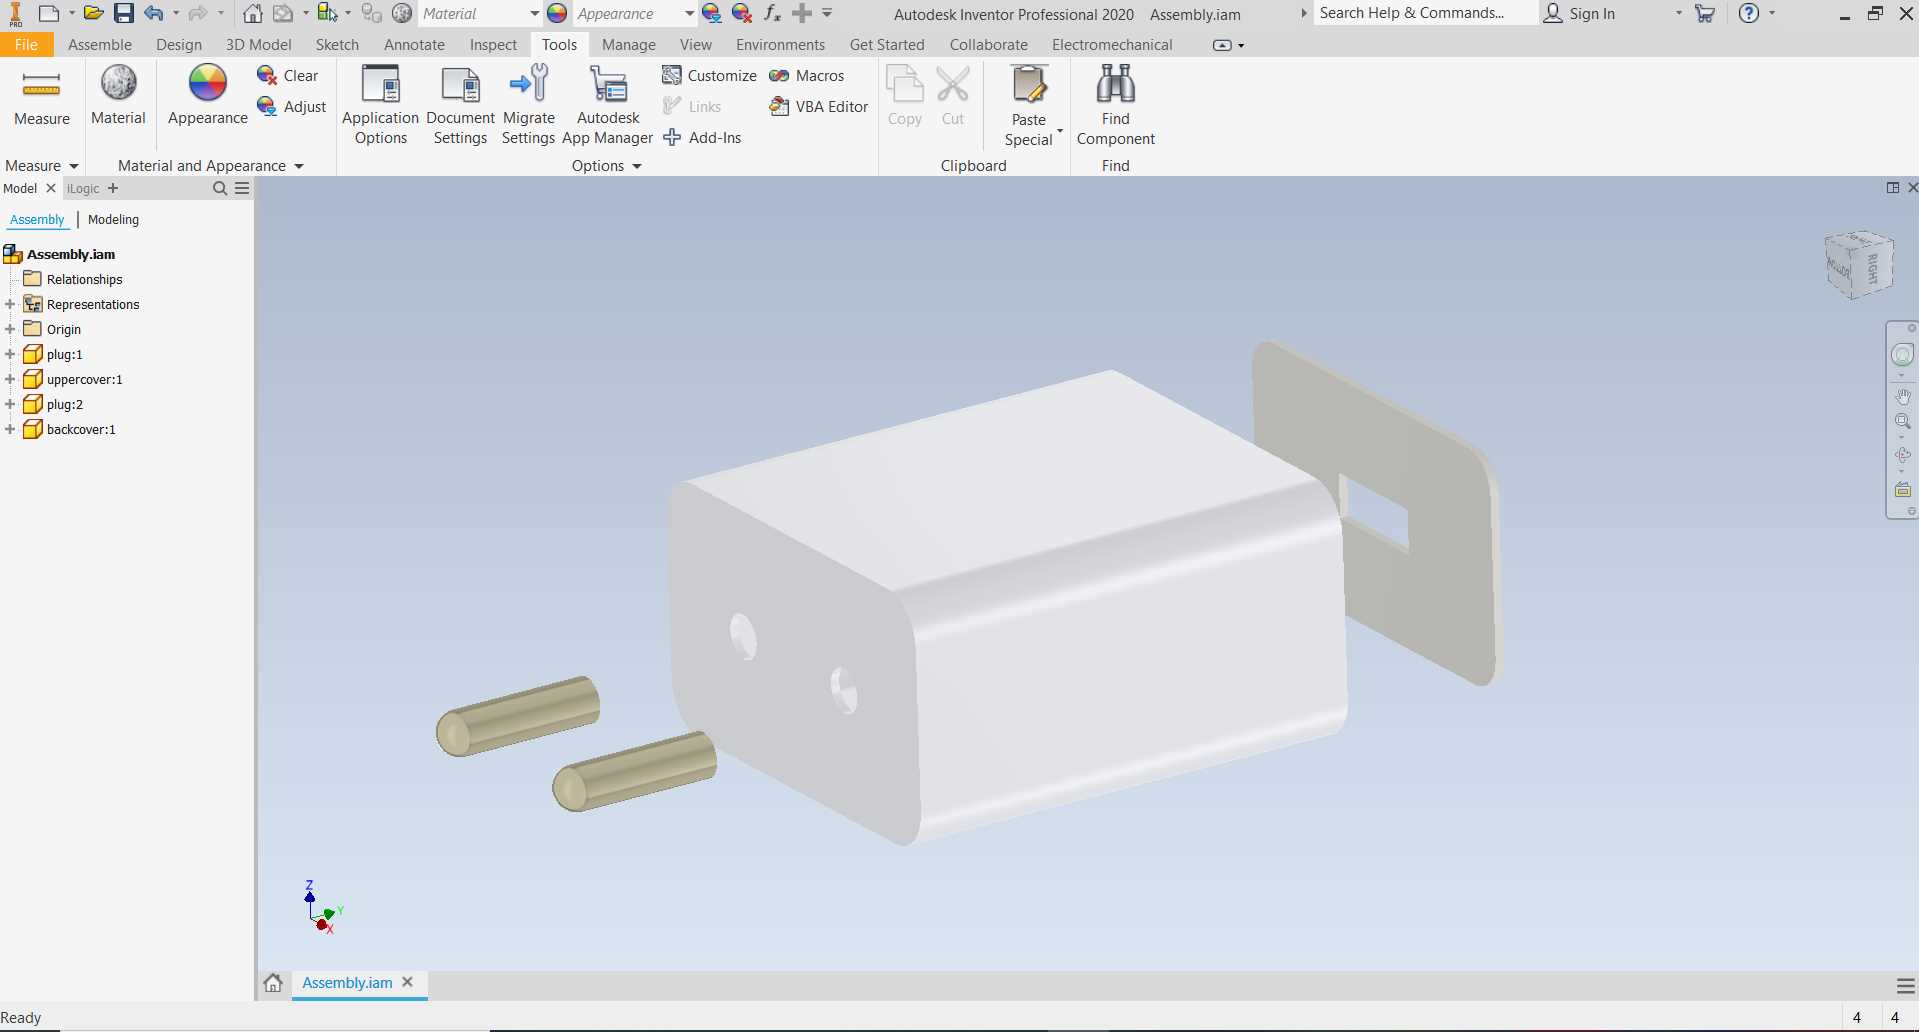
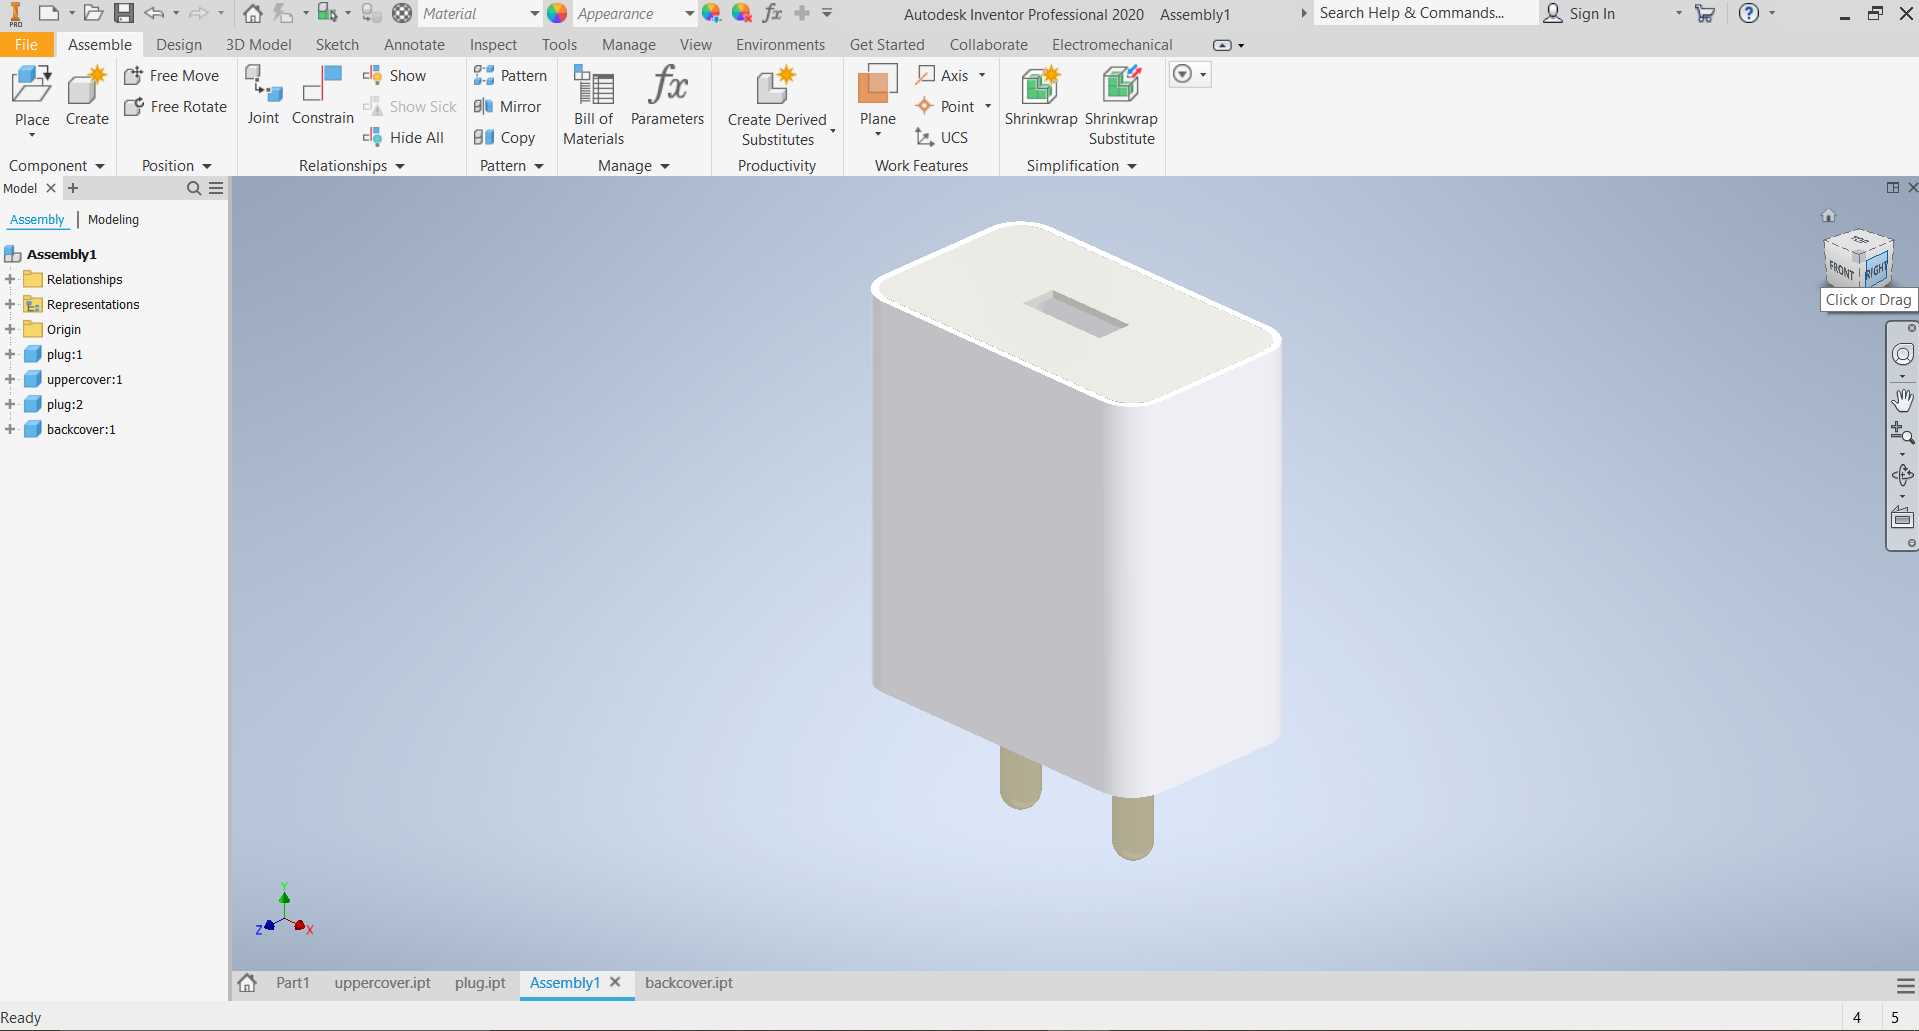
Thats how Finished Model look like. I applied material to give a real shade and texture to object to make it look real
Freecad: 3D Computer Aided designing software (CAD)
Freecad is another very nice cad software I prefer to learn and start using it in my work. Once you
known about cad designing and it concept then learning this would be easy since every software is
similar. Why freecad? because freecad is completely OpenSource, Hence you own your designs that you
have made in it. Slowly now I started liking it, using it more, Yes! in begining it felt difficult
to me also but when I use it more and more it became easy and easy.
since in saw a demonstration of freecad parametric designing in fab boot camps in which he design using spreadsheet I wanted to learn that.
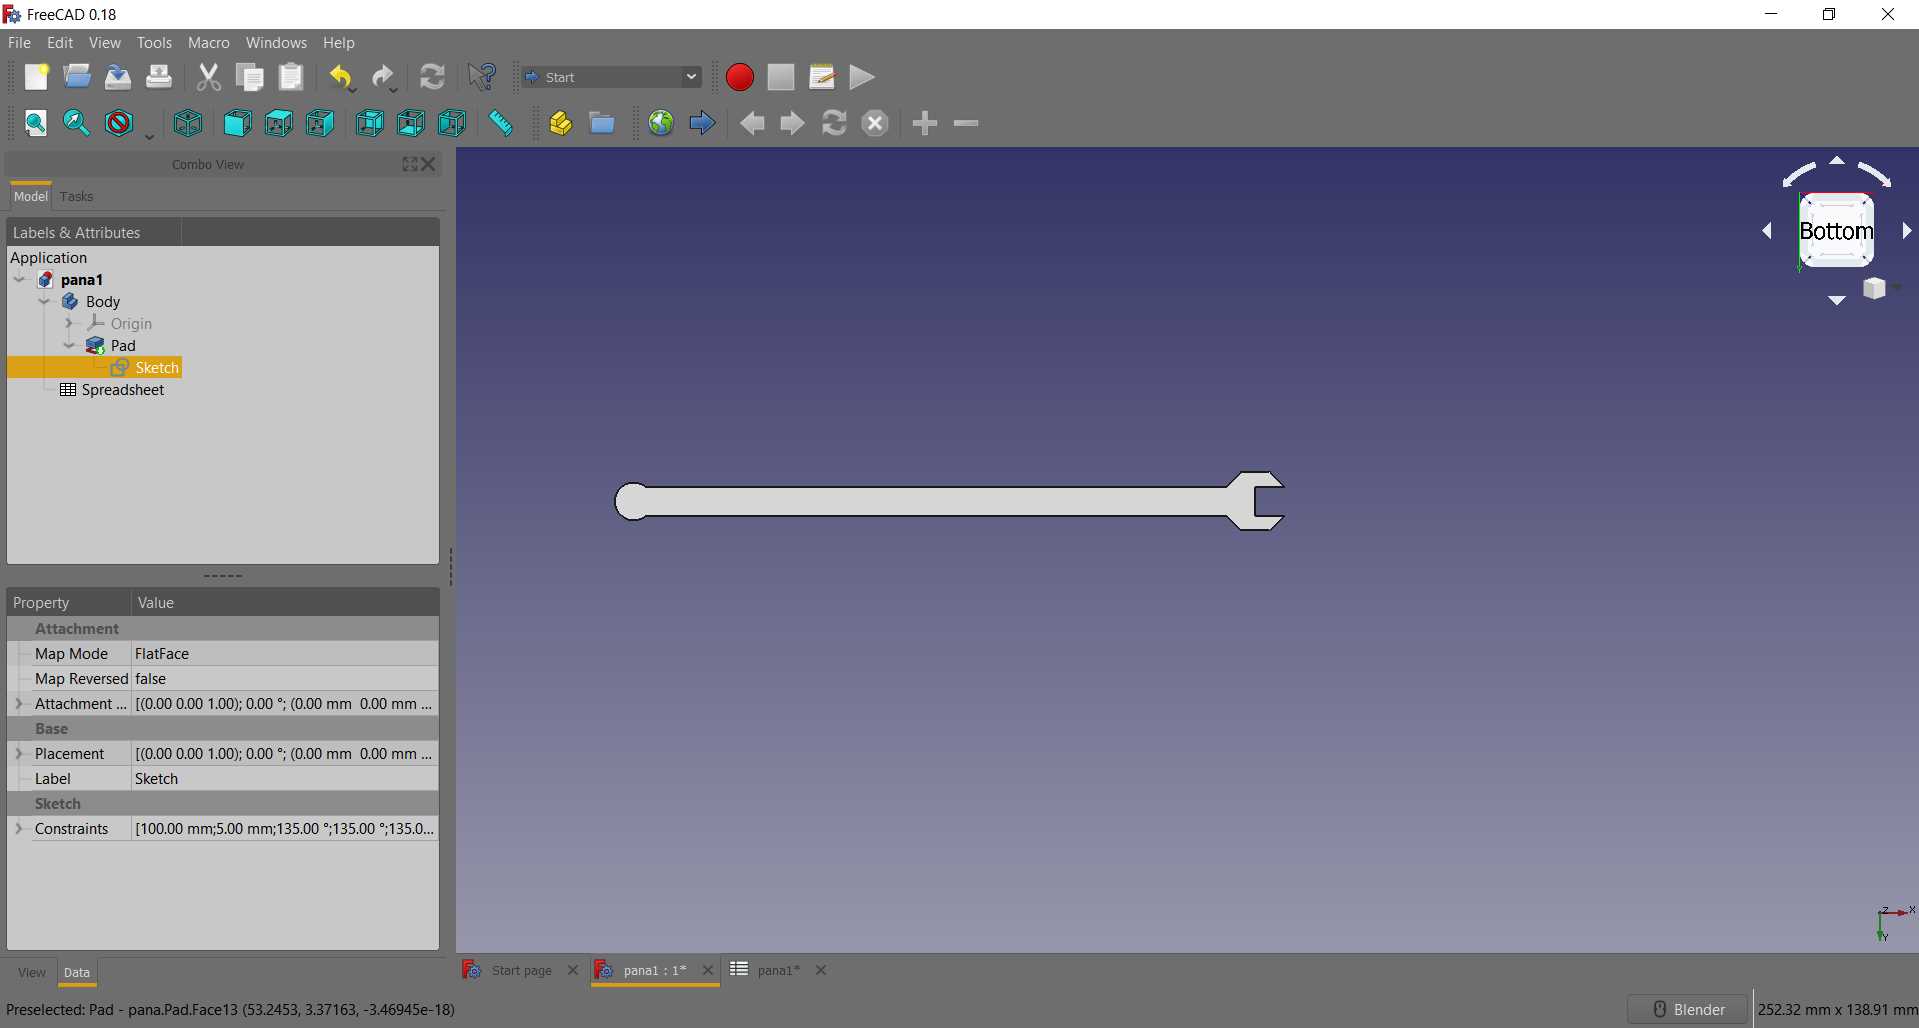
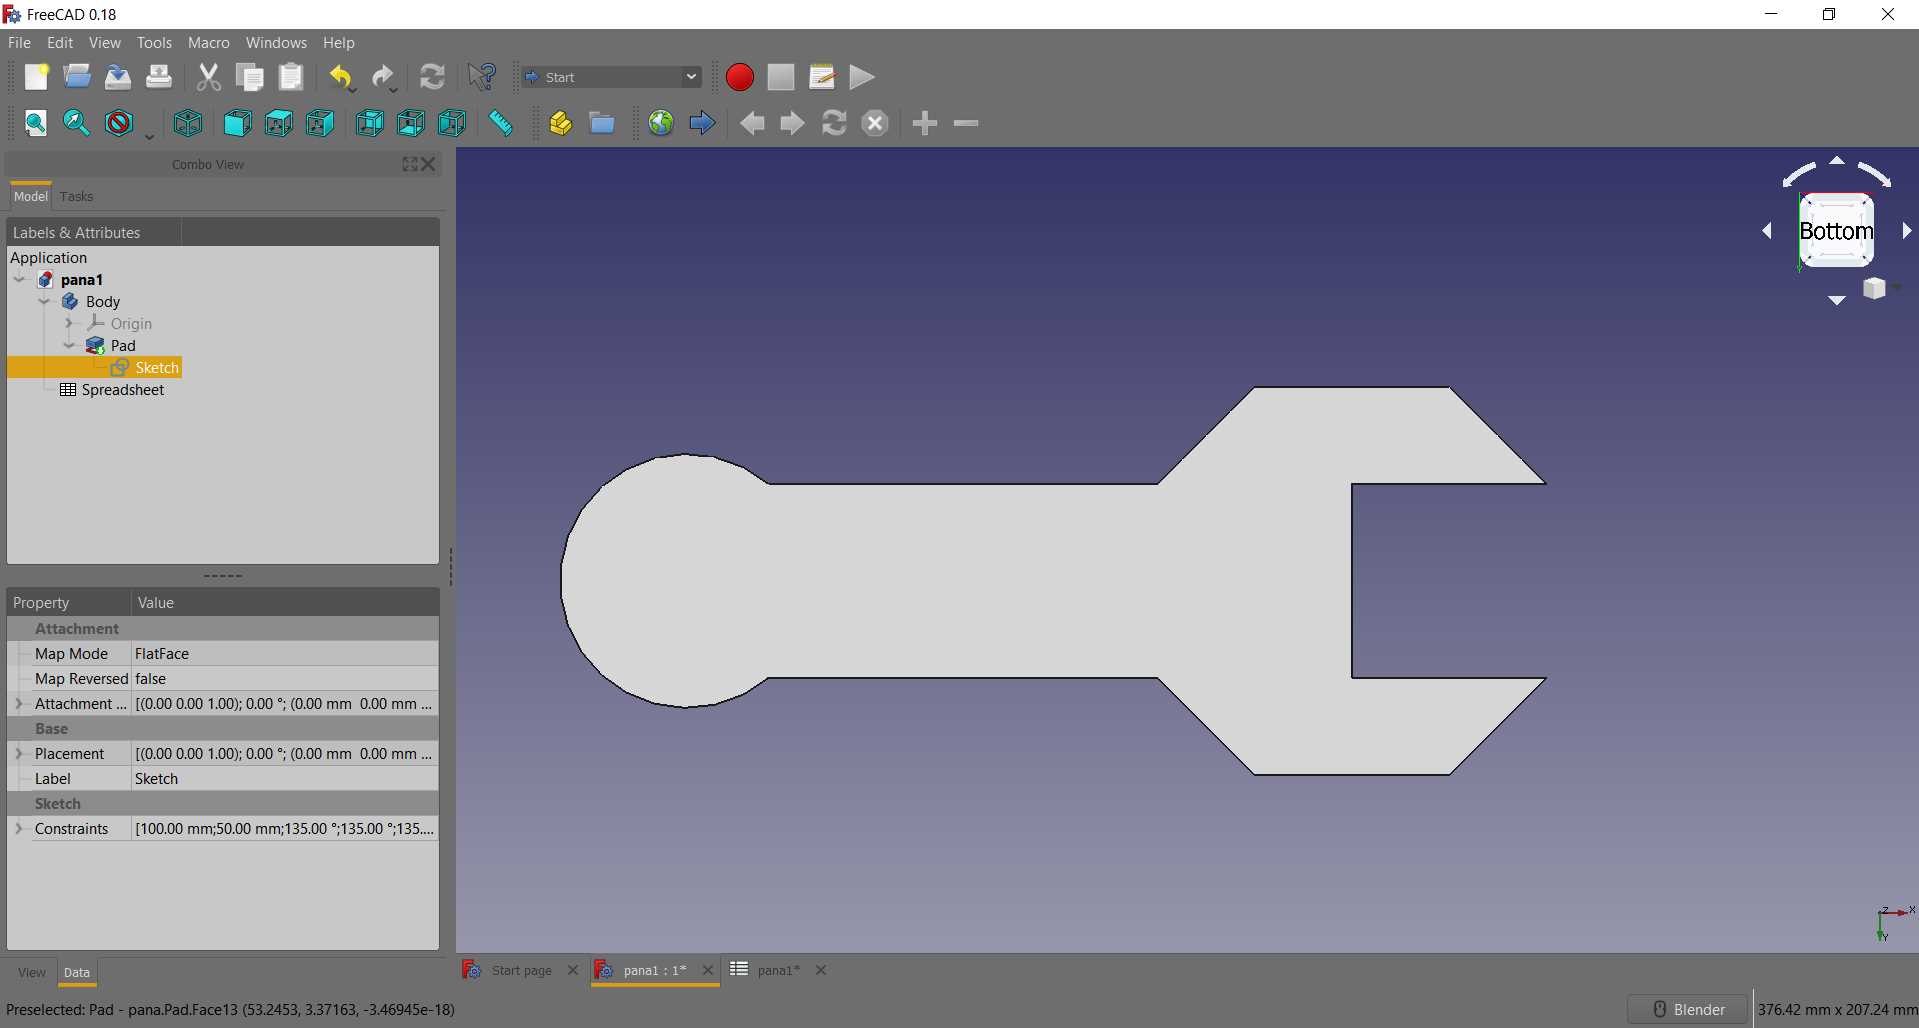
Here I wanted to design Wrench CAD model, with adjustable size as per need and can be 3D printer or laser cutt anytime required in lab
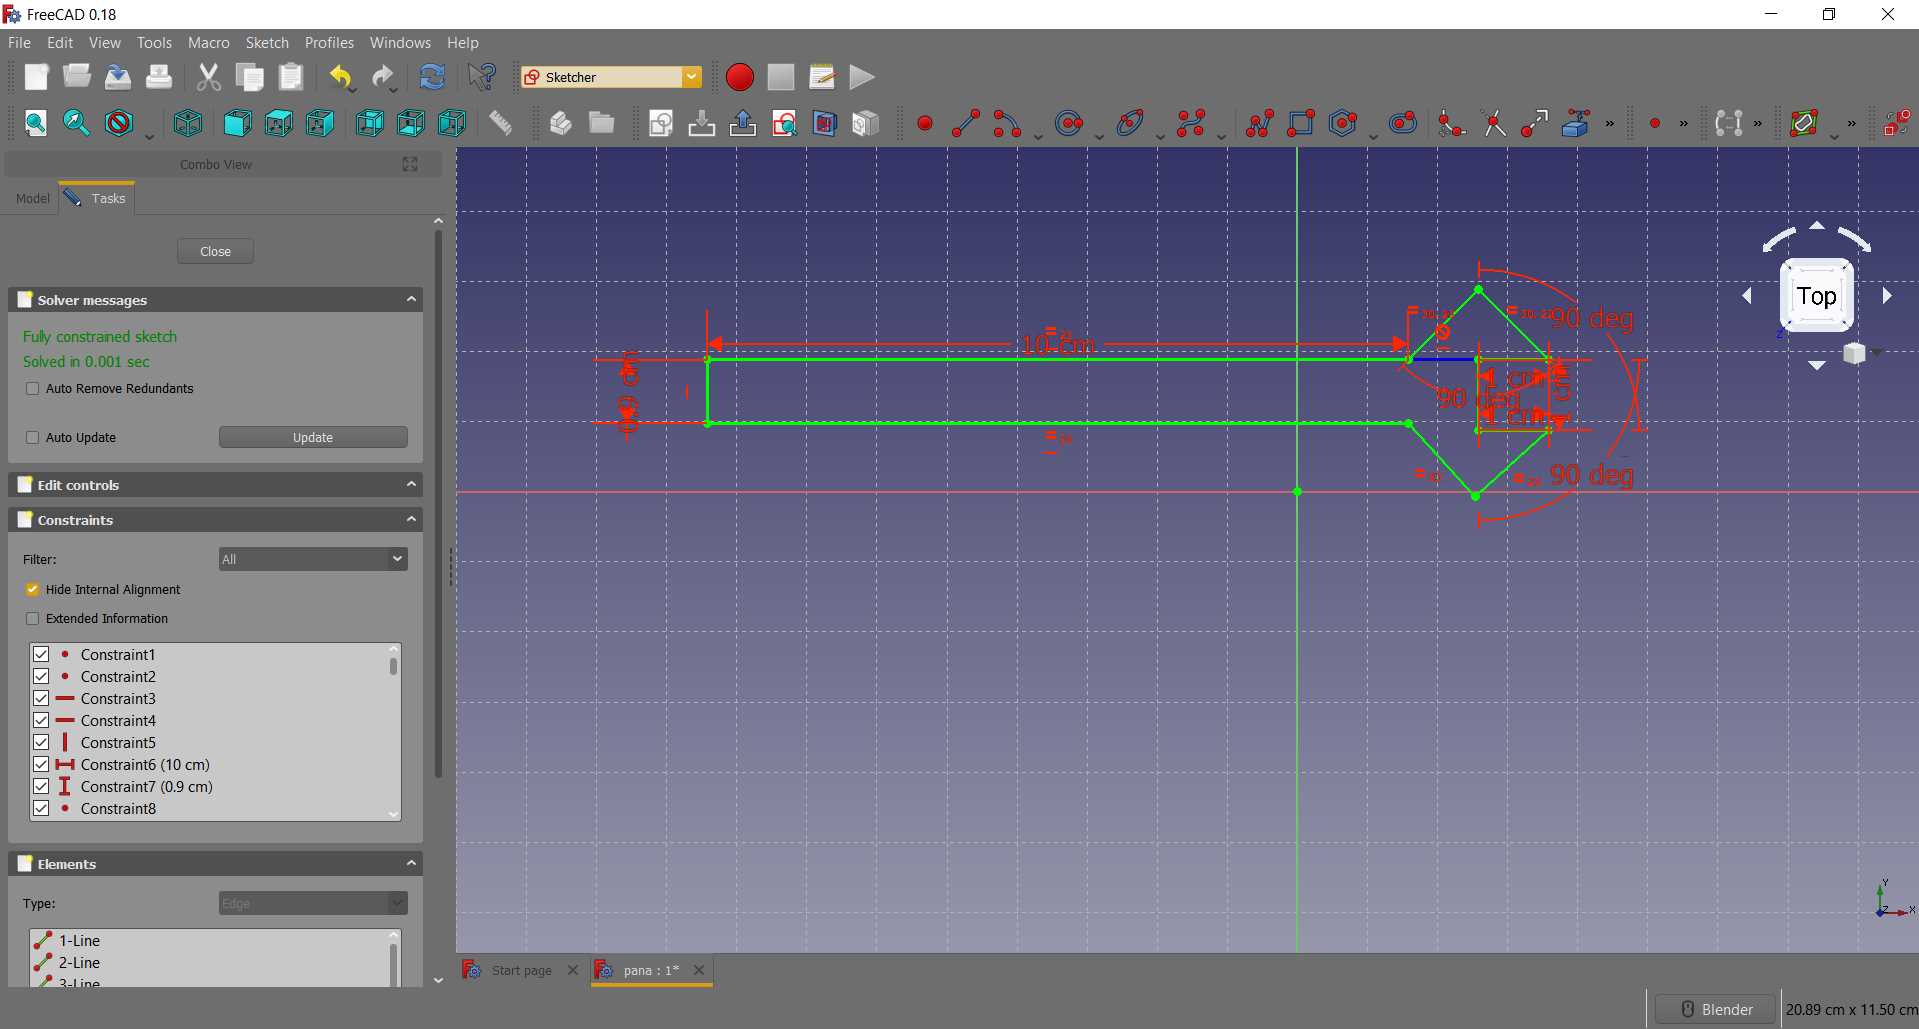
Run Freecad and start with rough sketch using polyline and then arrange it and give dimension
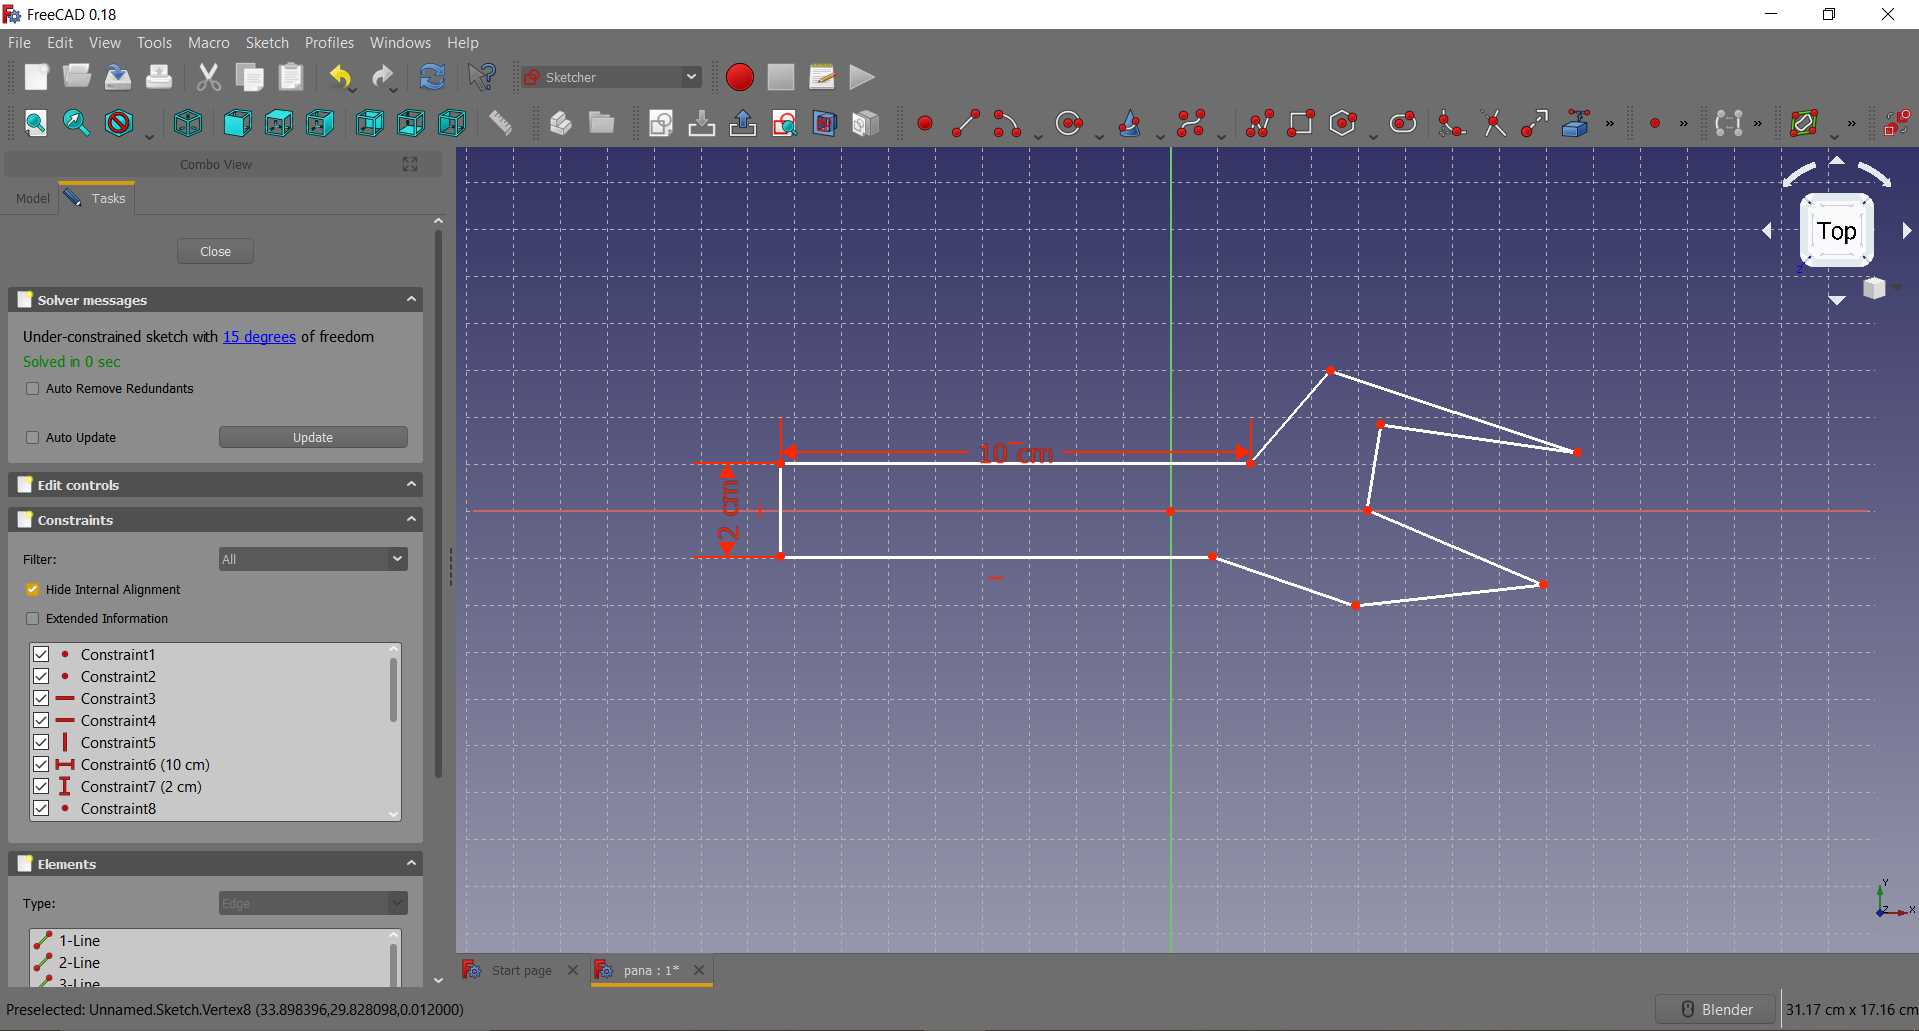
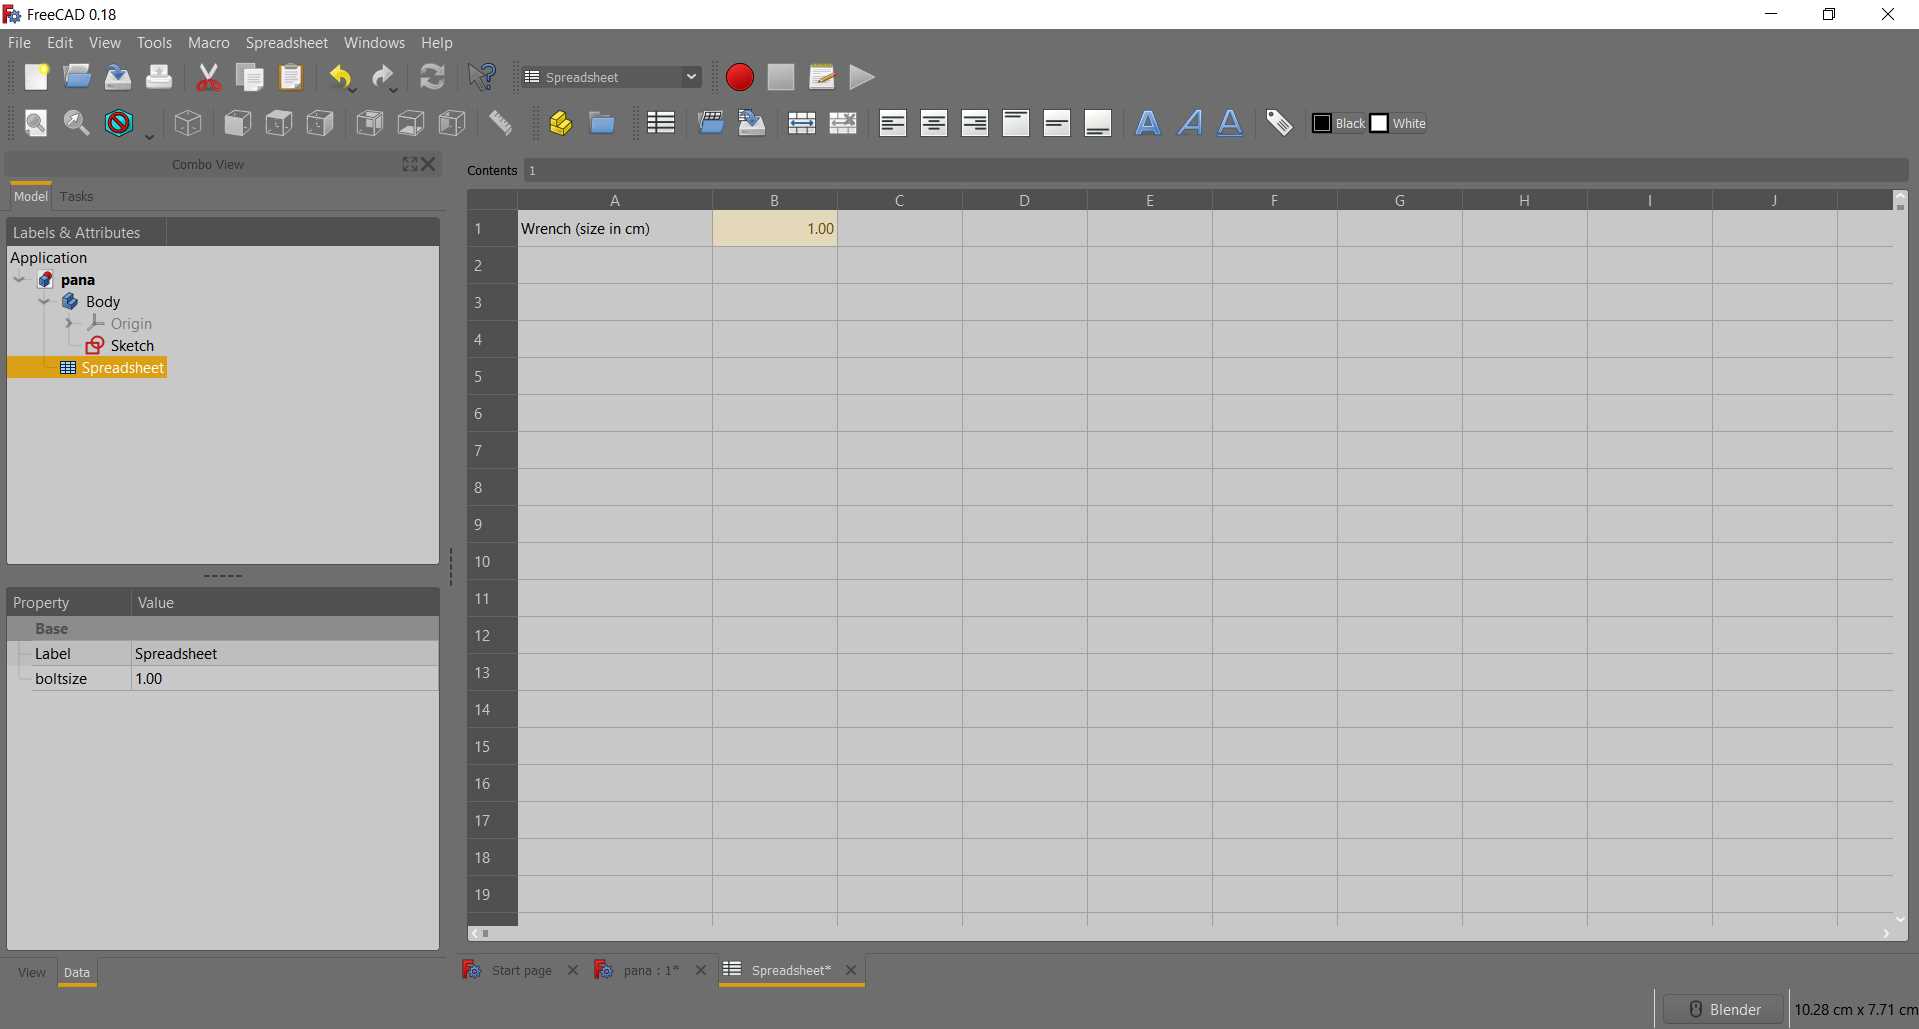
In workbench menu goto spreadsheet and creat new spreadsheet. In spreadsheet in one cell name something like in wrote 'Wrench size' and in second cell give value in number. Click on second cell, select properties and in alias give a name to your parameter.
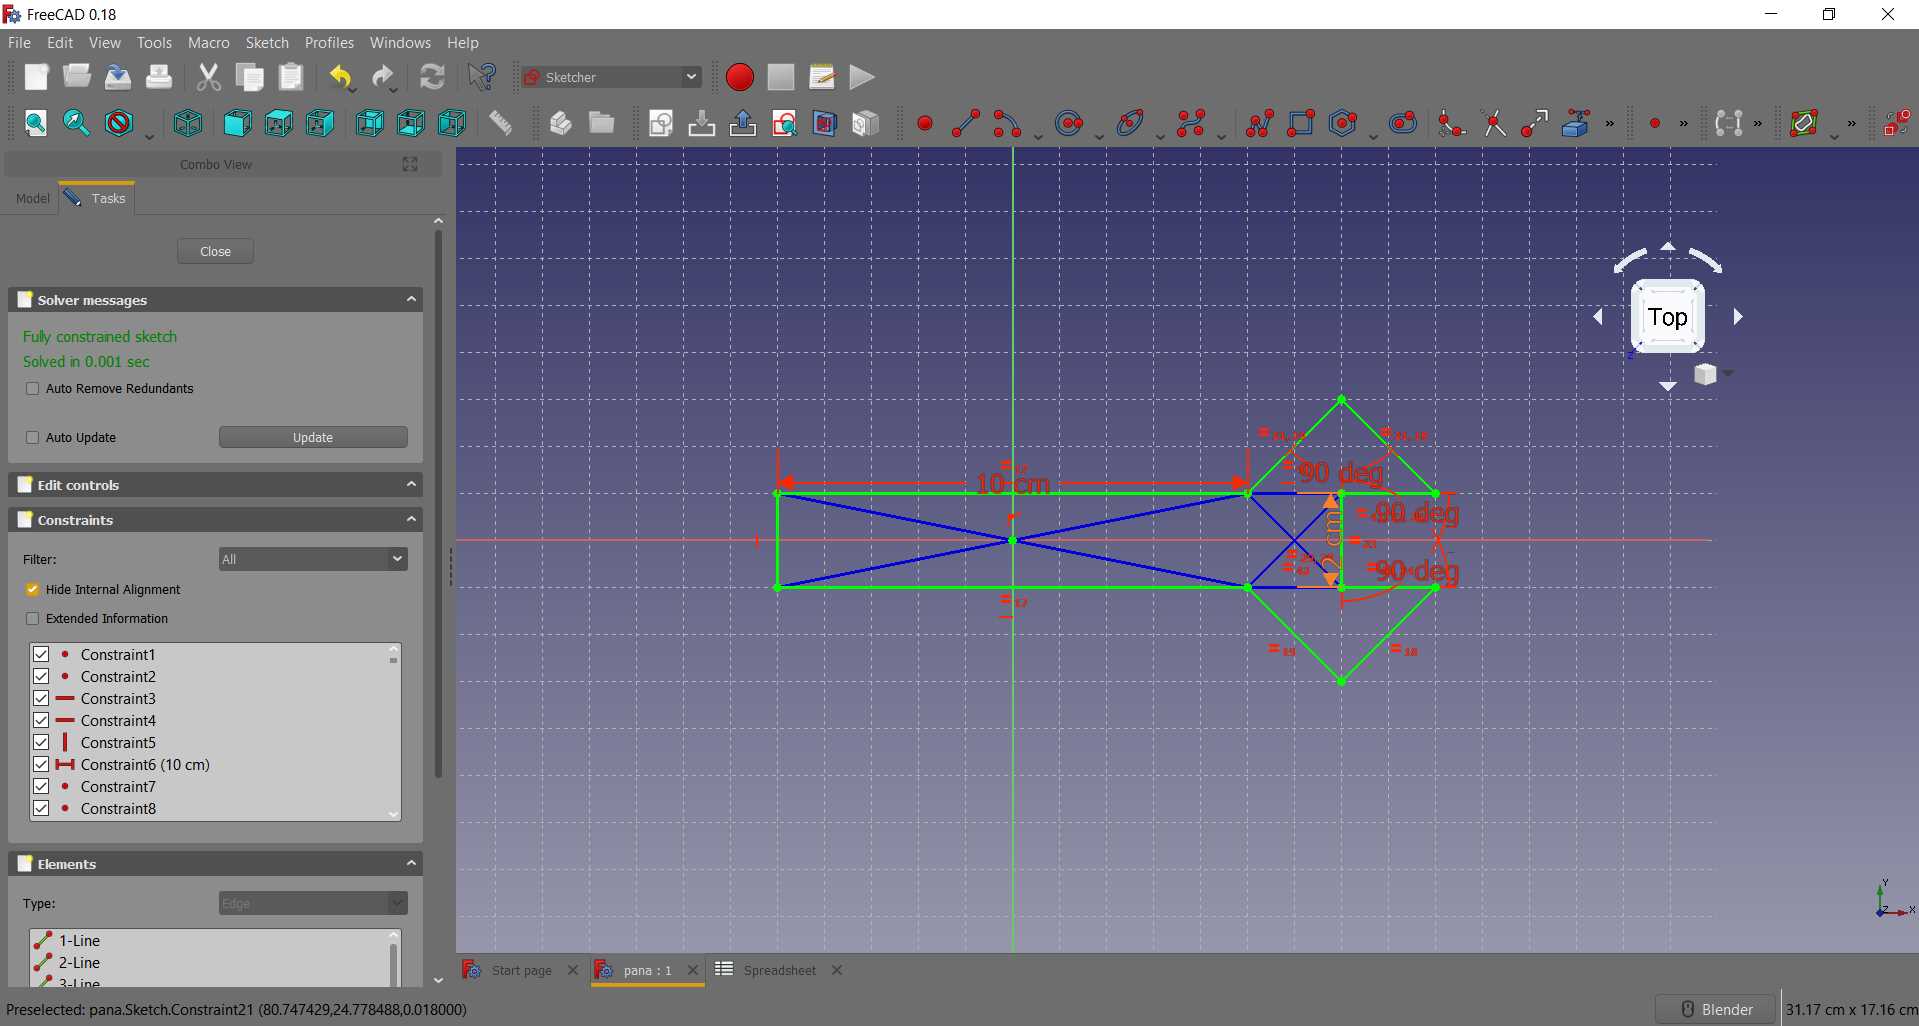
Here if you see I used construction lines to support my sketch because I saw after connecting my sketch dimension with spreadsheet parameter thing work well but when I change value shape get deformed and uesless. Hence using construction lines I make sure that shape does not loss it purpose when value get decrease abd increase evertime.

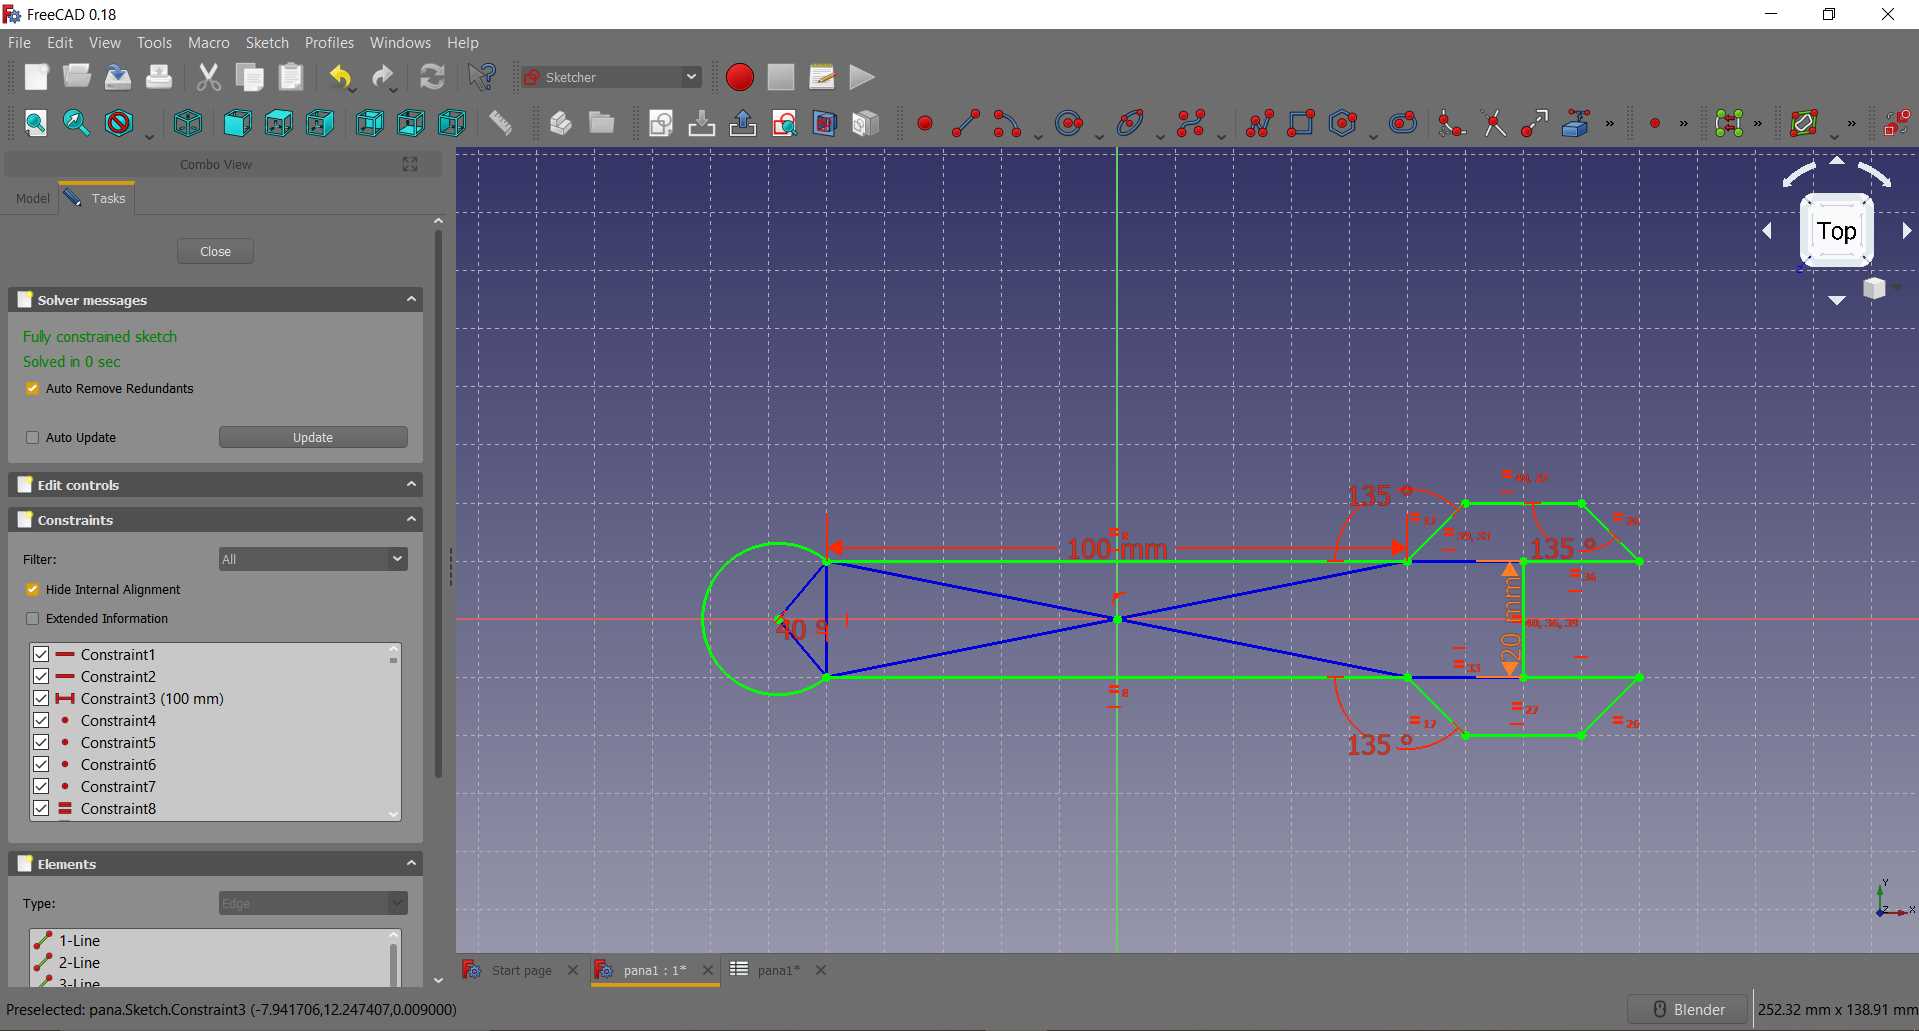
That how it work and look . So now I dont need to buy Wrench in urgent everytime when it get lost
Learning Outcomes:
This week I tried one totally new software Freecad. I like to use open-source softwares but sometime you can ignore simplicity and experience you have in other softwares. In tried to do new things in other software like Inventor I have used before but very long back so restarting it was chanllenge to me. Gimp I was fimiliar and used in my web designing. Coreldraw and Inkscape are almost same type of software used for vector designing one is paid and other is free and OpenSource. I like both and use both in works. Blender is 3d modeling and animation software that I like most and keep learning more, new thing that I figure out in blender is making a object and converting it into paper cut model.