3D scanning and printing
3D printing takes very long and creates plastic waste
Description
This week we learn several 3D techniques around printing and scanning. Basically it is a week to learn the machines to do this work for us.
Assignments - Learning Outcomes
| # | Assignment | Fin |
|---|---|---|
| 1 | Test the design rules for your printer(s) | 1 |
| 2 | Document your work and explain what are the limits of your printer(s) (in a group or individually) | 1 |
| 3 | Design and 3D print an object (small, few cm3, limited by printer time) that could not be easily made subtractively | 1 |
| 4 | 3D scan an object, try to prepare it for printing (and optionally print it) | 1 |
Have you?
| Spirals | Description | Done |
|---|---|---|
| A | Explain what you learned from testing the 3D printers | 0 |
| B | Documented how you designed and made your object and explained why it could not be easily made subtractively | 0 |
| C | Documented how you scanned and prepared an object (for 3D printing) | - |
| D | Included your original design files for 3D printing (both CAD and common format for 3D printing) | 0 |
| E | Included your hero shots | 0 |
Ender3
Check #Research for valuable links and background.
As I have an Ender3 at home, I want to calibrate, test and use that a lot. This will be my main printing machine for the next oomph years.
As days and prints progress, I'll keep my documentation updated here.
Test and document the design rules for your printer(s) - #1, 2 and A, B
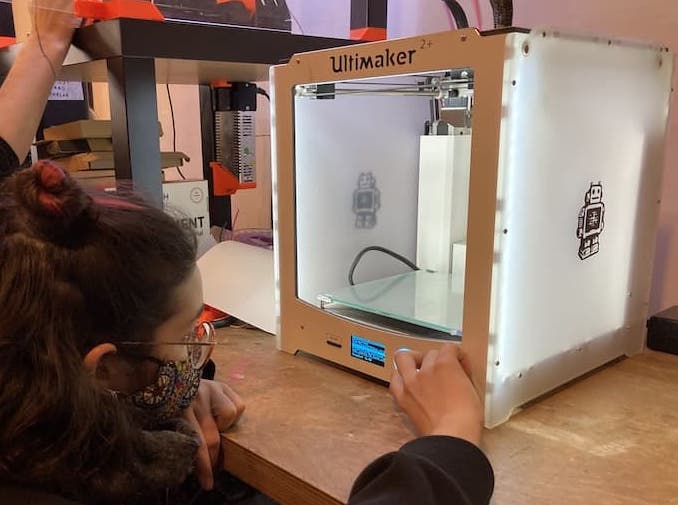
Together with Paula I tested the Ultimaker 2+. The other halve of the group went to work with the Prusa printer and these results are on Phils, Loes and Lucias pages.
We used a test print object that was also used in 2019 and can still be found on thingiverse
This test print creates several unique 3D printing features in one object, like overhangs and pilars. Also it creates several similiar features, lines, pockets, globes, of different sizes so you can check the resolution of your printer.
Henk explained how to use the Prusa. We extrapolated his explanations to the Ultimaker, figuring that the difference would be small. Also, we both had previous experiences with the machine. Although these were from long ago and not very deep.
The machine was off and without filament when we started. So we had to first fill it with some PLA.
NOTE PLA is a biobased material (made of corn) and is often used to start 3D printing as it is easy to handle. PET is also used and is more flexible. This makes PET harder to break and PLA
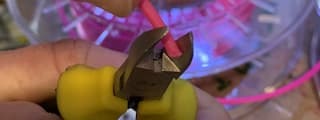
We cut the filament in a 45 degrees angle so it will easily go through the tube.
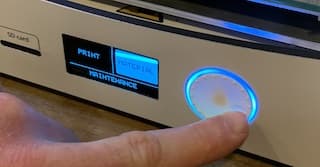
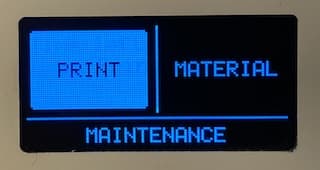
We switched the machine on and used the button on the front to navigate the menu. In there there is a setting to insert new filament.
There is a little hole on the back where you can push the filament in. There is a little lever that you can pull to open the hole wider so the filament slide in easy and gets grabbed my the motor.
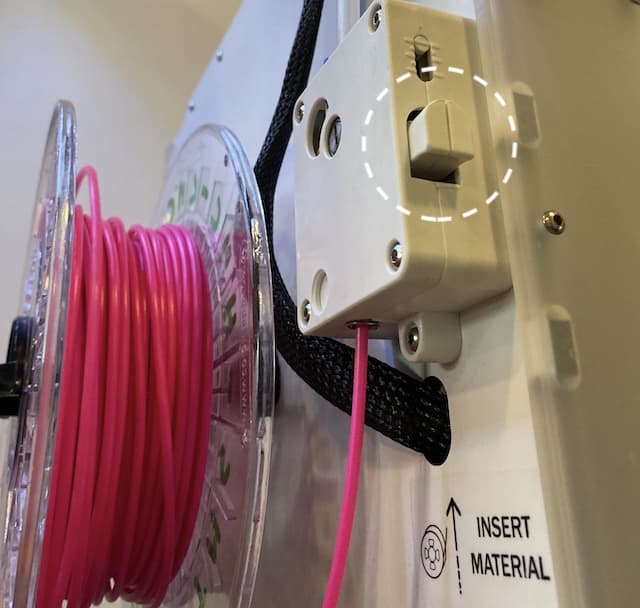
As soon as it has passed the motor on the back and is entering the tube, you can speed it up by pressing the button again.
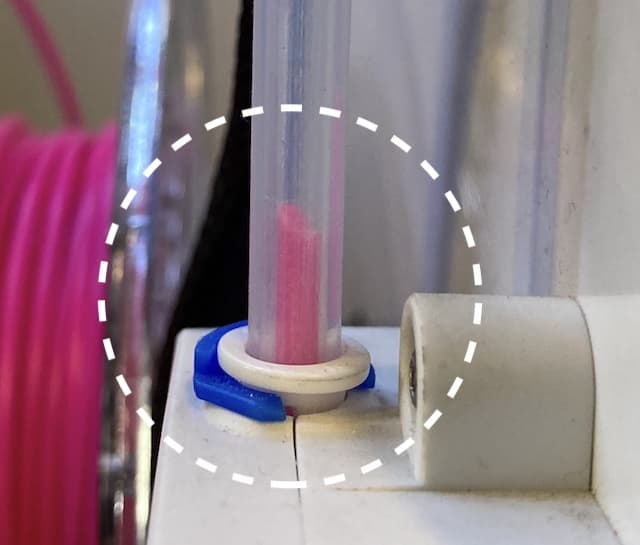
It will then push the material into the nozzle and push any old material out that was still there. YOu need to confirm what type of material you just put in the machine on the front.
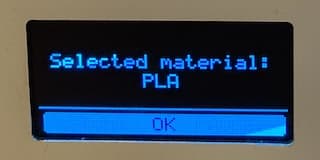
You printer is then ready to go... or so we thought...
Over to the software: Cura.
To prepare the file we used Ultimaker Cura 4.8 for Macos.
In order to use it you have to make an account with Ultimaker and give a whole range of details.
Note to self: in a later stage I am going to dig into the data-practices of these companies as it is totally not GDPR compliant to ask for all this information just to print a 3D file. Prusa does the same
When you have the app open, you can then open an .STL file like the one linked above and it will show it in the middle of the app. You can change the settings on speed, heat etc. etc. etc. in the app, but we went with a default settings, pushed the big Slice button and saved it to an SD card.
Back to the machine
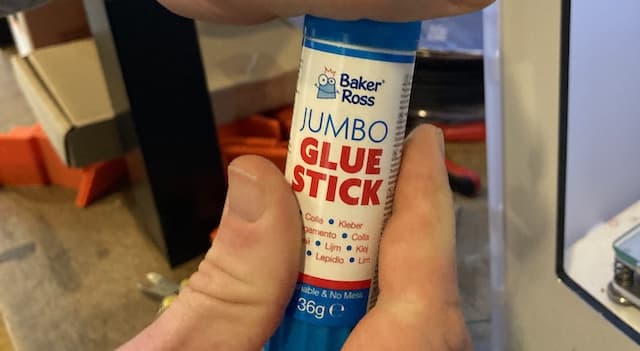
We then loaded the SD card in the machine, selected it for printing and put loads of glue on the printing bed, as I remembered from my previous experiences that this is a good idea.
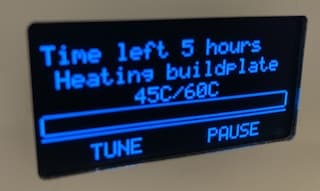
The printer took a long time to warm up and the expected time to print quickly become more, suddenly stretching over 5 hours.
And then there was an error: the print was outside the printable area. I remembered that I only added the Prusa printer to the Cura software. And the Ultimaker2+. We used the wrong printer settings...
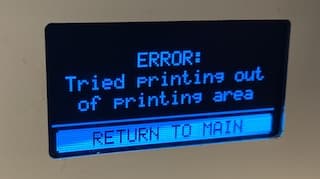
Go back to Cura Change printer add the Ultimaker 2+ and try another slice.
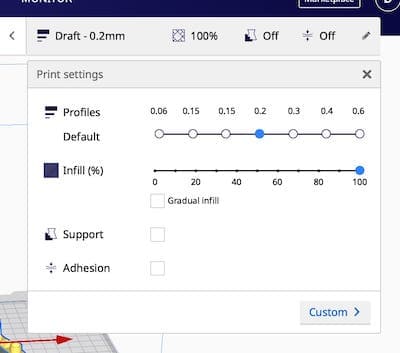
We used these settings:
| Print Settings | value |
|---|---|
| Supports | No |
| Resolution | 0.15mm |
| Infill | 30% |
In the file description it said we also have to used rafts. But a little Googling convinced us not to do it:
"Raft is an older technology. It still is used by a few people but you don't really need it anymore. Instead we have learned to get parts to "stick like hell". There are other tricks - you need to print the first layer slower and hotter and squish it a bit into the tape so you might need to level slightly lower. Also a brim makes a huge difference and is much easier and cleaner to remove than a raft.
Source: thomas-roager on the Ultimaker Forum
We also reset the printer to the factory settings and calibrated it from scratch. For the process you need a sheet of paper. A sheet of 80grams paper seems to be an essential utility in a 3D printing workshop. You just have to follow the steps from the machine (it guides you). When tightening the bed unscrew is up and screw is down. A tight screw pulls the bed down and widens the gap between nozzle and bed.
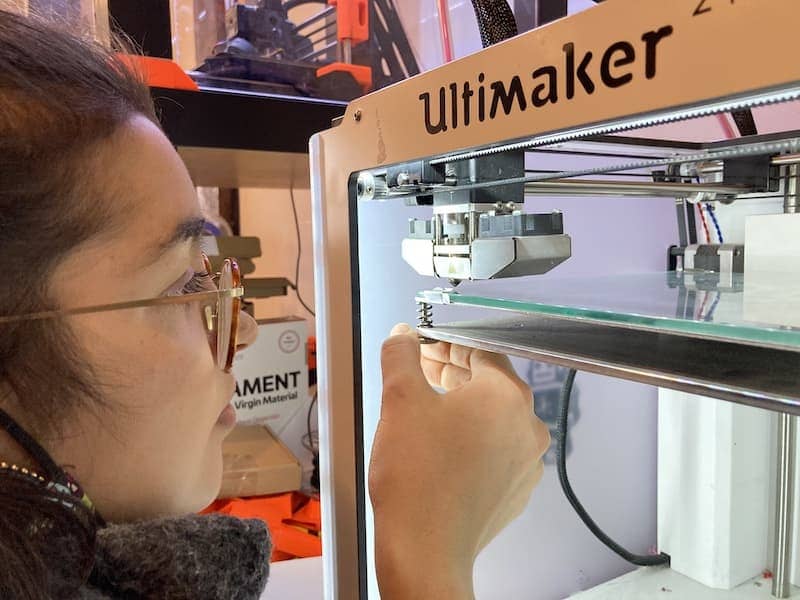
Paula adjusting the screws
The new print goes horribly wrong.
First there is no filament at all coming from the nozzle. I manually adjust the two screws on the front to lower the printing-bed. This helps; apparently the bed was too close to the nozzle, blocking the hole. But the resulting print is till very bad.
We take turns in recalibrating the printing bed. And we tried printing again but the structure became loose again so I check the settings Rutger has used in 2019
We also re-check the printing settings in Cura: - First we checked the settings of the filament - Nozzle temperature: 190-210 - Bed temperature: 50-60
We changed after reading Rutger's documentation:
"set the printingtemperature on 208 and a layer height of 0.15mm. We did not use any support for the print. The fill density was set on 20%"
Updated settings:
| Print Settings | value |
|---|---|
| Supports | No |
| Resolution | 0.15mm |
| Infill | 30% |
| speed | 40mm/s (when you have filament that is hard to stick on board you can modify speed section.) |
| Nozzle temperature | 210 |
| Bed temperature | 60 |
| Density | 20% |
Again: failure.
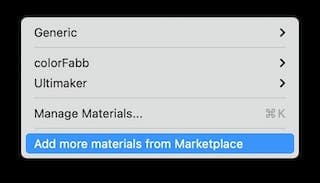
I then turn to the material settings in Cura. Cura comes with build in material libraries, but you can also download new ones. Guided by the label on the filament we download the PLA material library of Colorfab and change it in Cura.
We also changed the the speed to 60 and decided to apply a very thin layer of glue just after the bed is heated up.
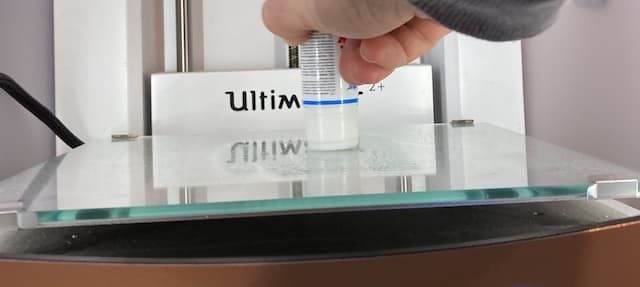
just a very little bit of glue
Now it is working!
We are not entirely sure what did the trick but we conclude that:
- a higher speed has probably helped, as we had a lot of filament getting trapped under the nozzle. With a higher speed you have less change of this happening
- applying glue to the glass plate is a good way of making sure that the first traces stay in place and are not dragged along by the nozzle.
- The material libraries provided very little clarity on what changes when you apply them. Still it feels good to tell Cura honestly what material you are using.
There is still room for improvement as also this final model has some issues.

3D scan an object - #4,
For scanning we have a Sense scanner at Waag. It is hard to operate at first, but once you get the nag of it it goes better.
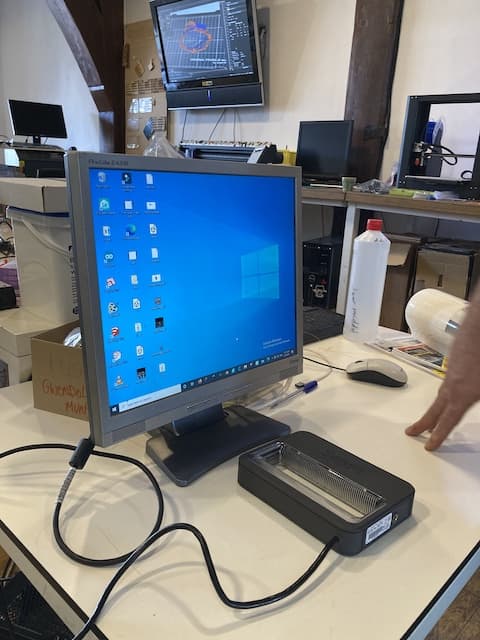
I scanned the little wooden block that is part of the lasercutter. We use it to adjust the height of the laser for focus. As Henk is working on an automated system to achieve this, I figured that the wooden block will soon be defunct. To preserve the memory of this helpful tool that aided uncountable successful lasercuts I scanned it.
In case you would like to print it, you can download the stl here
Most important lessons:
- Lighting has very little influence on the result
- a non-symmetrical object is easier for the scanner to recognize and thus scan
- I still have to find a useful application for this...
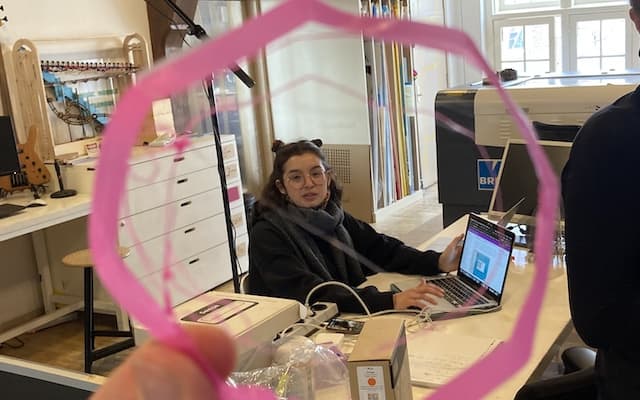
At least I was able to scan me (including corona face mask)
The Cardholder - Making my own model. - #2, #3, A, B, D, E.
We have an underground container for garbage in our area. The container can only be opened with a card. This card is always lost in our house. So I want to make a cardholder that I can attach to the wall next to the front door so you always have the garbage card in a fixed place.
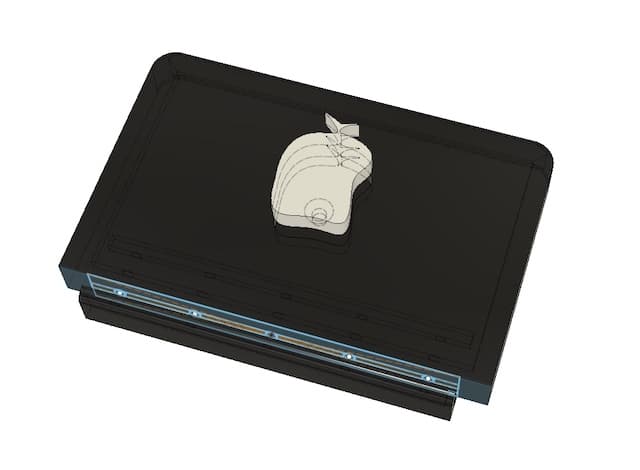
Making the model.
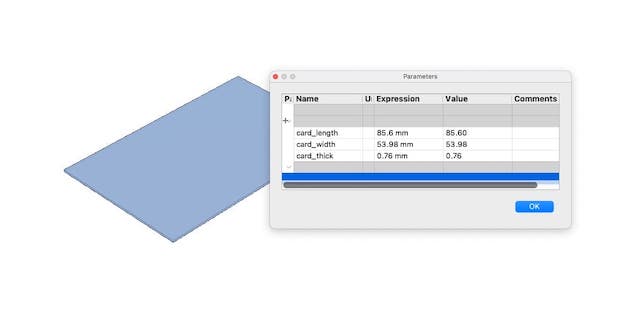
I made my design in Fusion360. It started with a simple sketch with the parameters of a credit card. From there I build the bottom, sides and top layer needed to make the holder.
In that body I used chamfer and fillet to add round corners here and there.
After I made the model I figured that the created card holder would completely hold the card; in other words; easy to put the card in, hard to get the card out. I didn't want to make a simple hole to put your finger in, nor didn't I want to make the holder smaller as the (ugly) card would stick out.
So I came up with a complex, failure prone and senseless difficult solution: - Five holes in the bottom of the cardholder. - In those five hole stick five little pillars. - these pillars connect a block on the outside and a block on the inside. - if you press the block on the outside, the block on the inside will push the card out of the holder. - at least in theory.
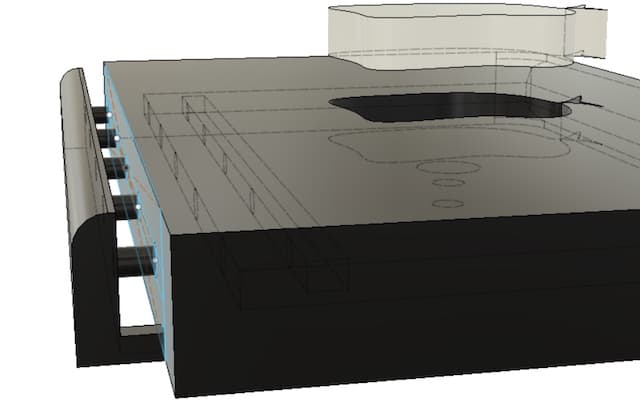
So the distinct, probably failing, feature of this design is: - It is ONE print, but when done it will consist of two parts: a steady and a moving part
Next to that I created a cut-out logo on the front that can later be filled up with a 3D print of the same shape, but different color. The logo is a trashbag with a vaguely similar shape as the Apple logo.
Having this logo removed also gives access to the screw hole in the back. This hole was made with a random screw I had laying around on my desk in mind; the measurements are similar to the screw as measured by a measuring device.
Printing the model.
On monday morning I arrived a little before 9am at Waag to print my design on the Prusa printer. As this machine was already taken by Nadie I had to resort to the, lower quality and less interesting, Ultimaker2+.
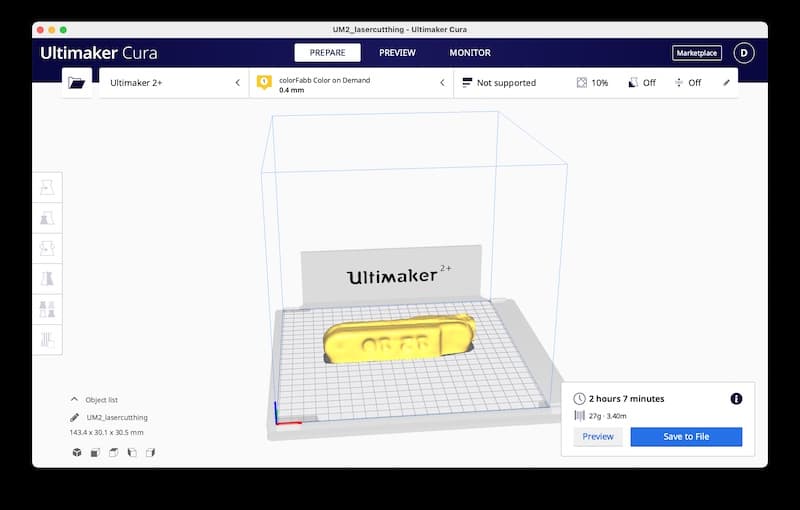
I used Cura to slice the file and, on Henks advice, layed the design on its side. Printing it flat would cause the card-space in the middle to be filled up by support to support the upper layer.
Cura told me that it will take me at least 6 hours to print this file, so I tried to minimize print time by changing fill, speed and some other settings. I was able to reduce print time to somewhere around 4 hours.
Still in the end I stopped the print when two of the 'pillars' were printed as my design was obstructing print time of other students. Later, when I have my own Ender3 printer at home, I will make an attempt to print the entire object.
Problems.
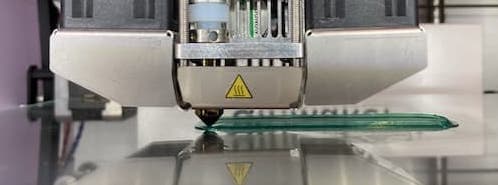
Sticking to the bed
The first five attempts of printing dod not go very well. Just as laid out above in the tests I did with Paula, also this time immediately from the start the material came loose from the print bed. I played with the tuning setting in Ultimaker, changed setting in Cura, but found that w very thorough cleaning og the bed with soaps, alcohol and glass spray was probably the real solution.
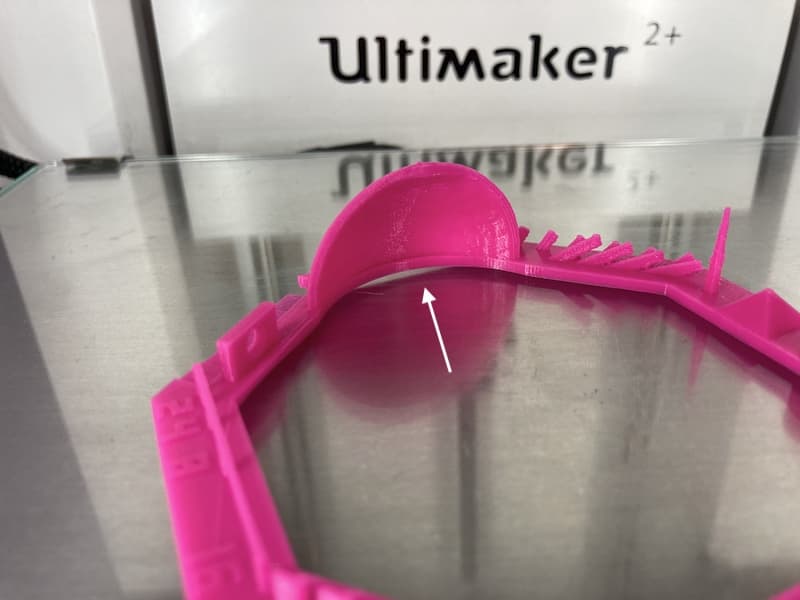
Overhang
There is a little overhang in my design that isn't needed. Probably the design is even better without it. But here in this picture you can nicely see what happens when you have such an overhang.

The Result Works!
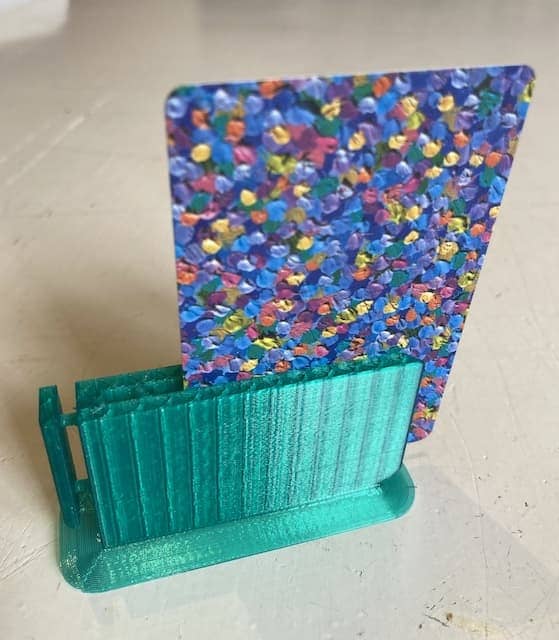
- The card fits
- the moving part can push out the card (not smoothly)
This would be impossible to make with anything else but a 3D printer.
Room for improvement
- Make push-bar longer so it has no overhang and aligns with main body.
- Reduce material thickness in order to reduce print time and make the design less bulky.
- Make a test run with the logo fitting part.
- See if there is room to make the space between push bars and the holes bigger for smoother operation
Biggest mistake:
The design perfectly fitted a card. That is why I added a push bar to get it out. But now that the push-bar is also in there; the space is no longer deep enough, eliminating the need for a push bar...
Files.
- 3D Design file from Fusion
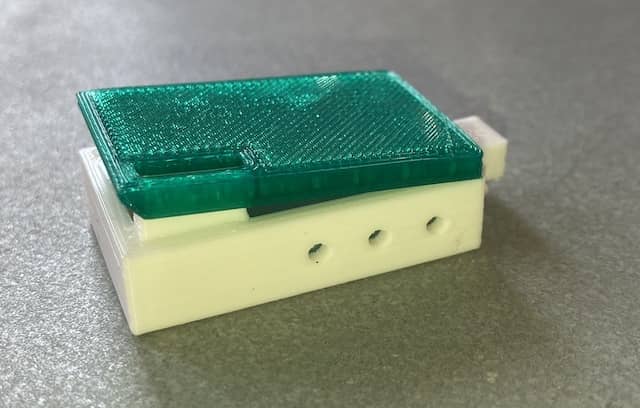
The UPDI Holder - Making my own model.
As a second assignment I tried making a little card holder for the board we made last week.
The little piece of electronics feel so brittle that I thought it could use some extra protection.
The design consists of two parts; a casing and a lid. I want to make them of two different PLA colors.
I designed it in Fusion360 using basic sketch, extrude, chamfer and hole operations.
Inverted-kerf?
The biggest challenge here turned out to be to make the design snap-fit.
Other then with laser-cutting, you don't loose material, but material is often a little bigger then the dimensions you put in the program. I hereby coin the term inverted-kerf
I made the lid on the Ultimaker 2+ at Waag. The holder part was made on my brand new Ender3.
The lid.
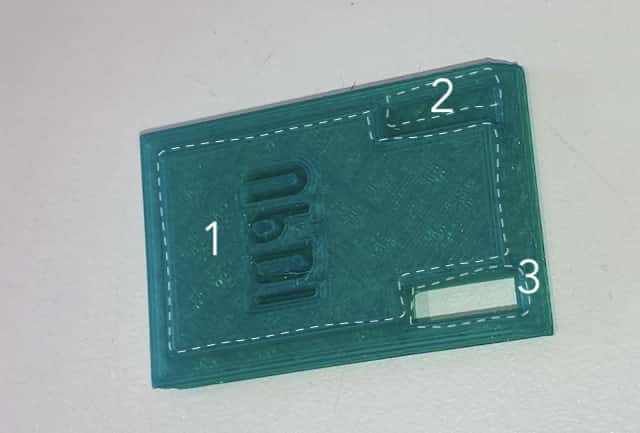
- a small depressed part to snap into the body. Also containing the (inverted) letters UPDI that I hoped would be visible from the outside.
- A slightly deeper depression
- A hole where the bottom material can poke through and will be visible on the outside
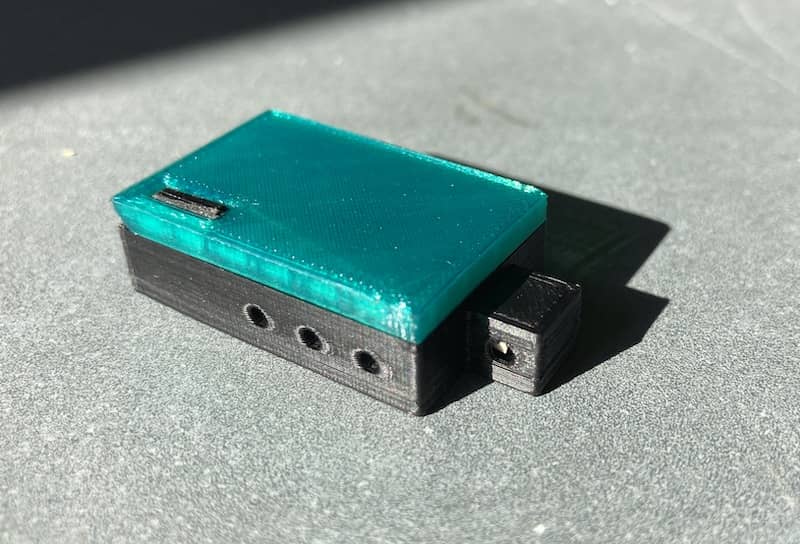
The Casing
The casing was printed on my Ender3 printer using PLA filament. It finished without problems as my second print on this machine. There were problems, but they were already in the design file.
As you can see the problem of inverted kerf is playing. The case and the lid are designed from the same sketch. I designed no margins at all. The depression of the lid (#1) above still fits nicely, but the to extruding parts don't fit at all in the holes.
Also there is an issue with the measurement of the board as it does not fit in its own case.
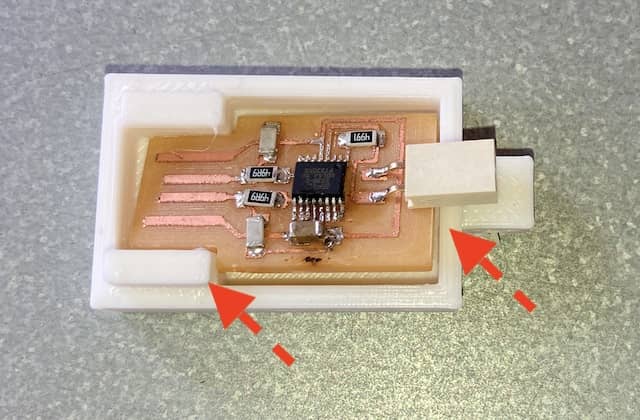
Here are two tension points where the board does not fit well
I modified the file to allow for more space.
During the second run, with a different PLA filament, I ran into issues.
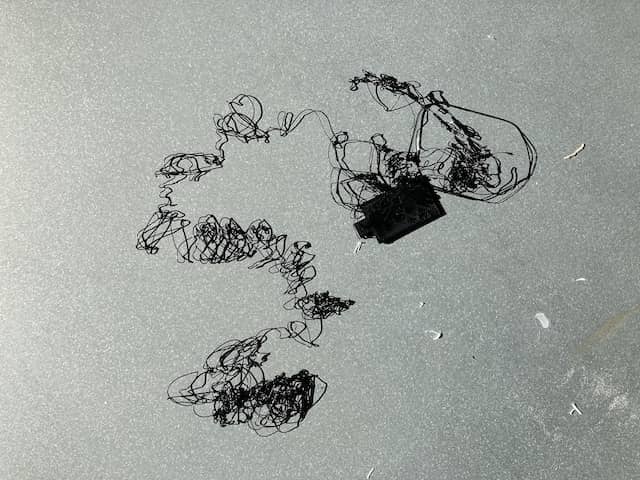
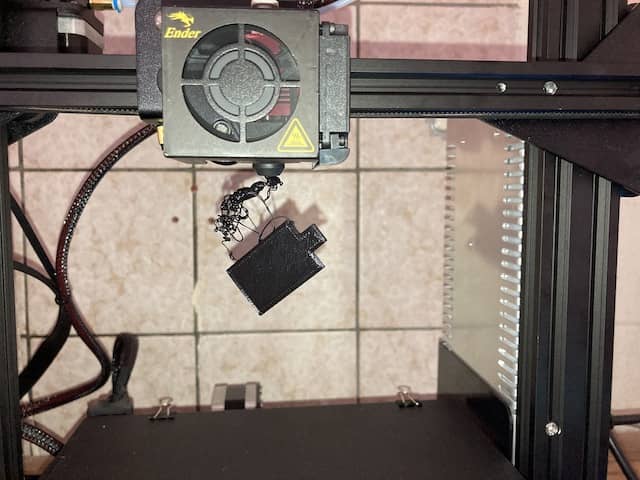
Twice the print failed at roughly the same point, dragging the already existing material over the bed. In both cases I was not there to witness what exactly had happened...
Current theories that need to be tested:
- The printer is in a little side-room with the window open and the bed cools faster then expected.
- I did not clean the bed enough
- the cables of the ender need proper management, maybe something got tangled somewhere.
- other, yet unknown reason
Thesis 1 & 2 have been tested. And the third time the print went well, with a hotter bed (55 degrees celsius) and a very clean bed.
I understand.. I also like my bed warm and clean...
In this third print the board fits in nicely. (notice how to 2-port part disappears partly into the extruded part outside the main body)

The lid also snap on, albeit I must confess that more force was needed then I'd hoped for.
Mistakes
- I underestimated the detail a 3D printer can make. I kinda loosely added a 0.1 mm here and there, but these do actually matter.
Files
Result
Room for improvement
- The snap can be snappier. It is a pity that printing takes such a long time and that, even with such tiny parts, you have to wait a long time to check if what you changed was right...
- the hole in the extruding part should extend all the way through so you can put a lanyard, keyring or something else through it so you can carry it easy with you.
- I made holes on the side because I can. They serve no function. In a second iteration I'd remove them as they allow dust to come inside...
Research
Here are some interesting Ender-3 videos
For the group assignment I leant heavily on the work done last year and the work of Rutger Oomkes