Jacob Libby
Week 11
Molding and Casting
A week dedicated to learning about the process of mold-making and casting
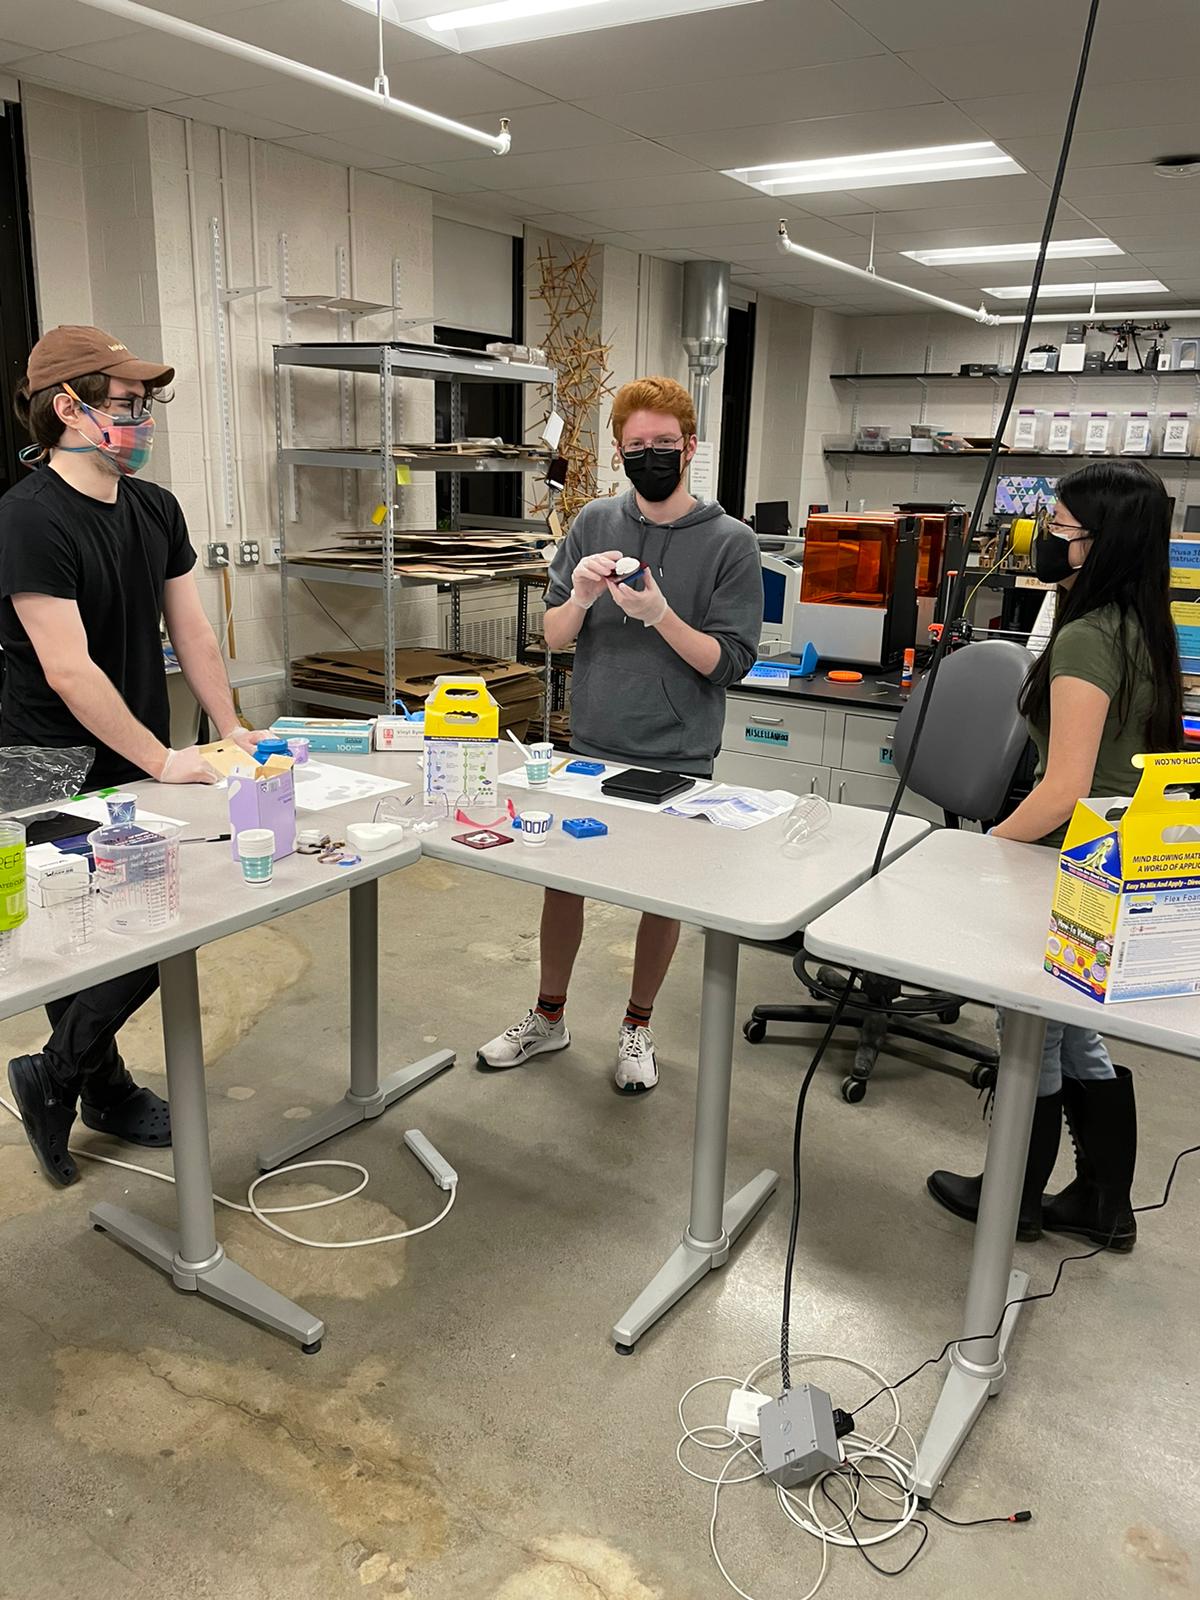
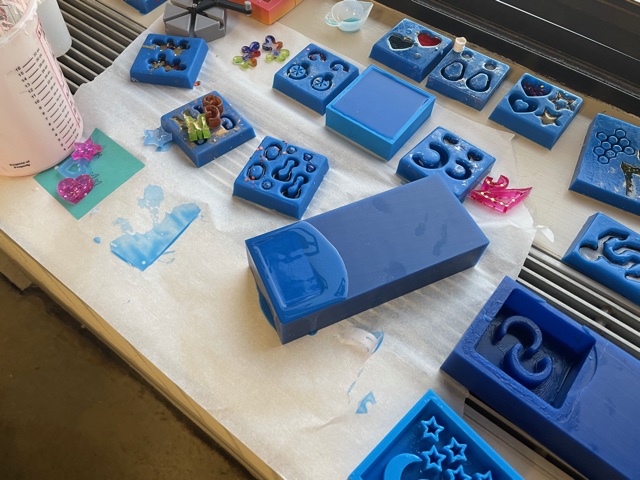
We began this week with the group project of exploring the ins and outs of molding, going over the different materials as well as procedures. In this lab, we used a pre-made mold and used FoamIT3 to create a squishy W shape. After stirring Part A and Part B thoroughly, measuring out a few grams each, and combining then, we quickly pouted the mixture into the silicone mold. After doing this, the mixture began to expand and soon grew to 15x its size. We held a piece of acrylic with a hole in it over the mold so that as the foam expanded, it would squeeze out of the hole and fill the mold completely. From the picture, you can see if came out pretty well, and we were pretty proud of our first go at it.
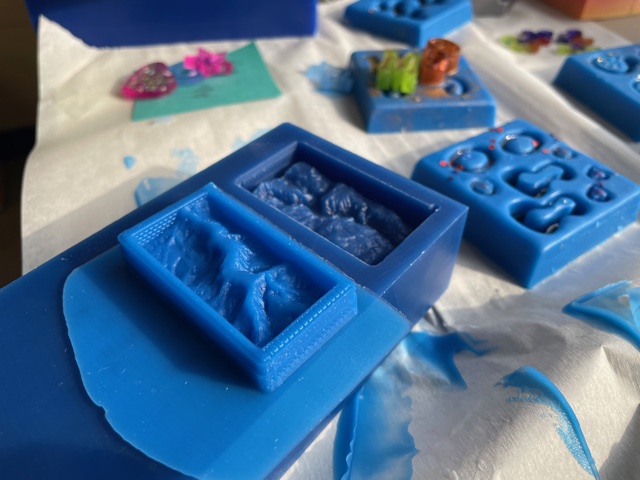
For the individual assignment this week, we needed to create a 3D counter-mold from machinable wax, make a mold of said counter-mold, and then use that mold to create an object. For this project, I decided to create a small replica of Yosemite National Park. My girlfriend is a Biology major and we are planning to visit a number of national parks, and her favorite is Yosemite. I decided to create a mold of Yosemite to then later cast in Copper Powder.
I found a stl file of Yosemite and imported it into Fusion as a mesh. I then started the very tedious task of working with meshes within Fusion, since Fusion360 does not recognize meshes the same way that it does standard 3D bodies. To combat this, I created multiple cubes to mark out the tops of mountaints, cutting regions, and the valleys, so that I could reference these points within the Manufacturing tab of Fusion.
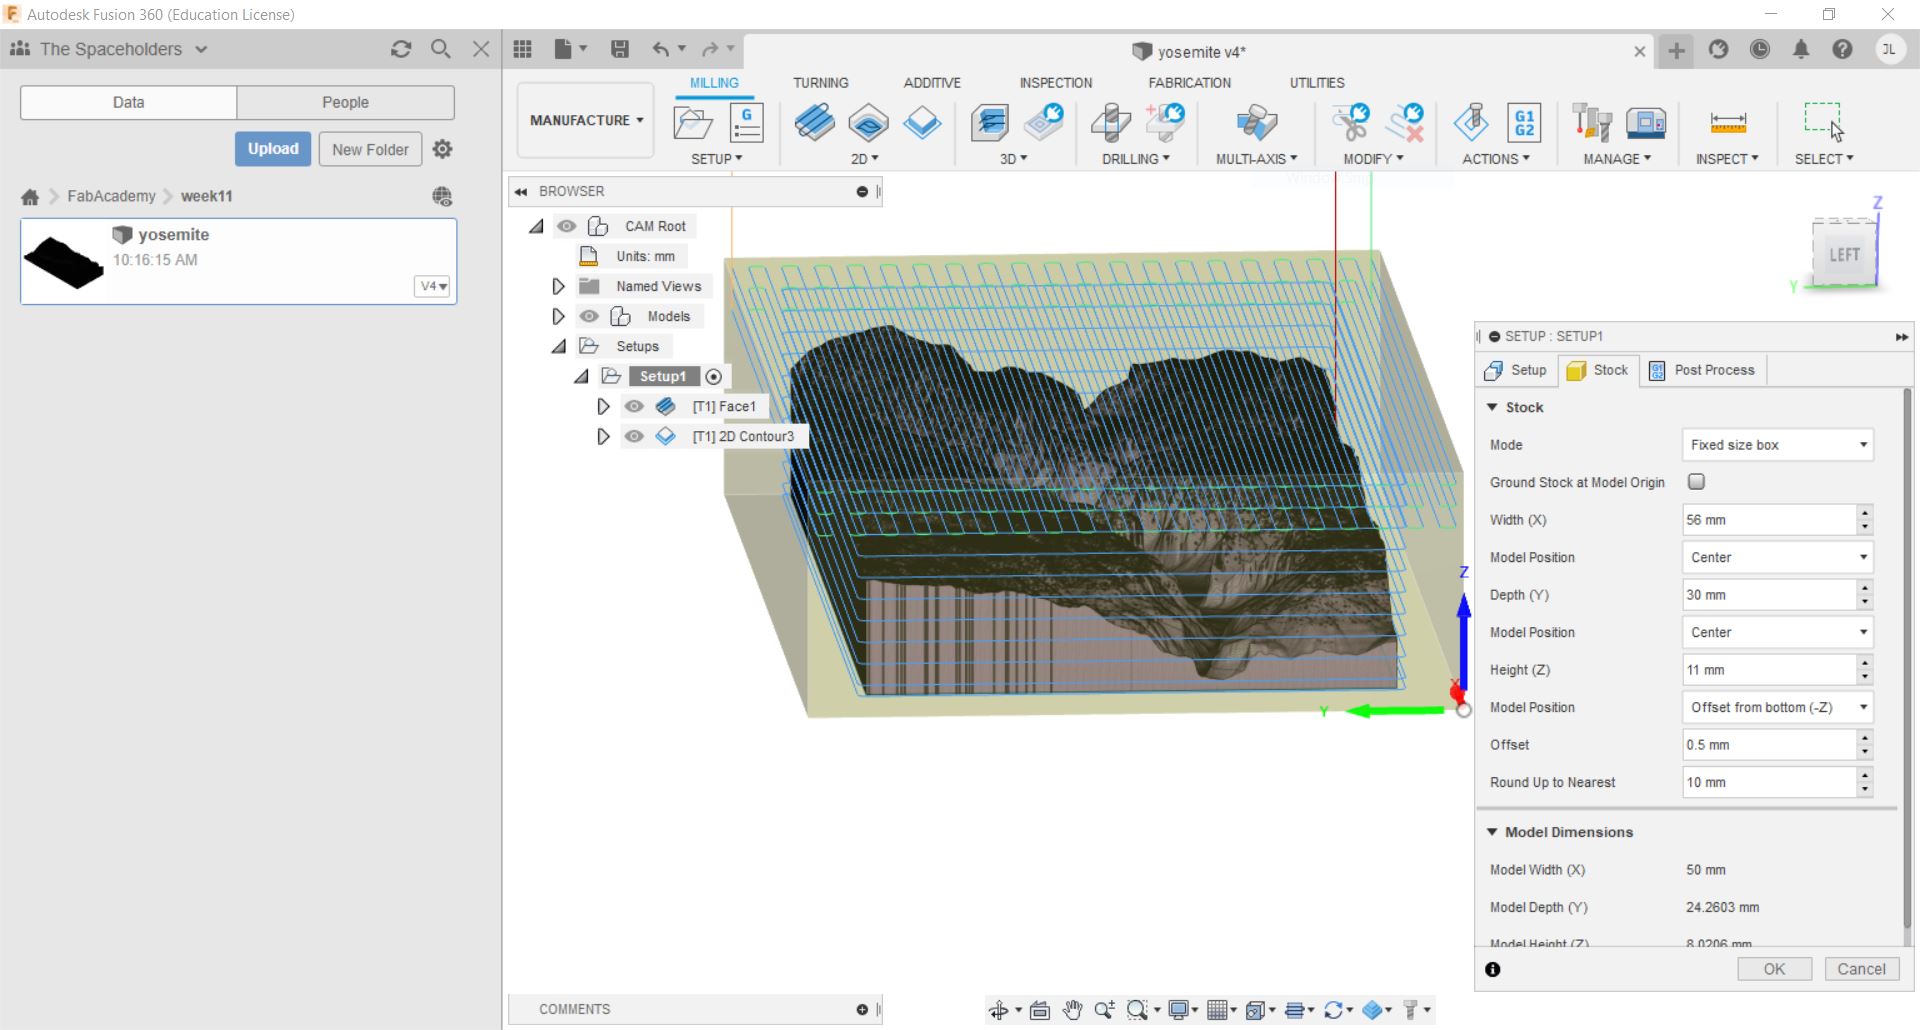
The most of my time this week was spent getting the mesh working in Fusion and setting up the Manufacturing processes for the mesh. In order to accomplish this, I created first a Face Cut in order to trim the top face of the material down to slightly above the highest mountain. I performed this cut with a 1/32" flat end mill bit and the Roland SRM-20 Machine. The next cut was a face cut that was cutting a border around the design and would make it so that the mold worked properly when the liquid was poured into the counter-mold, which was performed with a 1/32" flat end mill as well. The next cut was an adaptive cut that was doing a rough outline of the design, which was done with a 1.22 mm flat end mill. The last cut was a parallel cut
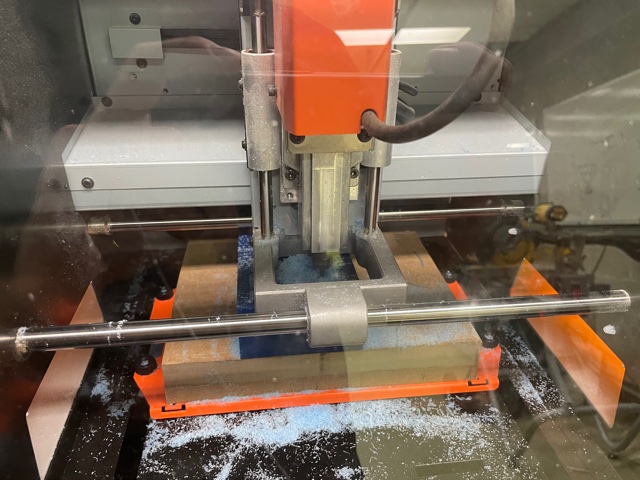
I am incredibly impressed with how well the cutting went this week on the Roland, and I am starting to like this machine more after this week. The cuts performed nearly perfectly (there was some left over material from the face cuts, but was easily rubbed off with no damage to the wax or design), which was very new for me.
Look how well this came out! When the adaptive cut was happening I was worried since it looked very brutal, however I am incredibly pleased with how it turned out. After the cut finished, I collected the wax in a bucket, in honor of Earth Day, so that we can melt back down the wax and make a new wax block for the lab.
The next step of the process was to make a mold of the design, and to do this I used Mold Star 30, which was a fun product that required a lot of focus and reading. REMEMBER TO WEAR PROTECTIVE EQUIPMENT, I.E. GLOVES! I started by stirring and pouring out 15 grams of PartA and PartB into dixie cups, choosing to measure them by weight rather than volume due to our lack of volume-based measuring tools. I then mixed both and stirred rapidly for a few minutes in order to remove any streaks within the material. After guaranteeing it was stirred enough, I poured it into the counter mold.

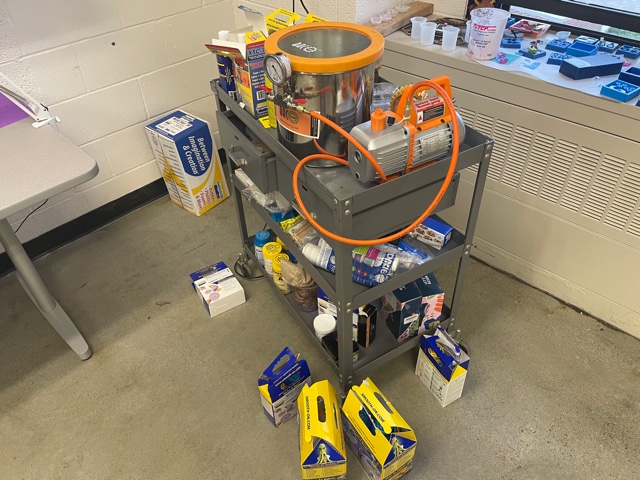
The next step was to use the vacuum chamber to get rid of any bubbles within the mold. To do this, I put the design in, secured the lid and turned on the air compressor, after about 30 seconds (the red meter got to around .80) I turned off the air compressor and turned the left valve to release pressure and "break" the vacuum.
Afterwards, I left out the design to cure overnight :)
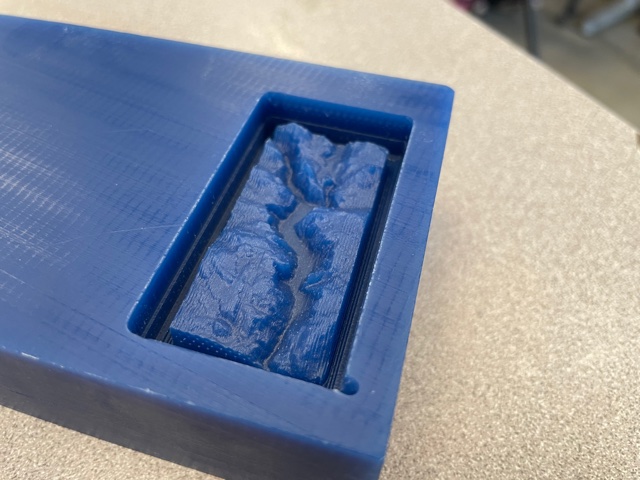
In the morning, I came back and carefully removed the mold by lifting up vertically from the tabs that were created from over-flow. IT LOOKS SO GOOD! (This is not pride or vanity, it is unexpected satisfactory work, please take it as such)
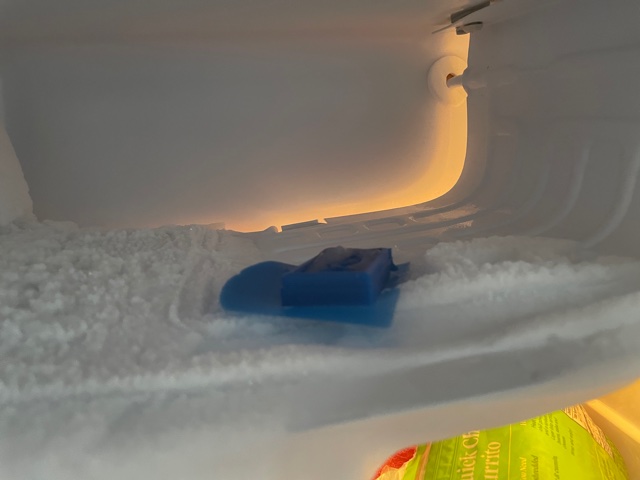
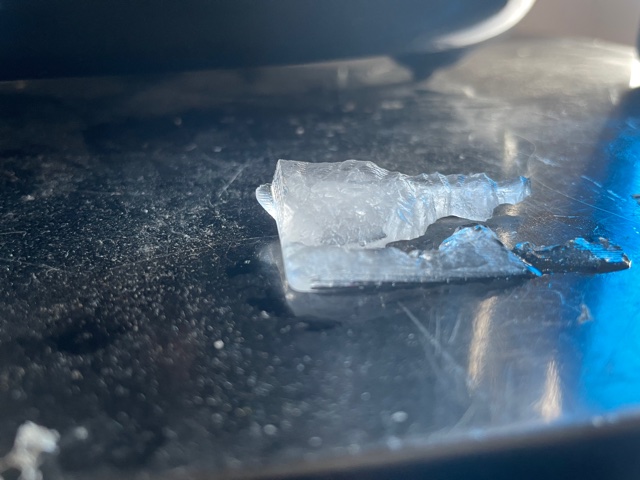
The mold turned out beautifully and all that was left to fill the mold with the desired material. I decided to lean further into the environmental aspect and get a little edgy, and chose to cast my mold in water/ice. I filled up my Brita filter and poured it into the mold, and placed it into a freezer to set. After a day, I checked in on it, and it looked surprisingly good.
Although the ice began to melt a little before I was able to get my camera ready, I was surprised at the definition at the peaks of the mountains, and the clear elevation differences.