Jacob Libby
Week 13
Network and Communications
A week dedicated to learning about networks and implementing cross-board communication
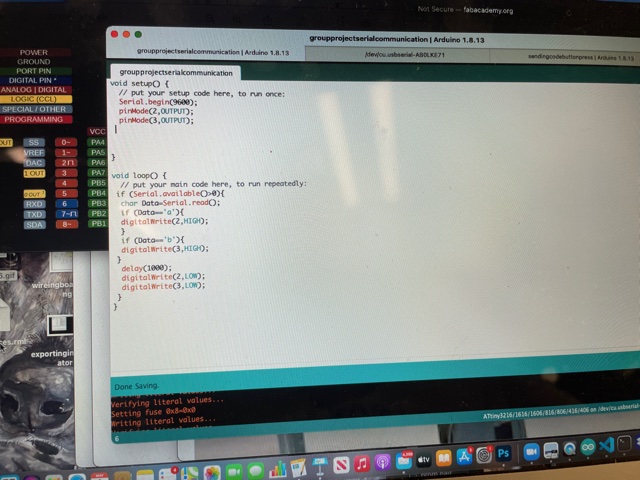
We began this week with the group project of developing a way to communicate between two boards with ATtiny1616s using an FTDI connection. Up to this point, we had only communicated with boards via on-board inputs (buttons, photoresistors, switches, etc) or with a laptop via the Serial Monitor. Being able to communicate between boards was super cool to see! We decided to code up a testing code to make sure that we were able to connect the boards properly and then went from there
The two boards we were using had LEDs and one had two buttons, so our code made it so that when Button 1 was pressed on Board A, LED 1 would light up on Board B, and if Button 2 was pressed on Board A, LED 2 would light up on Board B.
After playing around with this for a while, we began to feel comfortable with sending communications over Serial from one board to another, so we made a reaction testing game. Pressing a button would start a timer and after 5 seconds, the green led on Board A would go off, signaling that the users could now try to click their button first. Whoever clicked it first had their corresponding LED on Board B turn on. This was super fun to do, and honestly a lot simpler than I was expecting, however I know that communication over FTDI will be simpler than over radio, bluetooth, wifi, etc.
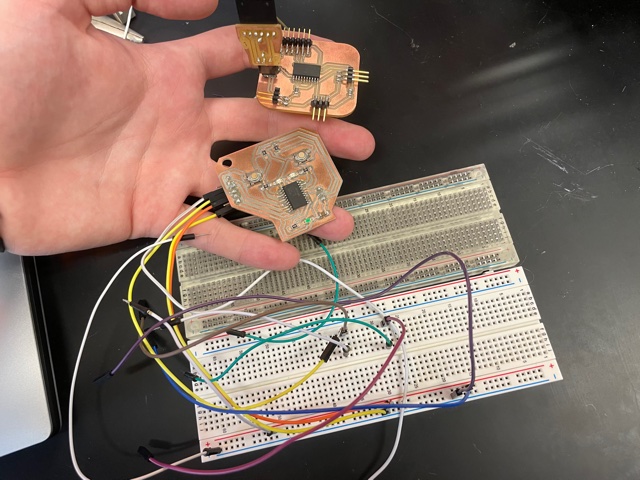
For the individual assignment, I had the idea to perform a Monster In The Middle Attack with two of my boards and my laptop. The general flow was going to be that my computer would attempt to send a message over serial to Board A. While this serial was in transit, Board B would intercept the message and change it, sending out a new message for Board A to receive, and vice versus. I had written the code and set up everything with breadboards, however I was told by our TA that this would not be possible, given the high and low voltage that would be going the circuit at the same time. I then moved on from the idea, but put the code below.
My new idea was to create a game where a user could store a password on Board B and try to guess the password with Board A. As buttons were pressed on Board A, LEDs would light up on Board A if they were correct. If an incorrect button press was sent to Board B, board would send back a signal indicating that the password was wrong, and that they needed to start over.

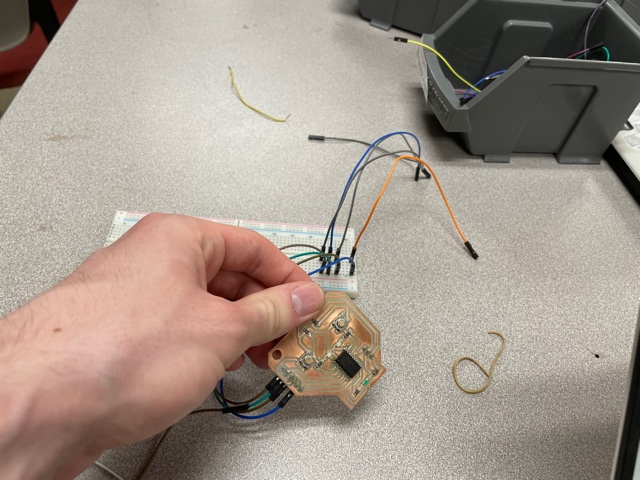
I had finished the code for this project and had gotten it working with breadboards and just needed to adjust a small area of the code where it would read both button presses and releases, but at that point, a UPDI initialization error popped up. I tried to debug this error for hours and did not find any solutions. I knew that soldering on a new ATTiny1616 had worked in the past, but the lab was clean out of them, so I polished up my code, knowing that it would work with the chips if we are able to order new ones to solder onto the board.
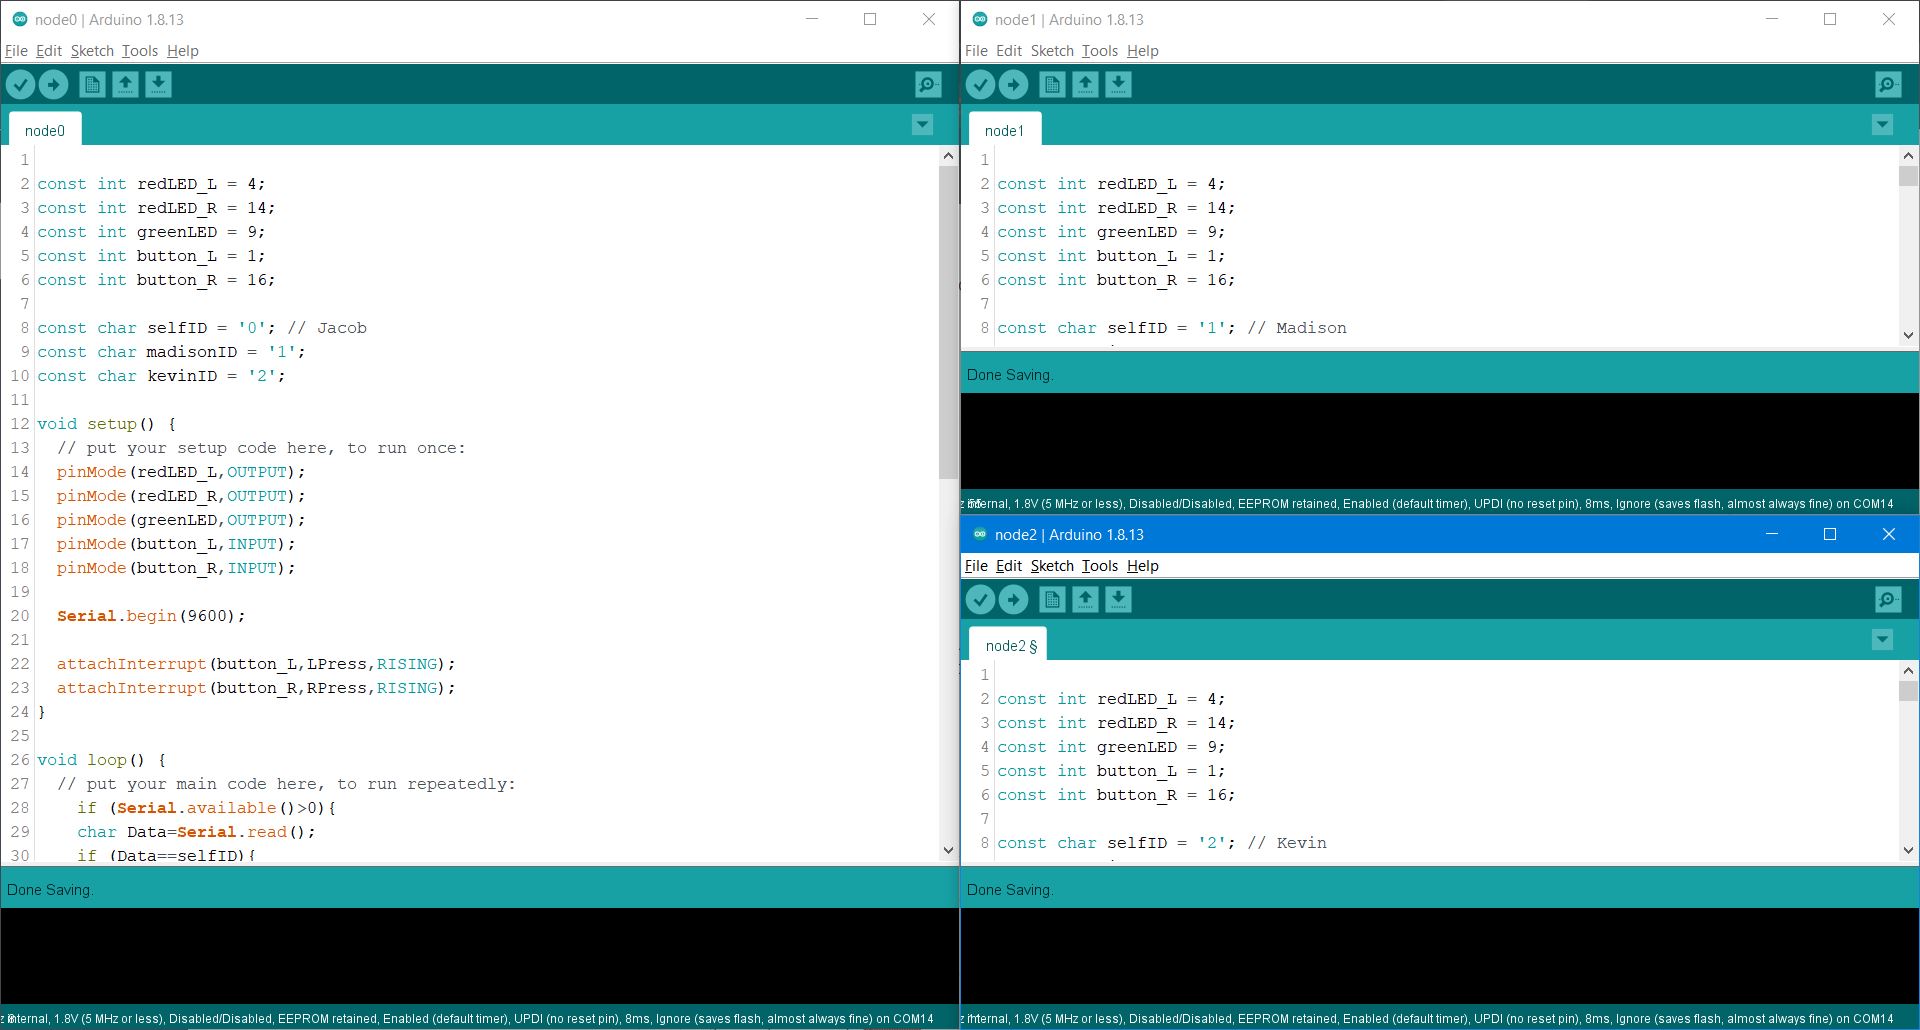
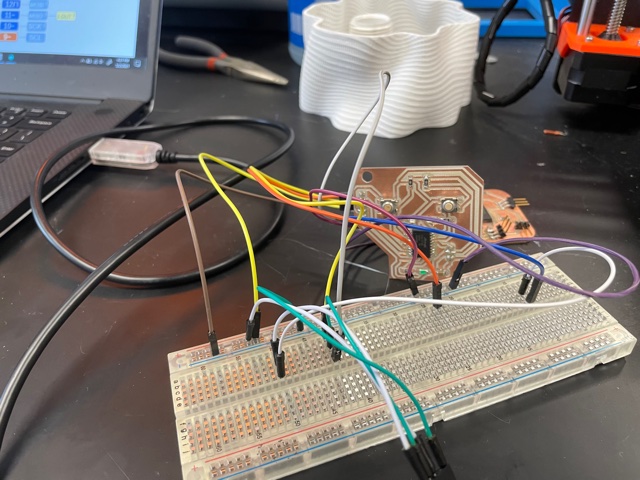
After talking with my gloabal evaluator, I was told that I needed to create a code that would allow multiple nodes to send a message over a network with two chars, one noting the recipient of the message and the other noting the sender. To accomplish this, I wrote a new code that allowed for 3 nodes "Jacob", "Madison", and "Kevin", which all had a unique id (either '0', '1', or '2'). Depending on which button was pressed on the board, a message would be sent to the corresponding node, signified by the lighting up of the green led. When receiving a message, a red LED will flash, depending on which user has sent the message. For example, if I (Jacob) want to send a message to Madison, I will press the left button on my device which will light up the green led on my device. On Madison's device, the red LED will light up, showing that I sent her a message.
Group Arduino Test Code
Group Arduino Quick Draw Game (Board A)
Group Arduino Quick Draw Game (Board B)
Monster In The Middle Arduino Code (Board A)
Monster In The Middle Arduino Code (Board B)
Password Guessing Arduino Code (Board A)
Password Guessing Arduino Code (Board B)
Node 0 Code (Jacob)
Node 1 Code (Madison)
Node 2 Code (Kevin)