Jacob Libby
Week 15
Wildcard Week
A week dedicated to learning about Digital Embroidery and its process of fabrication
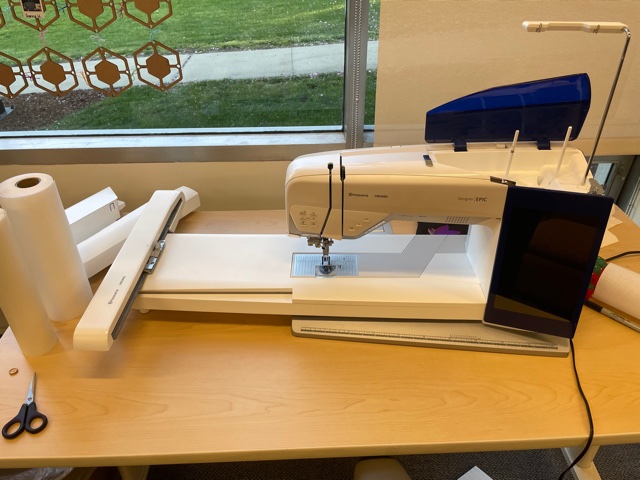
This week, I started by trying to figure out a new and exciting way to fabricate with the tools available to me at Wheaton. For this, I decided to work with the Hasqvarna Digital Embroidery machine we have in our FiberLab.
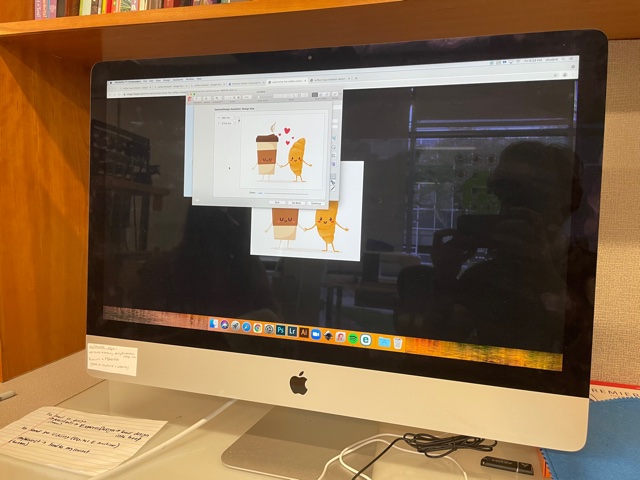
I started by creating the design in Illustrator. I looked online for an image and came across a cute cartoon of a croissant and a coffee cup on FreePik. I then created an svg of it by making and expanding an image trace. I then deleted some elements I wanted to remove (which would confuse the digital embroidery software) and spent some time double checking the design for thin spots or colors that were too close together. I ended up making the image trace with the 6 color option, to both limit the color differences and ensure that the software would recognize all shapes in the design (I planned to switch the thread mid-emboroider so that I can still have the number of colors I want). I then opened the design in our digital embroidery software: Premier+.
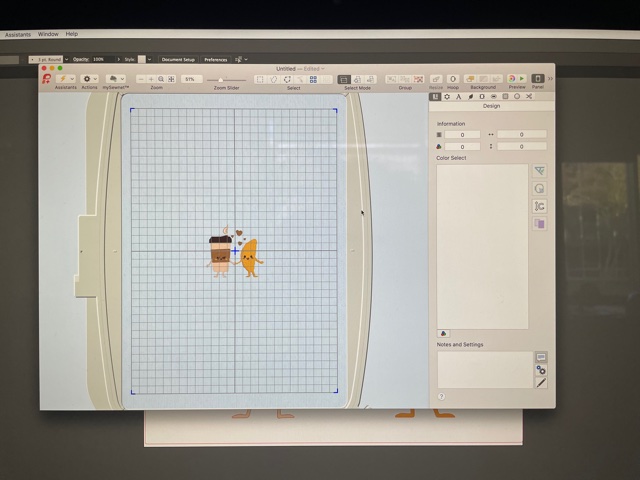
It took a while of going back and forth with numbers of thread and editing the design in Illustrator. This software was definitely the most difficult part of the week, with a pretty large learning curve, but I was proud when I was able to set up the design properly. I decided to make the croissant and coffee holder the same color in a later step.
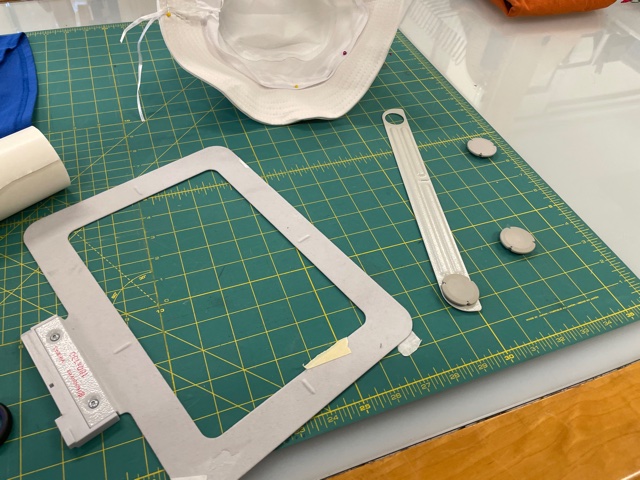
The next step was to set up the hoop and get the material ready. I decided to use a hat for this design, and thus had a couple of extra steps.

I attached the sticky contact paper and pinned down the sweat strap and tightening straps of the hat to ensure that it would not get in the way of the embroidering process. I then secured the hat to the loop with the metal bar and magnetic pads, taping the hat down to make sure that the movement of the gantry beneath the embroidery head would not drag on the hat and ruin the embroidering.
After the first little bit, I noticed that the machine was not operating properly, where the thread was very loose and much of the section of the design was not completed. To fix this, I tried switching the thread to a less shiny thread, which worked!
This new thread worked great, and I was impressed by the speed and precision of the machine.
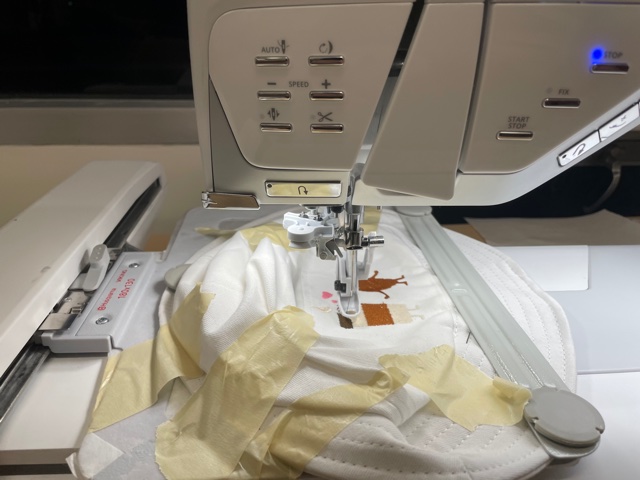
The machine continued to work, and I ended up switching some thread color mid-job by pausing the machine, changing the bobbin and thread, and resuming the job.
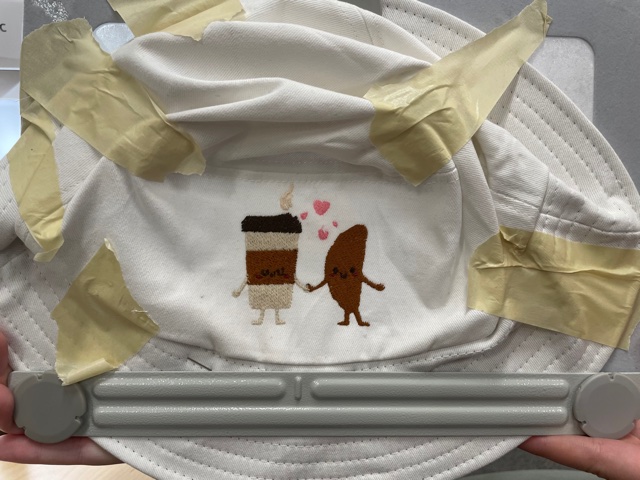
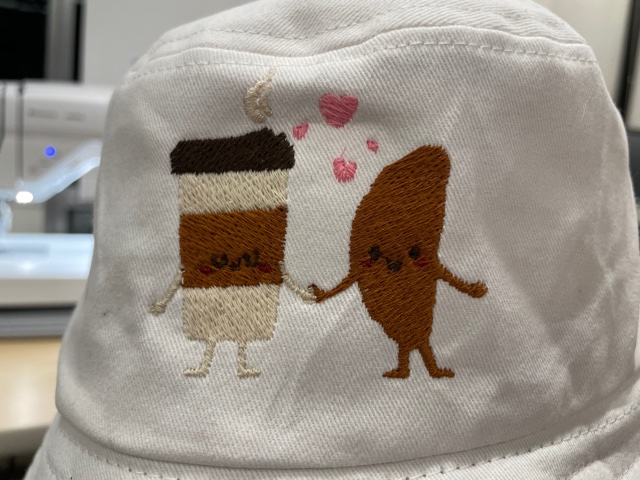
The embroidery was completely done and it looked amazing!
I was so happy with out it came out, and gave it to my girlfriend as a gift.