The first thing I checked out this week was my labs vinyl cutter. We split into our respective lab groups in which we needed to test the parameters of our laser cutter and create a logo on our vinyl cutter.
 Creating the png file for cutting
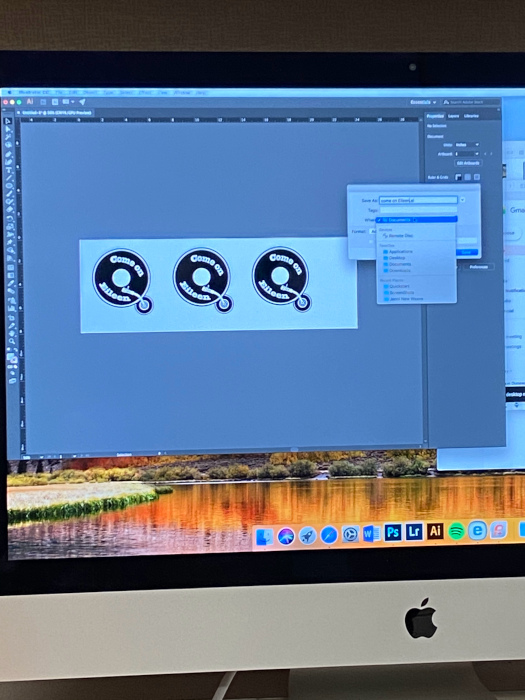
First we opened up adobe illustrator in order to create a png of our design. My groups name happens to be "Come on Eileen", so I wanted to create a nice symbol to place on my notebook.
 Speed and force for the cut
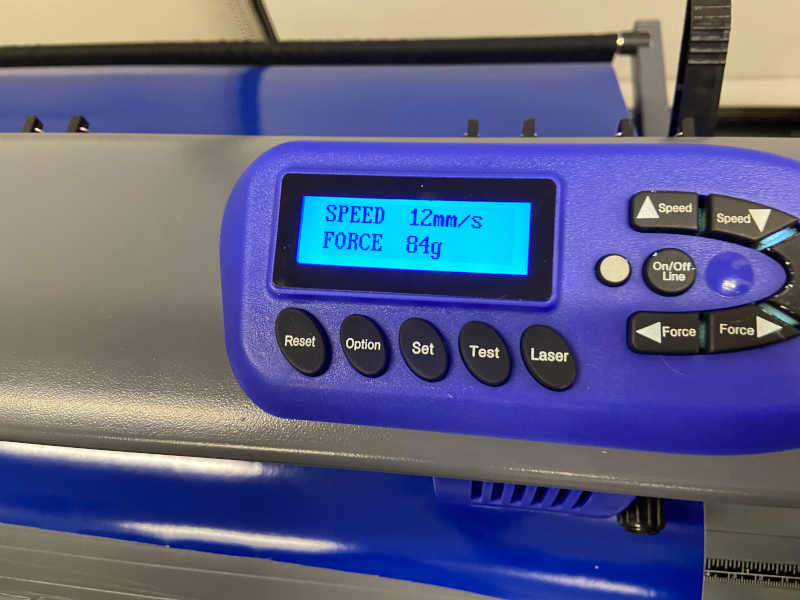
Looking at the the screen on the laser cutter we can first see that we have settings for the speed and the force (force is in grams for some reason). In our lab the settings we want are:
We set the speed to 12mm/s as our design was a little intricate so we didnt want it to fo too fast.
The arrows allow the vinyl to move up and down, and the cutter head to move right to left. This will be very important for creating a starting point for cutting.
 Sure cuts a lot application, can place file in top left or bottom right
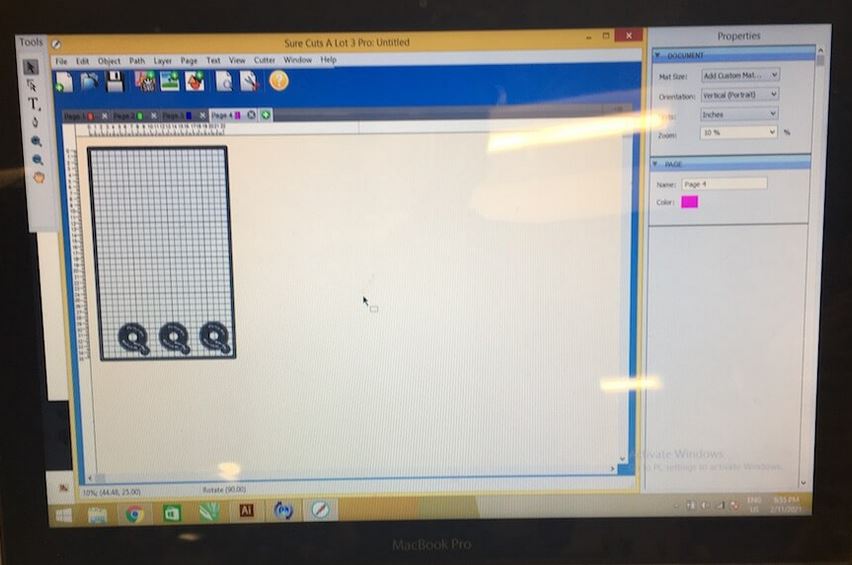
We need to open our png file into a program called "Sure Cuts a Lot." This is a proprietary program that is only downloaded on a single old computer in our lab. The box is visualization of our vinyl where our blase is at the bottom right. We can click and drag our image to be in a good starting position.
Once we are ready we can start our cutting. above is a video of the vinyl cutter in action.
Once our cut is done, we need to cut away what we need using the groove that is built into the vinyl cutter itself. Video of the process is above.
 Vinyl placed on notebook
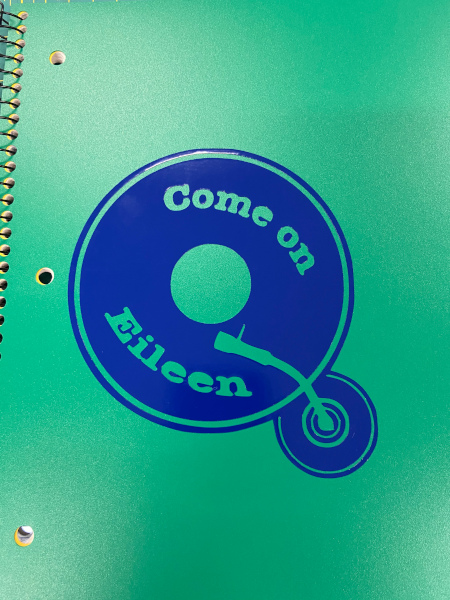
Above is our finished product, all we needed to do was apply it to the back of some tape, and then onto the surface we would like it to be applied to.
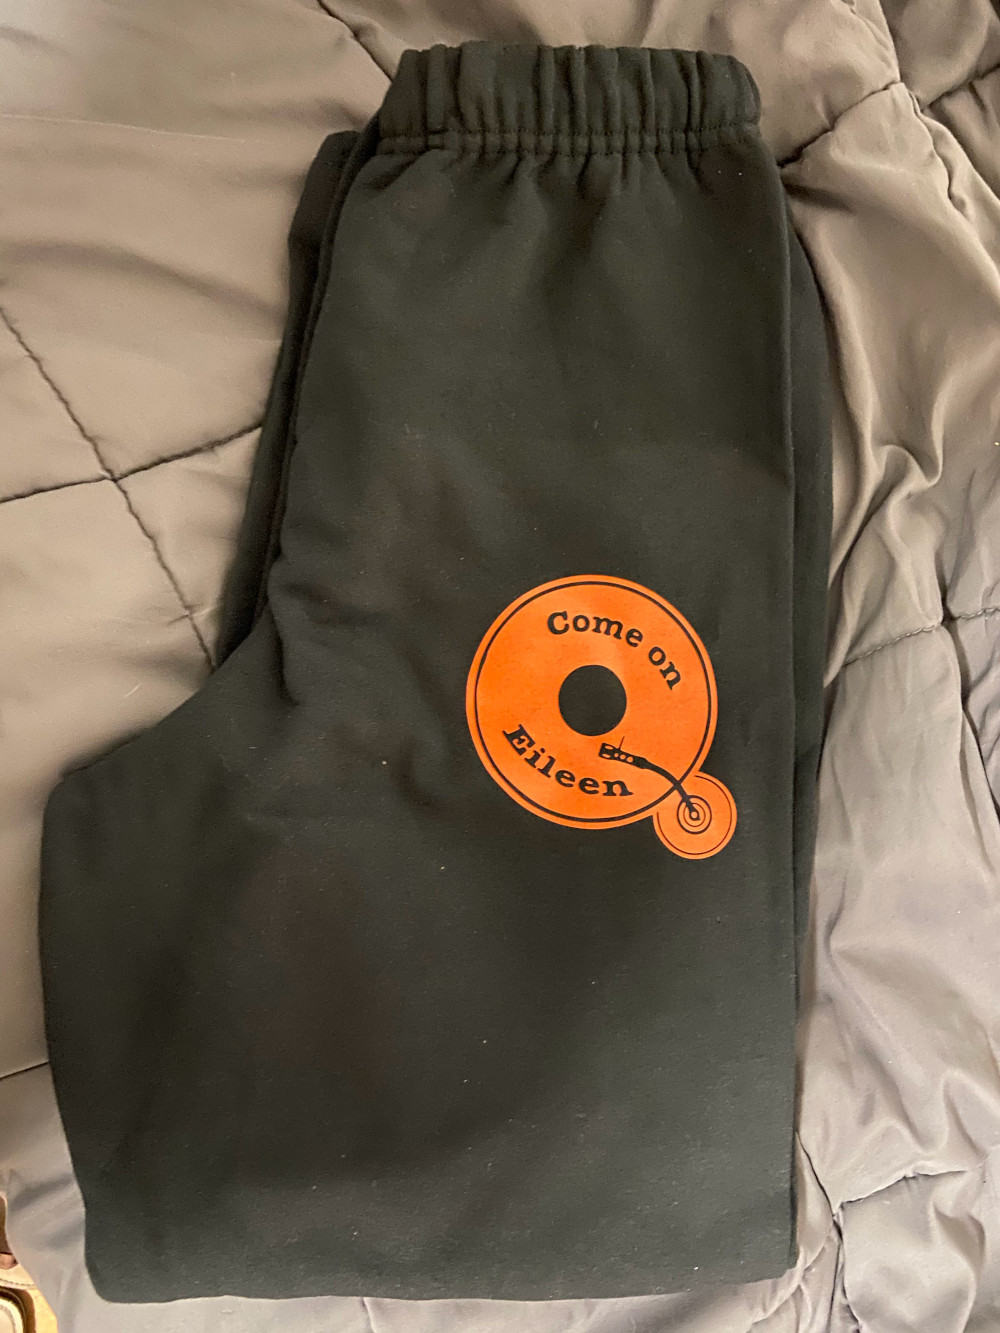 Apparel vinyl placed on sweat pants
I went back later and applied new vinyl on a pair of sweat pants.
The laser cutter in the Wheaton Fab Lab is an Epilog laser and that is the machine my lab group conducted our tests for kirf, focus, power, rate, clearence, and speed.
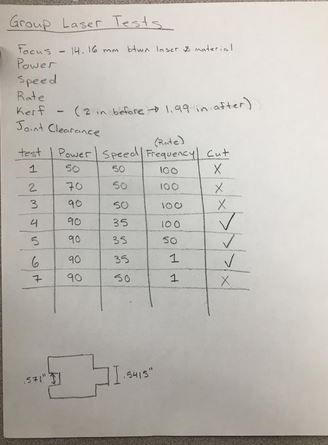 Data collected from laser cut test
Above you can see that we cut the same piece multiple times while changing many of the varibles to get different results. Our best results when cutting ended up being when we had power at 90, speed at 35, and frequency at 100. One thing to note is that we tried to cut our cardboard at a frequency of 1, but it didnt end up changing anything at all. Our professor didn't know exactly if this was our machines doing, but he did tell us that we could never put it to a frequency where the cutter would make a dotted line. Our kirf ended being around .1in, which makes sense as Fusion 360's default kirf setting si around that number. Clearence was the same throughout the test as we have a tool that lets us focus the laser,
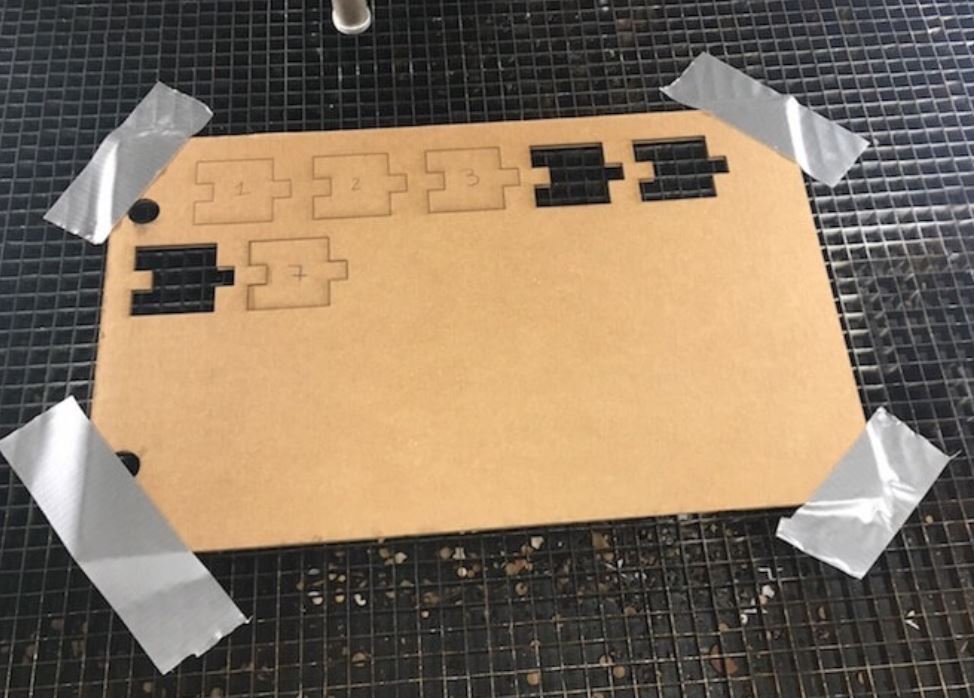 Laser cut test
 creating my part
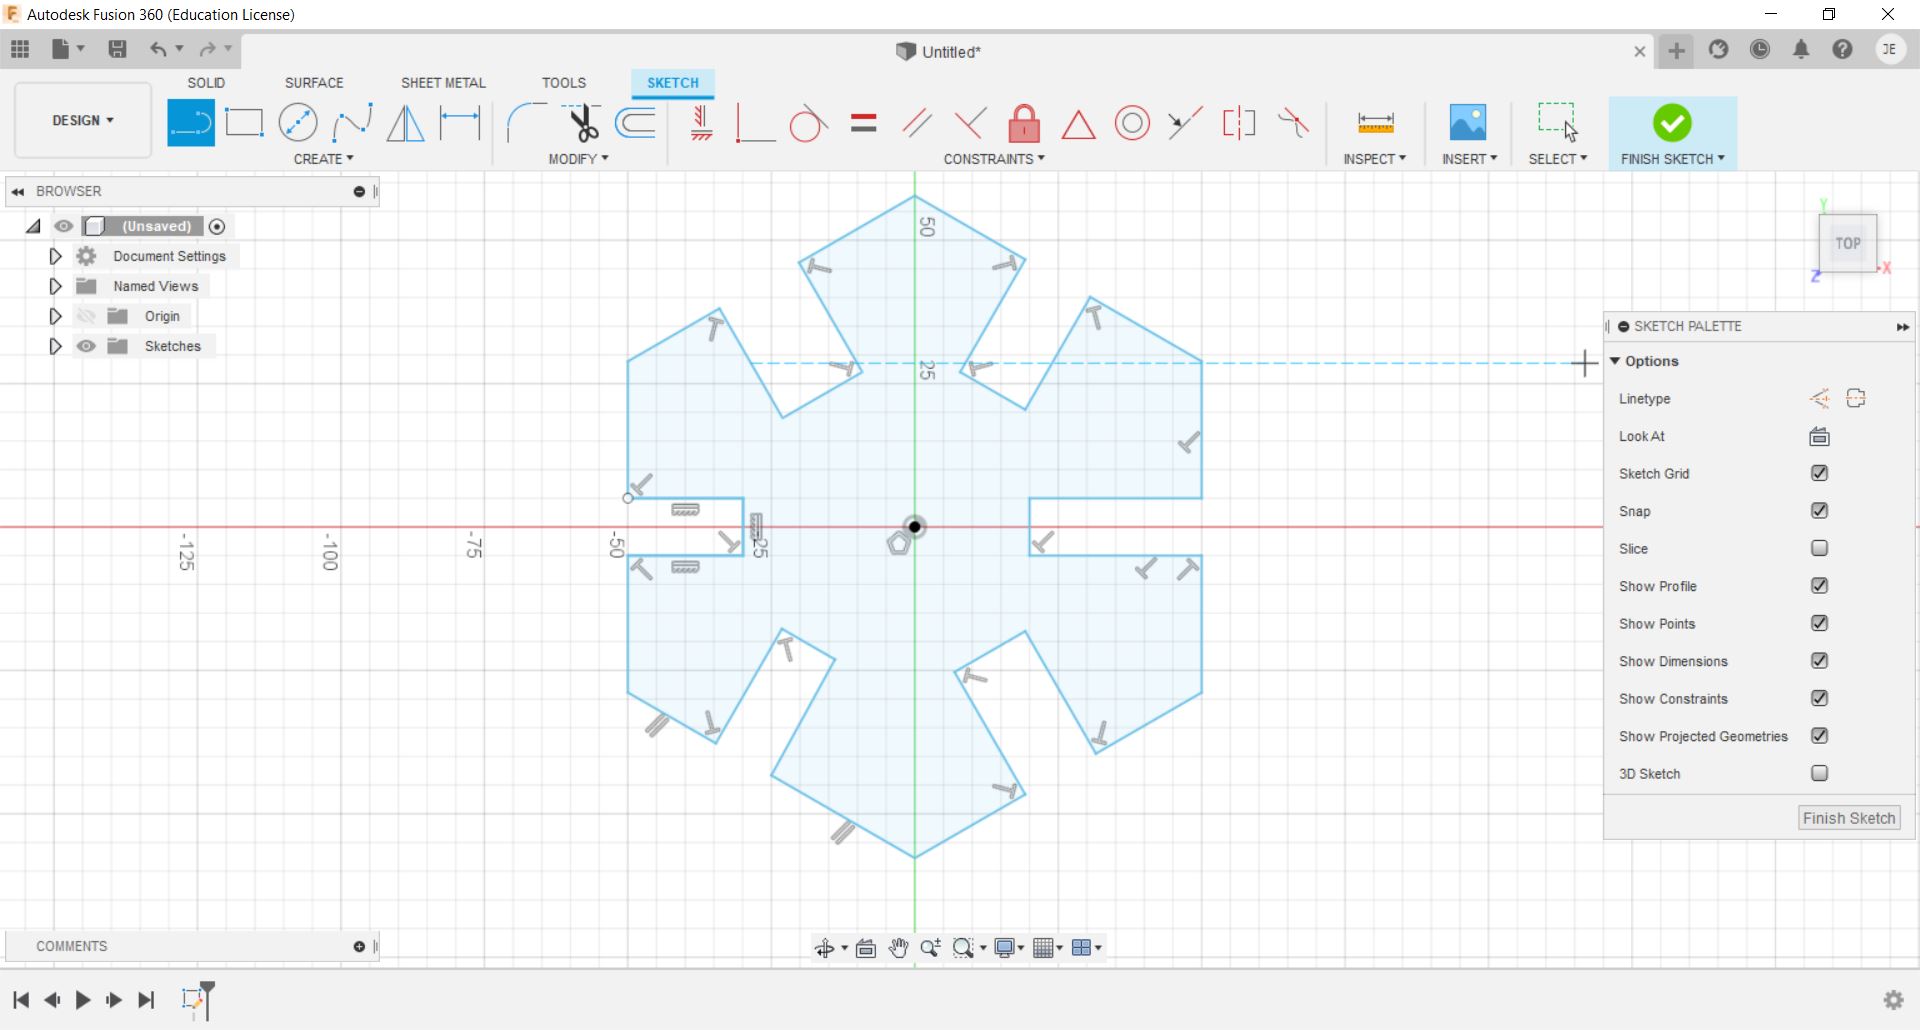
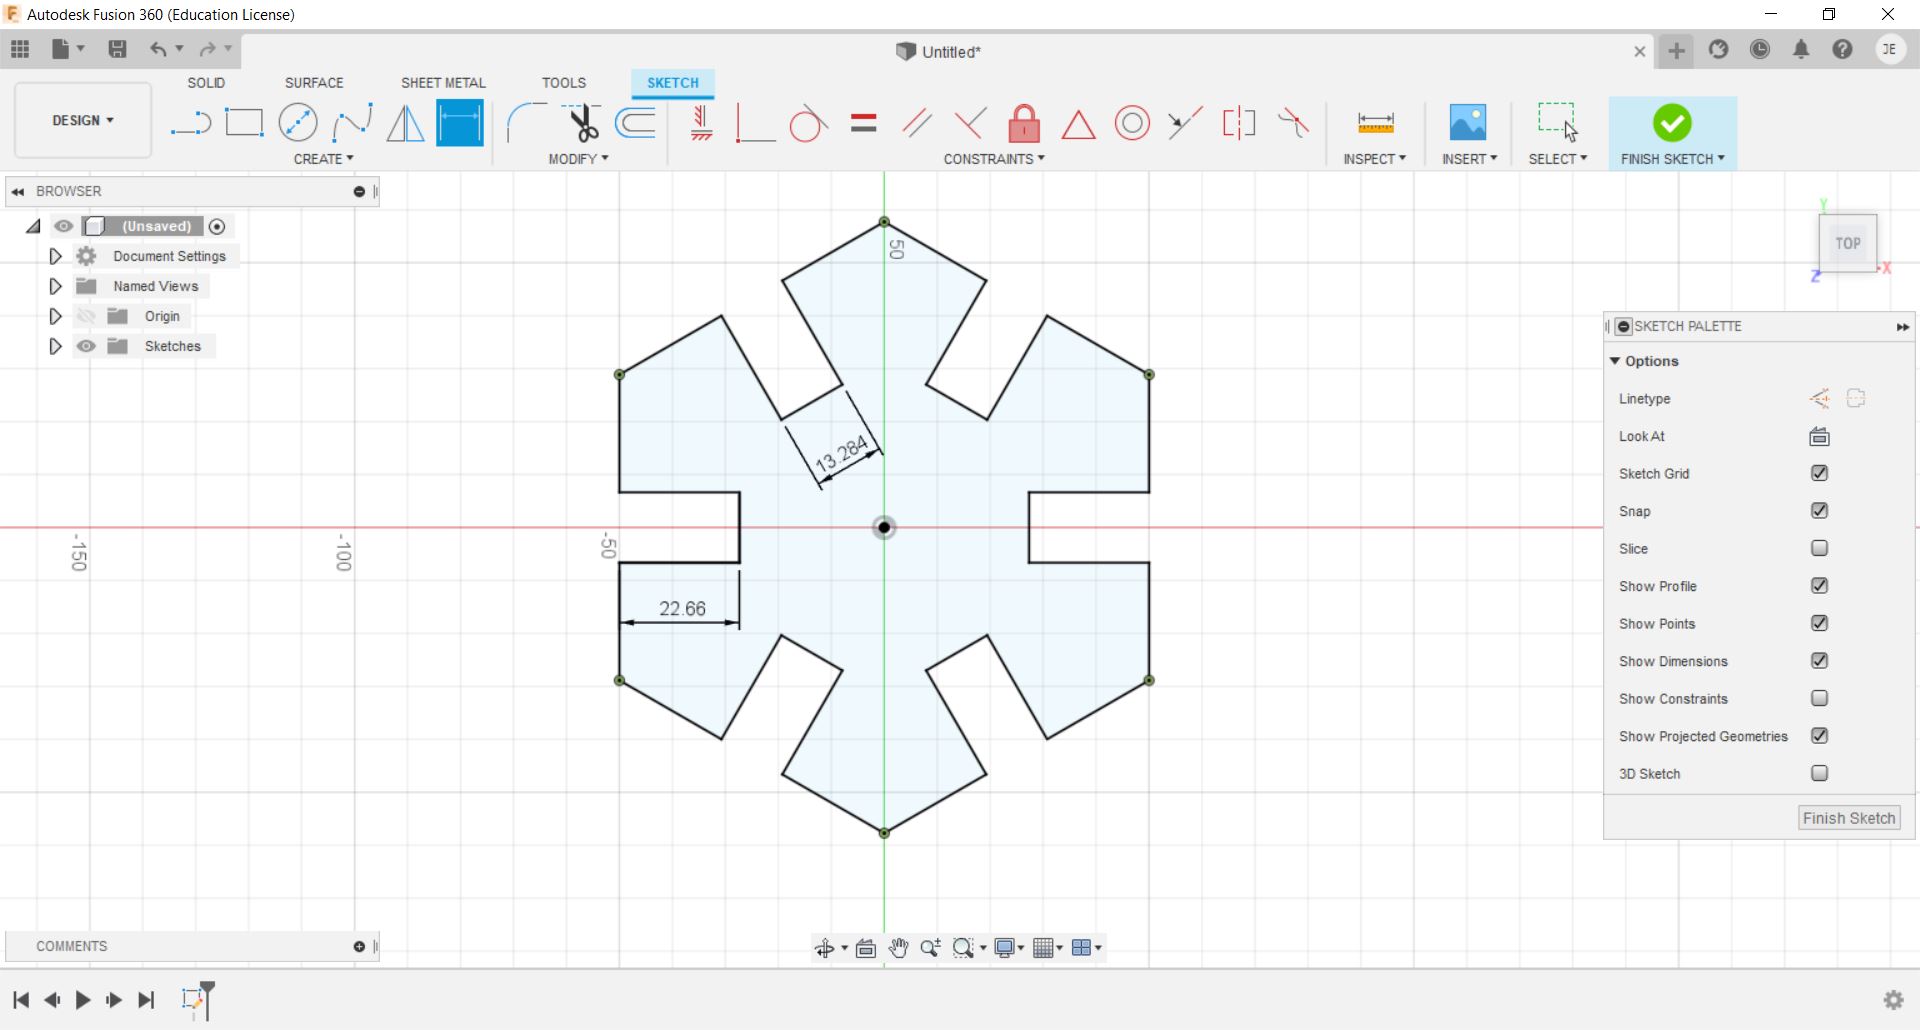
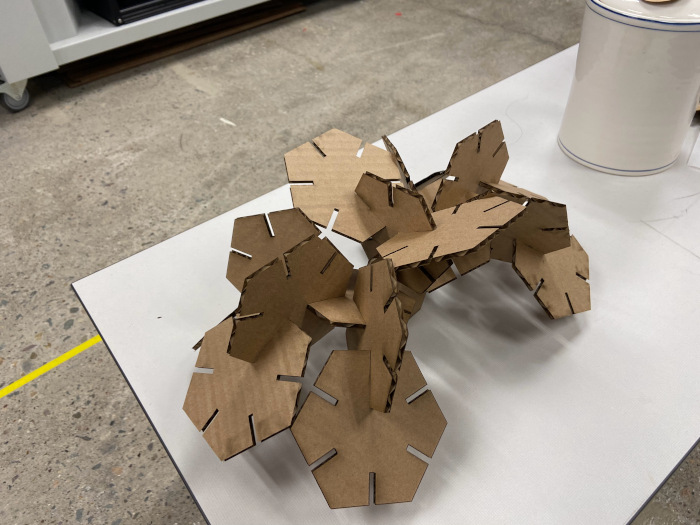
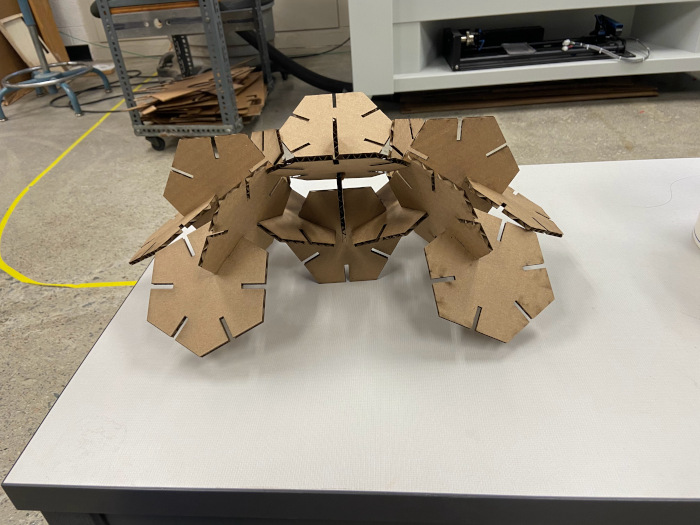
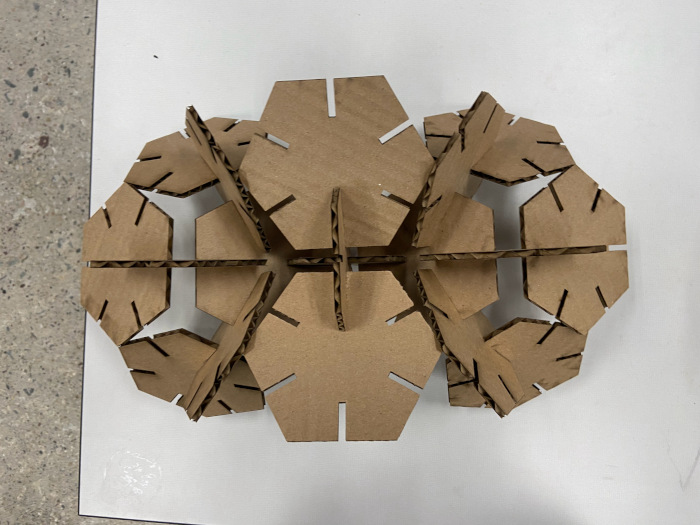
starting my construction kit, I wanted to make multiple hexagons that could be connected in order to make interesting shapes.
 added constraints to my part
Above I worked on making constraints so that I could make parameter to shape my part easily.
 my parameters
Above are the parameters I made, they are the width of the joints, the depth of my joints, and the width of my part itself. Setting these parameters will alow me to easily go back and test different sizes if I need to.
 Parameters applied to my part
Above we can see that the parameters have been inserted into my design.
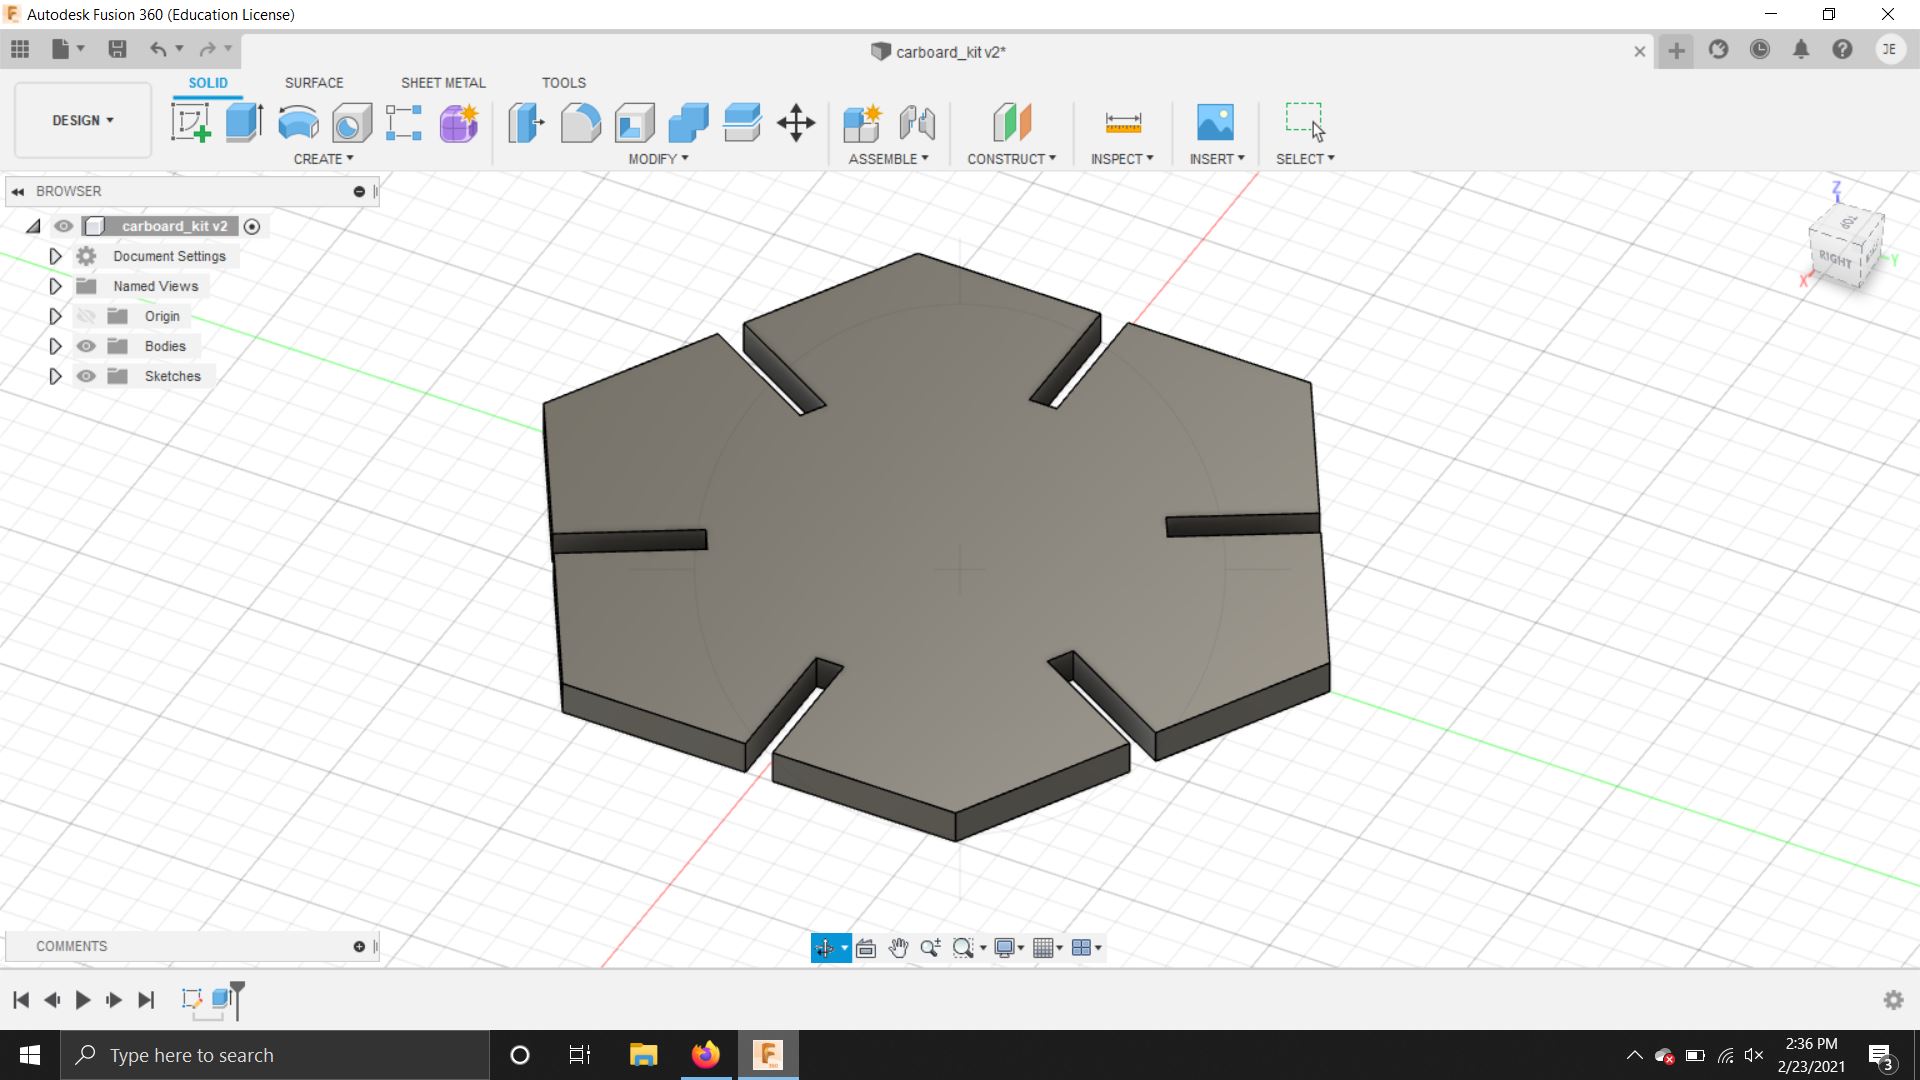 Part has been extruded 4.8cm
 Fusion 360 manufacturing bar
Here I want to go from design to manufacturing and use the fabrication tool. Once there, I want to click on the cutting tool.
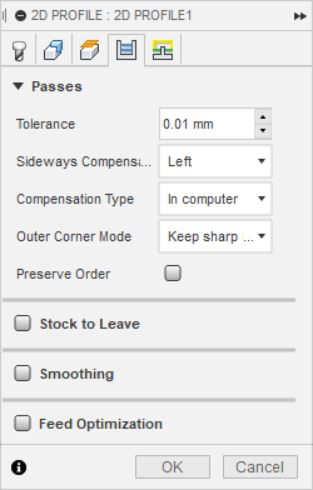 Cutting menu
Here I set sideways compensation to left, compensation type to in computer, and outer corner mode to keep sharp.
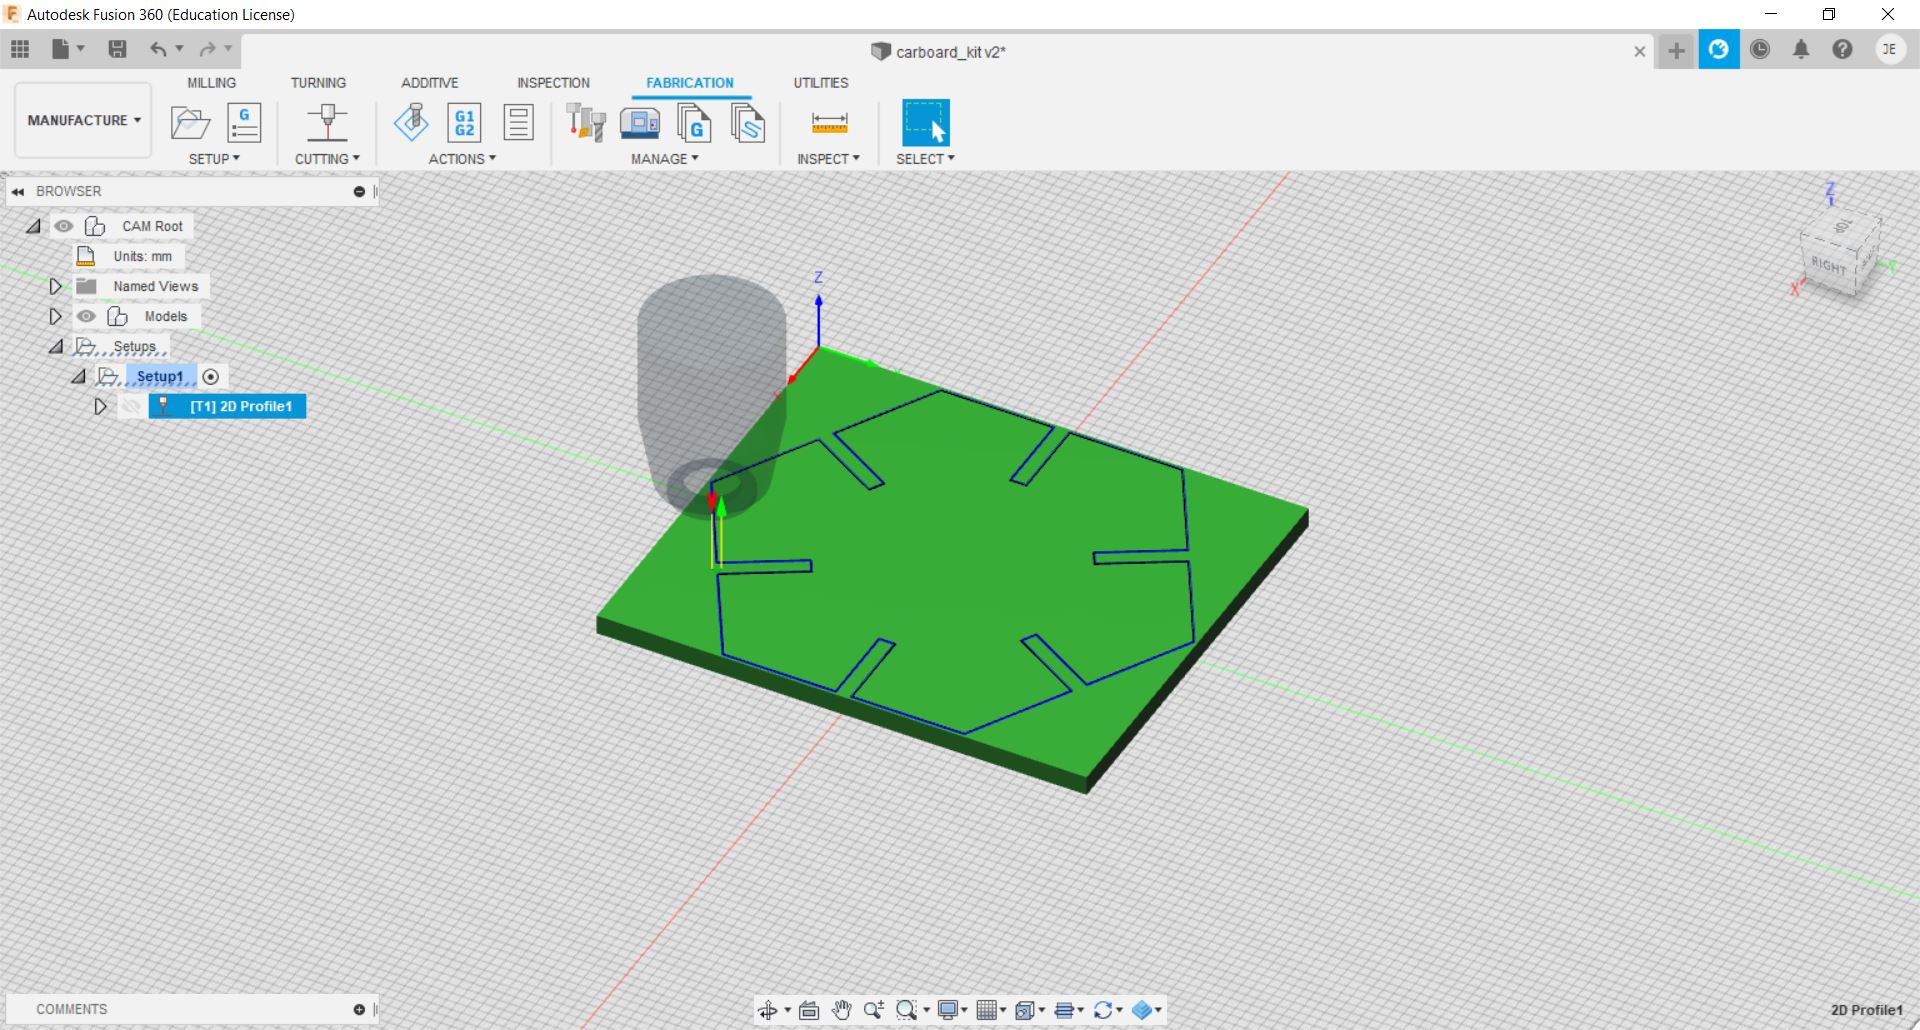 Cutting applied to my part
above is the result. We have a physical representation of what our cut will look like.
We want to save our model now as an svg file. We should make sure we select our correct machine, in this case an epilog laser cutter. Also if we click where it says "embedded html" and change it to "no" we can then save our file as an svg file.
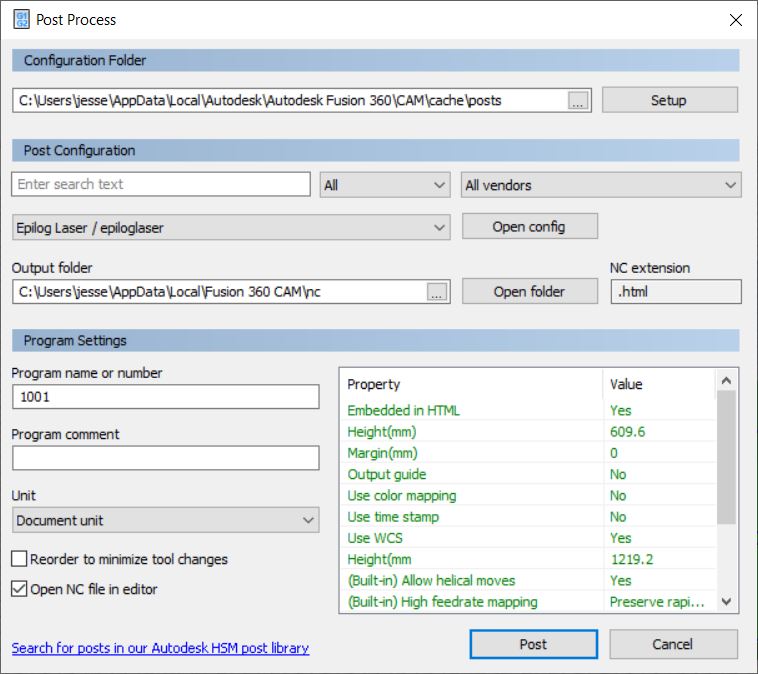 Saving as svg file
Now we open our svg file adobe illustrator and map out how many we want to print off or make any other edits.
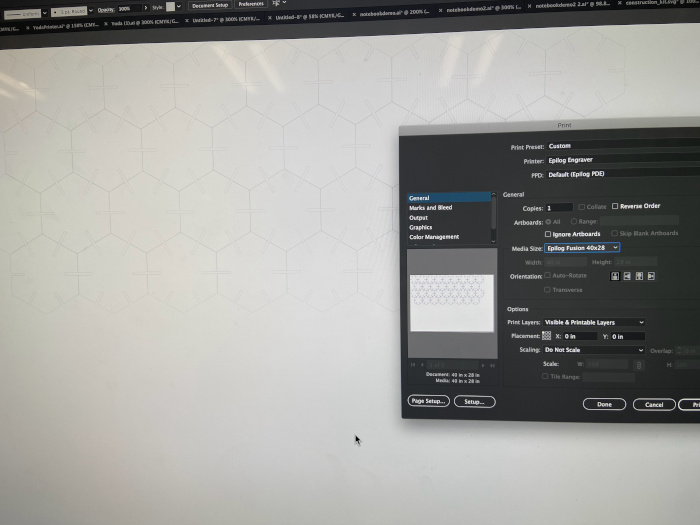 Opening in Adobe Illustrator
If we print from adobe illustrator we can send our file to an application for our laser succinctly called EpilogApp
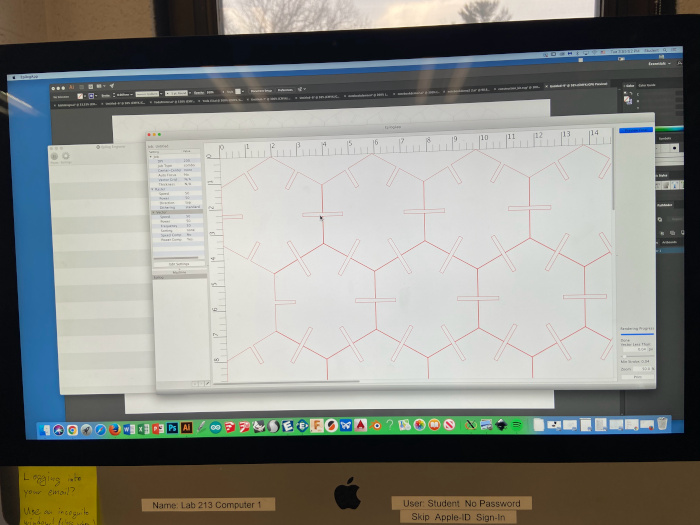 Openning in EpilogApp
For this cut I set my speed to 20, power to 60, and my frequency to 60. The ended up working perfectly and no fires were started.
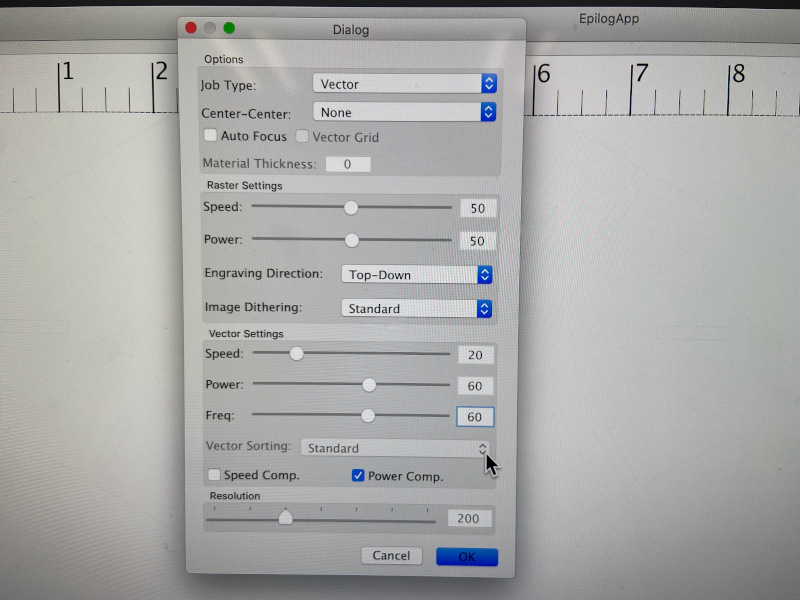 Changing settings before print
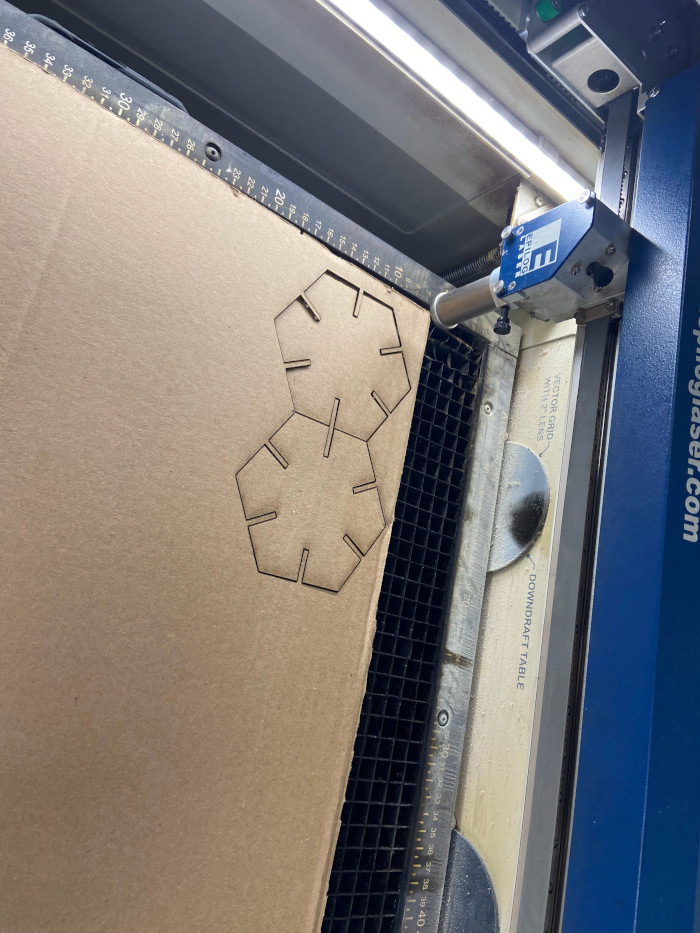 Cardboard was successfully cutten through
Below are some shots of my finished product.
SVG file for my construction kit construction_kit.svg
Vinyl Cutting:
Come on Eileen file come_on_eileen.ai
Come on Eileen file come_on_eileen.svg