Week
Twelve
Output Devices
Group Project
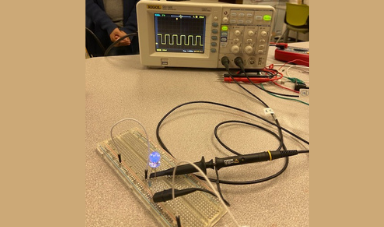
This week for our group project we looked at the power consumption of a motor. We saw that when you 6 volts through the motor it will function on about a watt. Then when resistance is added to the spinning part of the motot we saw that the power usage increased dramatically, up to nearly 9 watts. I would like to say that we viewed all of this with a voltmeter hooked up in circuit with the motor.
We also looked at the difference between digital write and analog write. We know that digital write only has values of HIGH and LOW. The board it's self only really has a value of HIGH and LOW, however it can mimic middling values by changing the frequency that the value oscillates. That mimicry is what happens with the analog write command. With the analog write command you enter a value between 0 and 255. 0 in this case being LOW and 255 being HIGH and any value in the middle is can be seen as a fraction of the maximum power. That way you can have an LED that doesn't light up as much! This whole system is known as PWM or pulse width modulation. Since it is in fact sending pulses of voltages at different widths to change the average value of voltage making it to whatever device, oh and the modulation comes from it modulating from off to on.
Individual Assignment
This week because we had to make an output device I set out to make something that could work with a piezo buzzer to make noise.
Design
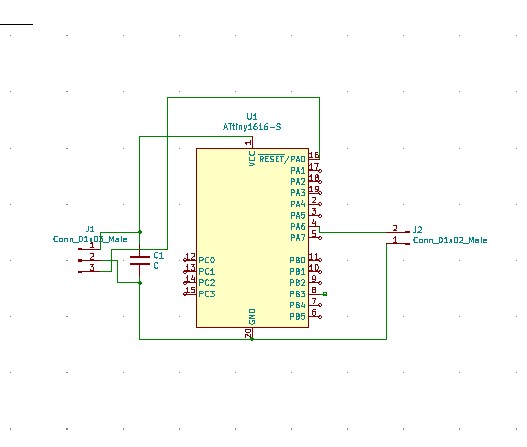
The design of this board was really simple because it just had a couple of parts to it. Since a piezo buzzer isn't a surface mounted part, and it just needs an input, and connection to ground, I just needed to have two headers. Along with the two headers I needed the three headers that we use to code and power the board. An ATTiny, in this instance I used a 1616 which is way more powerful then I needed for this project, but I struggled with getting other board to work in the past. I also needed to have the capacitor which is to make sure that the attiny is always powered.
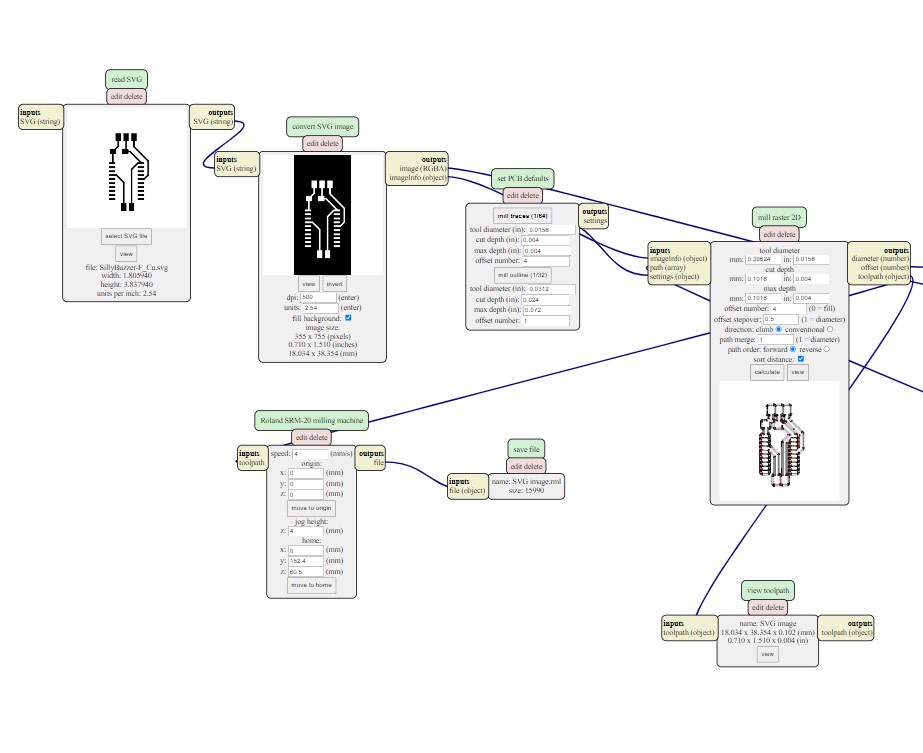
Cutting the Board
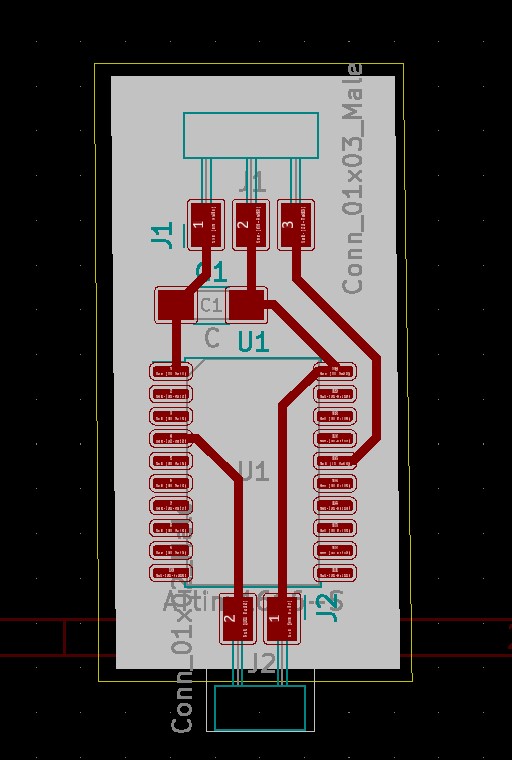
This part went very smoothly. I ran into a couple of problems with more of the board being cut out then should be. That meaning that my traces which I had set to be a half milimeter thick ended up being signifigantly smaller then that. This lead to problems where some of the traces would peel up, and I would need to cut the traces out again. I was able to manage this problem, by having the traces cut out at a very slow speed. I also needed to be very finicky with where the Z height is, if I set it completely on the ground like normal it would carve way too much. Nonetheless the board was small so it wasn't a big deal cutting out the traces a couple of times.
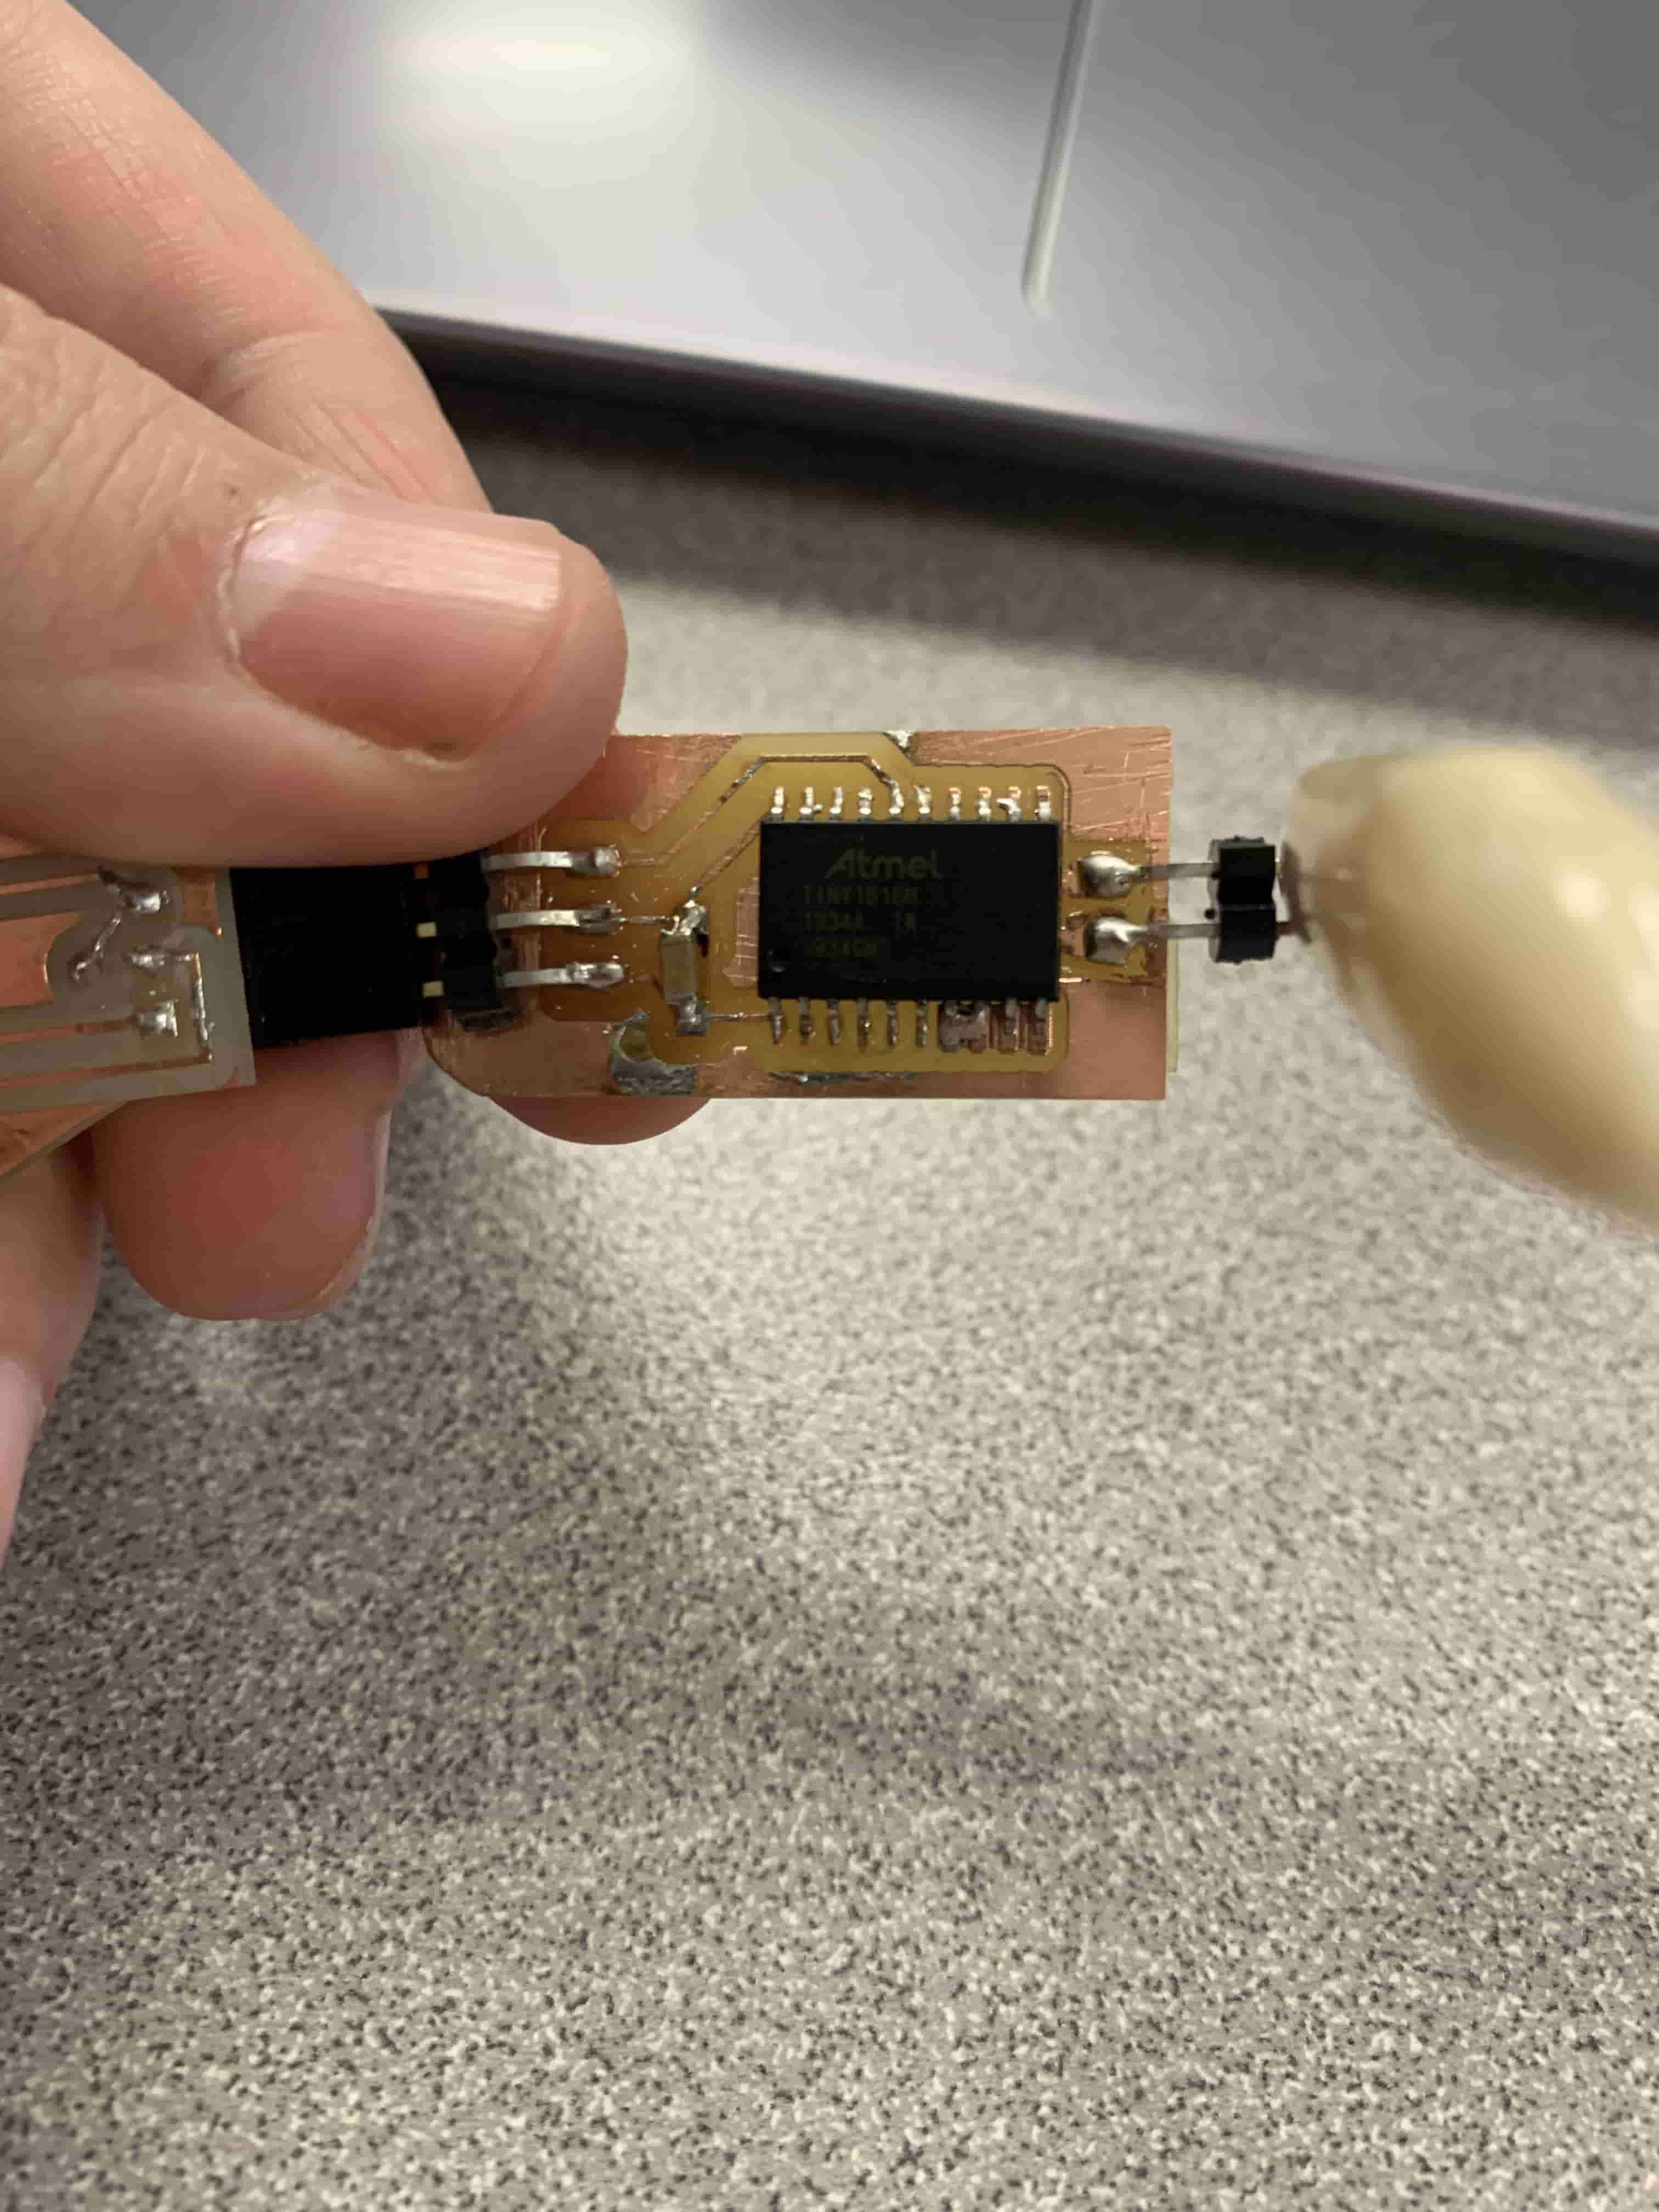
Soldering
This went completely smootly I onlyt had a couple of pieces to stick on and they went on without any hastle.
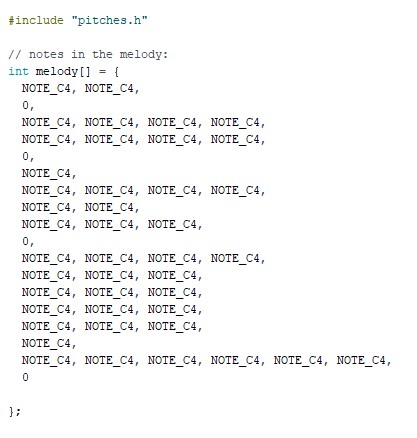
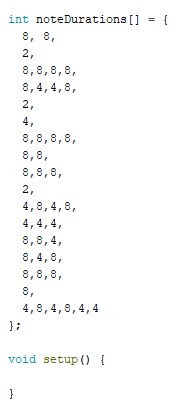
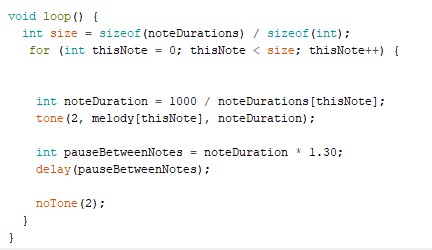
Coding
Coding this buzzer would have been alot harder were it not for a library built into arduino called pitches.h. Pitches is a library that has all sorts of nots built in so to get your device to run it boils down to two commands a tone and a notone. With those commands and a list of notes for the computer to read through I had my attiny play a little tune.