Process
- Decisions
- Brainstorming
- Crankie Design and Fabrication
- Electronics
- Puppet Design and Fabrication
- Assembly
Puppet Design & Fabrication
By this point I'd decided that I wanted to demo the crankie with a sketch version of a traditional folktale from the Marshall Islands, a small island nation in the Pacific Ocean, where I'd lived for two years. I hope to finish developing the entire story, bring it to a crankie festival. Marshallese are excellent mariners and navigators and I've chosen the story of the first sail. I would make three puppets: two main characters, and one of the two of them on the first sailboat.
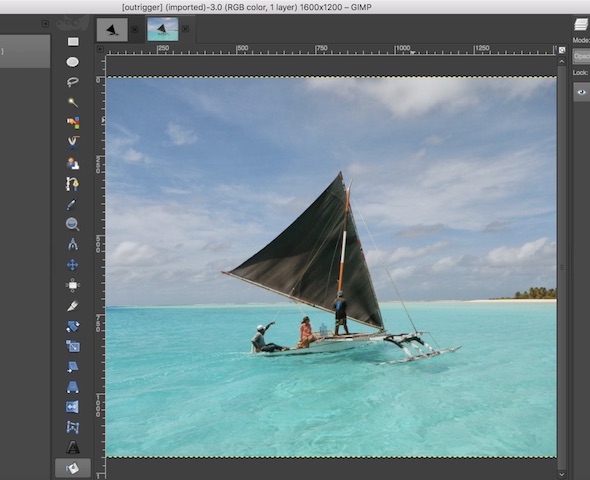
I started with the outrigger. I'd found a photo to use and reduced it to a black and white image of just the boat in Gimp.
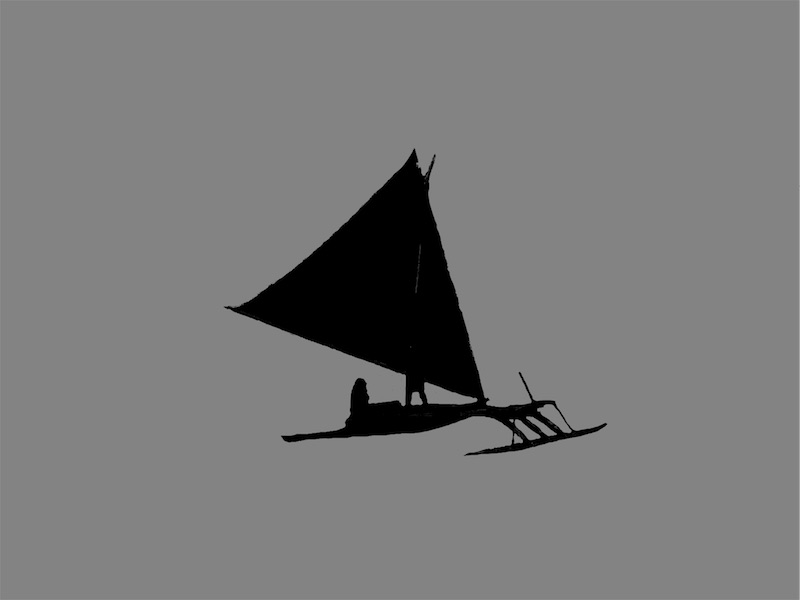
From Gimp I exported the image to be used in Inkscape, better suited for vector manipulation. I created a thatched pattern on the sail by carefully drawing, then joining, additional vectors. I changed all vectors to be red and 0.007 inches so the Trotec software would recognize them as cut lines.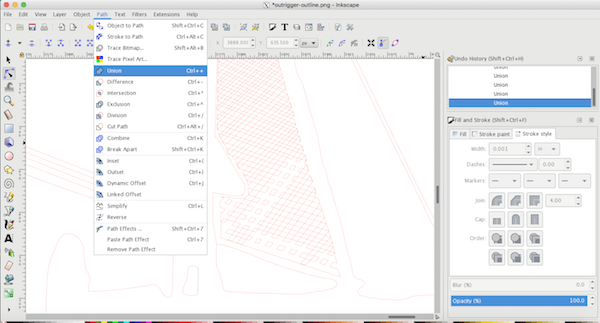
Next I moved over to Adobe Illustrator (AI) on the cunputer tied to the laser cuttering machines. I set the artboard and media sizes to match the dimensions of the machine bed and the stiff black paper I'd purchased, respectively.
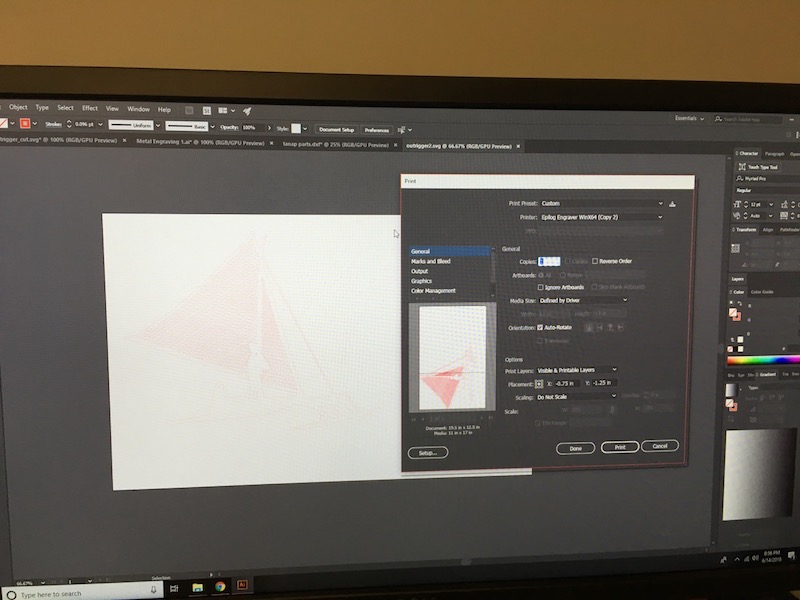
Finally, I sent my "print job" from AI to the Trotec software. I moved to the machine software and adjusted settings for cutting cardstock.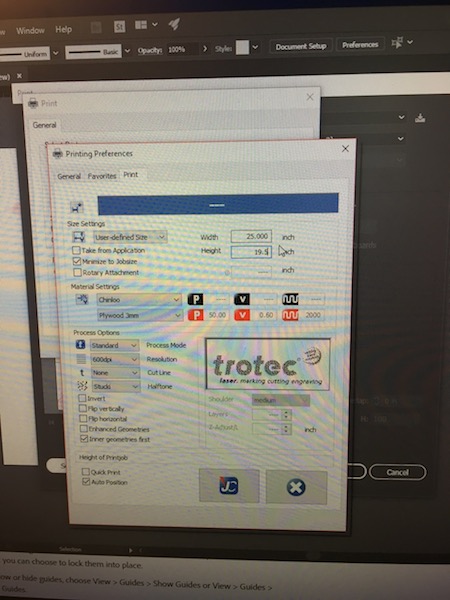
I positioned my job on the toolbed and sent it to be cut.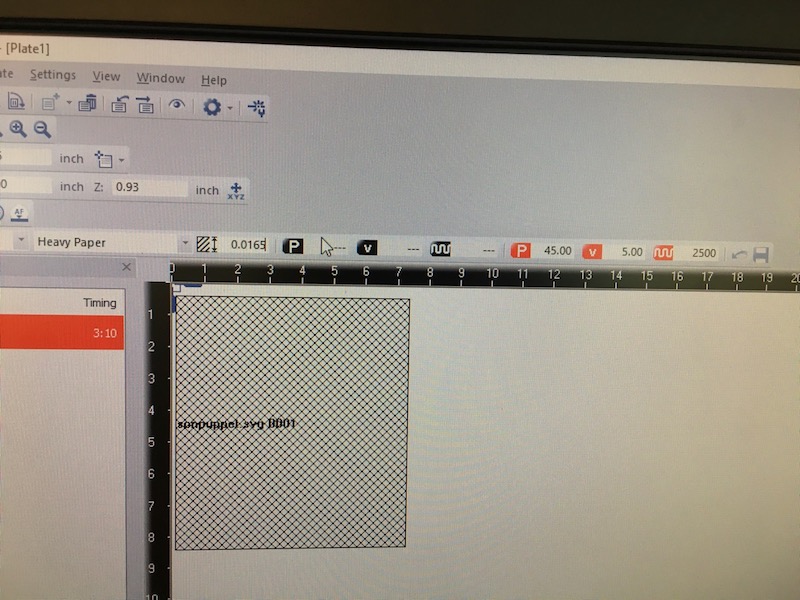
I'd noticed that there was more flame coming off when others were laser cutting recently than usual but didn't think much of it.
Then, part of my paper caught fire. I opened the machine, we took the paper out, and stomped out what burning embers were left.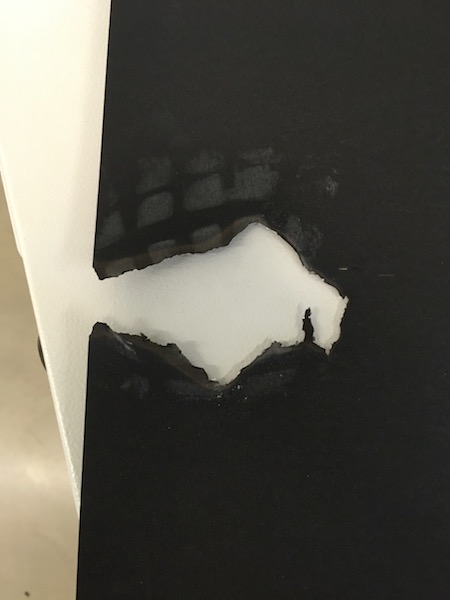
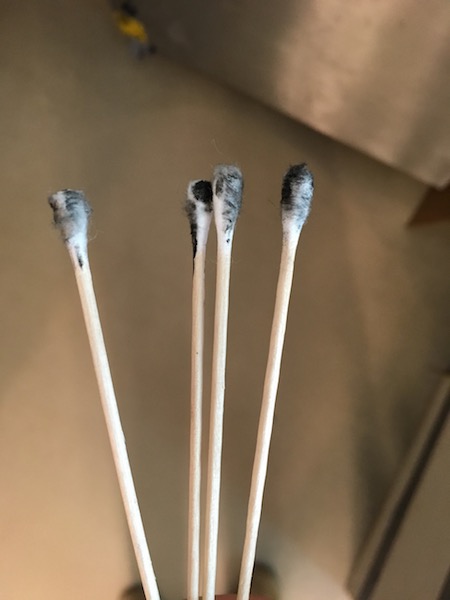
I knew that the power and speed were correct for the job so suspected that the lenses of the laser needed cleaning. My suspicions were confirmed and after this things worked much better. Tool maintenance in a Fab Lab isn't just about upkeep but also very much about safety.
My next job run went much smoother. I did realize however that with all of my meticulous vector creating and node joining, I hadn't joined the hatched part of the sails to the edges. I needed a few pieces of tape to keep everything together. I went back into Inkscape and made the fix making sure the middle of the sails were connected to all of the edges. Visually the differences between the two puppets are subtle aside from the clear profile around the standing character but the 2nd version is one complete piece of paper.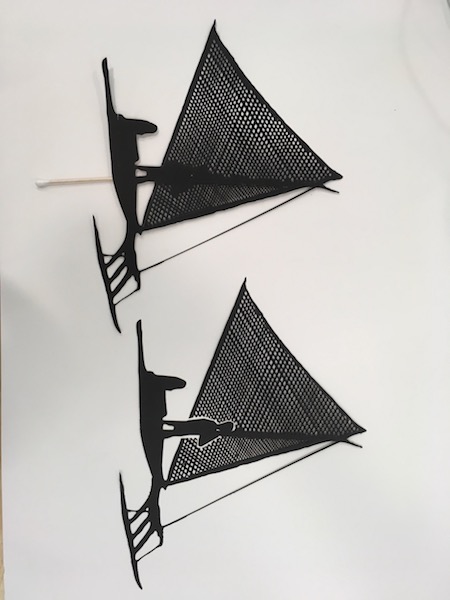
I started the other two puppets from a photograph as well but found that the image didn't quite capture what I wanted.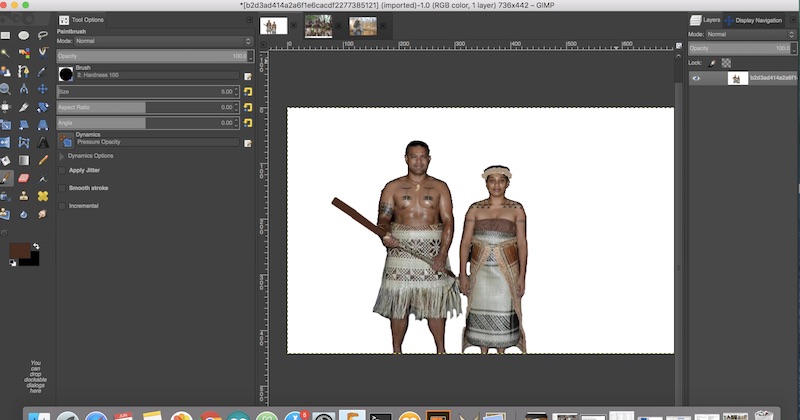
I decided instead to use the photograph as a reference to then draw the next two puppets- "son" and "mother".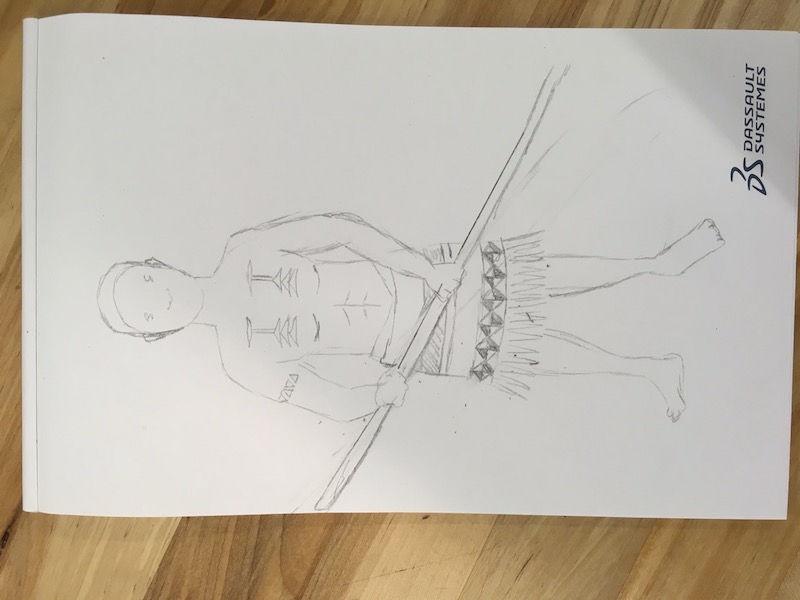

I photographed my drawing, imported it into Gimp to simplify the image, and then transferred over to Inkscape where I manipulated the individual nodes and vectors.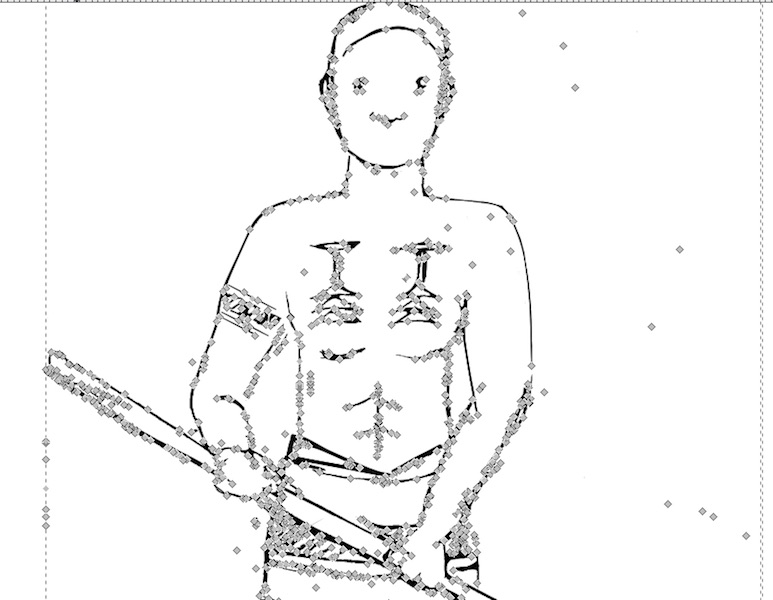
Once I was happy with the image, I exported to Illustrator as I'd done previously.
My first attempt wasn't quite what I wanted because I'd cut around the lines.
The second run was more successful.
By the time I was ready to cut the third puppet I decided it might just be faster to cut by hand. After I drew the design onto tracing paper I taped it on top of the black paper and cut along my lines. I was able to use the sail from my failed first puppet to be the mother's bundle.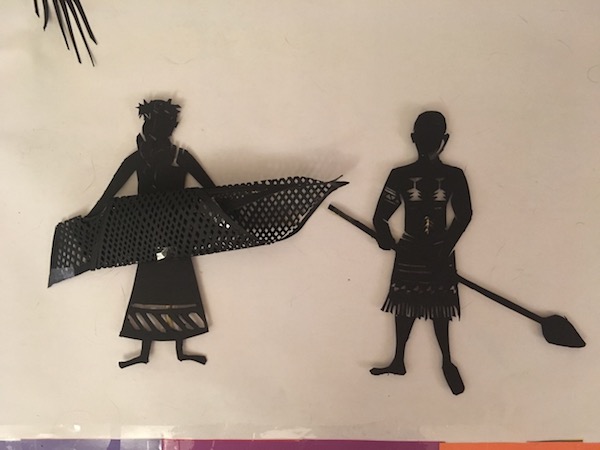
To manipulate the puppets I taped a small dowel, a kebab skewer, centered along the back of each. Then I drilled a hole of the same diameter in a larger dowel, a take-away chopstick, to use as a holder.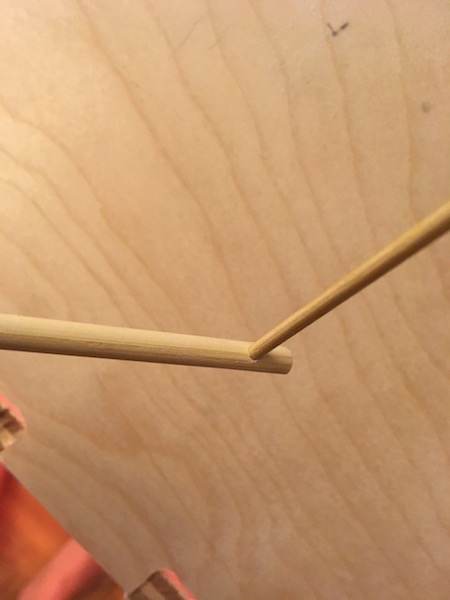
Assembly
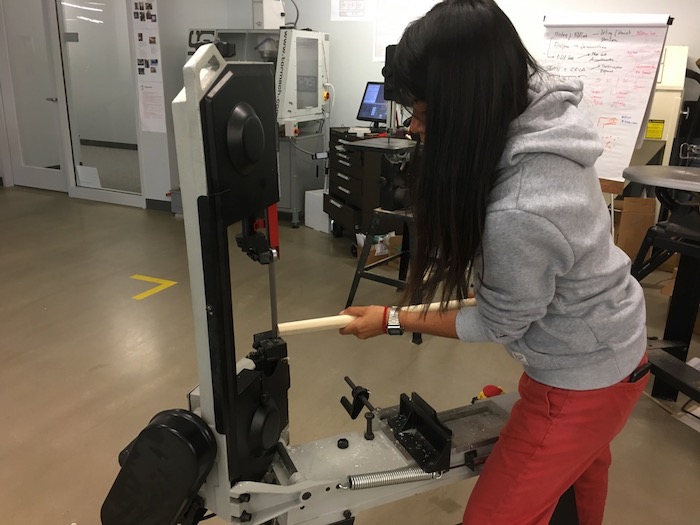
One of the critical pieces of assembly was to make my cranks. I was worried about being able have a steady enough hand to make the cuts myself and Pilar came to my rescue. As a note- immediately after taking this picture I pulled her hair back. ALWAYS make sure loose hair and clothing are secured when using any of the machinery in the lab.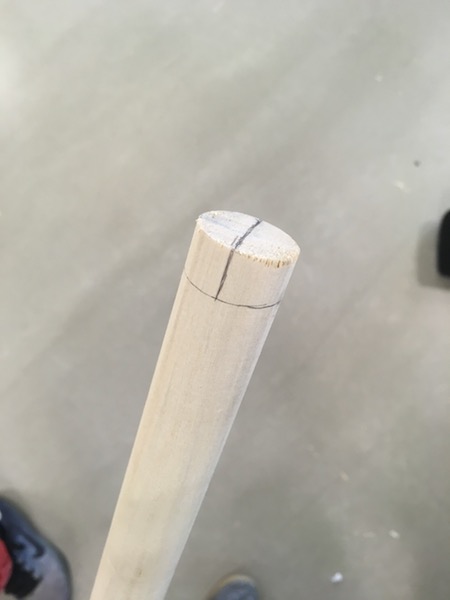
Finished cranks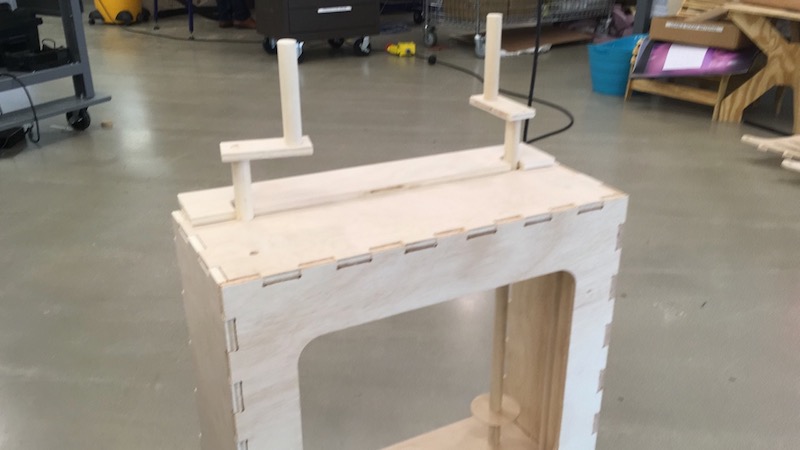
Crank locking mechanism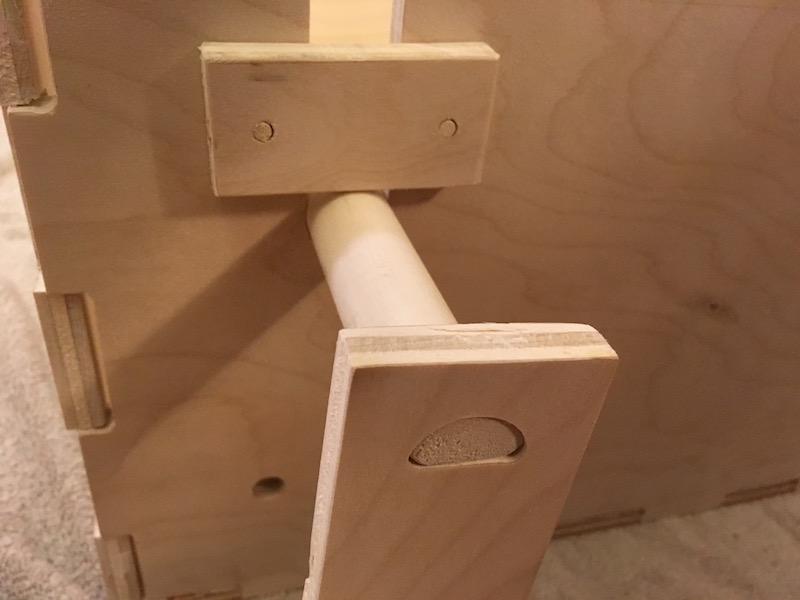
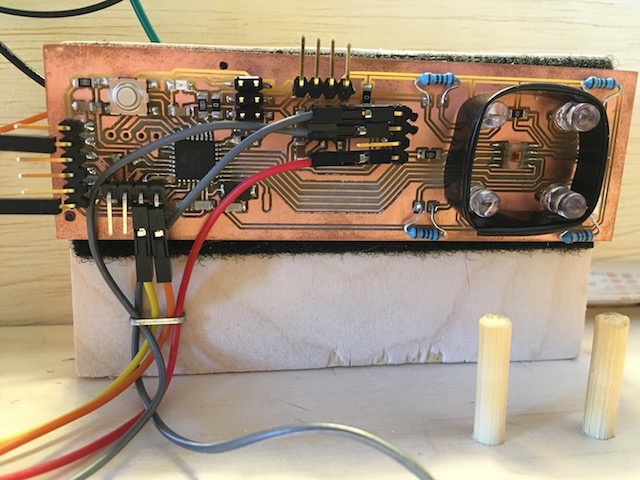
I also needed to mount the DotStar, the board, and the bulb holder. I used Velcro for the DotStar so I could move it easily if needed.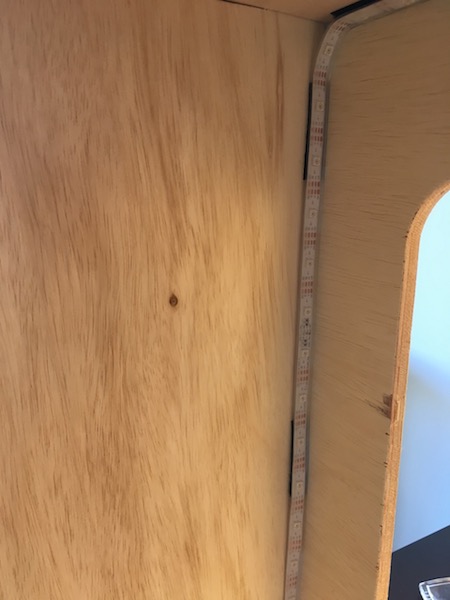
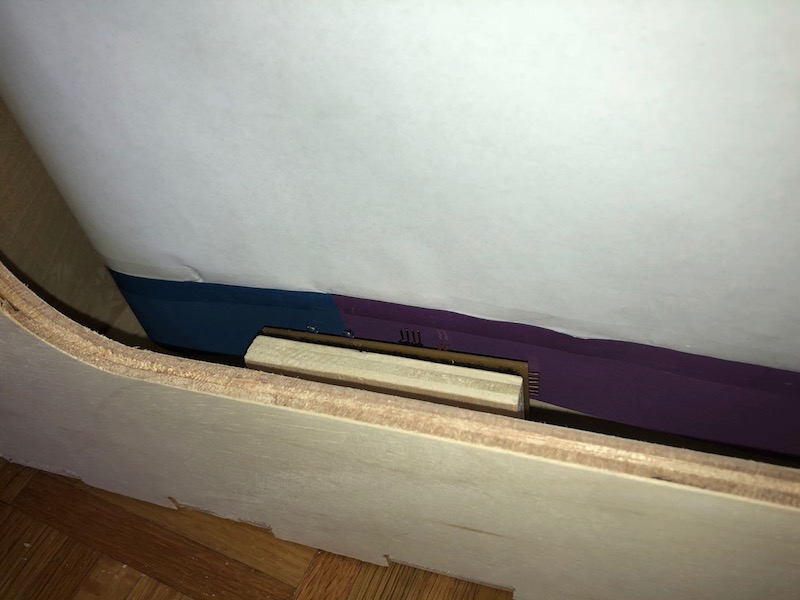
I discovered that mounting my board right on the crankie would leave too much light interference for the color sensor to function properly. I cut two small piece of wood and used peg-and-hole joints to attach them to the inside of my crankie box. I used Velcro to affix my Imliduino on one, and used it on the other to provide a smooth surface for the scroll to slide against on the other.
board setup
My wiring configuration was somewhat simplified by switching from two boards to one because I only needed to power one board. I bundled them and taped them to the crankie box for ease of access. This set-up will work for my own personal use/programming/debugging but if I am to share it with children, I'll need to come up with alternative housing for the wire.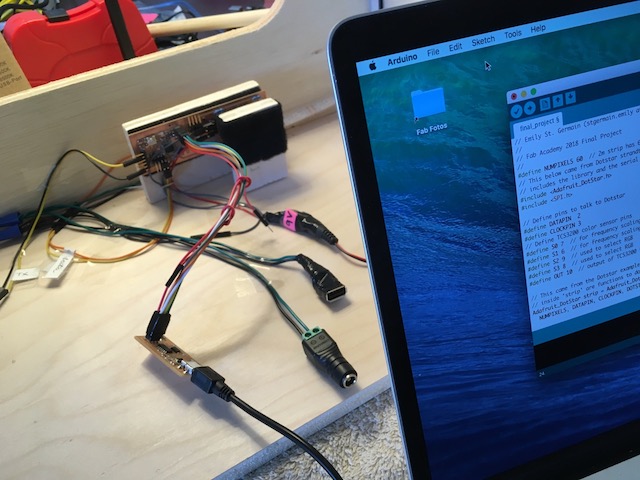
Next I cut the three scenes I'd sketched out earlier out of a thin black paper and glued them to the scroll.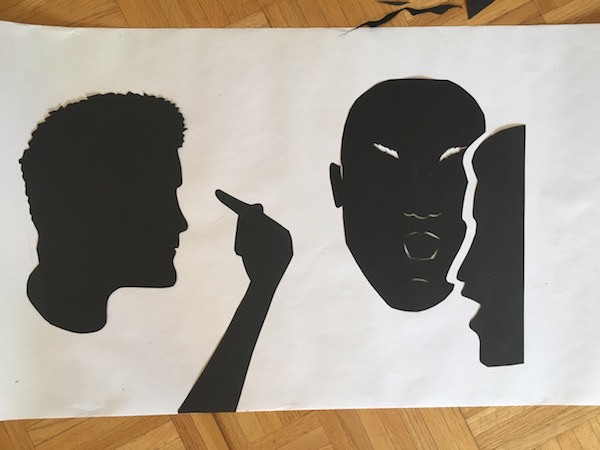
I printed the same color strips I'd used for testing onto sticker paper, using more of the colors that worked well with the sensor and eliminating colors that didn't (lighter colors and pastels typically).
I secured the strips to the bottom of the scroll in the pattern I'd determined I wanted the LEDs to light up for the show.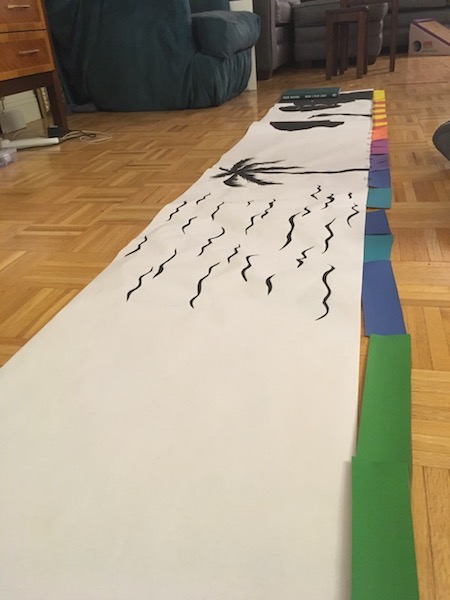
I used peg-and-hole joints to attach the lightbulb holder and the locking pins I'd cut earlier to the crankie box and with that everything was assembled and ready to show.