Week 18: Wild Card
Individual project:
Design and produce something with a digital fabrication process not
covered in another assignment, documenting the requirements that
your assignment meets, and including everything necessary to
reproduce it. Possibilities include (but are not limited to) composites,
textiles, biotechnology, robotics, and cooking.
For the wild card week I decided to go with composites.
Design
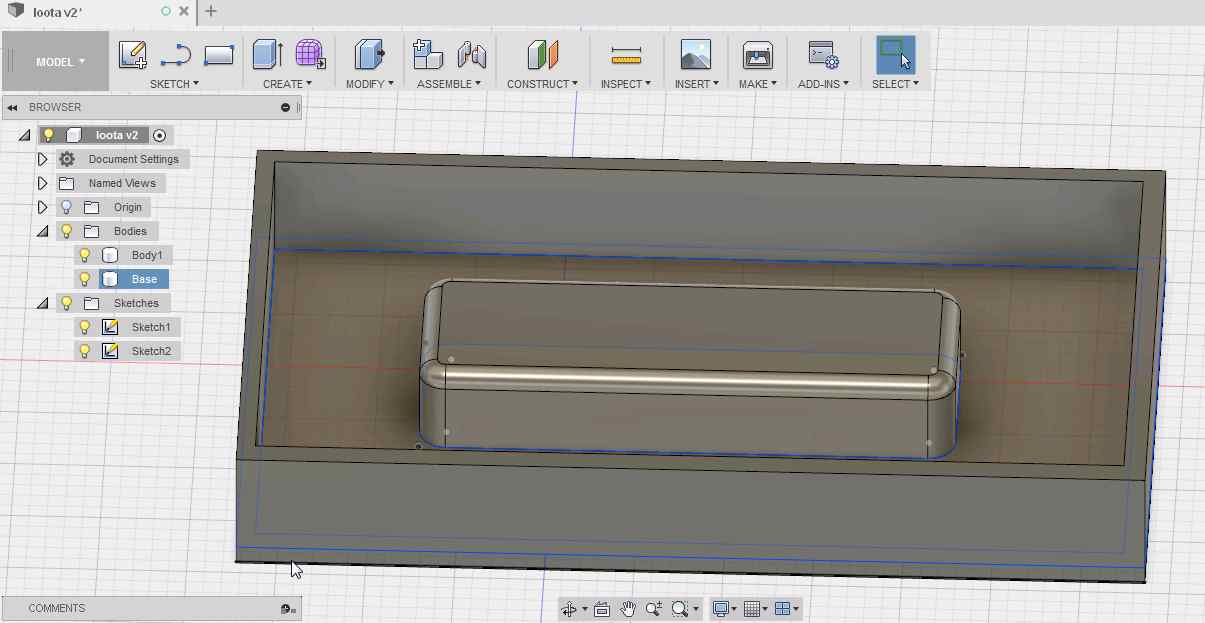
My rather simple idea was to make a small open box. Maybe grow some herbs or pretty flowers in it. Made my design with fusion 360 and started with a sketch.
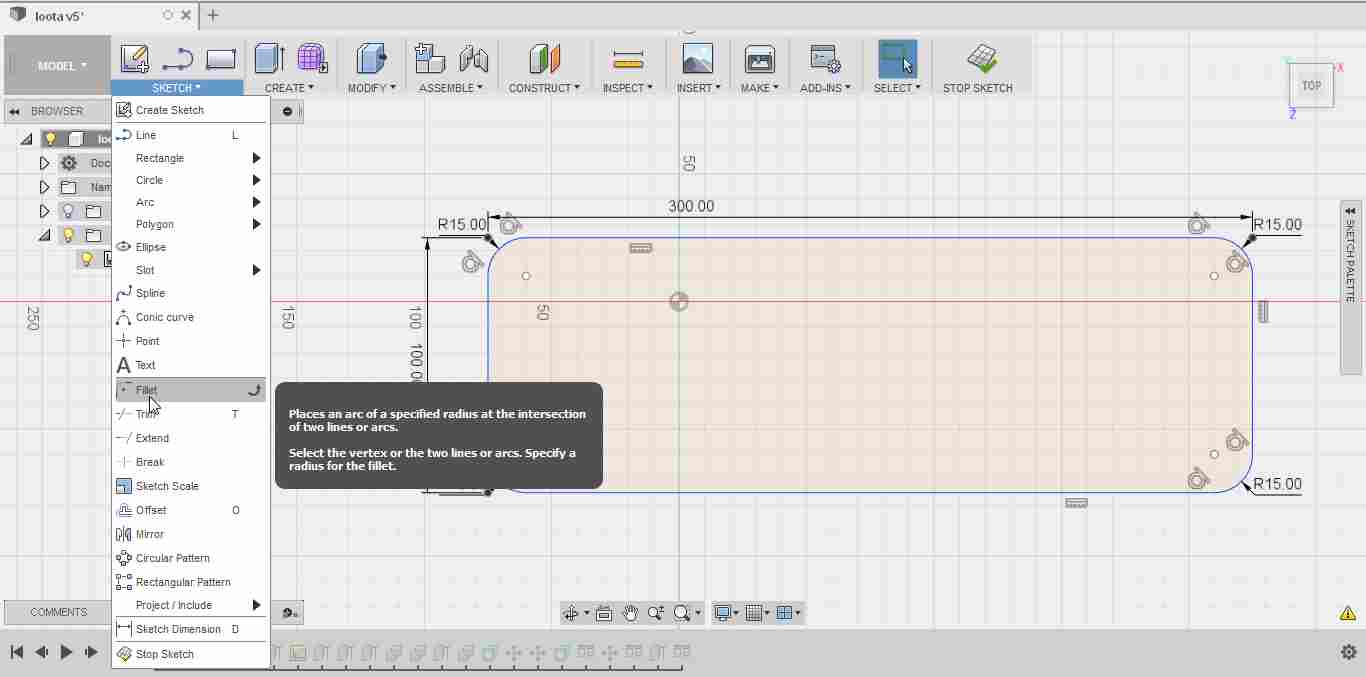
Extruded the sketch and applied fillet again, this time with 10mm.
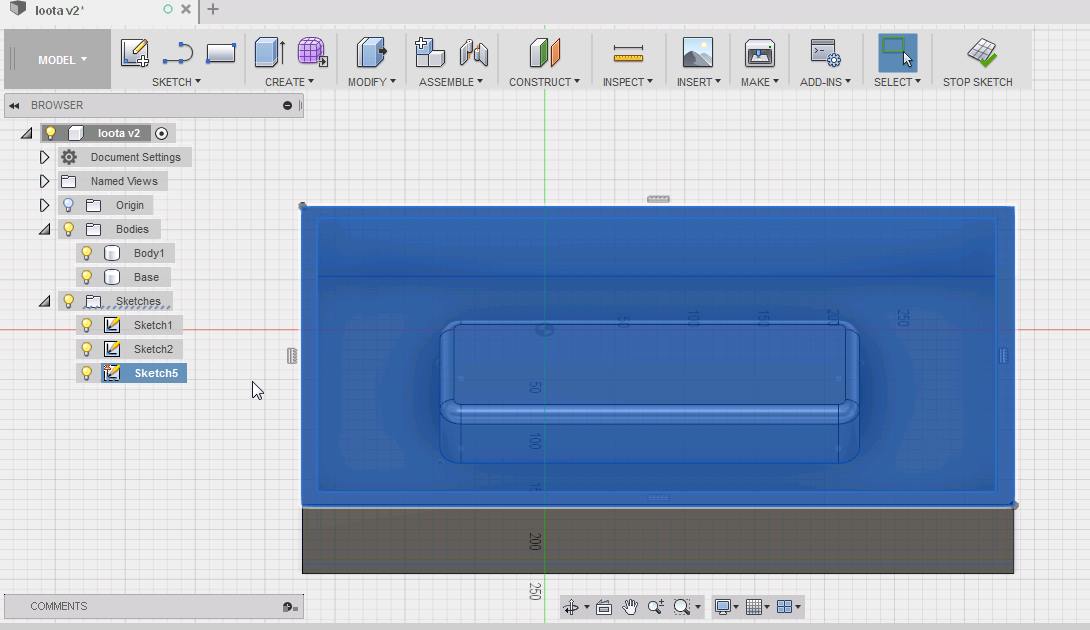
Made new sketch from bottom of my design, and drew two rectangles.
Extruded from sketch to make 10mm bottom.
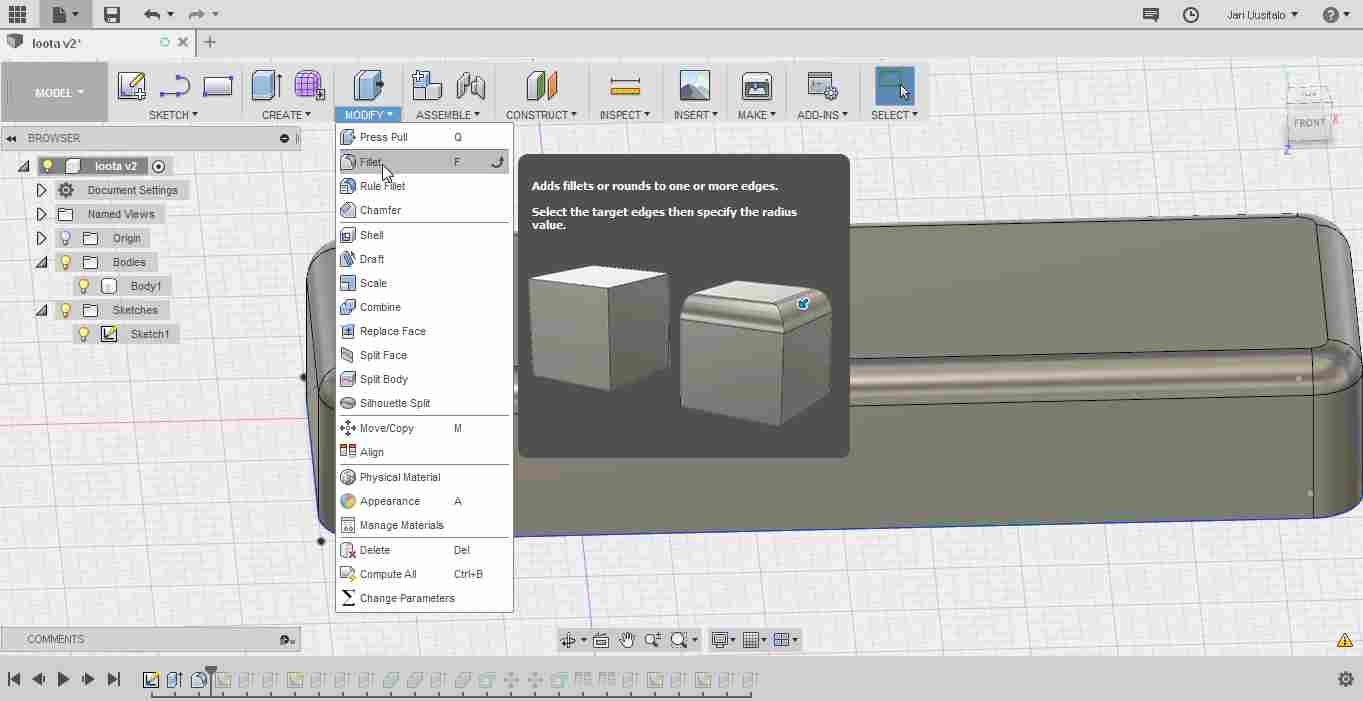
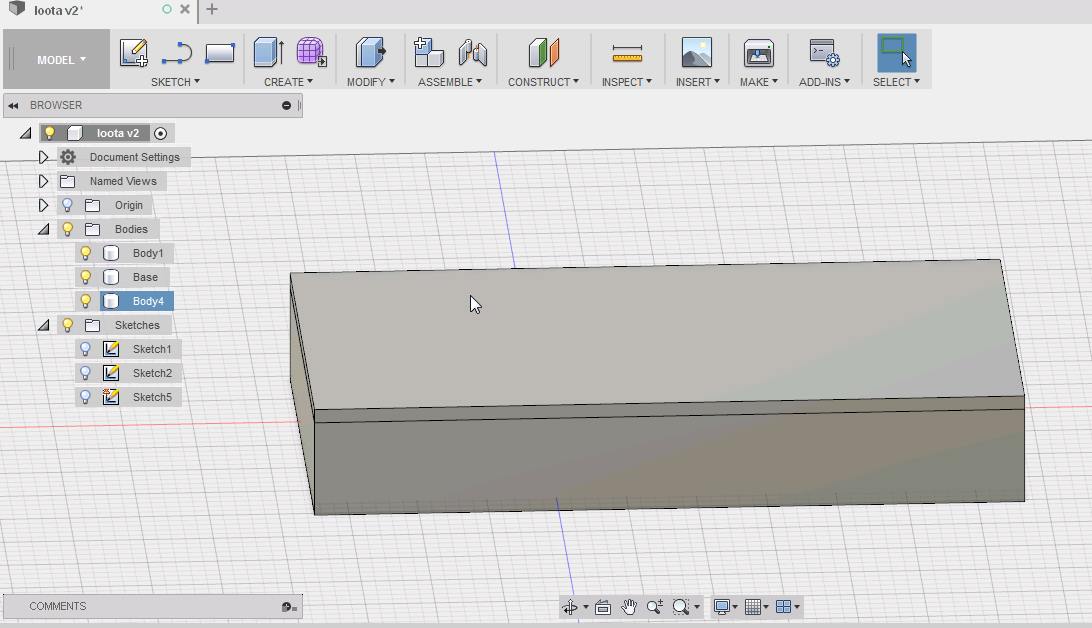
Now extruding edges will finalize the base.
From top face of the edges create new sketch and extrude 10 mm.
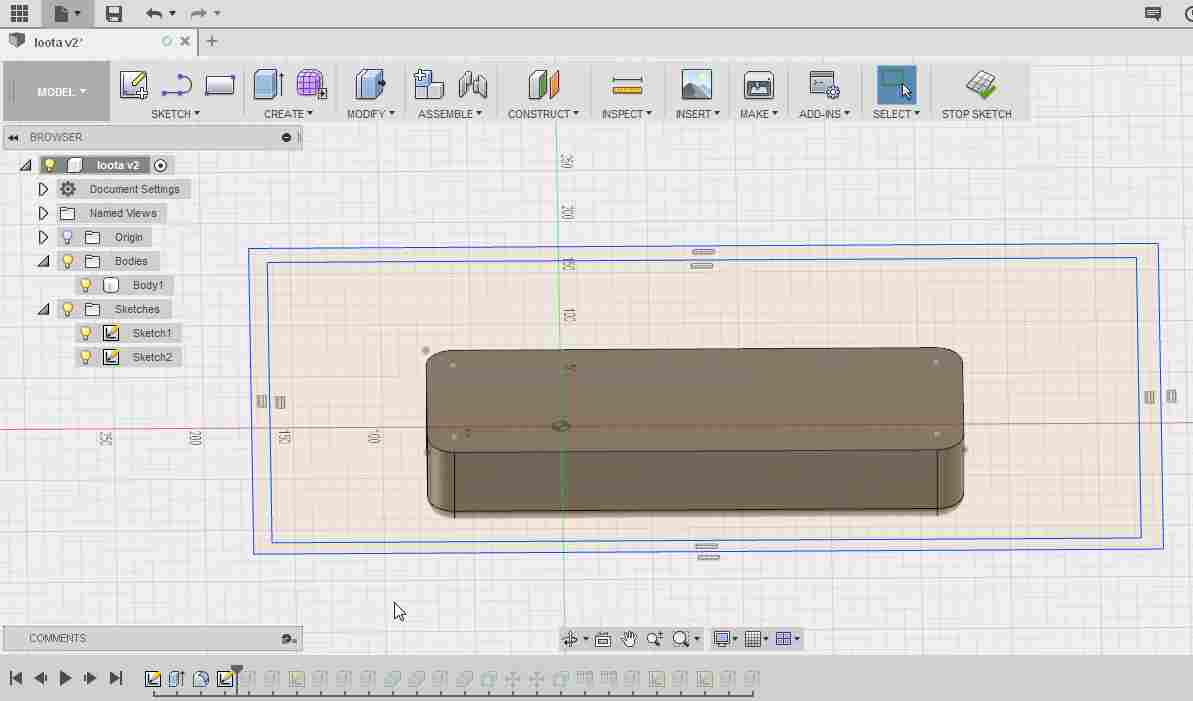
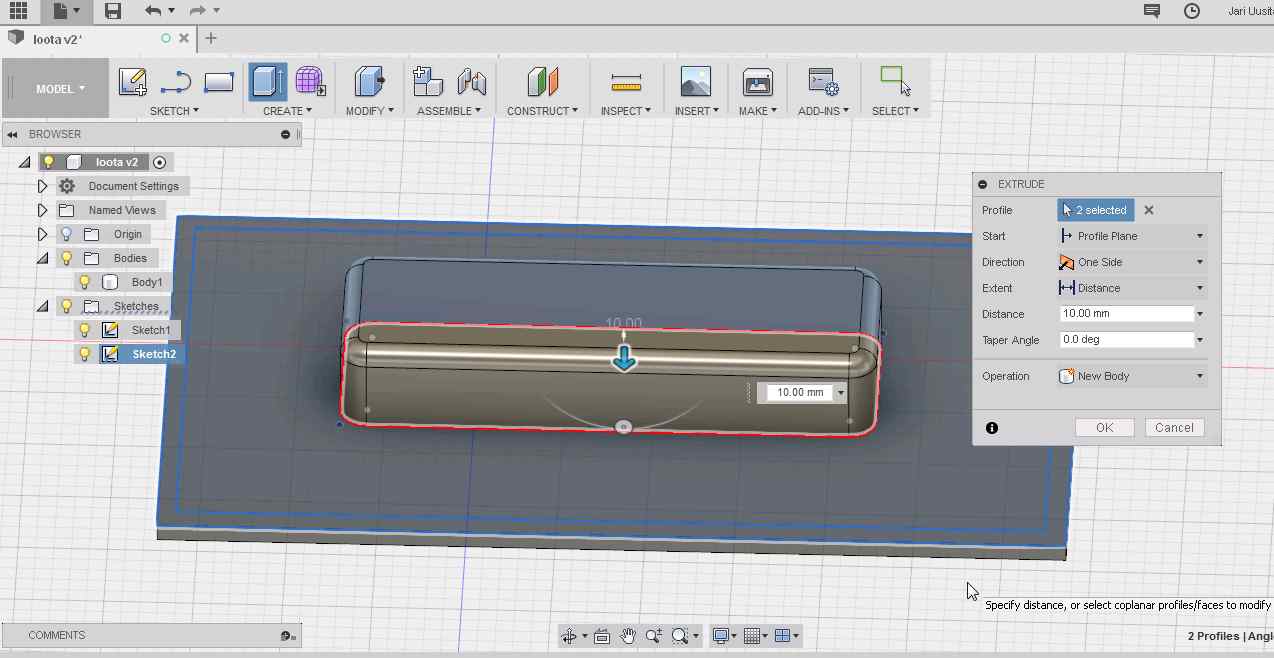
Extrude again from sketch, 50mm

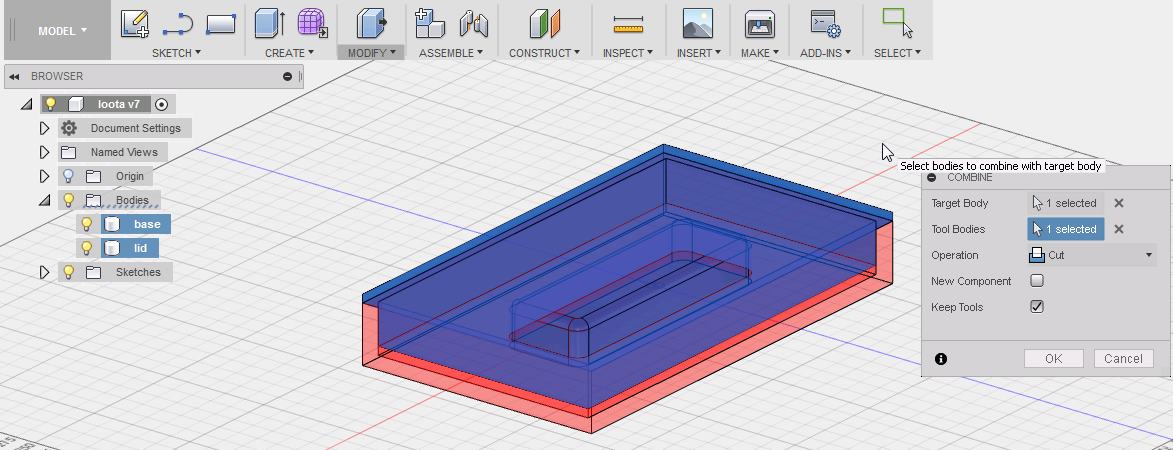
Now cut base out of lid. Select objects, then modify -> combine. Select cut, but keep tools. This will make equal sized hole to the lid.
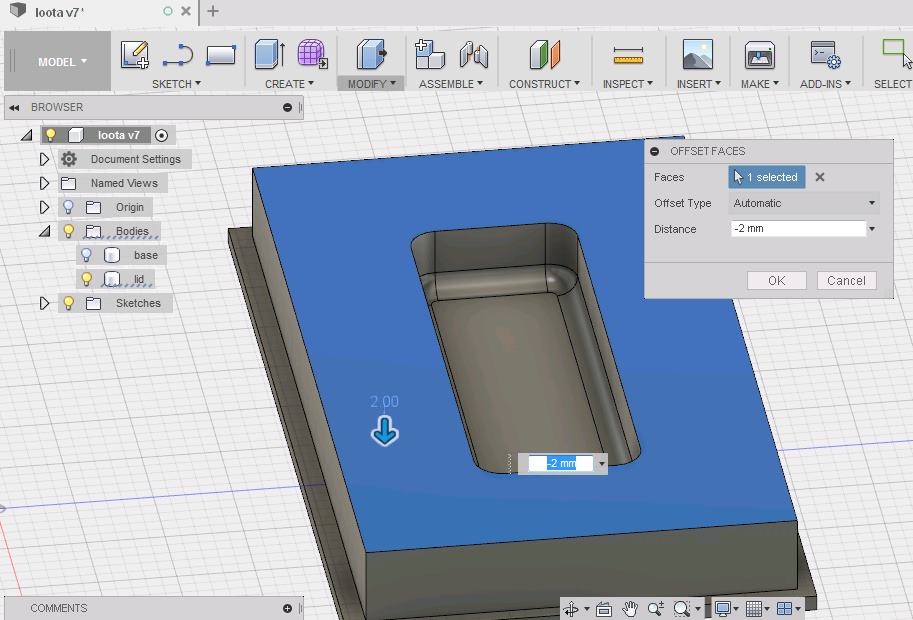
Offset faces to leave room for fabric. Select all the faces in the hole, then offset by 2mm.
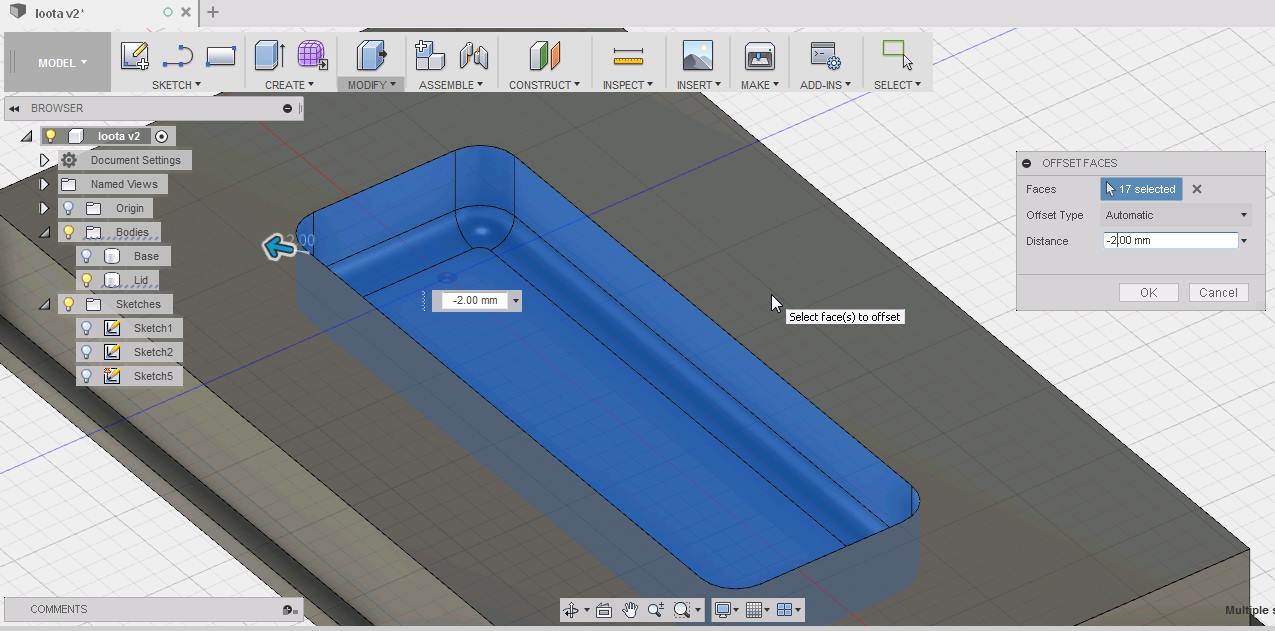
Offset bottom of the lid also by 2mm. The fabric goes there too.
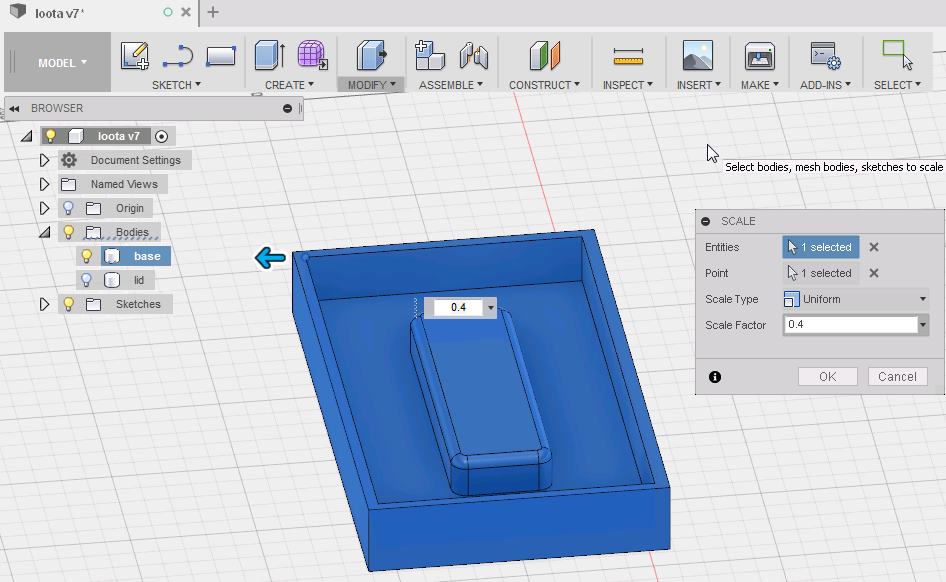
At this point I was told that my design was too deep(60mm) for our milling bits. So I scaled my flower pot box thing to a soap box thing. In numbers this meant a scale factor of 0.4. This was applied to both objects.
That concludes design. Next, toolpaths!
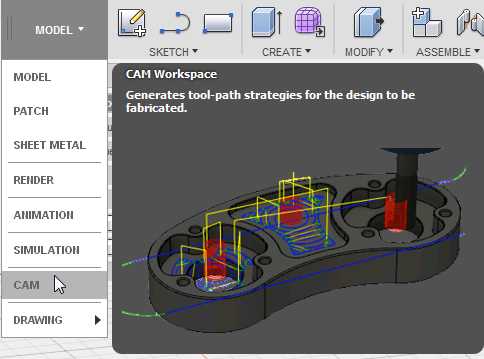
Toolpaths
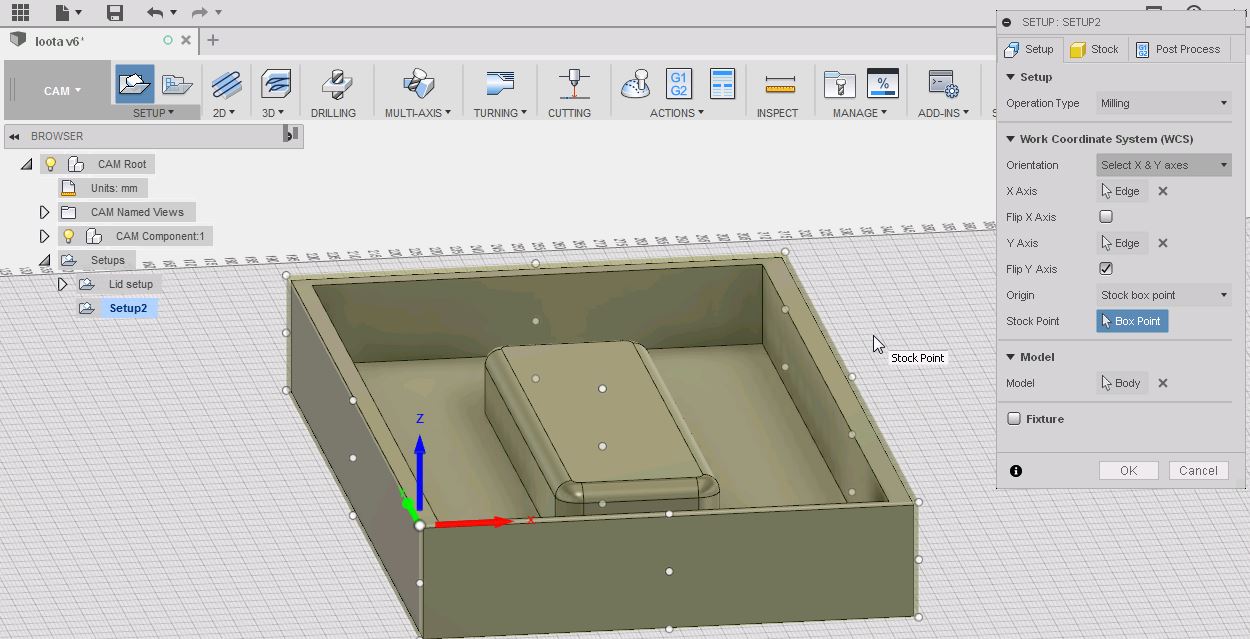
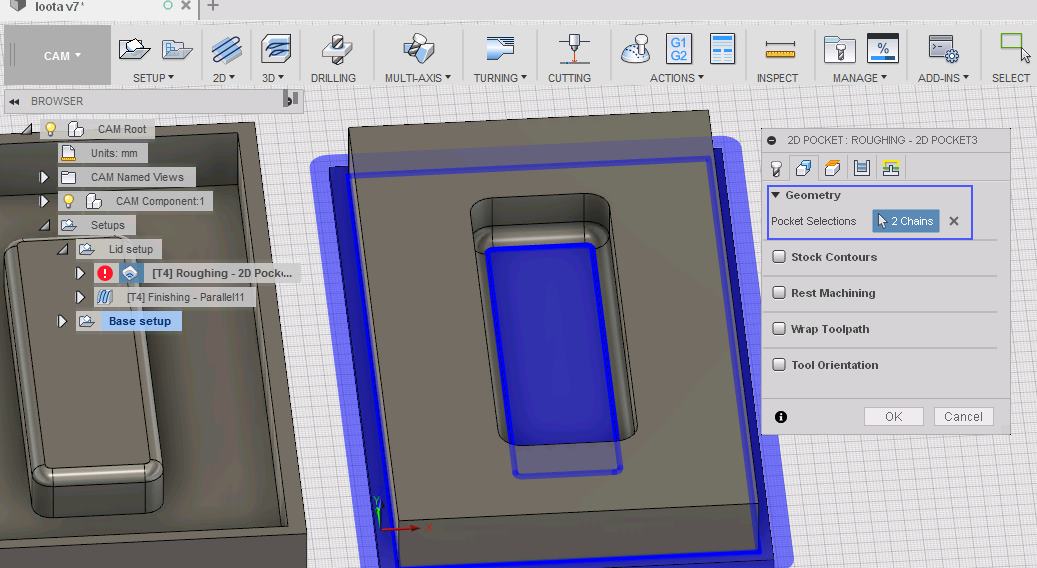
Decided to do the pieces separately, so clicked visibility off from the lid part. Switched from Model to Cam in Fusion, and started by creating a new setup.
Since model orientation was not correct, chose "select X & Y axes" and clicked appropriate edges on the model. Flipped y axis to make it point to the right direction. Selected origin as stock box point and clicked front left top most point. On stock tab I zeroed all the values. After that, setup for the base was done.
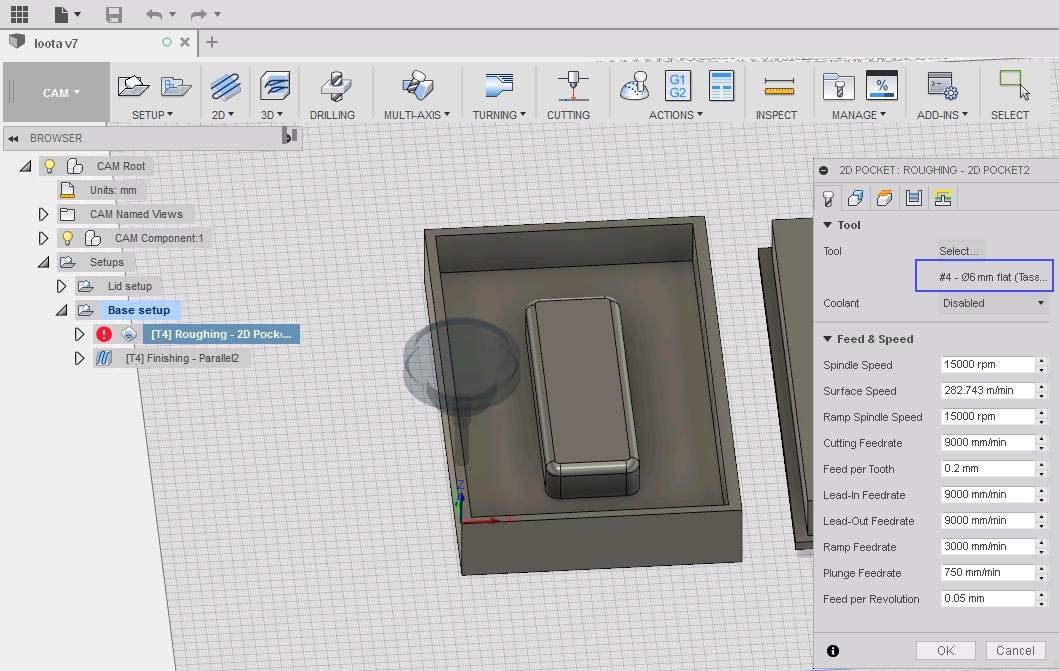
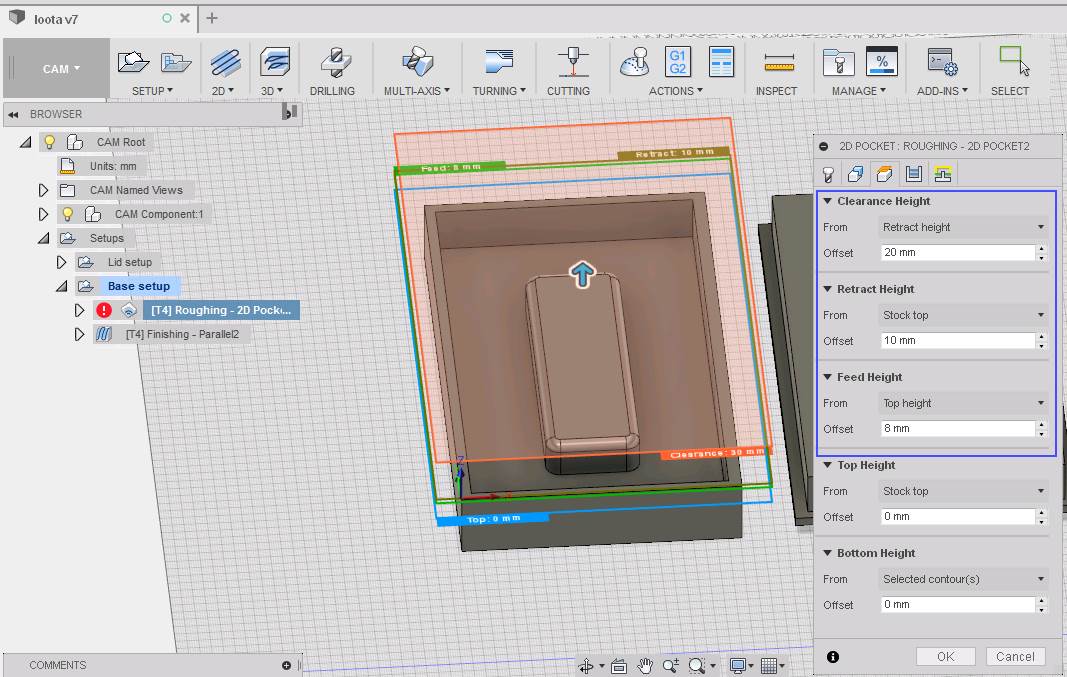
For roughing process, I selected 2D pocket. First was tool selection and I chose 6mm flat. Other values in tool tab were left defaults(that is beacuse the tool library of our fab lab and all tools settings are preset).
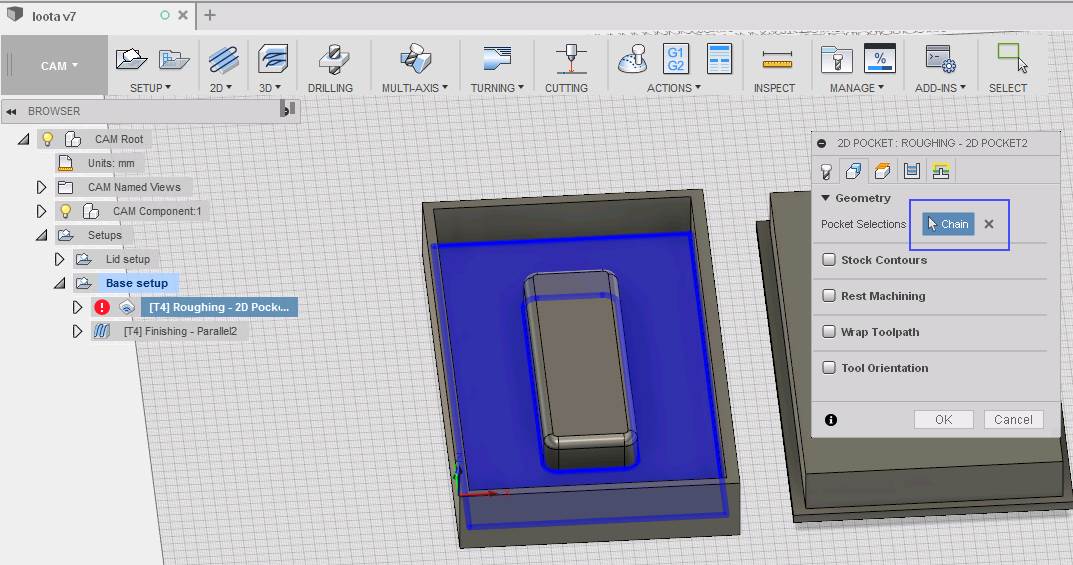
From geometry I selected one toolchain.
From Heights tab, changed following:
- Clearance height > Retract heigh: 20mm
- Retract heigh > Stock Top: 10mm
- Feed Height > Top Height: 8mm
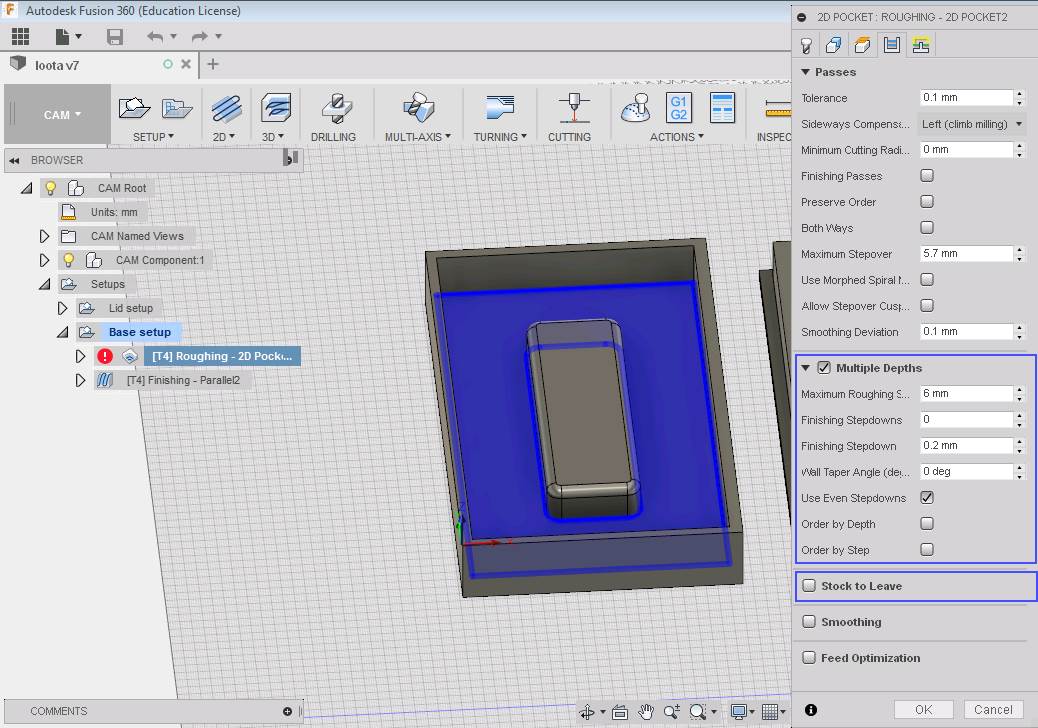
In passes, clicked on Multiple depths, set Maximum Roughing Stepdown to 6mm, and toggled on Use Even Stepdowns. Removed tab from Stock to Leave.
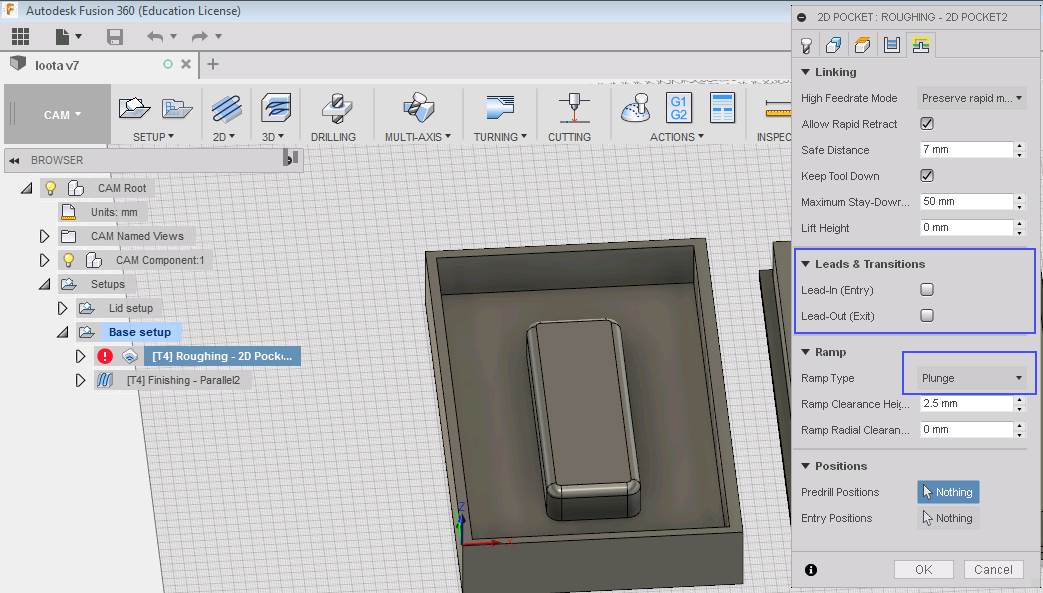
From Linking tab I toggled off everything in Leads & Transitions, and set Ramp Type to Plunge.
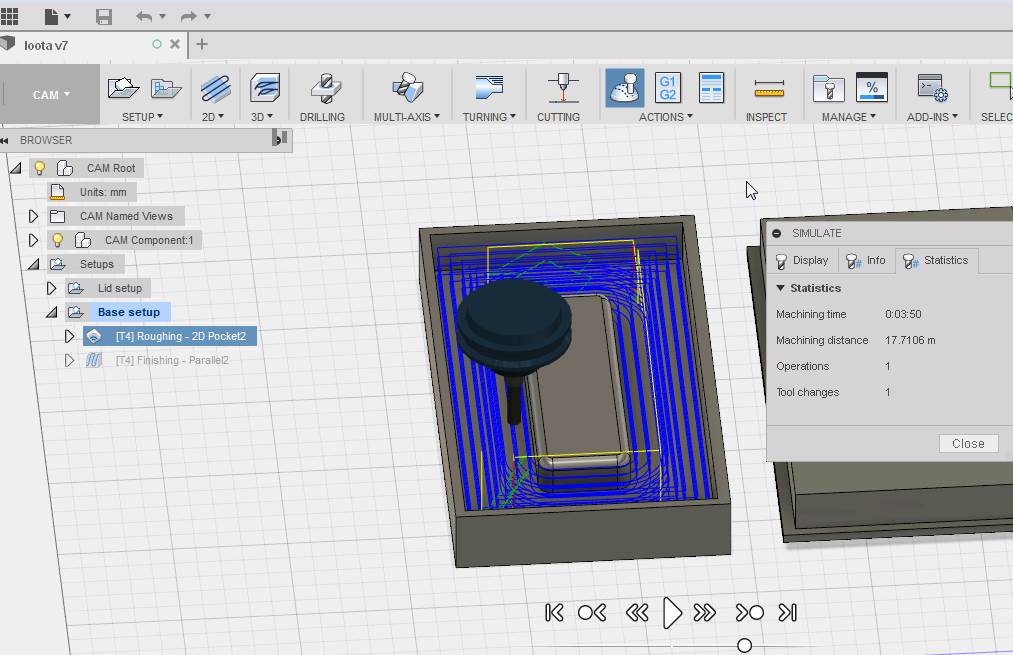
Clicking simulate showed no errors and estime roughing time ~4 minutes.
Now to generate toolpath, clicked G1G2 button for post process.
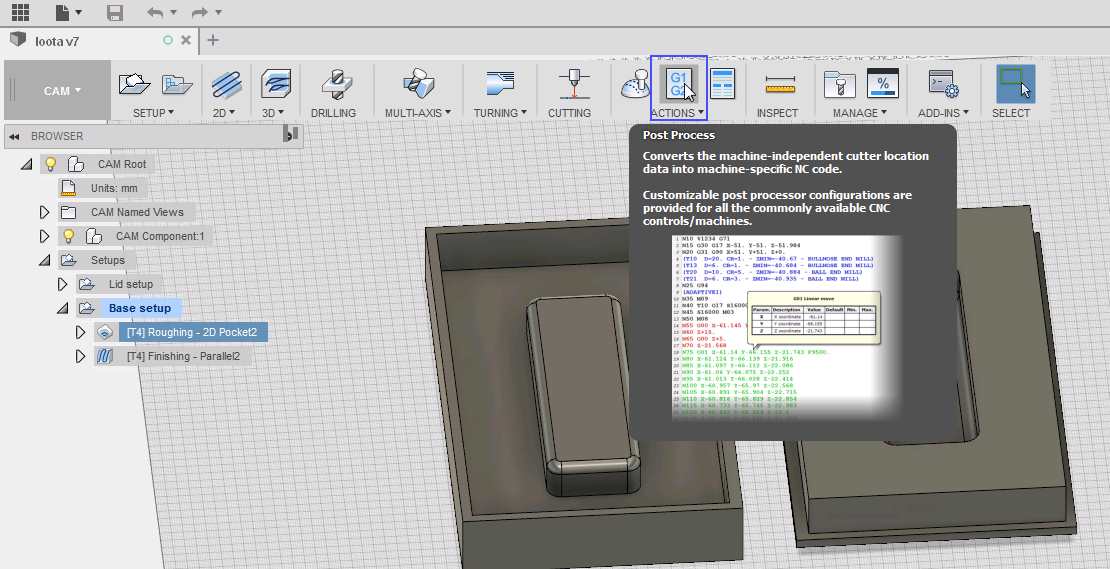
From post process I needed to check that Post Configuration file was set to Fab Lab Oulu CNC. Clicking post now saves the toolpath for base roughing. Coming up next, base finish!

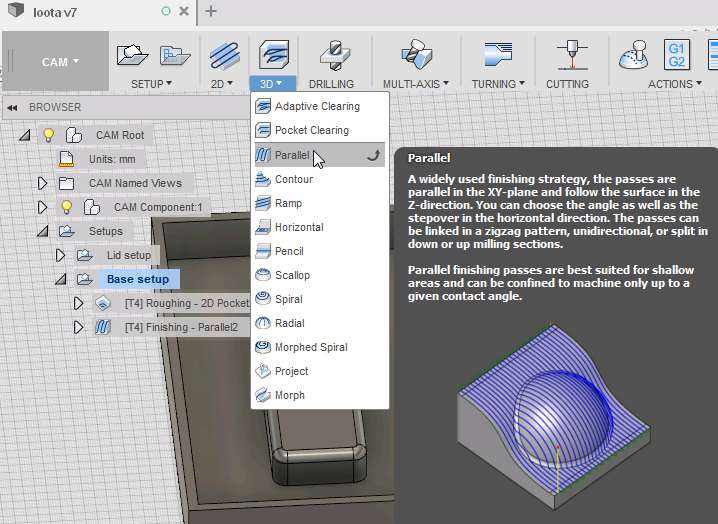
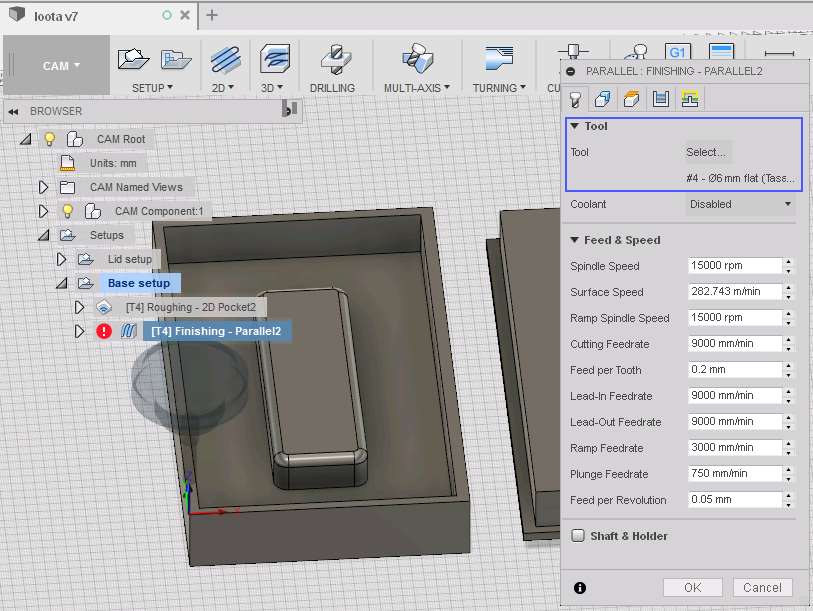
For Finishing moves, I chose from 3D > Parallel.
Only thing to check was tool, which was 6mm flat. Everything else were left defaults.
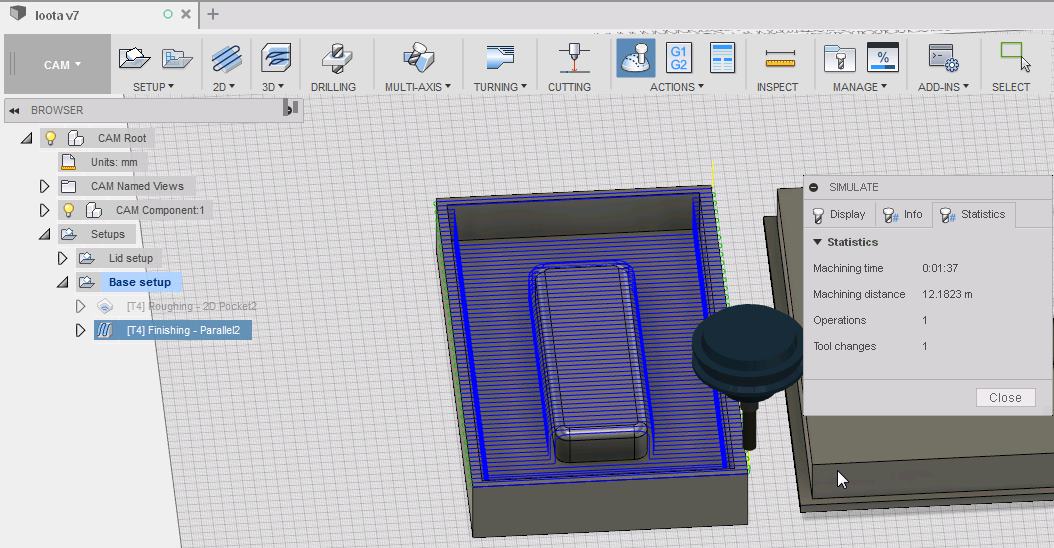
Simulation showed no errors and estimate time was less that 2 minutes.
Now it was just to click post process again and save the toolpath file and the finishing toolpath was done.
Going throught the process once more for the lid part. 2D pocket setup was otherwise identical to the base, except it had 2 chains in pocket selection.
Saved the 3rd toolpath and started with 4th, finishing for the lid. This process was actually totally same as for the base, so I was done with the toolpaths.
Milling
The steps here repeats what was done in week 8 - Computer controller machining. I will add more images here to clarify the process. Started by switching on main power and clicked Power on button.
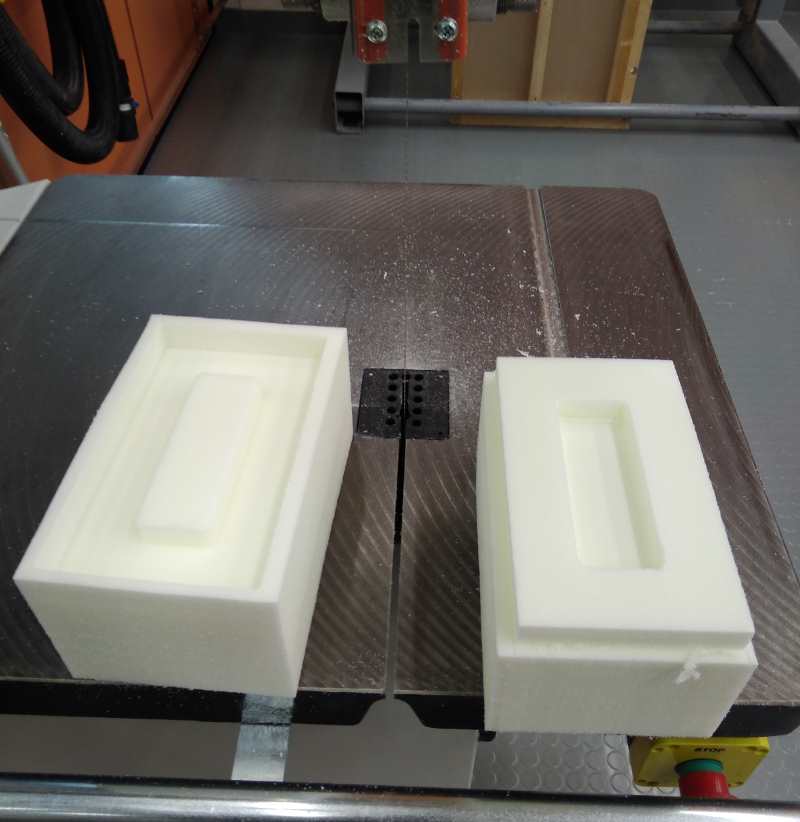
The mold I was about to mill was made out of Finnfoam(which in turn is made from polystyrene by extrusion method). I attached it to the sacrificial layer with srews.
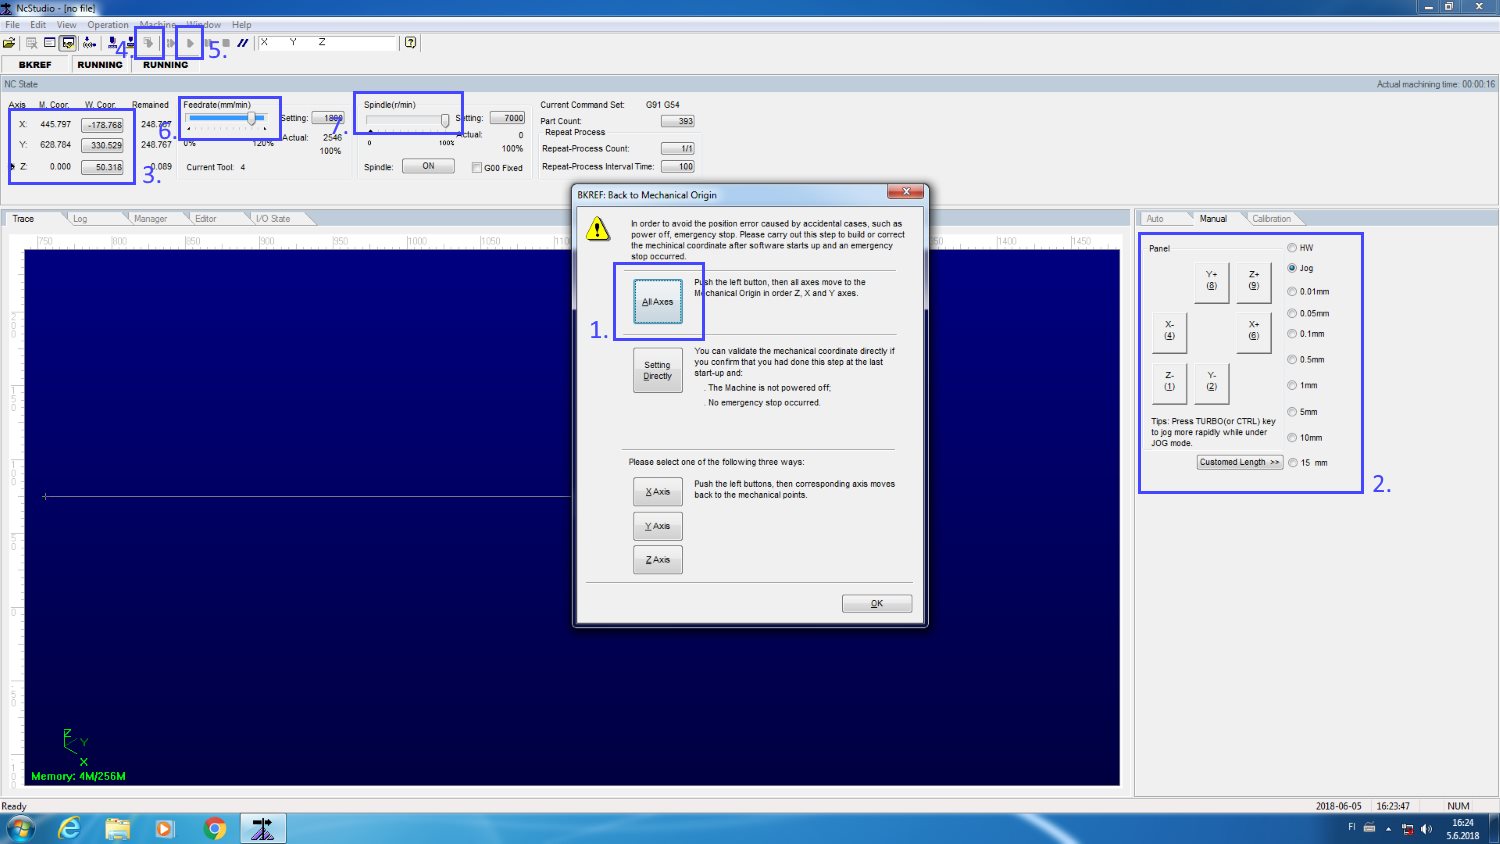
Opened NcStudio, which controls the CNC machine. On the following image can be seen numbered the parts that were needed during the process:
1. Back mechanical origin: All Axes. This is the first step when starting to work with the program. It moves all axes(x,y,z) to mechanical origin to avoid position errors.
2. Buttons for manual axis control, and options for per step movement multipliers. Jog is the fastest options to move around, others are for finetuning the position.
3. x,y,z coordinates. Button next to each axis resets that axis origin to current location.
4. Simulation button. To check whether toolpath looks as it should or not.
5. Play button. Start the milling process.
6. Feedrate(mm/min). This can be adjusted accordingly during milling(faster movement for transitions, slower to preserve tool).
7. Spindle(r/min). Adjust during milling(tool preserve, avoid material burn).
Loaded my toolpath(File > Open and load) and moved point of origin(x and y) to the front left and resetted them. Lowered z axis to near surface and chose 0.1mm modifier for precision. Checked with paper when it was low enough(after each step, if paper moves freely below milling bit, its not low enough).
Simulated the toolpath to see if it was okay. Right clicked on screen and chose clear, to see the process's progress during milling.
Started dust collector and clicked play, well prepared to hit stop if something went wrong. Initially started with low(50%) feedrate and spindle, but increased those to 80%.
Nothing unexpected happened and first roughing was done. Loaded finishing path, checked simulation and hitted play. Soon I had my bottom peace ready.
For the lid part, moved origin point to uncut area and repeated the process.
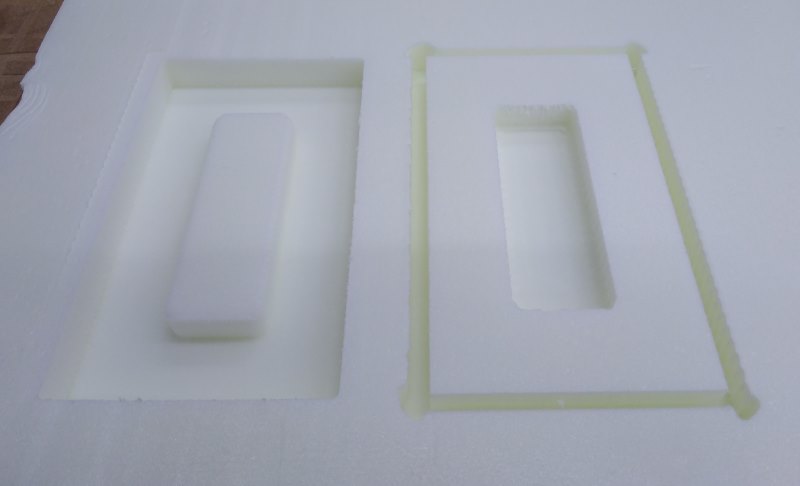
Removed excess material with band saw.
Making the composite
Prepared the scene by adding plastic covers to the area and prepared myself with protective gear.
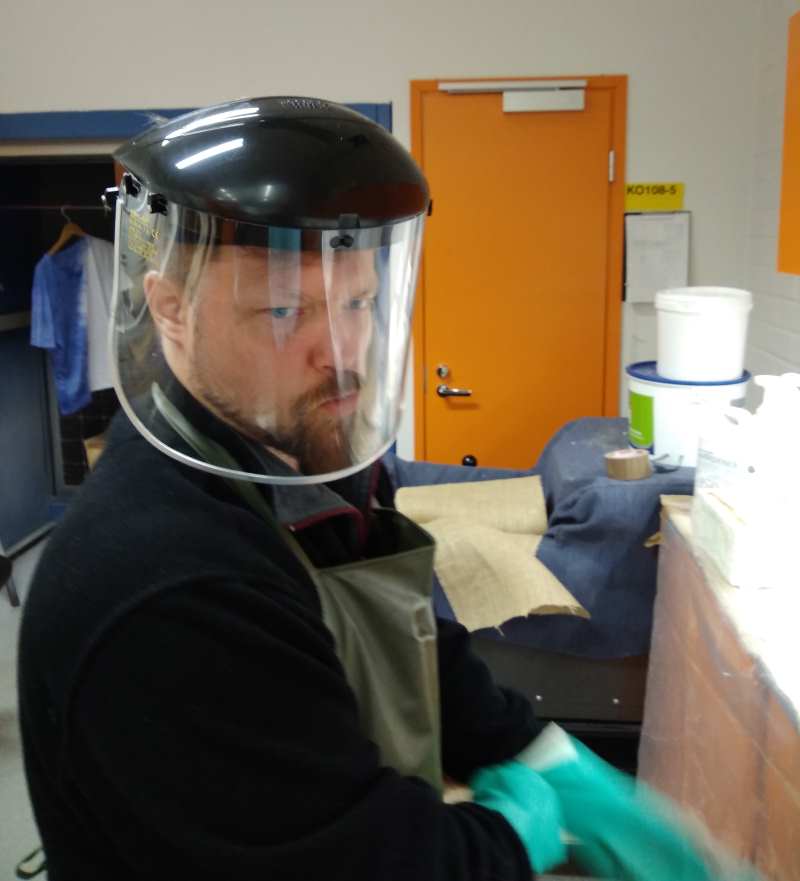
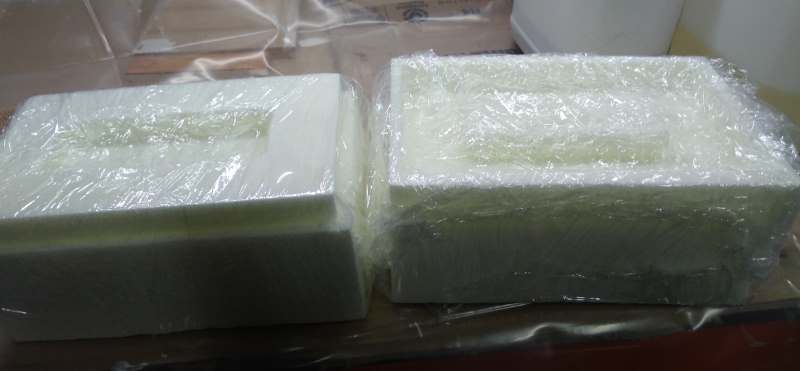
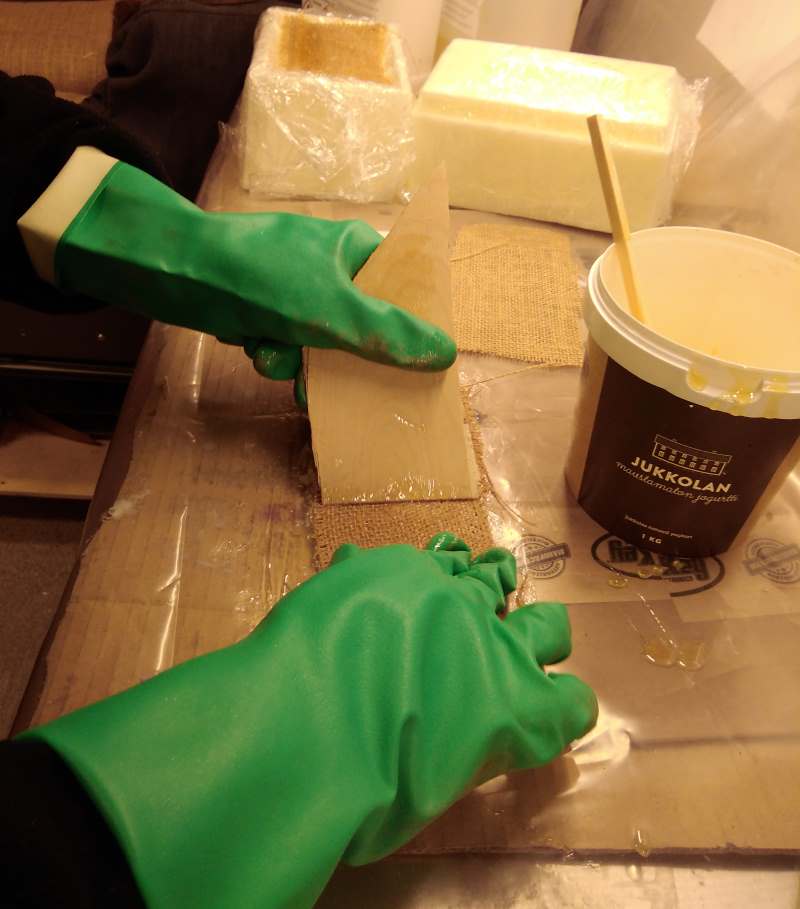
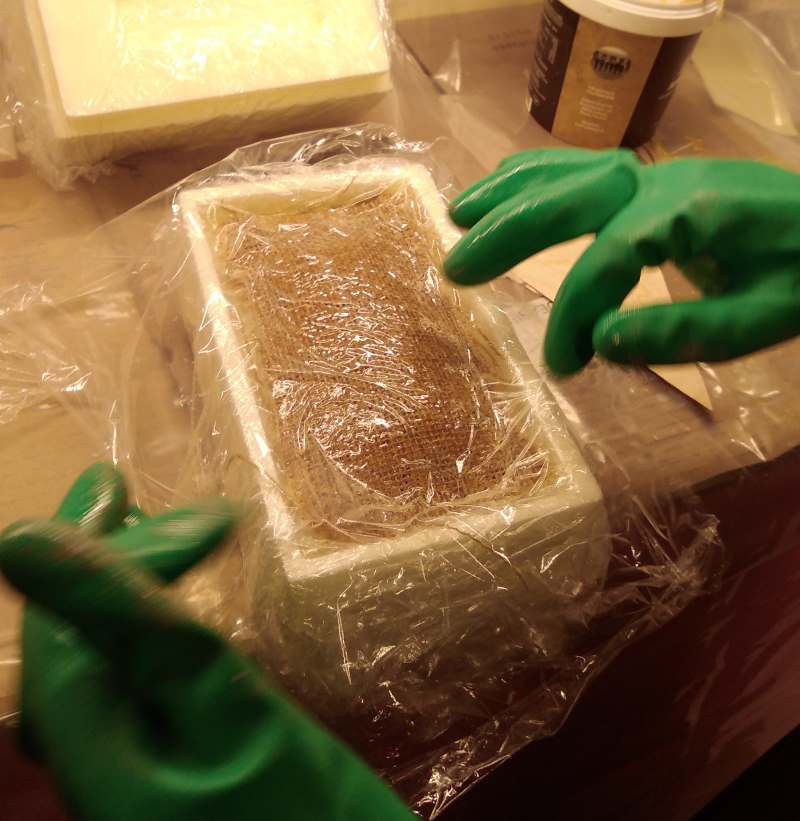
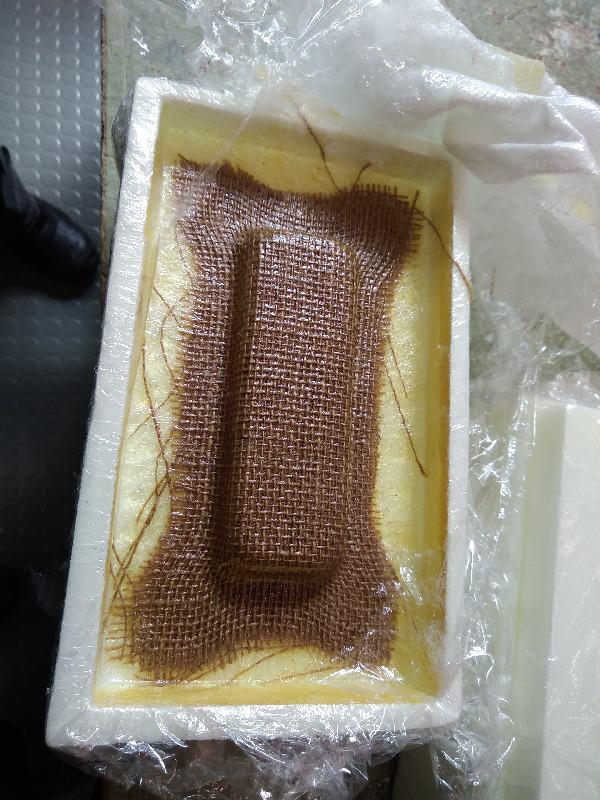
Covered the mold pieces in plastic film so they can be easily removed afterwards.
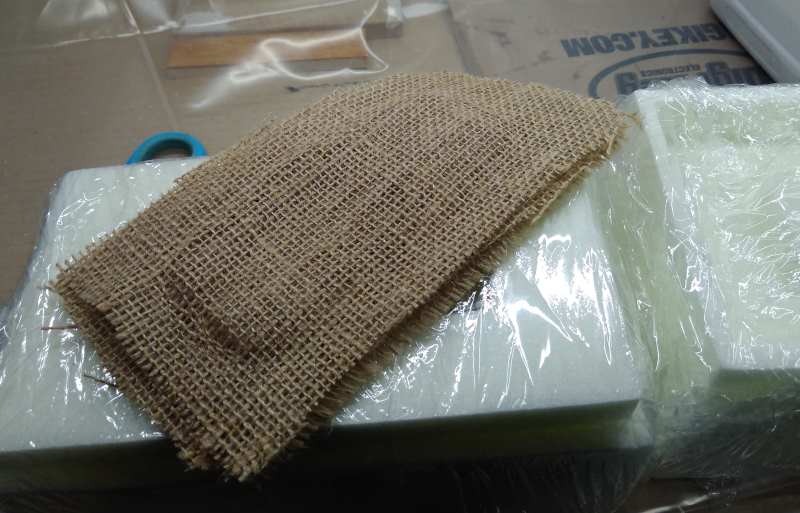
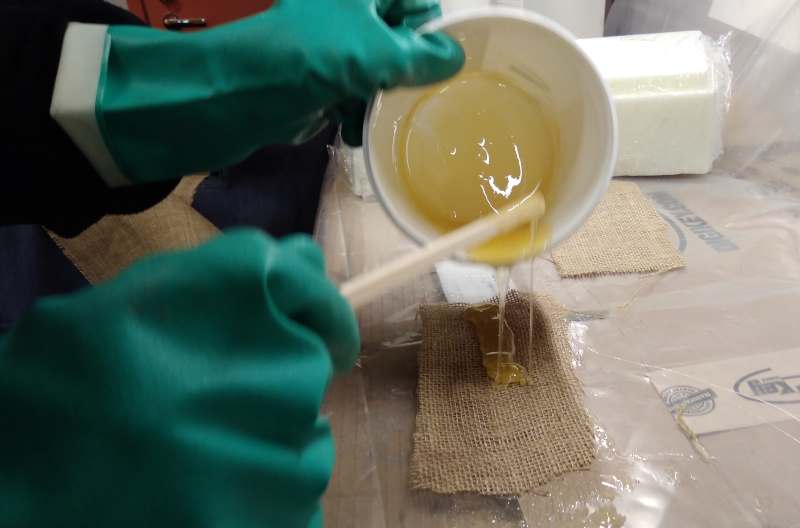
Since I did not have that much space between the molds, I decided to go with 3 layers of fabric. Cutted those out from a roll of burlab fabric with normal scissors.
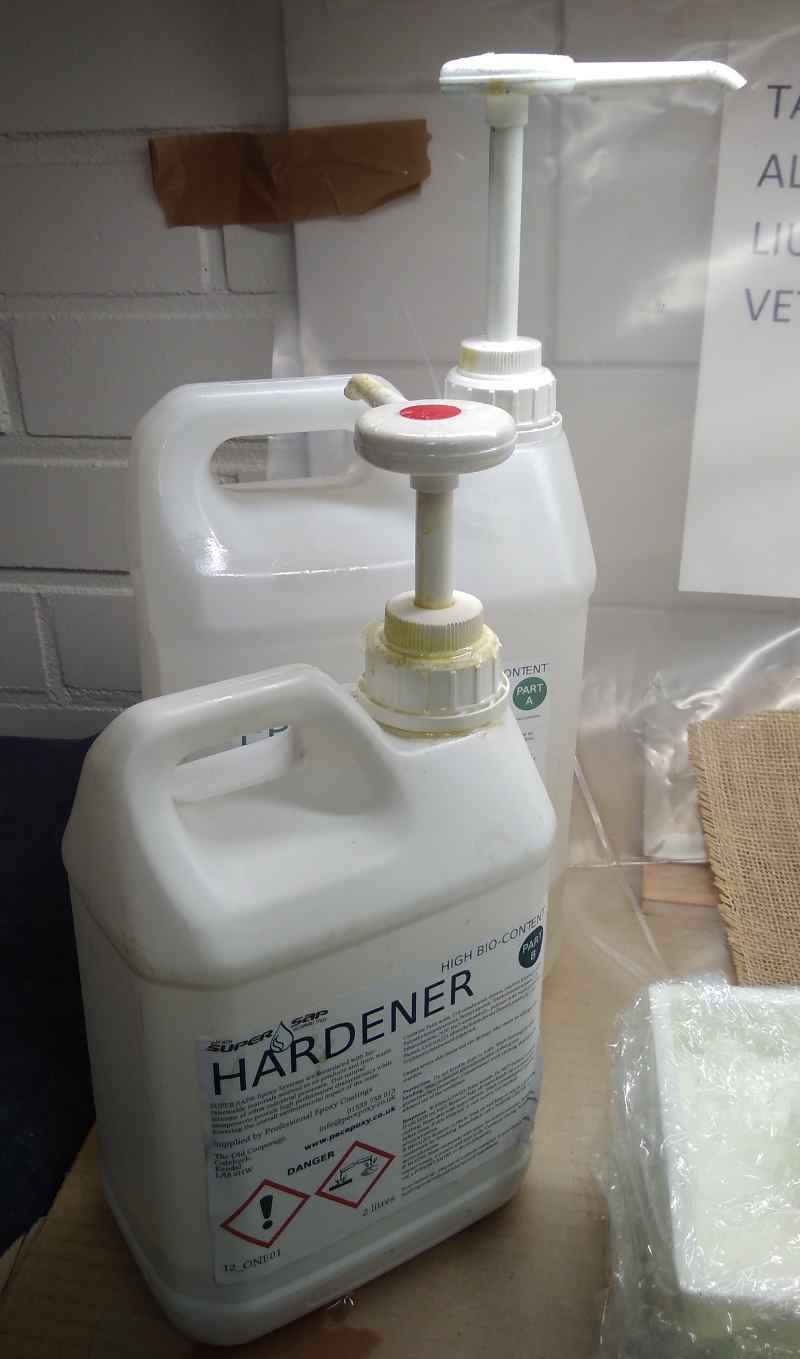
Next thing was to make the epoxy mix with: Super Sap ONE Epoxy and Super Sap ONF Hardener.
Safety concerns gathered from datasheets:
- Harmful if swallowed.
- Causes severe skin burns and eye damage.
- May cause an allergic skin reaction.
- Causes serious eye damage.
- Harmful if inhaled.
- Toxic to aquatic life.
- Harmful to aquatic life with long lasting effects
Basically what this mean, is shut up, wear protective gear and don't pour it to the sewer. Since my workplace and myself were already covered, I proceeded making the epoxy mix.
From Technical data sheet we can see mixing ratio, which is 2 part epoxy, 1 part hardener.
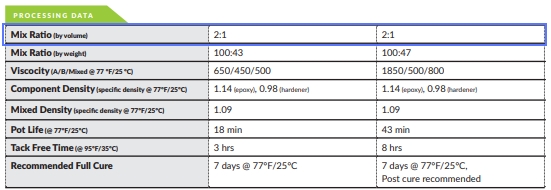
Our epoxy/hardener container pumps were sized so, that one full press from each gives 2:1 ratio(volume).
After mixing 2 full pumps of each, I started soaking the fabric.
After 3 layers of fabric, I applied a layer of plastic film over it. It had some holes made on it with a spiked roller(or whatever that thing was called).
For this cake to "breathe", a layer of cotton wool was applied.

And finally the whole thing was wrapped in plastic film.
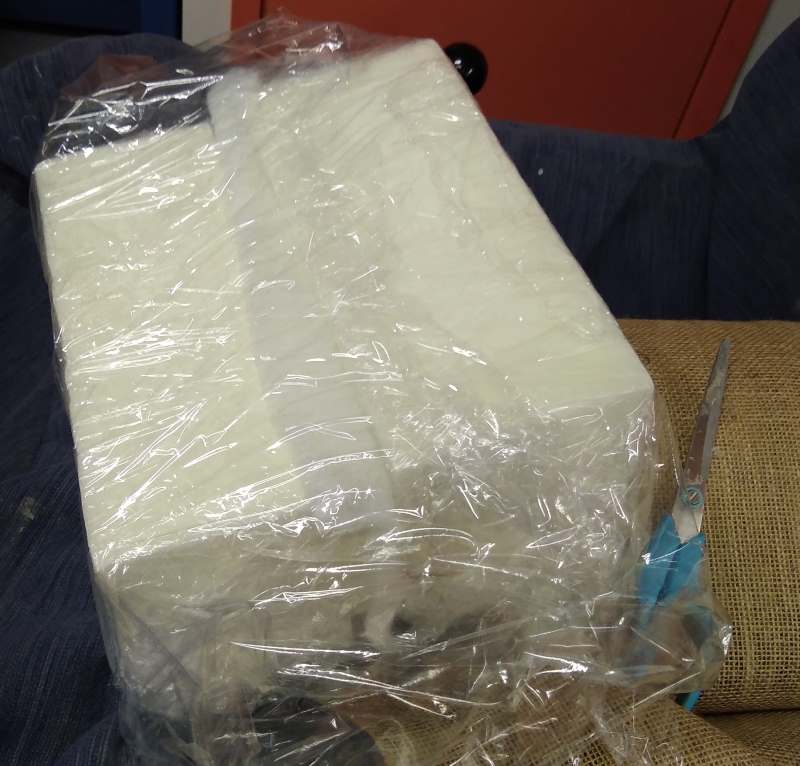
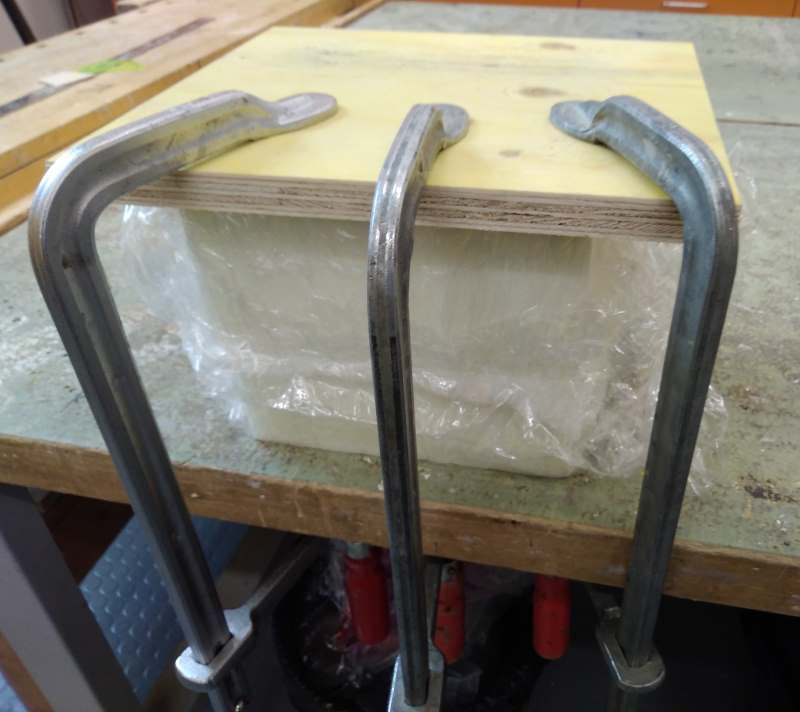
To make it nice and tight, pressure was applied. Here it can cure for a day.
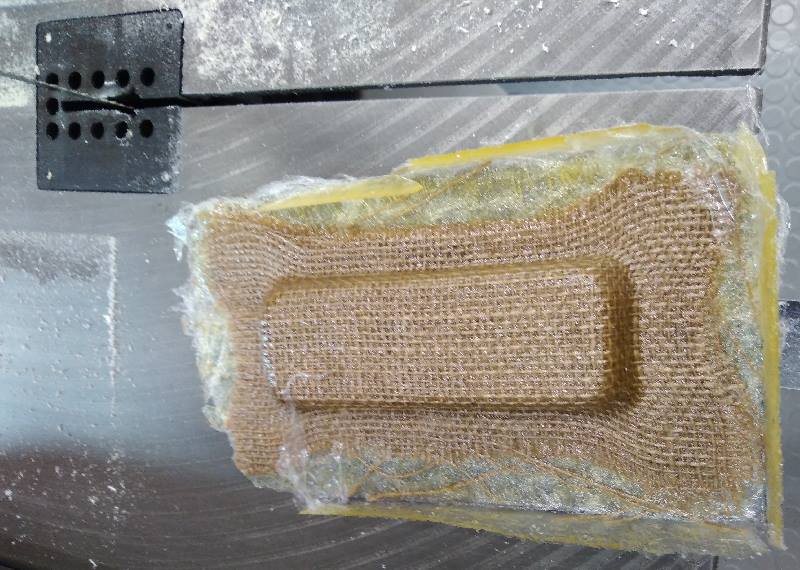
On the next day I returned to the scene of crime and opened up my present.
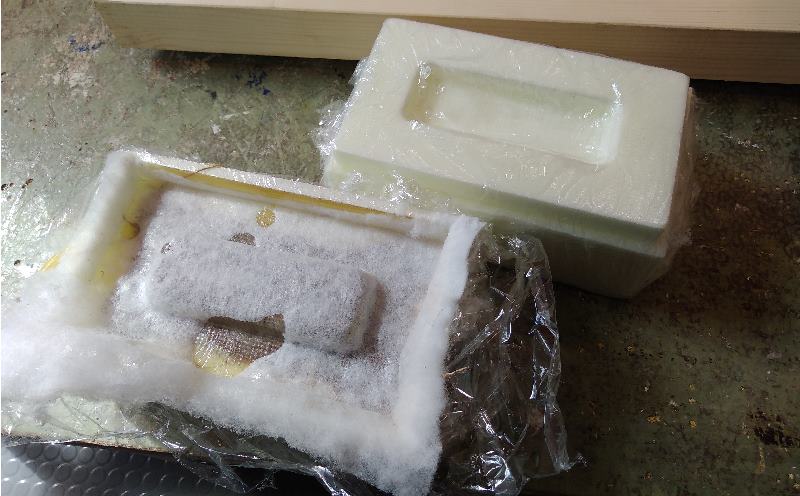
Removed wrappings layer by layer.
Needed to get rid of excess material, so went to remove it with a band saw.
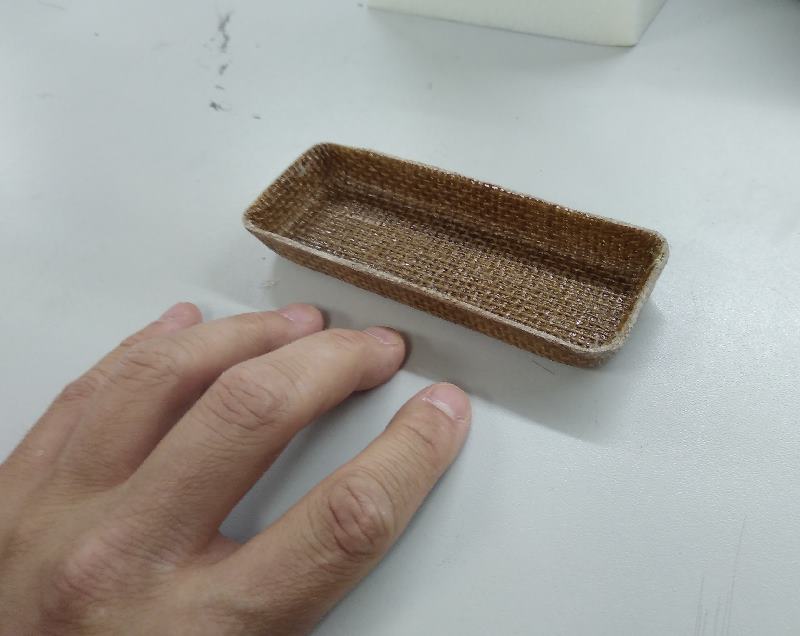
Final product. Hand is included for the scale.
Problems
Only problem was that we didnt have deep enough milling bit for original design. That was resolved by scaling down the design size.
Files
DESIGNFusion 360 file
Bottom .stl
Top .stl
TOOLPATHS
Bottom roughing
Bottom finish
Top roughing
Top finish