Group Project
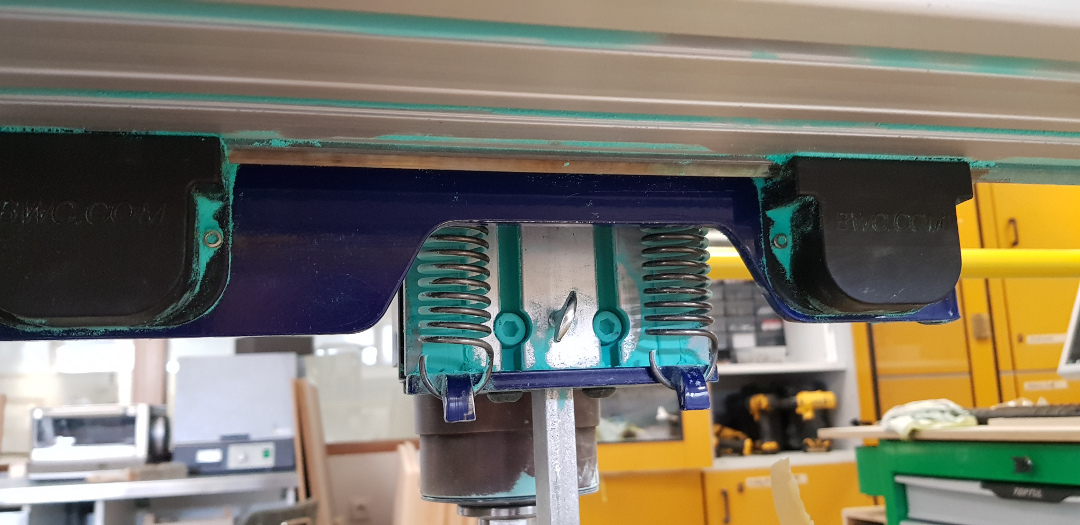
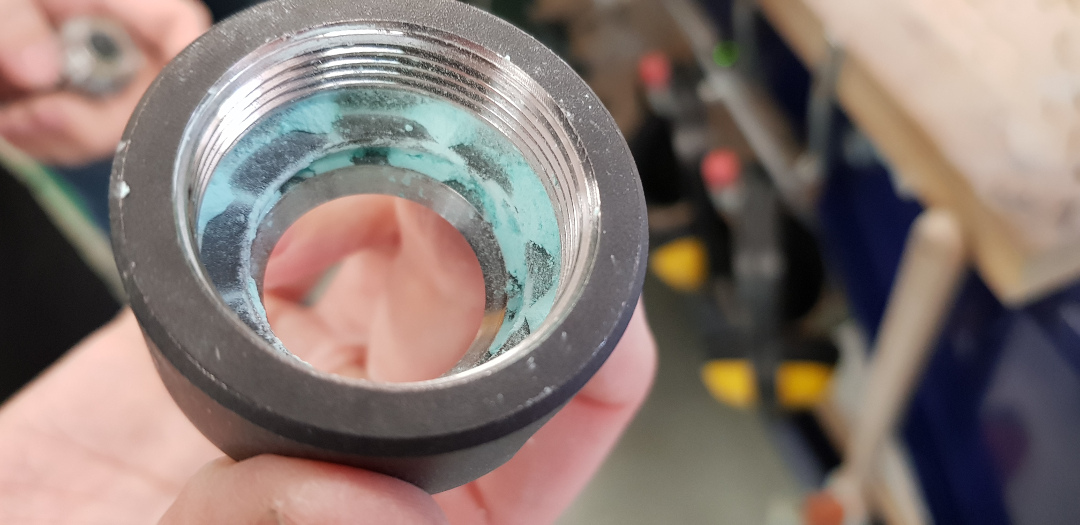
For this week we had to test our Shopbot and and see if the cuts were different from the design we made. When we went into the machine it wasn't clean so we had to clean it before we started using the machine.

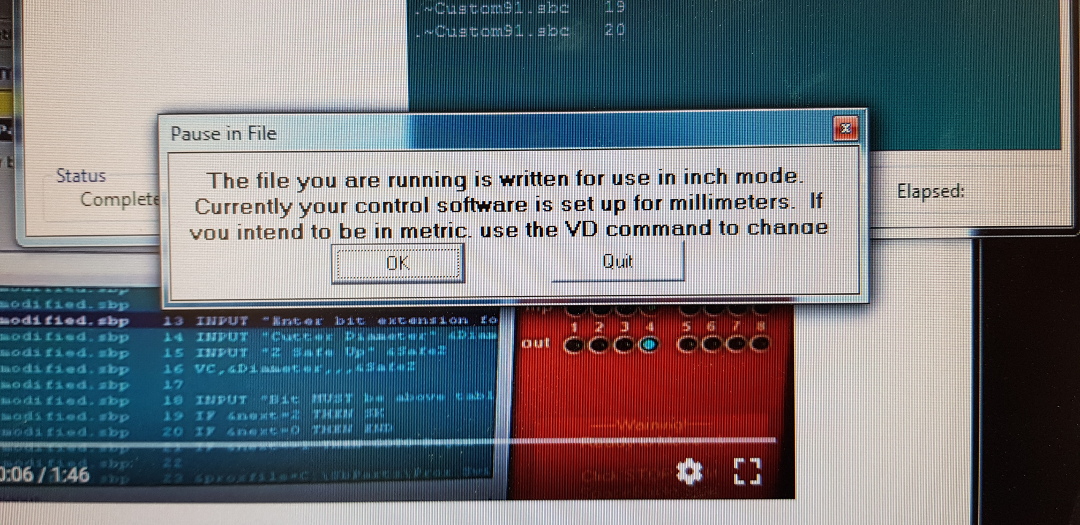
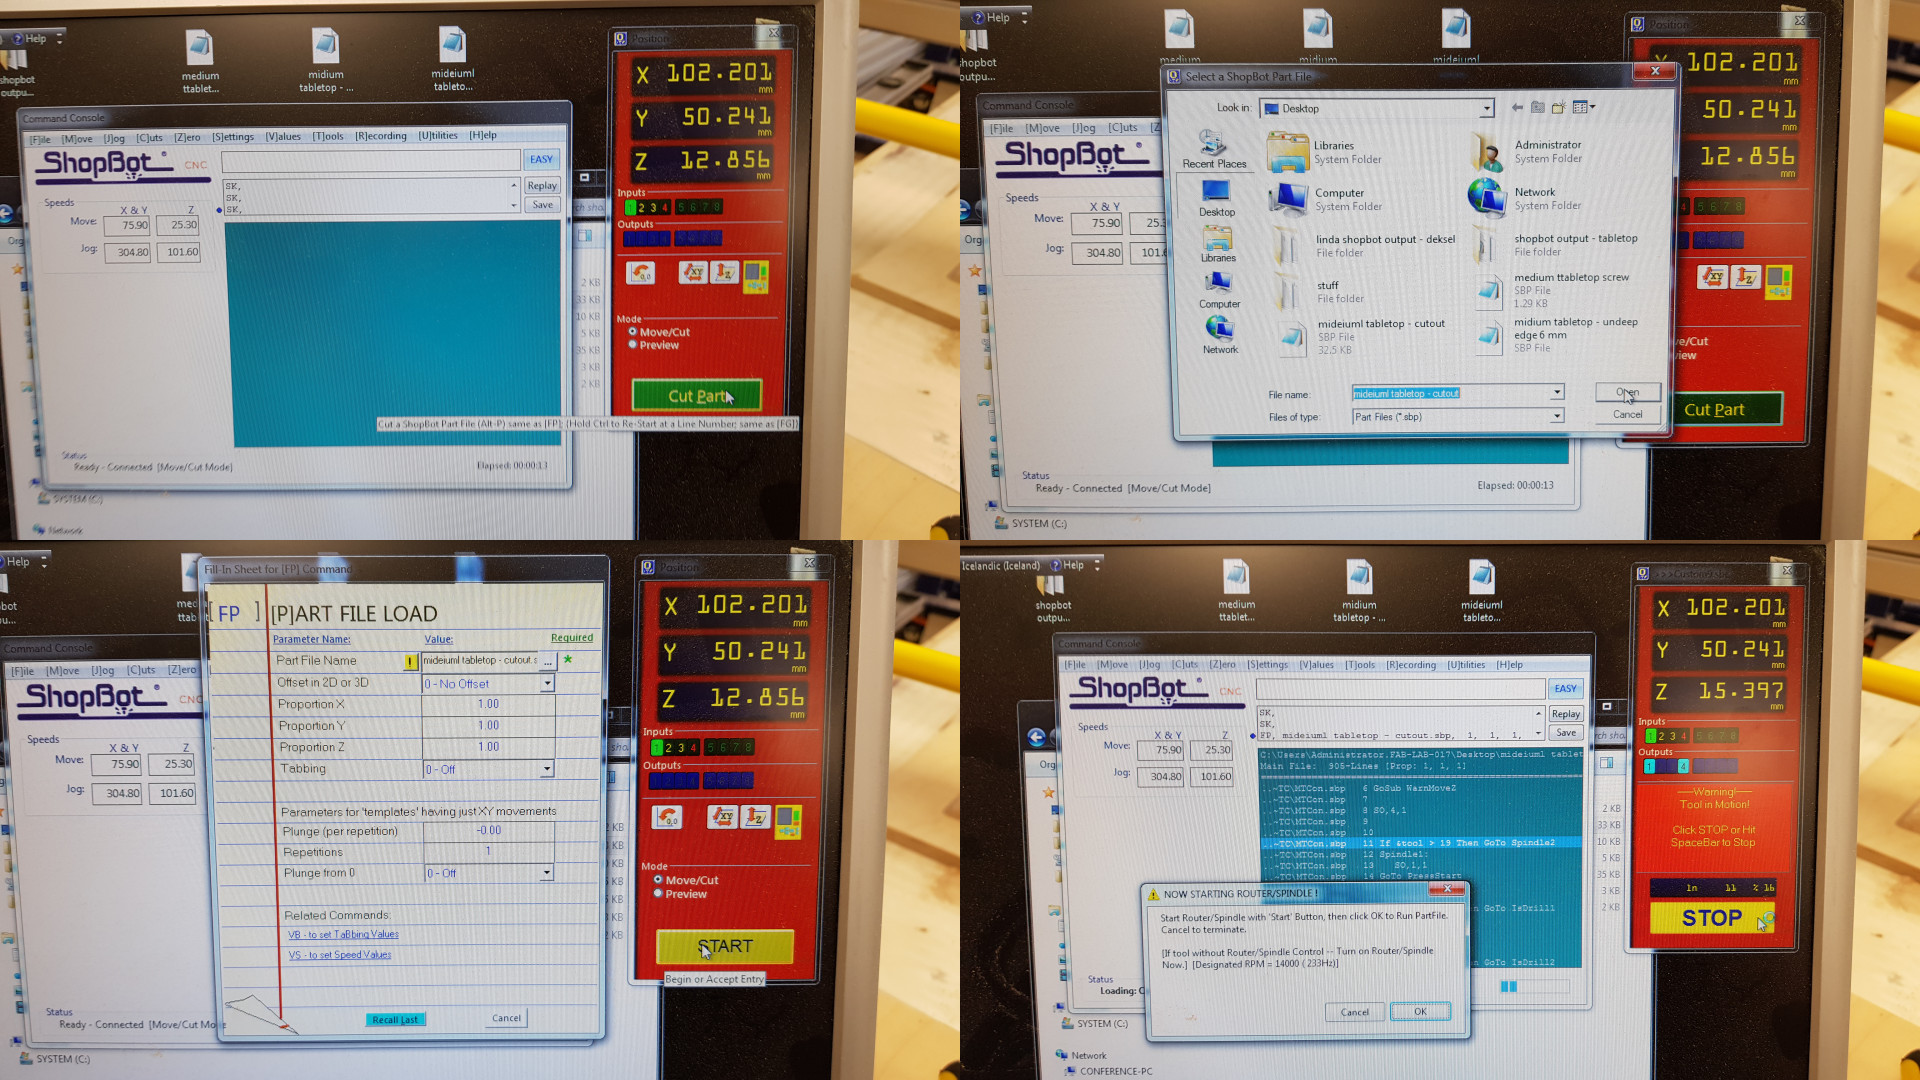
When we tried to start the demo file from Linda, we got this error message. So we went to the
software
that we used and changed the output to millimeters.
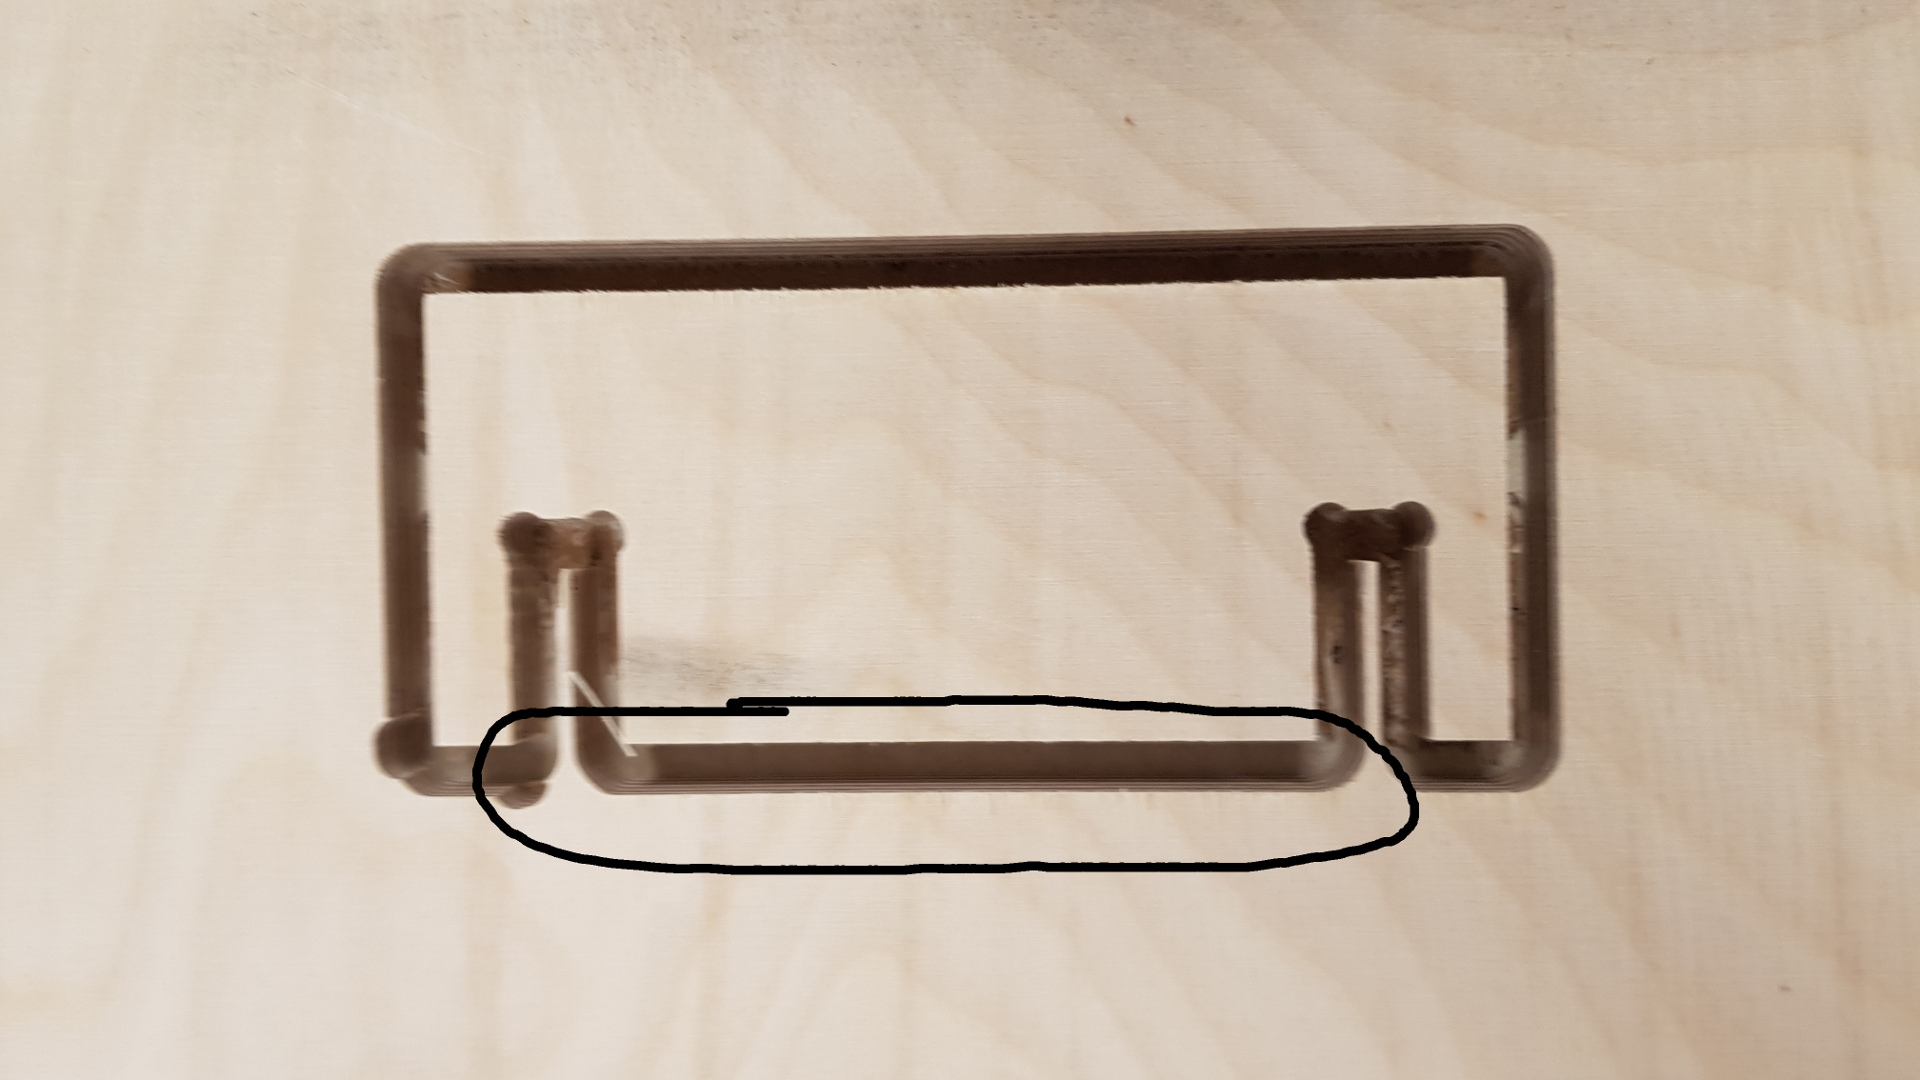
So after cleaning the machine we cut out a piece that fit together and what we found out there was the difference from the cut and the design. It was a millimeter thicker than in the design but the cutout did slot nicely together.
Make Something Big
Designing
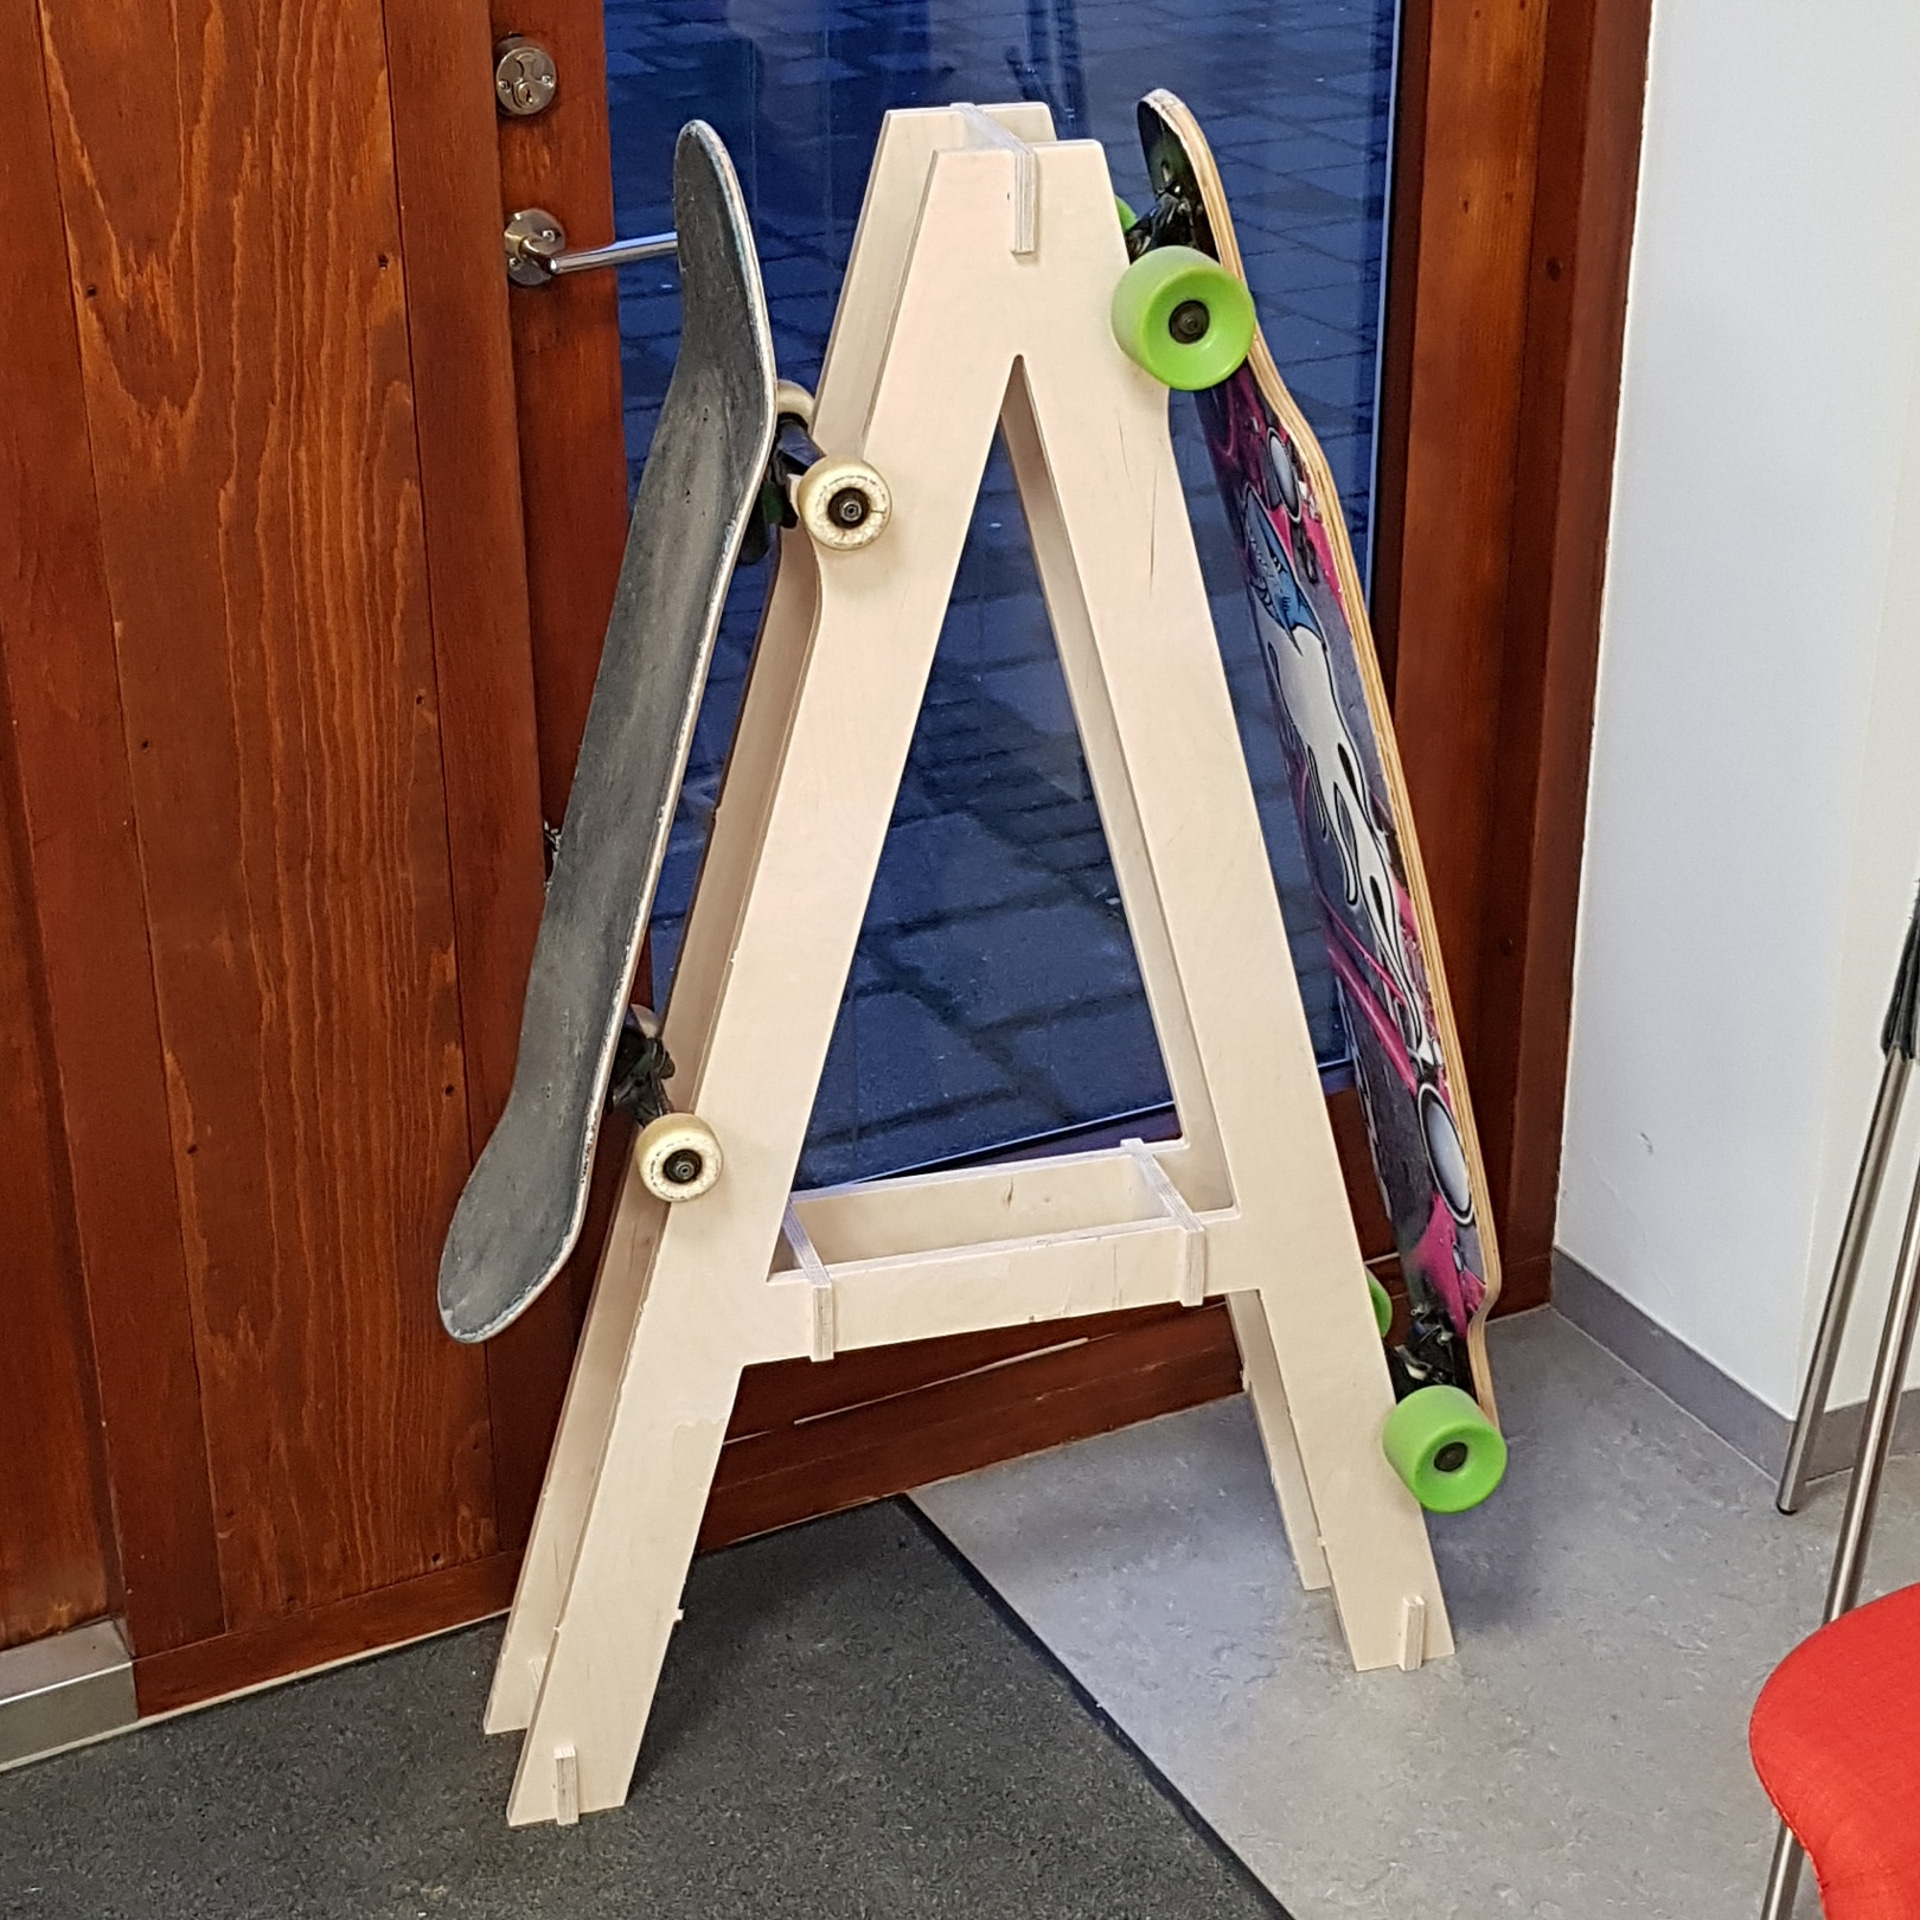
For this weeks indivitual assignment I had to make something big so I wanted to make a skateboard holder.
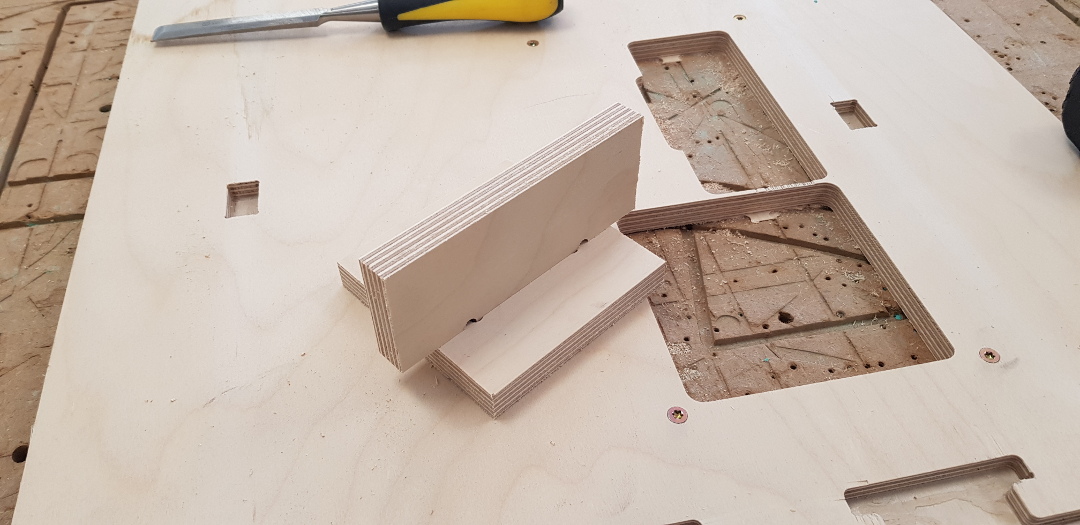
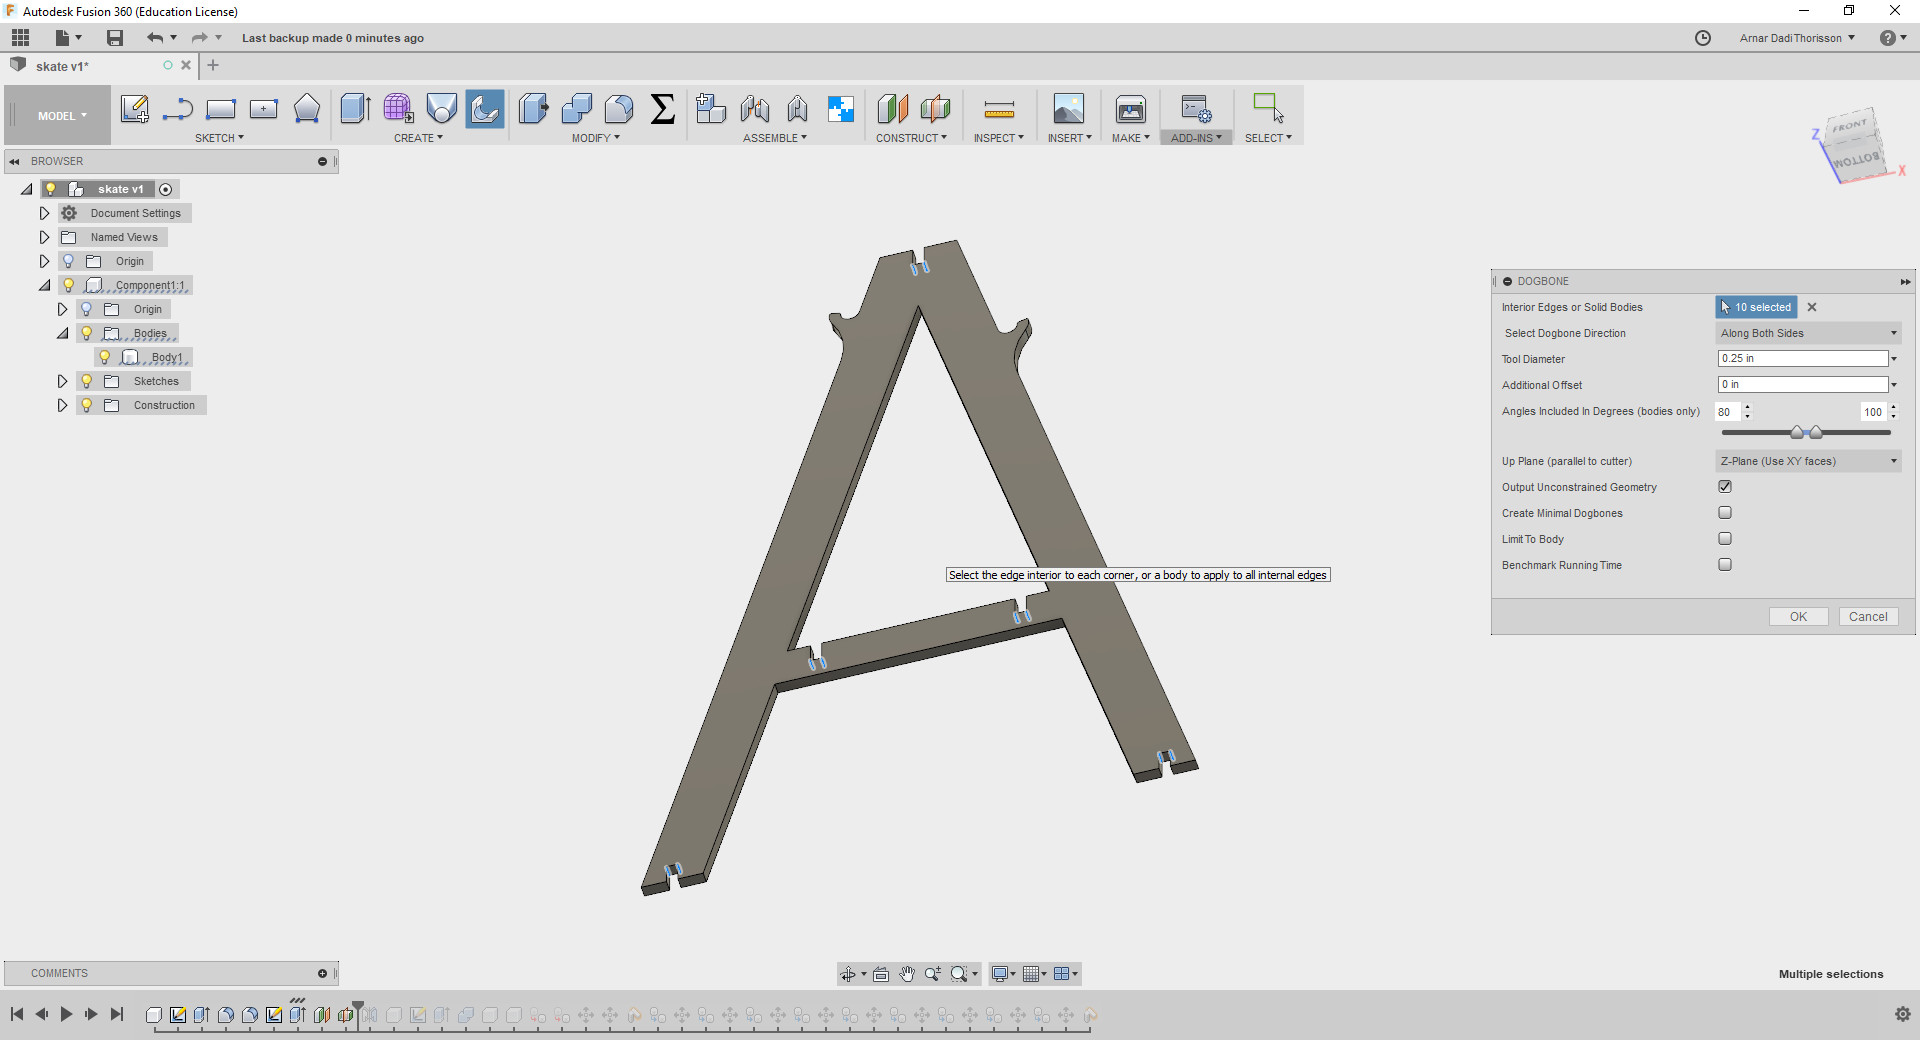
 First I designed it with fusion 360 and layed down the parameters for the thickness of the material and after designing it I layed everything down on the z-axis. Which is important for the cam and
dogbone extension.
Do note that if you want to do use the dogbone extensipon, it's necessary to apply it as a last featur in the timeline, before going to cam. I found that if you want to change something earlier in the timeline it will mess up the design.x
First I designed it with fusion 360 and layed down the parameters for the thickness of the material and after designing it I layed everything down on the z-axis. Which is important for the cam and
dogbone extension.
Do note that if you want to do use the dogbone extensipon, it's necessary to apply it as a last featur in the timeline, before going to cam. I found that if you want to change something earlier in the timeline it will mess up the design.x
Cam Setup
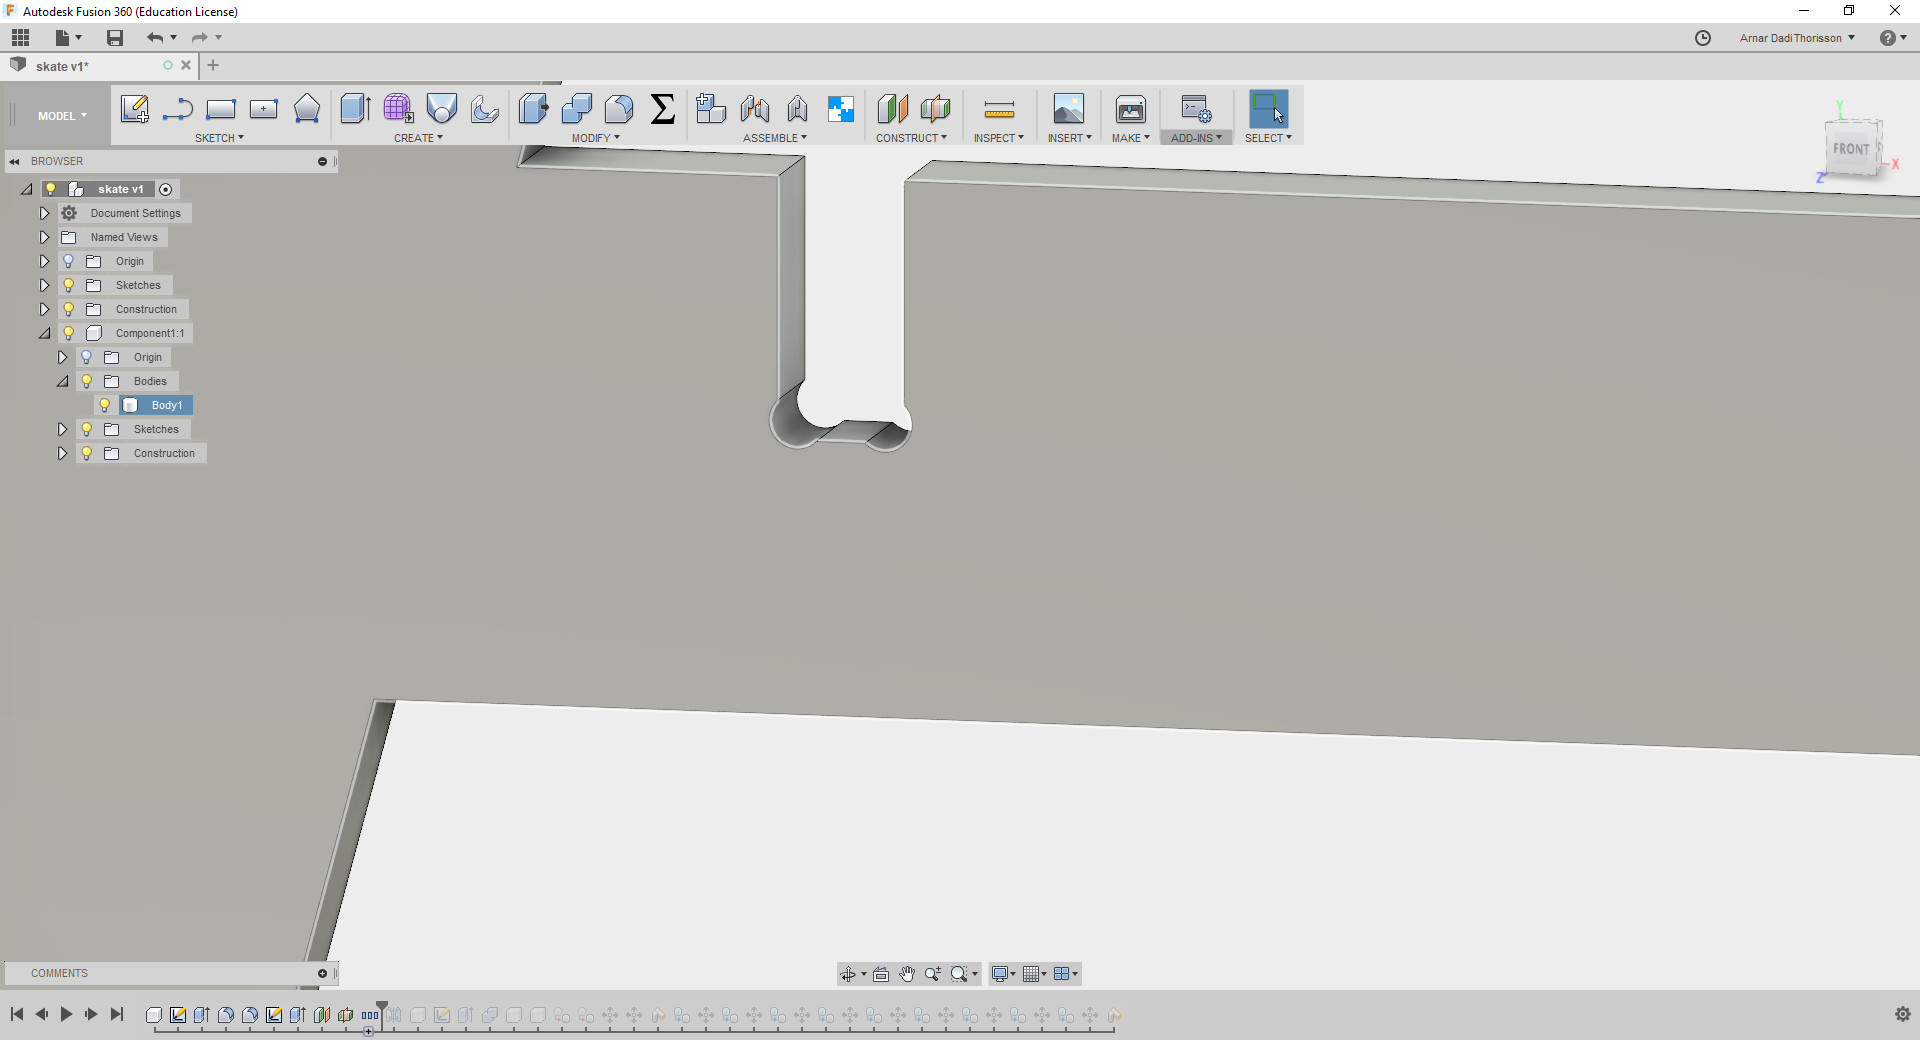
I started up with the setup for the material to cut. I measured scraps from the lab and found a plate thats big enough for my design. In fusion setup the stock to match the size of my design. I put the home point at the bottom of the material and at the bottom right corner.

Next is to make the toolpath and I used 2D contour profile and I had to create the tool that I will be using to cut out the design.

 These are the settings that I'm using for the first pass with a down-cutter. I used the feed and speeds setting from V-Carve and applied them in here. You can see in the height setting that I set the bottom height to 10mm because I wanted to leave 10mm for the up-cutter.
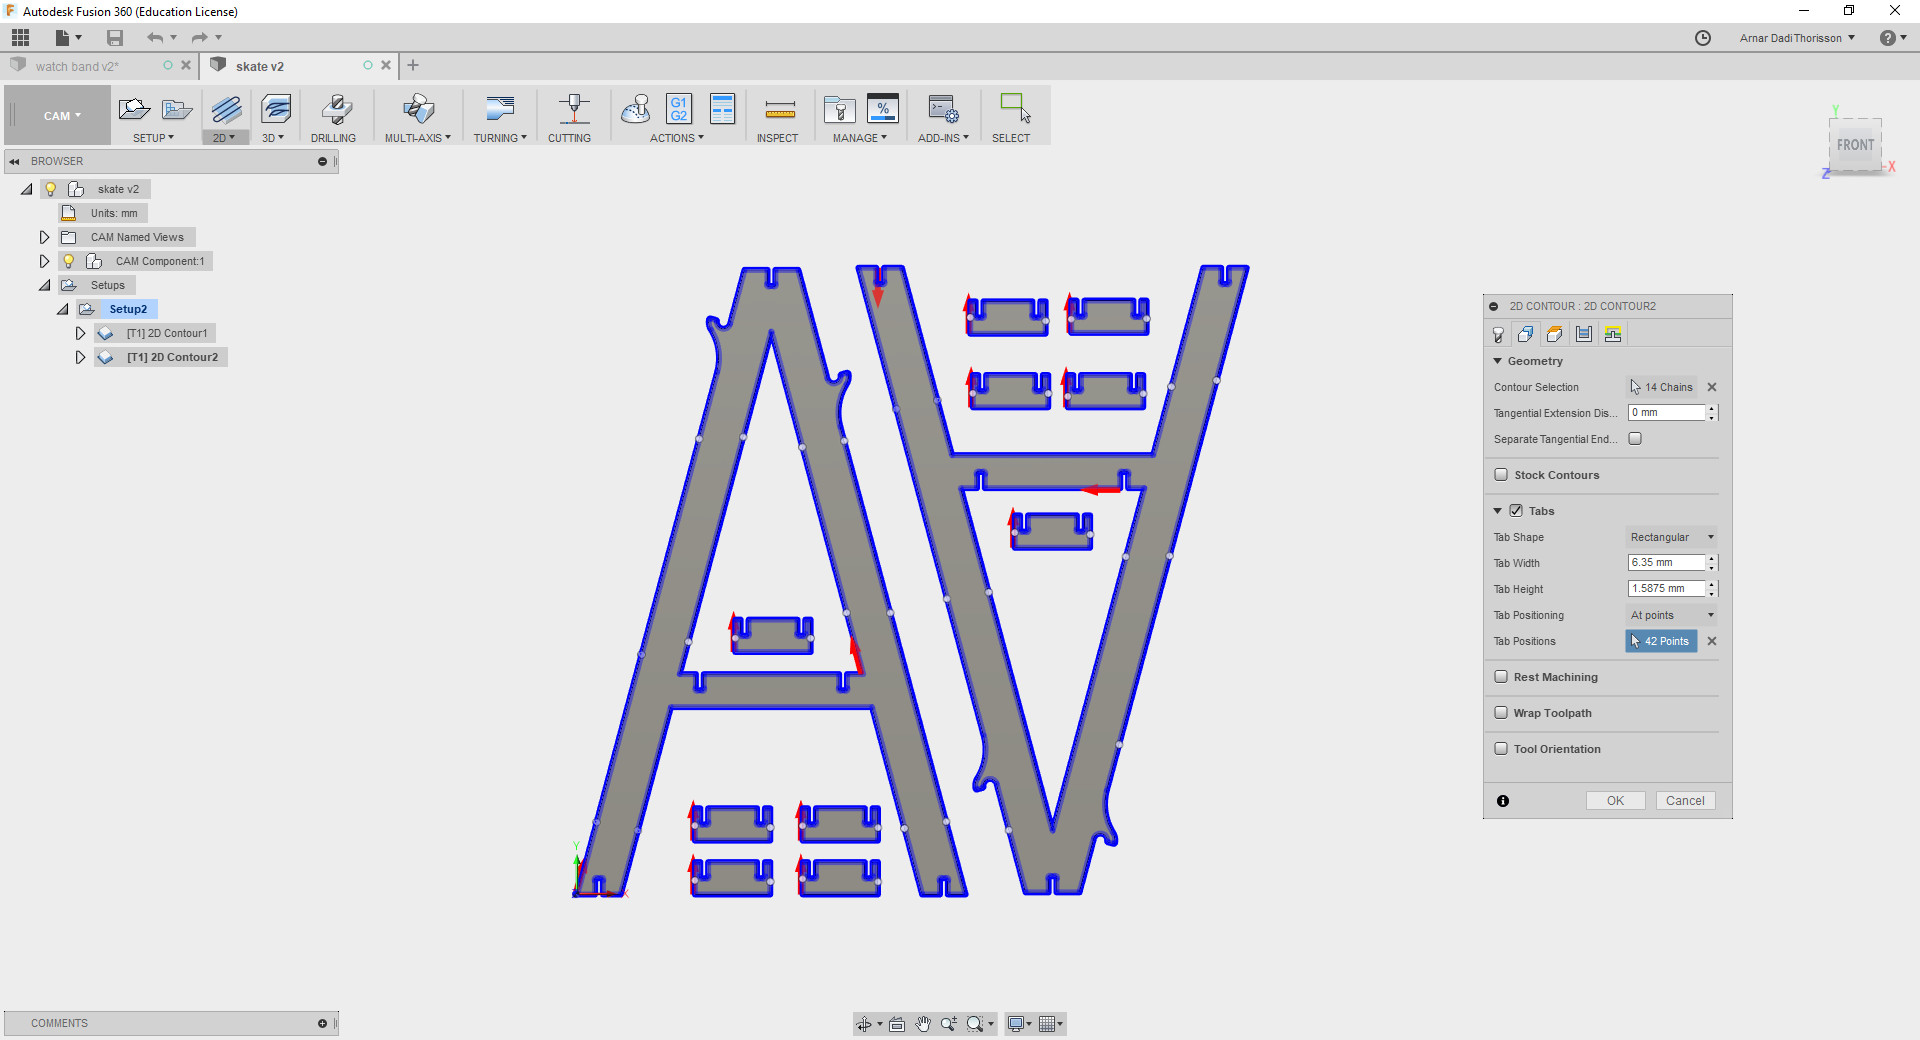
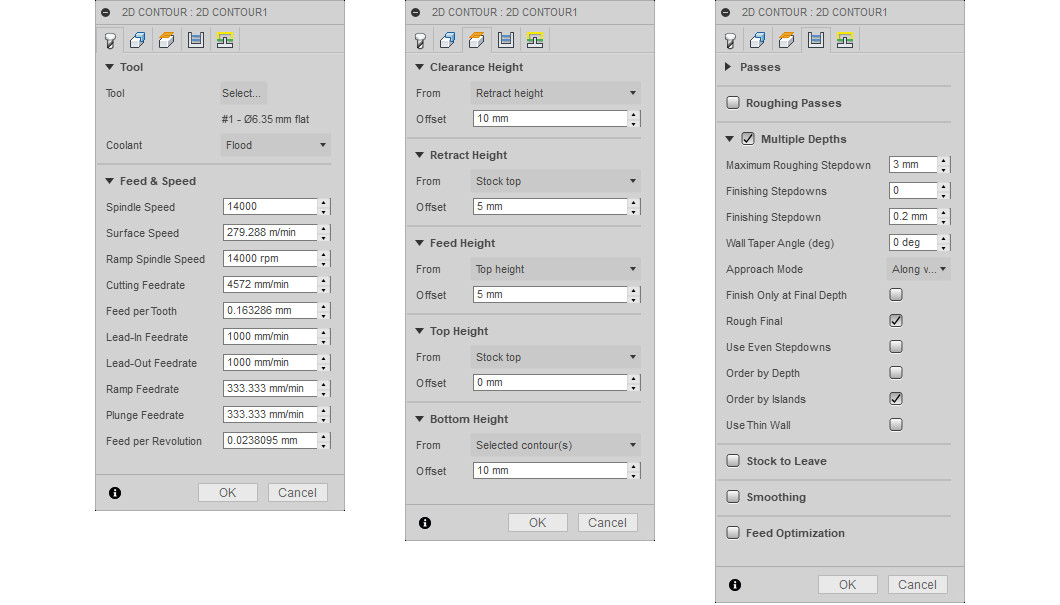 Here you can see that each dot is an tab for the pieces to hold onto the material.
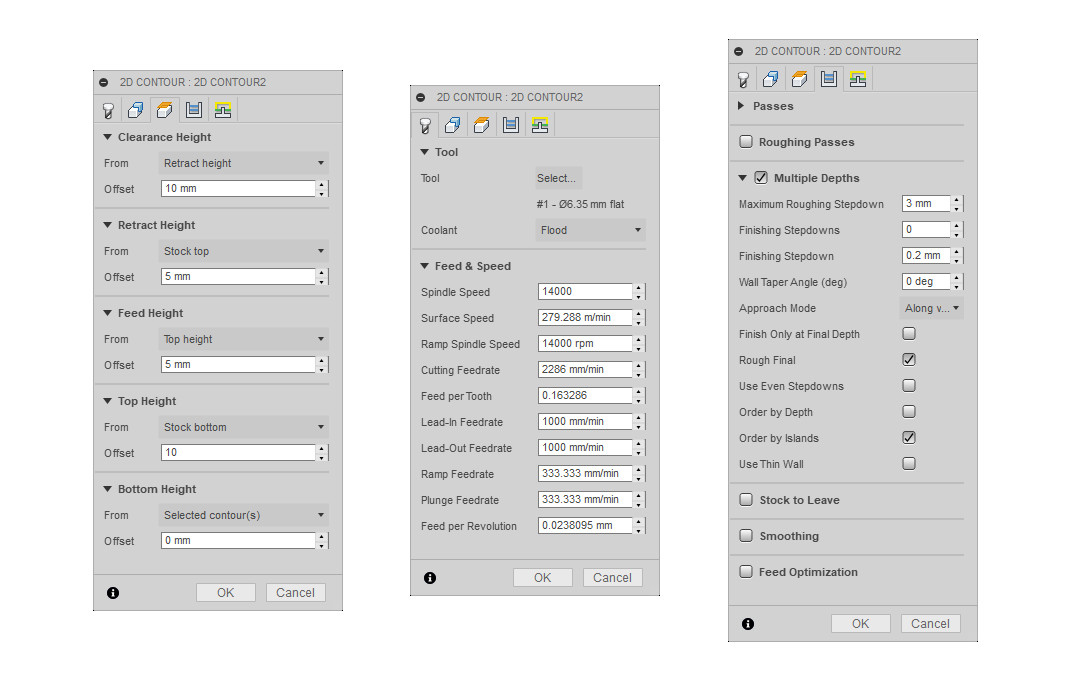
 Here you can see I set the top height to 10mm relative to the bottom of the material. The up-cutter that I used was a single flute and I had the same spindle speed and set the same feed per tooth as tha previous settings since it is a single flute. I used multiple steps and each step was 3mm but I was told later on that I could use the same length as the diameter of the tool I'm using so it could've been 6.3mm.
Milling
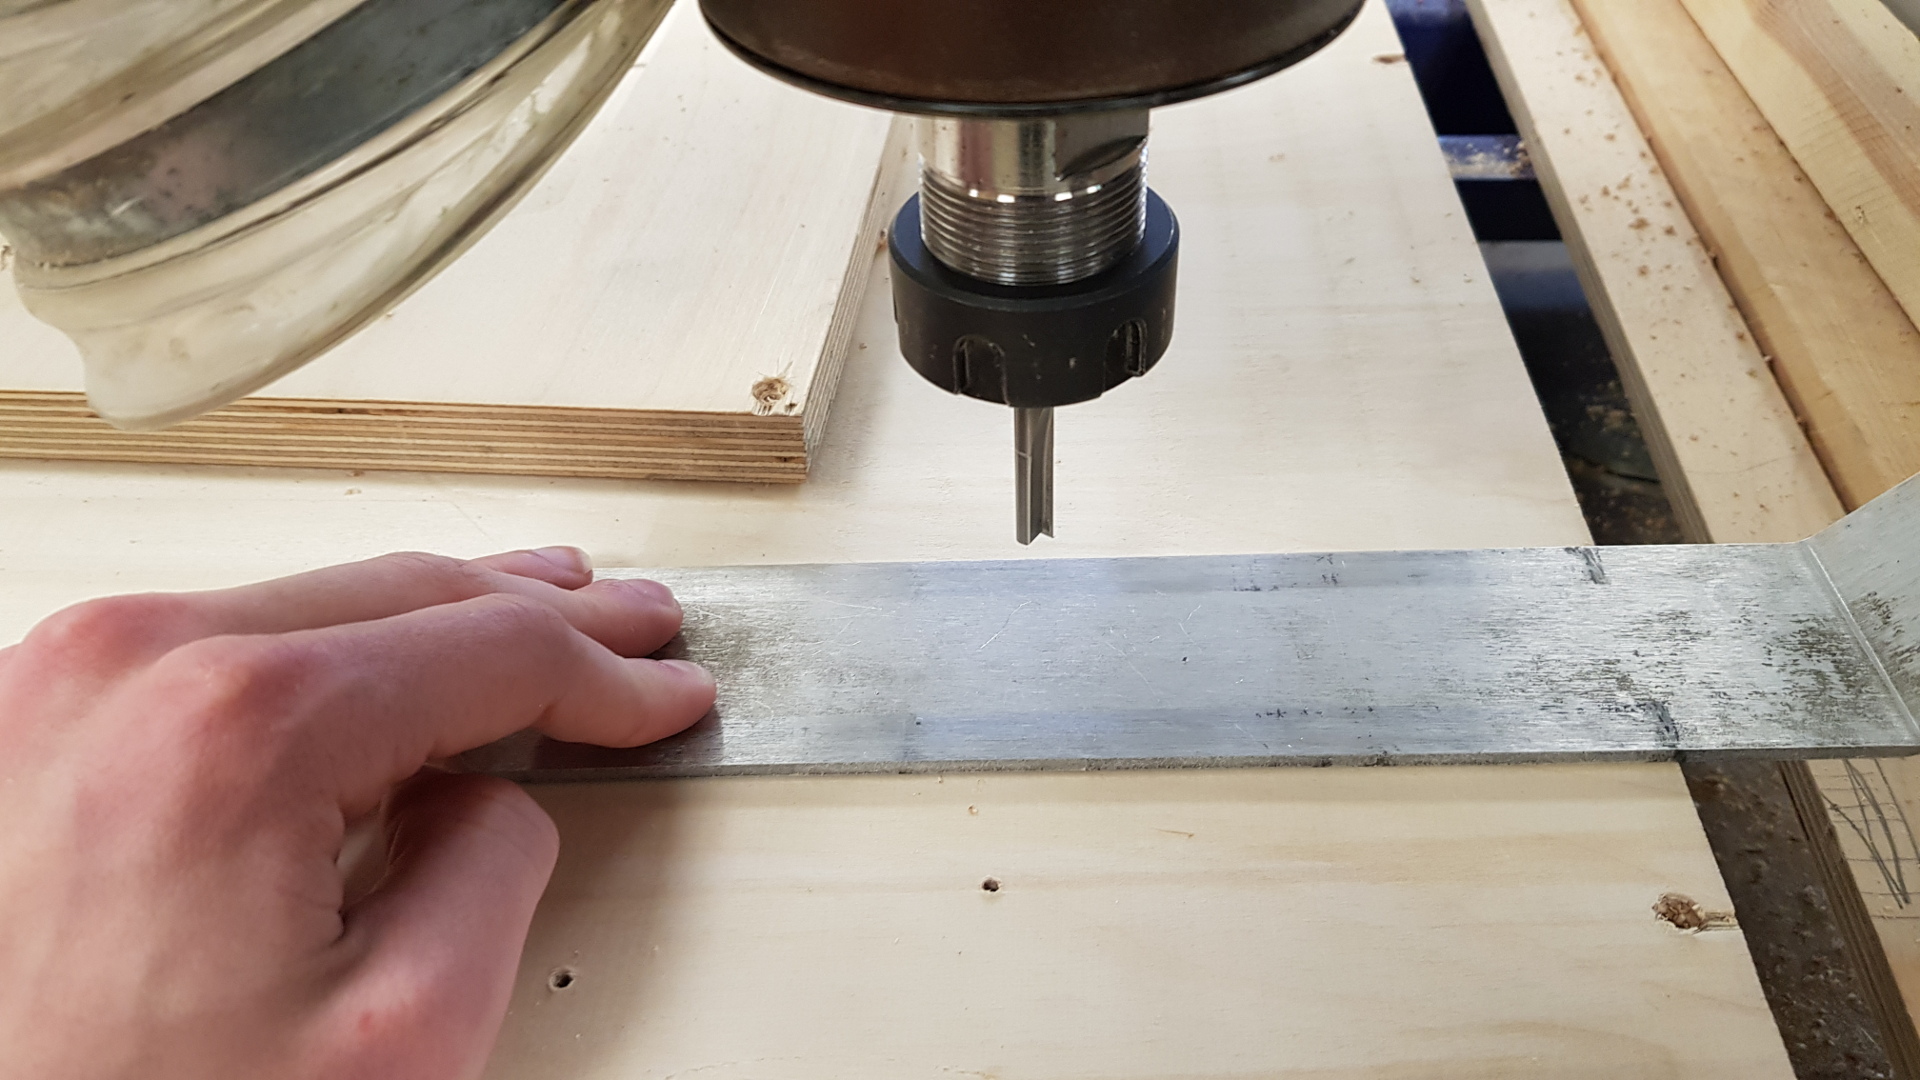
The first thing to do before running the shopbot is to fasten the material to the bed and zero every axis relative to the setup in the design files. I put the z-zero to the bottom of the material. The metal plate is to find where the z-zero is, so when the tool touches the plate, the software knows where z-zero is.
 Next is to locate the corner of the material and set the x and y-axis relative to the design.
 Then I open the file in the Shopbot software and run it. Before running the toolpath, always make sure you have set the zero points, the material is fastened to the bed and is flat, tightened the tool and you are wearing the propper safety equipment. The Shopbot is the most dangerous machine in the lab, so I always double check everything before running it.
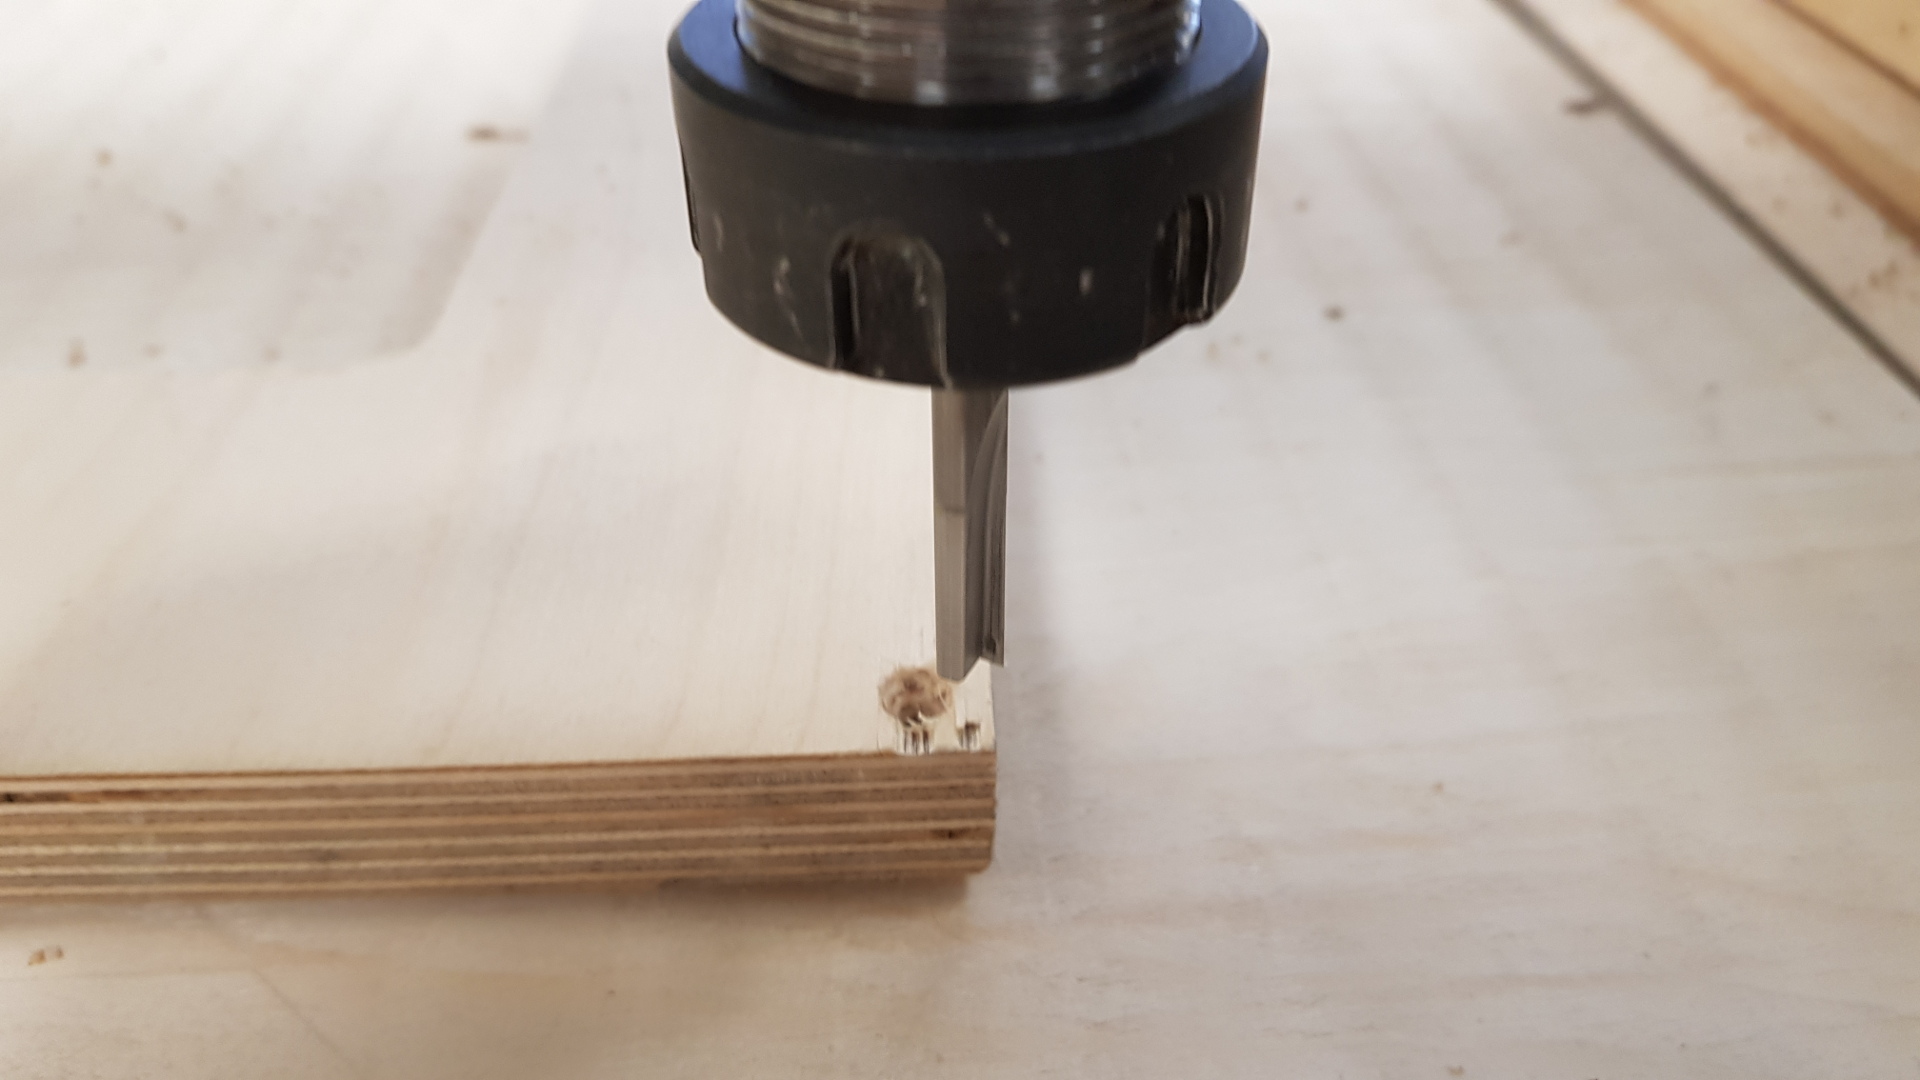
 As you can hardly see at some placces it cut right through the material but at some places it left 0.01mm or so, so I cut it with a boxcutter so it wouldn't splinter so next time let it cut a little more into the scrificial layer of the bed.
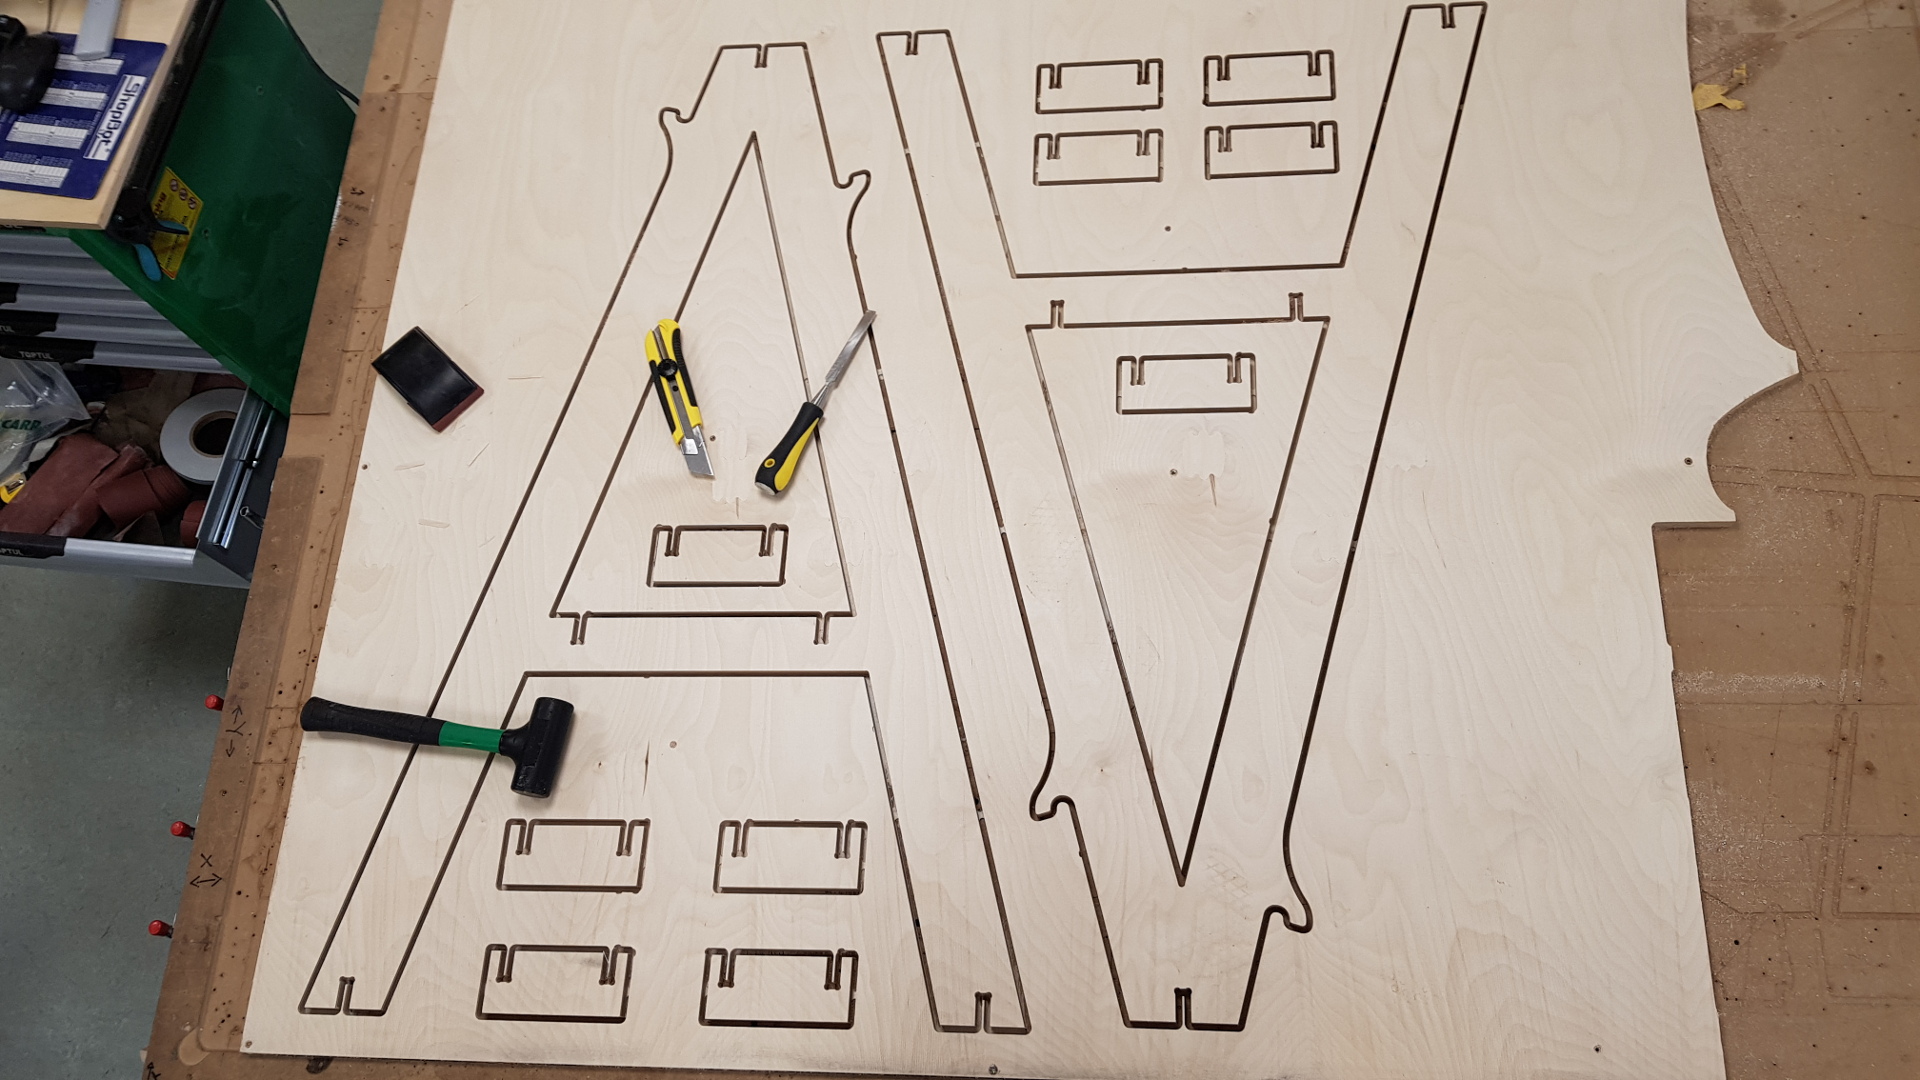
 Next was to take it out, sand it and put it together. The press-fit was really tight and just needed a light tap of a hammer on it and I can hold it up just with the joinery on the top.
Fusion File
PDF File