Week 10: Machine Design

Lecture Neil 06/04/2016

Tutorial Bas 23/03/2016 at FabLab Reykjavik

Assignment: Actuate and Automate the Machine

Thumbnail Image 1

1

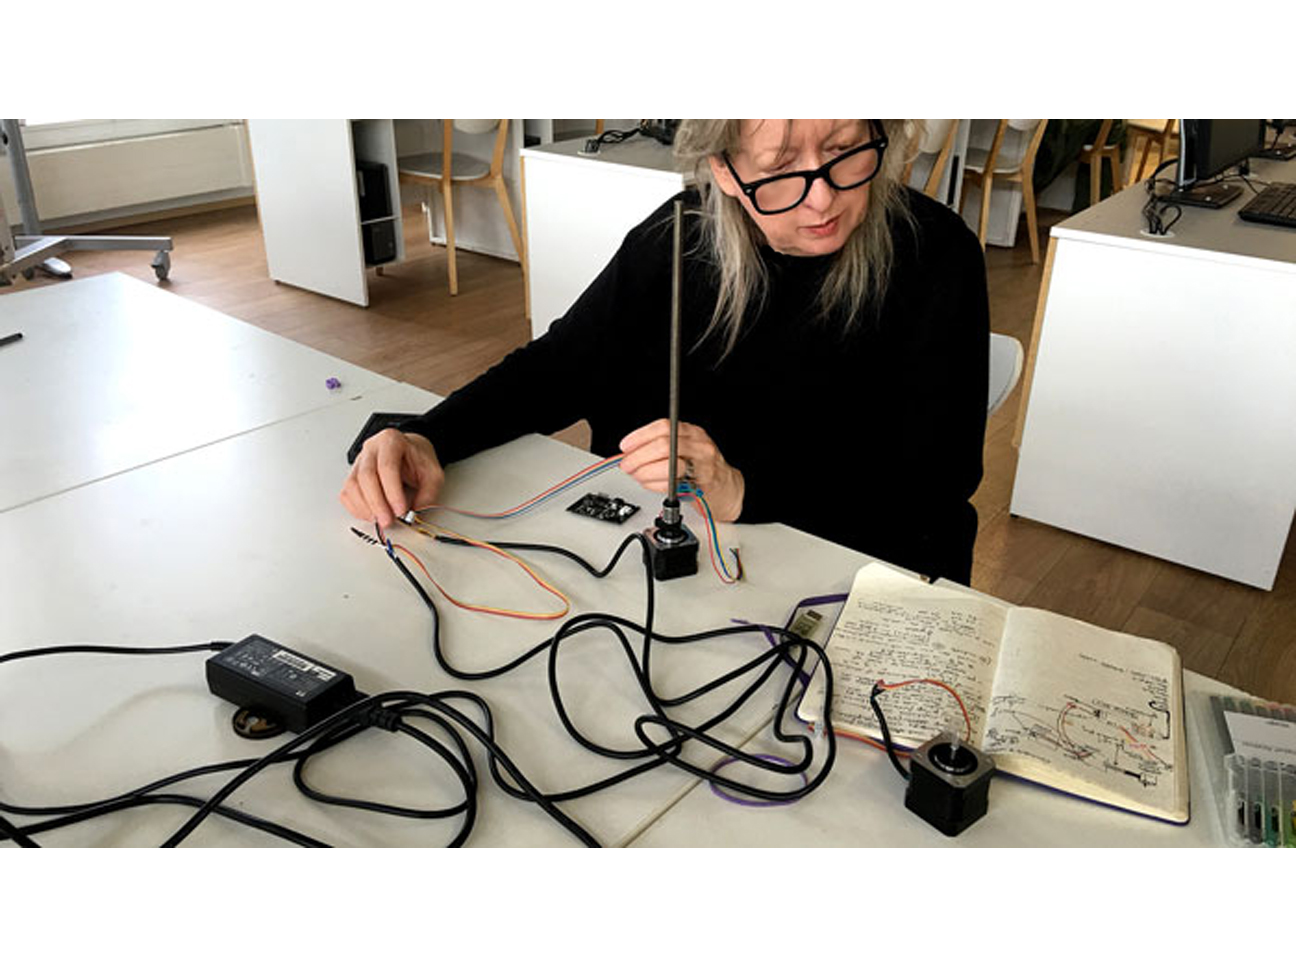
While "tne boys" were finishing the mechanical part of our Mandala machine, I tried to figure out how the electronic parts had to be connected.

Thumbnail Image 1

2

The nodes and other hardware we used was an inheritance of the previous year. Since getting the right cables is often an issue in Iceland, apparantly last year's Fab Academy students made one as per the Icelandic "quick and dirty" design: primitive, sometimes dangerous, but it works. This time there was a really weird wire attached to the power supply, that didn't make any sense to me at first. Thanks to my notes and information online at the MTM site I managed to understand what had to be connected to what.

Thumbnail Image 1

3

Last step was to connect a node and a motor, with no power on it yet. (We were warned not to connect or disconnect nodes when powered, because it could damage and even destroy the nodes).

Thumbnail Image 1

4

When everything was hooked up properly, I powered the node via the weird cable and the motor started to turn!

Thumbnail Image 1

5

Now it was time to do the same tric with a stage and make the box move along the axis. For communication we used a dedicated USB to RS485 cable with an MTM bridge at the other end. As can been seen in this video, that worked fine too.

Thumbnail Image 1

6

And then, literally in the heat of building the machine and while glueing parts together, somehow we managed to fry both the only USB FTDI RS485 cable on Iceland and a Gestalt node!

Thumbnail Image 1

7

We set up an emergency video call with our local instructor Bas (who wasn't local, but outside the country at that time) to discuss the situation. He advised us to immediately order a new cable from abroad, make a new bridge board as per his design, and try to find the 3rd node of the 2015 class that should be somewhere in the lab.

Thumbnail Image 1

8

We found the node, the cable came in a few days later and with the help of this Gestalt Nodes document that I made for myself, I managed to make the bridge board and understand how to connect the FTDI wires to it.

Thumbnail Image 1

9

I soldered the FTDI wires and we had a new USB to RS485 cable! On the group's website more information can be found on how we finished the machine and programmed it to make it draw mandala's. .

Thumbnail Image 1

10

On our group's Machine Building website there is also a video that shows the very basic Mandala the machine could draw (thanks to one of our more Python-fähig group members) when the project was finished. (It also shows the frying of the cable and node, but that part can be skipped!)

Thumbnail Image 1

11

Post Scriptum: Since the machine that we built basically was an (r,Theta)-plotter and none of us had any experience in writing code for such a machine, we ended up just changing numbers and looking how the machine behaved without knowing what the numbers meant. I hope at a later stage my knowledge of the Python language will be good enough to properly program our Mandala machine as an (r, Theta)-plotter. The machine deserves it!