
1
My youngest daughter is really into Zelda (she owns all games and consoles starting 1998 Ocarina of time for N64 up to Breath of the Wild for Switch) and she loves white chocolat. My rather ambitious plan for this week was to combine these two loves and surprise her with a white chocolat Rupee.

2
First challenge: I got very confused about the whole molding & casting process. What should be empty space and what should be material? My local instructor Bas helped me to get a better understanding of this.

3
I started the process by downloading a paper model of a Zelda rupee from internet to get a better idea of size and proportions.

4
In Fusion 360 I made the basic shape of the wax model by combining a simple 3D rupee (draw hexagon, extrude, apply draft angles to the planar faces) and a box (make block and cut out smaller block). It is important that draft angles of rupee and inside walls are large enough to allow for easy release of material in next steps of the process. I used the Inspect/ Draft Analysis option to check on this and correct draft angles where needed (there should be no red anymore in the model, the outside of the box not taken into account).

5
For milling a wax model on the Modela MDX-20 with the Fab Modules (note: I am a 2016 student so no FabMods at that time yet), a mesh (.STL file format) is needed. In Fusion 360 the 3D Print command from the Make menu in the Model workspace was used to generate such an .STL file.
 copy.jpg)
6
The mesh looked OK and I double-checked the size of my model, which seemed to be fine too. Next step was to choose the output format, in my case: Roland mill, which generates a .rml file.

7
A heightmap was calculated and no strange warning appeared there either.

8
Next step was to choose the first process (wax roughcut) and the machine (MDX-20) to generate the toolpath.

9
Later in the process and once the roughcut was finished, choosing the finish cut option generated this much denser toolpath. The tool would stay the same though, being a regular lenght square end 2 flutes altin coated endmill, size 1/8".

10
When using the Fab Modules the x and y starting positions can be set. Very important to check this, otherwise this can happen to you too! (Y position totally wrong).

11
It was amazing to see how much wax chips the rough cut milling produced. These chips were collected because new wax blocks can be made by out of it by melting the wax.

12
This is what the model looked like after the rough cut ....

13
... and this is what it looked like after the finish cut, leaving me with a really nice smooth finished 3D wax model.

14
Next step was to collect all that was needed for making the rubber mold and prepare the workspace for it, including the correct gloves (nitril instead of rubber).

15
I used Smooth-On PMC 121/30 Dry (= no oil in it) liquid rubber for my mold, consisting of 2 components to be mixed in a 1:1 volume proportion.

16
Unfortunately we had no proper volume measuring tools in the lab, so I used carton cups.

17
Because of this having the proper amount of part A in part B in the mix was rather inaccurate, so I just could hope for the best.

18
We learned from our local instructors that smooth and calm was key now to avoid bubbles of air coming into the mixture while putting the two parts together ....

19
... and while stirring the mixture ...

20
... and I also tried to pour in the mixture smoothly and slowly into the wax model to avoid bubbles ...

21
... and it really looked fine at first ...

22
... but very soon the bubbles appeared!

23
I took off the excess rubber from the top with a spatula (scraping off the bubbles too), but new bubbles appeared all the time.

24
Then I learned from the instructors that putting the rubber filled wax model on a warm radiator would help the air bubbles coming to the surface before the rubber was cured.

25
This was a good advise as can be seen in the result: a nice rubber mold without air bubbles!

26
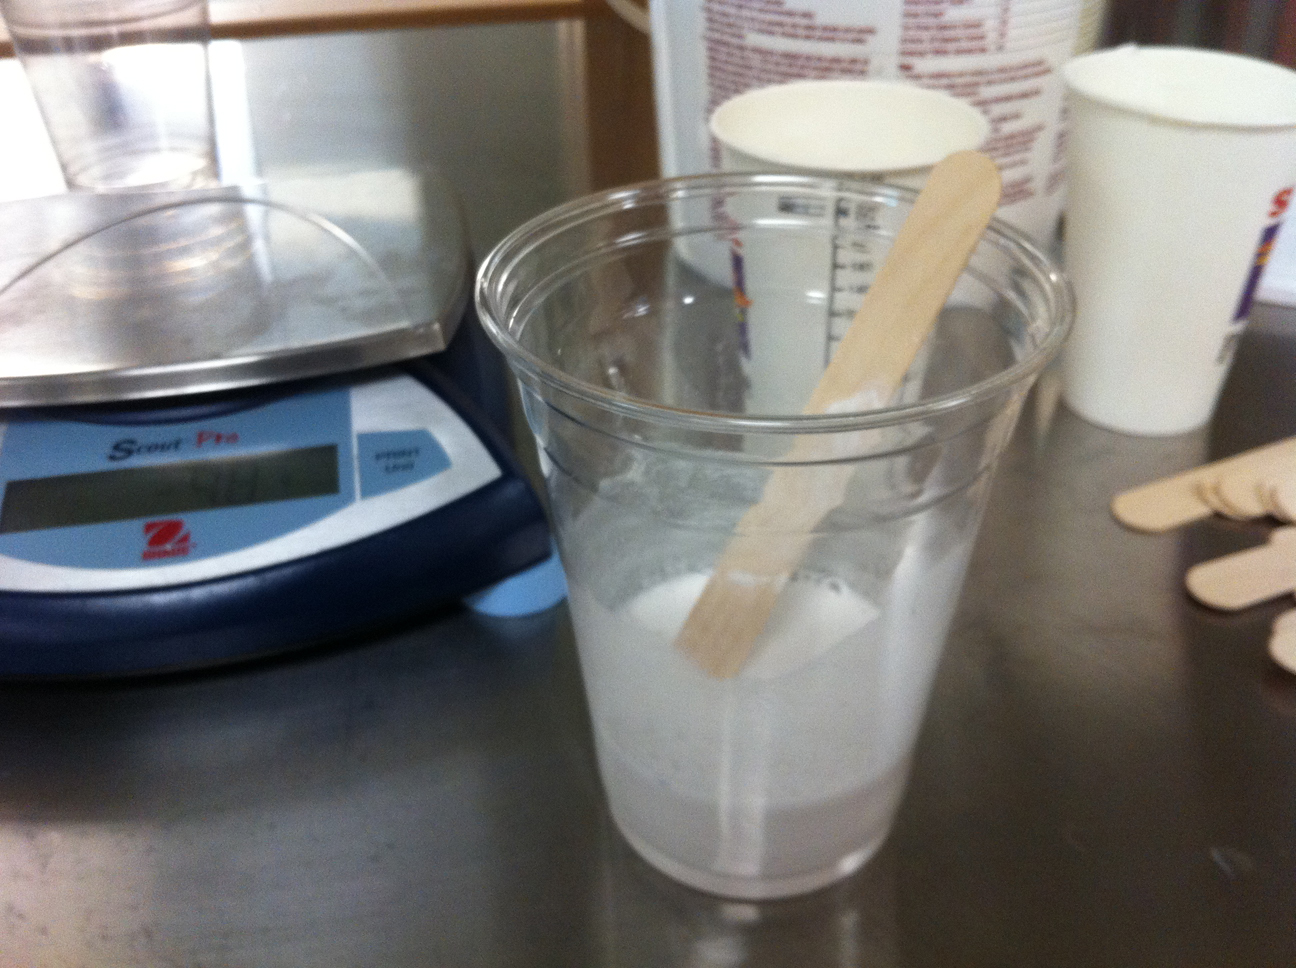
For casting I used DryStone. I measured the correct amounts of water and DryStone ...
27
... and ended up with white-greyish troubled water.

28
Re-reading the specifications I found out I had been confused by the "Recommended parts water to 100 parts powder by weight" instruction and had done the opposite.

29
The second mixture looked a lot better.

30
Again: by doing everything smooth and slowly air bubbles were avoided as much as possible ...

31
... resulting in a bubble-free DryStone Zelda Rupee.

32
The three steps involved in molding and casting put in a row: wax - rubber - drystone. What was obviously still missing was white chocolat.

33
Because I was not sure whether or not a wax model, once used for non-foodsafe rubber could still be used in a food chain, I decided to mill a second wax model, this time on a Modela hooked up to a Raspberry Pi for control. Instead of using the Fab Modules (not possible on Raspberry Pi) the .rml files saved ealier (see step 6) were used and send directly to the Modela MDX-20.
34
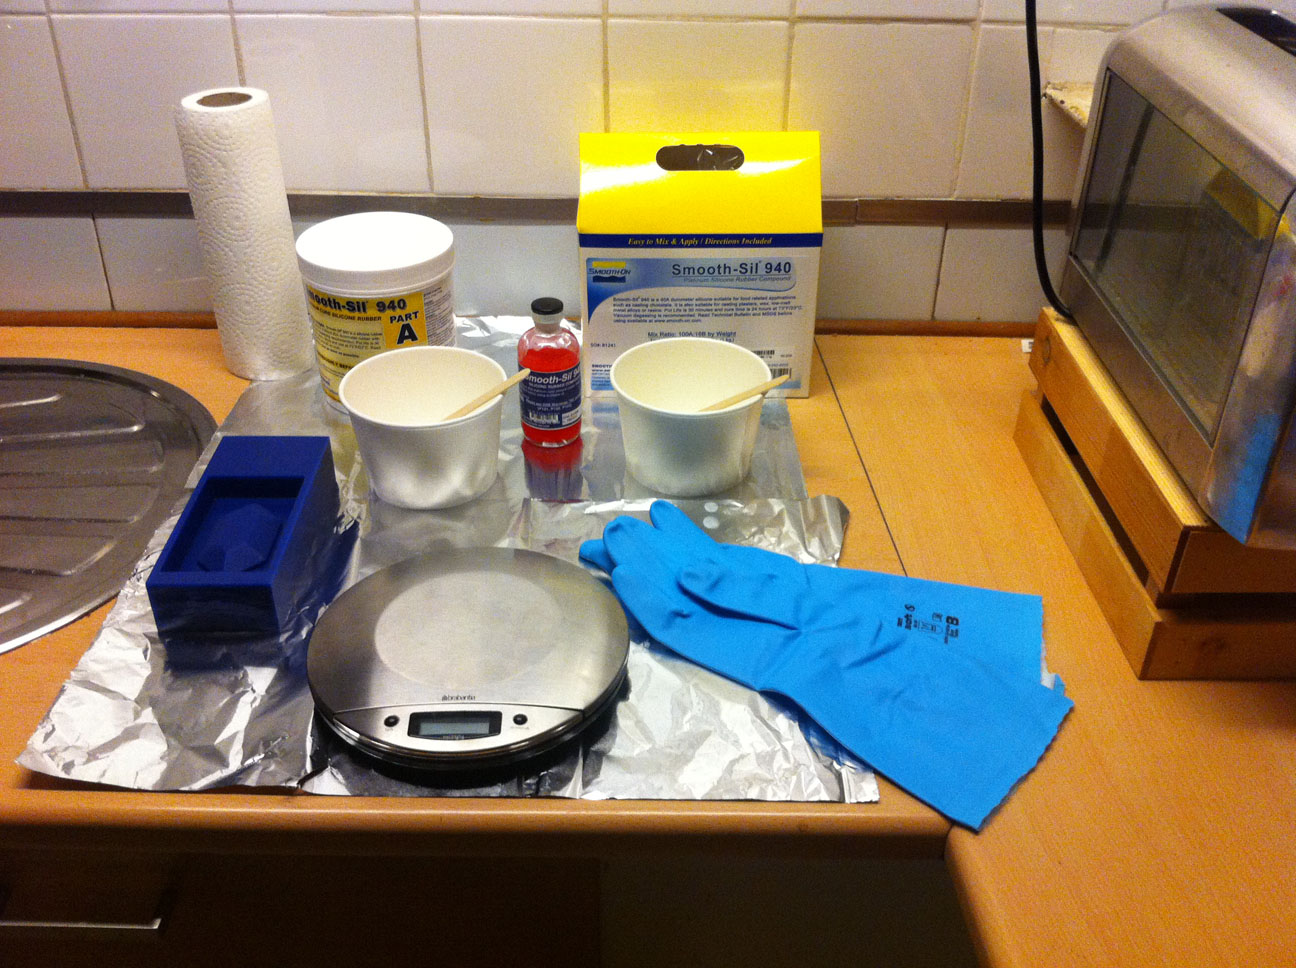
Since the food safe rubber that I wanted to use was not for sale in Iceland and would take forever to be imported, I decided to my native country The Netherlands for a Molding & Casting holiday, taking the wax model with me. I bought Smooth-Sil 940 food safe silicone and could start working.

35
This time one component was a very sticky white component that had to be weighted ...

36
... and the second one a red liquid that had to be volume measured. Even though carefully mixed and stirred together this became a bright pink food safe silicone...

37
.... with lots and lots of bubbles in it!

38
Applying the same trick as in Iceland (put everything on a radiator) ....

39
... again was the solution, resulting in a bubble-free food safe pink rupee mold.

40
I made a second one and then post-cured both by exposing the silicone to 176°F/80°C for 2 hours and 212°F/100°C for one hour as per the vendor's instructions.
41
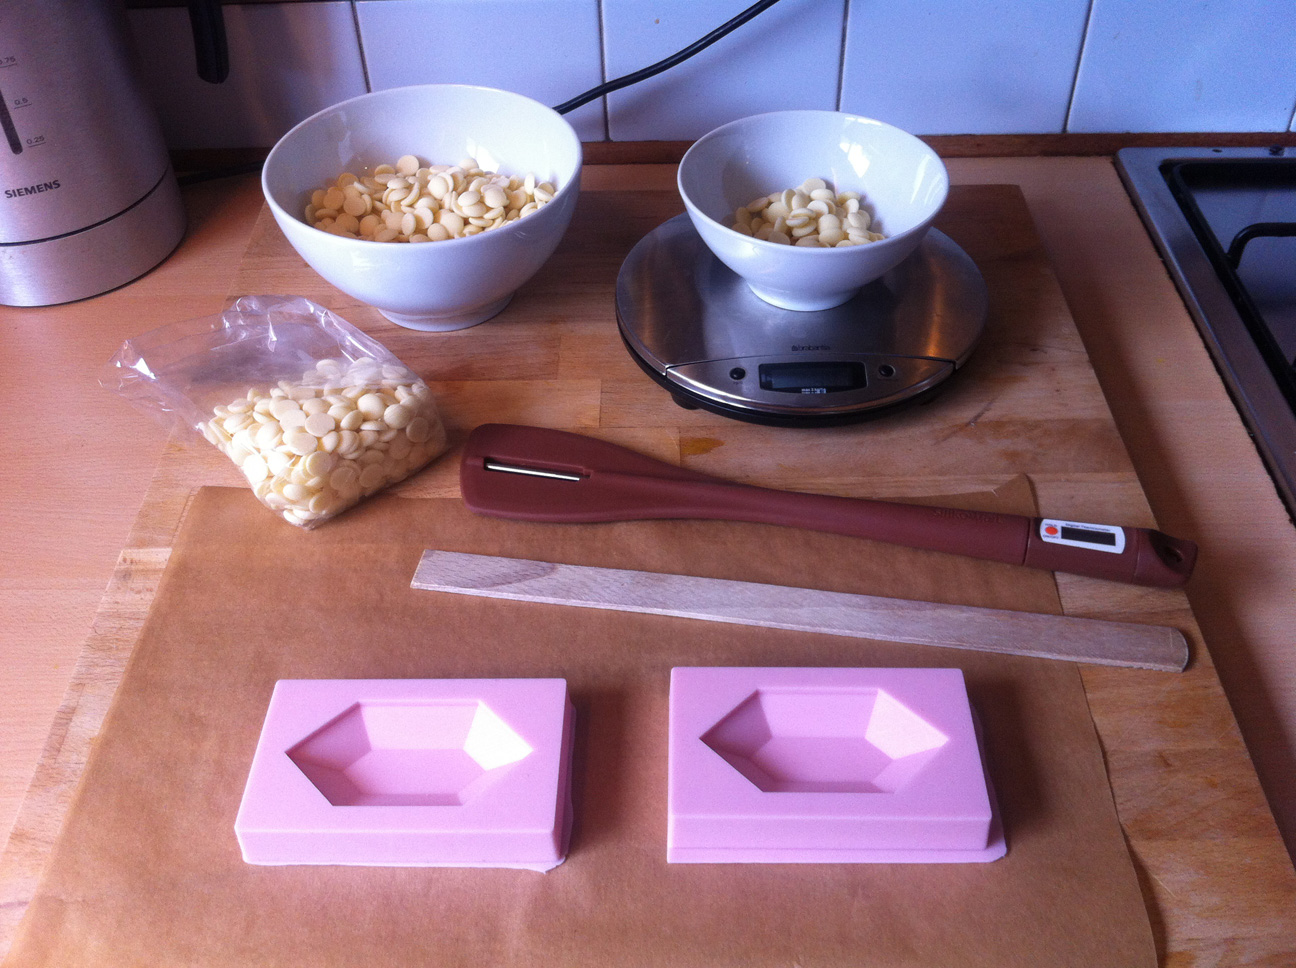
I bought white chocolade and a special thermometer that I know I would need because ...

42
... since I knew nothing about chocolat (apart from how to eat lots of it) I first did some online chocolat tutorials and learned about the need for tempering chocolat, which is:

43
first heating up chocolat chunks, wafers of grated bits to their melting point ...

44
... which is 40-45 degrees Celsius for white chocolat.

45
Then let it cool down to (for white chocolat) 24-25 degrees Celsius and after adding "seeds" (in this case: more wafers) heating it up a few degrees again (for white chocolat: to 27-28 degrees Celsius).

46
After this the melted chocolat is ready for casting, which can become quite messy when trying to scrape off the excess chocolat from the top because the silicone is really soft and bends down when touched by a spatula or back of kitchen knife.

47
Nevertheles two beautiful white rupee halves came out, ready to become a whole one.

48
For this the two halves were "glued" together with a thin layer of melted chocolat. End result: a white chocolat Zelda rupee exactly as I had imagined it would look like. And smell and taste like, because of course apart from surprising my daughter with it I made many more of them for both her and me!
