1
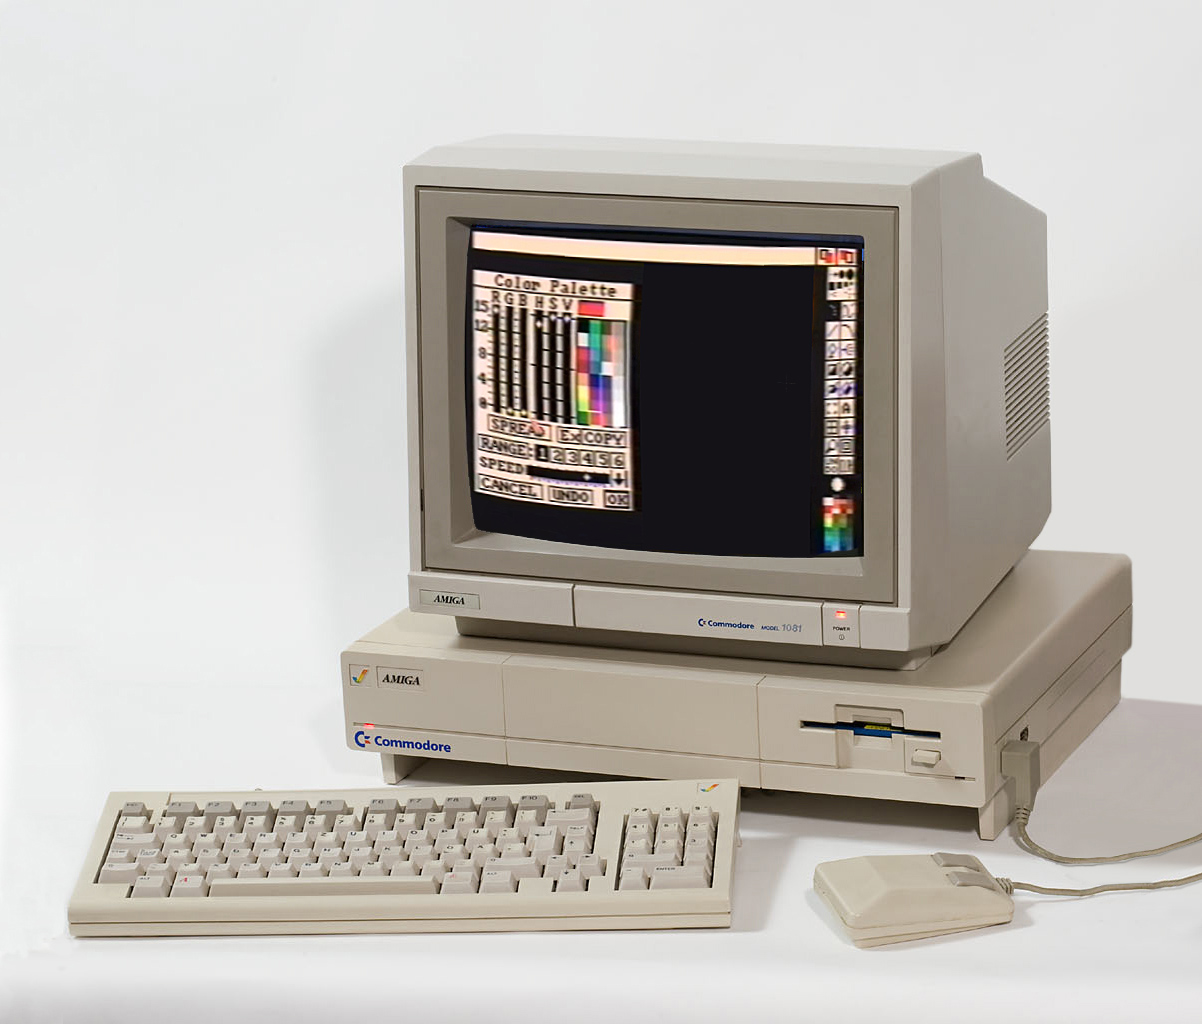
This week we had to evaluate and select 2D and 3D software. For me this was a nice occasion to look back at my own "user story" with this type of software, starting in 1986 with DeLuxe Paint on my first personal computer, Commodore's Amiga 1000.
2
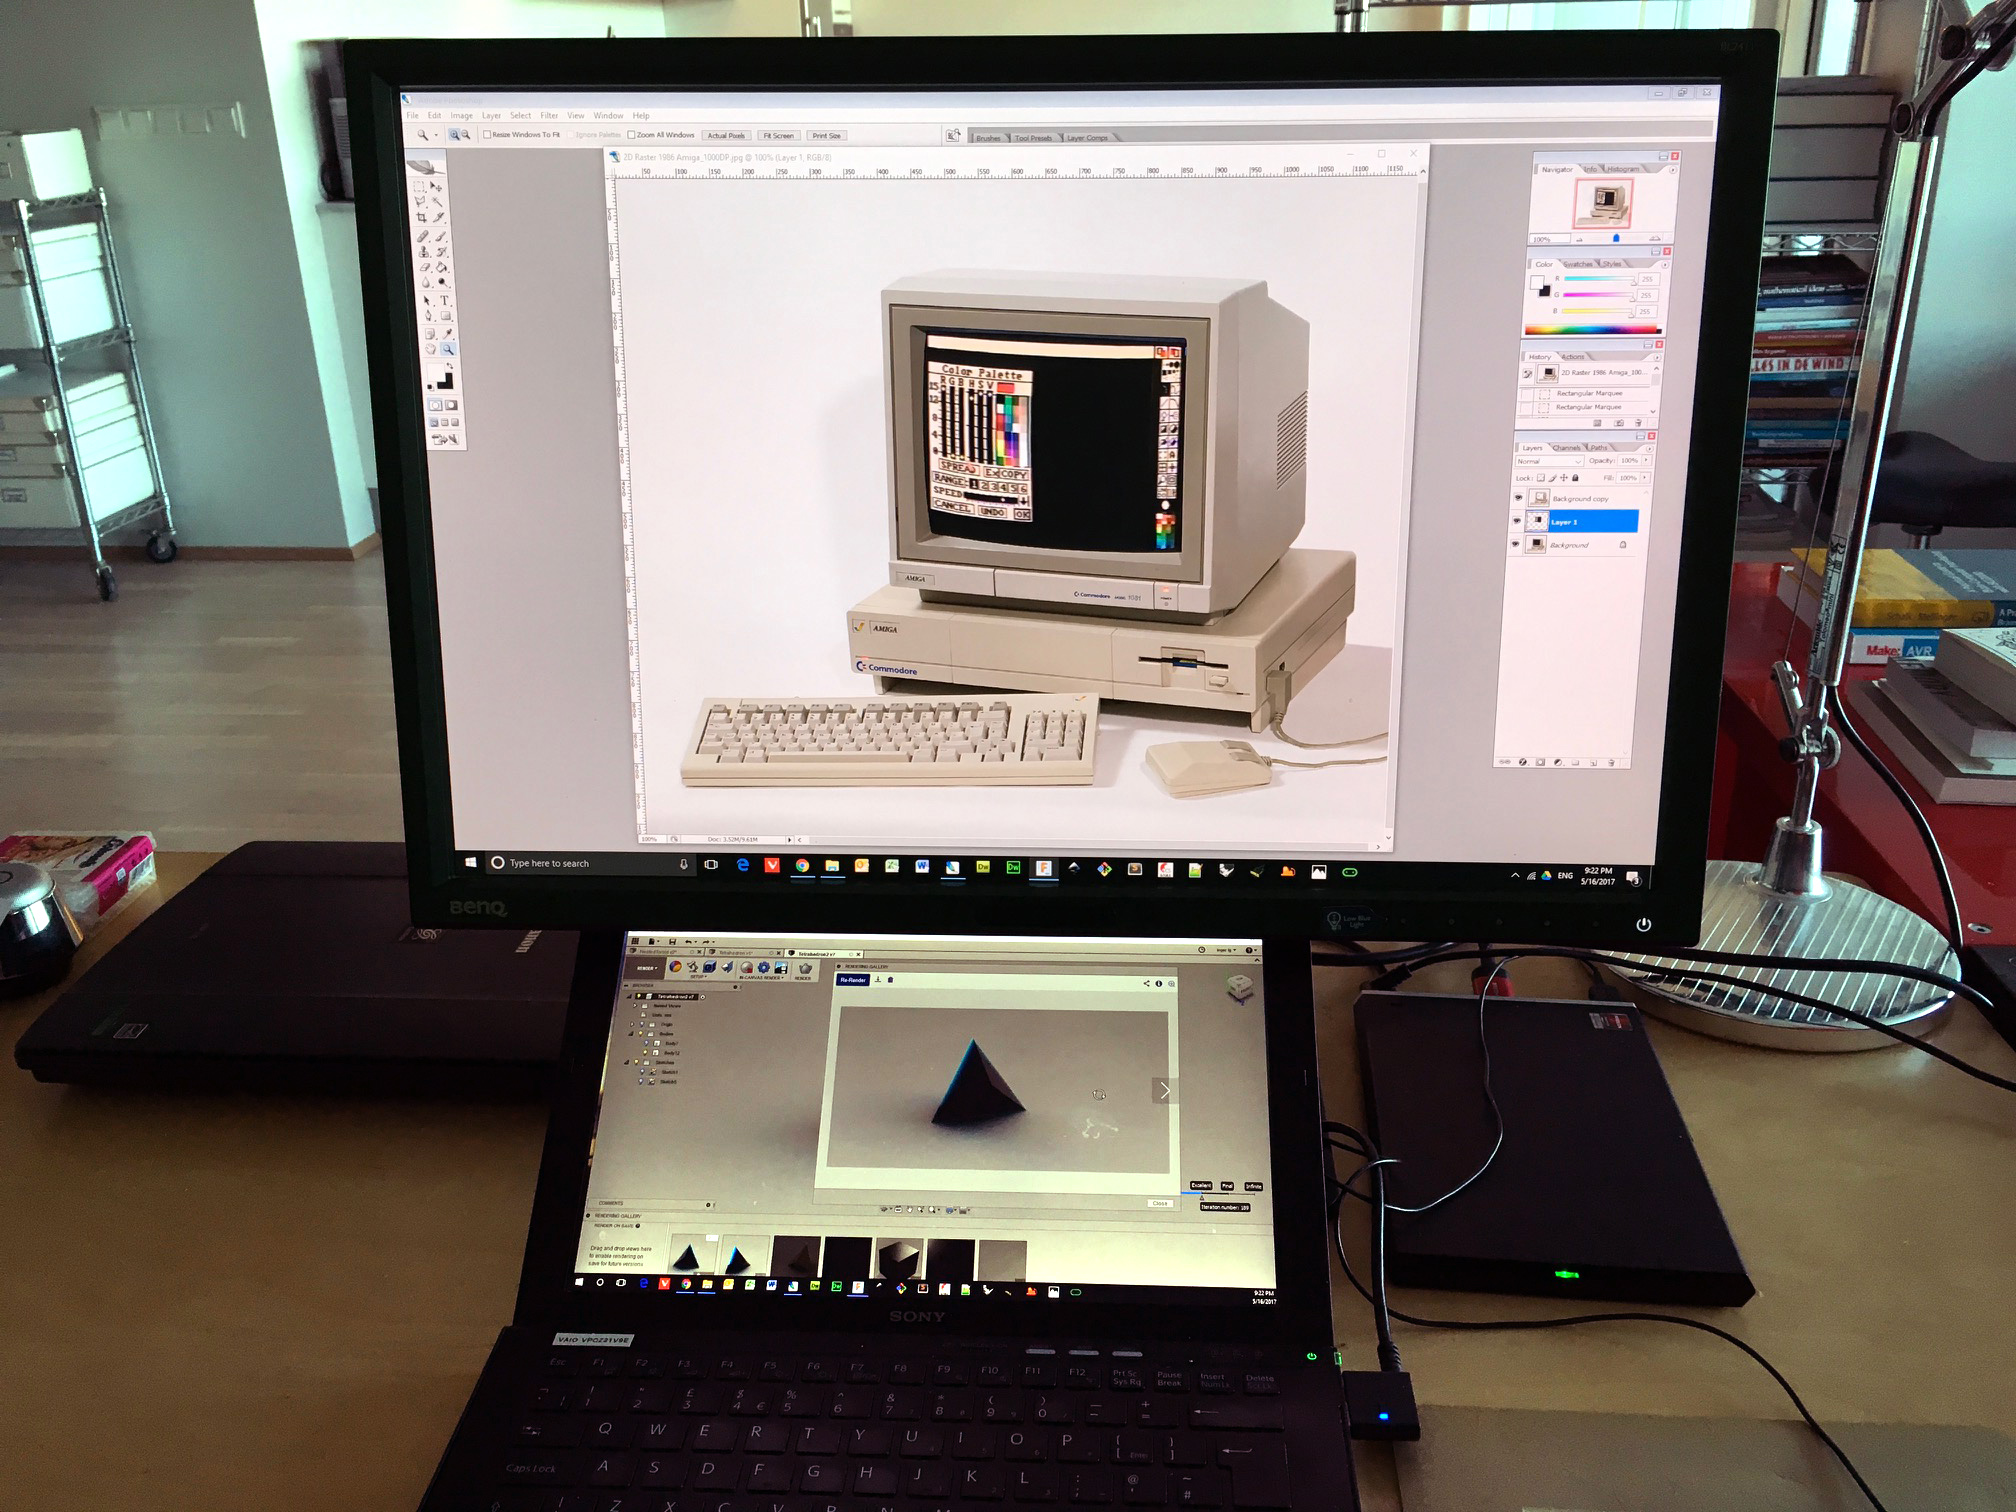
Unfortunately Commodore went bankcrupt and the Amiga was discontinued. Late 90s I switched to Sony VAIO (because of its AV capabilities) and started using Adobe Photoshop. That is the 2D raster-based software I have used ever since ...
3
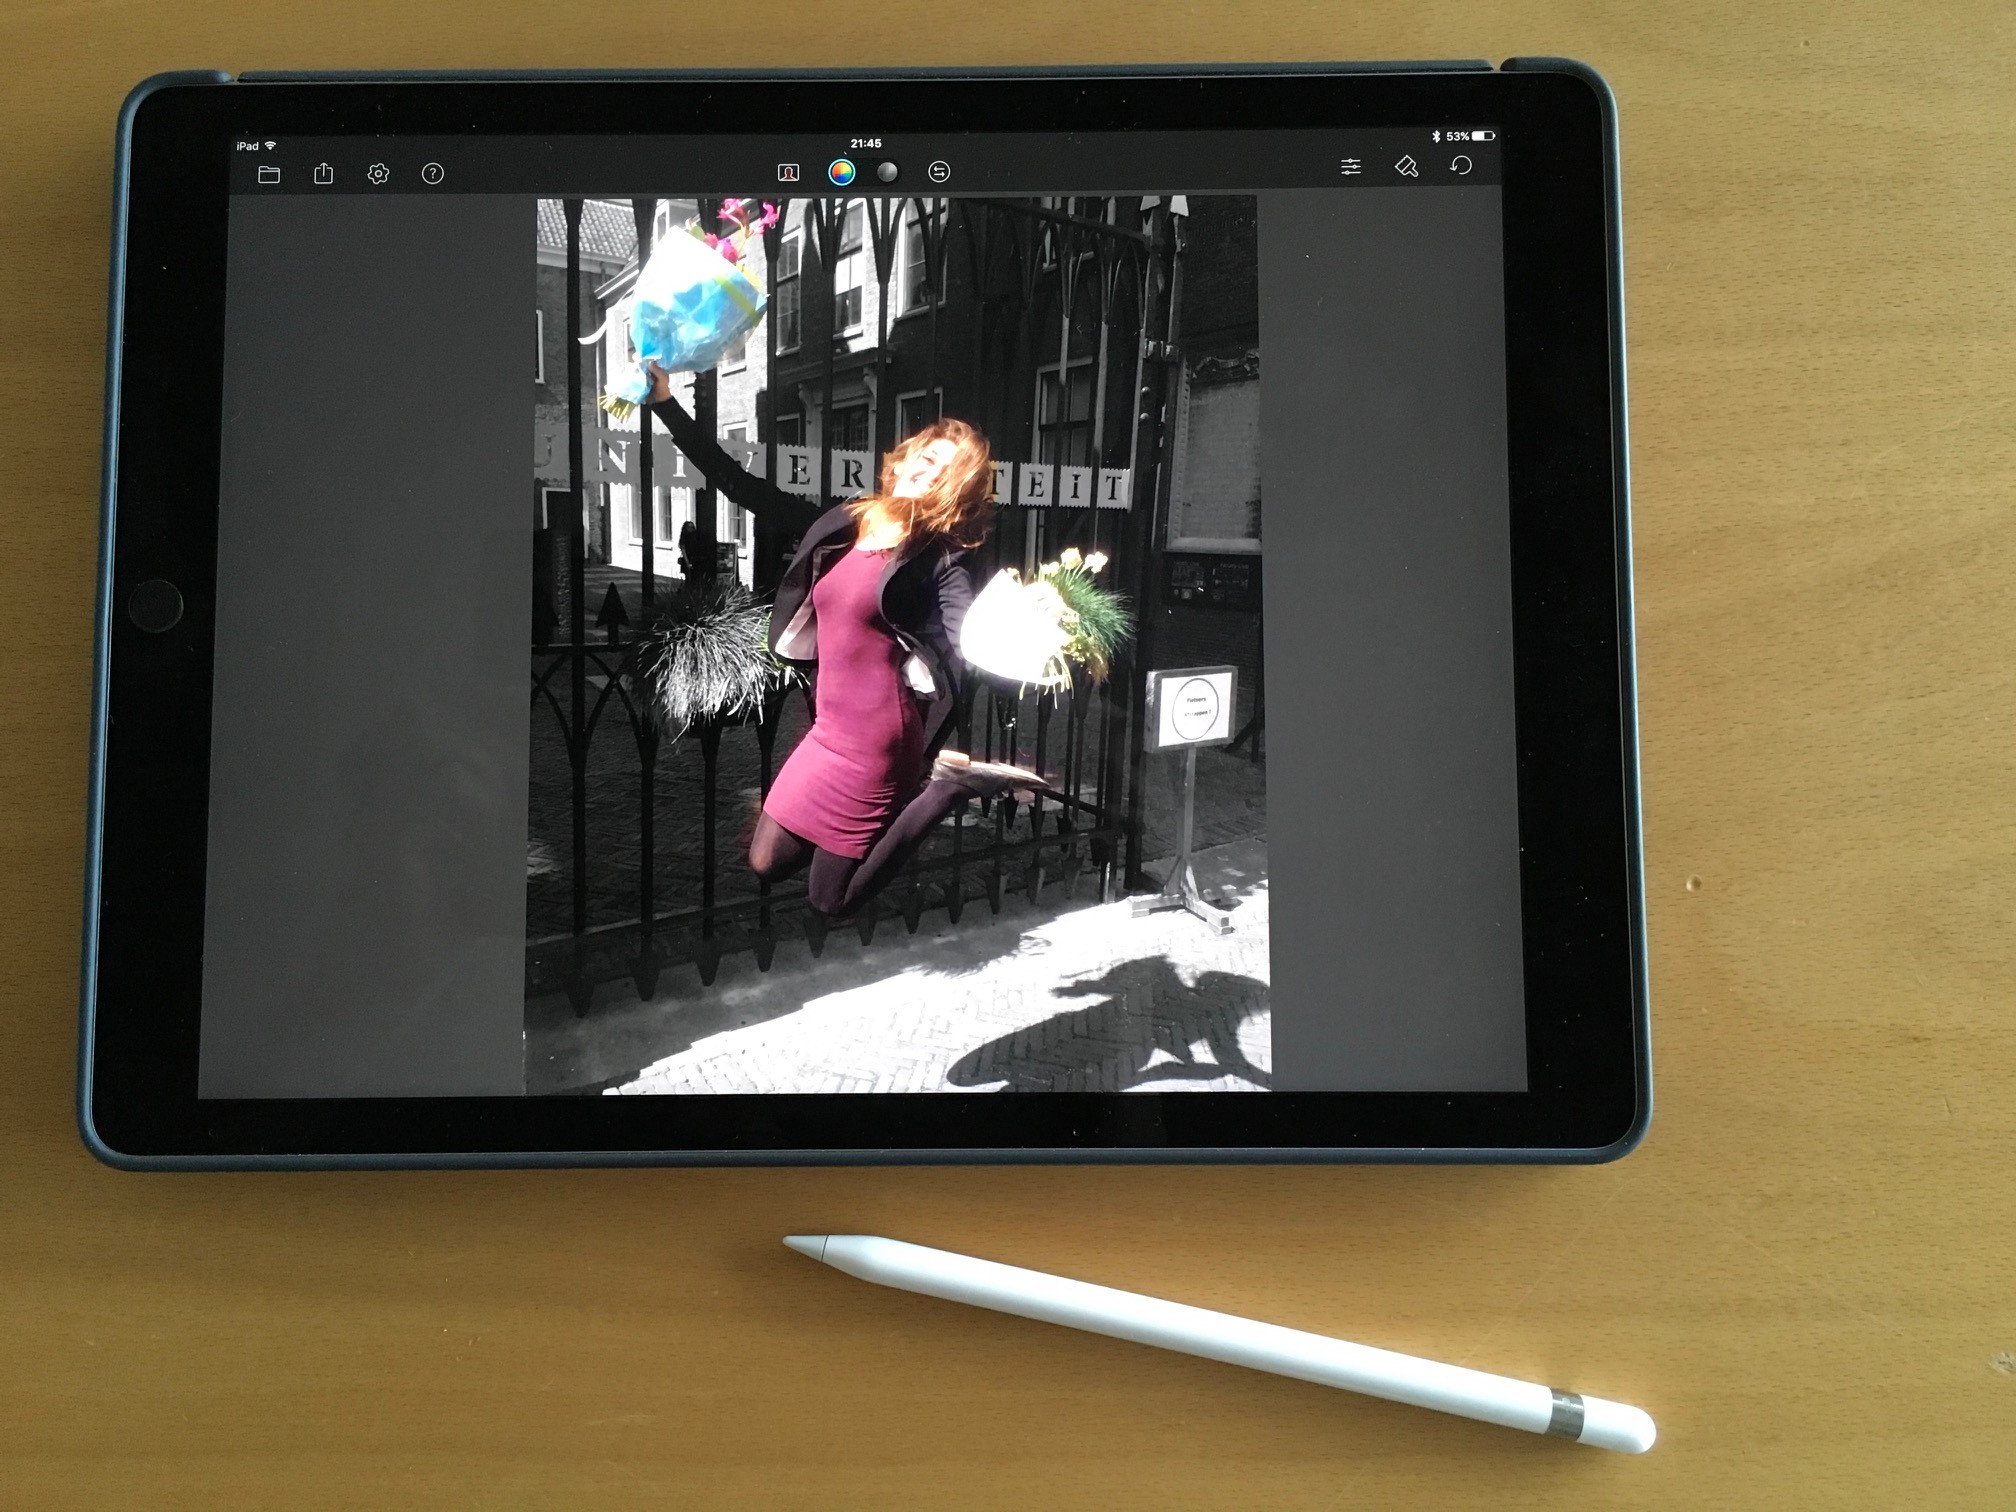
... that is to say: I also use apps like Autodesk SketchBook, 53 Paper and Color Splash on iPad Pro with Apple pencil for special tasks. I did not look into other 2D raster-based software since for the moment I am happy with the tools I use and do not intend to expand my 2D design toolbox.
4
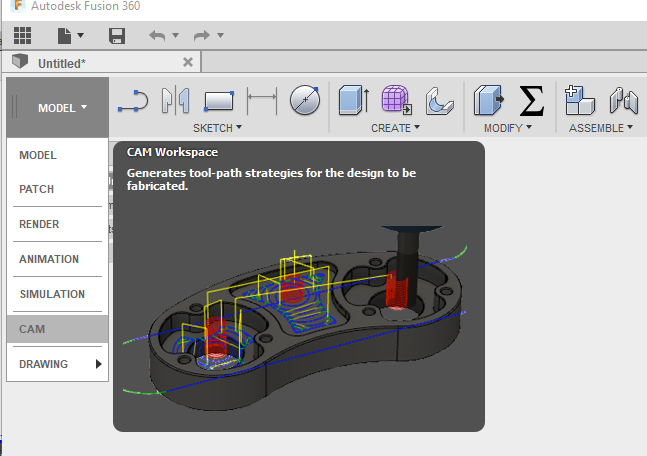
Because my experience using 2D vector based and 3D software is next to nothing, I decided to first watch some youtube tutorials and look into the description of various software packages. I also did some small exercises in Inkscape, 3D Max, Rhino and Fusion 360. I choose the latter to further work with, because it is parametric (which I really like) and because it has a built-in CAM-module, which I intend to use later.
5
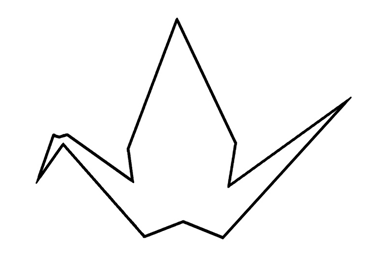
One of the elements of my Final Project being 3D printed or lasercut "origami" crane birds, I decided to model and render such a bird in Fusion 360. I found a simple drawing on internet that I wanted to use as a starting point.
.png)
6
I first made a rectangle. This is needed for the next steps I had in mind: attach the .png file of the crane bird to this face, trace the contour, extrude and then remove the rectangle with .png attached to it, thus ending up with a 3D bird.
.png)
7
Unfortunately removing the rectangle with the .png attached appeared to be not possible without getting all kind of error messages. I decided to save the top side of the extrude as a seperate .dxf file ...
.png)
8
... to be imported in Fusion again, this time using Insert DXF without needing a surface to attach it to like needed for a .png file.
.png)
9
After extruding the bird again I saved it as a body and choose rose wood as the physical material for my bird.
.png)
10
Next in Fusion's RENDER module I adapted the settings to get the desired result and hit the Render icon.
.png)
11
After a few minutes "rendering in the cloud" I got 5 different views of my 3D rose wood origami crane bird.
.png)
12
Last step: check if the .dxf file could be imported in Inkscape to be used for lasercutting at a later stage, which appeared to be no problem. For me this means I can focus on Fusion 360 for both 3D and 2D design.
.png)
klein.jpg)
.png)
