Assignment: Design and produce something with a digital fabrication process not covered in another assignment, documenting the requirements that your assignment meets, and including everything necessary to reproduce it. Possibilities include (but are not limited to) composites, textiles, biotechnology, and robotics.
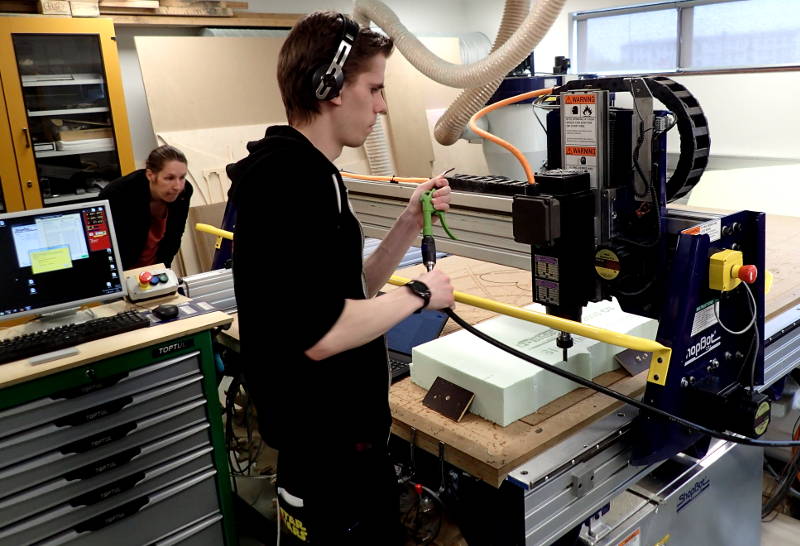
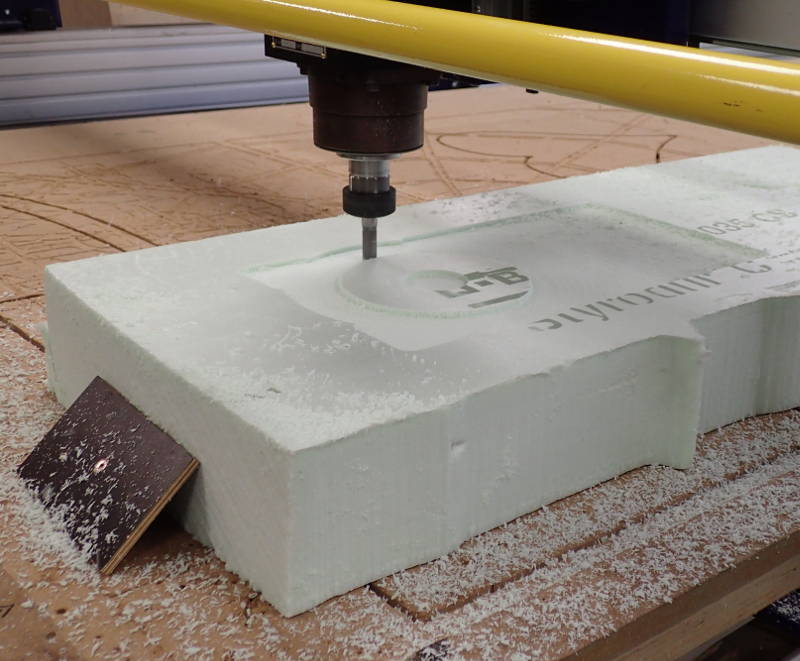
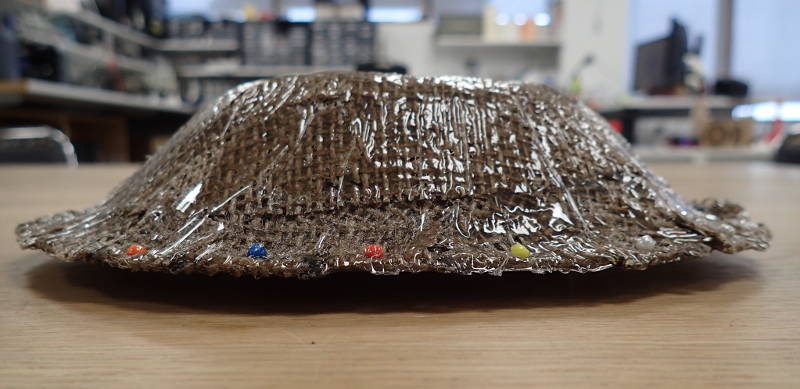
For wildcard week, we decided to try out composites. I made a model in Fusion 360, which might serve as a cover for a power supply in my final project. We milled our models on the ShopBot, from a styrofoam block and laid up some epoxy-impregnated burlap over them after covering them with cling film. Then a second layer of cling film was draped over the top, this layer being perforated, and some polyester batting material put on top, to aid in air escaping when placing inside a vacuum bag. It took a few tries to find the correct way to open the vacuum valve initially, but soon we managed to get some good vacuum going. The next morning the epoxy had set hard, but the vacuum bags had not held fully, although we had made double sure the Zip locks were tightly closed and the vacuum valves shut very tightly. This did not seem to have unduly affected the model, though, it came out with no voids or pooling of resin and required minimal trimming, mostly to remove some pins I had used to secure the folded-over edges.

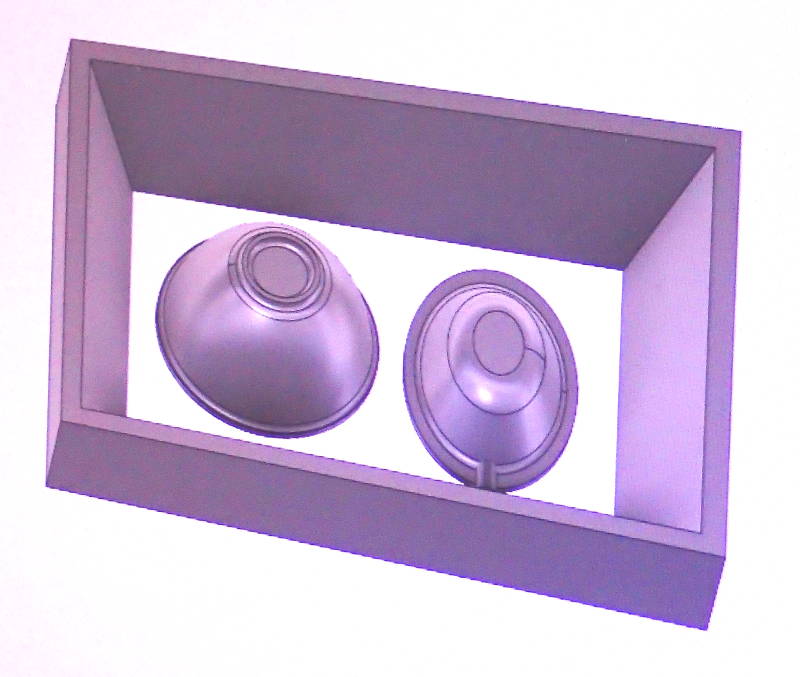
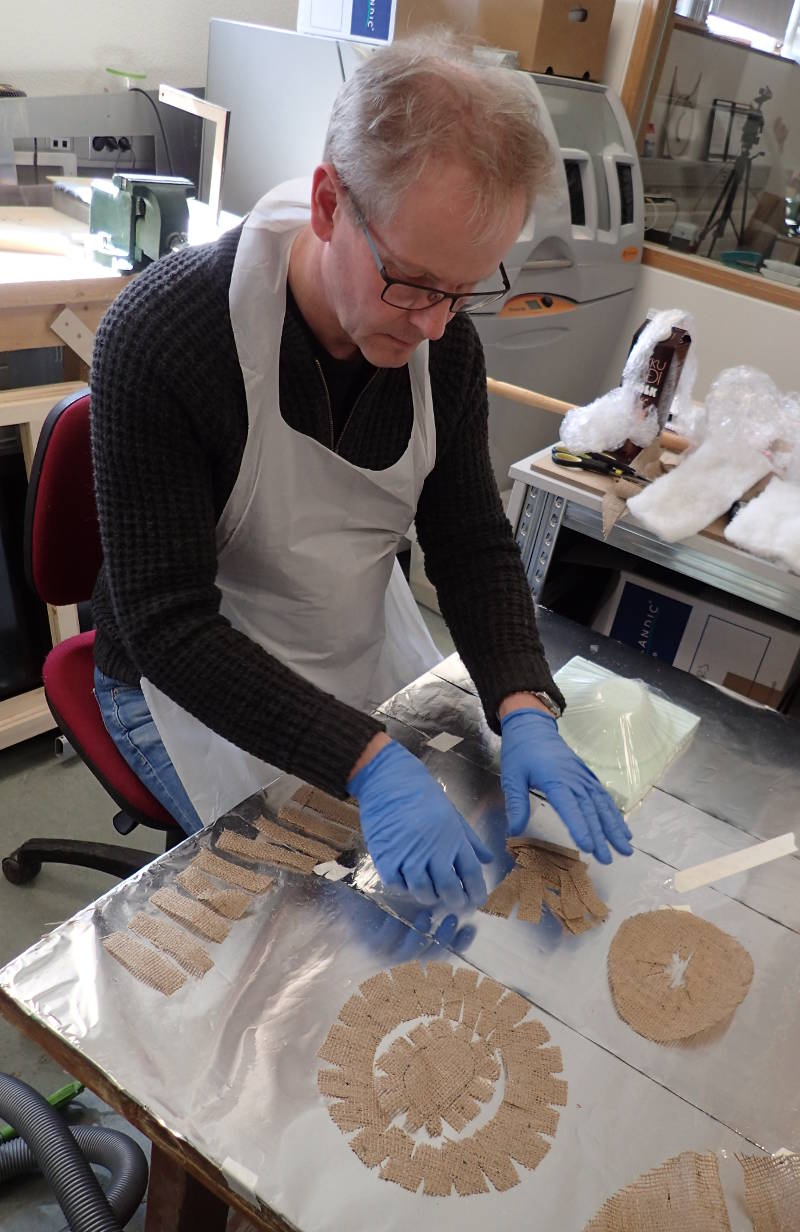
Mine and Arnar's models combined for carving with ShopBot.
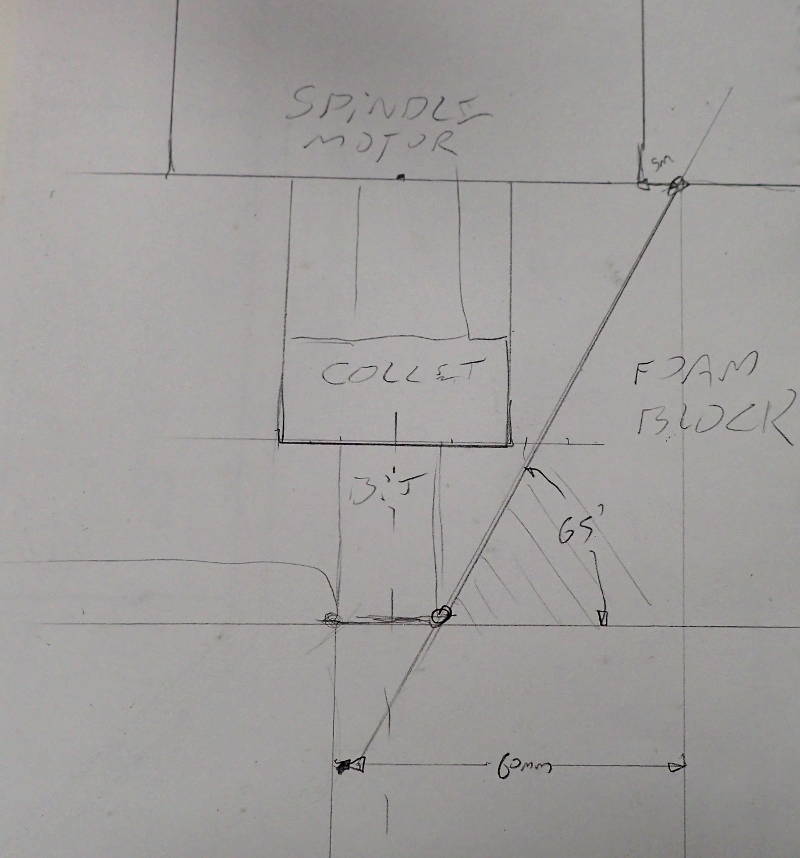
Figuring out how wide an area to carve around model for clearance around the collet.
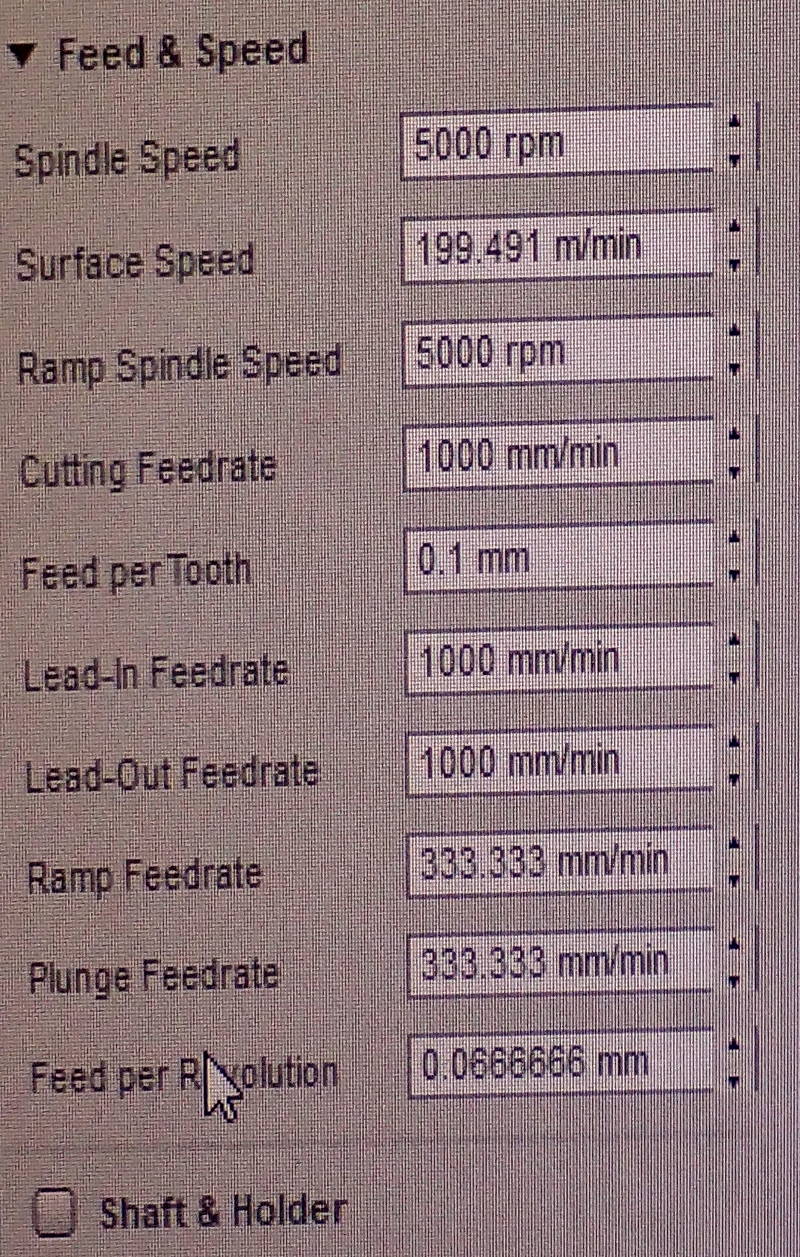
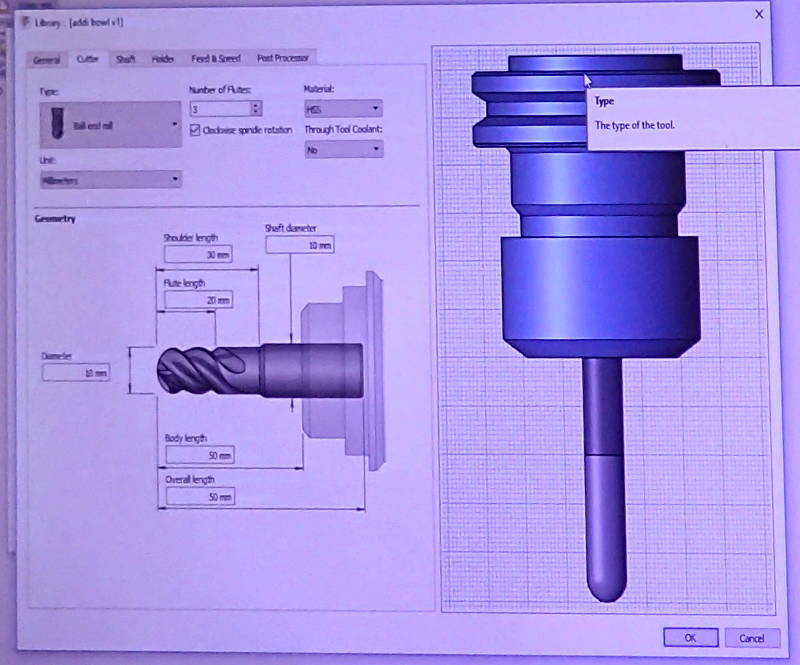
Setting feeds and speeds so cutter won't rip surface of styrofoam.
We stuck a sheet of this to the ShopBot's bed with double-sided tape.
It's edges were also secured.
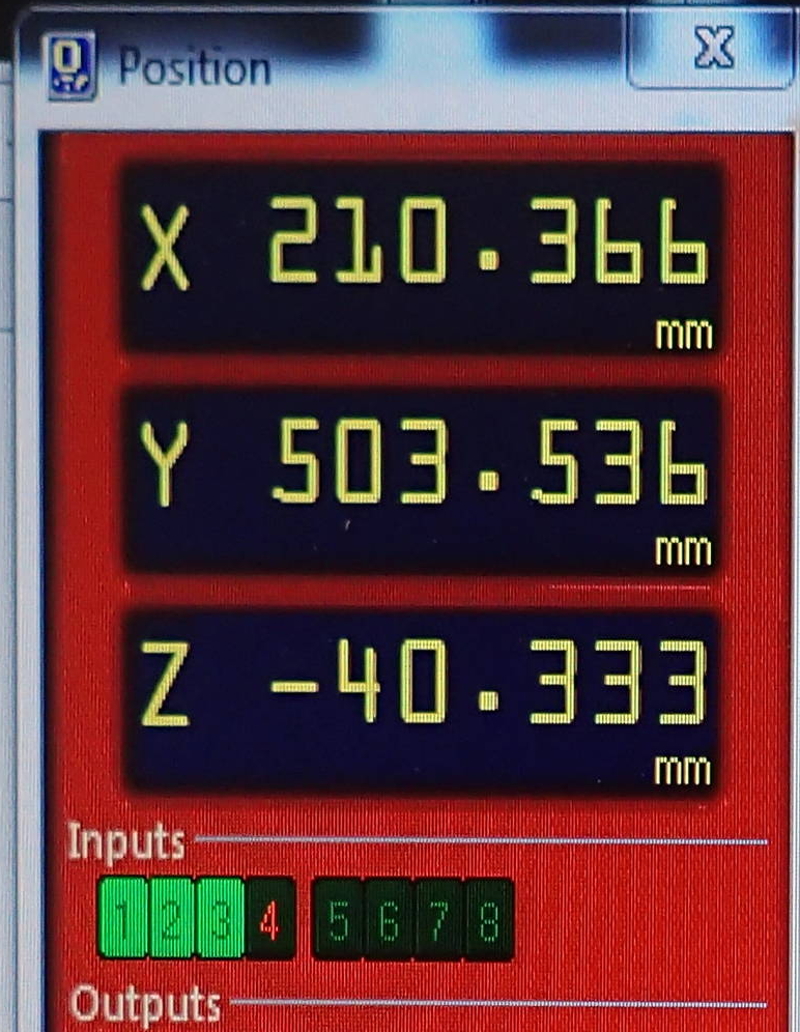
Those input indicators should not be lighting up.
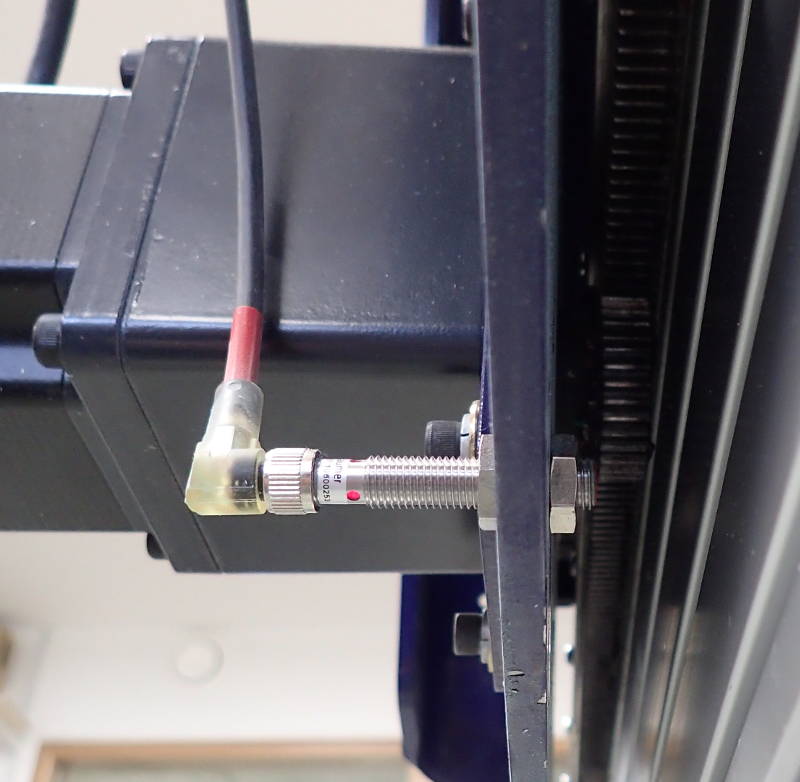
Checking end stop sensors for foreign material.
Making sure not a speck of dust interferes with sensors.

A glitch had crept in, requiring input switch modes to be manually reset.
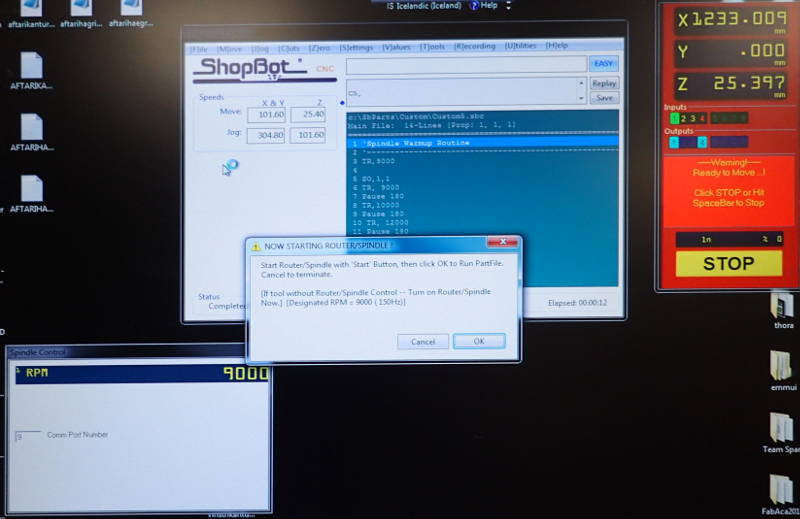
Essential step; warmup routine initiated.
Initial roughing stage.
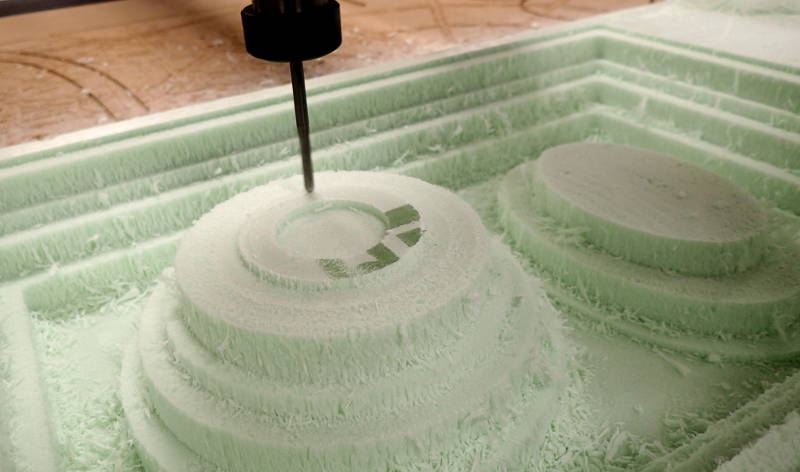
Surface finishing stage.
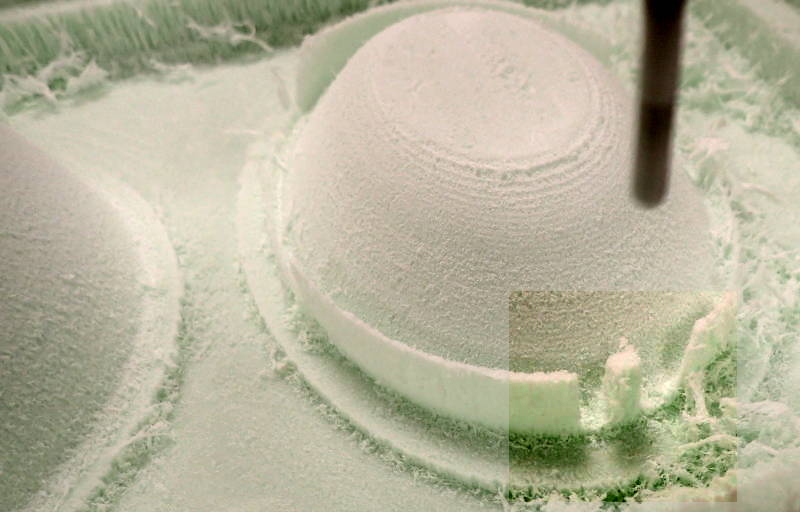
A strange artifact appears, this vertical protrusion is horizontal on the model. Easily corrected afterwards with a small piece of styrofoam.

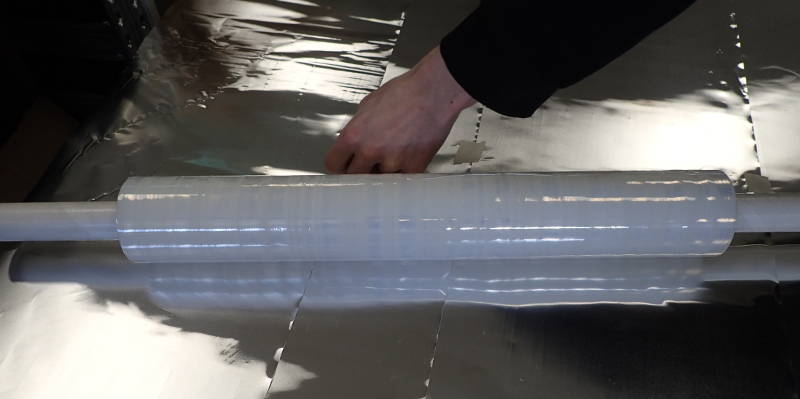
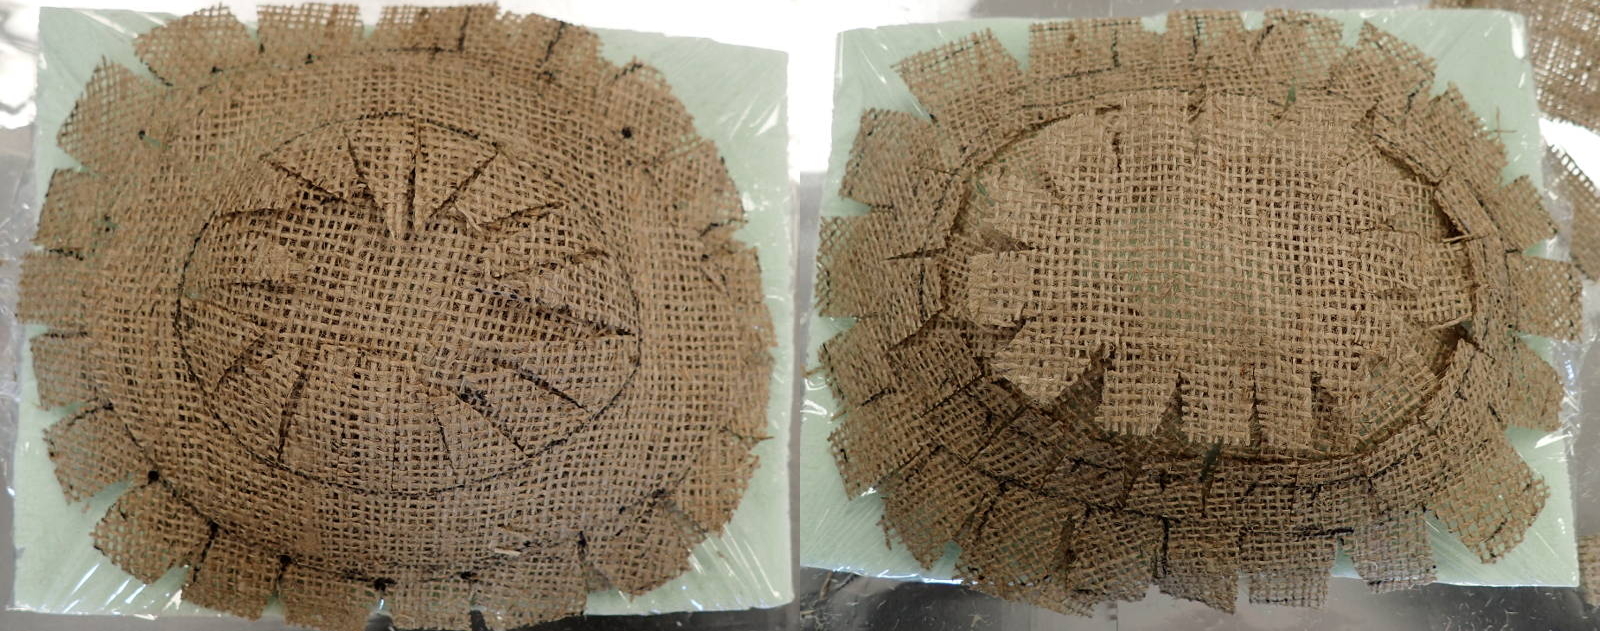
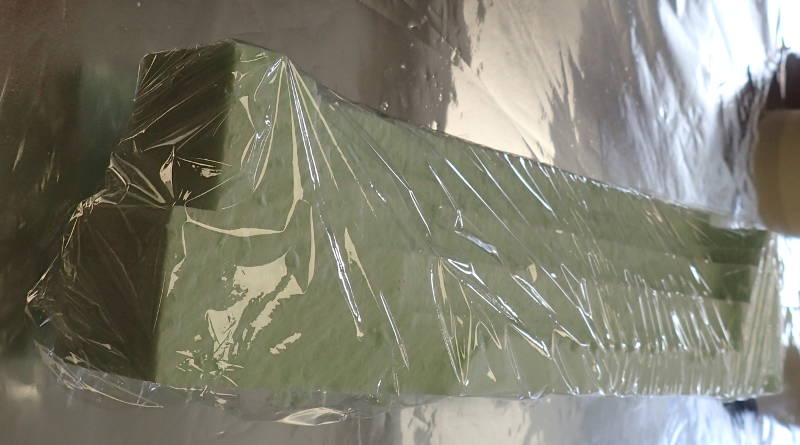
Covering model with cling wrap so epoxy won't stick to it.
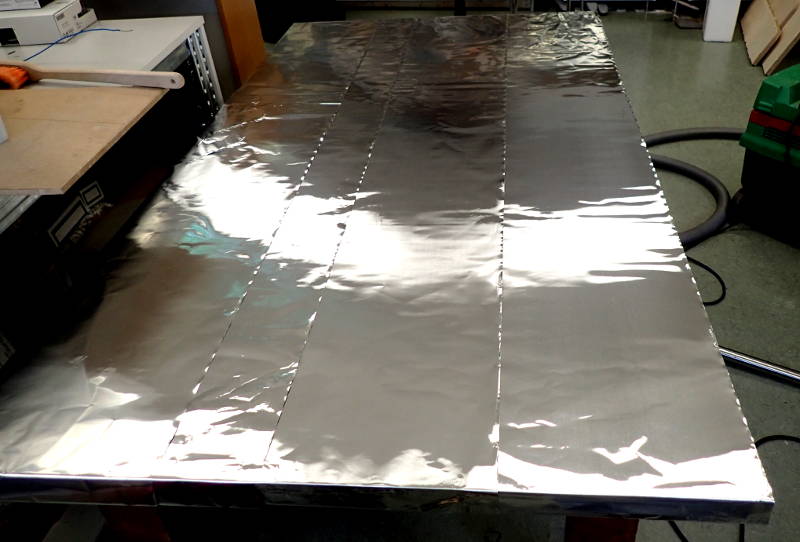
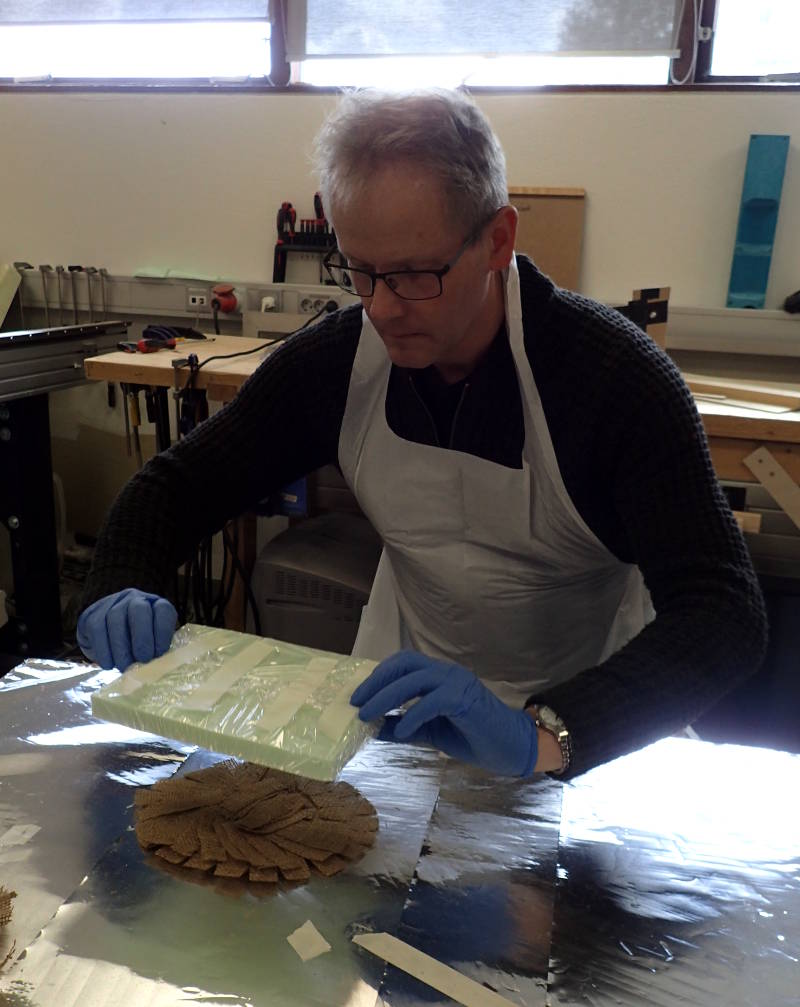
Preparing work table with foil makes cleanup straightforward.
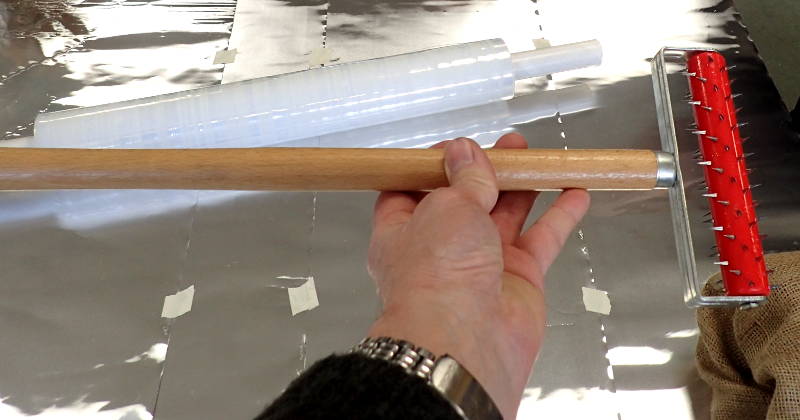
The instrument of torture.
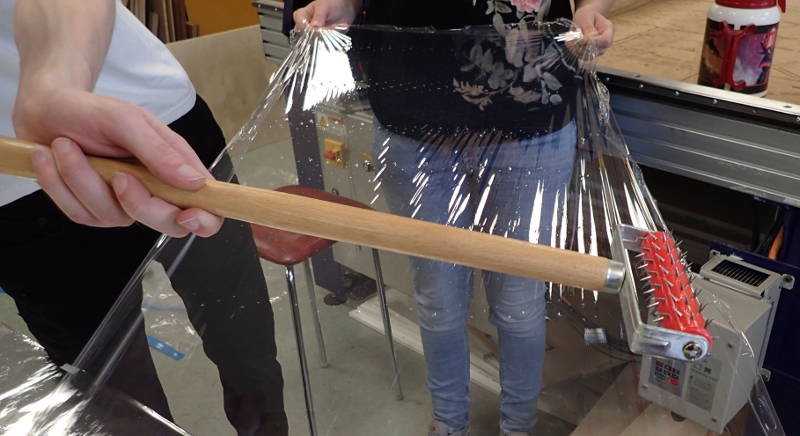
Perforating film to drape over model after resin impregnation.
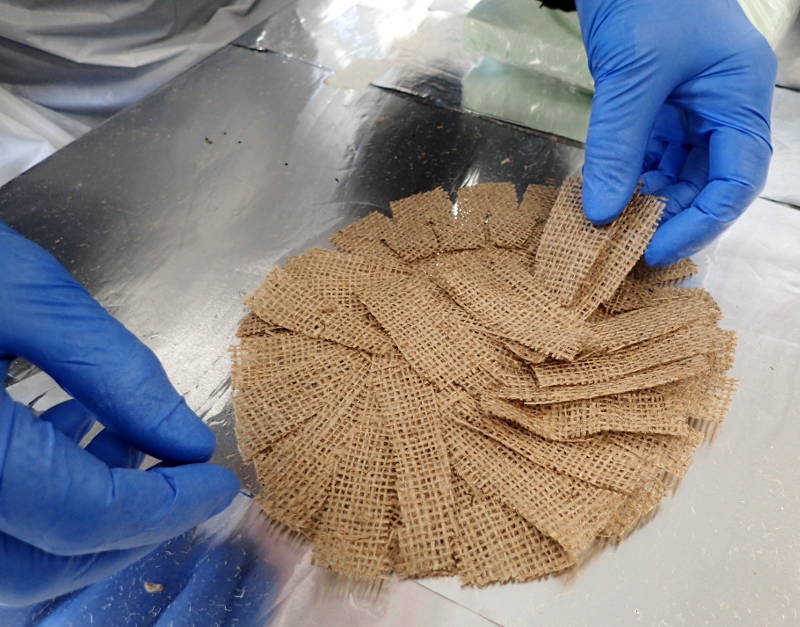
This burlap will provide structural fibers for the layup.
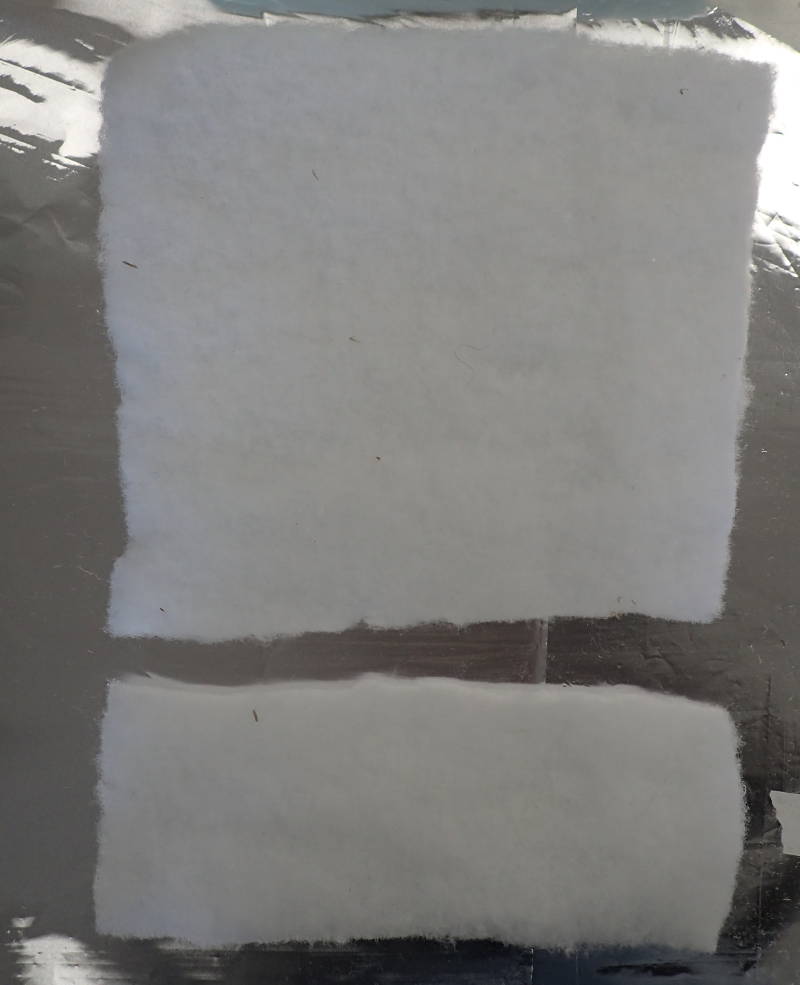
Polyester batting will facilitate airflow when vacuum is applied.
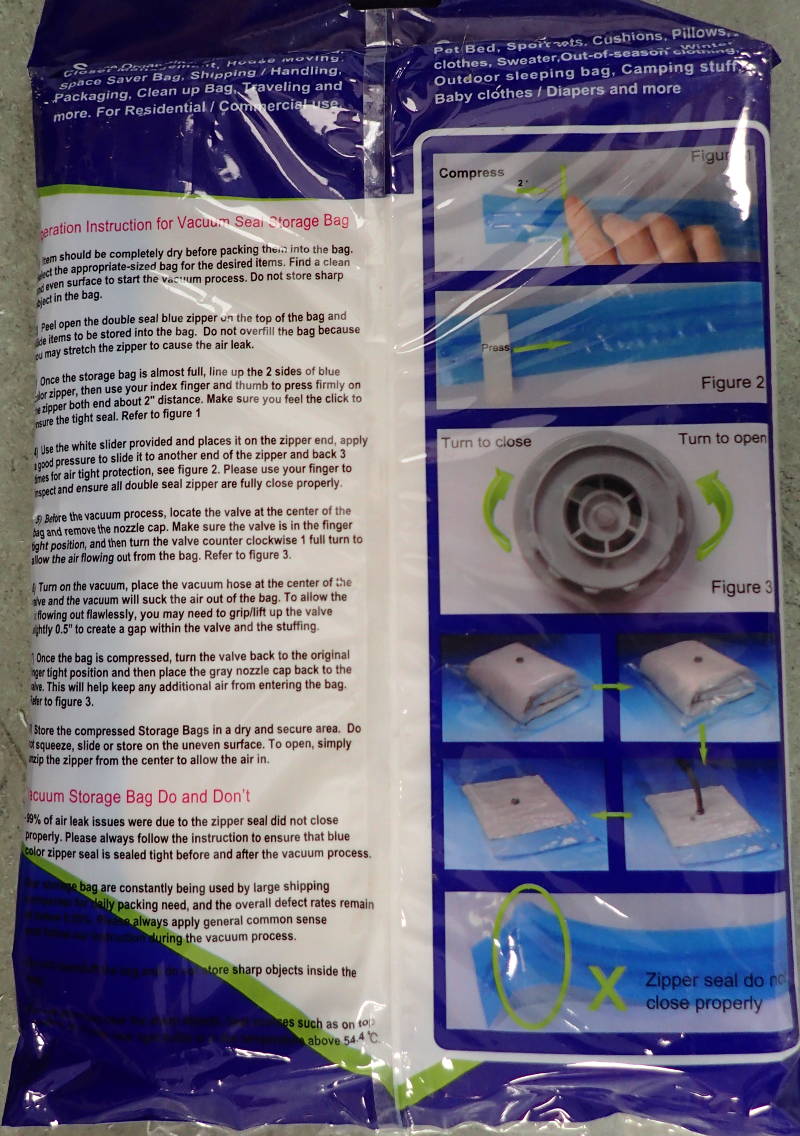
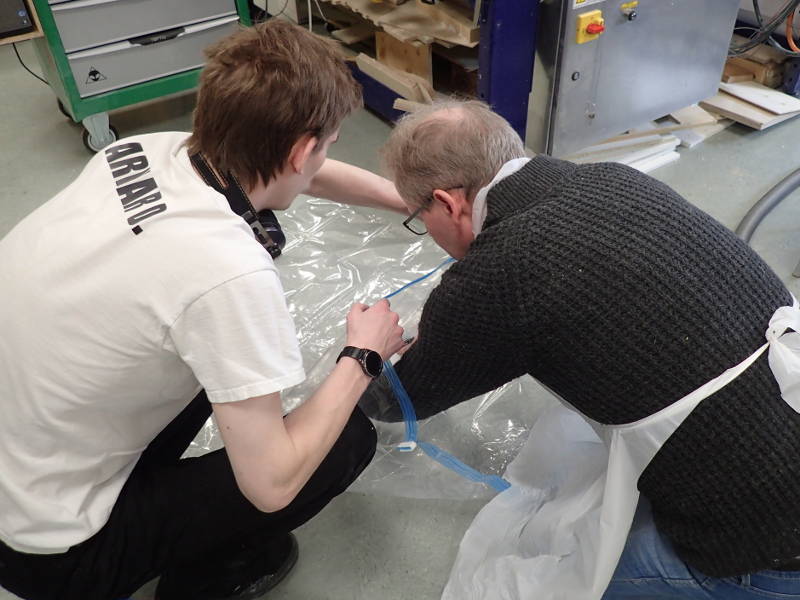
Reading instructions for vacuum bag.
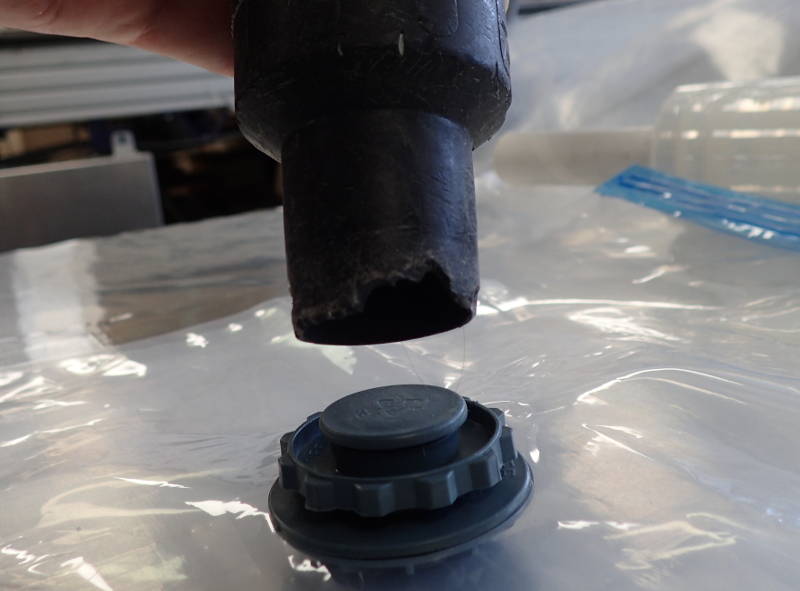
This might not make a good seal.
 Making sure Zip locker is tight and vacuum valve fully open.
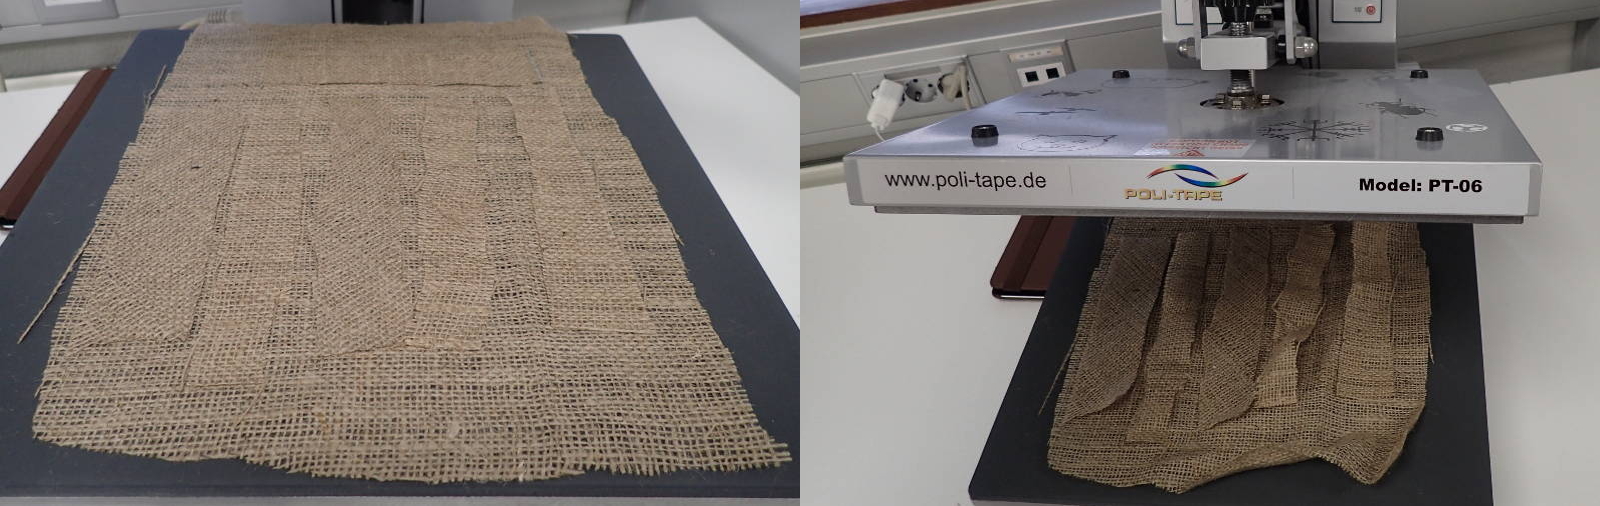
Ironing burlap pieces to make them more manageable.
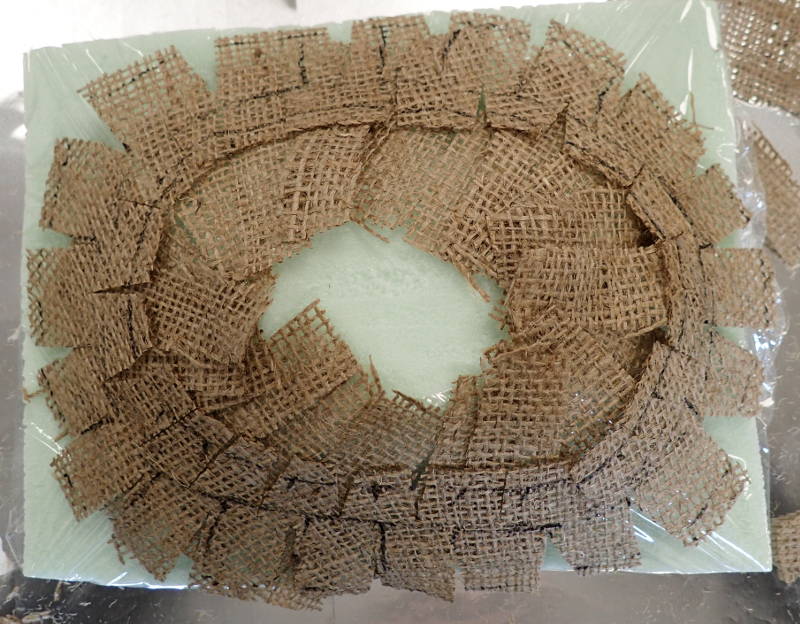
Preliminary mockup of burlap piece layout.
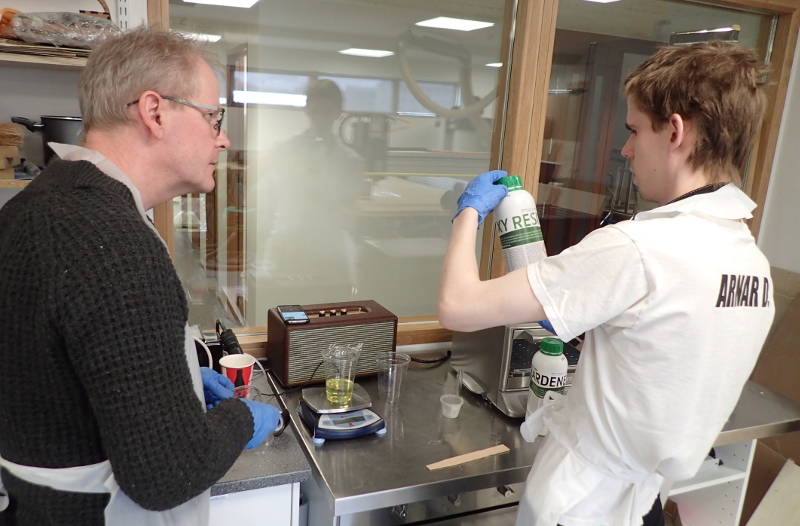
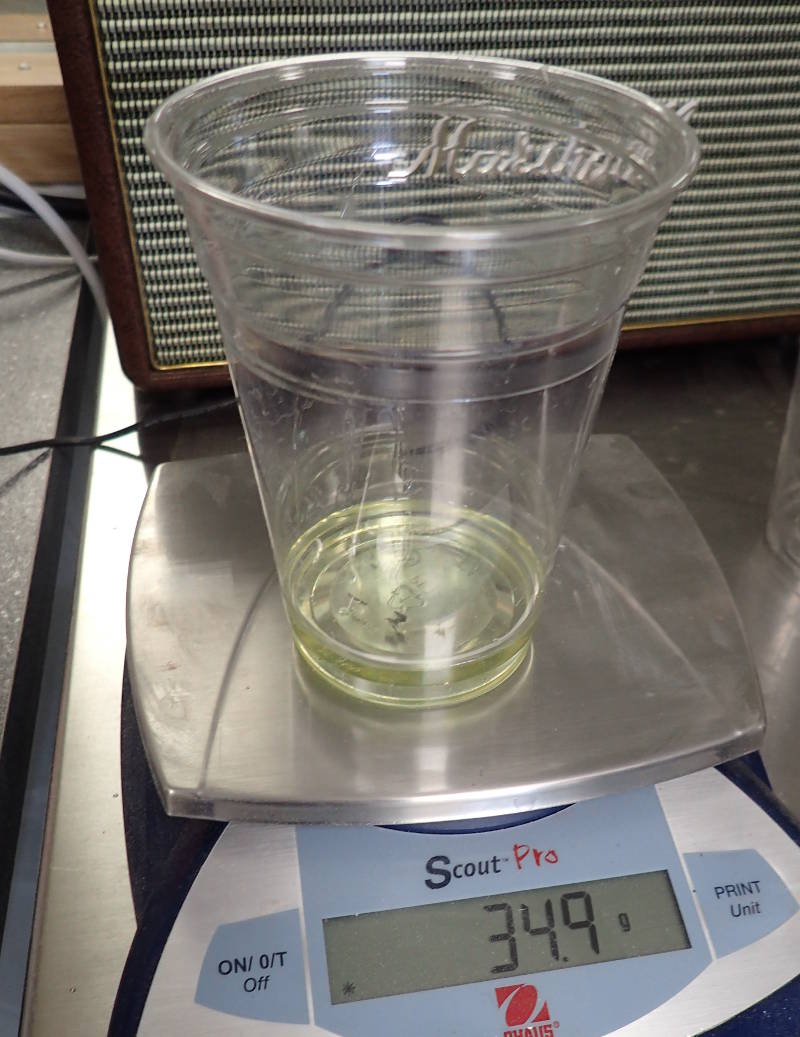
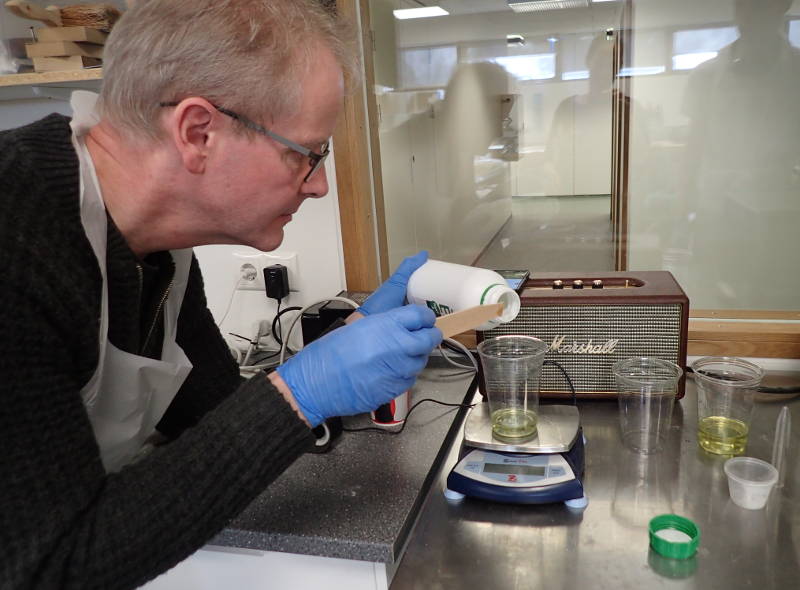
Mixing resin and hardener in a 2/1 proportion.
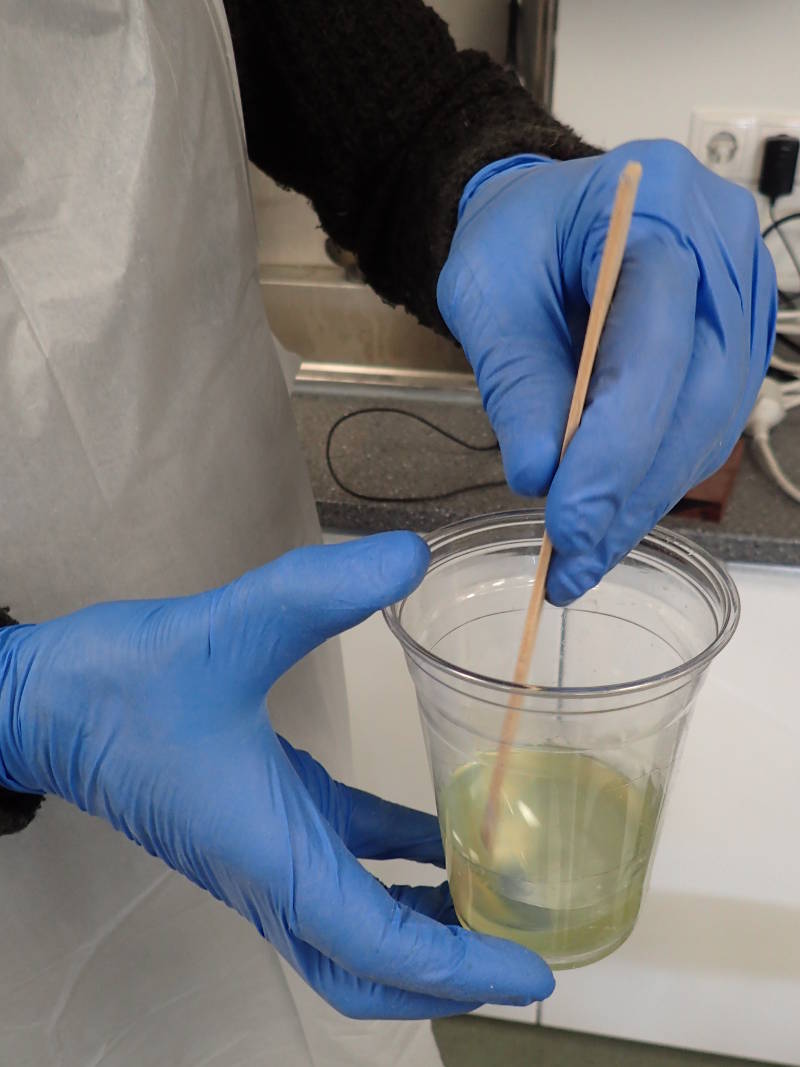
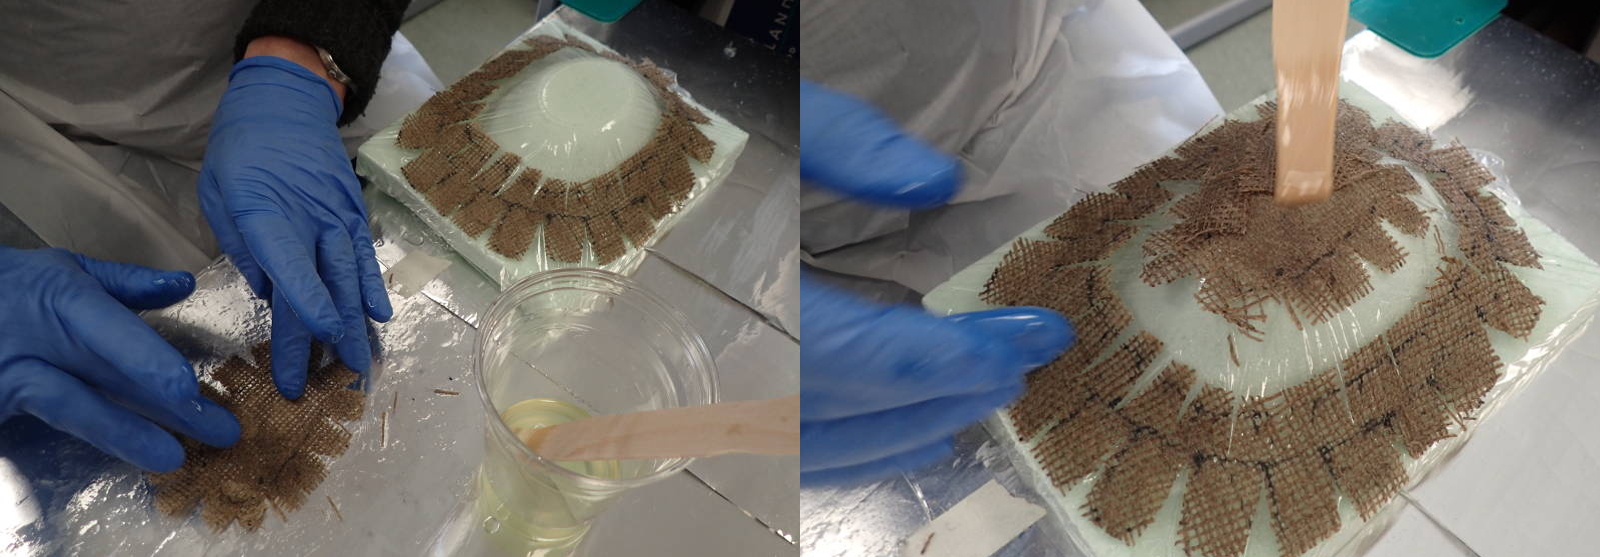
Making sure not to introduce too much epoxy to the burlap.
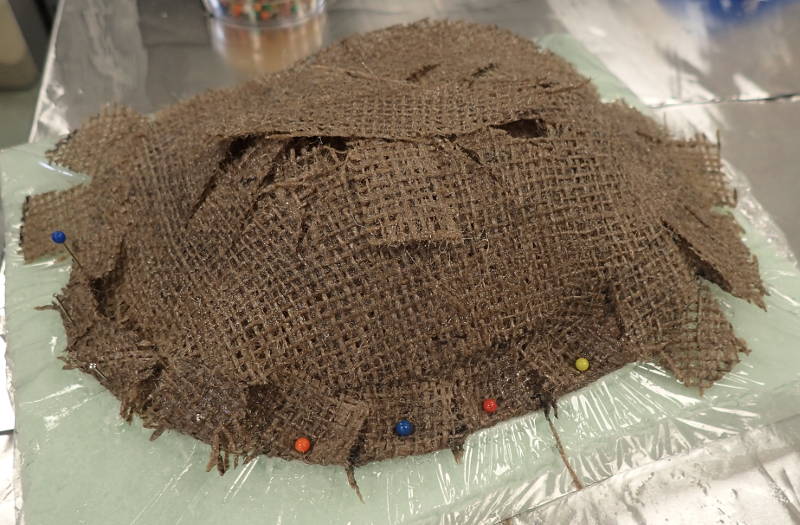
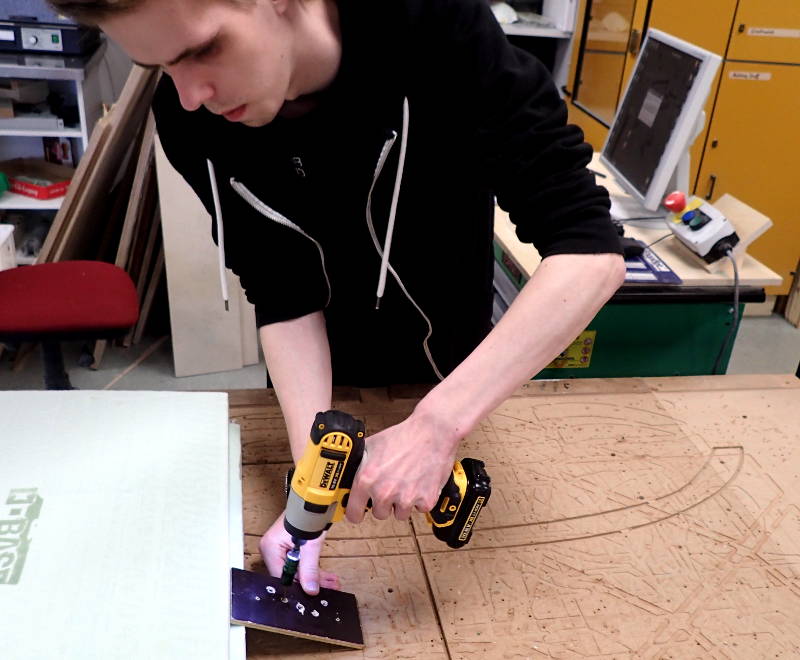
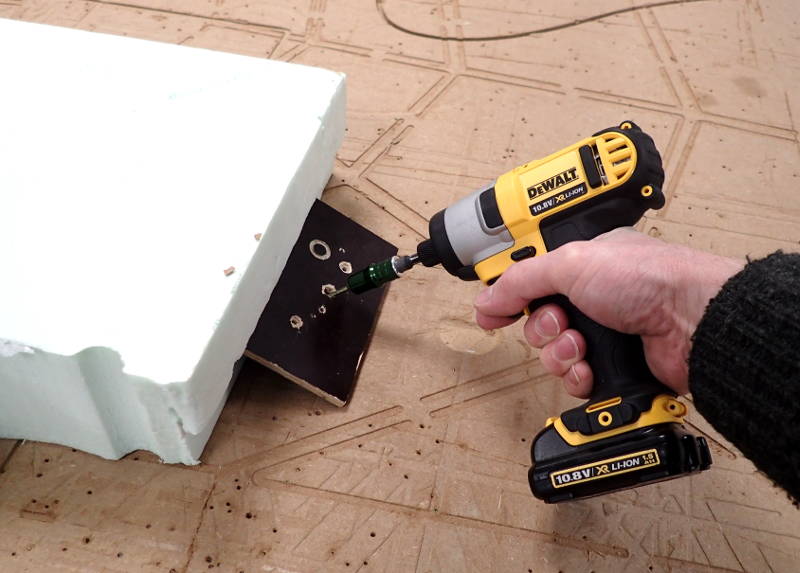
The edges would not fold over, so I pinned them down.

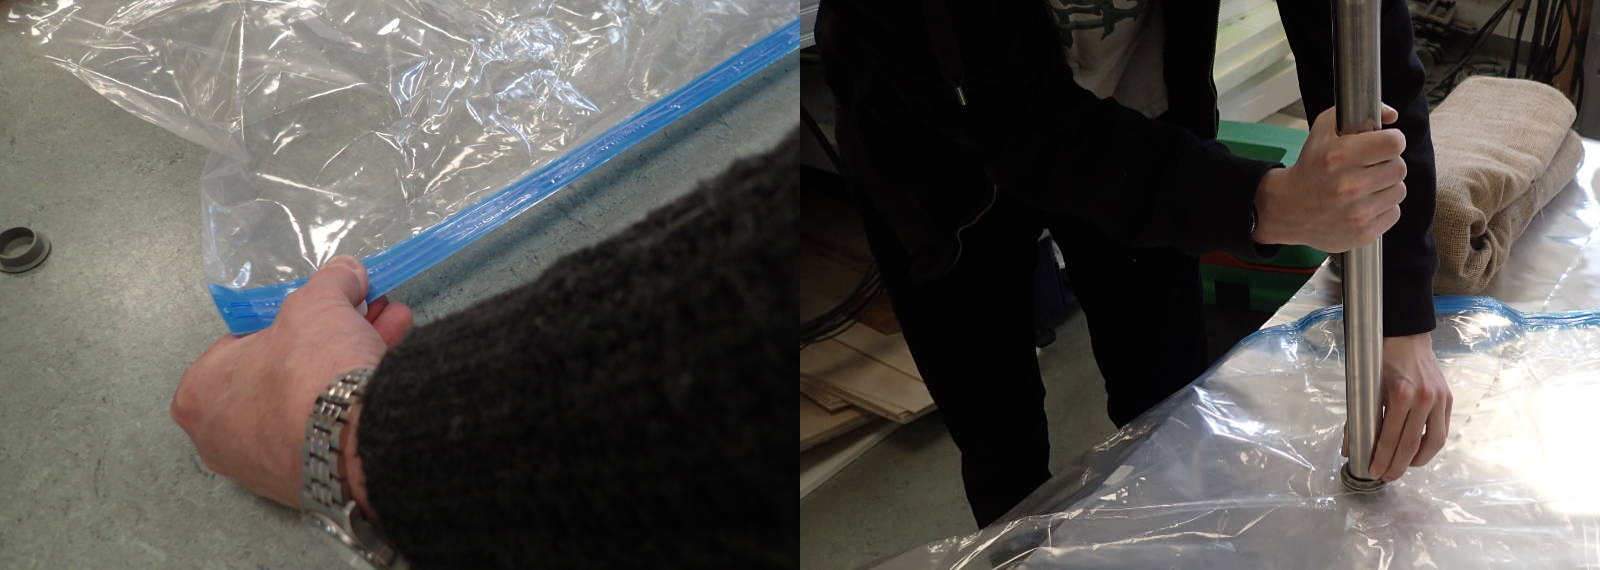
Expelling air and making sure pressure is applied evenly.
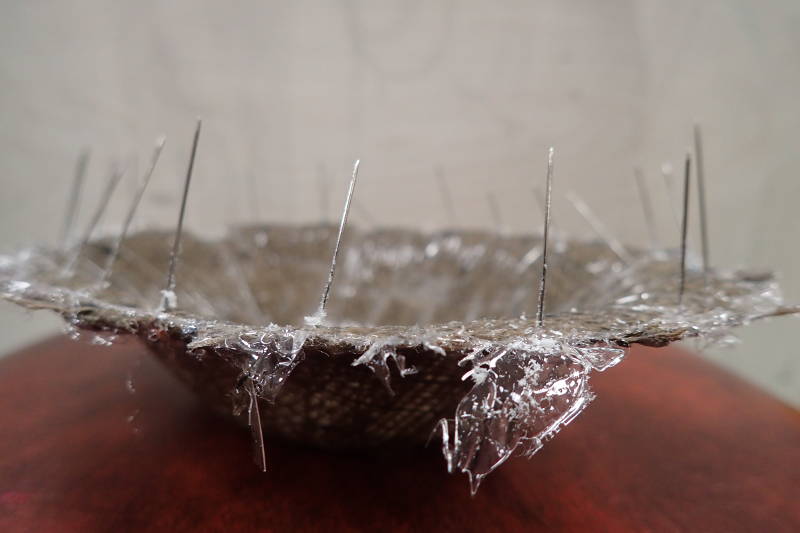
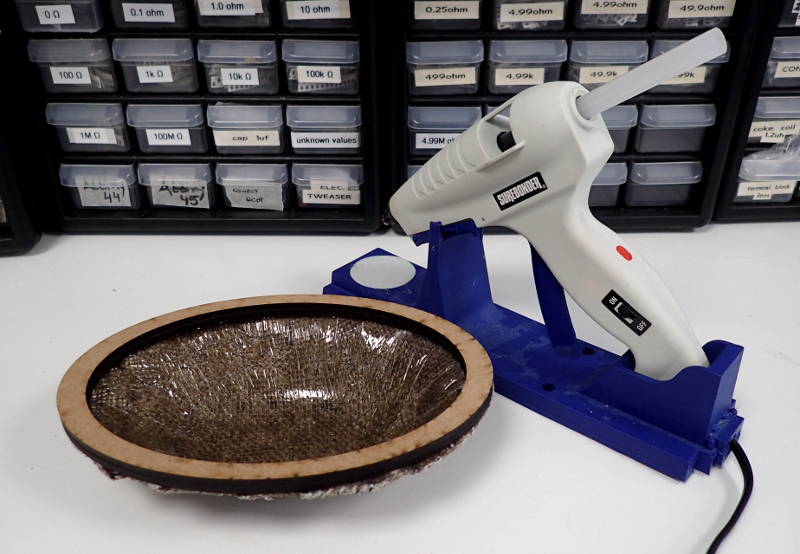
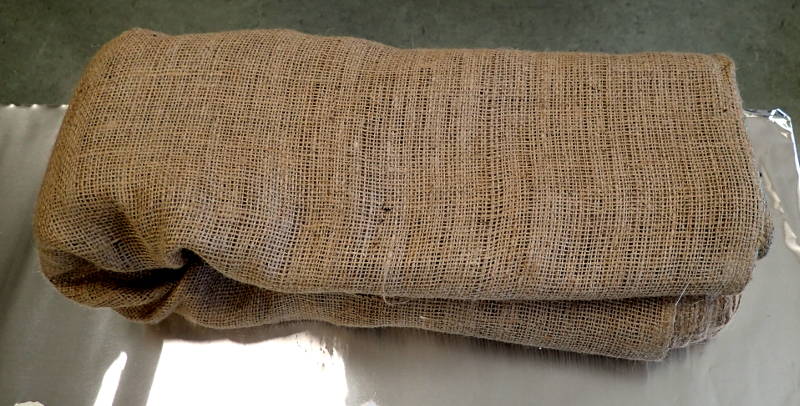
The next morning, a lethal looking object emerges.
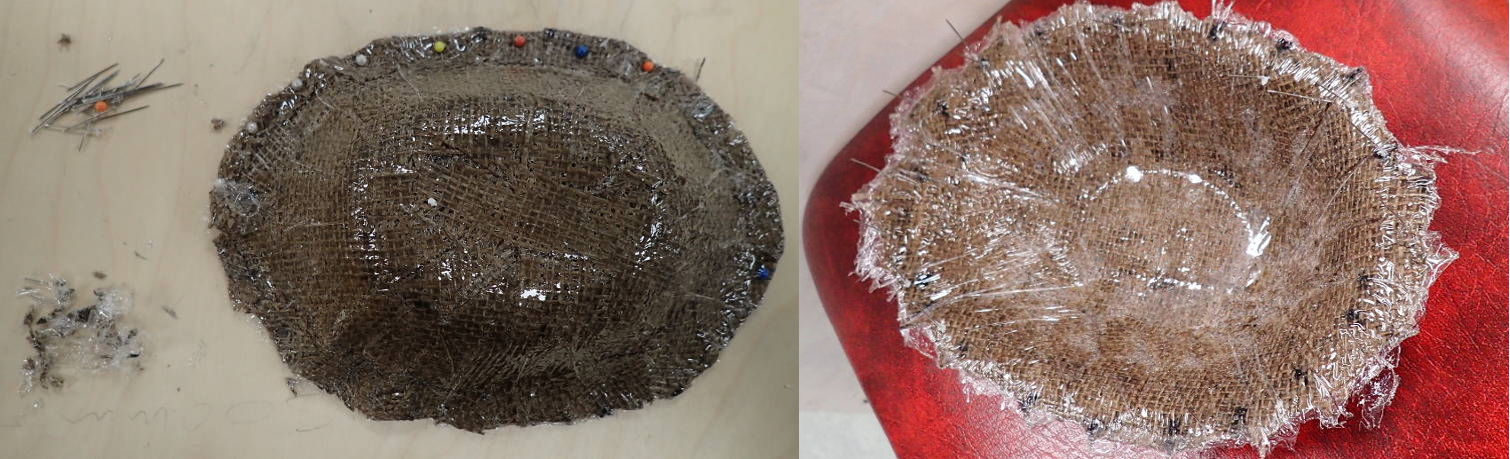
Some judicious trimming renders it mostly harmless.
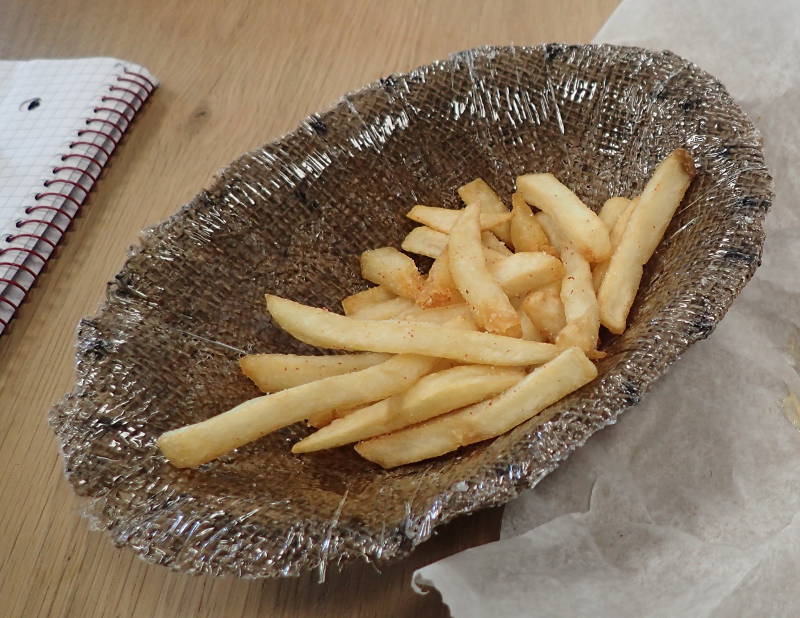
Not the intended purpose, but it's usefulness is proven.
Preparing test piece for comparing diffenent layups.
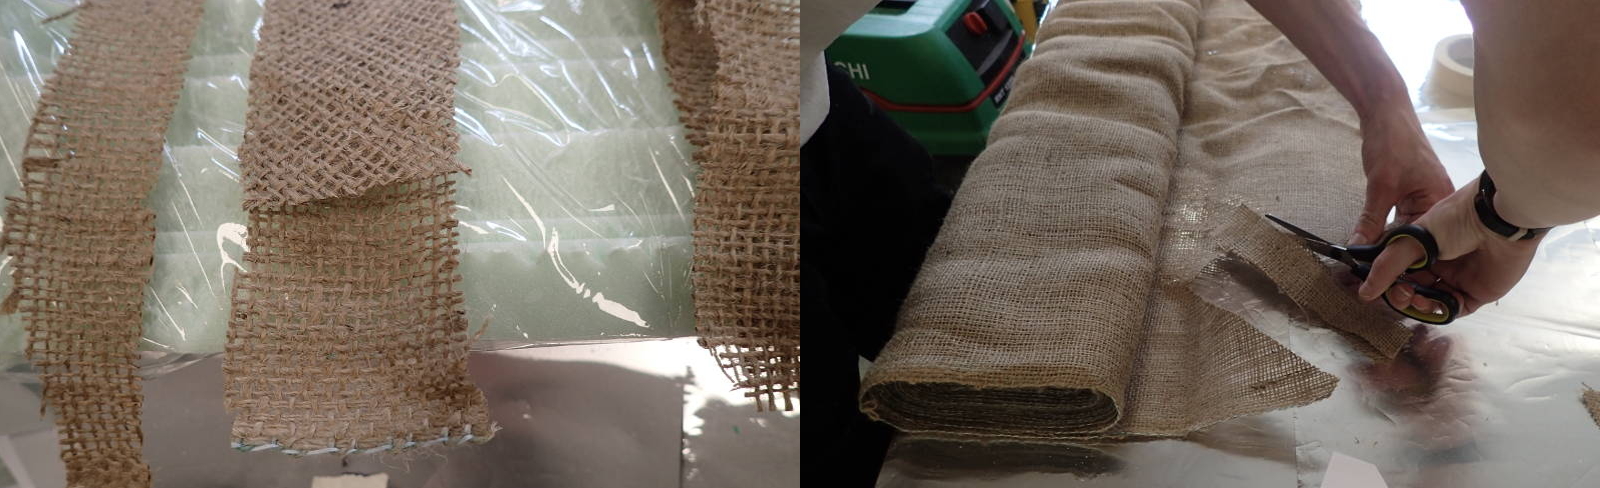
Burlap pieces with alternating straight and diagonal fibers.
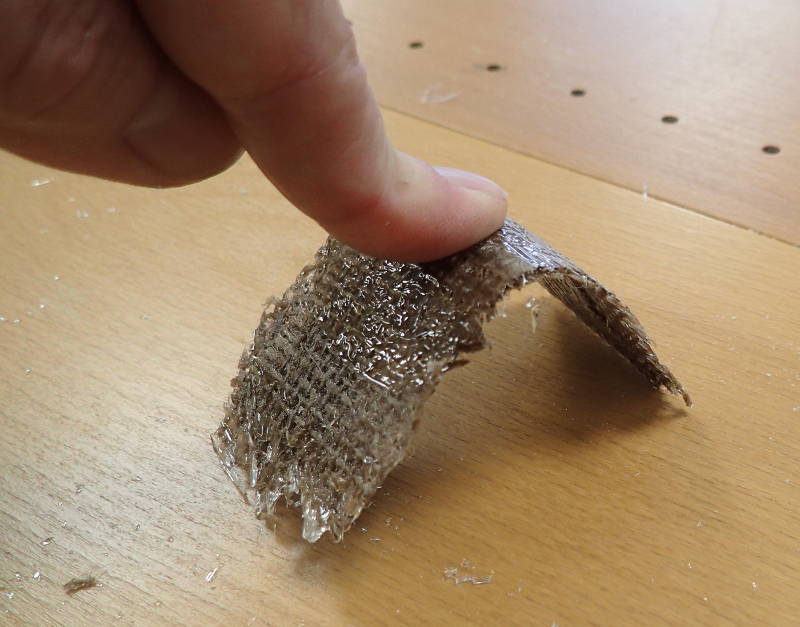

Rigidity of samples seems more determined by number of layers than orientation of fibres.
I had made a fillet in the Fusion 360 model to facilitate the draping of the burlap without bunching up, the unintended consequence was that the internal dimensions shrank enough to no longer fit the power supply inside.
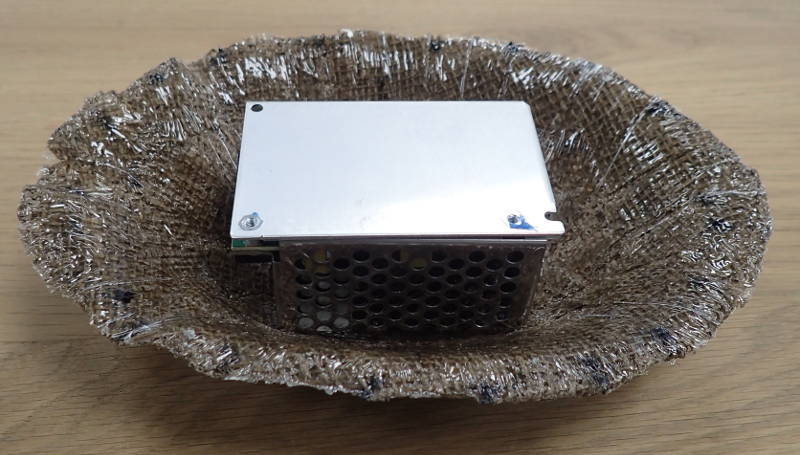
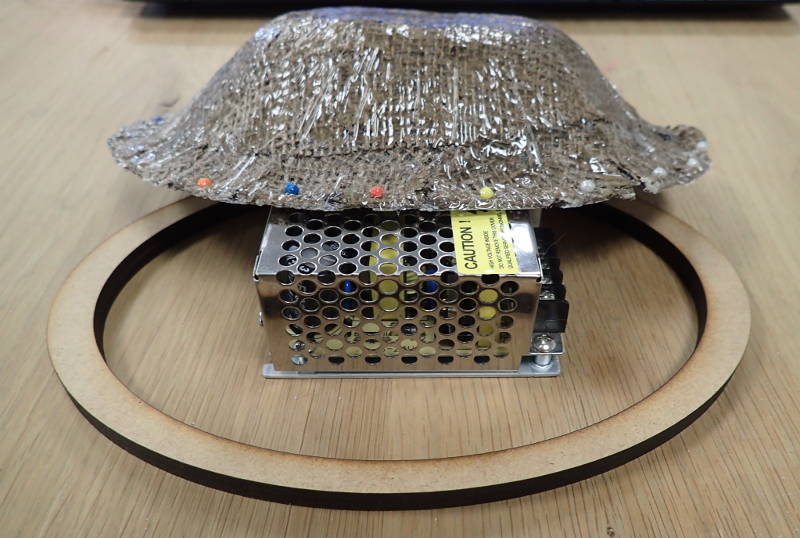
A couple of spacers fixed that problem.