3D Scanning & Printing
Things to do:
2) Design and 3D print an object (small, few cm) that could not be made subtractively
3) Scan a 3D object (and optionally print it)
Have I achieved this week's goals?
3D Printing
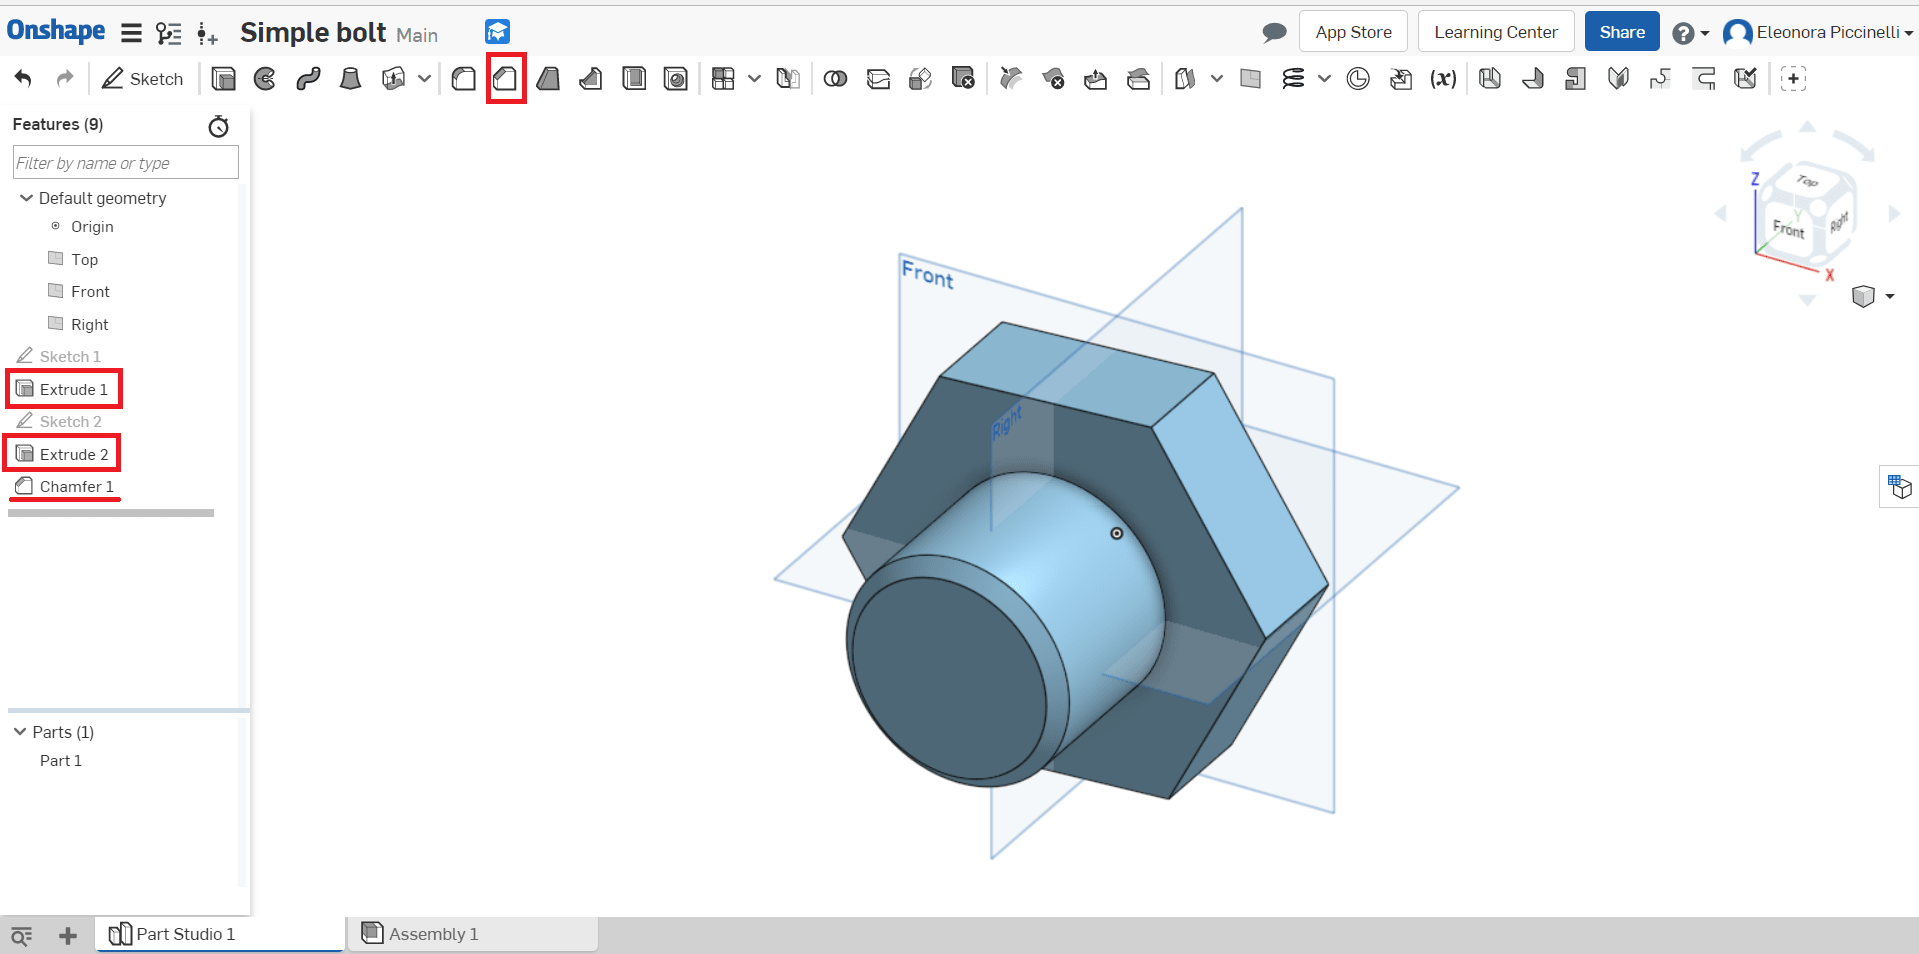
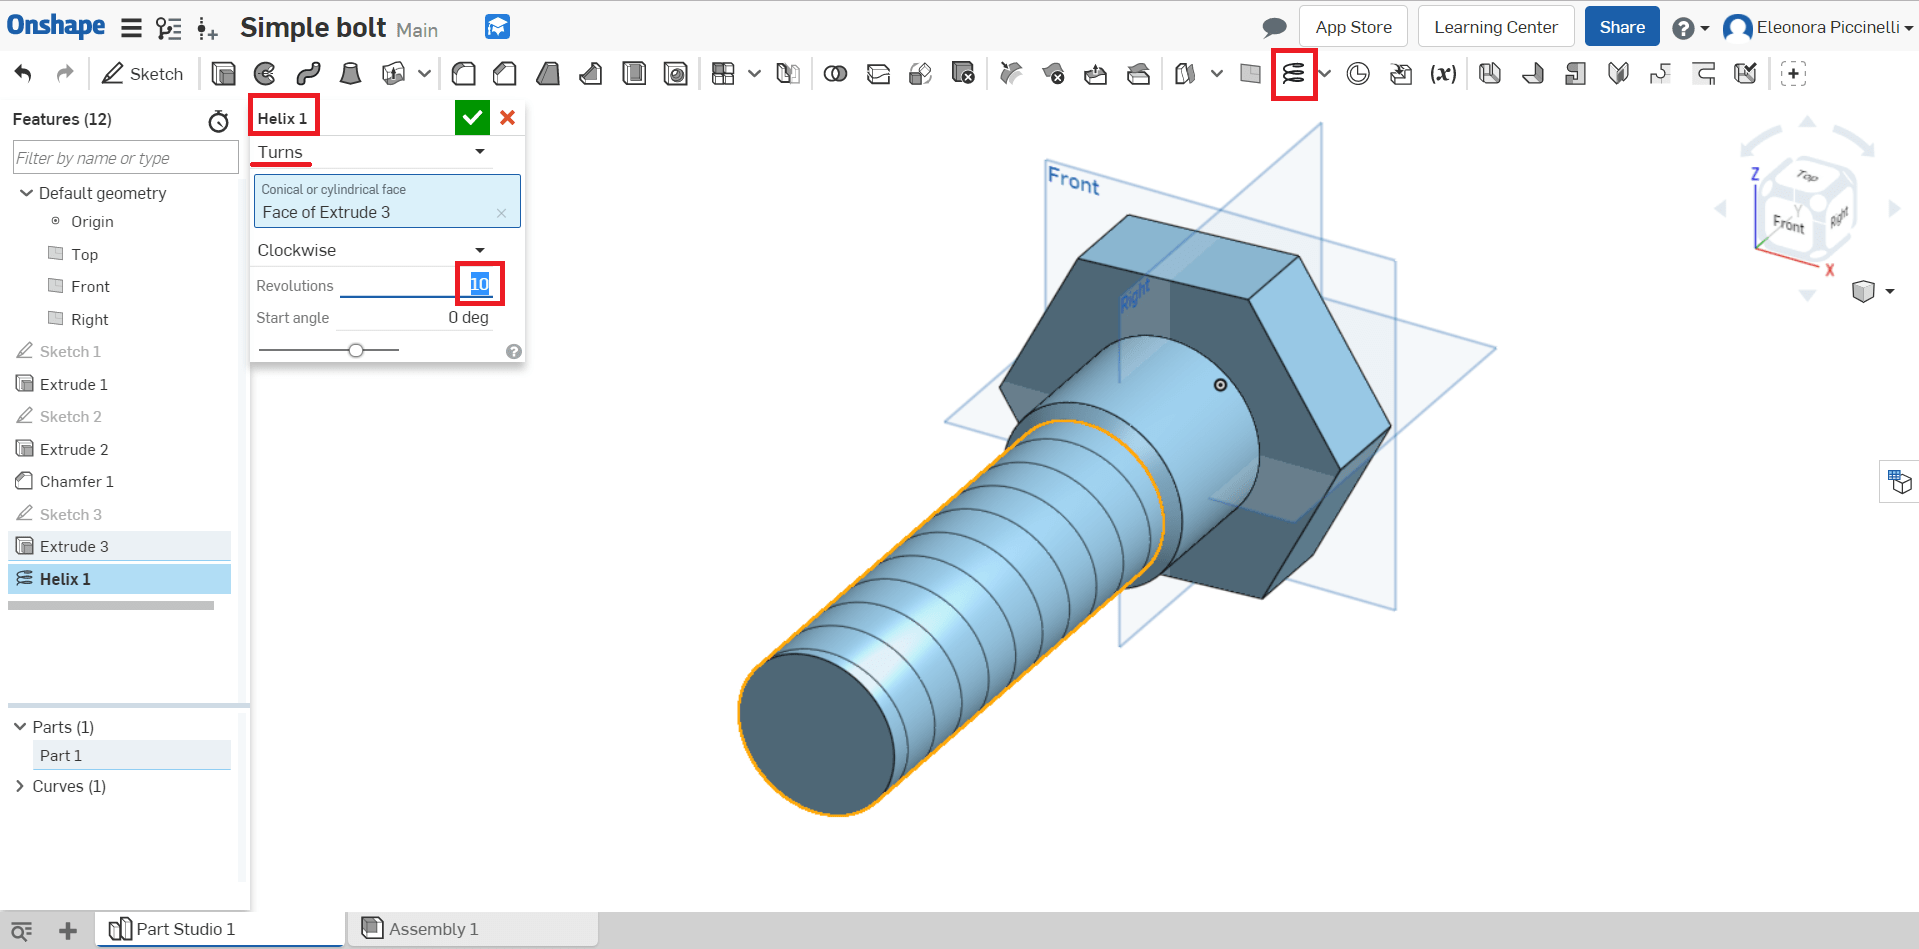
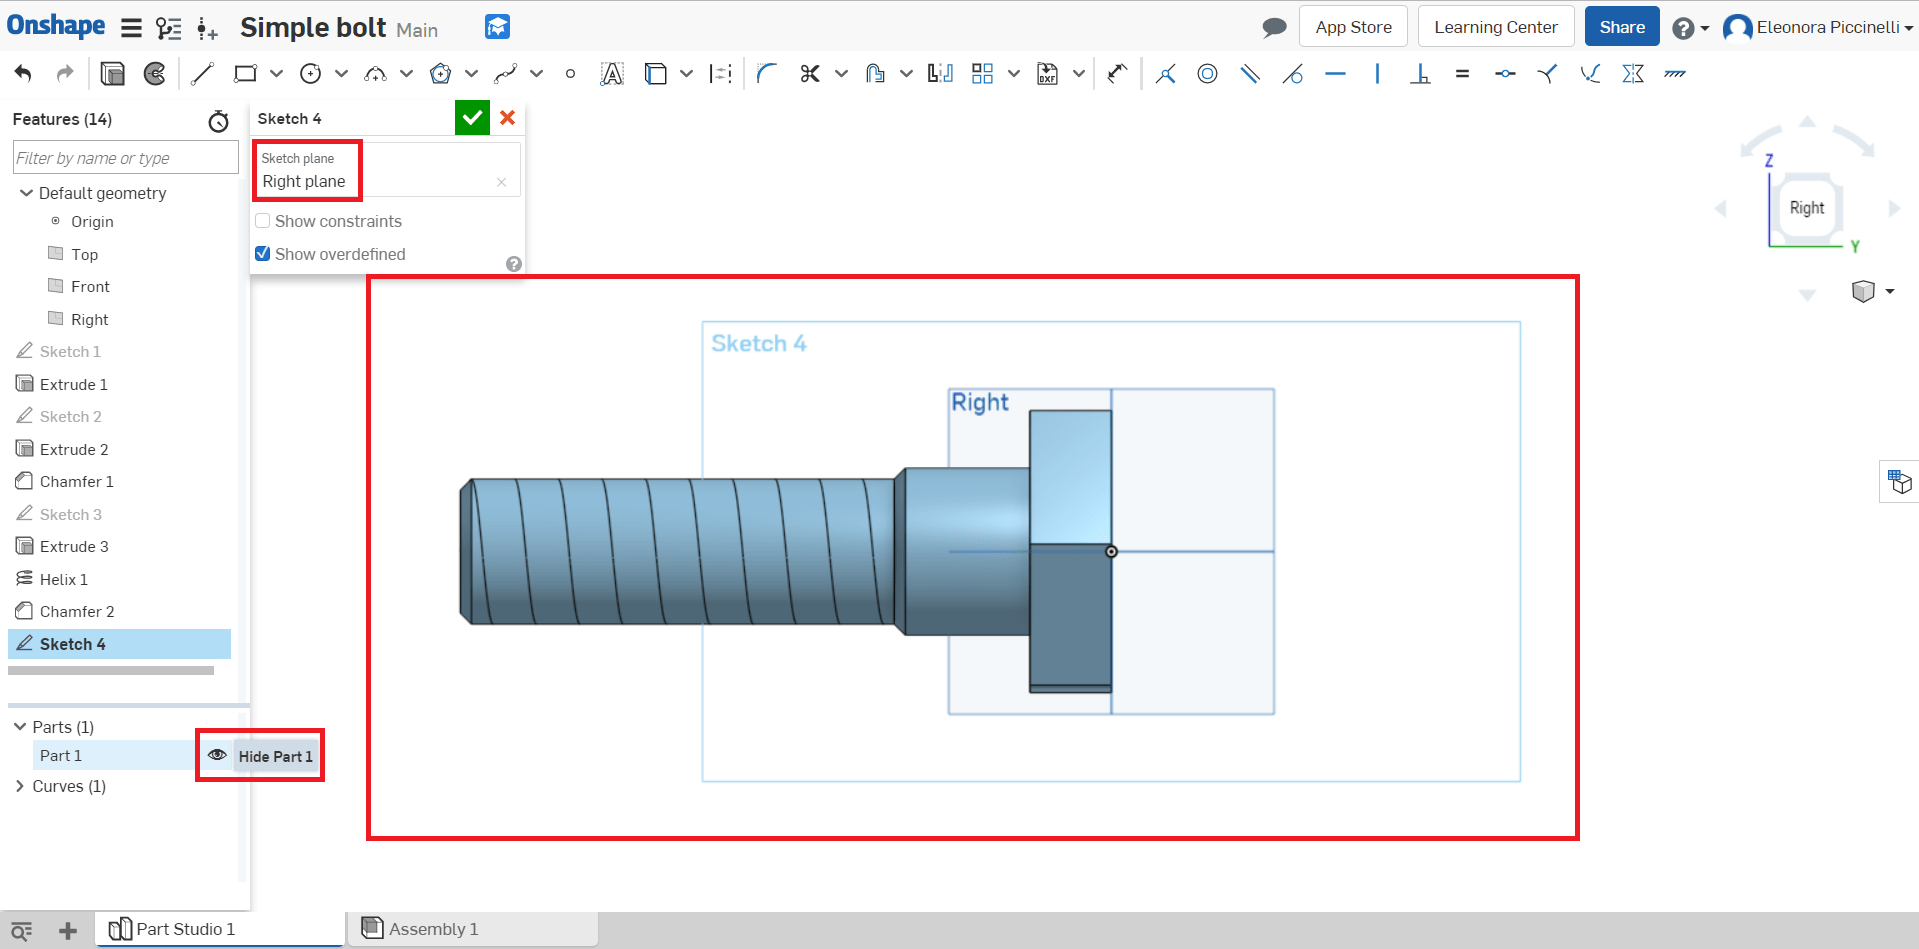
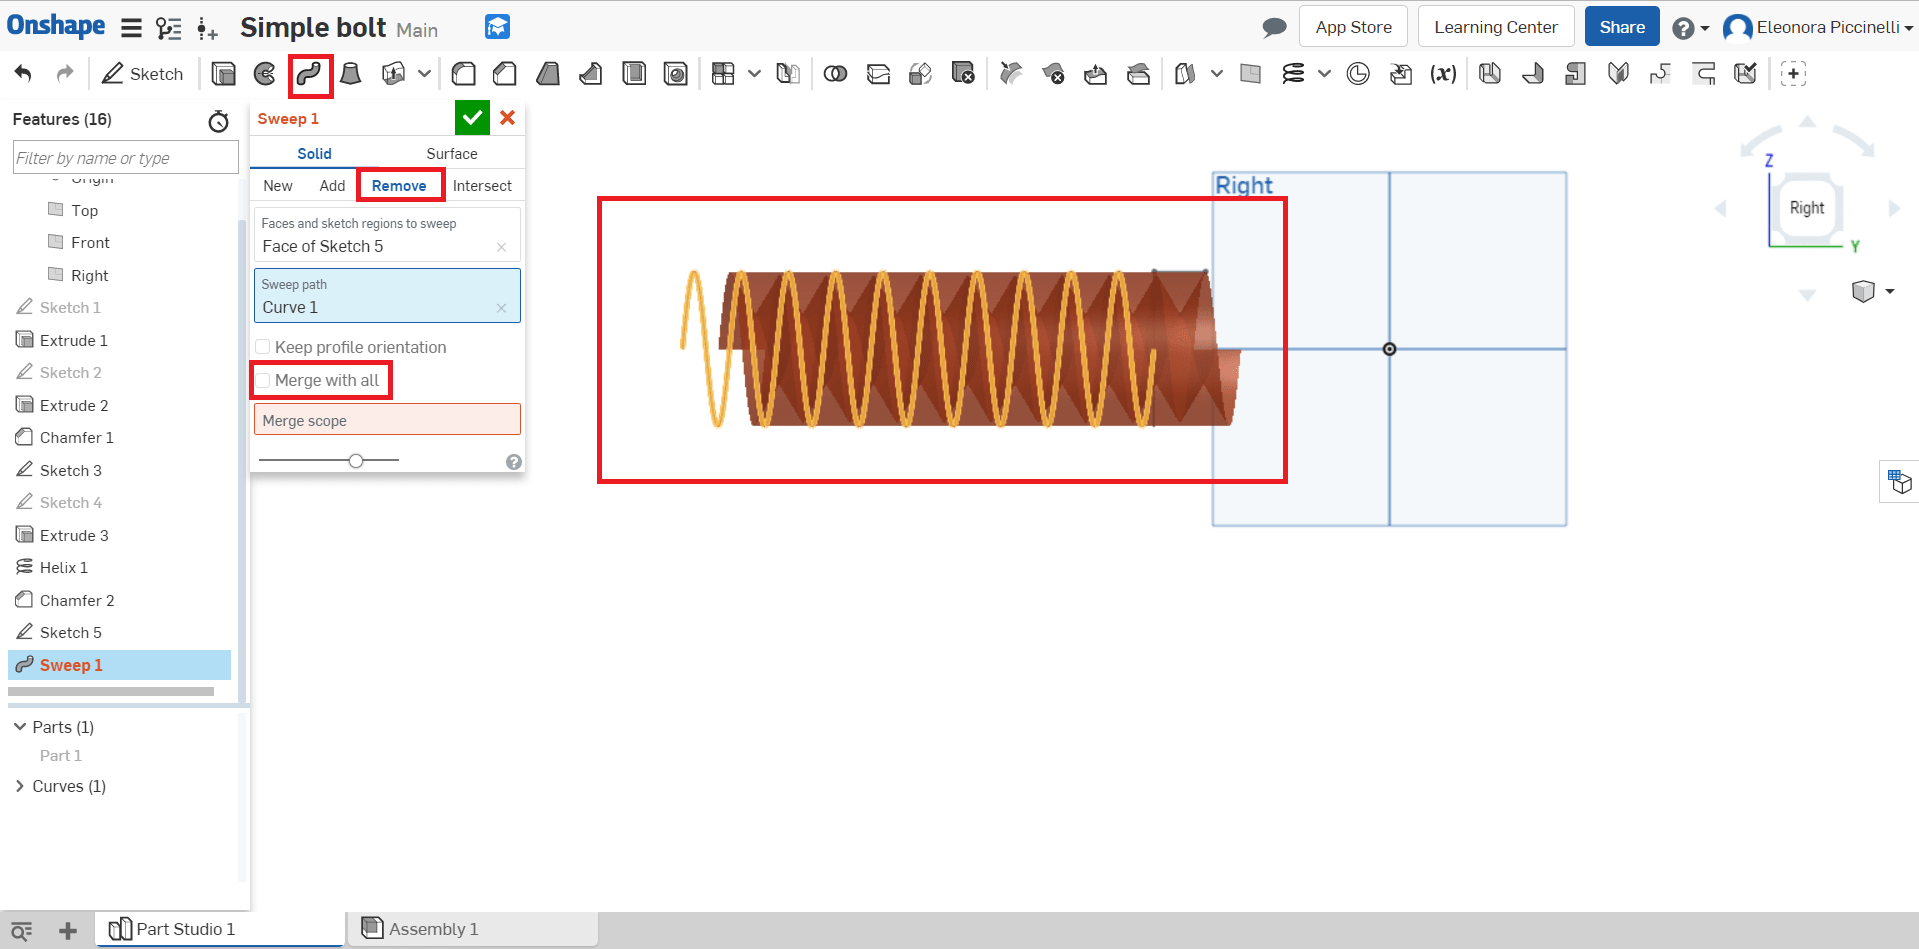
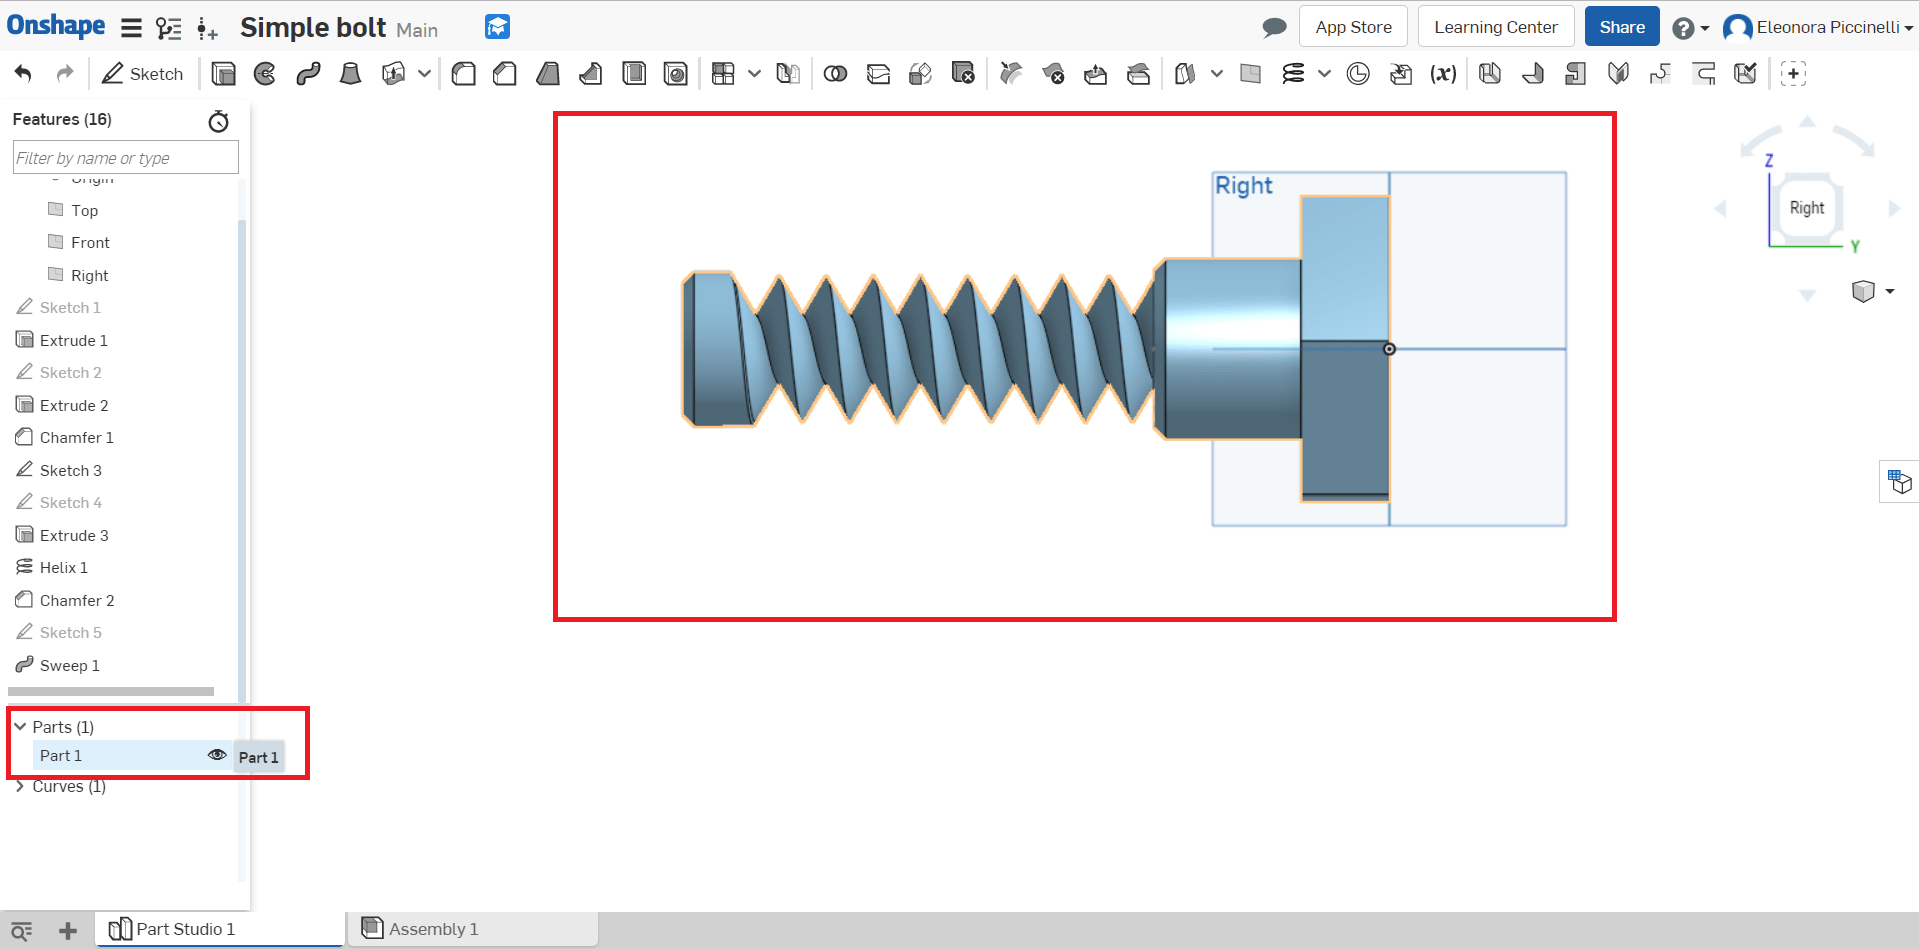
First of all, I worked on my 3D model with OnShape. This week I decided to work with this 3D software because I think it's extremely handy and its tutorials are really explicative. For this assignment I created a simple bolt, because I think it will be useful for a small part of my final project. The sketch was very simple and the tutorial helped me a lot. If you want to do some practice with the same guidelines, you can find the tutorial here.
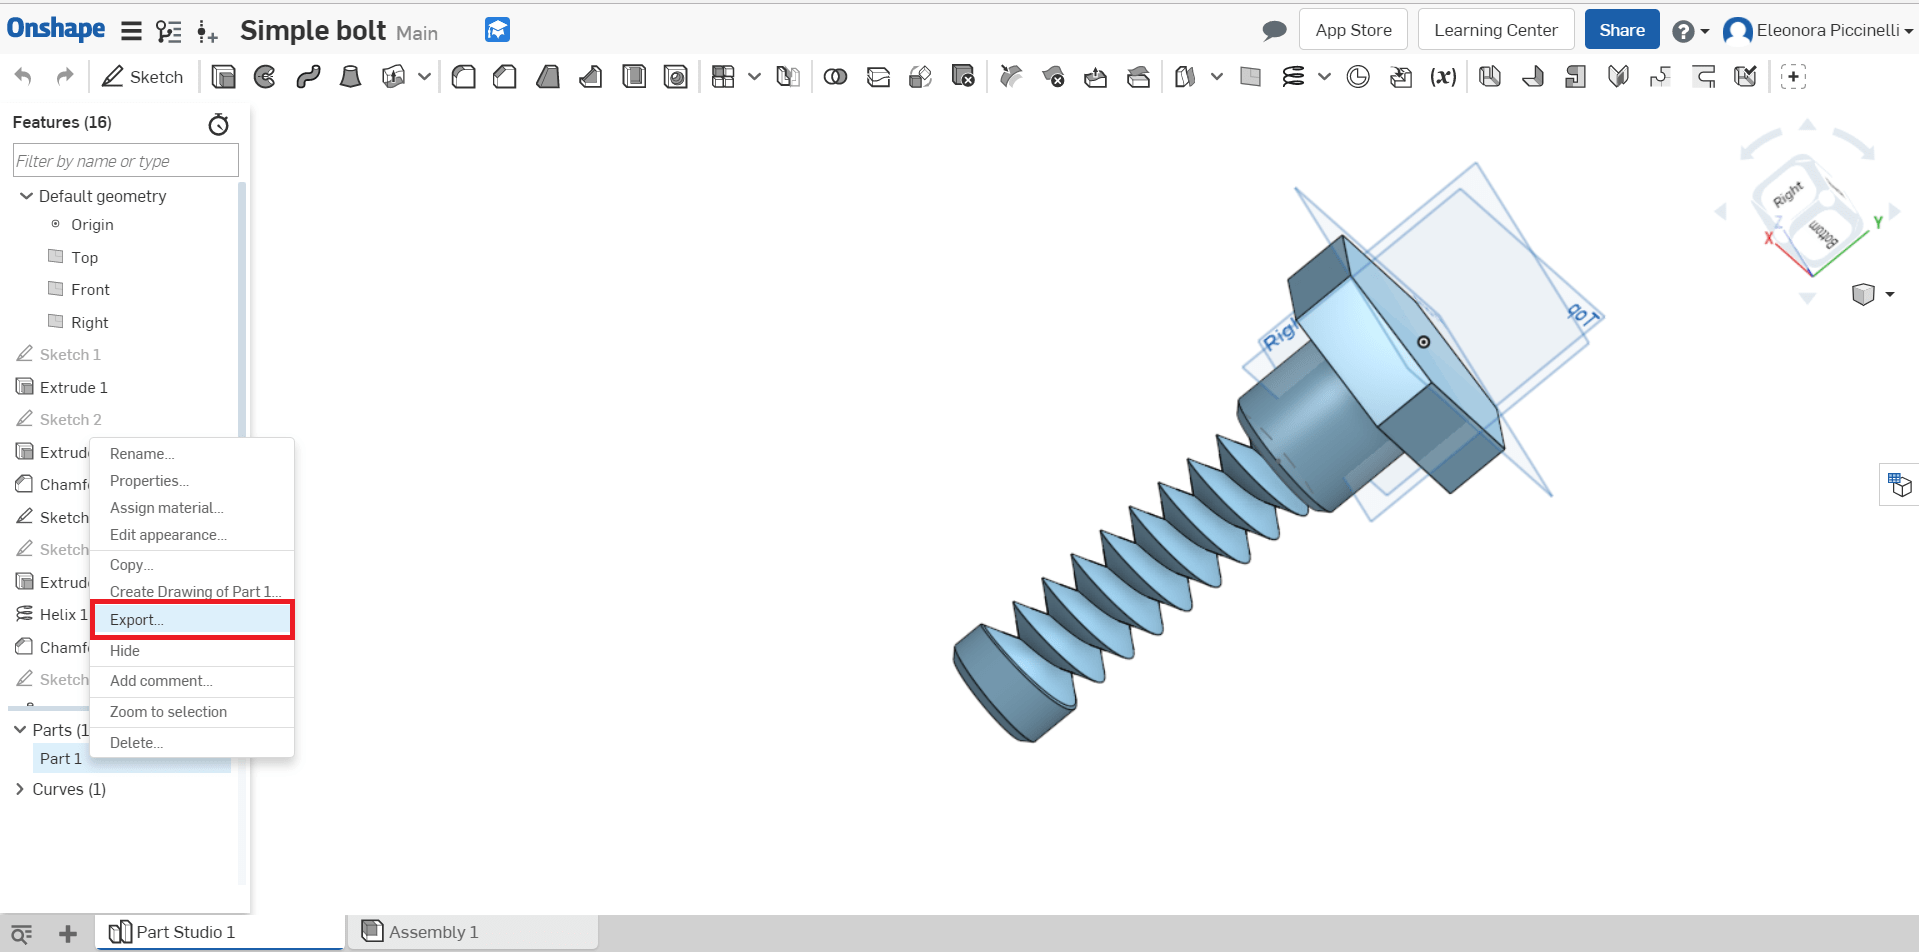
Finally, I export my 3D model. I paid attention to select the .stl extension. Then, I opened the new file on Cura. I changed the proportions because the object was too big to be printed in his original dimensions. So, I set the parameters looking for the right dimensions in millimeter. Once I set these things, I rotated the object, putting the base on the printer plate. Doing so, I left the bigger part of my bolt close-fitting to the Ultimaker printer and I gave balance to the whole figure (putting the smallest parts at the top). I did my first test with the Ultimaker 2+ but the result wasn't good at all. In fact, I noticed I put the wrong parameters in the print setup box. I set the option everywhere in the label referred to the support placement, but the screw pitch was completely imperfect. Consequently, I changed the options I mentioned and I did a second test with the following parameters on both our FabLab's Ultimaker printers. I have never used a 3D printer until now, so I decided to study what its settings means. For example, why the layer height, the wall thickness and the rest of elements are really important and you have to set them properly before printing? If they would have been useless, each 3D printer would have had only defaults paramaters. In order to answer all my questions, I found an explicative webpage with an Italian explanation.
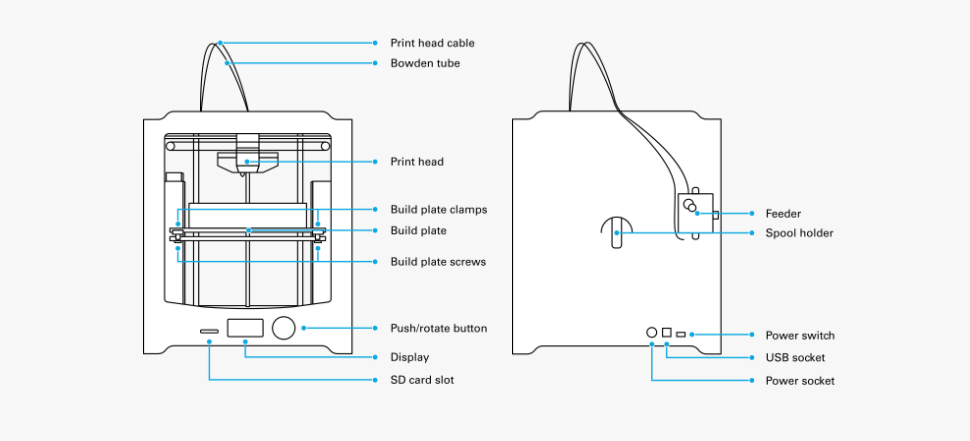
After having looked at the page I mentioned before I thought it was necessary to find a getting started tutorial. The latter one well explains the Ultimaker structure and its functionalities. It can be followed step-by-step and it can be used if you have to put a new material printer (I used the PLA filament). Moreover, this week, I discovered what a slicer was and I used a new software named Cura. A complete guide I found online, gave me the opportunity to learn a lot and helped me to set the right parameters for my first 3D printing!
ULTIMAKER 2+
| SETTINGS | VALUE |
| Layer height | 0.1 mm |
| Wall thickness | 1.2 mm |
| Top/bottom thickness | 1.2 mm |
| Infill density | 30 % |
| Gradual infill step | 0 |
| Enable retraction | Yes |
| Generate support | Yes |
| Support placement | Touching build plate |
| Build adhesion | Brim |
| Brim width | 4 mm |
| Print sequence | All at once |
ULTIMAKER 3
| SETTINGS | VALUE |
| Layer height | 0.1 mm |
| Wall thickness | 1 mm |
| Top/bottom thickness | 1 mm |
| Infill density | 20 % |
| Gradual infill step | 0 |
| Printing temperature | 210 C |
| Build plate temperature | 60 C |
| Diameter | 2.85 mm |
| Flow | 100 % |
| Speed | Default options |
| Enable retraction | Yes |
| Generate support | Yes |
| Support placement | Touching build plate |
| Build adhesion | Brim |
| Brim width | 4 mm |
| Print sequence | All at once |
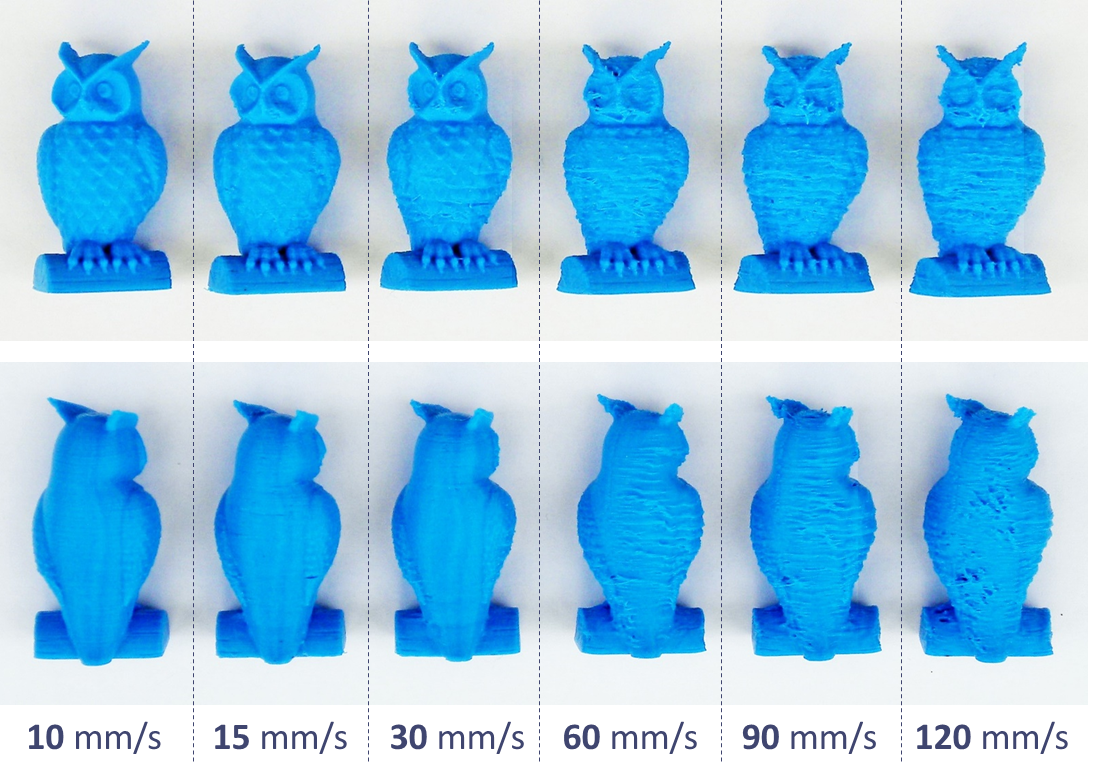
I'm really curious to see my object printed. I think the 3D printing actions allow us to create a grate quantity of shapes and objects. I have never used a 3D printer until now, but I noticed the print speed setting affects print quality. In other words, in order to reduce print time, simply increase this speed and this means the filament might not have sufficient time to melt as it comes out of the nozzle. I looked at the following example I found online and then I paid attention to my printed object too.
More than this, I watched this video tutorial because I needed to know more about Cura and I did some tries with my 3D model before launching the 3D printer. As you can see, the software is really easy to use. I think is intuitive and well organized. The thing I noticed at fist, it was an advice at the bottom of the screen. It said me the model was unable to slice. Obviously it was! I had to place it inside the work area.

As can be seen by the picture above, the whole model is coloured in grey, because it has no adeherence on the plate and because I was moving it inside the 3D printed area. On the left side there's a menu that allows user to rotate and scale the model. Thanks to it, I moved my screw and I changed its dimensions.

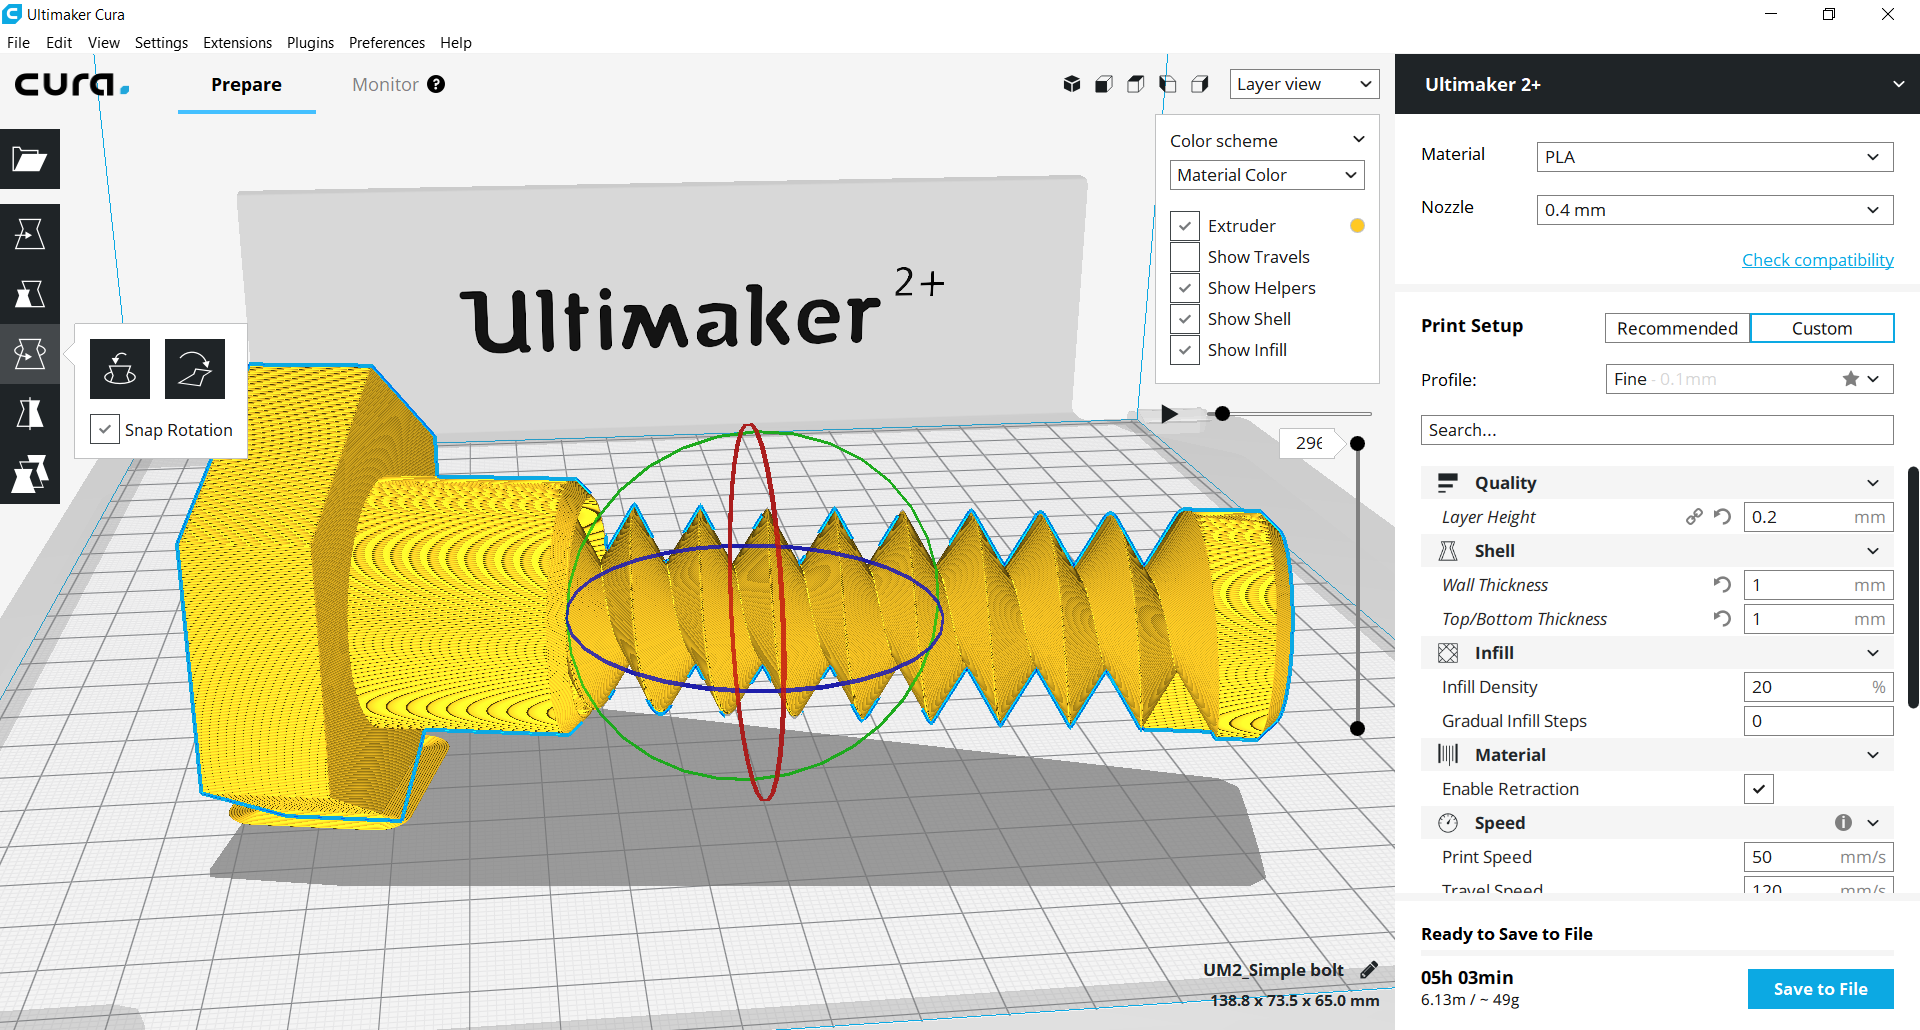
After having done some basic actions, I used the zoom and I set the layer view. It shows the print moves of the nozzle and it is a good starting point in order to find the appropriate printing parameters or your printing strategy.
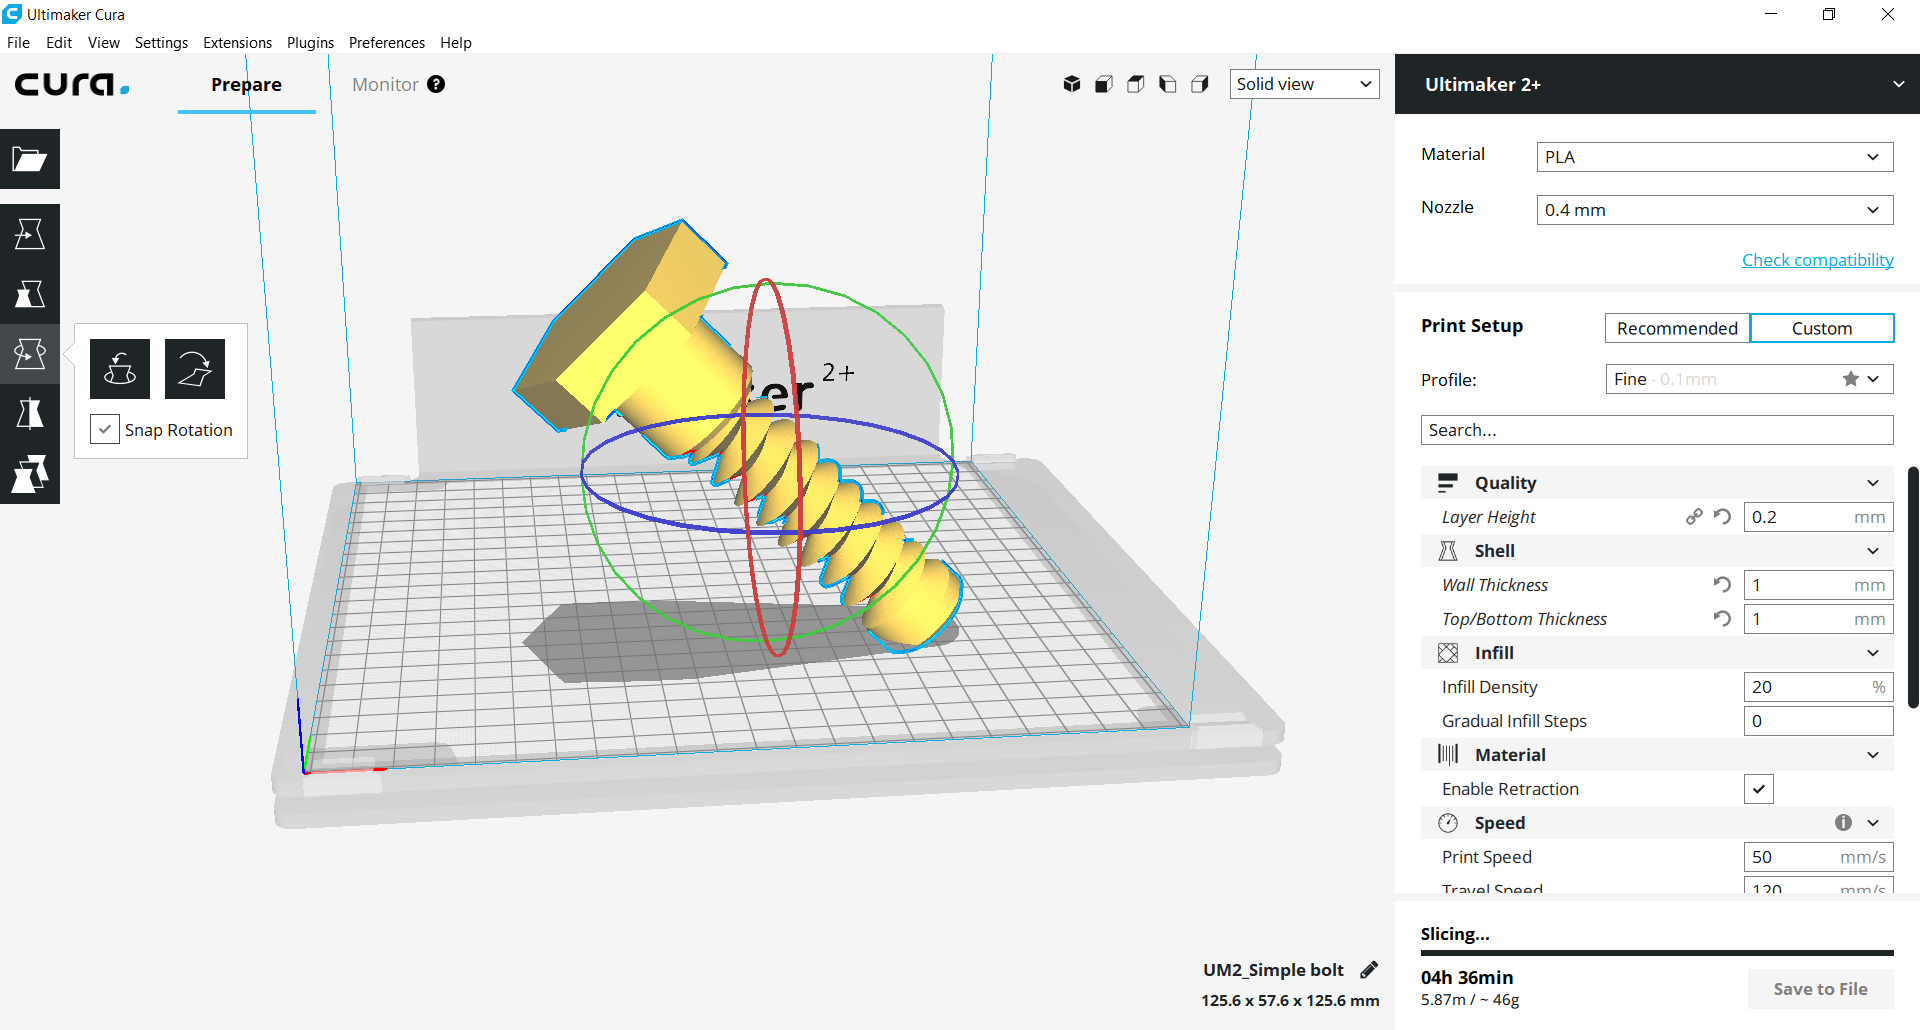
Following this important step, I went on the right side menu and I clicked on custom parameters setting. More than this, I would have been used the recommended ones, but one of this week's purpose was to test 3D printer rules. So, I used the settings I mentioned above and I proceeded rotating the screw leaving the bigger part of my bolt close-fitting to the Ultimaker printer. So, the screenshots below doesn't represent the final position, but I did it anyway in order to show how can be rotated a model on the 3 axes. Precisely because of the 3 axes machine, the model can be done substractively because of its undercuts.
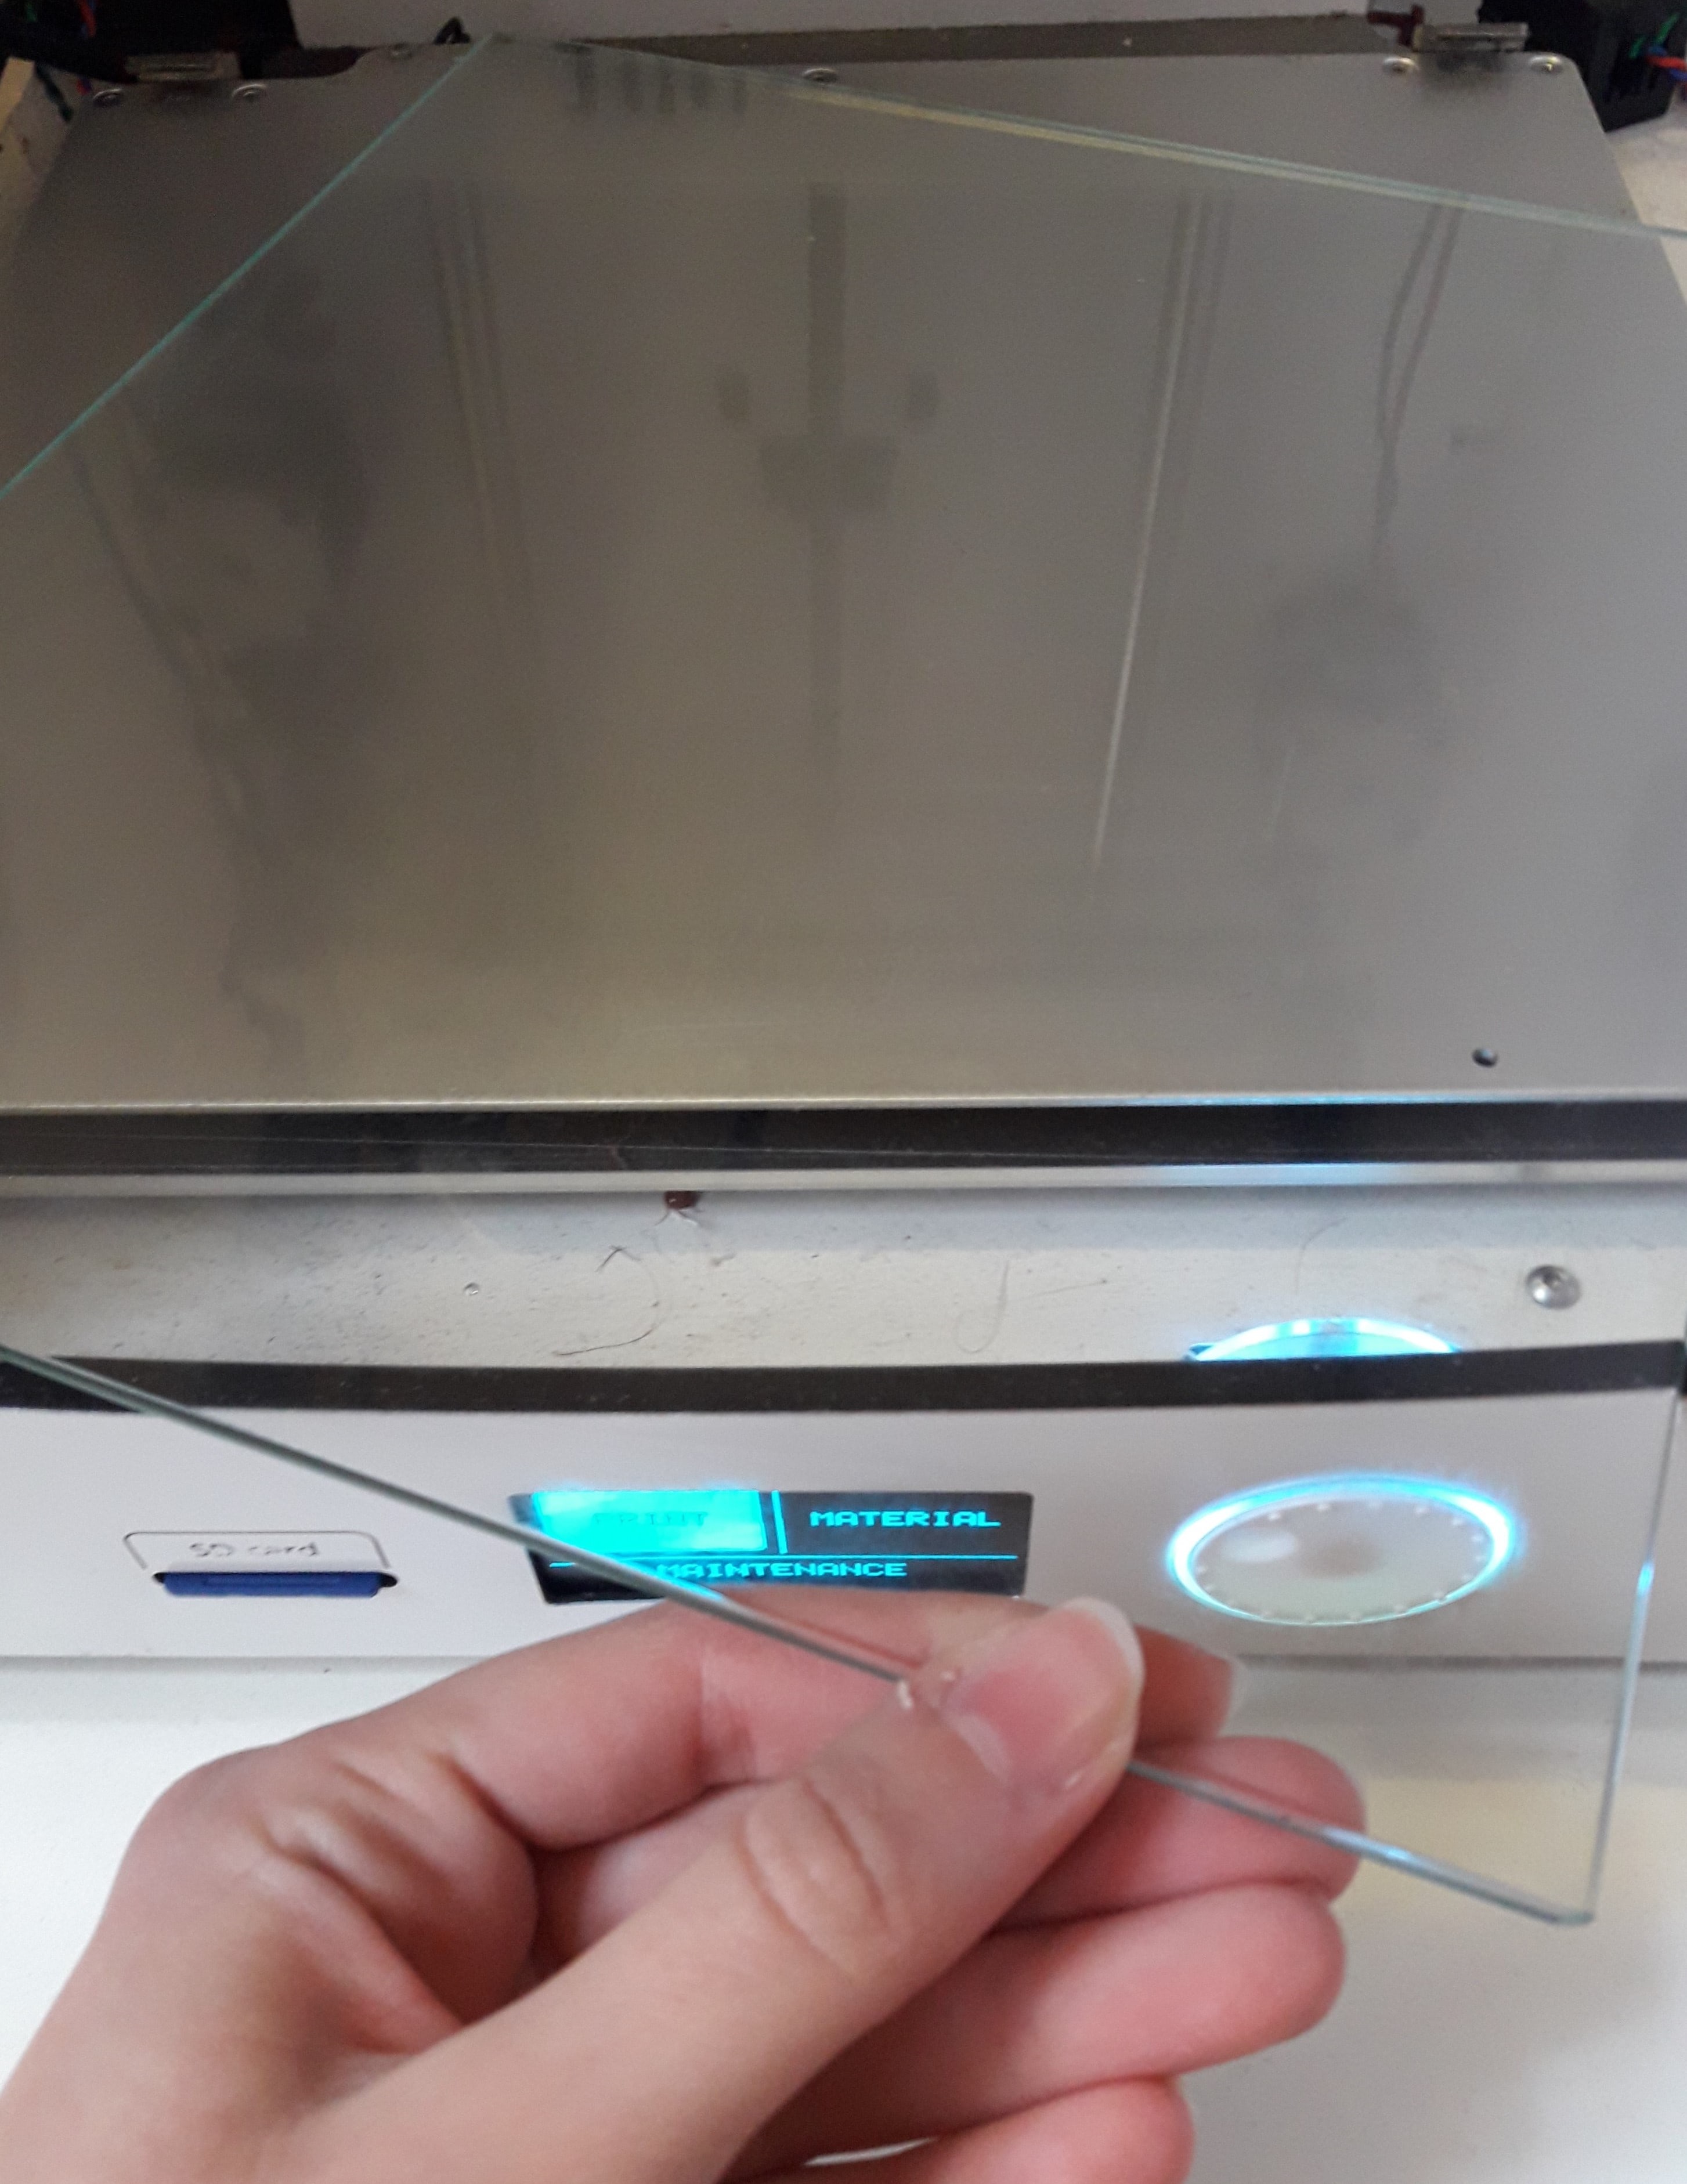
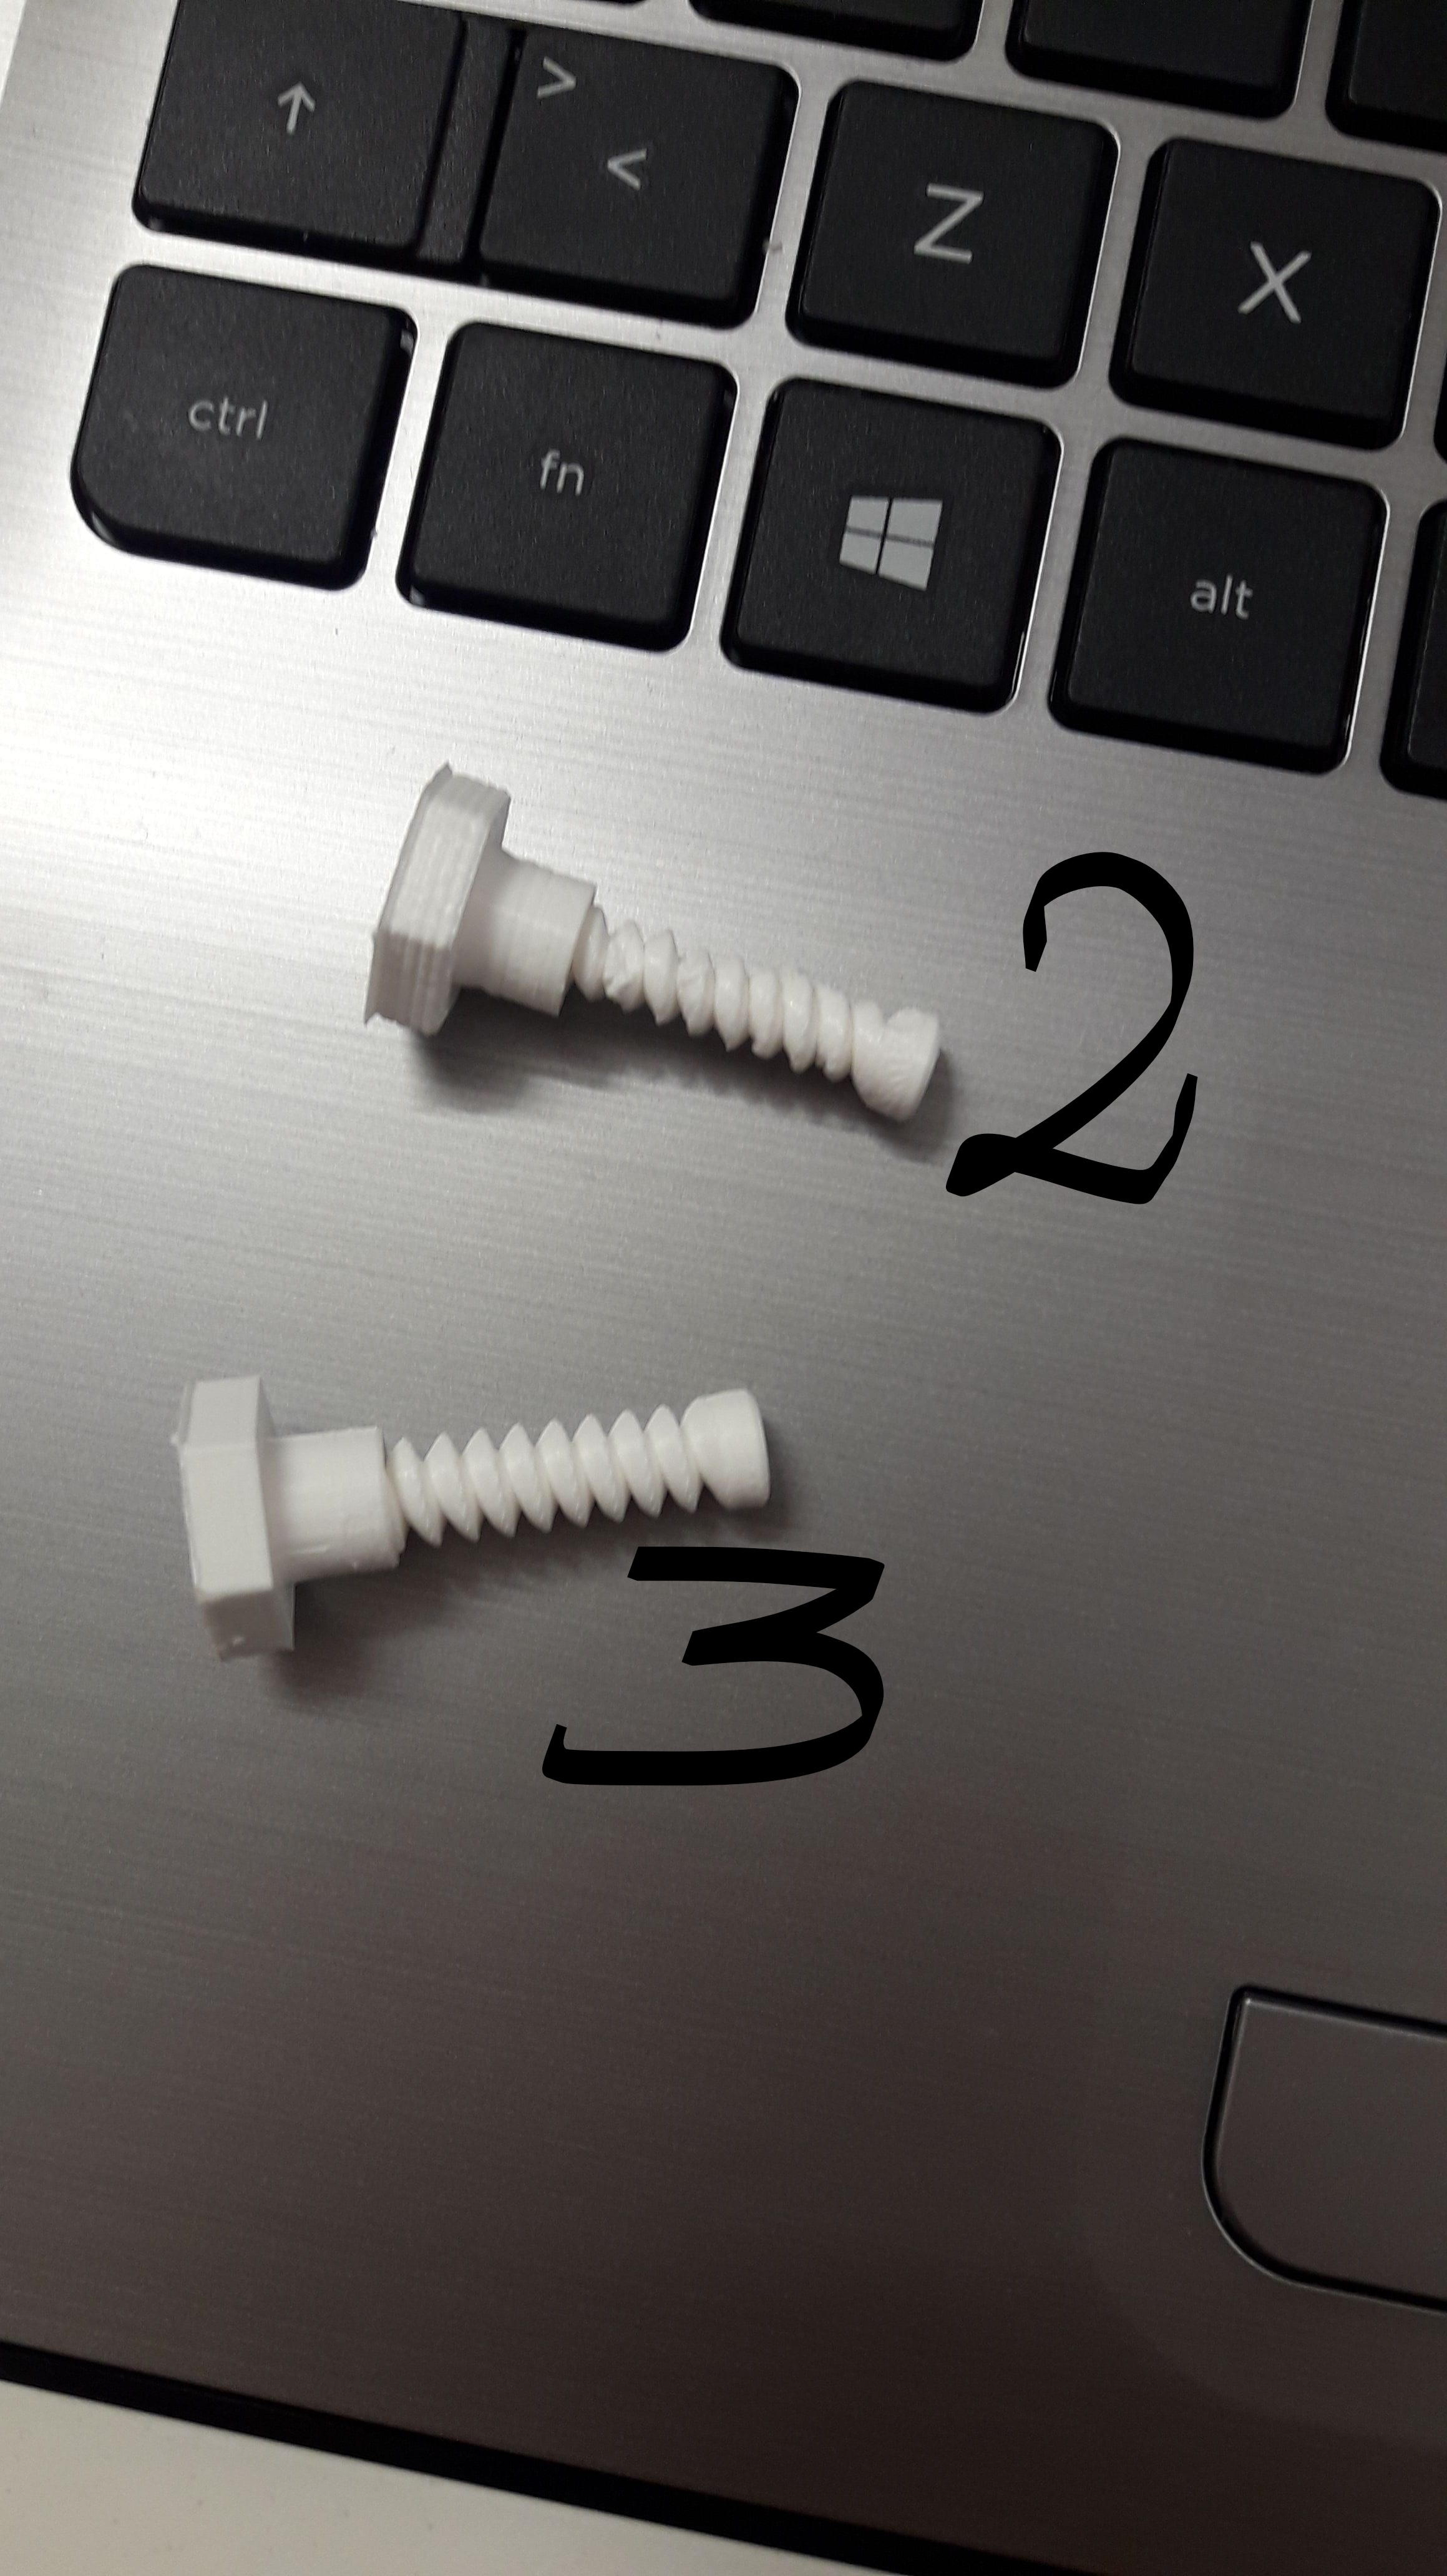
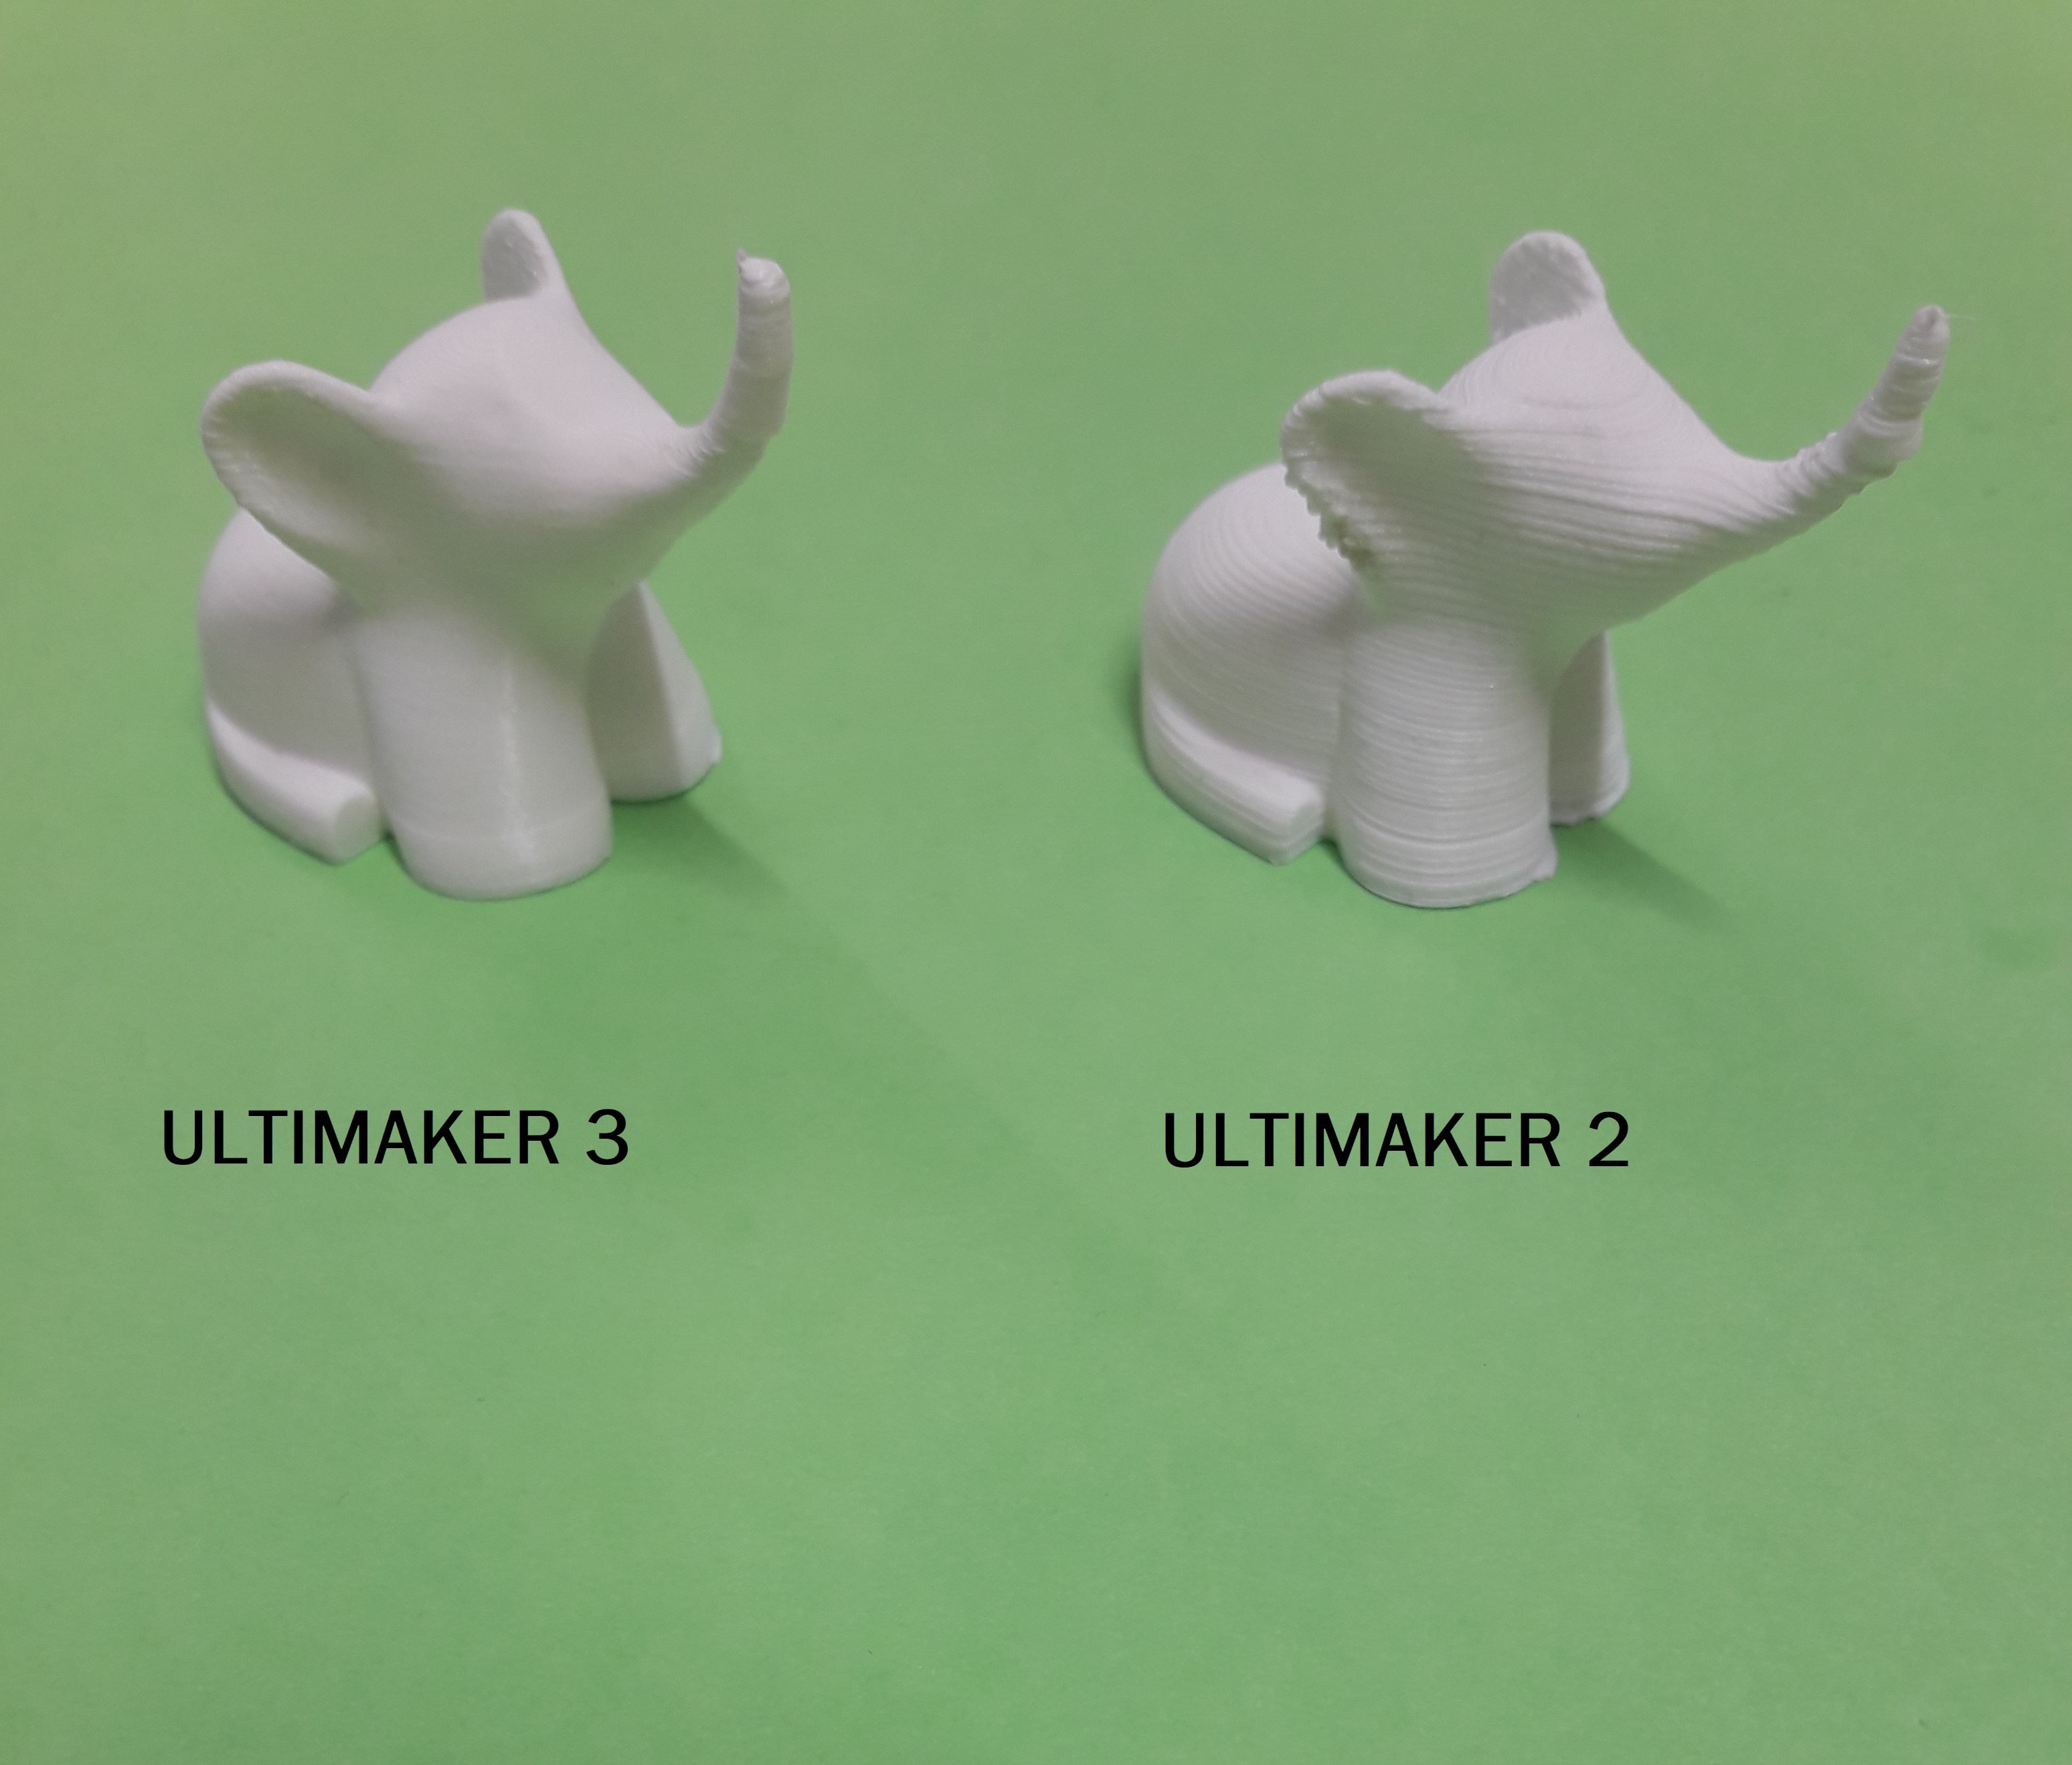
Now, being aware of the things I mentioned and did until now, I can print my first model. But...wait a moment! Before doing it, I cleaned the build plate of the Ultimaker 2 and then I adjusted it in the right position. After that, I sprinkled a bit of hair spray on the plate. Doing so, I made certain of the object adherence on it. Next, I saved my files as a .gcode extension on the SD card (for the Ultimaker 2) and on the USB pen (for the Ultimaker 3). Finally, I powered up both files at the same time and I waited for a half-an-hour. As you can see, the second picture show the final result of the same object (made by the Ultimaker 2 and the with the Ultimaker 3).
In addition, I powered up a new print because of a student's guided tour of our FabLab. This time, I only downloaded the .zip file from Thingiverse.
The aim of this last print was only related to a simple demonstration, so I used the website I mentioned only to be fast and to be inspired.
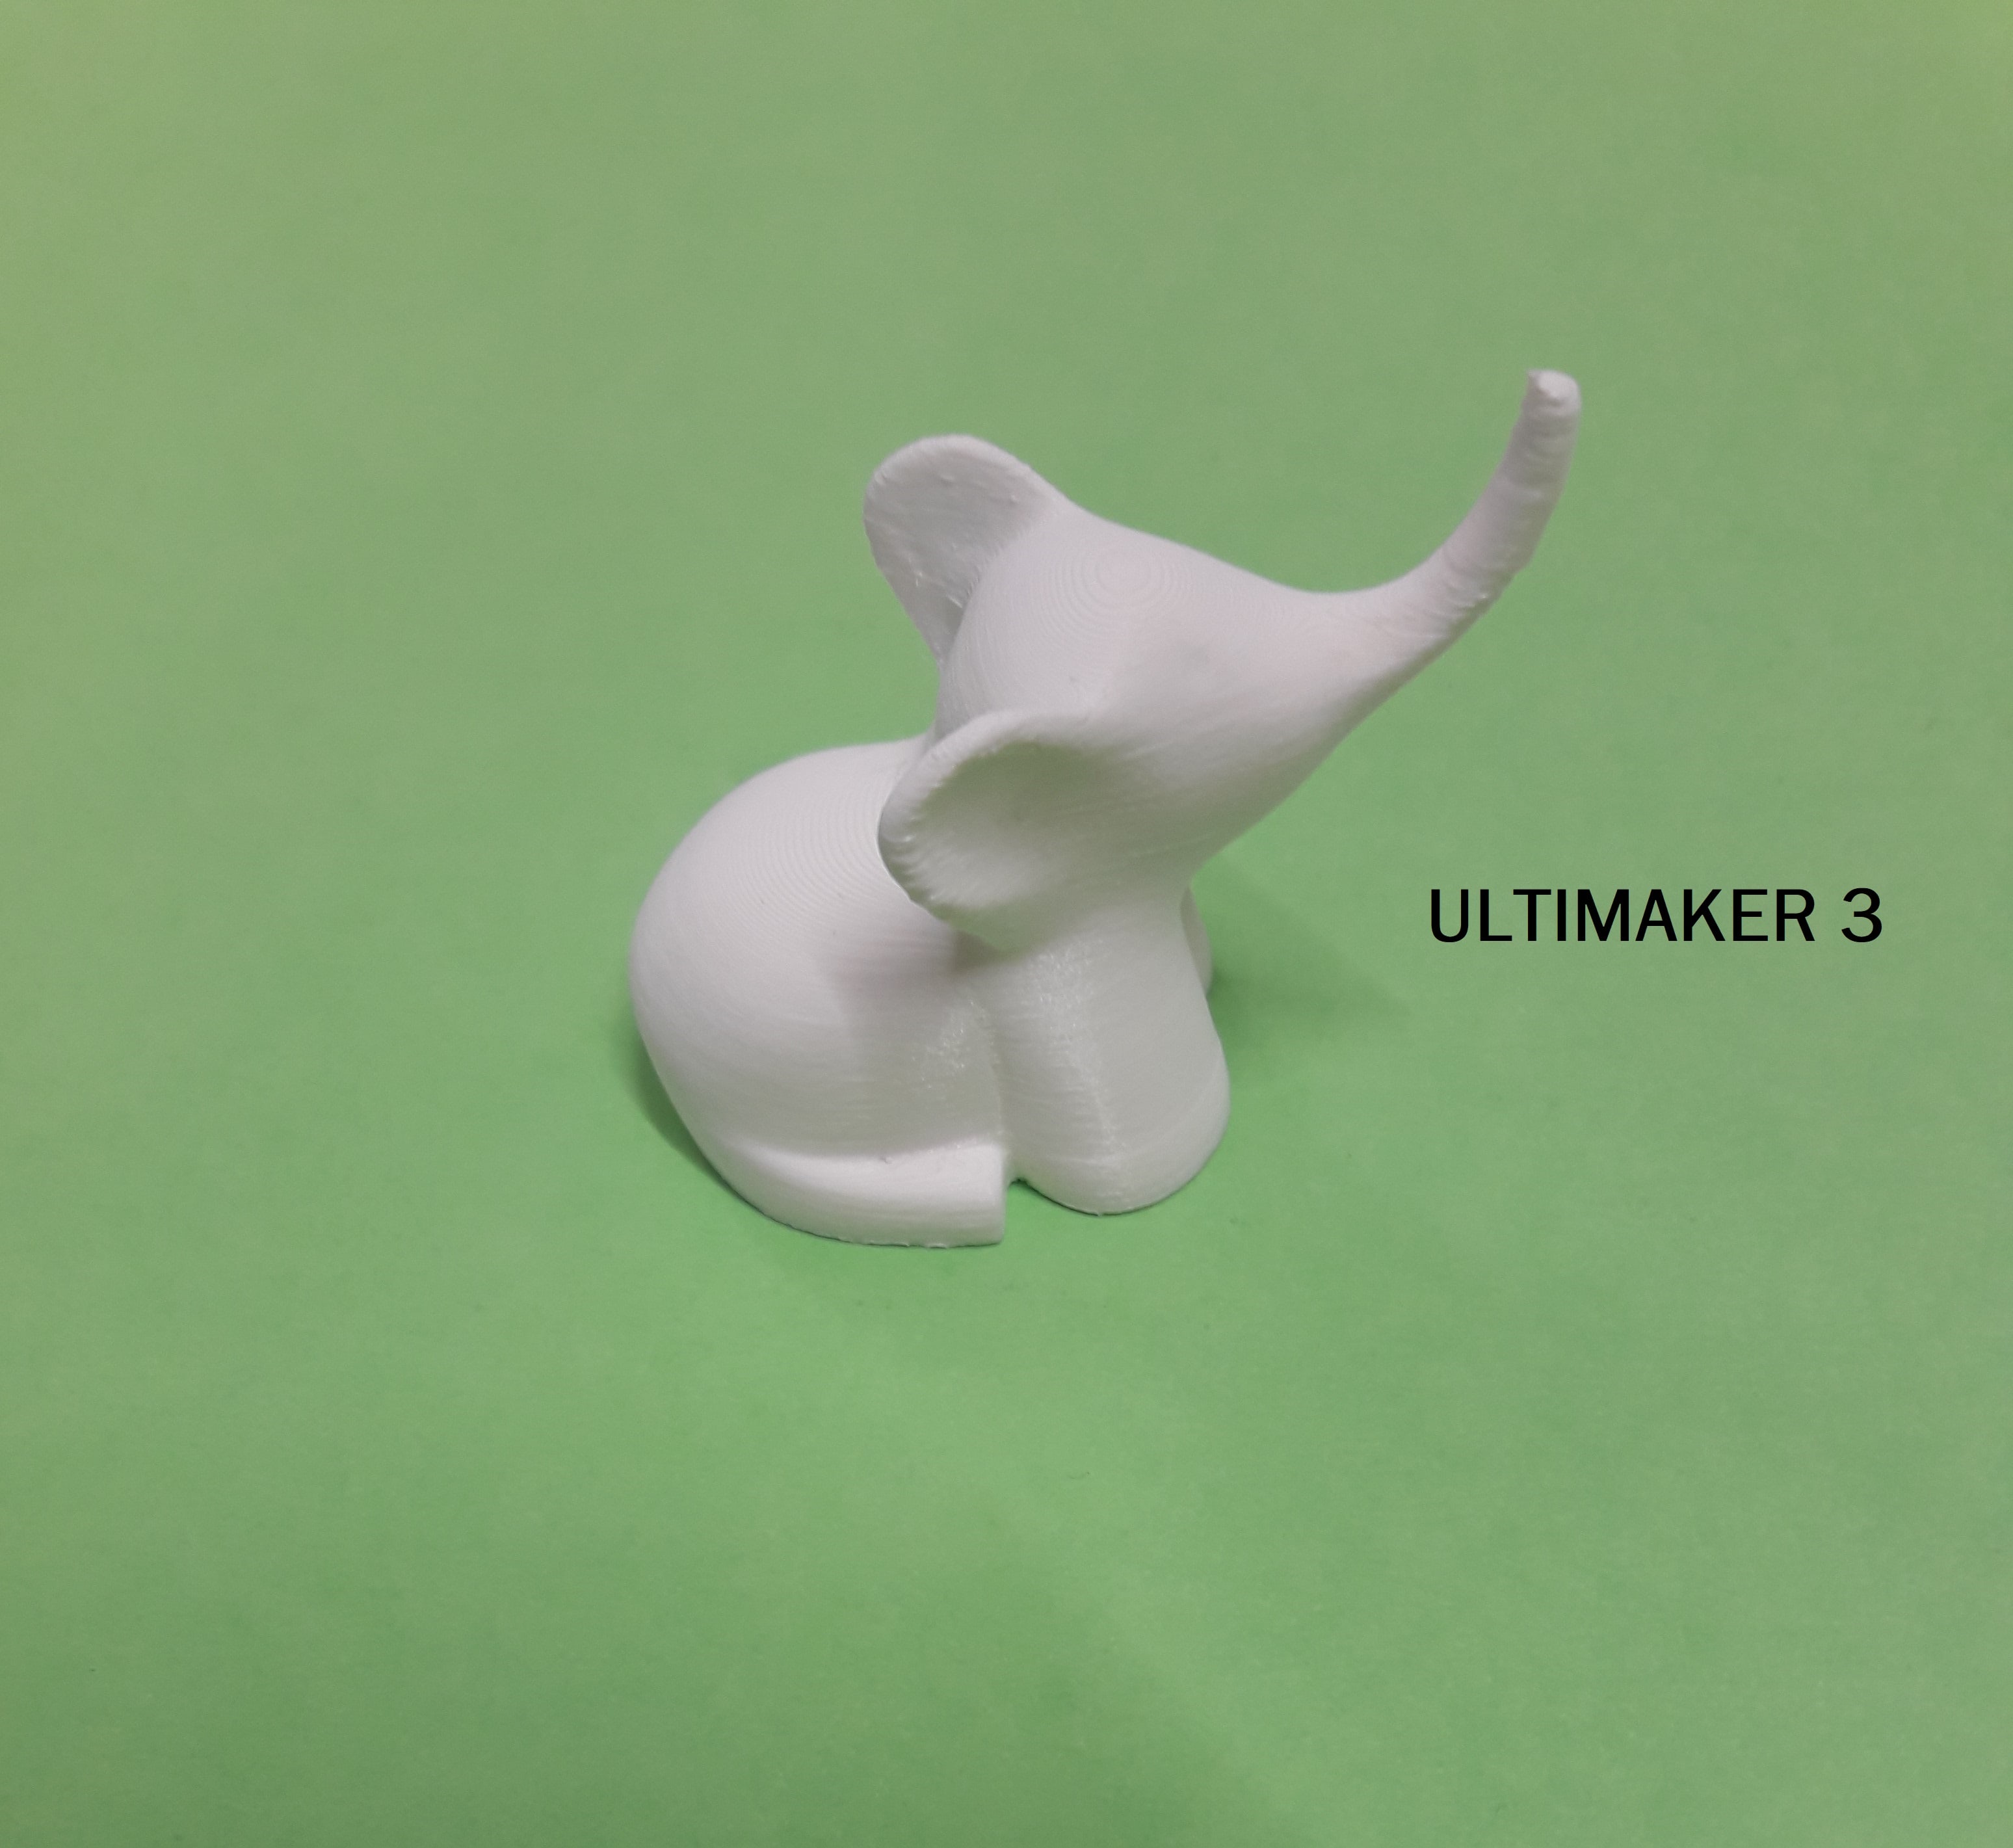
The final printed object was a little elephant. The only difference was related to the colour, because I printed it in white!
3D Scanning
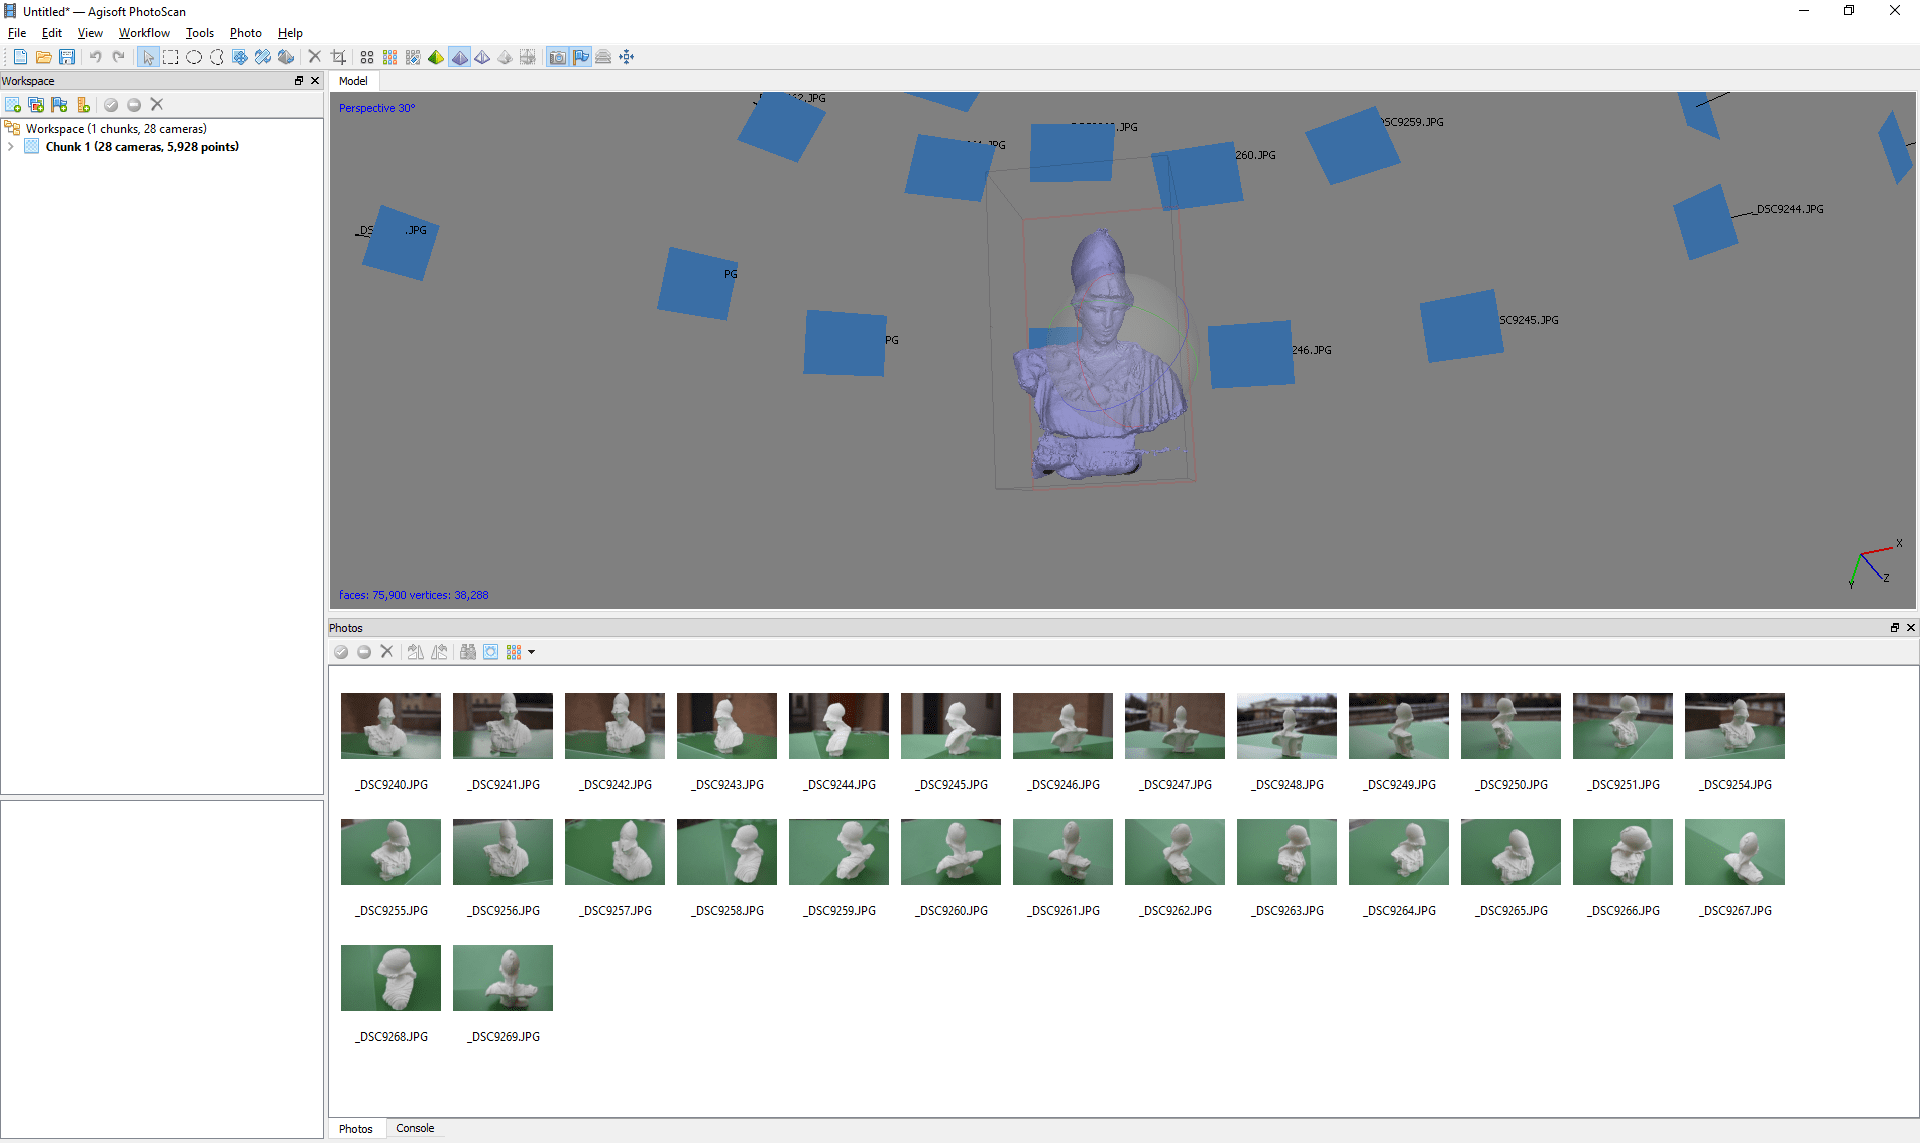
The second assignment of this week was linked to the concept of frame. I found an object inside the FabLab and I went out with others colleagues to take my pictures. I thought going out was the best solution because of the natural daylight. Even if it was really cold, thanks to a table as a support, I began taking pictures around my object. I paid attention to not cover the object with any kind of shadows. I didn't do many photos: more or less thirty, and I was curious to see if the result was pretty good or not. First of all, I read some information on the Italian handbook of PhotoScan. I tried to memorize the main passages. Then, I saved my photos on the computer (removing the SD from the Nikon I used), I opened Agisoft PhotoScan and I followed the main steps.
I uploaded my 3D scan folder and I clicked on Workflow ---> Add folder.
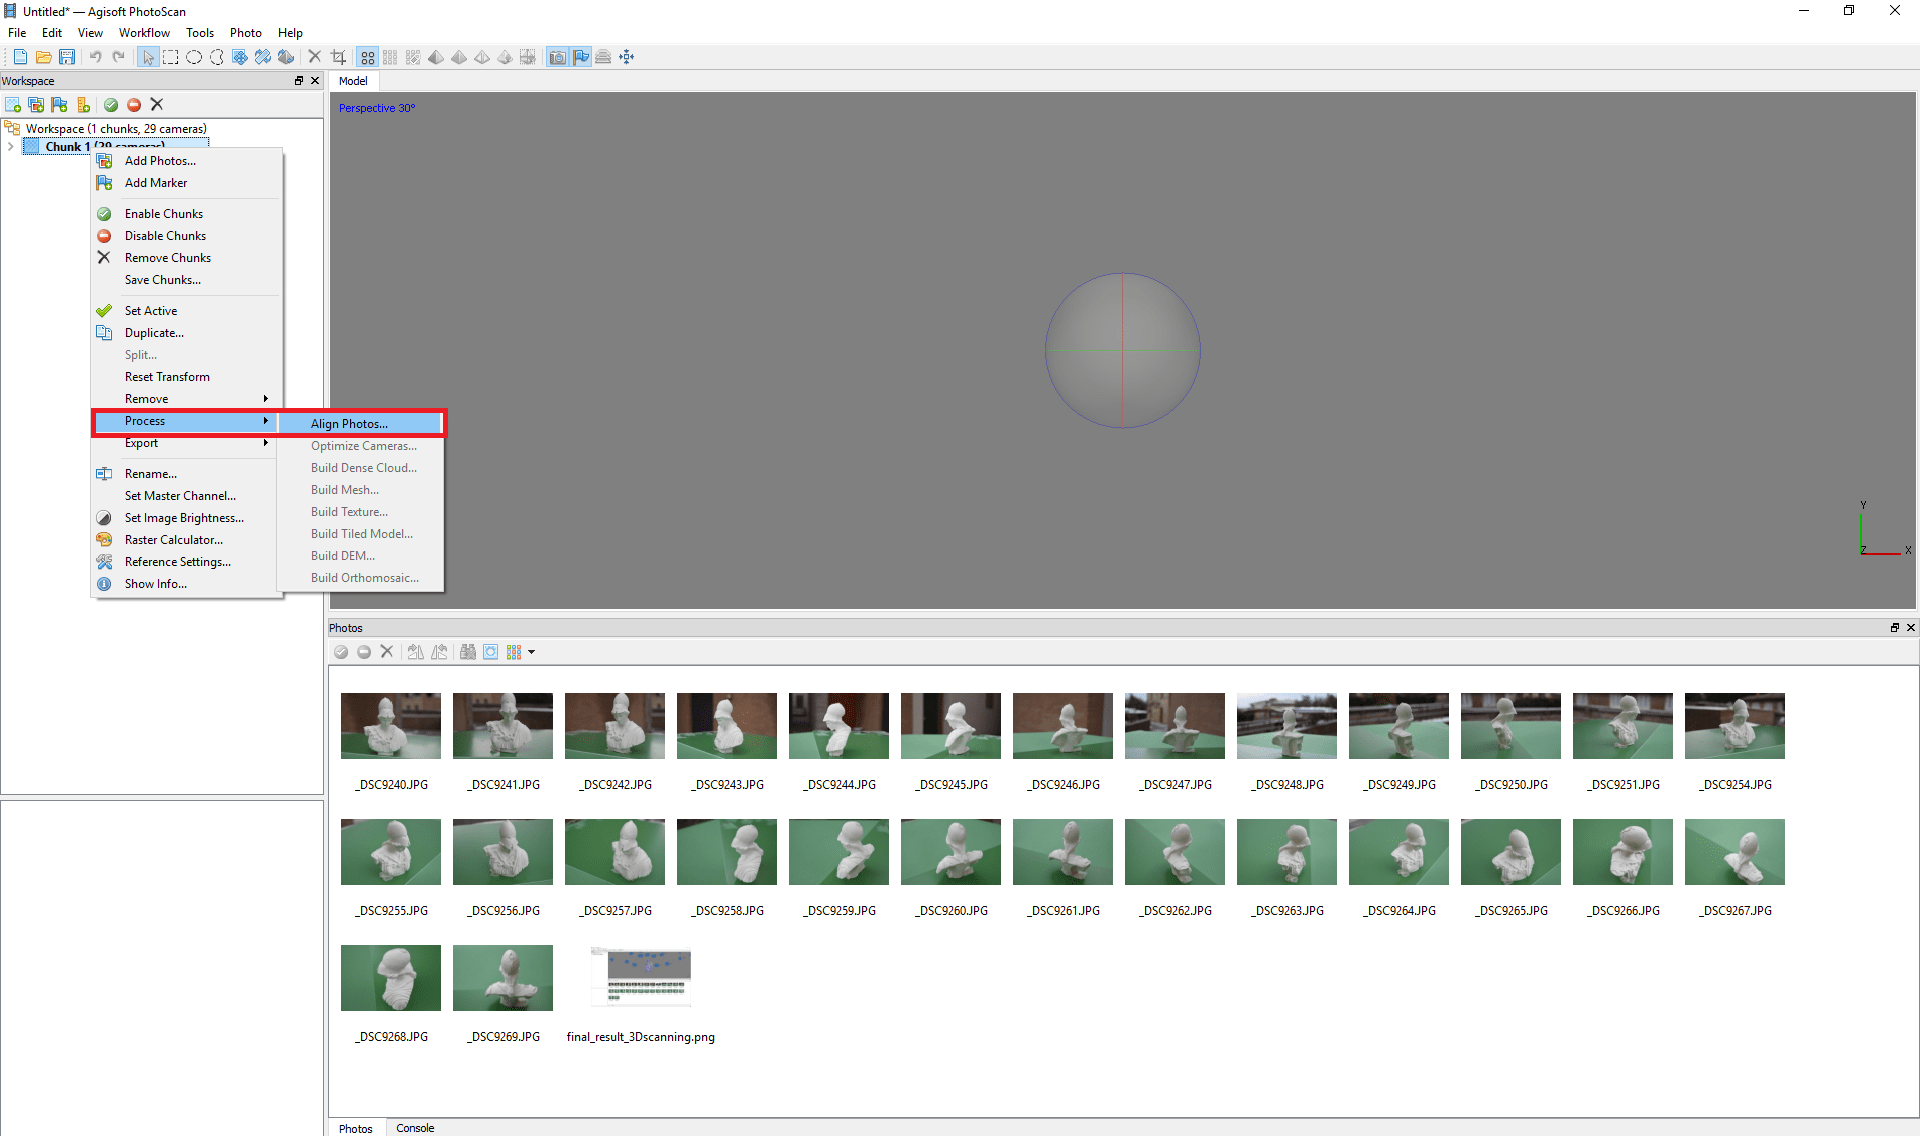
Next, I clicked the right button on my mouse and I selected Process ---> Align photos.
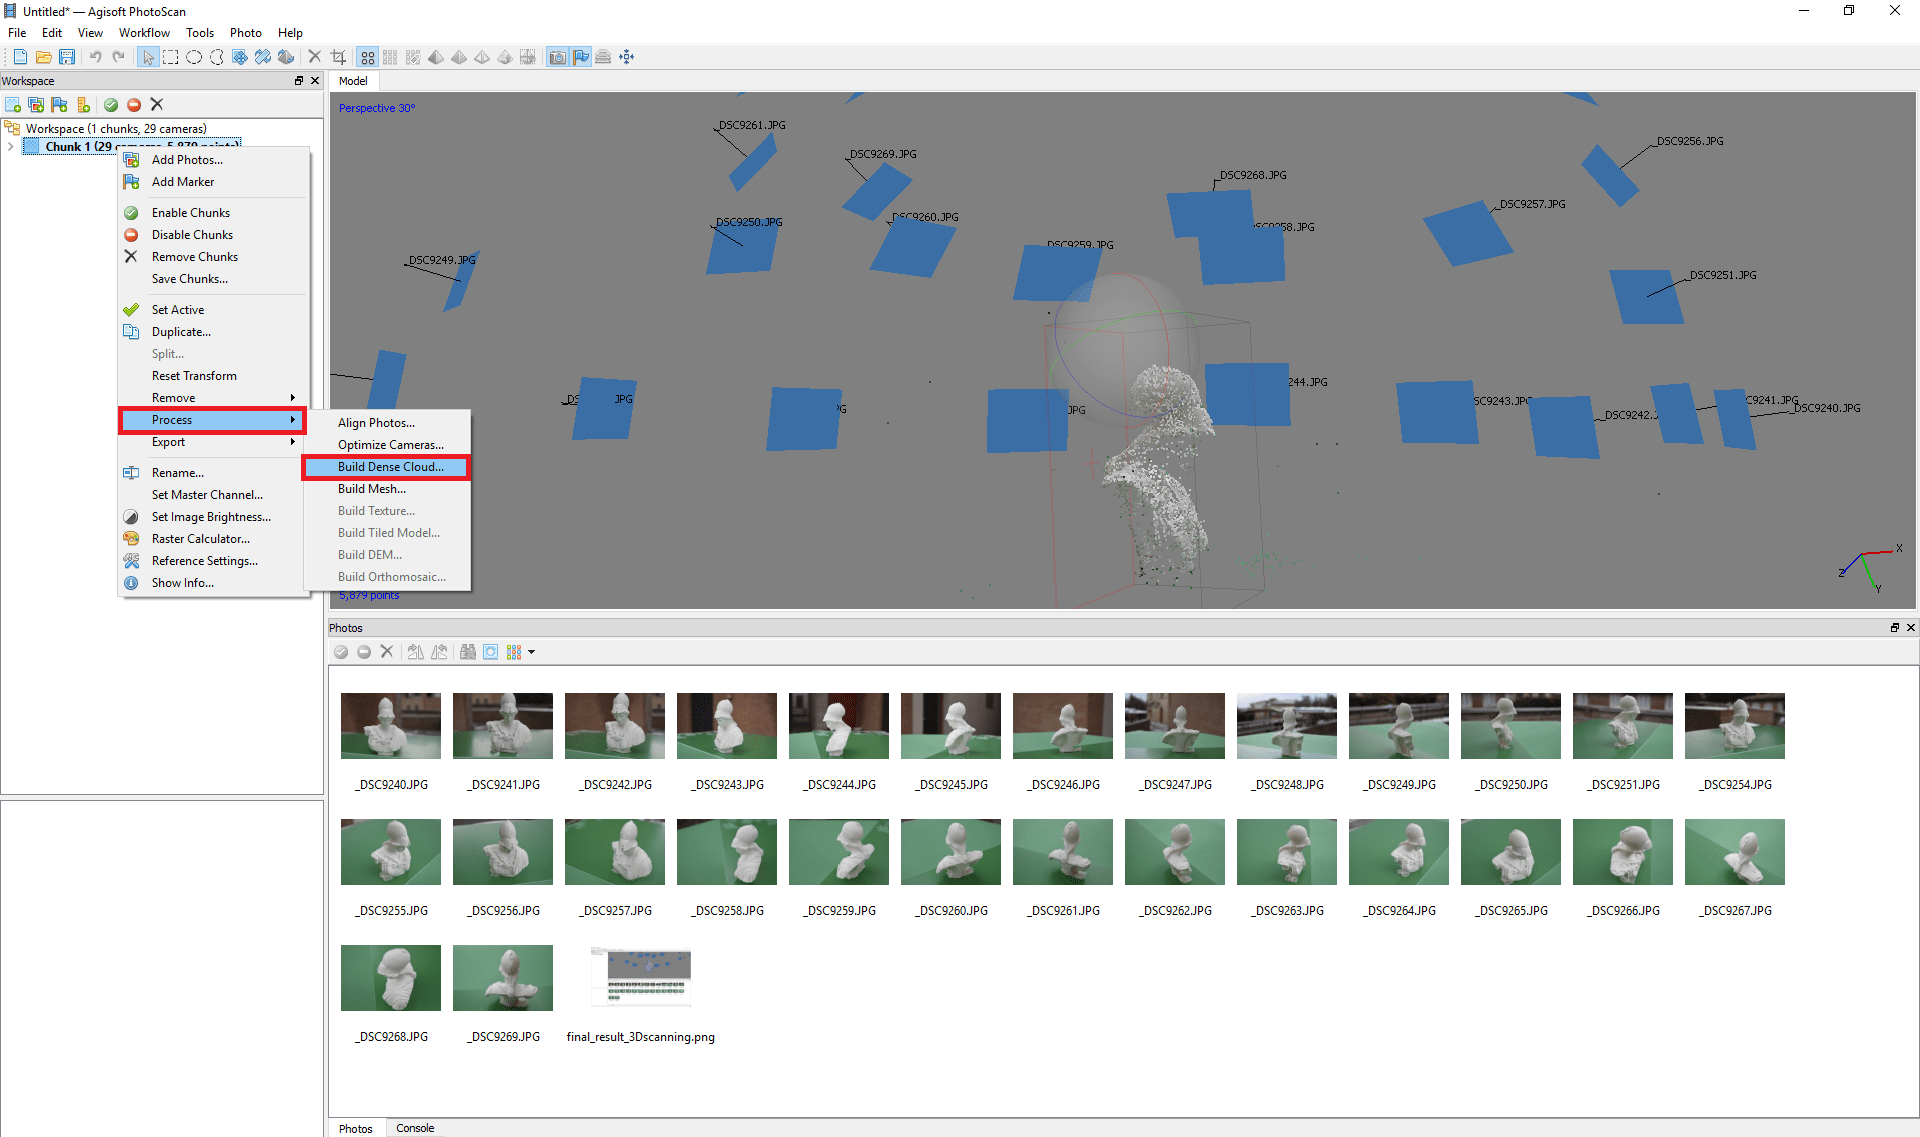
Then, I clicked again on Process ---> Build dense cloud.
After the two steps I've just mentioned, I didn't clean the areas around the picture because it was well defined from the beginning.
So, I proceed with the following passages.
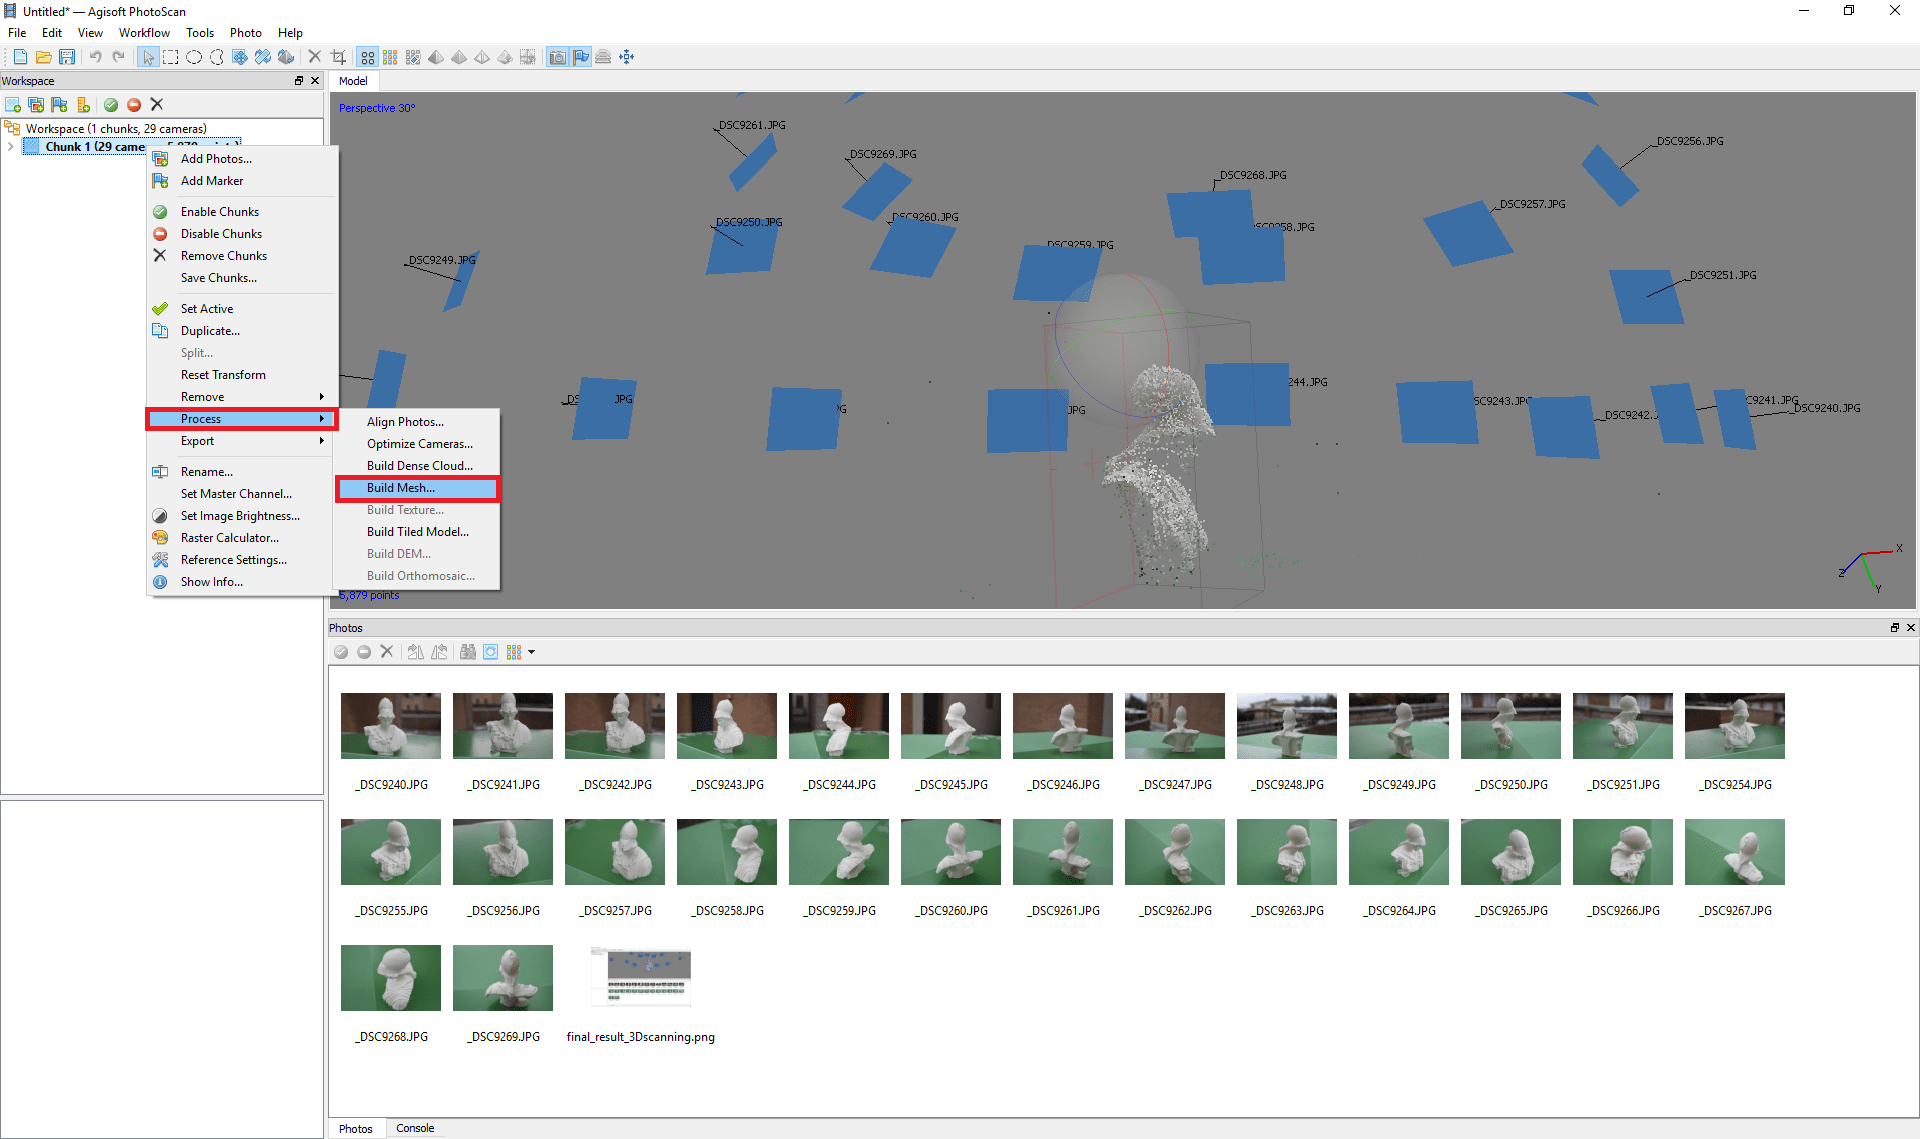
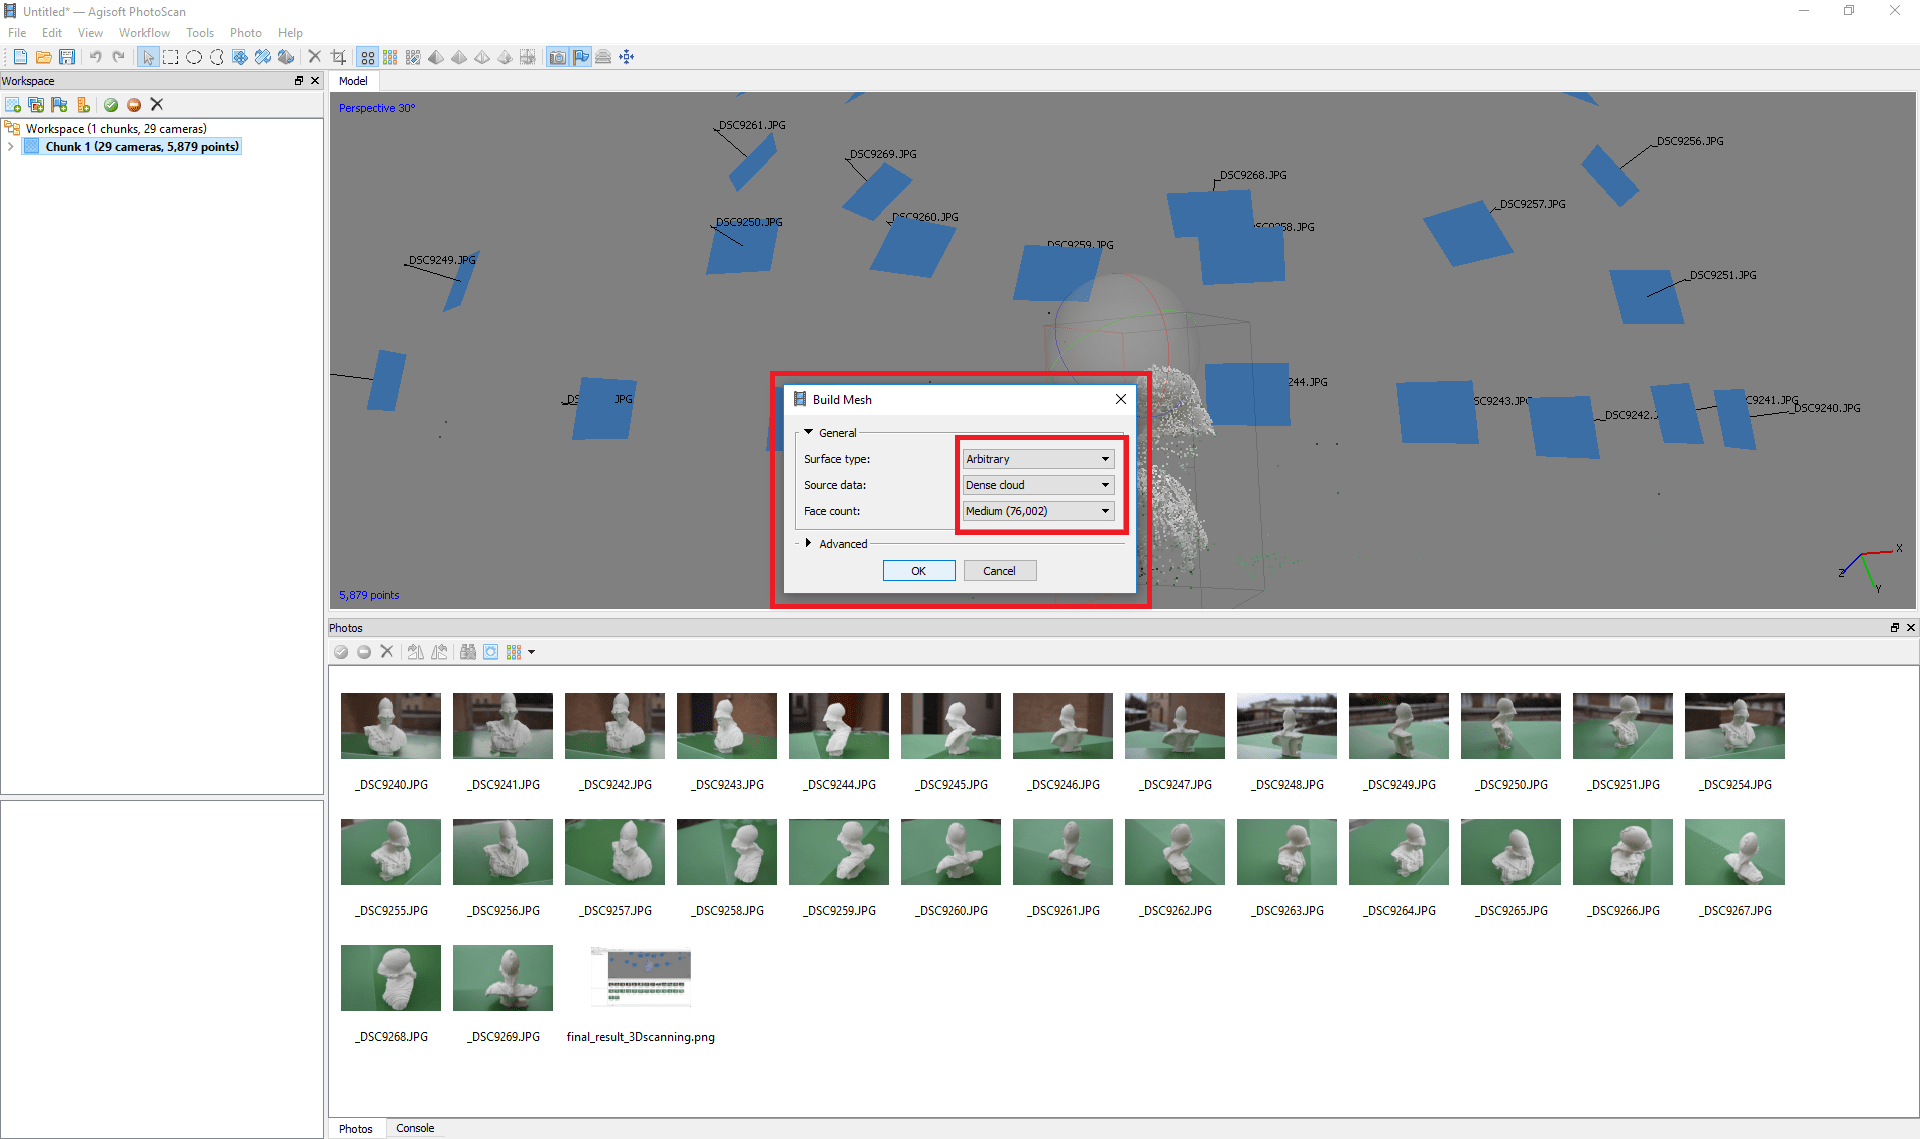
Process ---> Build Mesh.
I left the default options on Surface type ---> arbitrary,
Source data ---> dense cloud
and Face count ---> Medium.
Consequently, I clicked on OK to complete all I did.
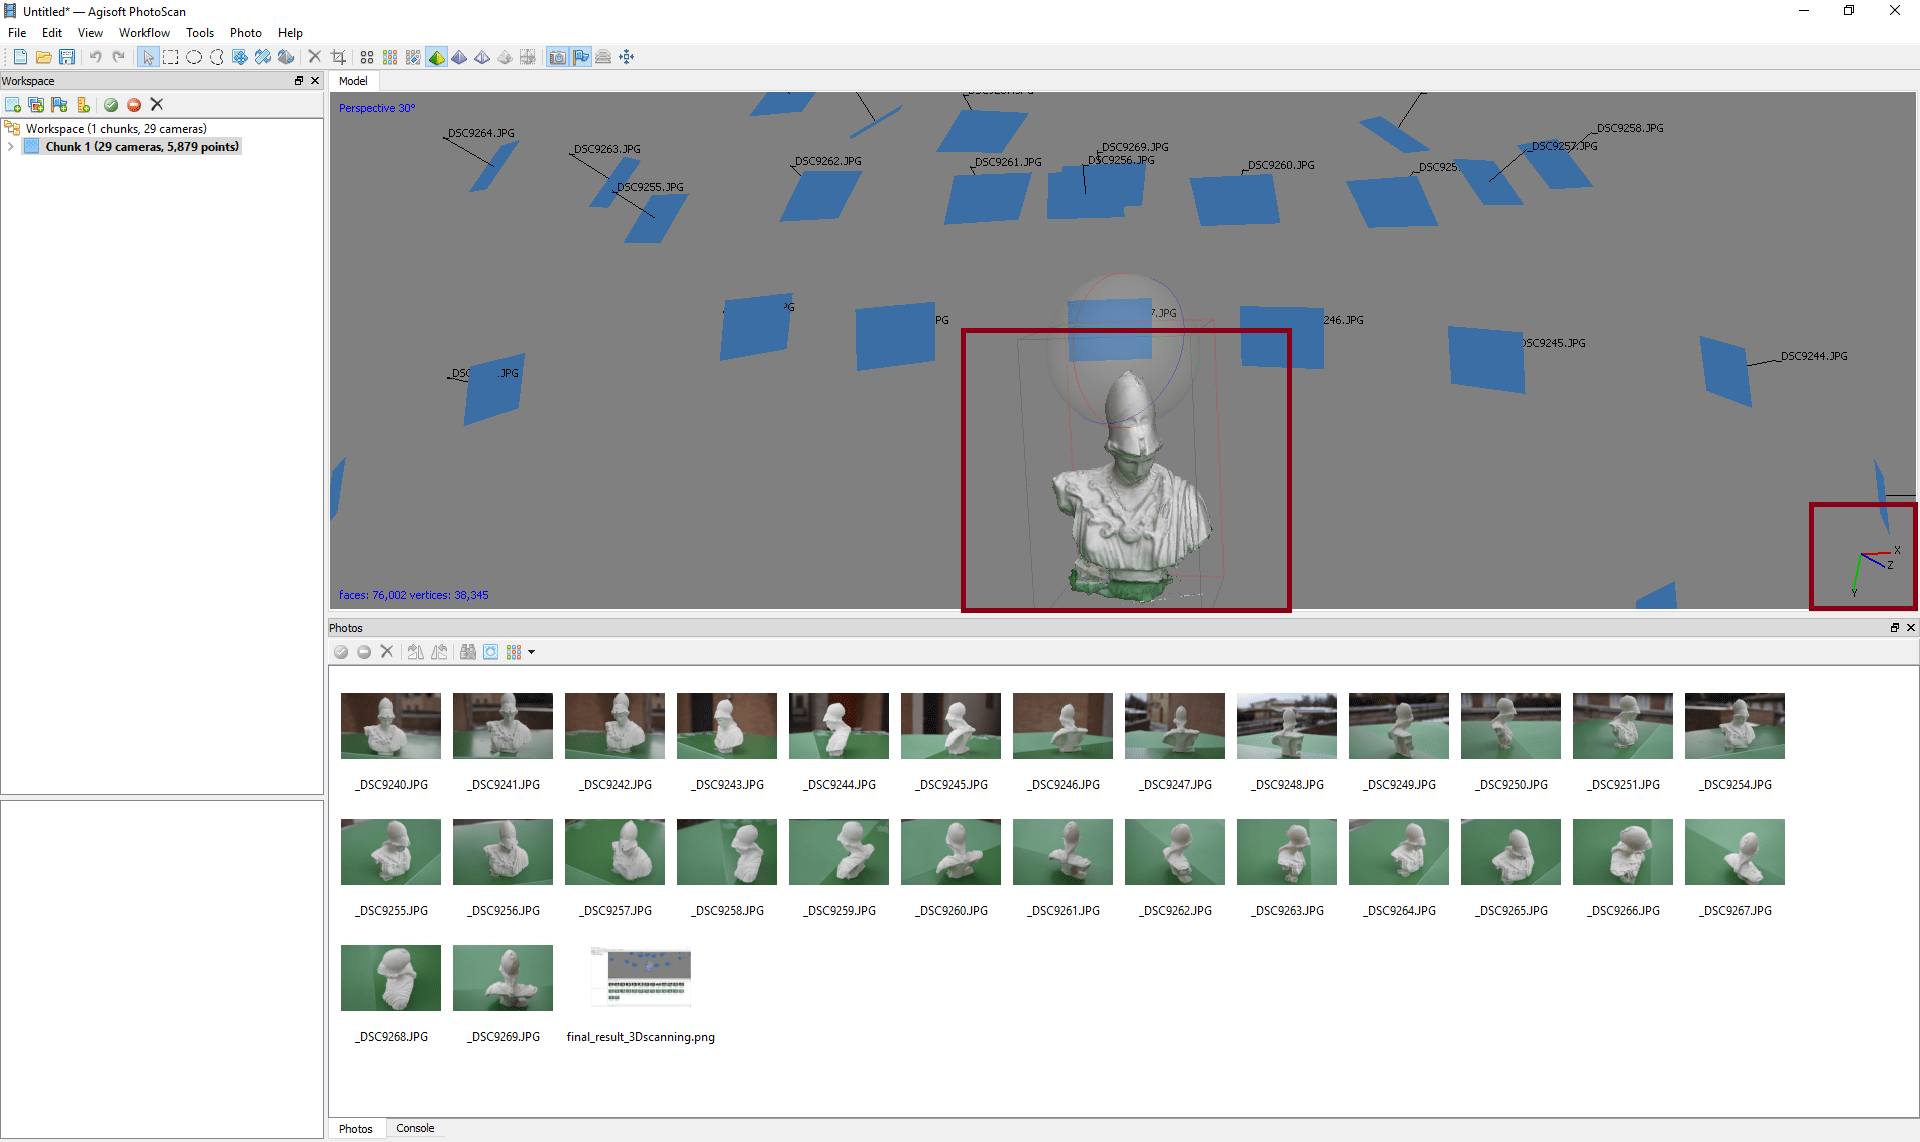
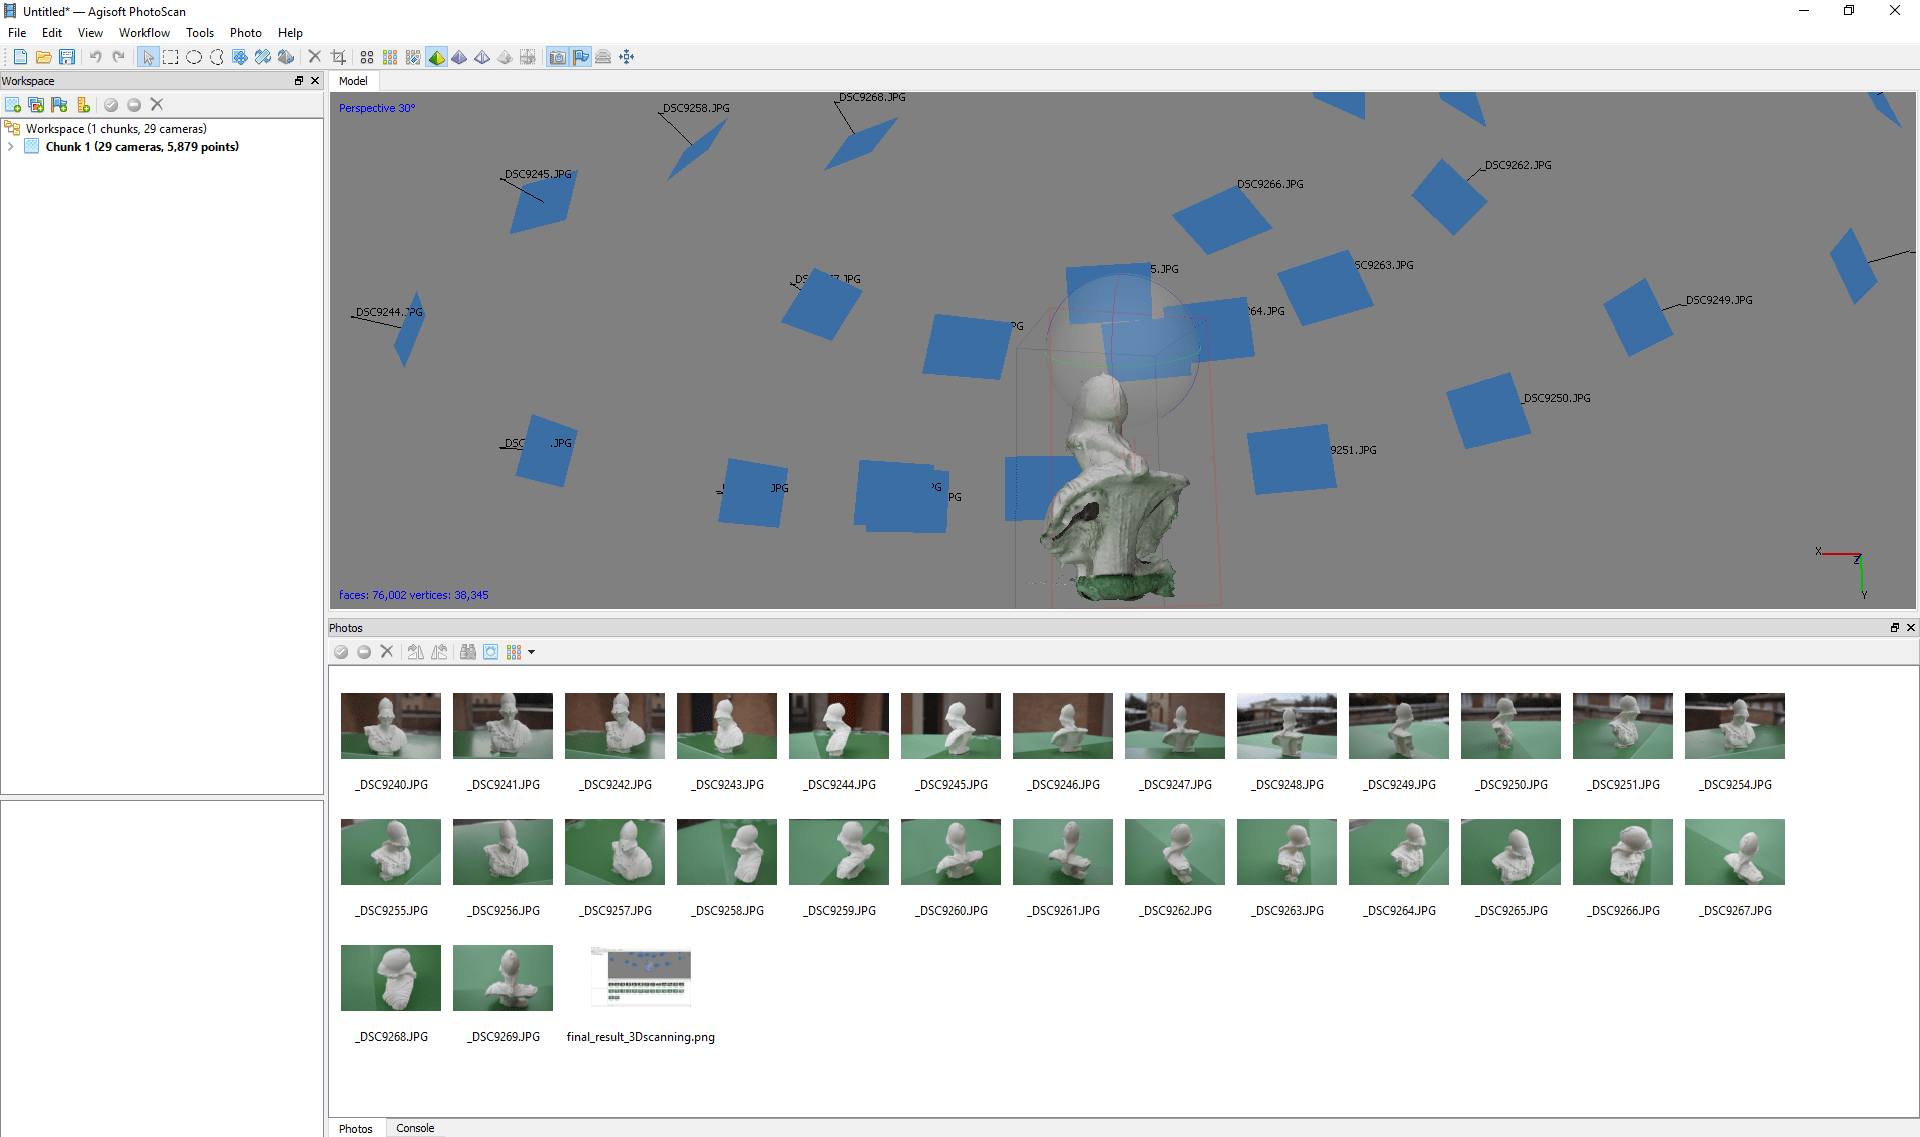
At this point, I saw the final result and I simply rotated in moving the three axes I had on the right part of the screen.
Useful links:
Ultimaker Cura SoftwareHow to insert a filament
Cura - Tutorial
Cura - Quick Start
Scan in a box - Tutorial
Ultimaker User Manual (Italian version)
