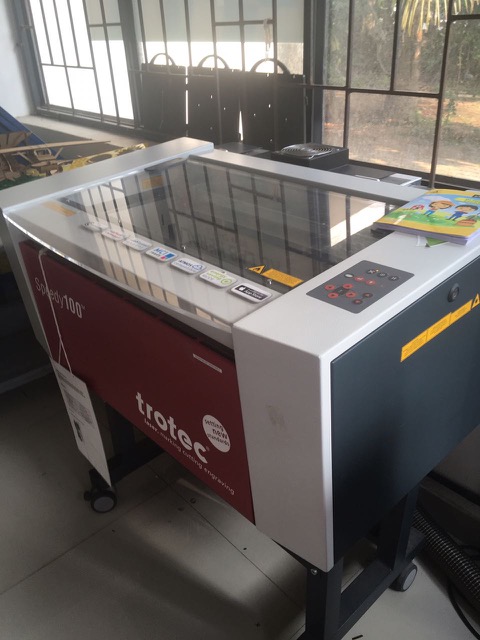
1. Trotec Speedy100 Lasercutter machine
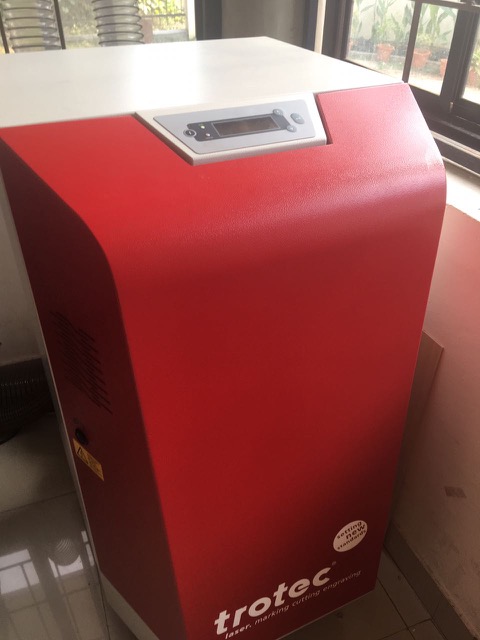
2. The machine to filter and purify the suctioned air from the Speedy100.
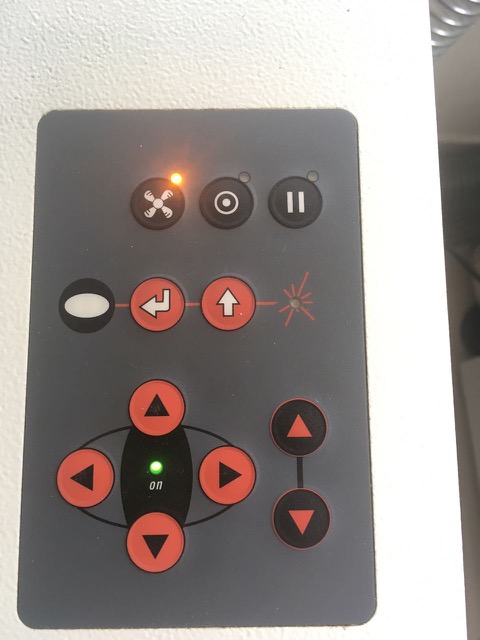
3. The 4 direction buttons to control the laserhead and the 2 up/down buttons to set the stage in focus.
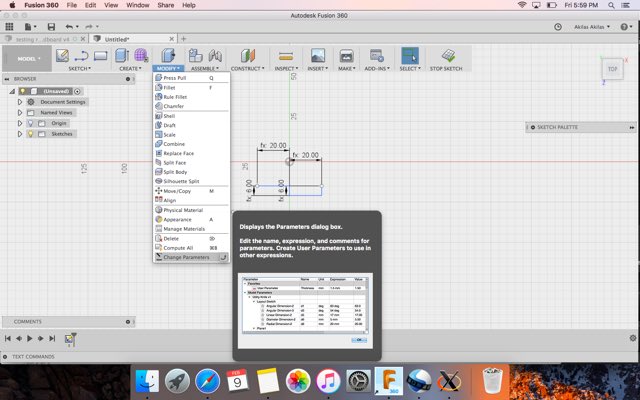
4. I used 'Modify>change parameters' in Fusion360 for parametric designing.
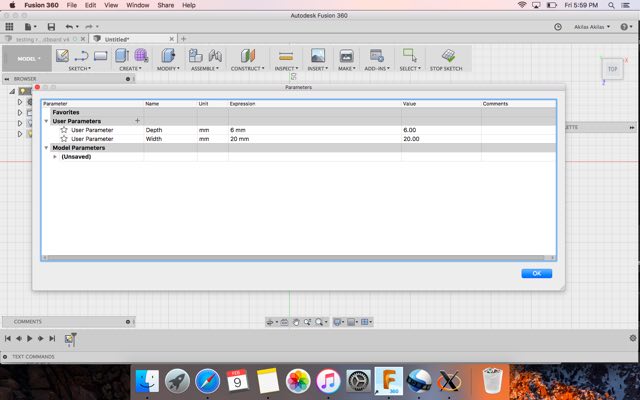
5. I created two user parameters: width and depth.
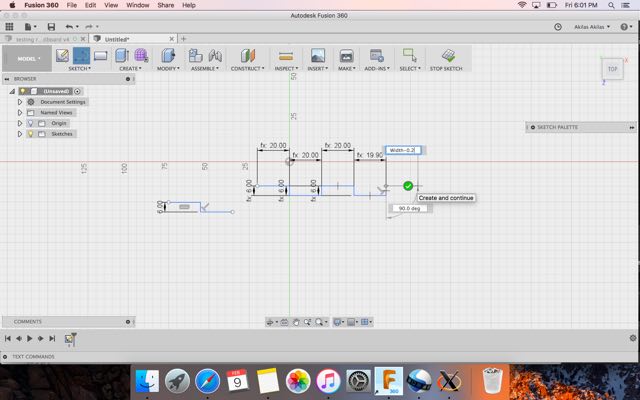
6. While creating the sketch, double-click any dimension box and start typing in the name of the parameter. Choose from the list that appears as a dropdown box. Or you can move the pointer to any other dimension on the screen and click on it. The corresponding variable will appear as d1, d2 etc. You can use the parameter as such or use it in any expression.
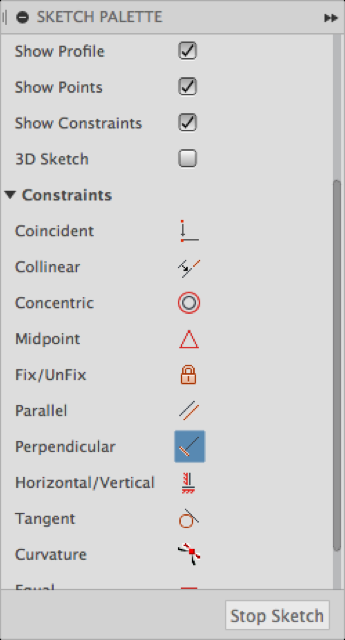
7. Set the constraints for the sketch as required.
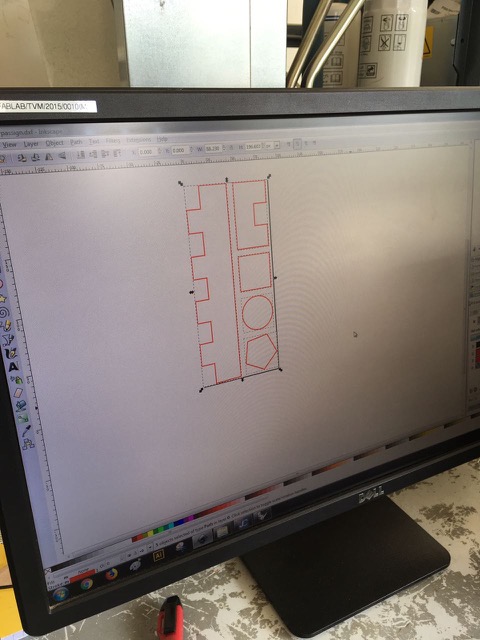
8. On Fusion 360, I right clicked on 'Sketch' to 'Save file as dxf'. I opened this file with Inkscape in the PC connected to the machine. I had to modify stroke colour to red and stroke width to 0.1 mm because these were the values set for guiding the machine to cut along that line. I clicked 'Print', chose the machine and modified some printer preferences (Minimize to job size; output material - paper/cardboard)
9. On clicking 'Print' from Inkscape, another screen pops up called 'JC' or 'Job Control' software. Click on the connector icon to connect the PC to the lasercutter.

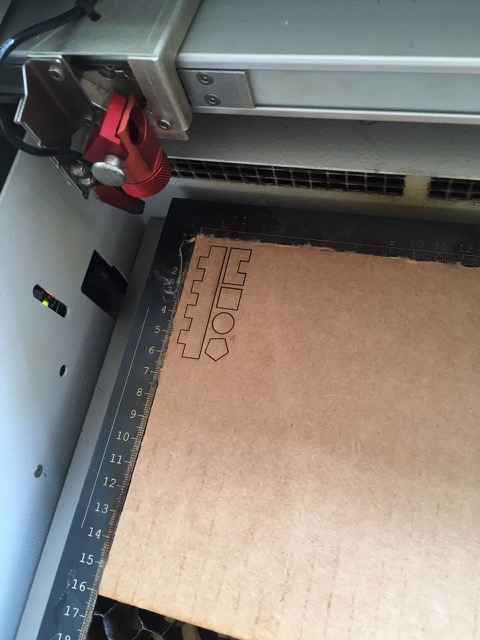
10. Load the material in the machine. With the buttons, set the stage in focus with the help of the focus tool. Hang it on the groove and move the stage up until the focus tool falls off. Then move the laserhead to the desired start position."

11. On the PC, open the image in Inskcape and choose Trotec as the printer. Open the 'Properties' dialog box.
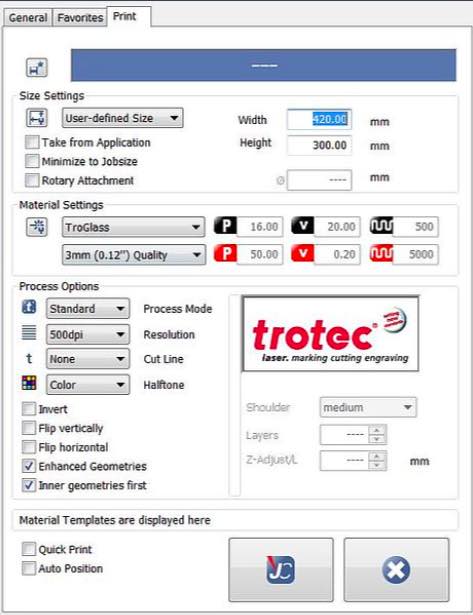
12. You can choose the jobsize, material and quality in this window.

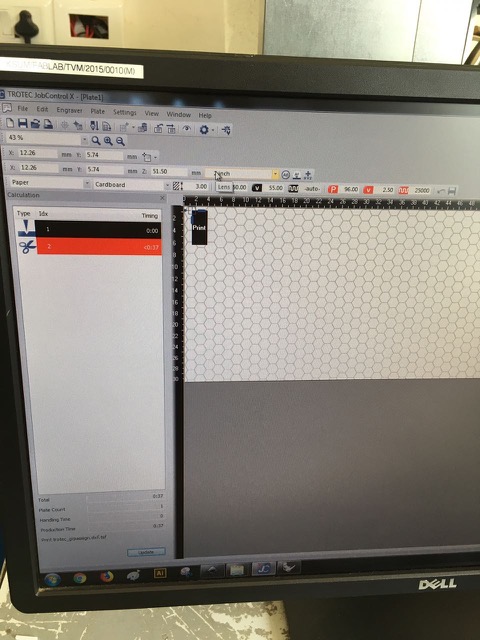
13. In the 'Job Control' software, open 'Material database' to create a new material, defining its thickness, laser power, speed etc. These are the parameters that we used for cutting the cardboard: Power=80; Speed=3; Q-switching frequency = 5000Hz
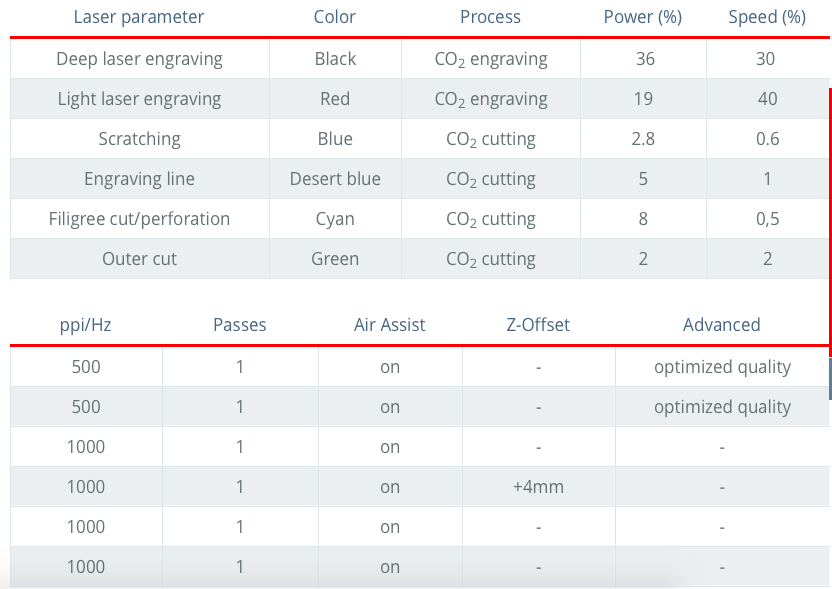
14. Tips from Trotec website on how to choose the laser parameters.
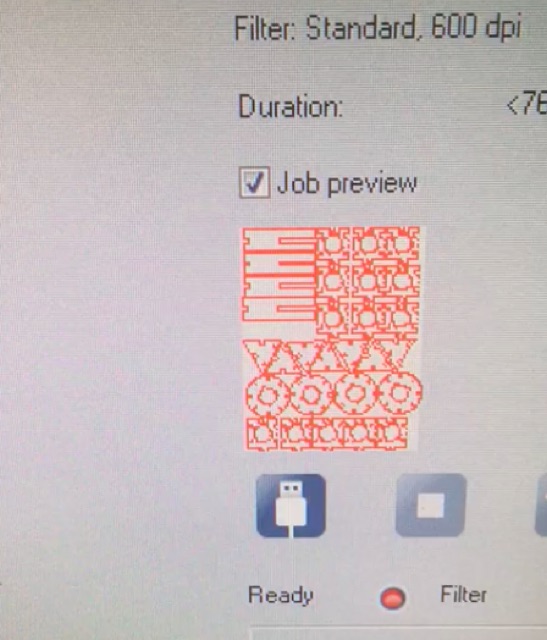
15. On the PC screen, choose your job from the list by dragging it and dropping at the desired position. The laserhead is represented as a pointer. By positioning the job at the bottom left quadrant, we instruct the laserhead to cut along that region.

16. Click 'Ready' to start cutting.
17. Hold down the material carefully and check if the cut is clean and through. If not, you can repeat the cutting. Else, remove the material from the machine, taking care not to hit the lens.
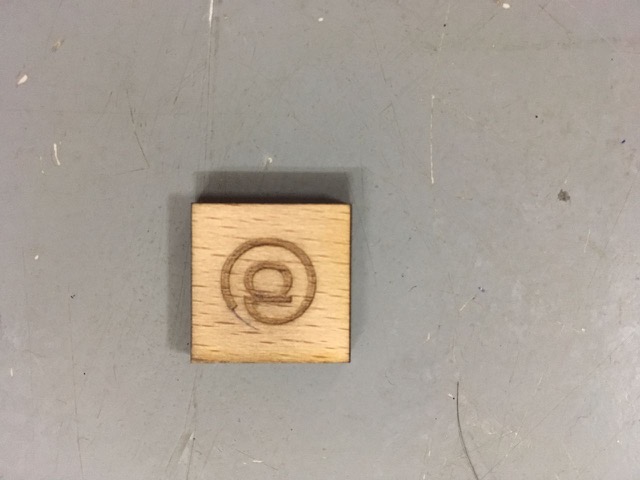
A square with 20cm side was designed and cut on wood. The output, when measured using the Vernier callipers, had a side length between 19.6-19.7cm. Thus, the laser kerf for wood is 0.3-0.4 mm.
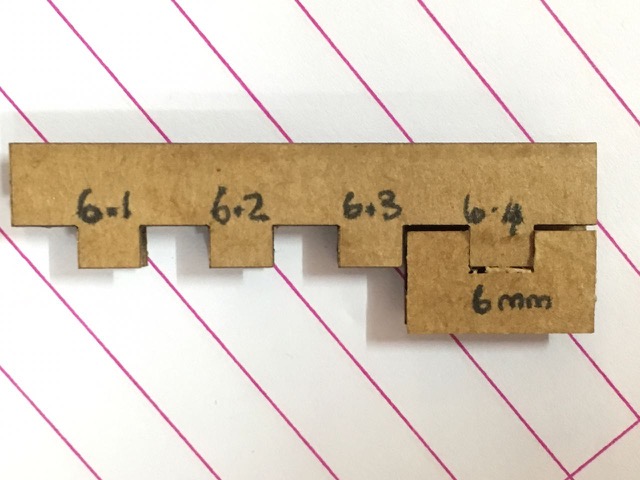
For cardboard, the laser kerf was found to be 0.2-0.3mm. The optimal fit for a 6mm female notch was a 6.4mm male slot.
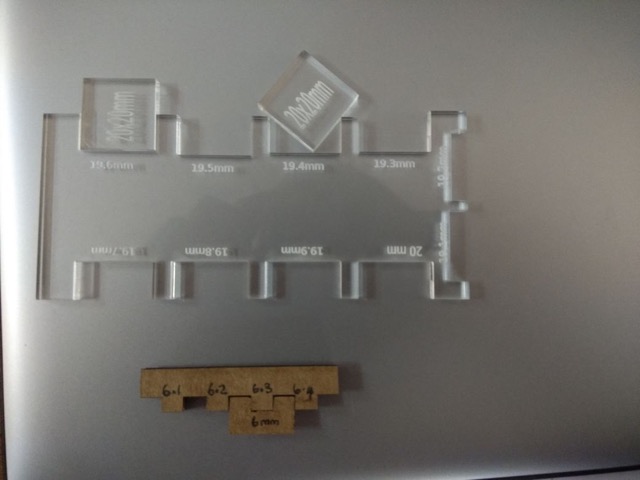
For acrylic, the laser kerf was found to be 0.3mm. The optimal fit for a 20mm male slot was a 19.6mm female notch.