
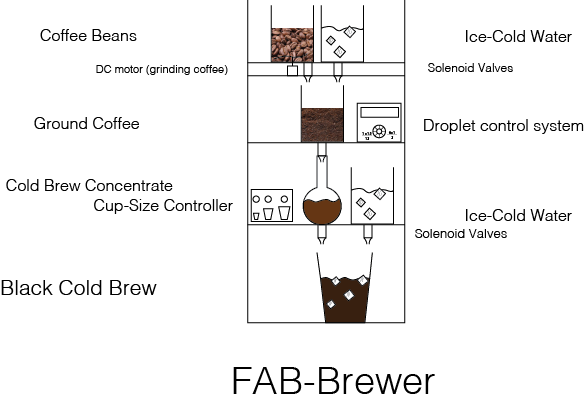
This week's assignmet was to sketch and plan a potential final project. I want to create a FAB-Brewer, that is a fabable and automated Cold Brew Machine. You can find out more about it in my Final Project page.
This week's assignmet was to create a web page in which I'll document my journey through the FabAcademy, and upload it to the class archive. The process was not easy.
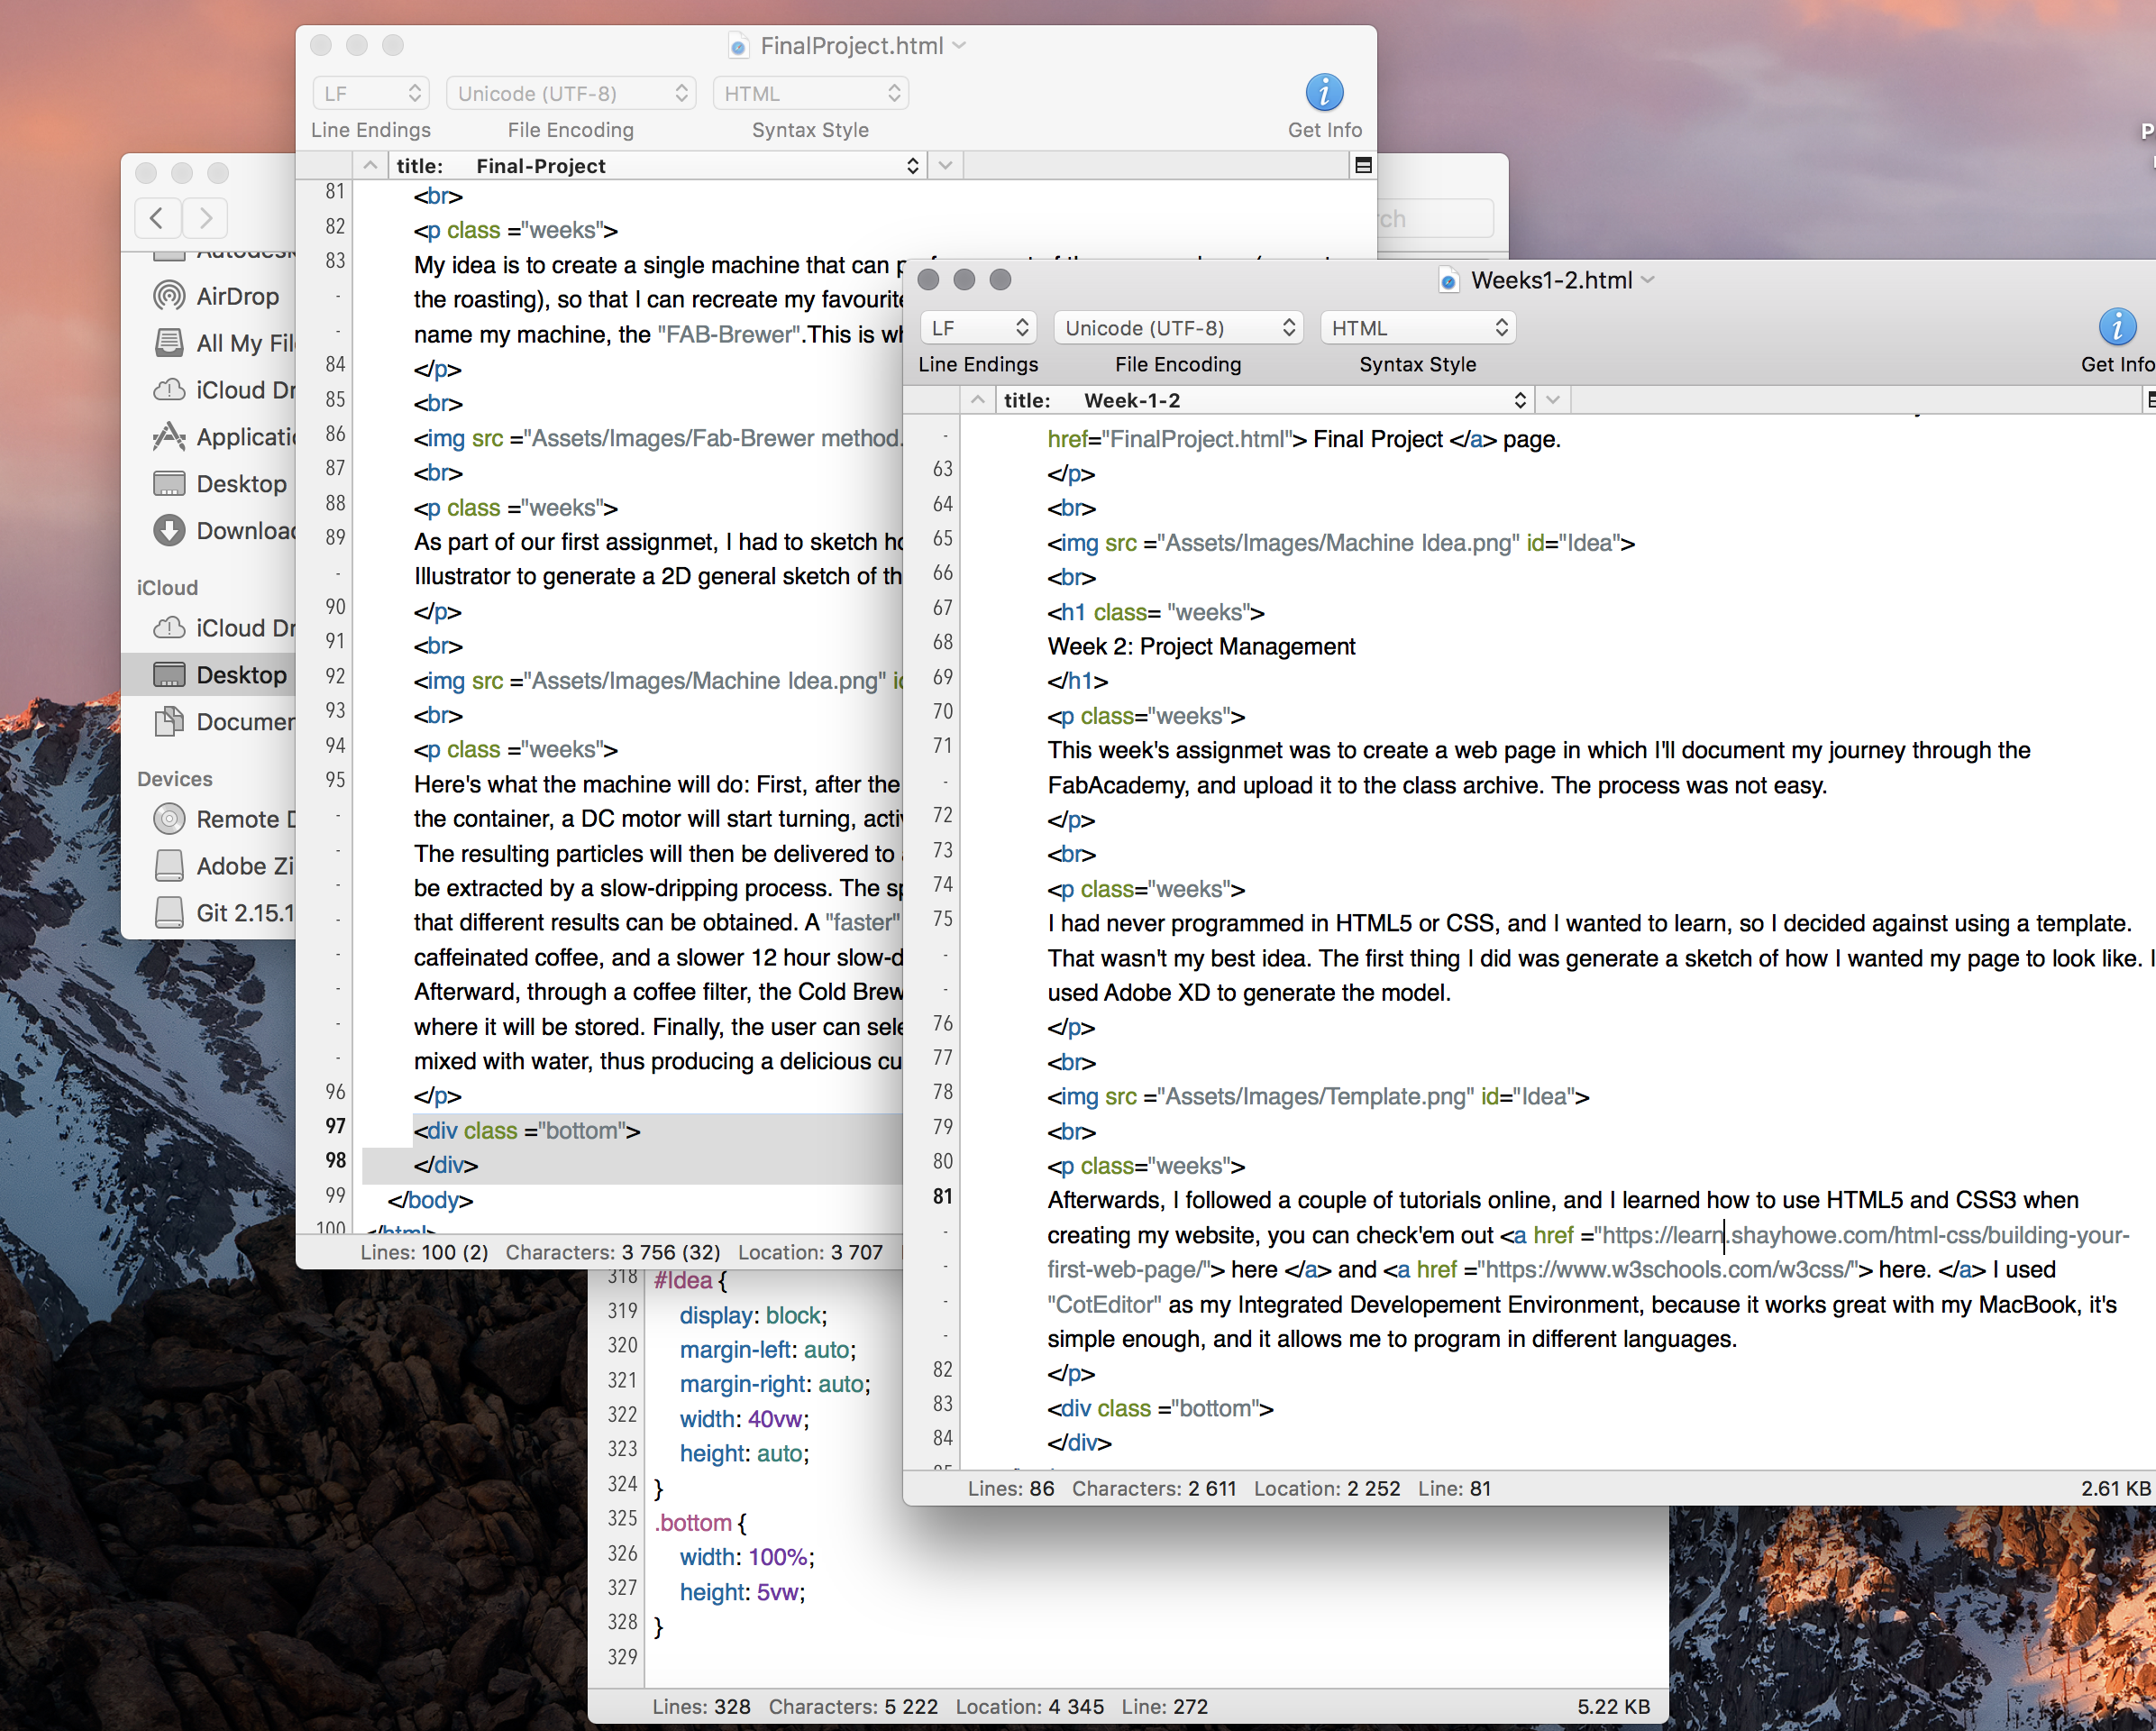
I had never programmed in HTML5 or CSS, and I wanted to learn, so I decided against using a template. That wasn't my best idea. The first thing I did was generate a sketch of how I wanted my page to look like. I used Adobe XD to generate the model.
Afterwards, I followed a couple of tutorials online, and I learned how to use HTML5 and CSS3 when creating my website, you can check'em out here and here. I used "CotEditor" as my Integrated Developement Environment, because it works great with my MacBook, it's simple enough, and it allows me to program in different languages.
The first thing I did was research how to do a format research. I found a well-documented tutorial here. In the picture below I show my CSS reset on the right. It basically removes any sort of formating the borwser mught apply to the web page. This prevents conflicts between the browser and the code. In the left, I show my HTML5 for the first weeks. I linked to the style sheets and defined the kind of document (!document HTML).
Lastly, it was time to upload my web page to the class archive. Because I work with mac, I did not need to download any special programs, since I can use the command line. I did download the latest version of Git. The first step was opening the command line:
The first thing you need to do is type: "cd Desktop". This will allow you to situate yourself in the Desktop. Next, clone your repository typing "git clone "url"", and add the url of your repository. In order to situate yourself in that folder, type in: "cd "your username"". Once there, follow these steps:

There are many other commands that you can use, and you can find them here.
I did have some issues when uploading to the repository. When I first attempted to upload it, I wasn't able to visualize it. The following error message appeared:
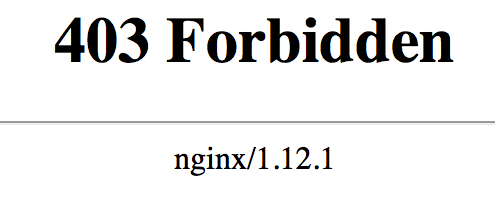
I couldn't understand what the problem was, so I searched all over the web for a solution. I did not find anything useful, beacuse every page mentioned that the issue was common when uploading files using an HTTPS protocol, while I had been using SSH - I used this protocol as a way of protecting my files, only this laptop can uplaod and change my repository, also, in order to access the SSH key, I implemented a password. After a LOT of trial and error, I managed to understand the problem: I had uploaded a folder called "Web Page", which contained a file named "Index.html". What I needed to do was remove everything, using the command "git rm "file name"", and re-upload the files, but not the folder. In other words, the "Index.html" file should not be contained in any folder whatsoever. After the issue was resolved, I kept updating my page, so as to include what went right and what went wrong. You can find a tutorial on including the SSH protocol here.