
DESIGN
I also took advantage of the advice of my instructors with their valuable feedback and everyone came to the same conclusion: Avoid making a basic box and makercase!.
The first thing I did was try to make a snap-fit joint with the endmill of the multicam (week 8), this being the result.
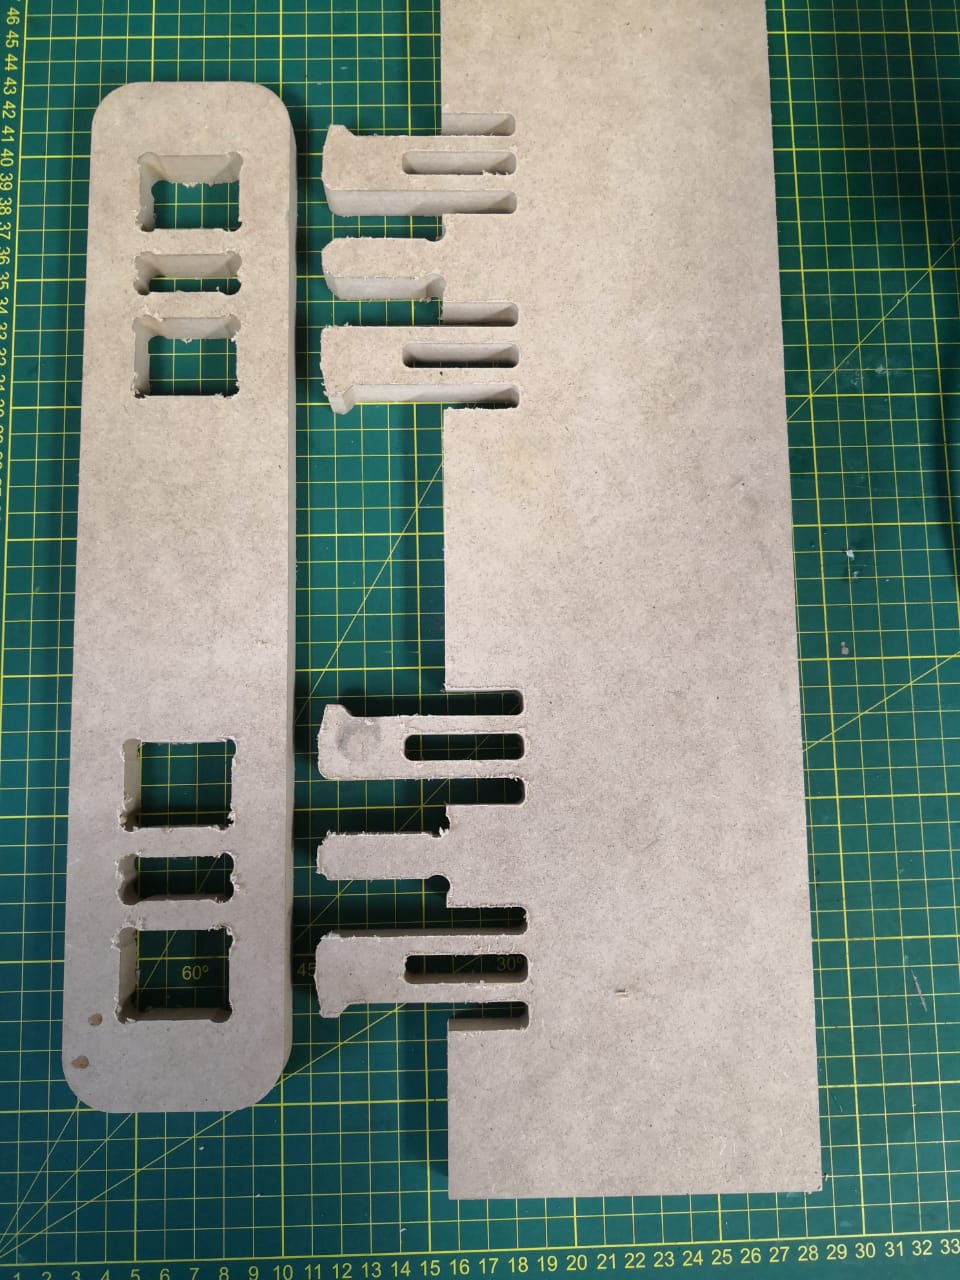 As you can see, the result is too grotesque to have such a large milling cutter in the CNC, which is why the joints of this type are discarded.
I want to have an oblique design to be striking, but we must start in the most important, the dimensions of the water tank.
Water tank
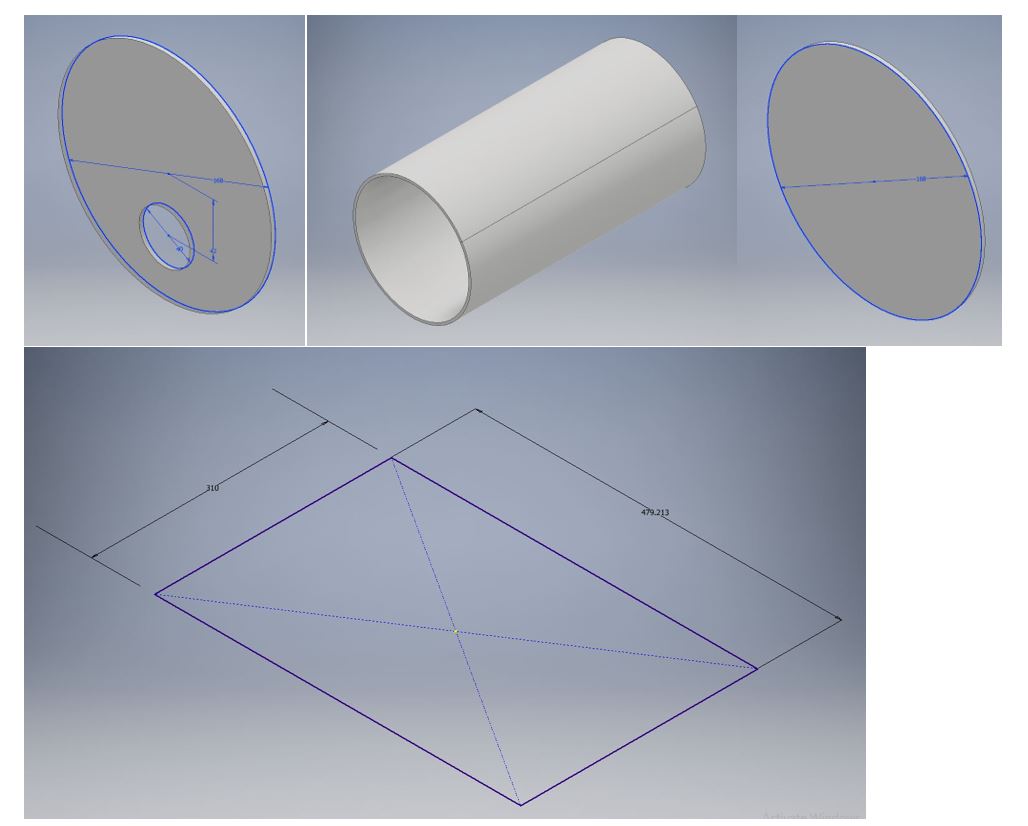
A simple tank is designed, and the parts are welded. In order to design the tank, the sheet metal function is used, since this option allows transforming cylinders into planes.
The discs are designed separately for later welding.
 Once the designs are obtained, the TIG type welding work begins, all with the help of the laboratory technicians. For the welding process we use tig welding
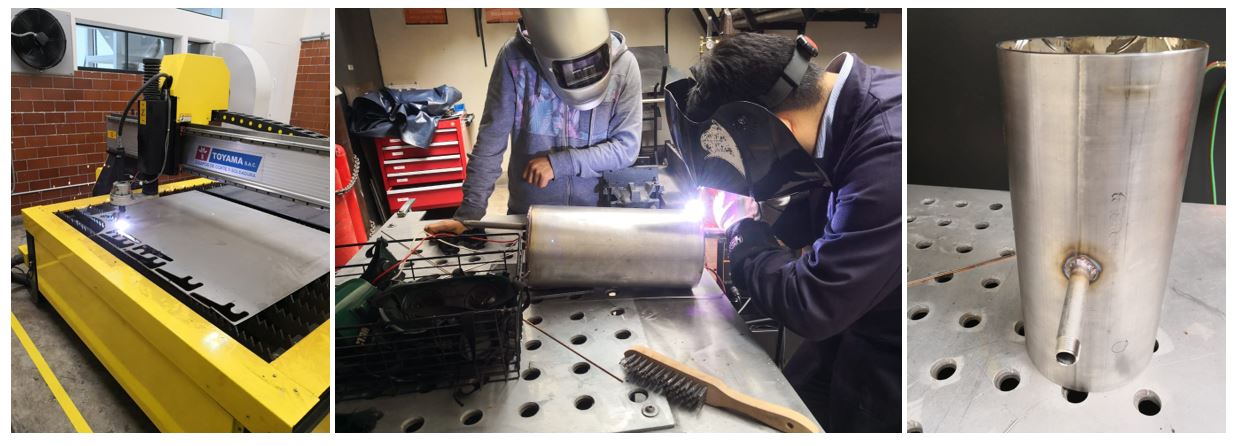 Some holes were made with a vise, to make the work faster.
Finally we can see the finished tank with the necessary holes to insert the sensors for its final operation.
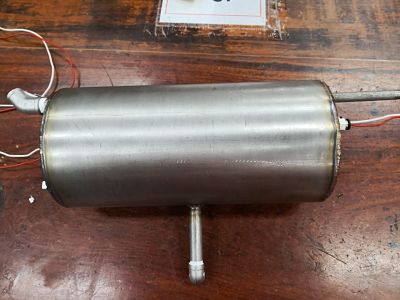 Once finished, it will be covered with a glass wool to prevent the water heating from affecting the interior of the design.
Enclosure
With the measurements of the tank, the couplings are first made to hold the tank and then the base where it will be located.
 We design the sides, both internal and external.
The internal sides will have the design to couple the switches and screen, in addition to the main plug.
We design the sides, both internal and external.
The internal sides will have the design to couple the switches and screen, in addition to the main plug.
 The outer covers will have the necessary spaces so that the water inlet and steam outlet can be accommodated.
 Checked its correct assembly, proceed to make the side walls and top. The whole design will use 18.5mm thick MDF wood.
 The weight will increase considerably, is the material that we have available in the lab that can withstand the pressure.
Next, we can appreciate how the assembly of the tank takes shape with the enclosure.
 At the moment we can not close the structure because all the sensors need to be incorporated.
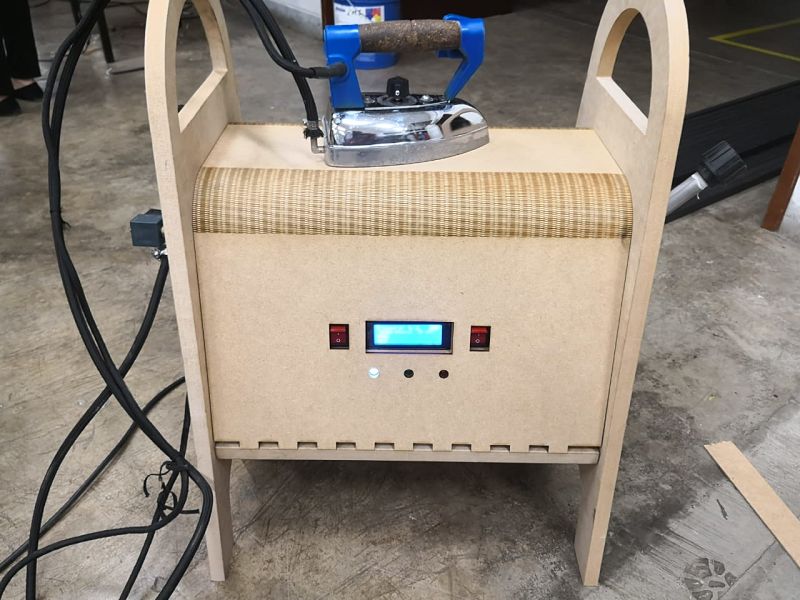
To give a more aesthetic touch, a cover is designed that will cover the entire design with a 3mm thick wood, not forgetting where the additional elements will go like a screen, LEDs and switches.
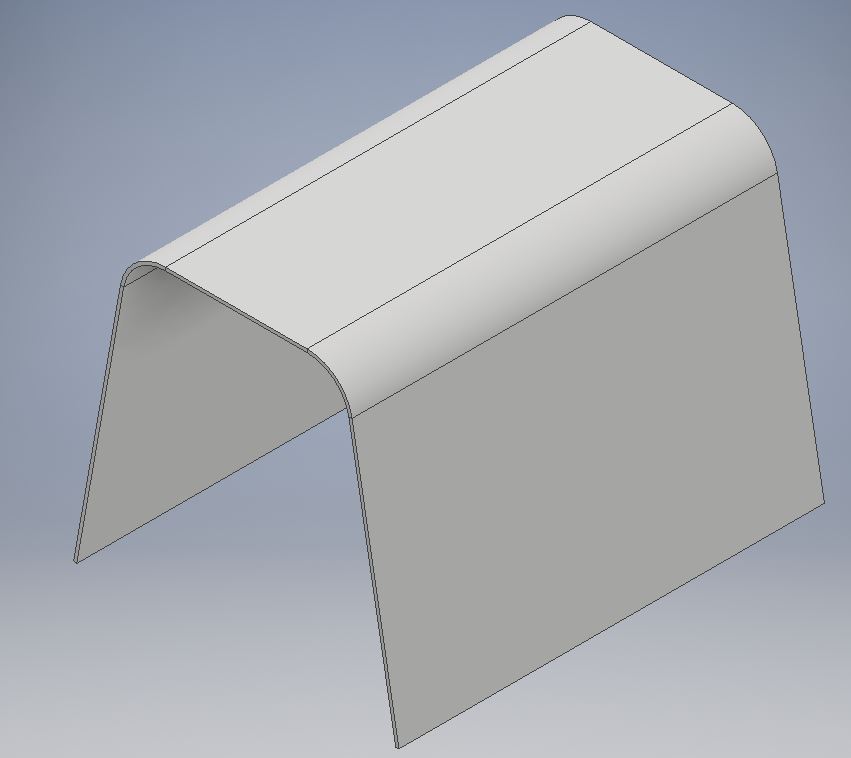 For this we will use the laser cutter and a flex pattern already tested in week 4.
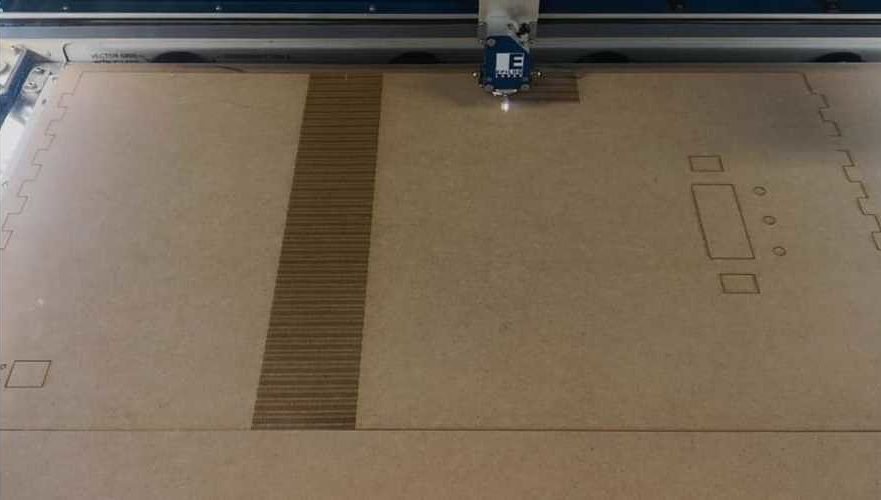 The result is as follows
Return to final project
Download
You can download this files Here:
Water tank (.dxf)
Tank part 1.
Tank part 2.
Tank part 2
Enclosure (.dxf)
Coupling
Base.
Flex pattern.
Interface coupling.
Upper internal.
Lateral AC.
Lateral screen.
Lateral-water.
Lateral-steam.