4. Computer controlled cutting
Group assignment:
Characterize your lasercutter, making test part(s) that vary cutting settings and dimensions
Individual assignment:
Cut something on the vinylcutter design, lasercut, and document a parametric press-fit construction kit, accounting for the lasercutter kerf, which can be assembled in multiple ways
Group assignement
As a group assignement we add to characterize our lasercutter.
We have two laser cutters :
An Epilog Fusion M2 (CO2 and Fiber) A.K.A The Pony An Epilog mini 40W (CO2) A.K.A The half Pony
For the Model
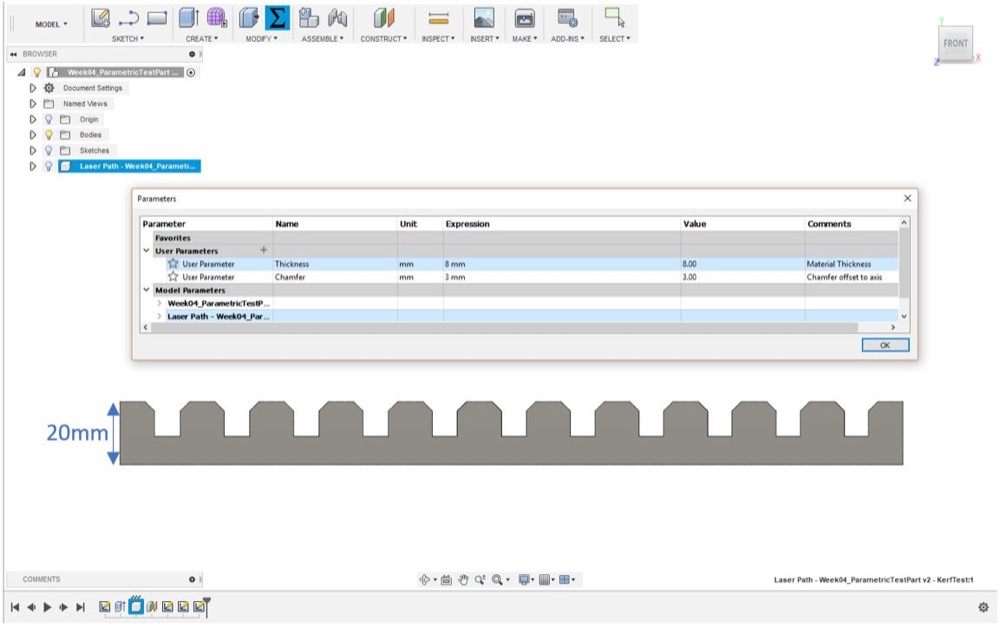
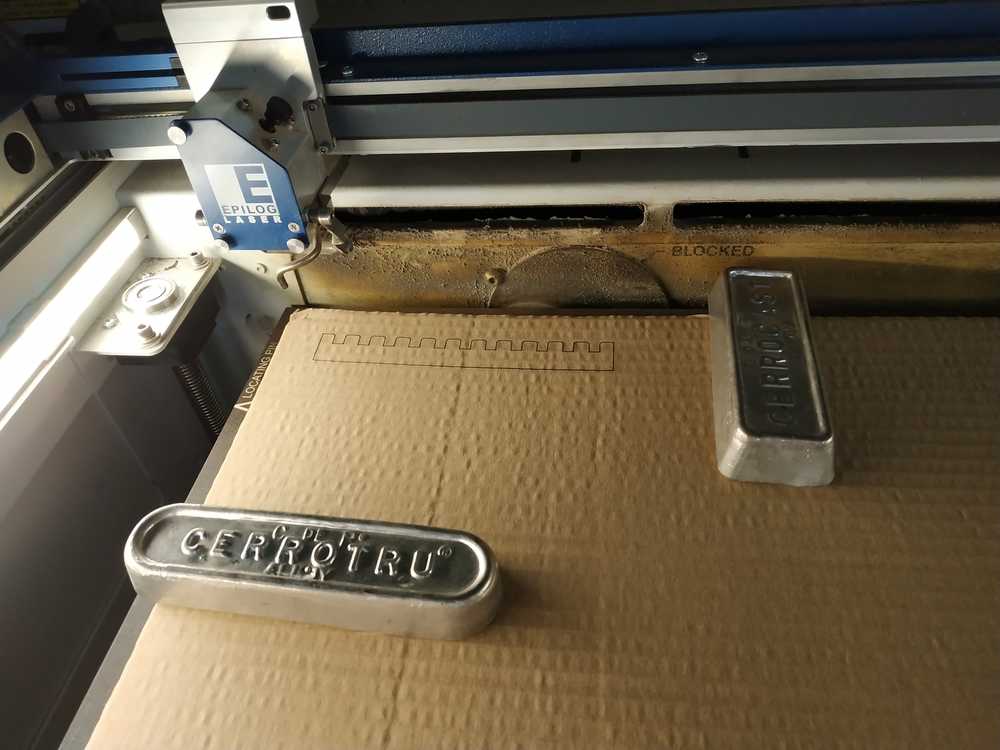
We created a parametric part in fusion 360 to determine the kerf of each material
The height of the piece will always be 20mm and the spacing between each “peak” will be reduced by 0.05 mm each time
Save it in DXF file for compatibility with the laser cutter
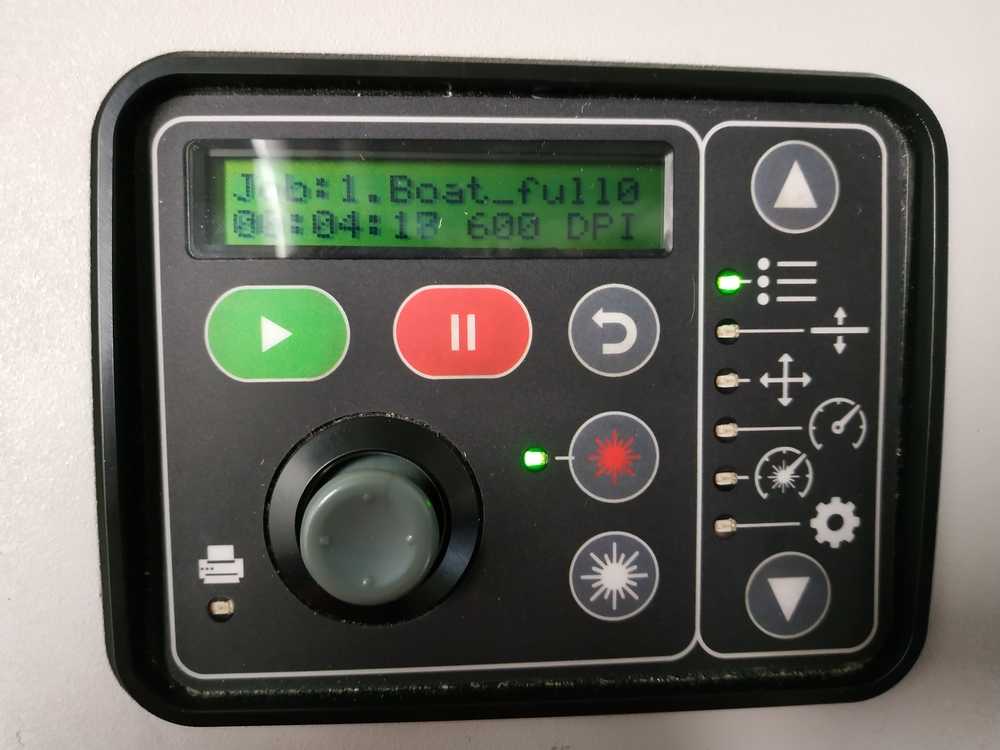
Using the machine The machine has a control pannel where we have different commands :
Manually move the head
Set the XY origin
Set the Z origin
Switch on/off the pointer
See a job details
Select a job
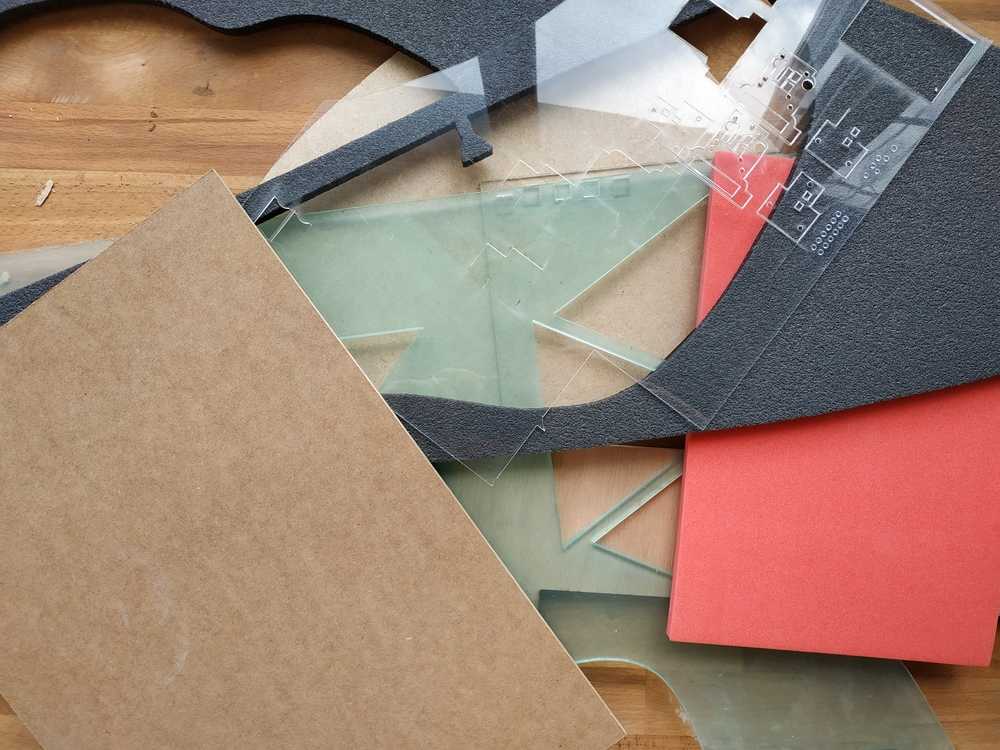
We have a lot of materials to try
It is necessary that the surface is flat so we add weights to the place where we will make the cut, we must also pay attention to the distance or the weights are placed so that the laser cuts a weight
All the Materials test and parameters:
| Material | Thickness | Speed-Power-Frequency | Pass/Time | Observations |
|---|---|---|---|---|
| Acrylic | 1.4 mm | 5 100 50 | 1 30 s | Cut |
| Acrylic | 3 mm | 5 100 50 | 1 30 s | Cut |
| Acrylic | 5 mm | 6 100 50 | 2 35 s | Cut |
| Acrylic | 5 mm | 2 100 50 | 1 1 mn 30 s | Cut |
| Cardboard | 6 mm | 25 30 50 | 2 20 s | Cut |
| Cardboard | 6 mm | 20 30 50 | 1 19 s | Not cut |
| Cardboard | 6 mm | 15 30 50 | 1 22 s | Not cut |
| Cardboard | 6 mm | 10 30 50 | 1 26 s | Cut |
| Cardboard | 14 mm | 20 50 50 | 4 29 s | Not cut |
| Cardboard | 14 mm | 15 50 100 | 4 39 s | Not cut |
| Cardboard | 14 mm | 15 75 100 | 4 39 s | Not cut |
| Cardboard | 14 mm | 10 100 100 | 4 55 s | Not cut |
| Cardboard | 14 mm | 5 100 100 | 1 1 mn 33 s | /!\ Burn /! |
| Cardboard | 14 mm | 10 70 100 | 4 55 s | Not cut |
| MDF | 3 mm | 15 100 50 | 2 15 s | Cut |
| MDF | 3 mm | 10 100 50 | 1 18 s | Cut |
| MDF | 5 mm | 8 100 50 | 2 27 s | Cut |
| MDF | 5 mm | 5 100 50 | 2 39 s | Cut |
| MDF | 6 mm | 5 100 50 | 2 46s | Cut but limit |
| MDF | 6 mm | 3 100 50 | 2 57s | Cut |
| Beech wood | 5 mm | 15 100 50 | 4 17 s | Cut |
| Beech wood | 5 mm | 5 100 50 | 1 42 s | Cut |
| Beech wood | 10 mm | 2 100 50 | 2 2 mn 42 s | Cut |
| Beech wood | 10 mm | 3 100 50 | 2 2 mn 48 s | Cut but limit |
| Dense Foam | 5 mm | 50 50 50 | 1 11 s | Not cut |
| Dense Foam | 5 mm | 30 50 50 | 1 14 s | Not cut |
| Dense Foam | 5 mm | 30 100 50 | 1 13 s | Not cut |
| Dense Foam | 5 mm | 20 100 50 | 1 14 s | Cut |
| Dense Foam | 5 mm | 25 100 50 | 1 14 s | Cut but limit |
| Dense Foam | 10 mm | 10 100 50 | 1 39 s | Cut |
| Light Foam | 10 mm | 20 100 50 | 1 40 s | Cut |
| PLA | 3.3 mm | 10 100 50 | 2 15s | Cut |
| PLA | 3.3 mm | 7 100 50 | 2 18s | Cut |
When we finish we have all our cut to assemble to determine the KURF
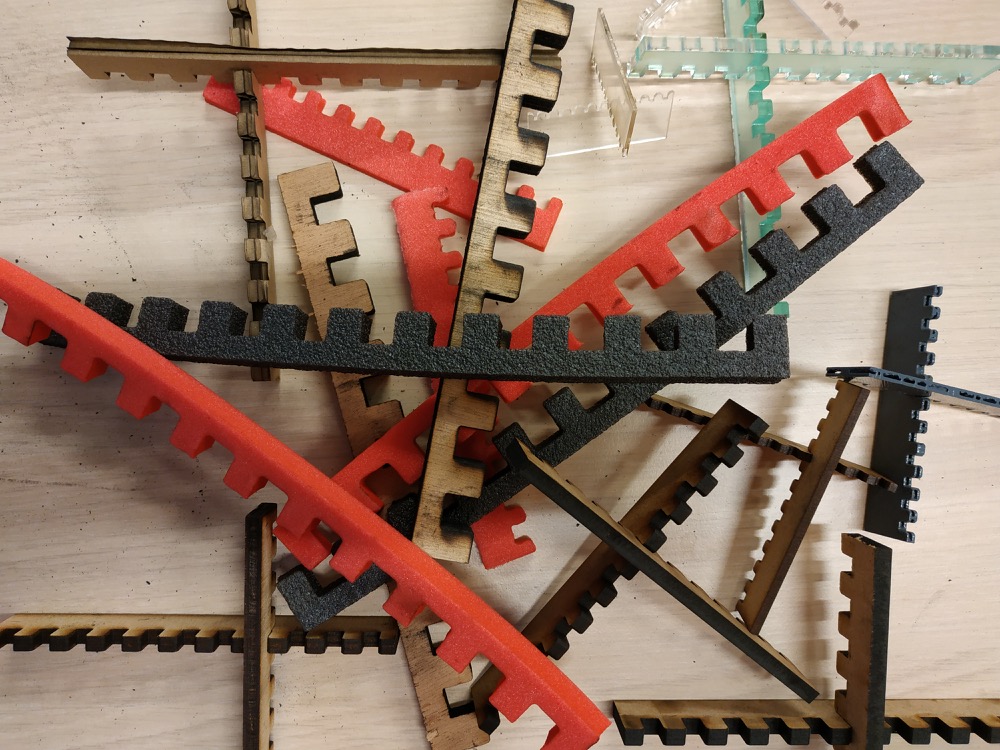
Determinate the KERF:
| Material | Thicknes | Measure01 | Measure02 | Measure03 | Measure04 | Kerf |
|---|---|---|---|---|---|---|
| Acrylic | 1.4 mm | 19.80 | 19.80 | 19.75 | 19.70 | -0.2 mm |
| Acrylic | 3 mm | 19.80 | 19.80 | 19.85 | 19.80 | -0.3 mm |
| Acrylic | 5 mm | 19.90 | 19.70 | 19.80 | 19.75 | -0.2 mm |
| Cardboard | 6 mm | 19.90 | 19.90 | 19.90 | 19.90 | -0.2 mm |
| Dense Foam | 5 mm | 18.80 | 18.60 | 18.90 | 18.50 | >0.5 mm |
| Dense Foam | 10 mm | 18.50 | 18.50 | 18.40 | 18.90 | >0.5 mm |
| Light Foam | 10 mm | 18.80 | 18.50 | 18.90 | 19.90 | >0.5 mm |
| Beech wood | 5 mm | 20.0 | 19.90 | 19.90 | 19.90 | -0.2 mm |
| Beech wood | 10 mm | 19.80 | 19.80 | 19.40 | 19.50 | >0.5 mm |
| MDF | 3 mm | 19.90 | 19.90 | 19.90 | 19.90 | -0.2 mm |
| MDF | 5 mm | 20.0 | 19.80 | 19.80 | 19.90 | -0.2 mm |
| MDF | 6 mm | 19.90 | 19.90 | 19.90 | 19.90 | -0.25 mm |
| PLA | 3.3 mm | 19.80 | 19.80 | 19.70 | 19.70 | -0.2 mm |
To conclude on the KERF it is on average 0.2 mm and varies according to the materials used because some one has more burning tendency than others during cutting which makes them lose a little more material.
/!\ Next Week we will use the Fiber laser cutter
Individual Assignment
Here is my advancement but I remain stuck because I do not know how to properly use Fusion 360
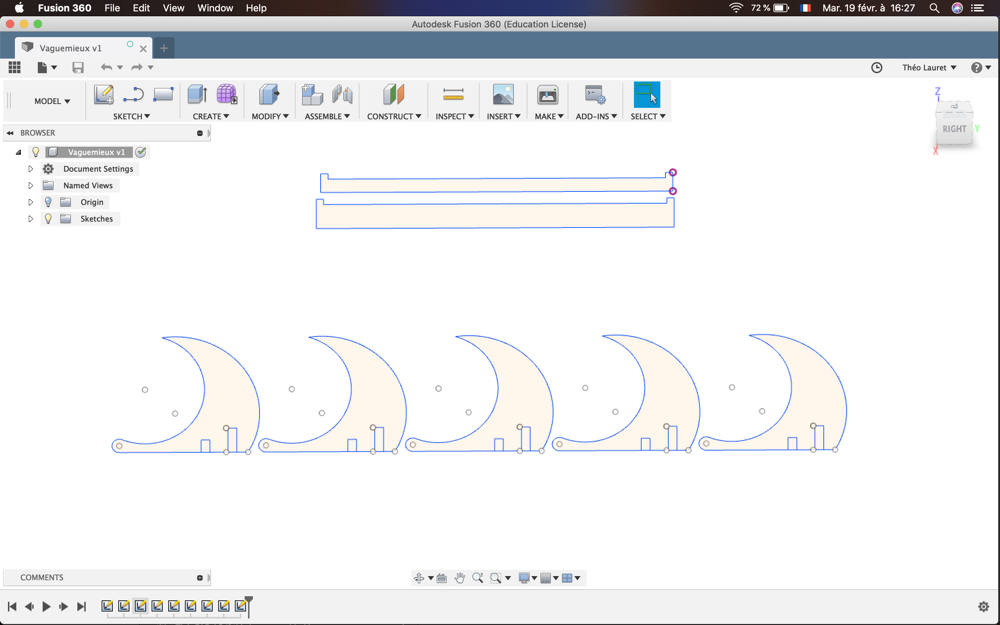
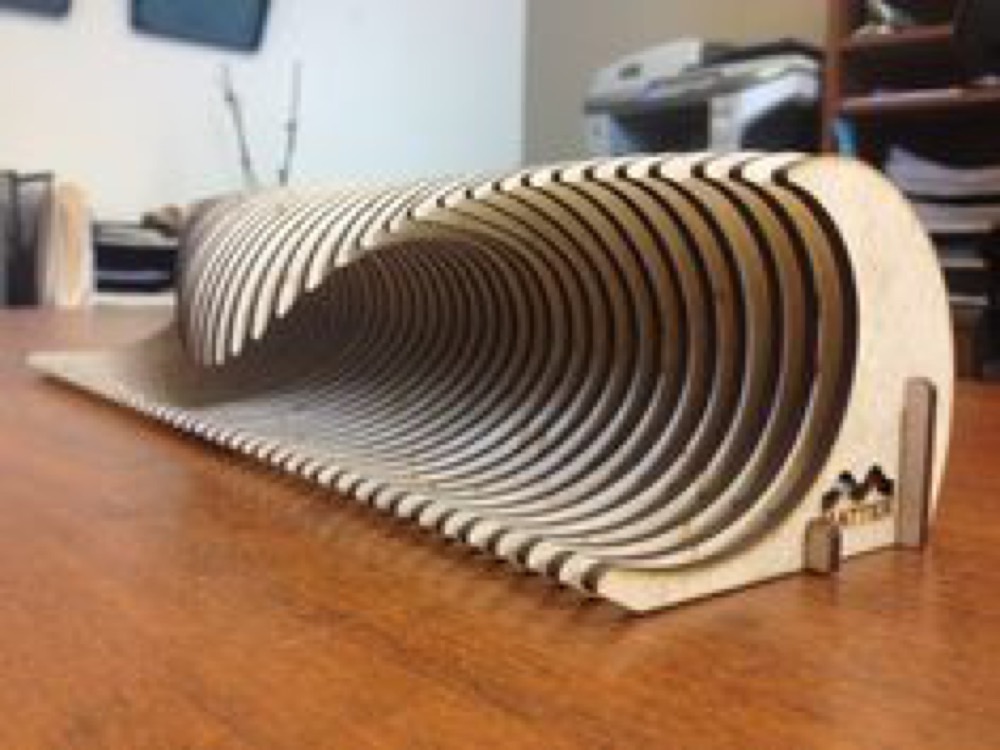
Here is the model that I want to get
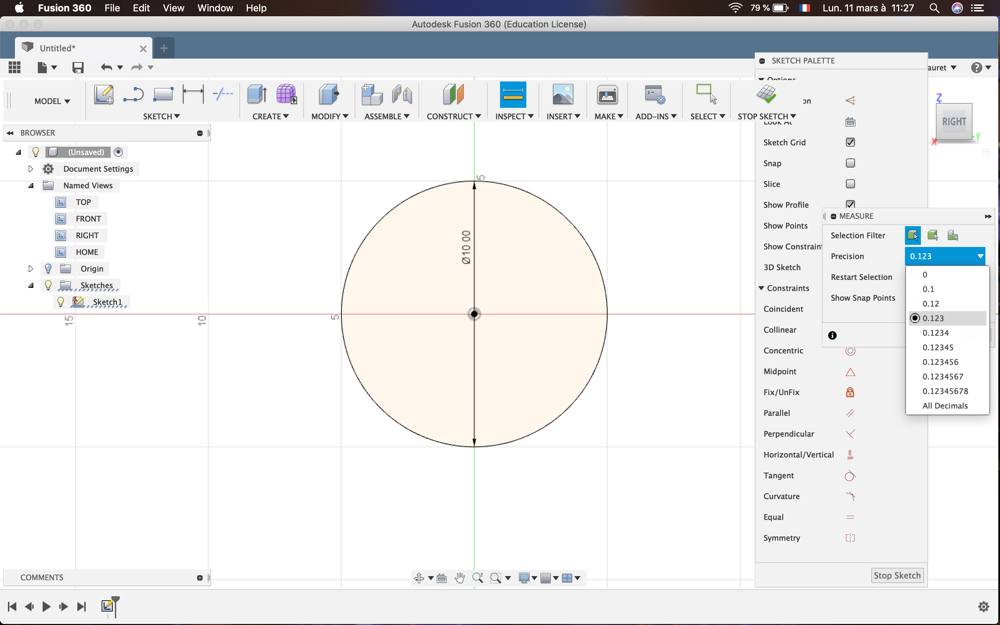
I learned a few things and the basics about Fusion360 and thus managed to advance in my assignment I noticed a few that are rather hidden
Change the number of numbers after the decimal point
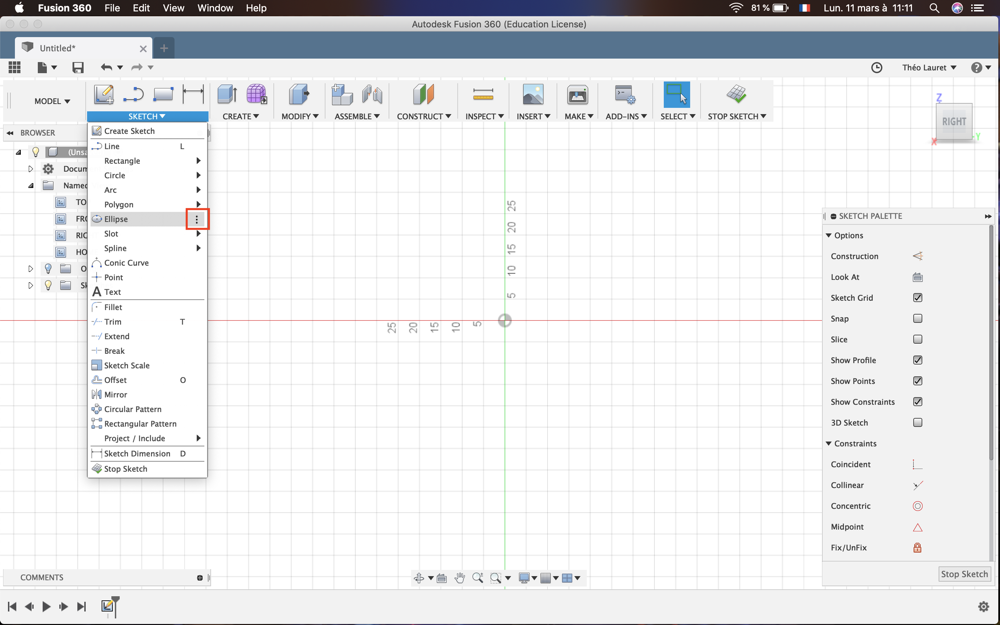
With the 3 dots we can add a shape or other to the selection panels of the top
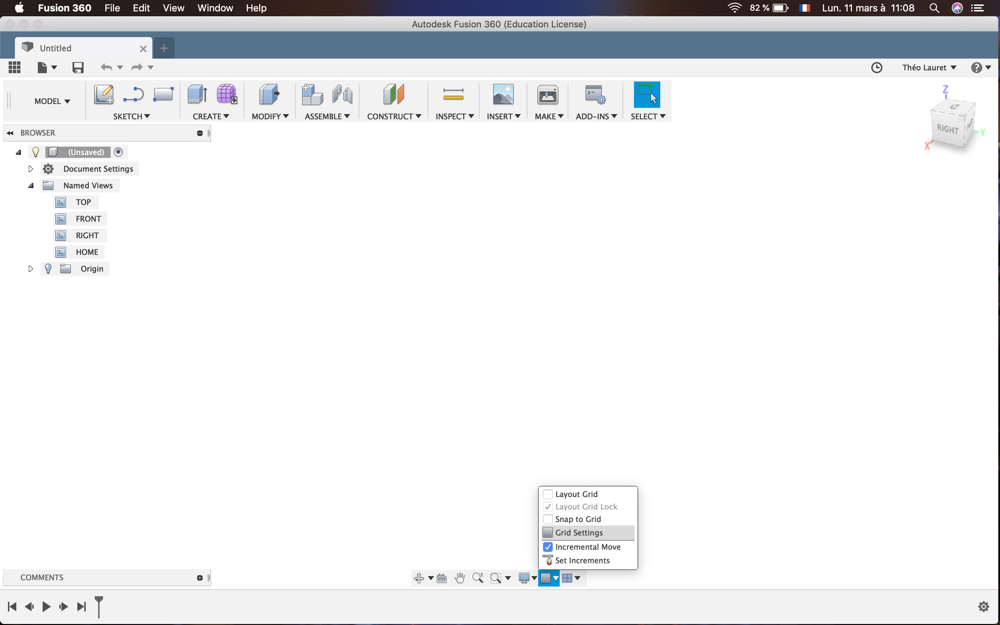
Change the Grid settings to be more precise in the measurements