write an application that interfaces a user with an input &/or output device that you made
compare as many tool options as possible
For this assignment I want to write an application in java which can send and receive data from a given IP as TCP client and will make its GUI using Andorid Studio. I made Esp-12E board in Networking and communication week so for this week Iam also interface that board with my Mobile application.
As I mentioned earlier that for this week Assignment Iam going to design mobile App, For App devolpment I used Andorid Studio.
Android Studio is the official Integrated Development Environment (IDE) for Android app development, based on IntelliJ IDEA . On top of IntelliJ's powerful code editor and developer tools, Android Studio offers even more features that enhance your productivity when building Android apps, such as: A flexible Gradle-based build system A fast and feature-rich emulator A unified environment where you can develop for all Android devices Instant Run to push changes to your running app without building a new APK Code templates and GitHub integration to help you build common app features and import sample code Extensive testing tools and frameworks Lint tools to catch performance, usability, version compatibility, and other problems C++ and NDK support Built-in support for Google Cloud Platform, making it easy to integrate Google Cloud Messaging and App Engine Source
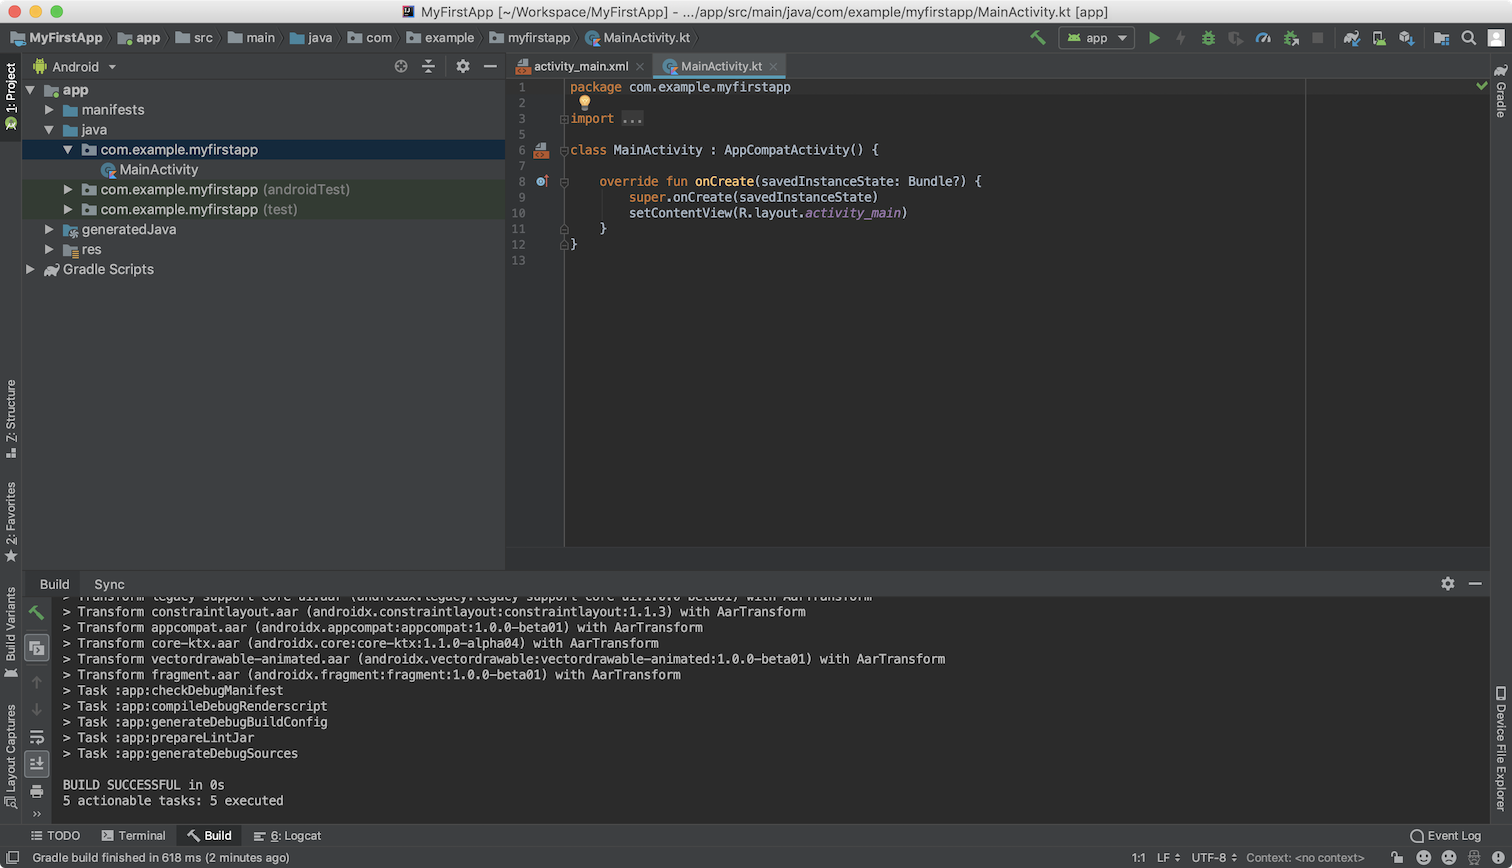
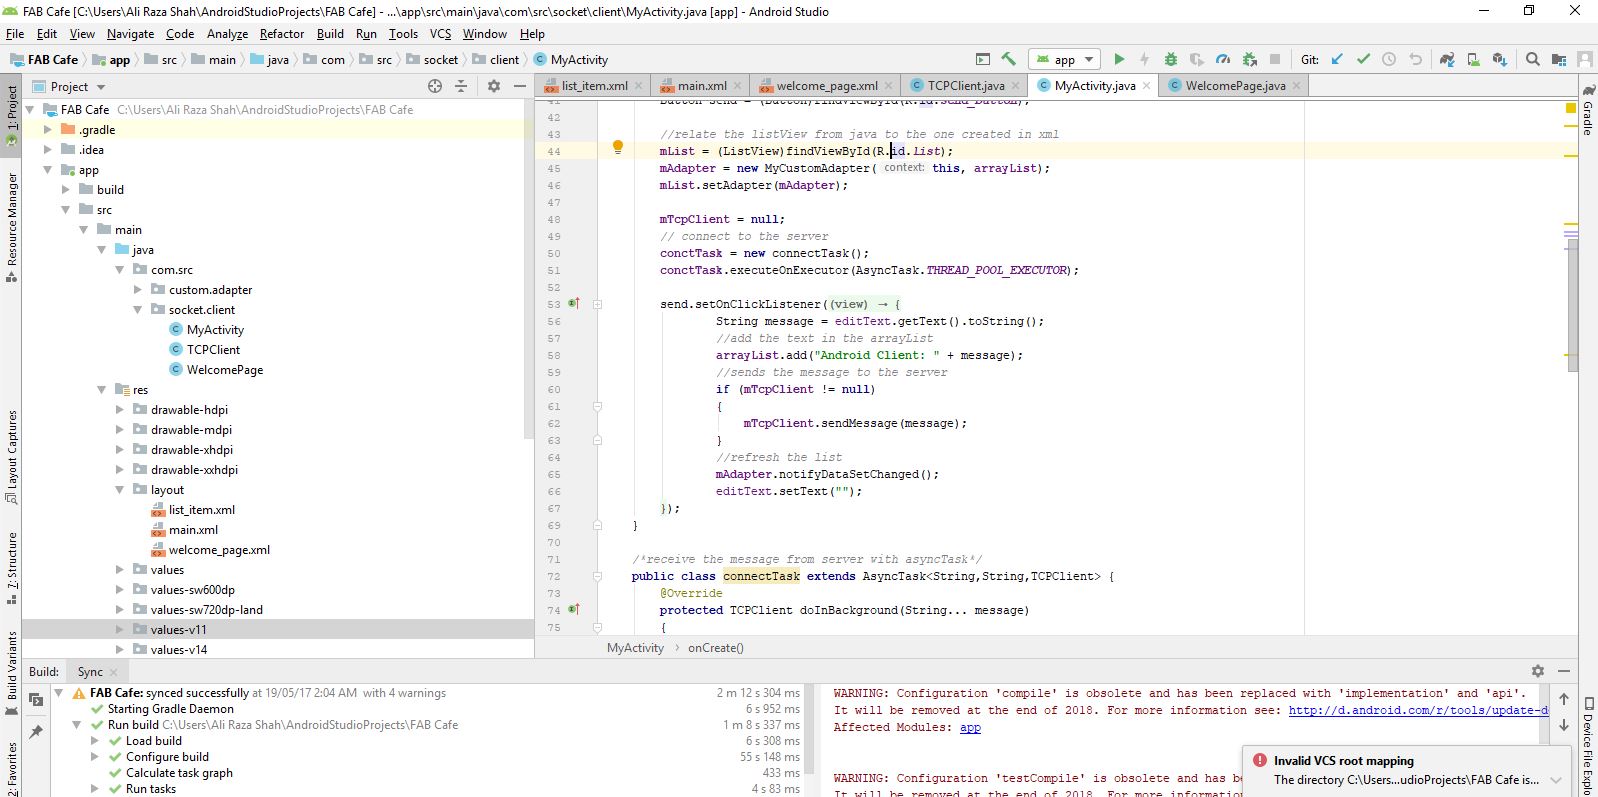
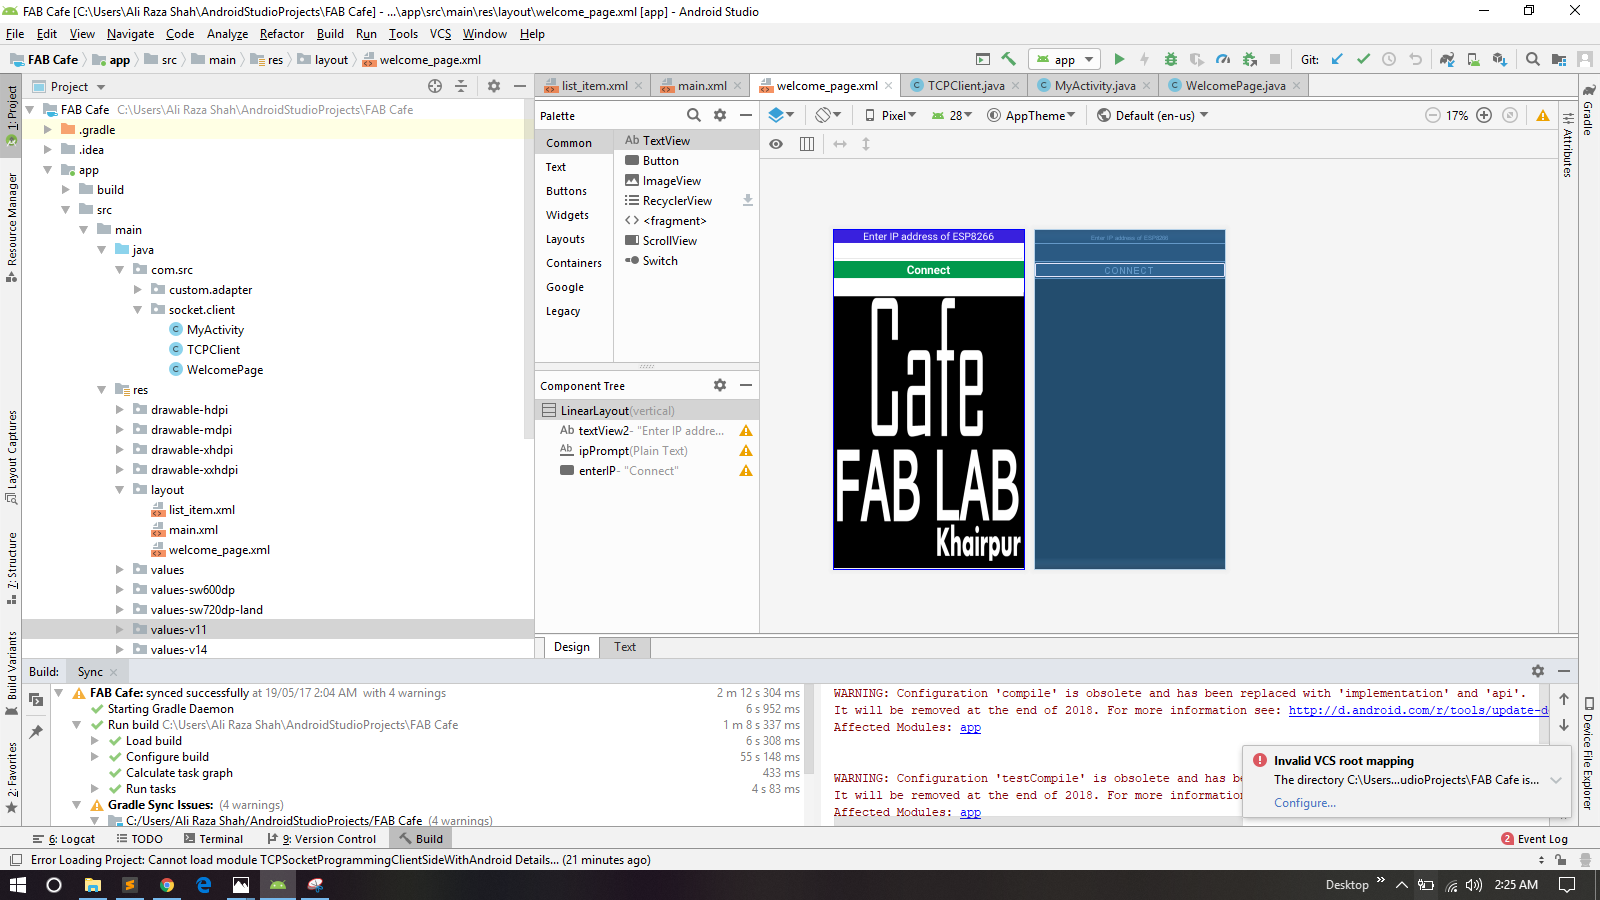
The Android Studio main window is made up of several logical areas

User Interface Of Andorid Studio
For Runing Andorid Studio you need to downald and install jdk and and set path. You may Download Java Devolpment kit from Here
After Downloading and installation of Jdk the next step is to download andorid Studio.For downloading andorid studio you may click Here
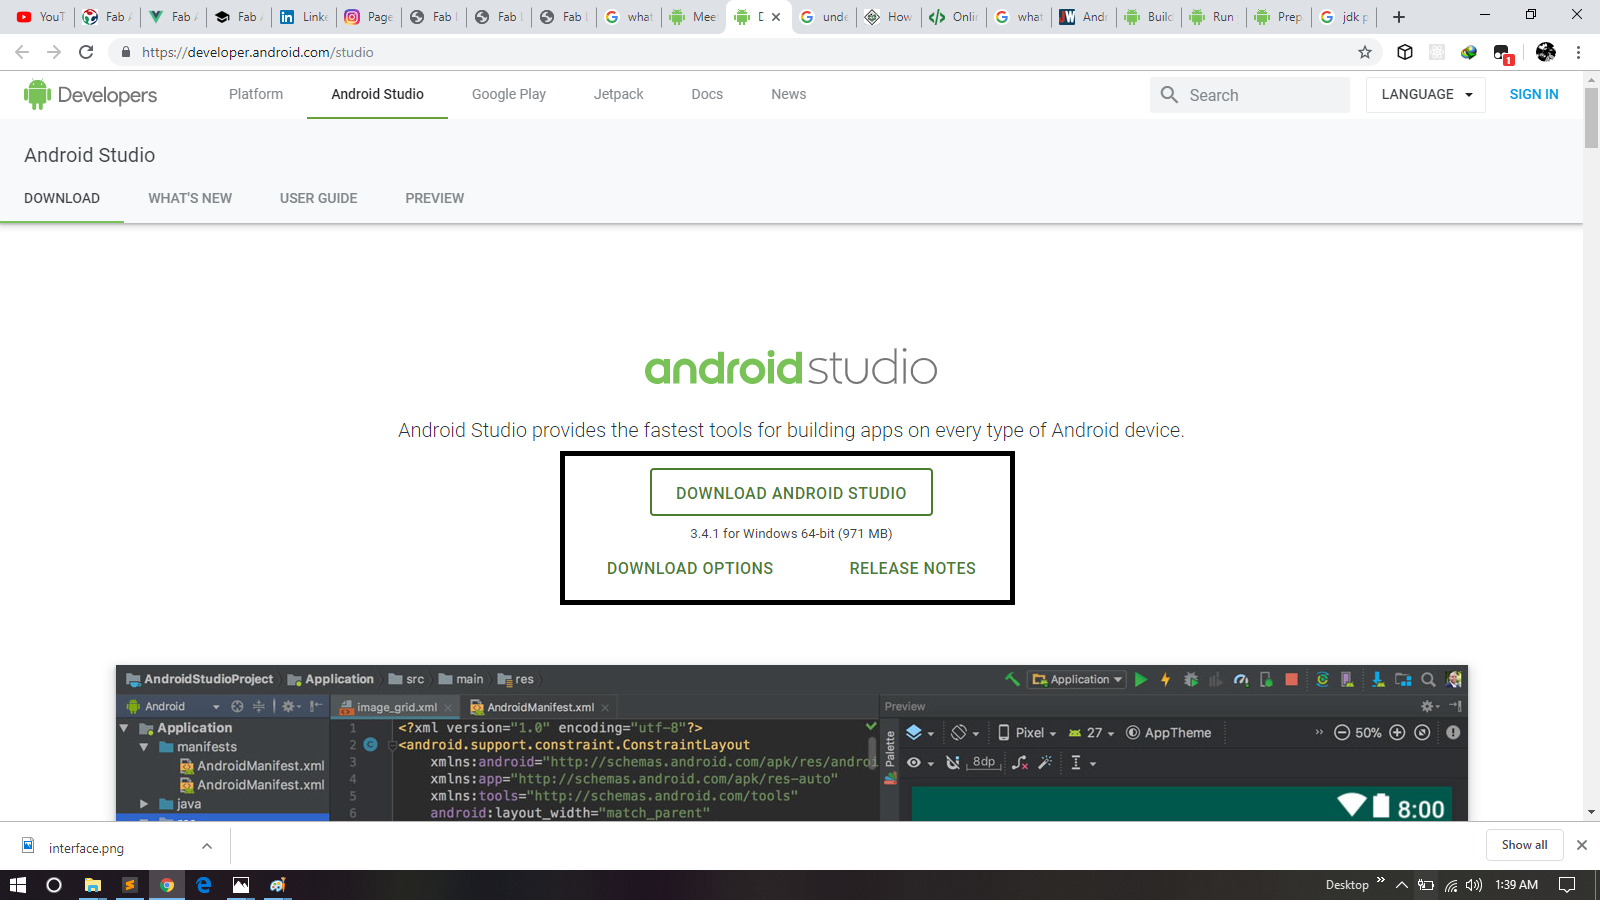
Downloading Andorid Studio
For Complete Process for Installation Process You May Follow this helpful Tutorial
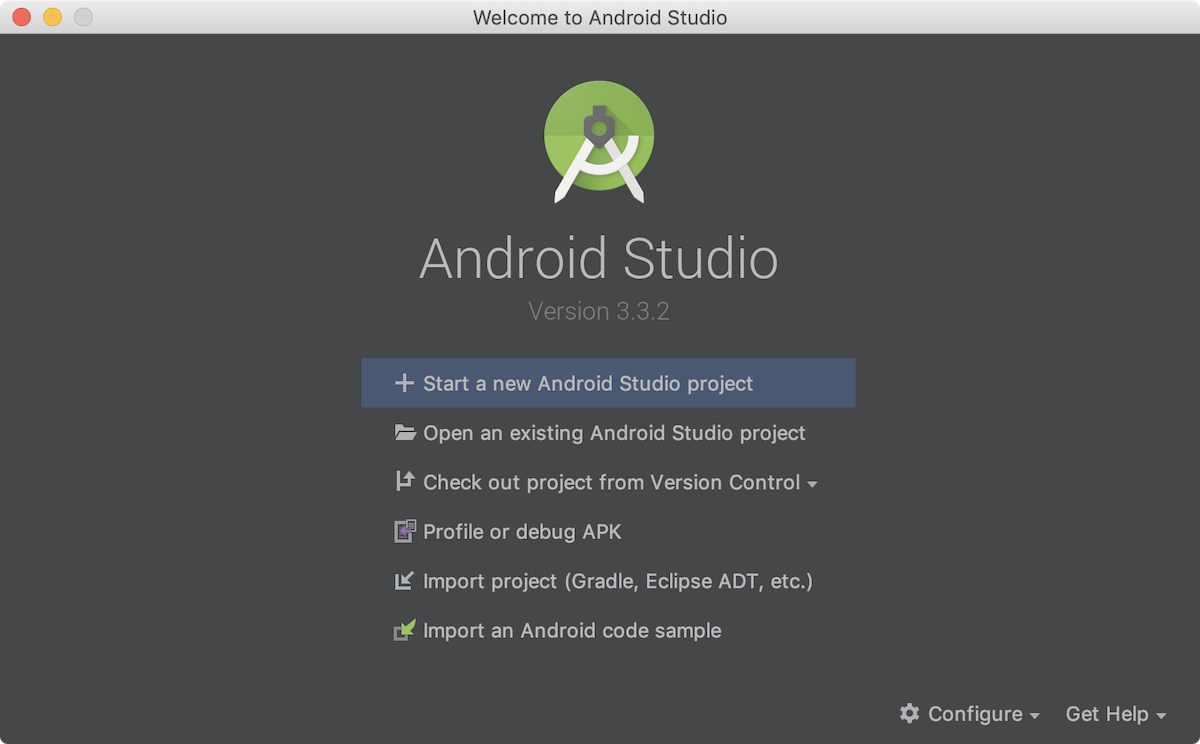
Start New Project
Or if you have a project opened, select File > New > New Project.
In the Choose your project window, select Empty Activity
Click Next.
In the Configure your project window, enter the following values:
Name: "My First App"
Package name: "com.example.myfirstapp"
Check the box next to Use AndroidX artifacts
You might want to change the project location.
Leave the other options as they are.
If you prefer to write your app in Java, select Java from the Language drop down.
Click Finish.
After some processing, Android Studio opens the IDE.
initially when we open IDE it takes time to open.
After processing
After opening
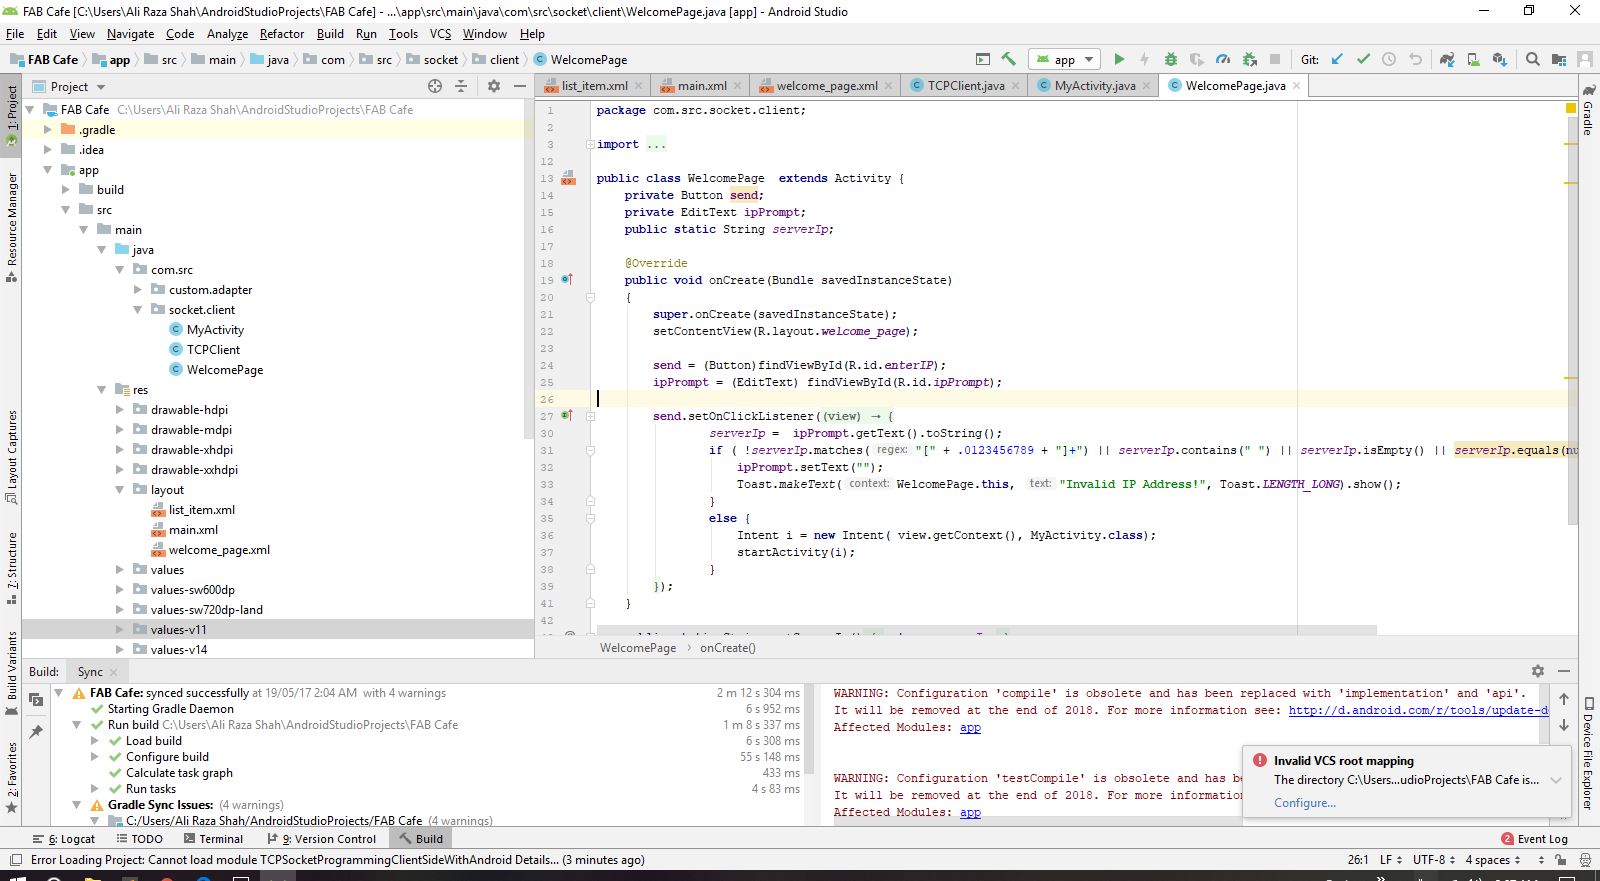
Fab Cafe Welcome page
Fab Cafe My Activity Page
You can run an app from an Android Studio project, or you can run an app that's been installed on the Android Emulator as you would run any app on a device.
To start the Android Emulator and run an app in your project:
Open an Android Studio project and click Run .
The Select Deployment Target dialog appears.
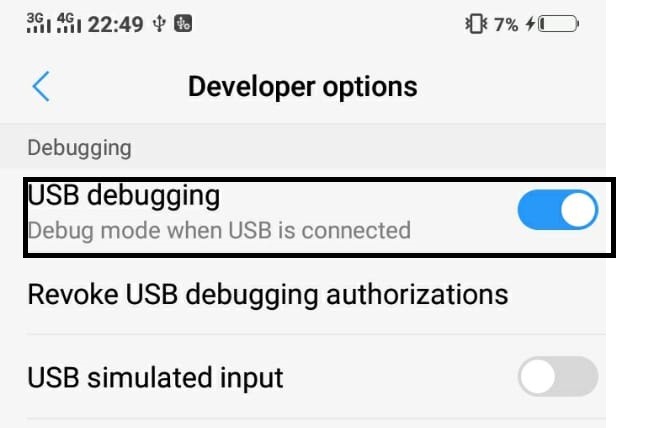
USB Debuging Mode
Before Run the appliction you need to On Debuging from device in which you are want to build application.For that you need to Go to the Setting and then you have to ON Devolper Options , then Go to the USB Debuging Option and ON it.
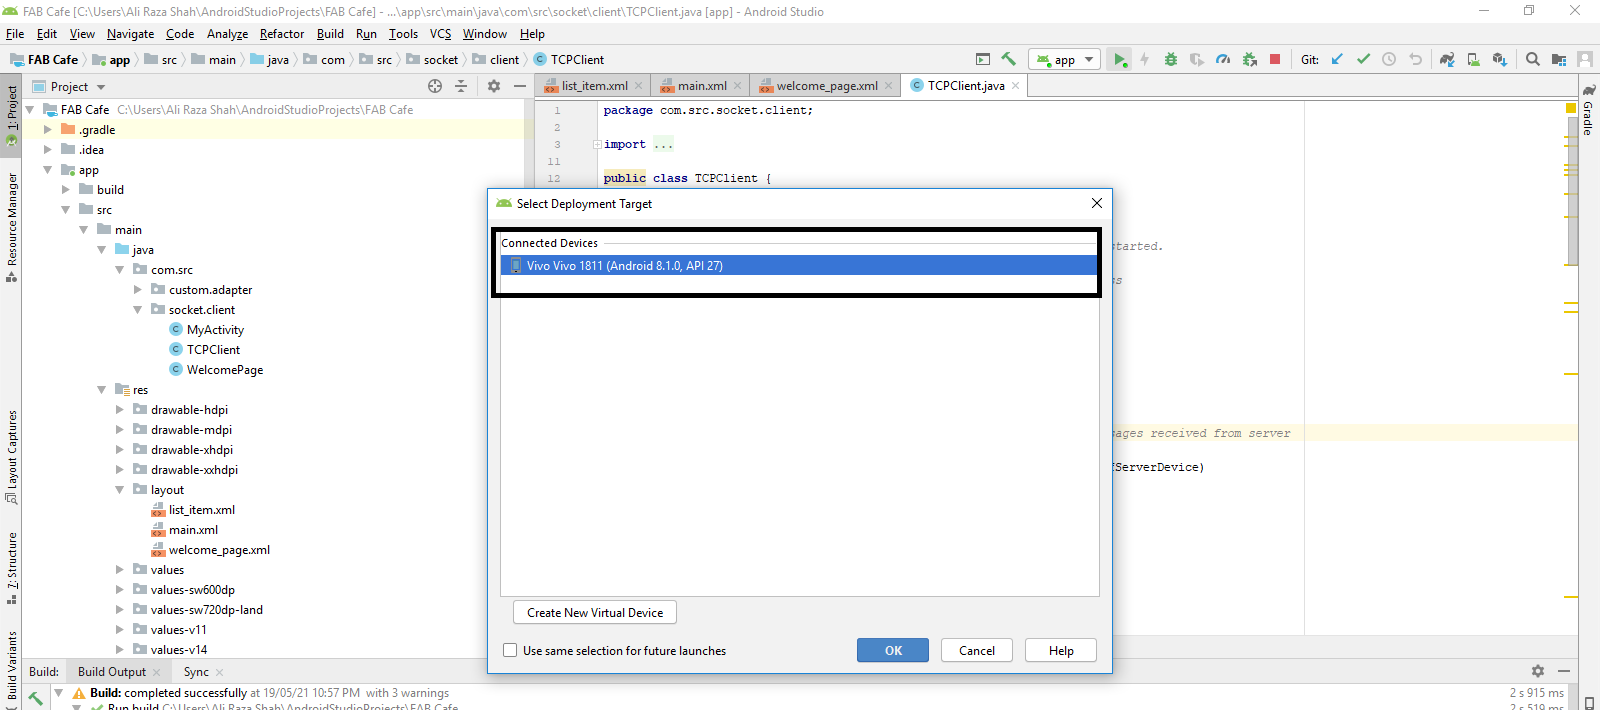
Selecting Device

Mobile Model
For Logo Design I take one cup of cofee from Google and edit it according to the requirement.I used Microsoft Powerpoint and paint for designing logo.
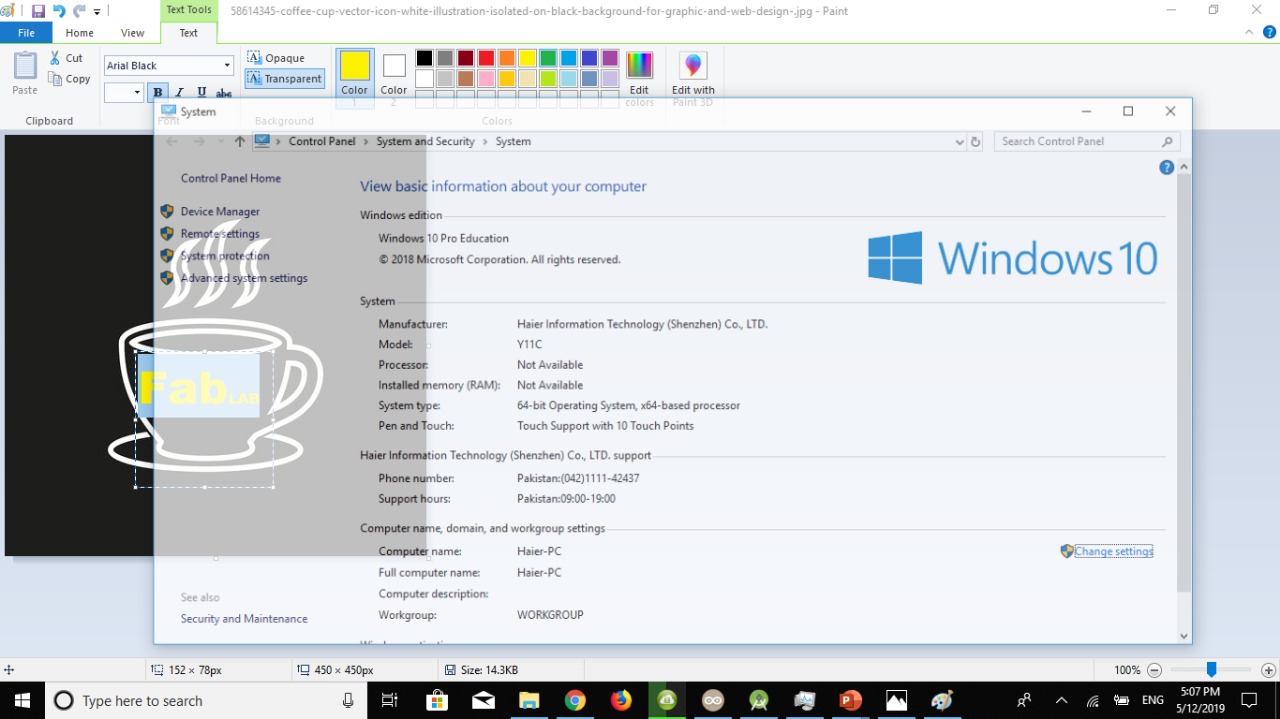
Paint
Initially I opend this picture in paint and write text on it.I tried differnt text colors for logo finaly I go for yellow .
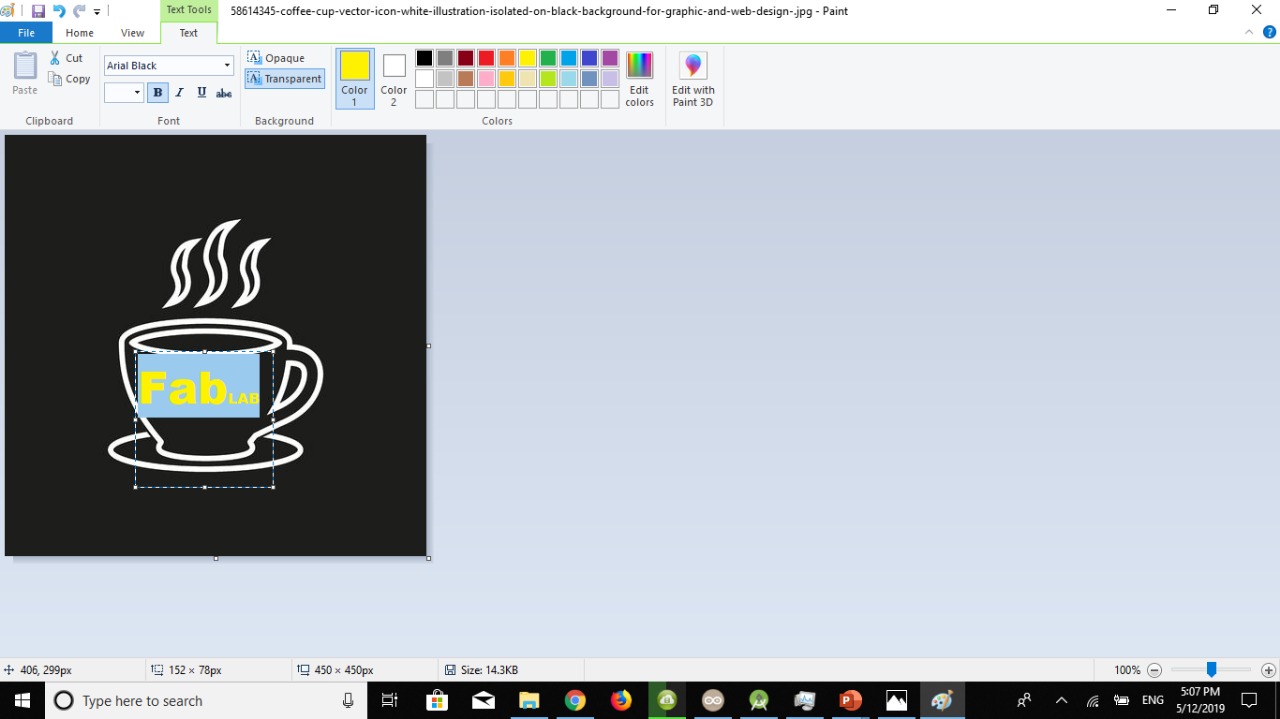
Microsoft Paint
Microsoft Paint
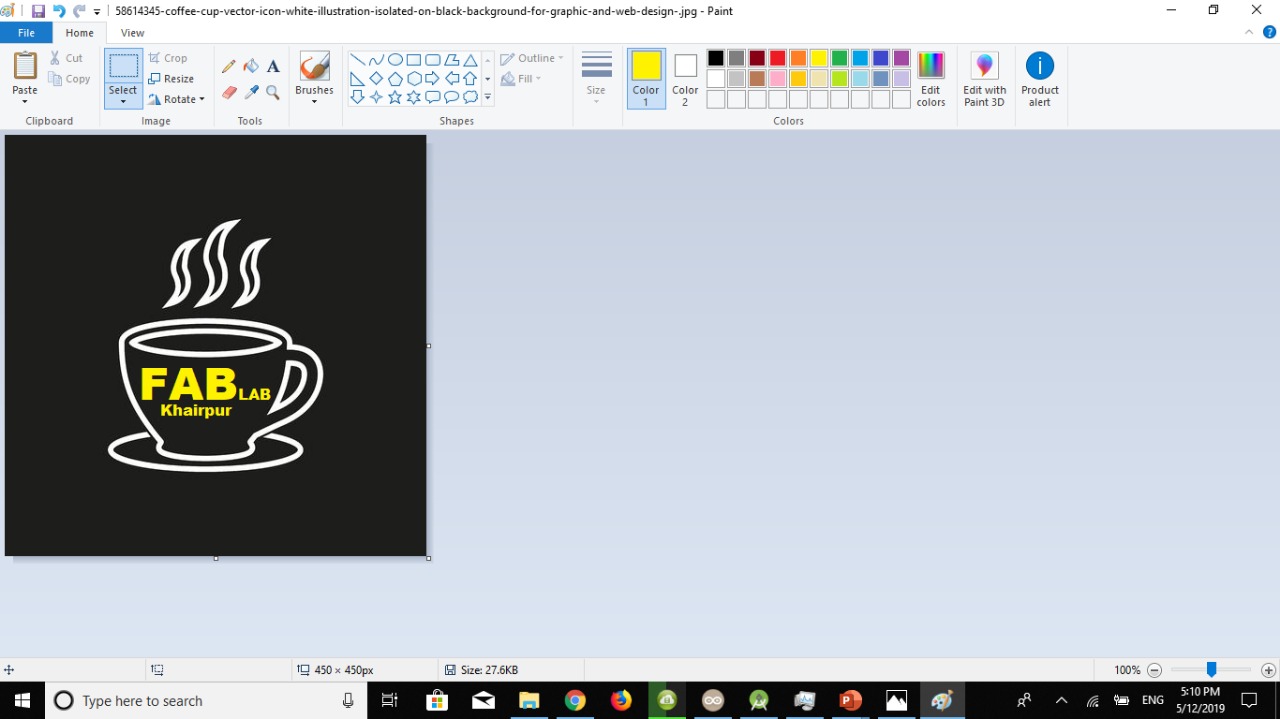
Here is look of the logo that I have esignd for App.
Logo
After Designing Logo for app the next I design some text for front page of mobile application. I make text FABCaFe Fab Lab Khairpur
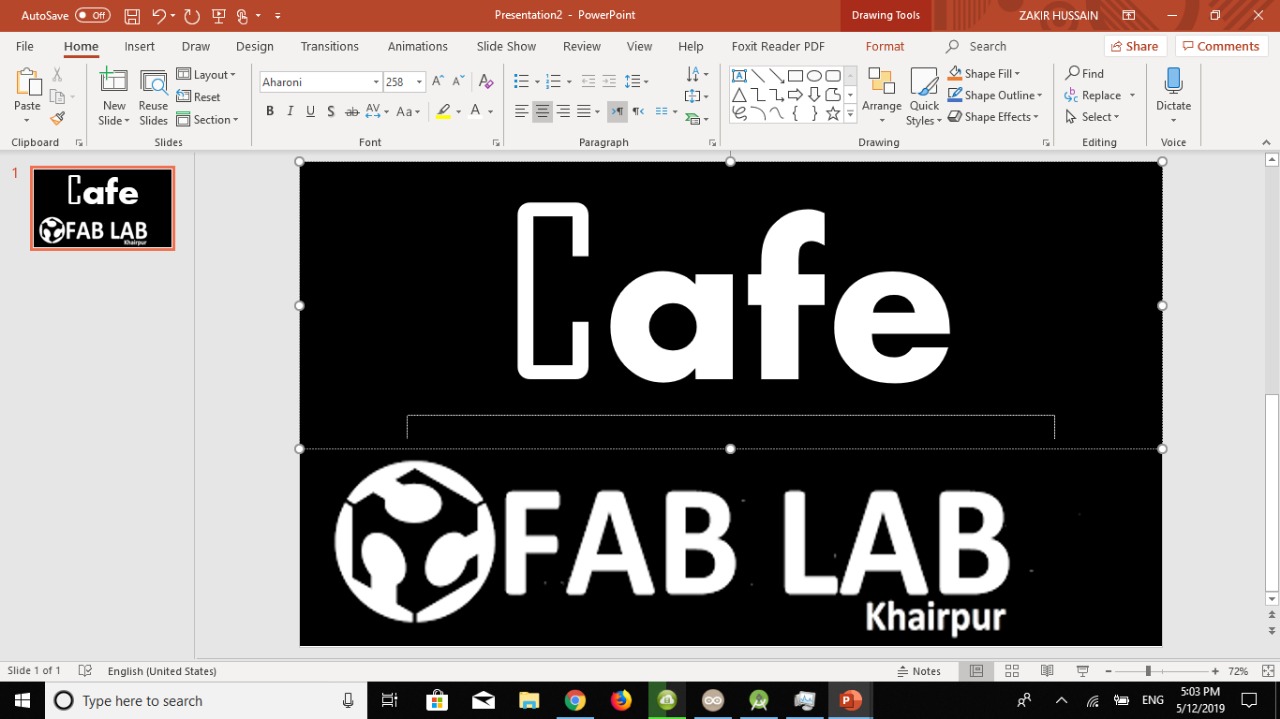
Microsoft Powerpoint
For desiging this text I used mirosoft powerpoint, I take logo and edit it.After Designing text I place this text in front page of my app.
Text View
I opened text view of the application and place text accordingly.
After Doing designing and Runing Application I have interfce my app with ESP12-E board that I have designed in Networking and Communication Week
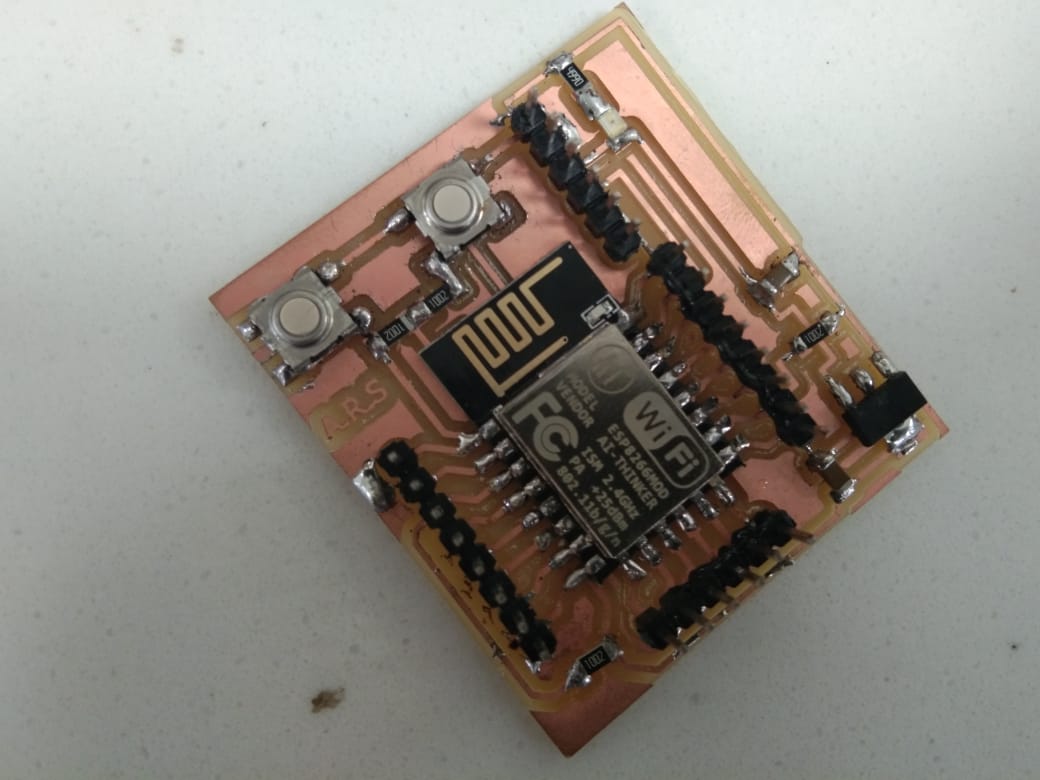
ESP12-E
For commuication with my app I connect FTDI cable with Esp board and configure ESP as TCP Server.
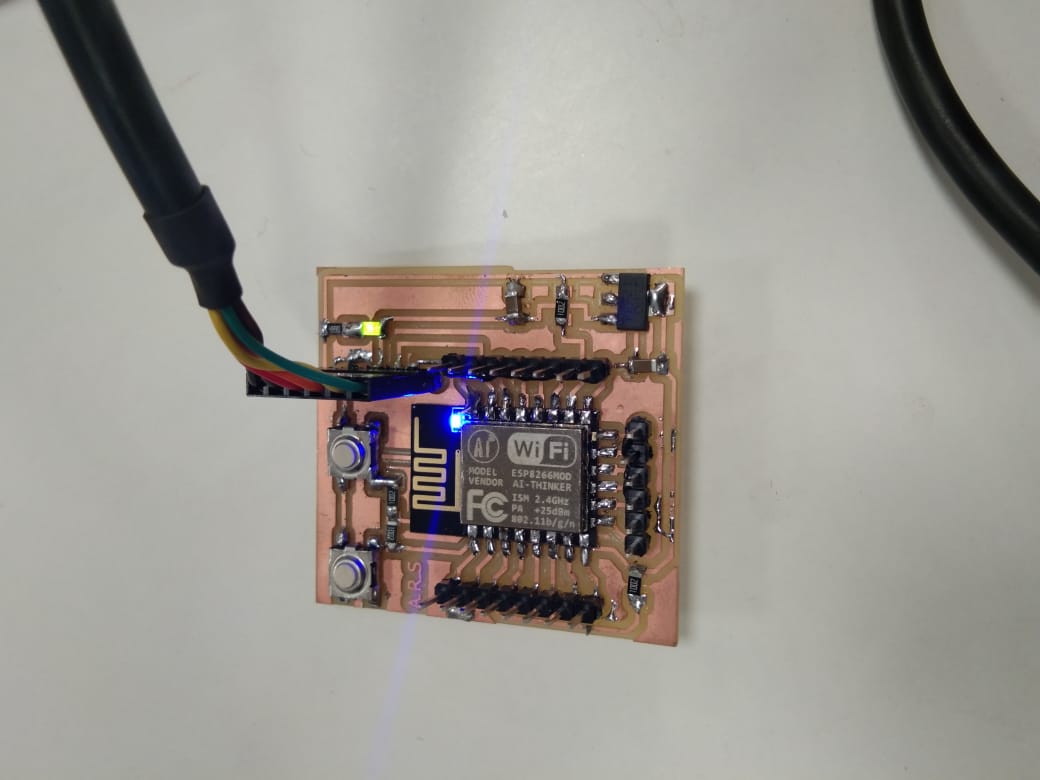
Connecting FTDI
As I mentioned earlier that I made ESp12-E as TCP Server and all client within range of that (Server )can connect using Ip Address. For that client and Server must have same network connection.
I create a hotspot Network fom my laptop and set SSID and password for that network.
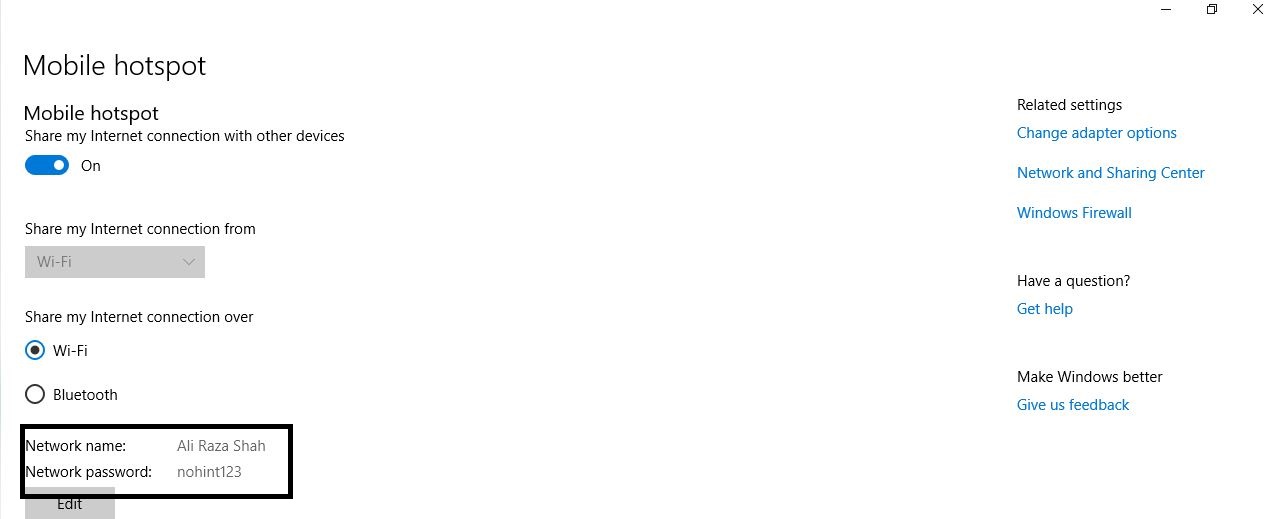
creating Hotspot
After creating hotspot I uploaded program and connect my app.
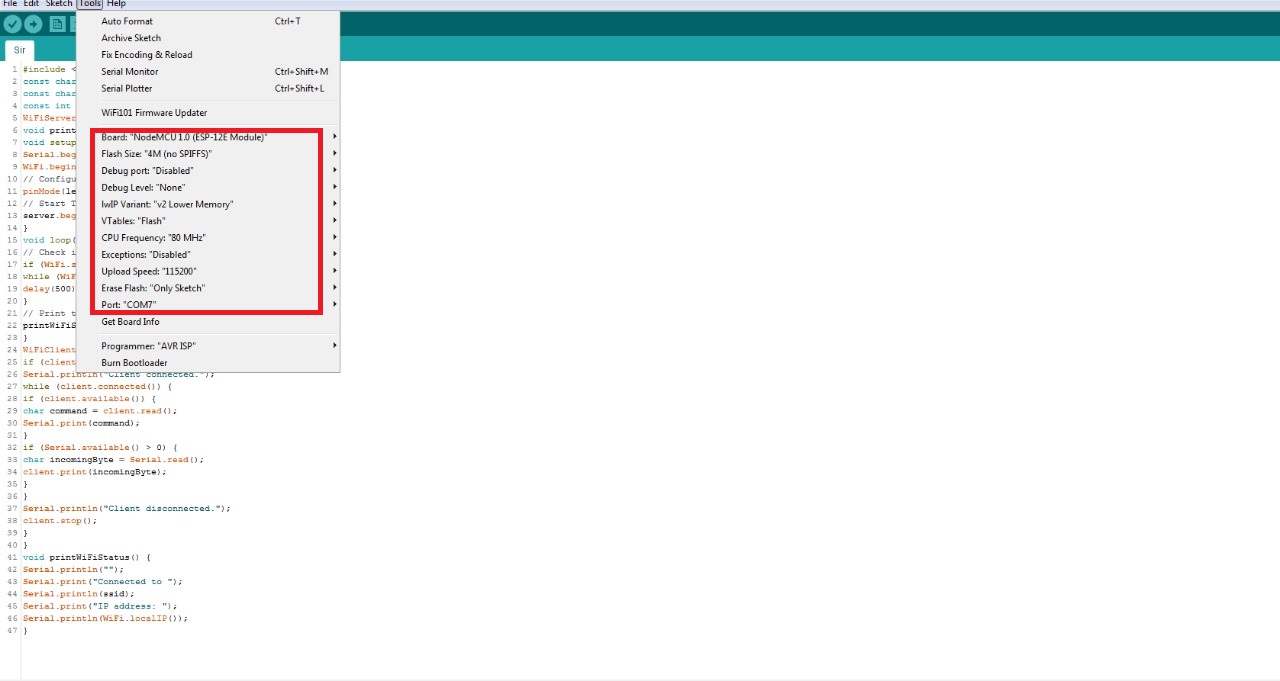
Select Setting
Code
Code
Compare as many tool options as possible.
Tool/Language/Deploy
Cloud.
In cloud there are various option available like AWS, Azure, Google. AWS is the market leader on Cloud and have wide varities of services available.
AR/VR.
In AR/VR there are Various games engine, Unity, Cloud Options like AWS Sumerian. Basically its Need programming background like C# for Unity, good for creating immersive experineces.
Programming Languages.
Ther are some famous and mostly used programming languages are Python, Java, Scala, Node.JS. Python is most widely used programming language, Scala is quite difficult for a beginner level. Java is more object oriented and procedural language where Python is functional language. But now Node.js is widely framework for creating full stack applications.
Blynk.
Blynk supports hardware platforms such as Arduino, Raspberry Pi, and similar microcontroller boards to build hardware for your projects. Blynk supports the following connection types to connect your microcontroller board (hardware) with the Blynk Cloud and Blynk’s personal server:
)Ethernet
)Wi-Fi
)Bluetooth
)Cellular
)Serial
PyQt5
PyQt5Qt is a set of cross-platform C++ libraries that implement high-level APIs for accessing many aspects of modern desktop and mobile systems. These include location and positioning services, multimedia, NFC and Bluetooth connectivity, a Chromium-based web browser, as well as traditional UI development. PyQt5 is a comprehensive set of Python bindings for Qt v5. It is implemented as more than 35 extension modules and enables Python to be used as an alternative application development language to C++ on all supported platforms including iOS and Android.
Processing.
Processing is a flexible software sketchbook and a language for learning how to code within the context of the visual arts. Since 2001, Processing has promoted software literacy within the visual arts and visual literacy within technology. There are tens of thousands of students, artists, designers, researchers, and hobbyists who use Processing for learning and prototyping. Download website: is under this link.
LabView.
A bit difficult to learn but widely used in industrial applications.LabView does not interfaces directly with any other party hardwares such as Arduino, Raspberry Pi etc but since its a modular programming language it is able to program and read data from external party hardwares through VISA Modules.
MIT App Inventor.
App Inventor has been very easy to use, just pick and place components and your done,
Andorid Studio
Android Studio is the official integrated development environment (IDE) for Android application development. It is based on the IntelliJ IDEA, a Java integrated development environment for software, and incorporates its code editing and developer tools. To support application development within the Android operating system, Android Studio uses a Gradle-based build system, emulator, code templates, and Github integration. Every project in Android Studio has one or more modalities with source code and resource files. These modalities include Android app modules, Library modules, and Google App Engine modules. Android Studio uses an Instant Push feature to push code and resource changes to a running application. A code editor assists the developer with writing code and offering code completion, refraction, and analysis. Applications built in Android Studio are then compiled into the APK format for submission to the Google Play Store. and with the help of this IDE I have completed this week's individual assignment.
It's all about this week
you may download arduino Code Here
Download Andorid Studio Code From Here
.png)

