
|

| Sukkur IBA University Khairpur Campus Merit, Quality, Excellence |
Week - 4
Computer-Controlled Cutting
Assignment
Group Assignment
•characterize your lasercutter, making test part(s) that vary cutting settings and dimensions
Individual Assignment
•Cut something on the vinylcutter.
•Design, make, and document a parametric press-fit construction kit using lasercutter.
•accounting for the lasercutter kerf, which can be assembled in multiple ways.
Group Assignment
It is my first time to work on American brand laser cutting machine. This is 75 Watt CO2 laser cutting machine with a bed size of 32x20 inches. For group assignment, we are using a material test card which we found from internet. This card is helpful to document the machine performance on any material. We are using 4mm cardboard to test machine parameters. In this test we are checking its engraving power, engraving performance on different font sizes, cutting accuracy by cutting different size shapes and, parabolic and straight line flexes by varying line spacing.For kerf measuring we made a card.
Laser Cutting Machine
As per instructions we set cutting line strokes to 0.001 inches. Other vectors except 0.001 inches set to engrave with respect to their greyscale color. Then we convert our SVG file into PDF because PDF is easy to use for laser, SVG files are acceptable, but often have scaling issues ,we setting page size to 36x48 inches from document properties and selecting 600 dpi as resolution for rasterization. link
Test card
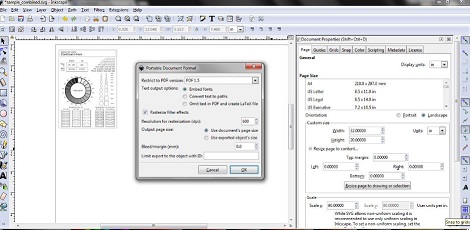
setting up file in svg and convert into pdf
After that we open PDF file and press Ctrl+P to open printing properties, we select "Epilog Engraver WinX64 Fusion" in Printer box and click "Properties"

We click on Combined in "Job Type" tab, then we set cutting power and speed to 30% and 10% respectively. After setting up parameters for the job click "OK" and the job transfer to Epilog Job Manager.

Job information in Epilog Job Manager
For setting up our given job on machine bed, we clicked on "preview" and change the location of the job by dragging the image in preview menu and set where we need it on Laser machine bed.

Job Preview Window
After selecting the location click "Save" the new information will save in job, click on "print" (top left corner in Epilog Job Manager) to transfer job to laser cutting machine.

Display of job information on Laser Cutting Machine panel
Press "GO" on machine panel and weight for job completion.

Laser Cutting Machine while working on Job


Final Products
From this group project we learn that after all process and operation laser cutting machine is based on 2 things laser power and speed. We have to set the exact ratio of power and speed for engrave and cut which is based on material thickness and material type. More power with slow speed can burn the material and fast speed with low power can engrave but it maybe lighter enough to do job again.
The Results
The laser burns away a portion of material when it cuts through. This is known as the laser kerf and ranges from 0.08mm – 1mm depending on the material type and other conditional factors. we made a cardboard of different rectangles to find a kerf, in 3.8 mm rectangle we measure the kerf 0.2mm/2=0.1 mm.


Individual Assignment
Laser Cutting
•I want to make gear but it is parametric but not a press fit kit,so i skip that idea and make a parametric press fit kit. So i decided to make a Stool, i struggled five days to make a box, during making Stool design i got some issue in linear pattern whick i could not solve. Finaly i decided to make a lamp.


•For making 3D Model of lamp part I have decided to work on SolidWorks 2016. My model consist of 3 different parts which can be assembled to make 3-D Models. I will be making this model as parametric pressfit kit which means the model will be based on equations. Whenever I want to change any kind of parameter I will change that for example I have will use 4mm thickness of cardboard which I can replace to 16mm or any other thickness. I can also reduce the hole size of my model. So firstly we start with selecting "Part"

Selecting document as "Part"
•I selected front plane for sketch and draw a circle.


•I select some lines for making slot which I have to copy and use tool "circular sketch pattern" to copy them. In circular sketch pattern set the instance and add space

using circular sketch pattern to copy slots
•Now for making it 3D I use "Extruded Boss/Bass" tool and select 4mm as extrude value.

3D Model of Part 1
•after making 3D model of part 1, I use same technique to make part 2.

3D Model of Part 2
•after making 3D model of part 2, I use same technique to first draw a circle then cut it in half.

•After making all parts it is time to assemble and duplicate them and for this I opened new file and use "Assembly" as new document.

•First I open all parts in Assembly

•using "Mate" tool several times I lock them together in a desired position.

•then I select "Circular Pattern to copy them while maintaining the equal spacing so they can fix on exact slots.

•Completed my 3D model of lamp

•Before laser cutting of my lamp, I paste color paper sheet on both sides of cardbaord.

•As per instructions we set cutting line strokes to 0.001 inches. Other vectors except 0.001 inches set to engrave with respect to their greyscale color. Then we convert our SVG file into PDF while setting page size to 36x48 inches from document properties and selecting 600 dpi as resolution for rasterization
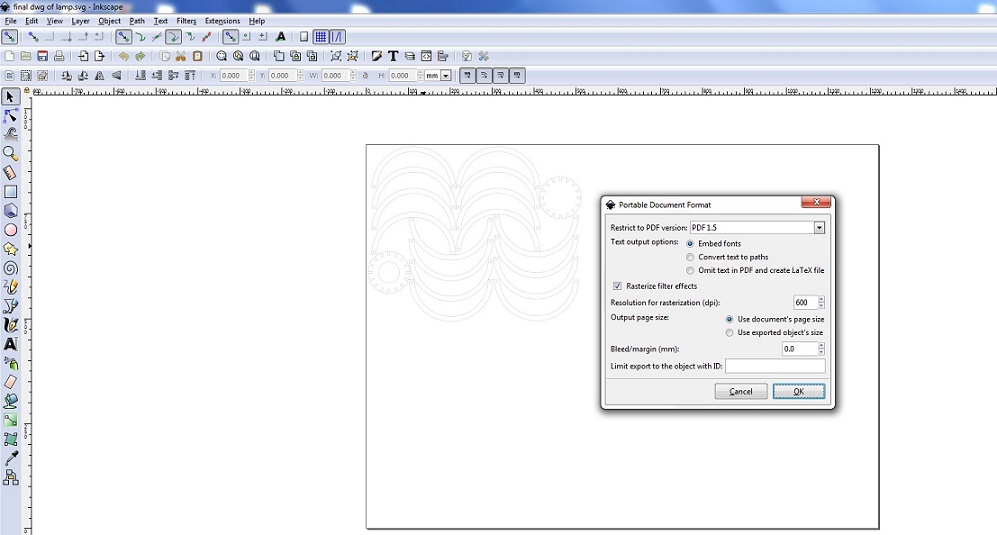
setting up file in svg and convert into pdf
•After that we open PDF file and press Ctrl+P to open printing properties,than We click on Combined in "Job Type" tab, then we set cutting power and speed to 35% and 10% respectively. After setting up parameters for the job click "OK" and the job transfer to Epilog Job Manager.
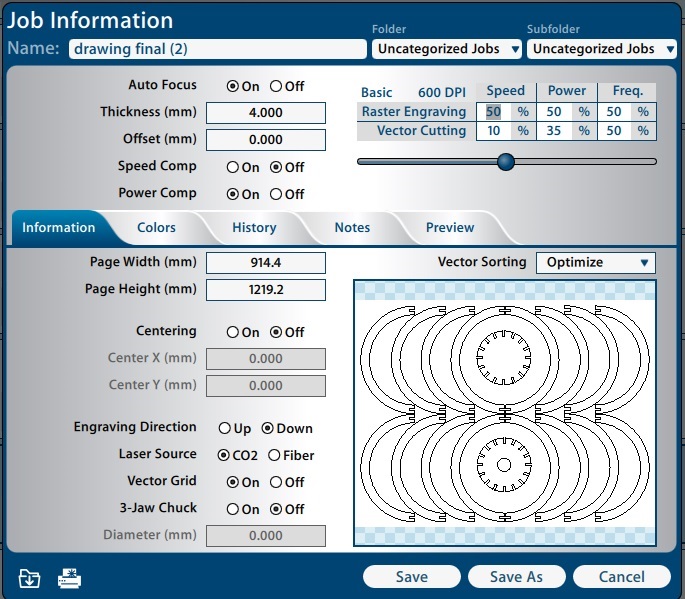
Job information in Epilog Job Manager
•For setting up our given job on machine bed, we clicked on "preview" and change the location of the job by dragging the image in preview menu and set where we need it on Laser machine bed.
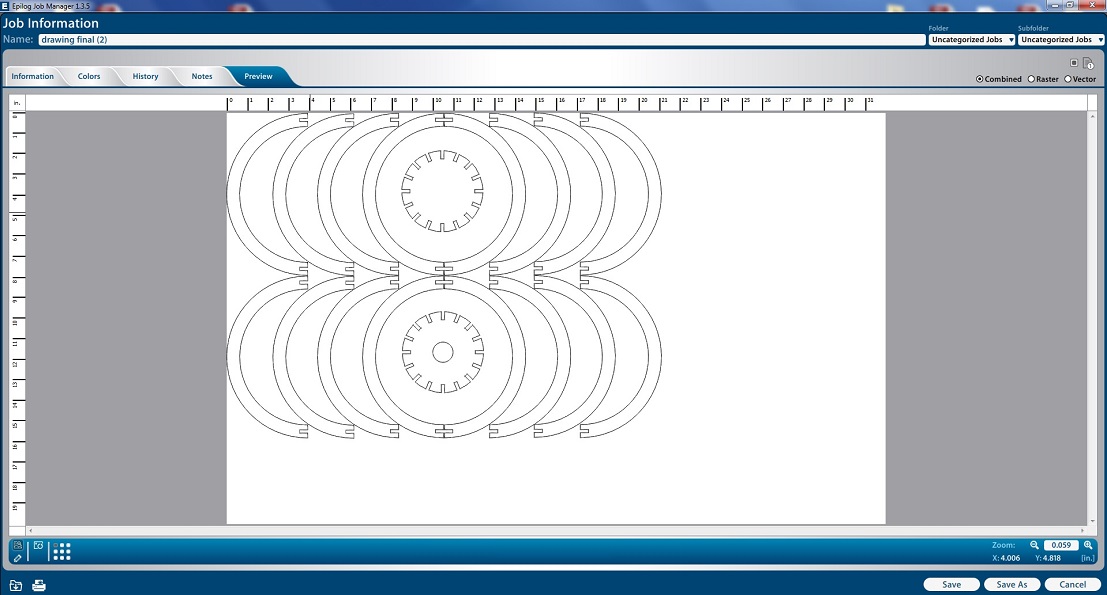
Job Preview Window
•After selecting the location click "Save" the new information will save in job, click on "print" (top left corner in Epilog Job Manager) to transfer job to laser cutting machine.

Display of job information on Laser Cutting Machine panel
•Press "GO" on machine panel and weight for job completion.

Laser Cutting Machine while working on Job
•Press fit Lamp
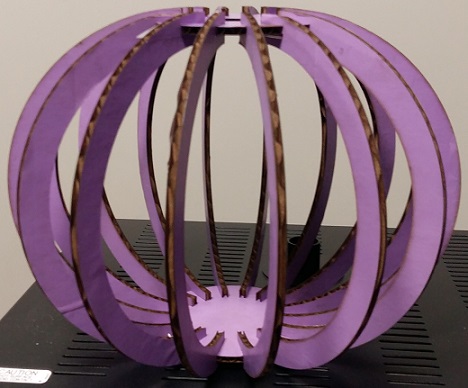
Final Products
Vinyl Cutting
So the assignment was to design and cut any shape on the vinyl cutter. So the only thing that came to mind is a fablab khairpur logo and Pakistan's flag, i took fablab logo from my instructor and Pakistan's flag from google.
Step - 1
first thing to do was to import the images to Inkscape.

Step - 2
select the image and to the "Path" and then "trace bitmap"

Step - 3
Now a window while be open, from there select the "Gray" at the bottom left of the window.

Step - 4
Now ungroup the image and you while find many gray scale copies of your orignal image, and select which you want.

Step - 5
Now as we know we need line to cut in vinylcutter so we need to get the outline of the image, we can get it easily with trace bitmap and then stoke in inkspace. Now the file is ready to go for cutting.

Step - 6
now save file in png after that edit in paint then save file in jpep.

Step - 7
After saving image in jpeg, open the Cutstudio software and import image file in it, then right click on image and select "Image Outline..." and select "Extract Contour Lines", then click on "Cutting" to send image to machine.

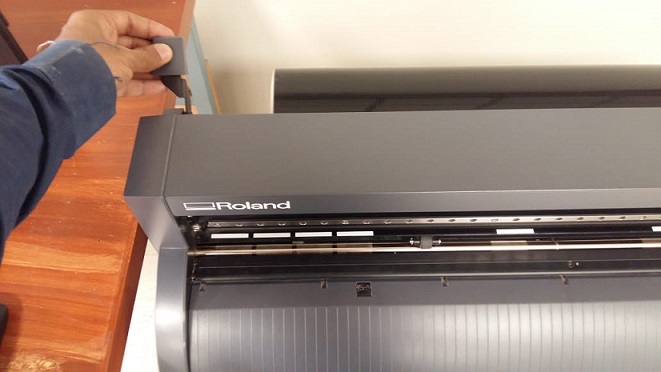
For setting up the machine make sure that the latch is set to back position and power is off. Now set the piece or roll of vinyl and fix it in machine by checking the sheet will start from white space shown on vinyl cutter.
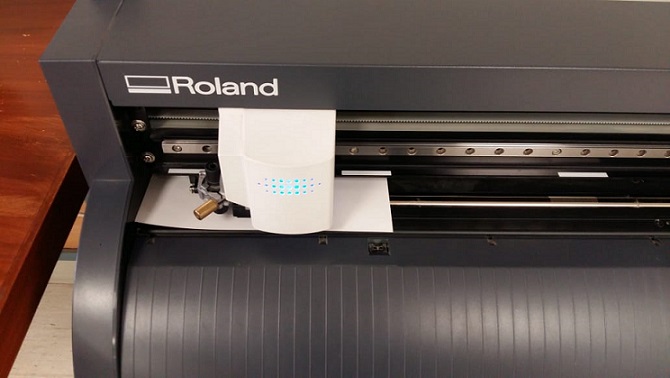
The machine accepts 3 types of input of sheet. Roll, edge and piece of sheet. I selected piece for my sticker. Turn on machine and select "*PIECE" in SELECT SHEET option.
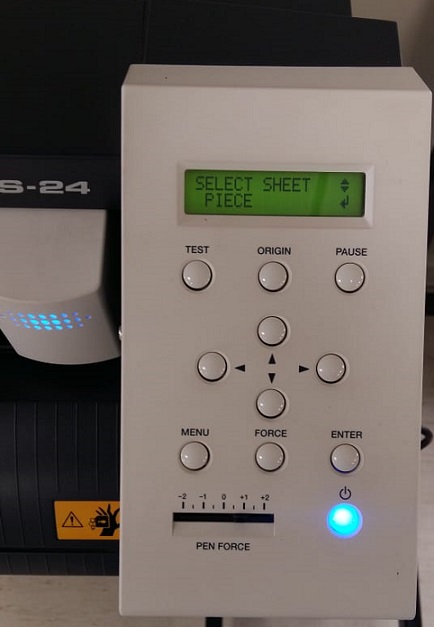
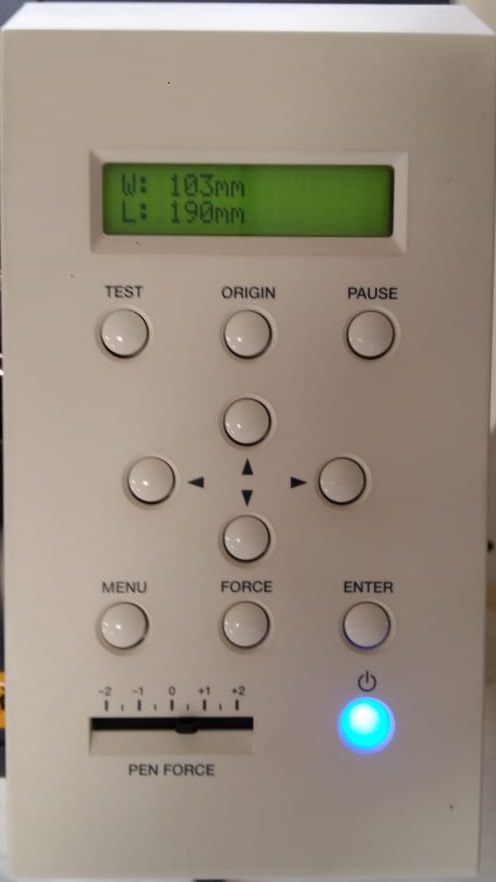
After selecting type of sheet, move the latch in up position and press "Enter". Machine header move to check the dimension of given material and shows dimension on screen.
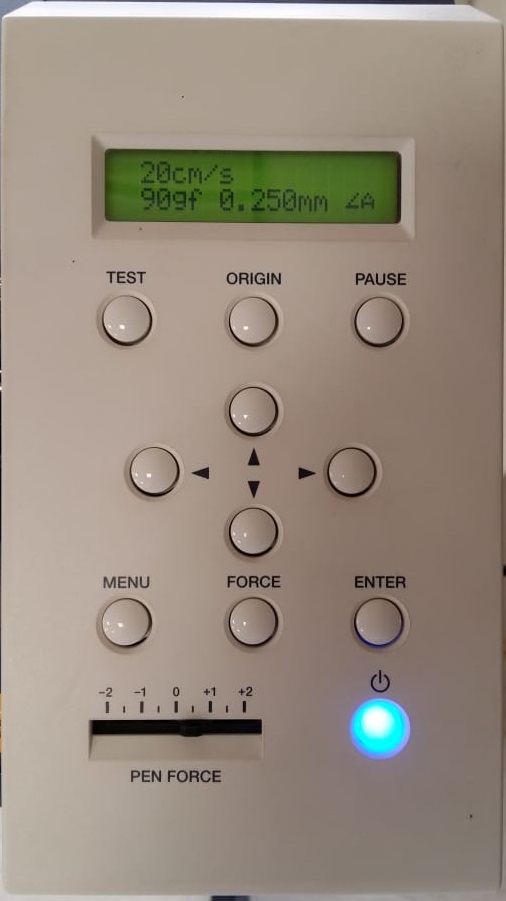
Make sure the speed is 20cm/s and the pressure is 90gf so that you get the best results and it wont cut through the back paper on the vinyl.
After cutting the sticker remove all the extra parts that are not needed in the final sticker. Then stick a transparent adhesive film on top of it to help us convert the sticker onto the surface we need in one peice without distroying the design.

I pasted sticker on my Laptop.

"Click here"to download all files of this week

Automatic Hot Water Dispenser by Tariq Ahmed Shaikh is licensed under a Creative Commons Attribution-ShareAlike 4.0 International License.
Based on a work at http://fabacademy.org/2019/labs/khairpur/students/tariq-ahmed/