week16
17.Molding and Casting
Objective:
1.design a mold around the stock and tooling that you'll be using,
2.mill it (rough cut + (at least) three-axis finish cut),
3.and use it to cast parts
___________________________________________________________________________
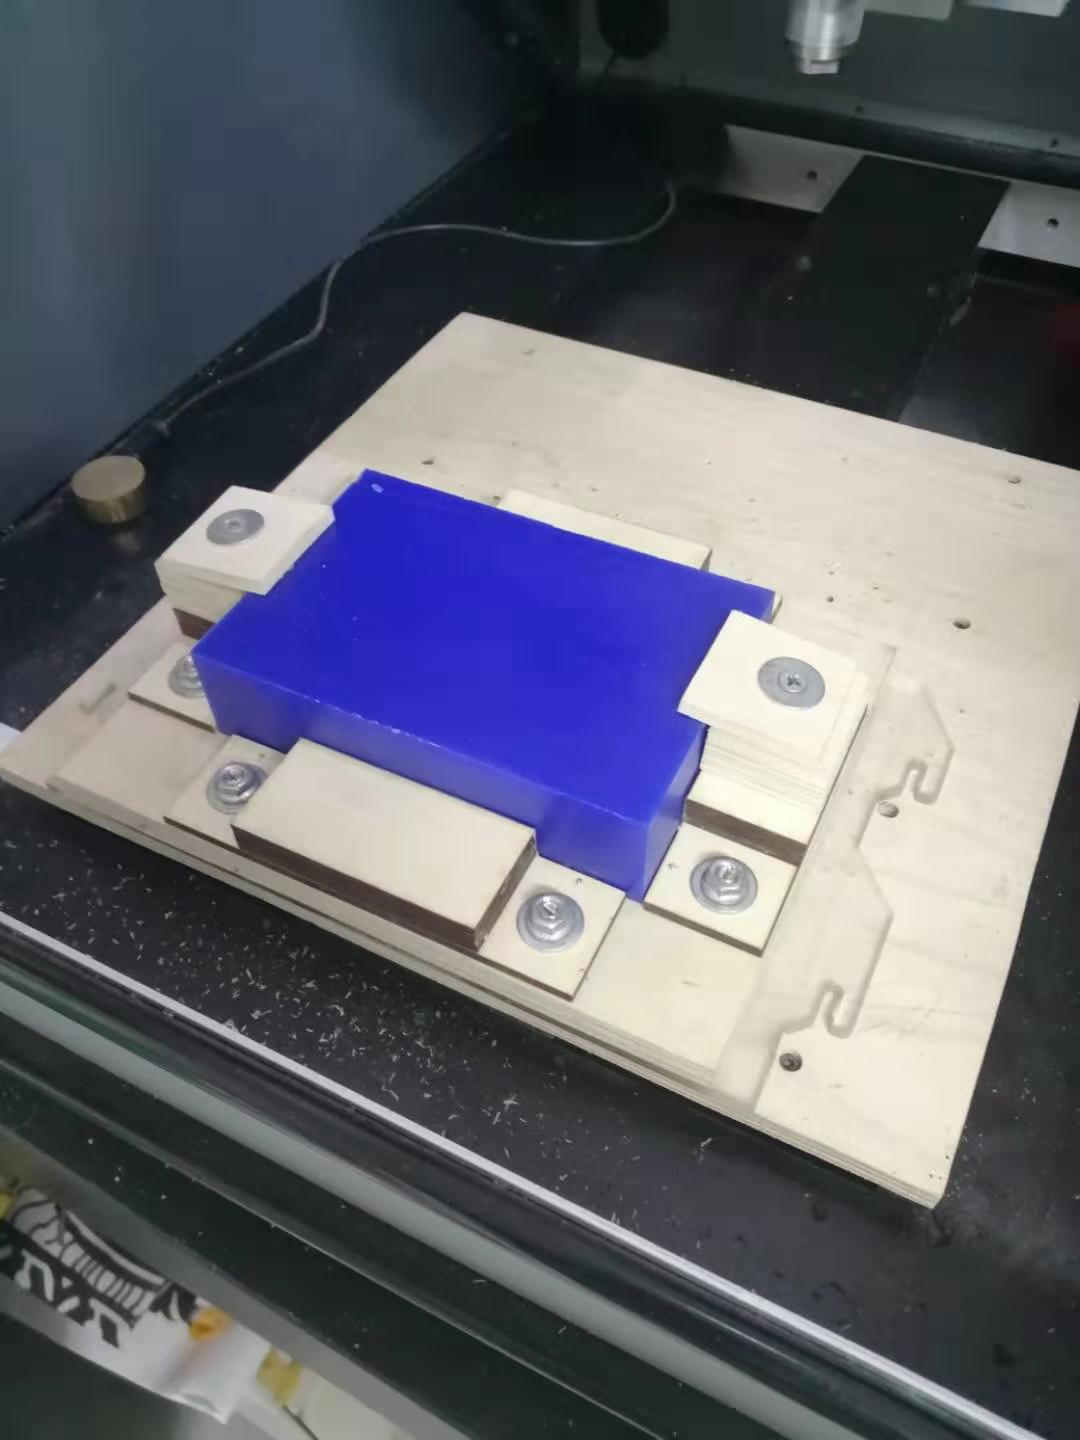
First of all, we use a tooling that our instructor made to get an idea of the process. Here is an overview of the machine.
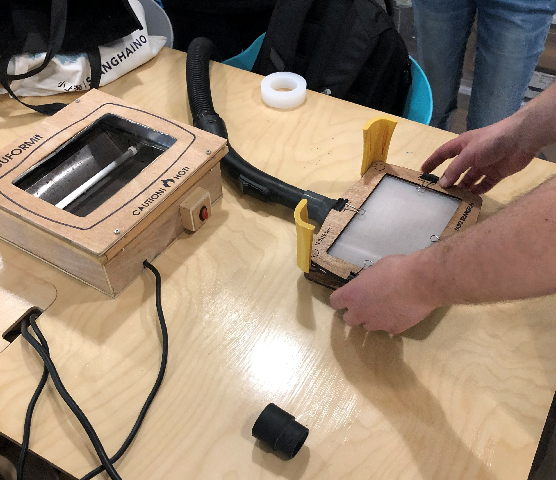
The white material that’s clipped between the wood board is a special material and cut from spring bottles that you can see everywhere in China.

The theory is we heat the material which is stationed between the board, and put it on top of the model to form a mold. When heated, you wait until the white material turns totally transparent.
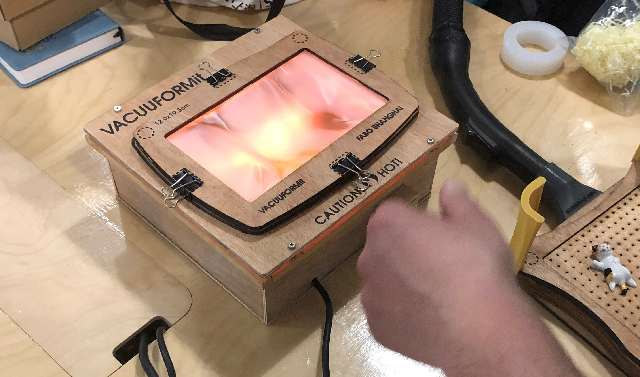
When it’s ready, you can start to put the wood frame together.
The black tube connects to the vacuum. You turn on the vacuum as soon as you attach the material to the model. It serves as cooling down the material, and helps better shape the mold. The process won’t be too long.

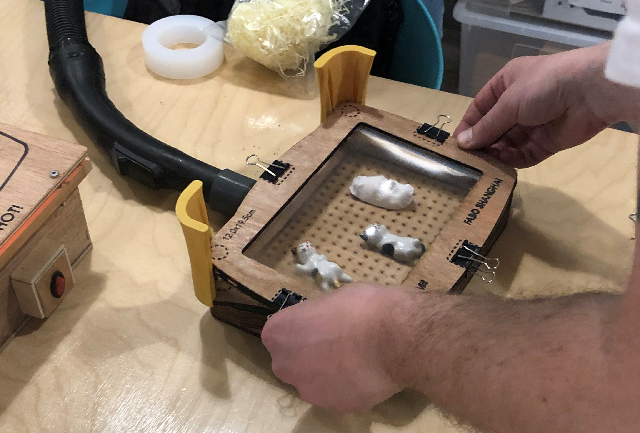
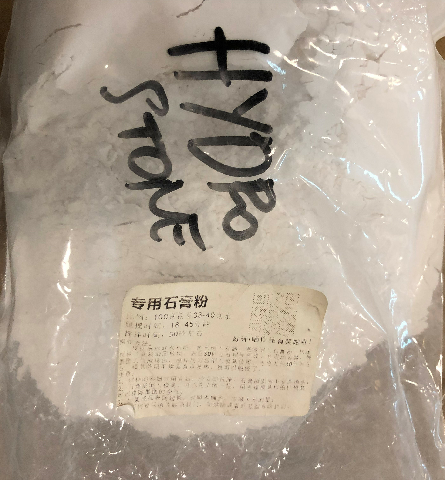
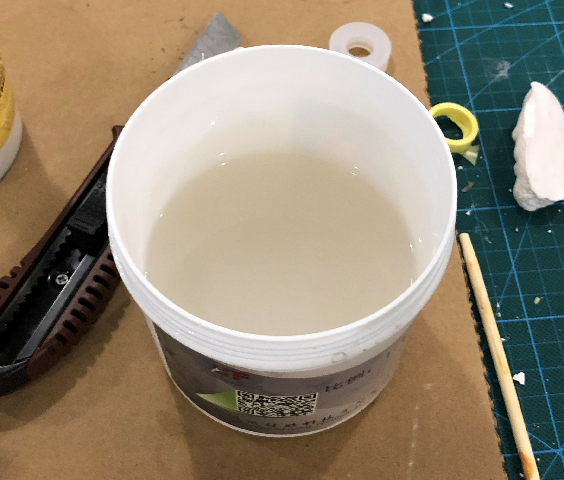
The material that I fill with the mold is hydro stone mixed with water.
The mixing part actually takes the longest time throughout the whole process. You have to keep mixing and stirring until it looks like this.
The outcome goes pretty well (I forgot to take photo), except the tail part brakes.
___________________________________________________________________________
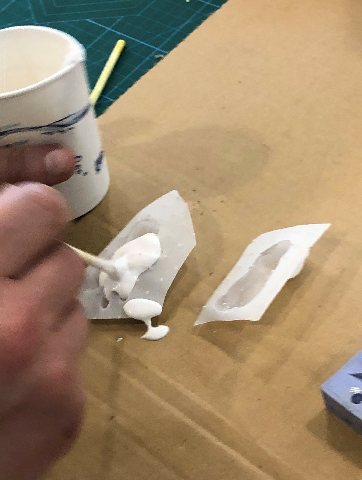
The second molding process that I try also use a kind of material that our instructor brought from Italy.
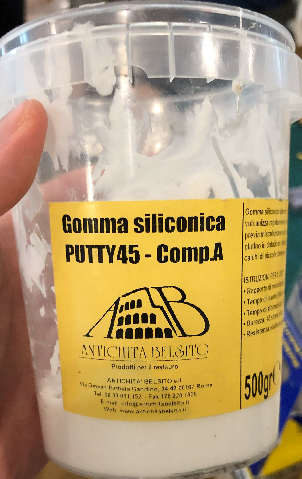
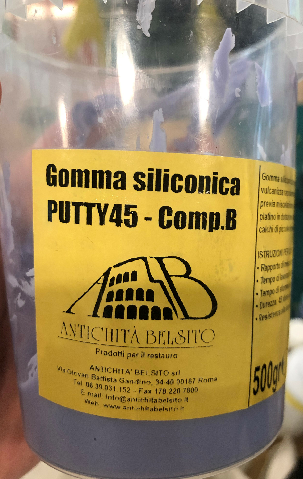
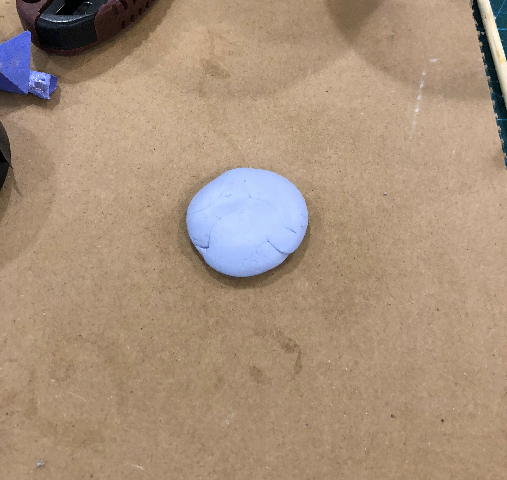
The process is pretty simple, you take a small amount of material from both bottle A and B, and mix them together. Stick it to the side of the model that you want to make a mold of. Wait until the mixture becomes stiff over time, and thus a mold. For now, I try to first make a coin.
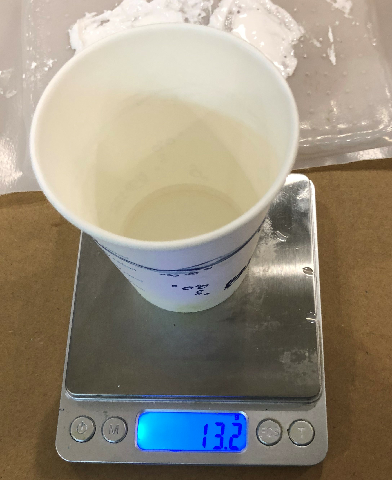
For the filling, I use an another type of liquid.
But because of the photo been poorly taken, we cannot see the name, but it also has A and B parts separate in different bottles. You mix equal amount of liquid from each bottle.
Since I haven’t gone back to the lab since last time, I still don’t know the outcome yet.
___________________________________________________________________________
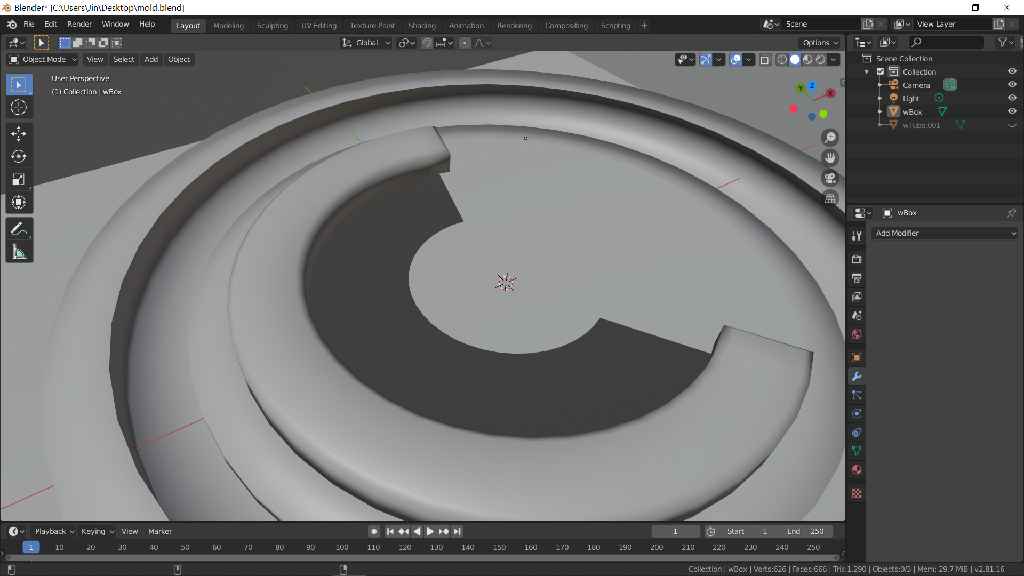
This time, I try to mill a mold myself. So first I need to design a mold using software. The main difficulty when designing a mold, which Neil mentioned, is that the designing process is not very straight forward, because you cannot design your model directly on the mold. For example, you cannot get the desired result, when you use your model directly as a mold.
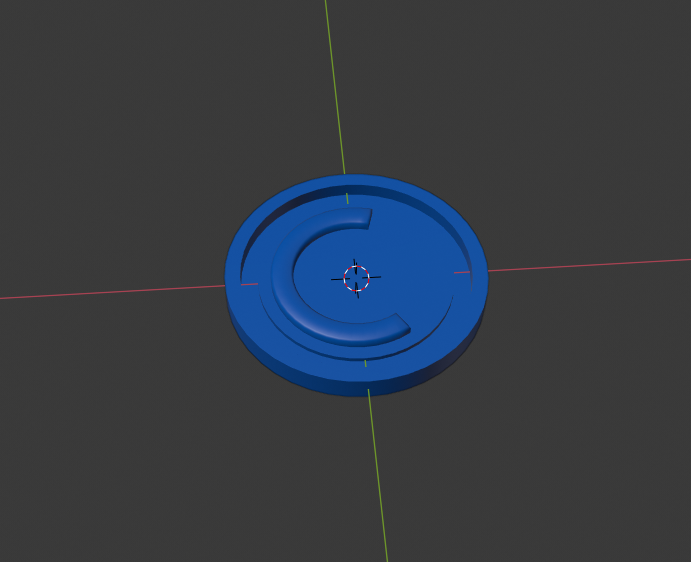
Apparently, the final result of the casting part will not look like the picture above, but the opposite. The “C” will cave in, instead of protruded. So how do you design a mold that comes out with the model that you desire. I will show my way as I proceed.
Next, I have to decide what do I want to make. I decide to make a simple coin, which I have already shown above, because then I can follow this tutorial on YouTube.
I also have to decide which software I’m going to use. I think fusion 360 would be best suited to the purpose, but my fusion 360 is out of free trial. And I also don’t want to use Rhino, because it’s also few days remaining from the free trial is over. So I choose Blender.
One problem using Blender is that it’s not friendly to parameter design. And, you can only edit your objects only at the time you create it. Even though I follow this tutorial(Chinese) which is about an add-on that let you edit your objects at anytime you want, but it still doesn’t help much. For now, I will leave this problem.
So now, how should we design the mold in a way that what we cast out of it perfectly matches the model. Like I said, we can’t make a mold directly out of a model. But rather, we “build” the mold on top of it. We surround the model with the mold. Then, if we can somehow separate the model from the mold, then the part taken out should perfectly match the model, and we should successfully imprint the model on the mold.
I suddenly come up with an idea. We can use the model as “a cut”, and cut the mold the model part. Many software have this function. I used to do that in fusion 360 before. Then we save the mold as a file, thus separate the mold from the model.
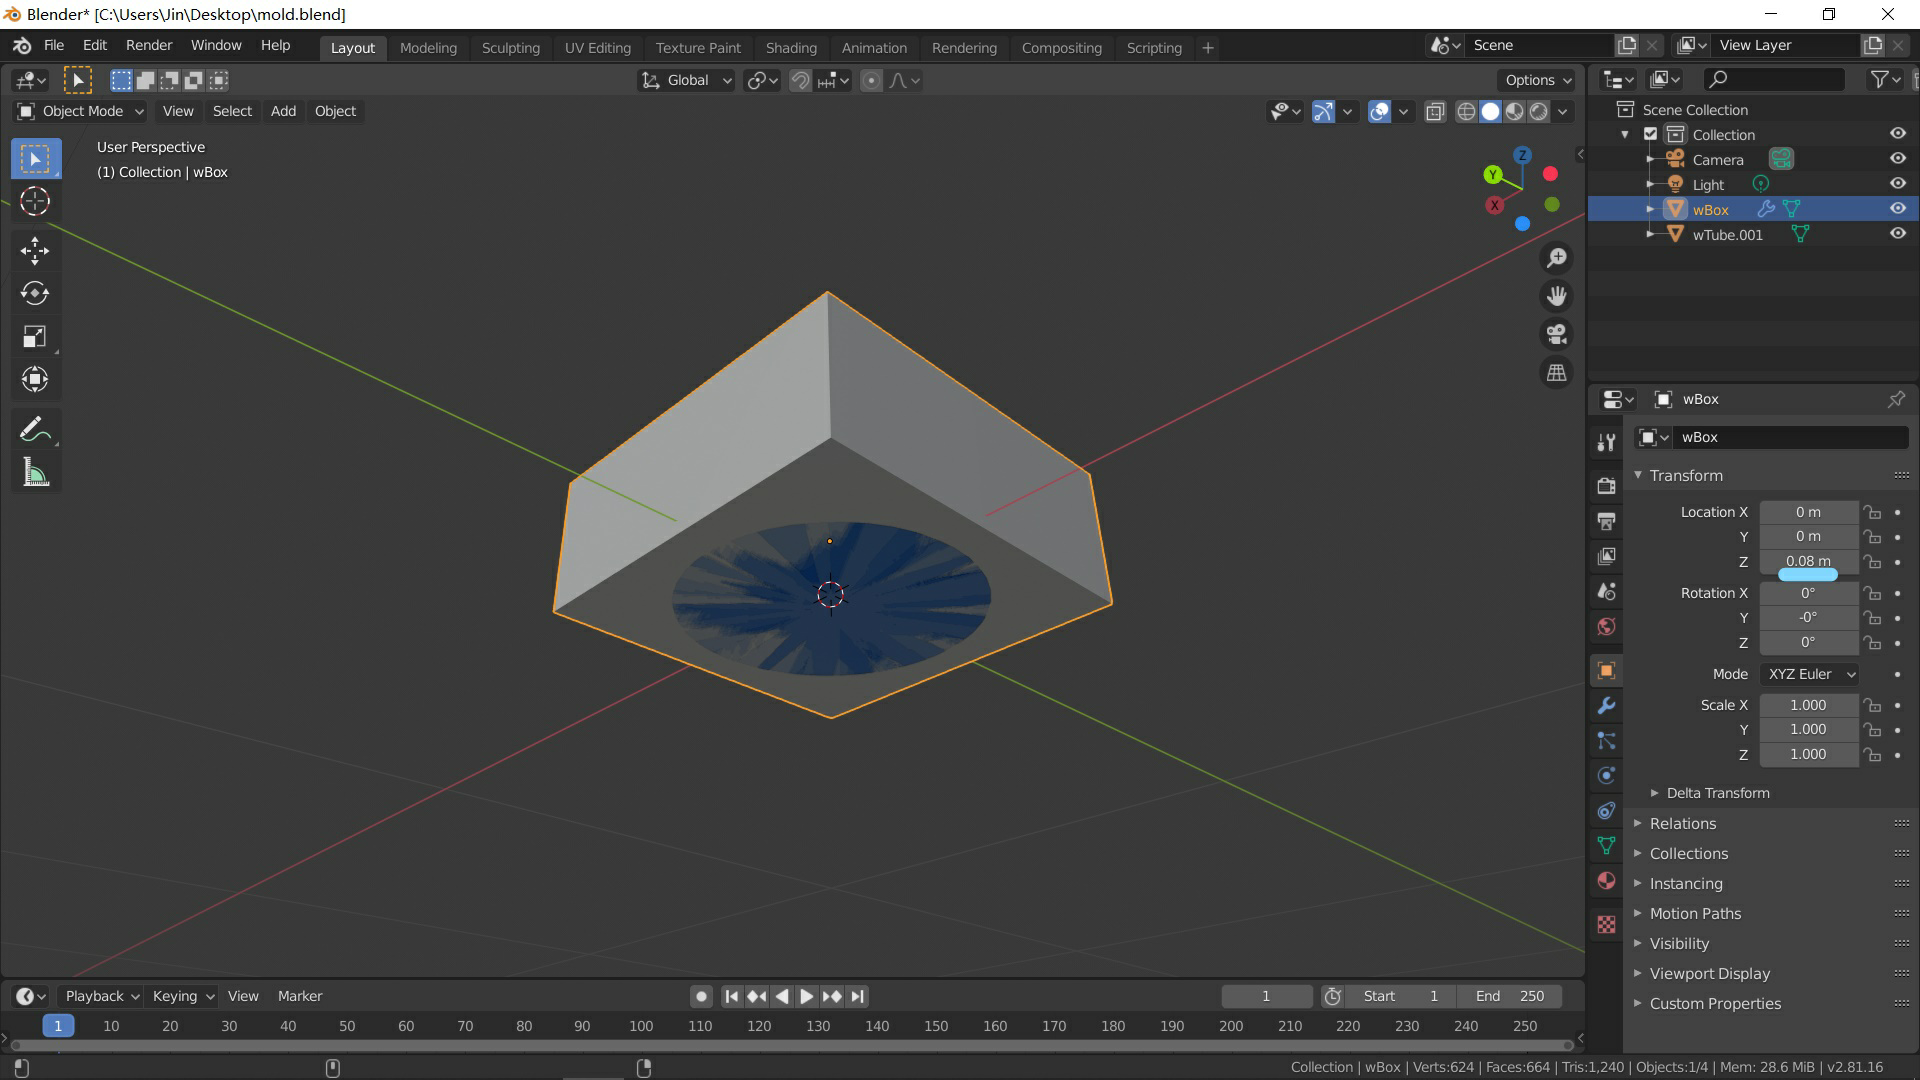
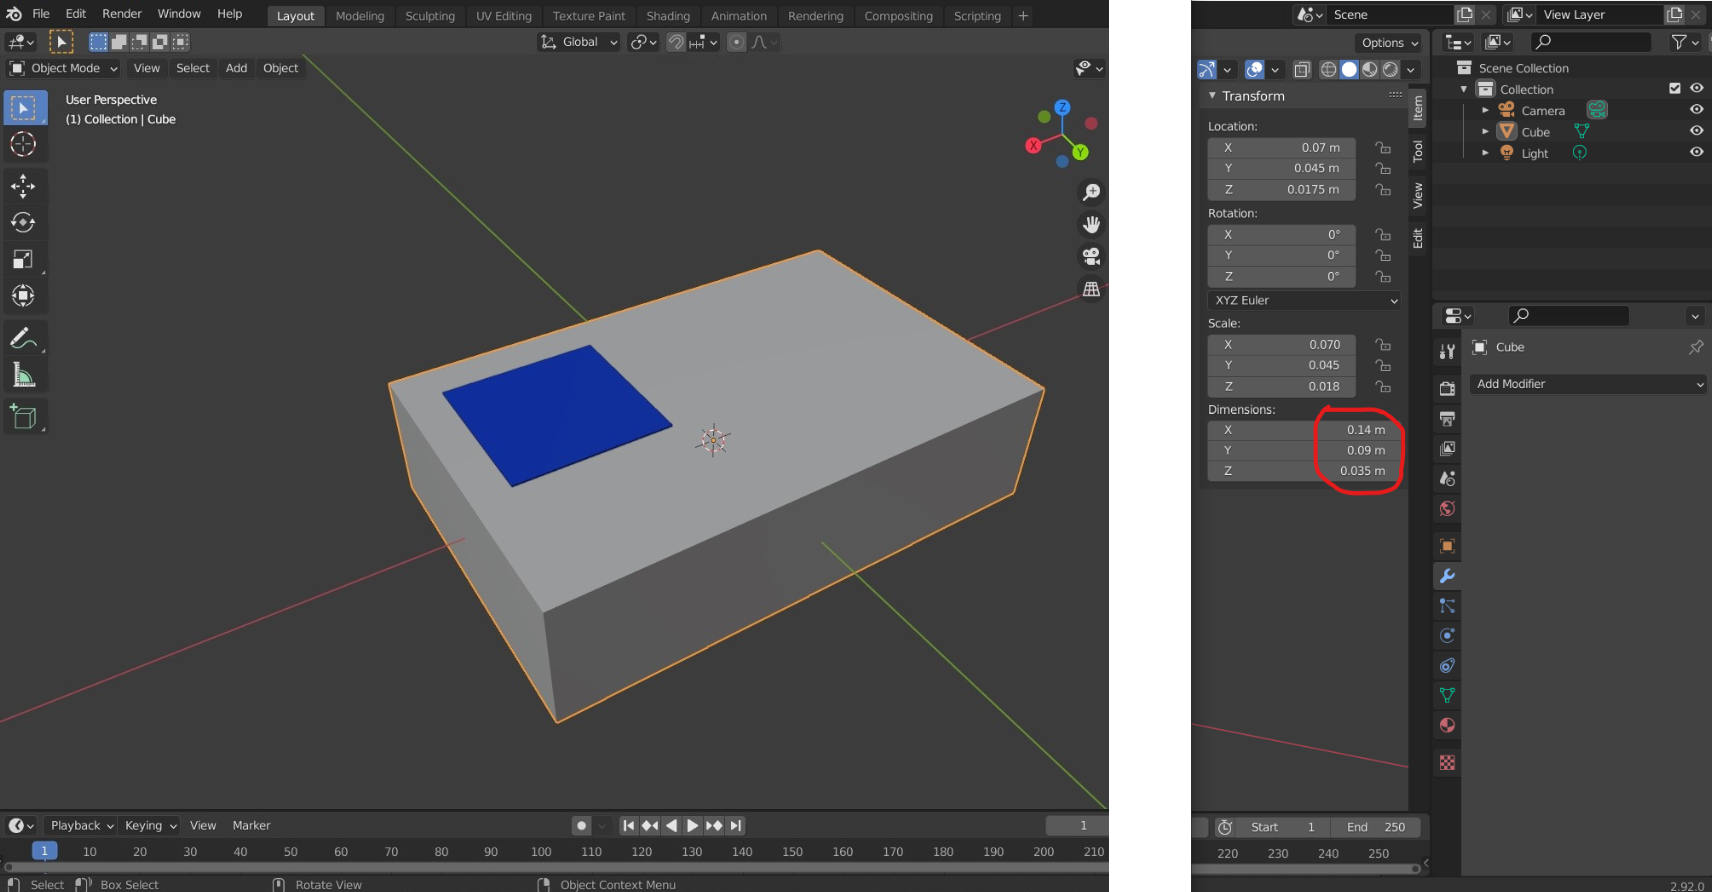
Now, after having my coin, I create an another box as my mold. One thing I have to do is to make sure the two objects are in the same z axis, so the cut will be perfect. But different kinds of objects all locate at different z axis in blender, because the origin as default is at the center of the object when it’s created. This is what I do.
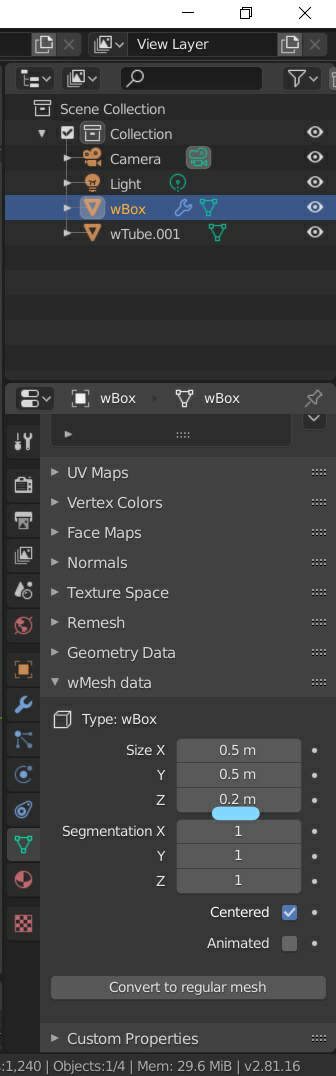
The height of my coin is 0,04m.(wMesh data is the add-on, so I can edit the object here)
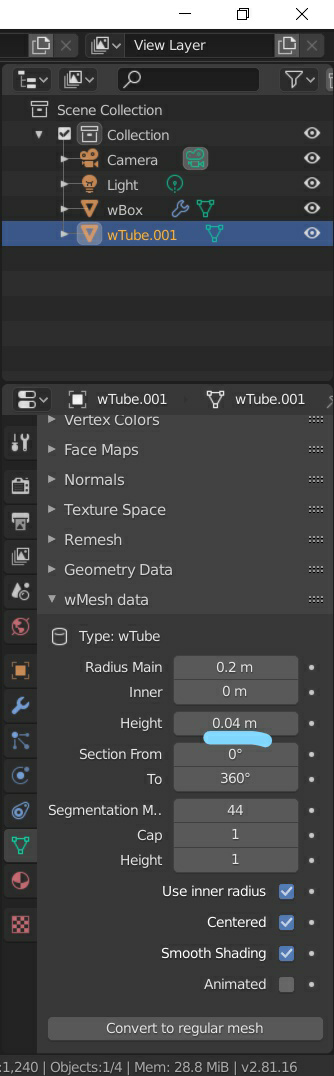
The height of the box is 0.2m.
That means that 0.02m of the coin is under the origin, and 0.1m of the box. So if I move the box 0.08m up, their z axis should match. And it does.
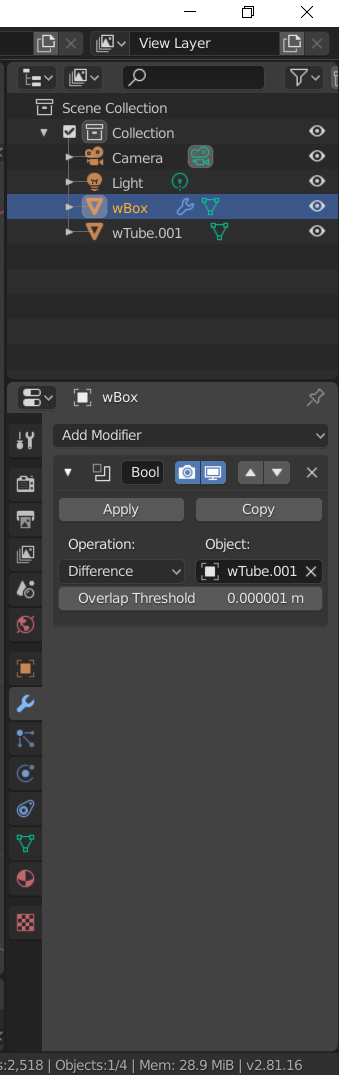
Add Boolean modifier to the box, choose “difference” as operation and the coin as object. Then click “apply”.
At first the cut seems failed.
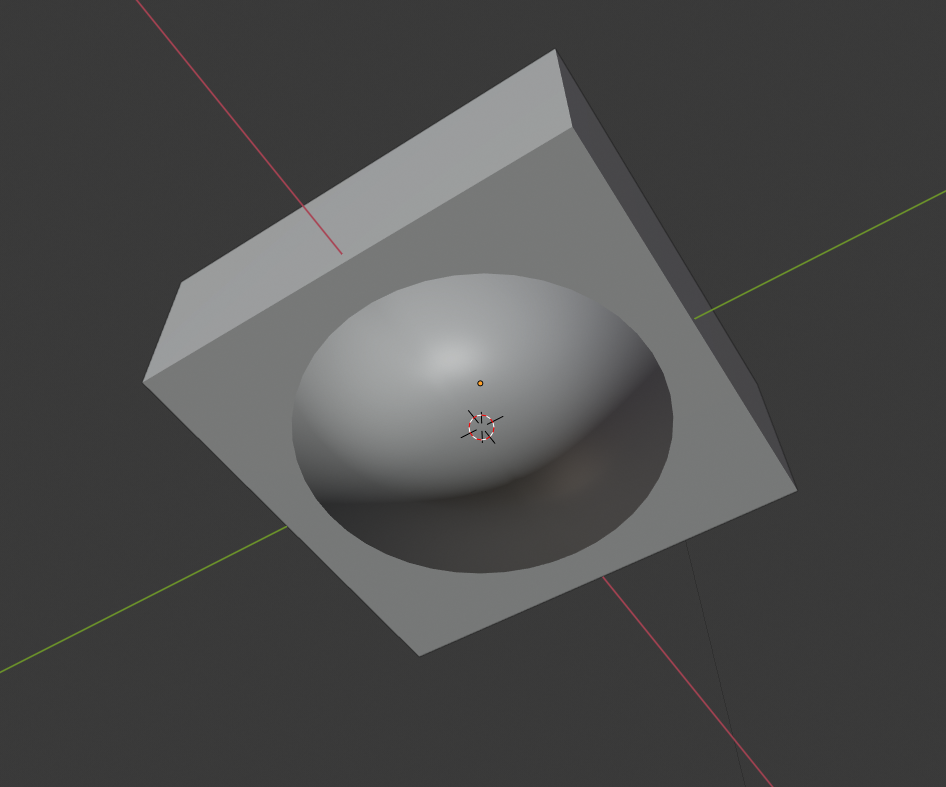
But when you look inside, you can see the detail all there.
(on going)
The liquid I fill in my silicon mold happens to be another silicon. So they combine together instead of getting the coin out of it.
On the other hand, in Blender, I make a rectangle same size of the wax that I'm going to use (pointed out in the image below), and cut it with the mold I made earlier.
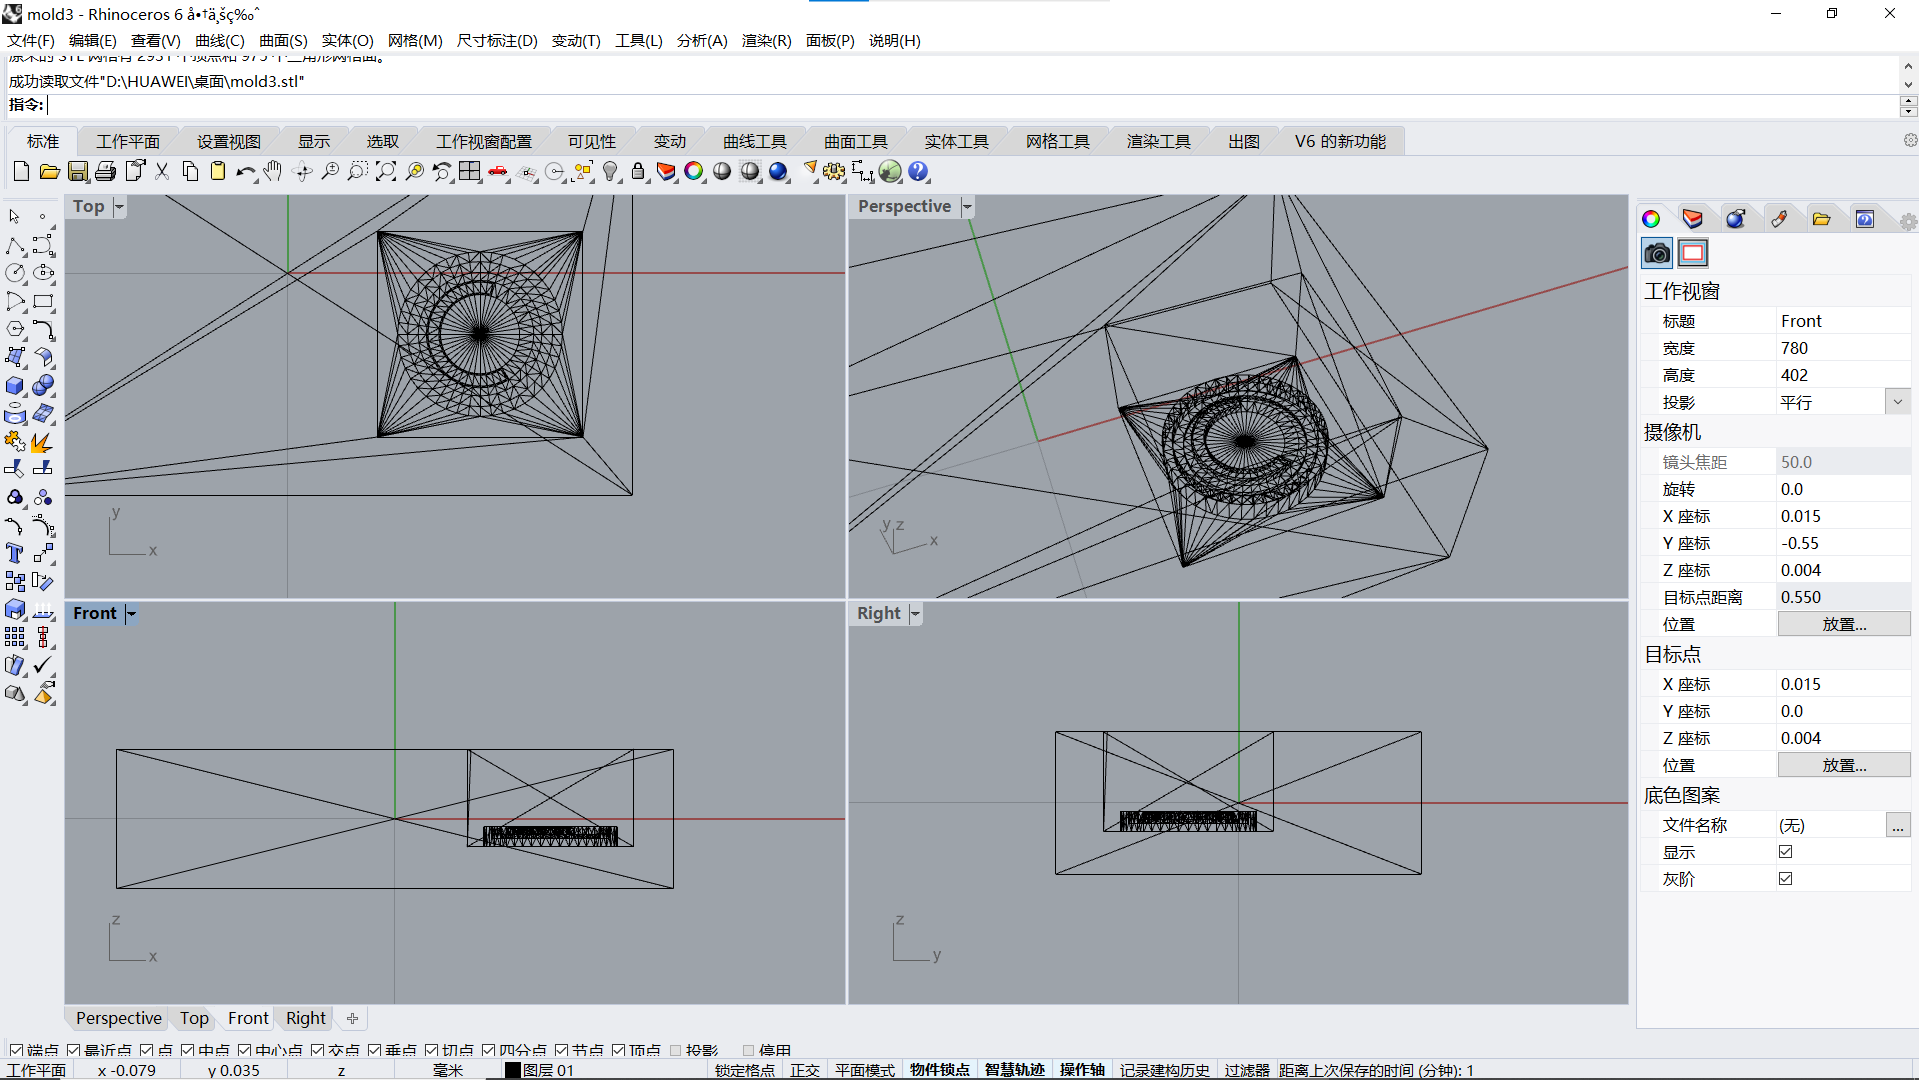
Then I reopen the file in Rhino to have a better look. There are two main problems spotted. The coin cut too deep, and it should cut with a slope.
So I enlarge the upper face of the mold in Blender, and cut it again.

Fix the wax in position ready for cut. The machine we use is SRM VPanel. The cutting process is similar when we use the SRM 20.
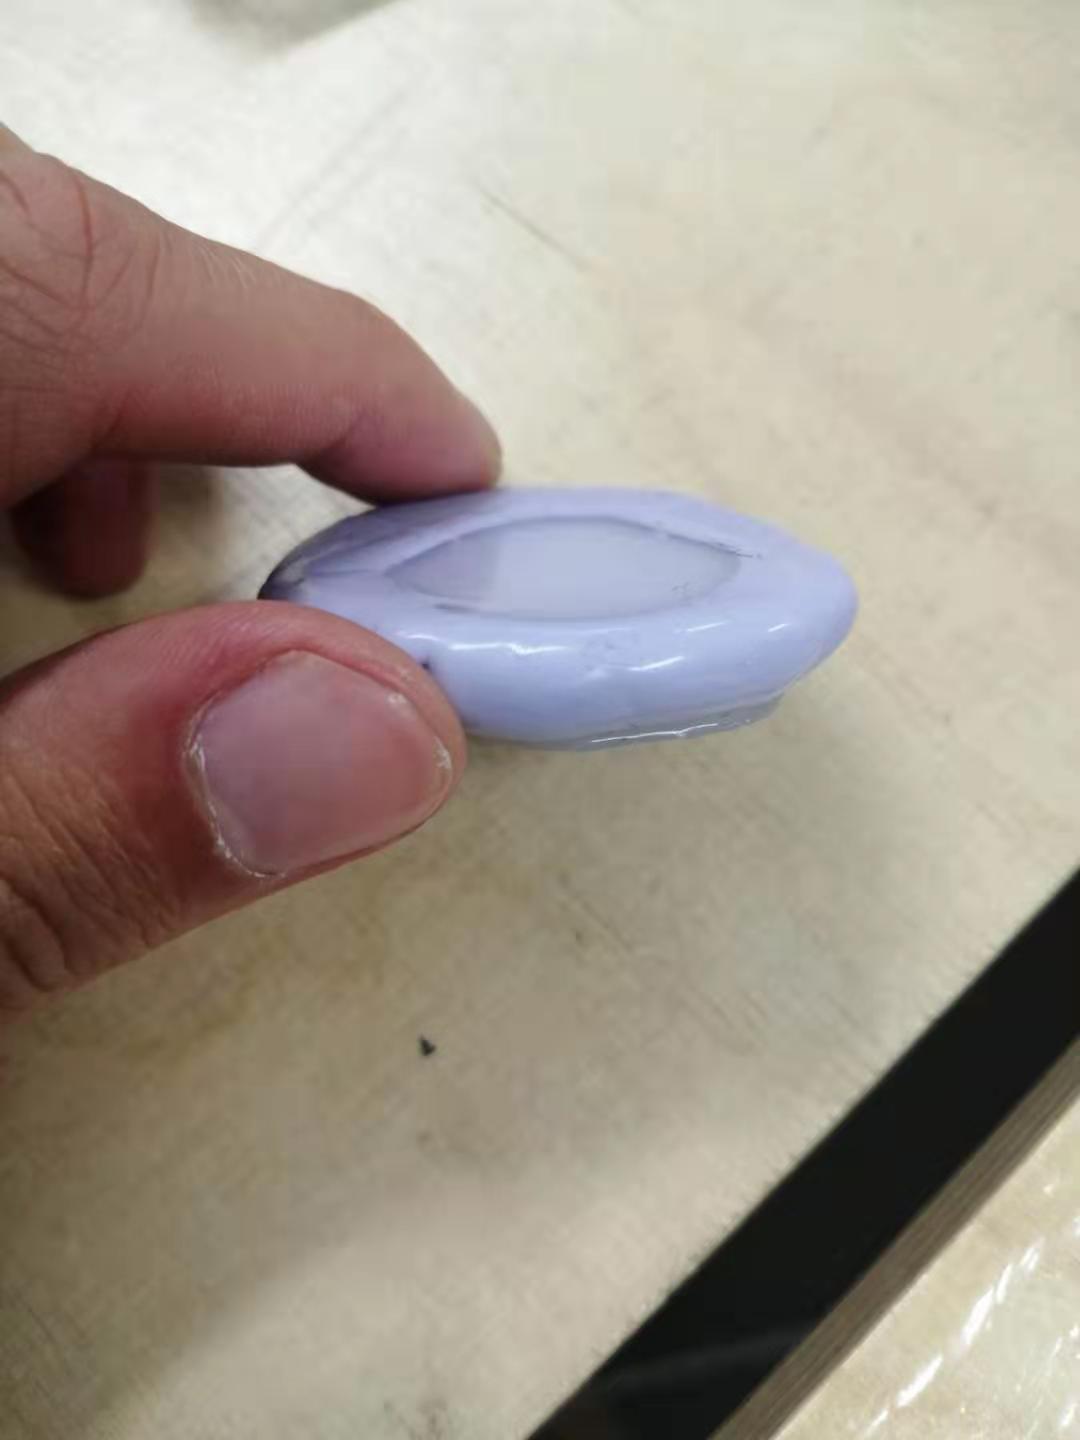
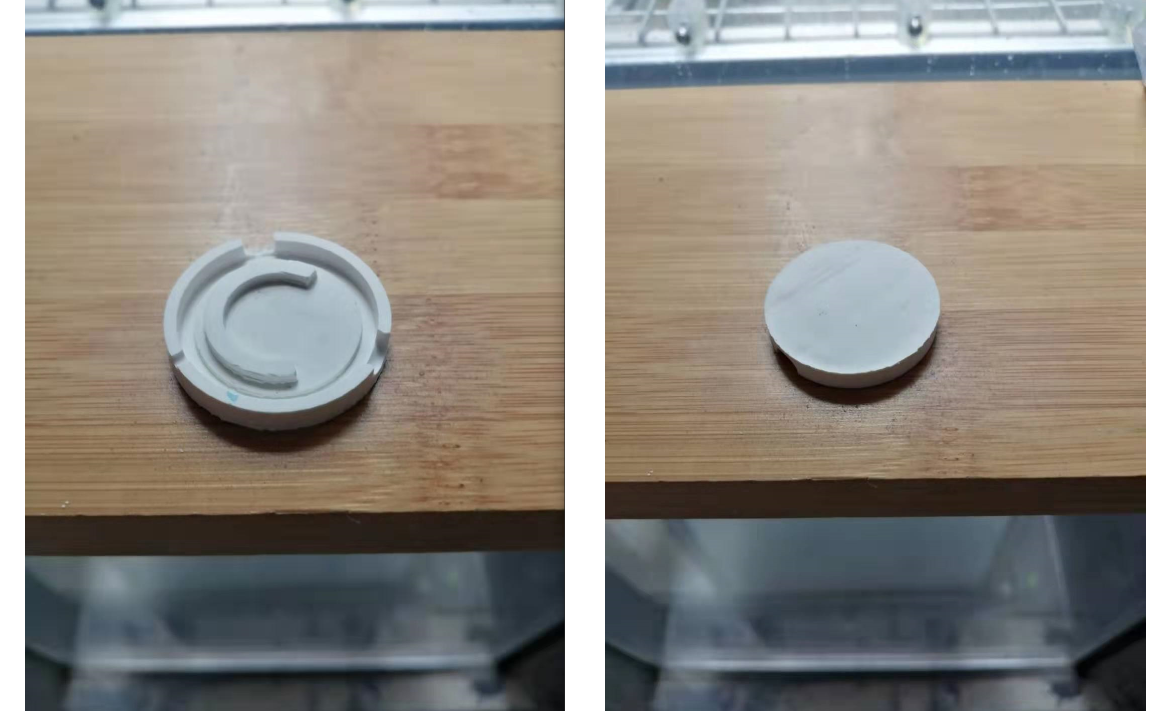
I use silicon to fill the mold and it turns out well. You can first brush some silicon on the surface. When pouring, you should choose a place and pour gradually. The silicon overlaps each other, that way it will leave little bubble.

The material I use for casting is gypsum powder. The mixing ratio of powder to water is 1:3, and keep the surface flat and clean.
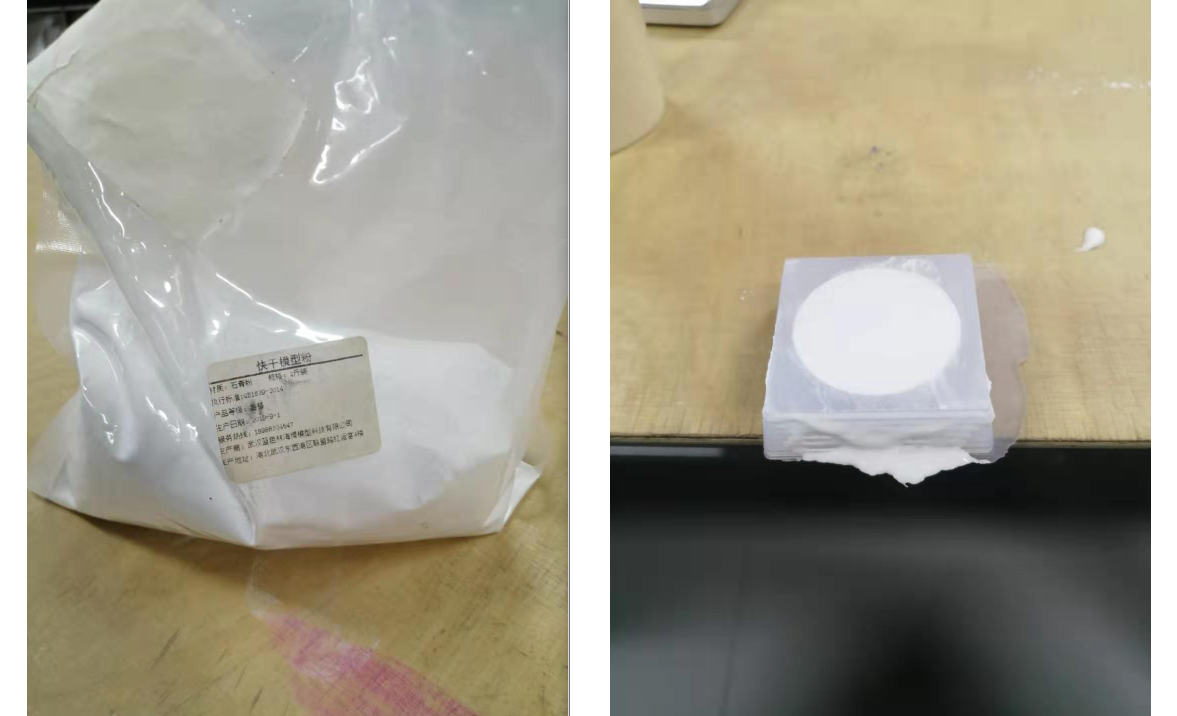
The outcome isn't perfect. There are some gap missing. The border of the coin is too thin that can make the powder water hard to get through.
File: