week17
17.Wildcard Week
This week assignment is different from those of the prior weeks, in the extent that there is no assignment in the first place, but we have to create one for our own. The only limitation is that it must stick to the class purpose and a digital fabrication process. So, it must incorporate computer-aided design and manufacturing, and must not covered in other assignments yet.
___________________________________________________________________________
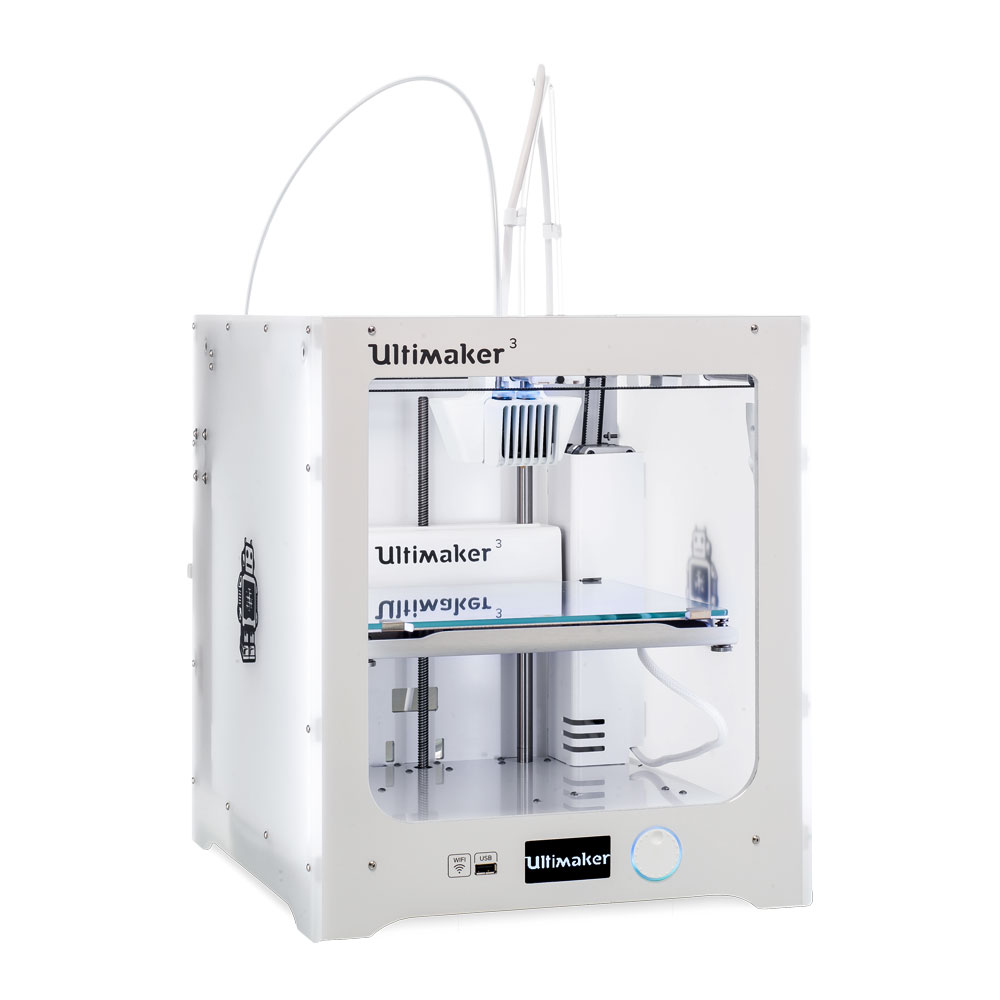
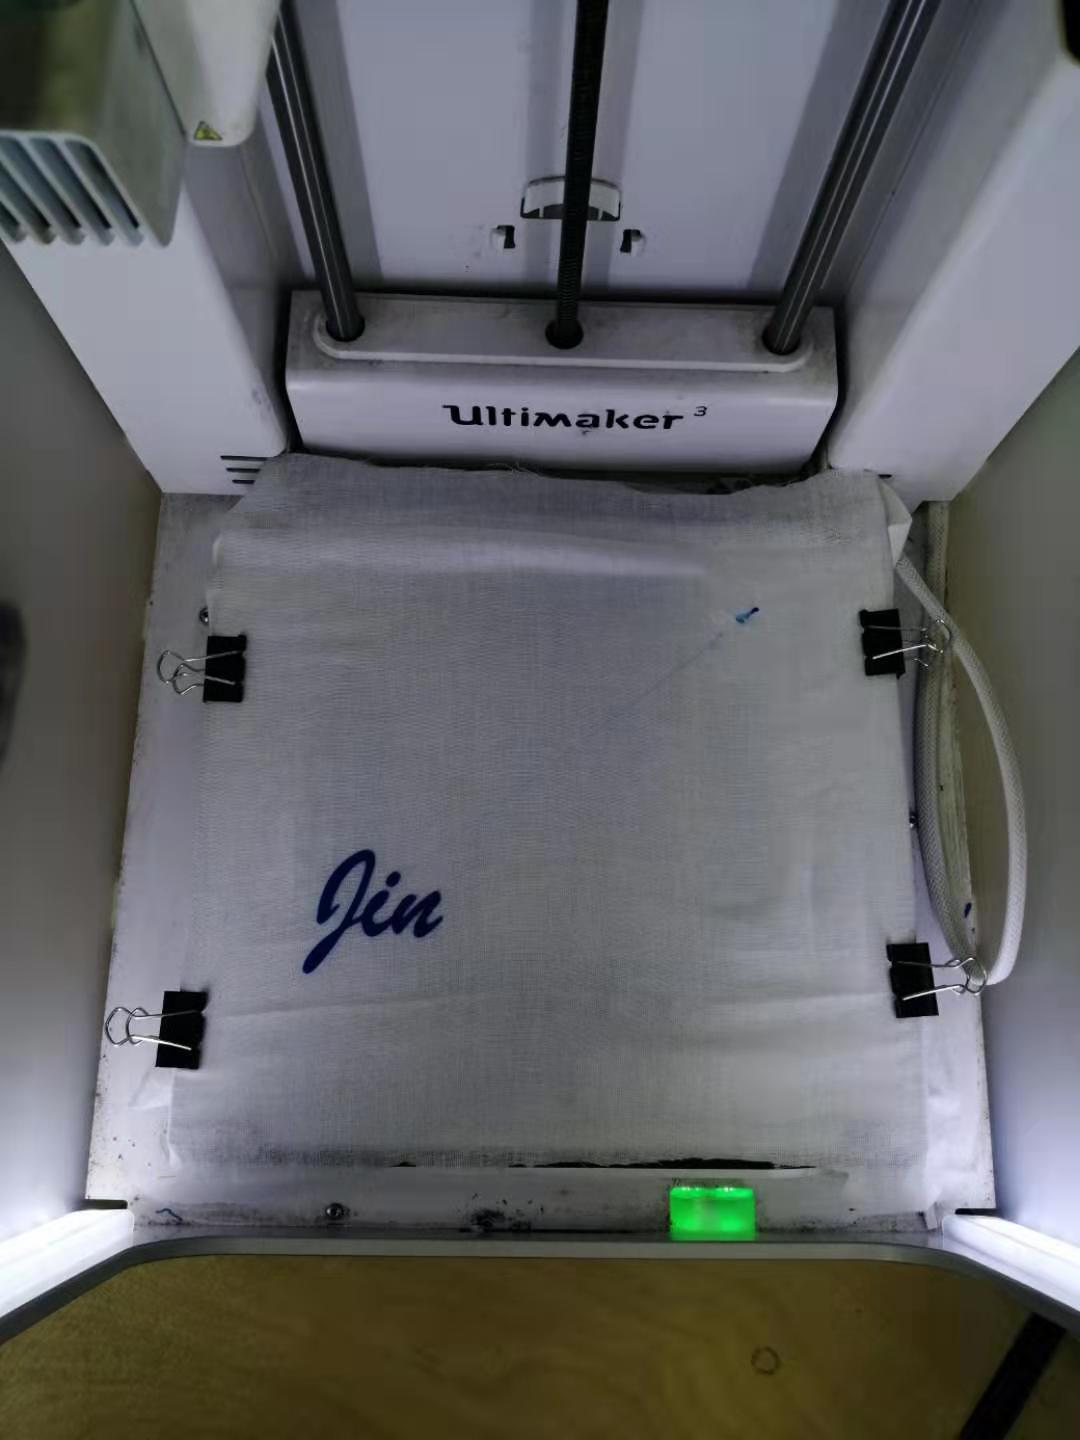
First of all, I want to try 3d printing. I want to try to 3d print on textile. The 3d printer I’m going to use is Ultimaker 3. It looks like the picture shown below.
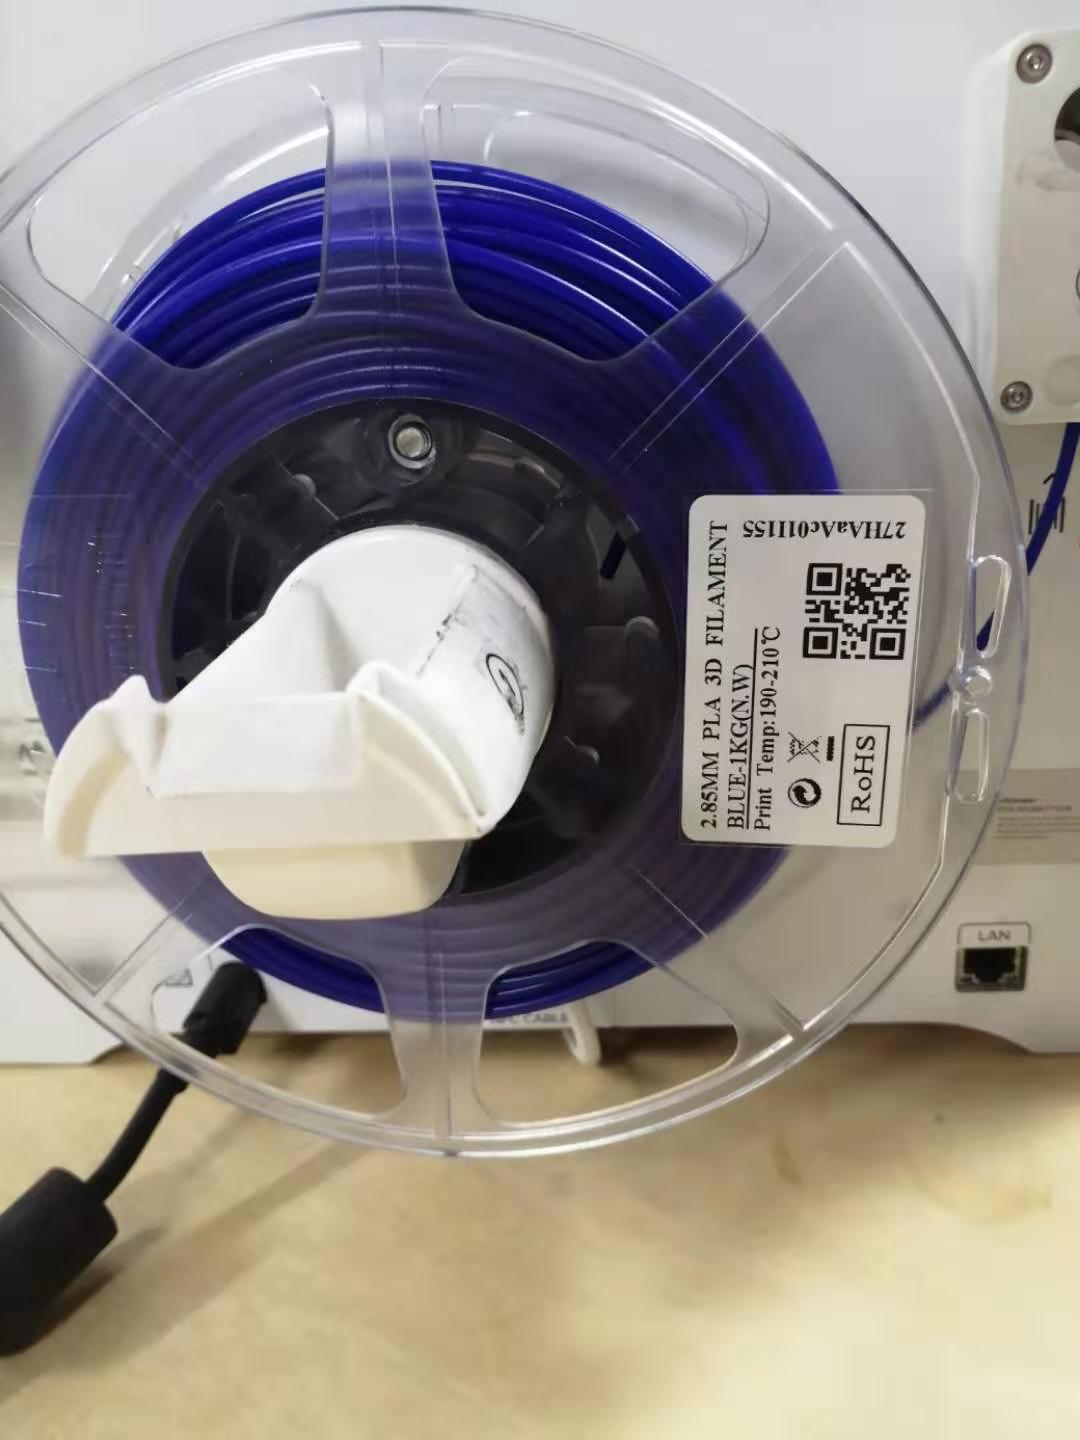
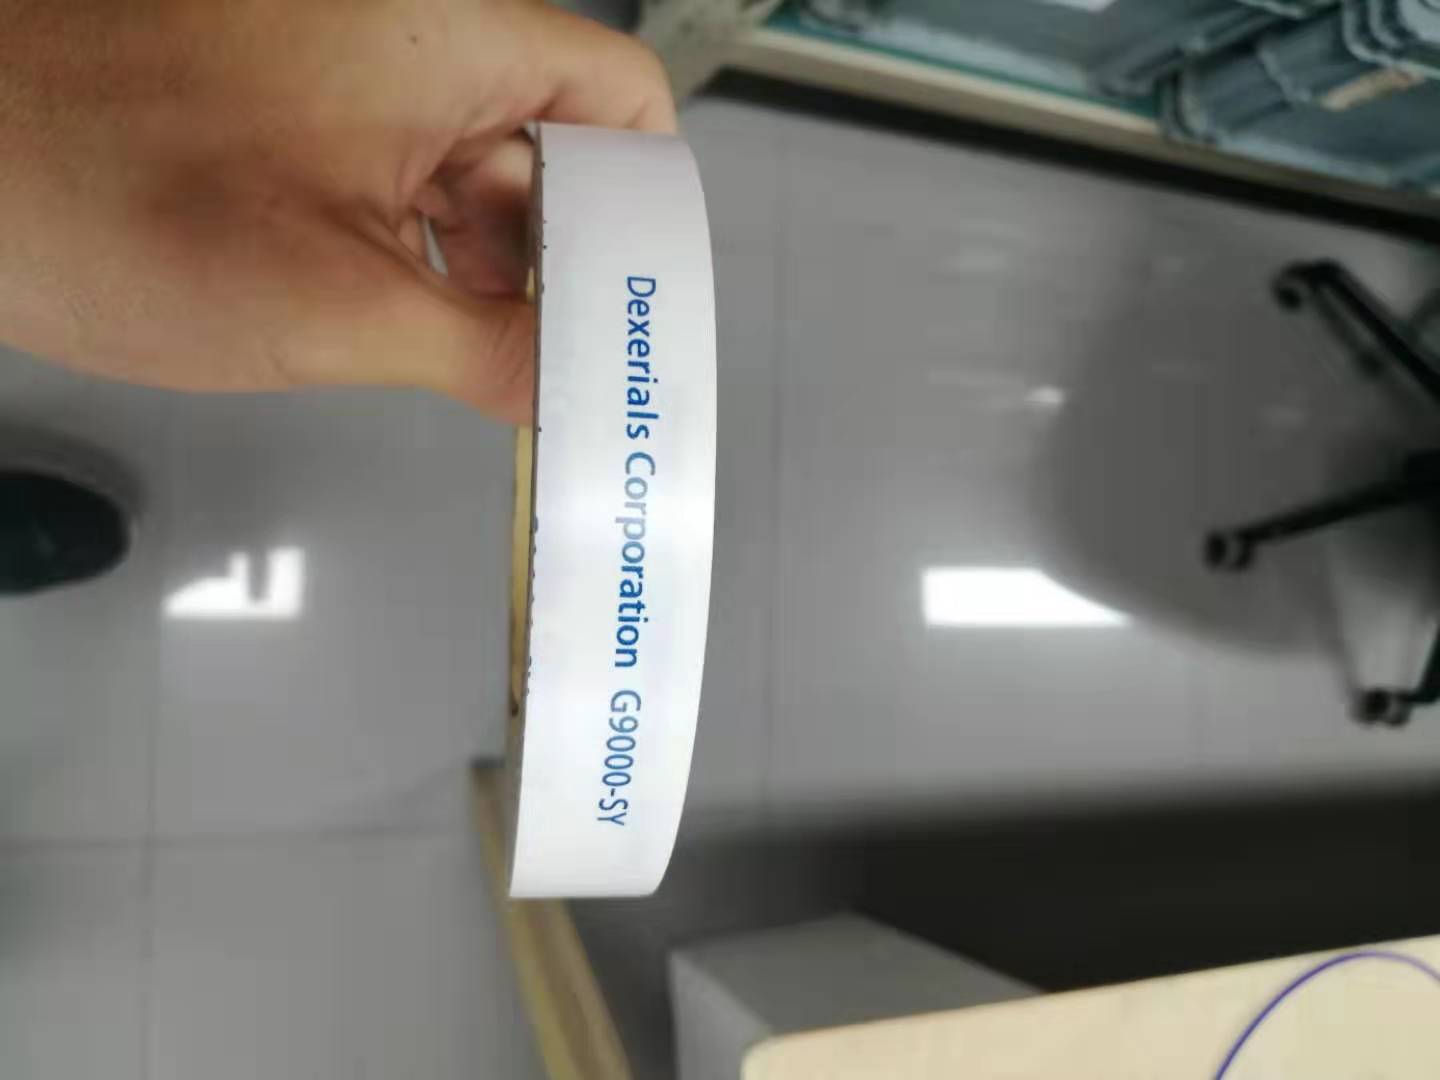
This is the filament I use.
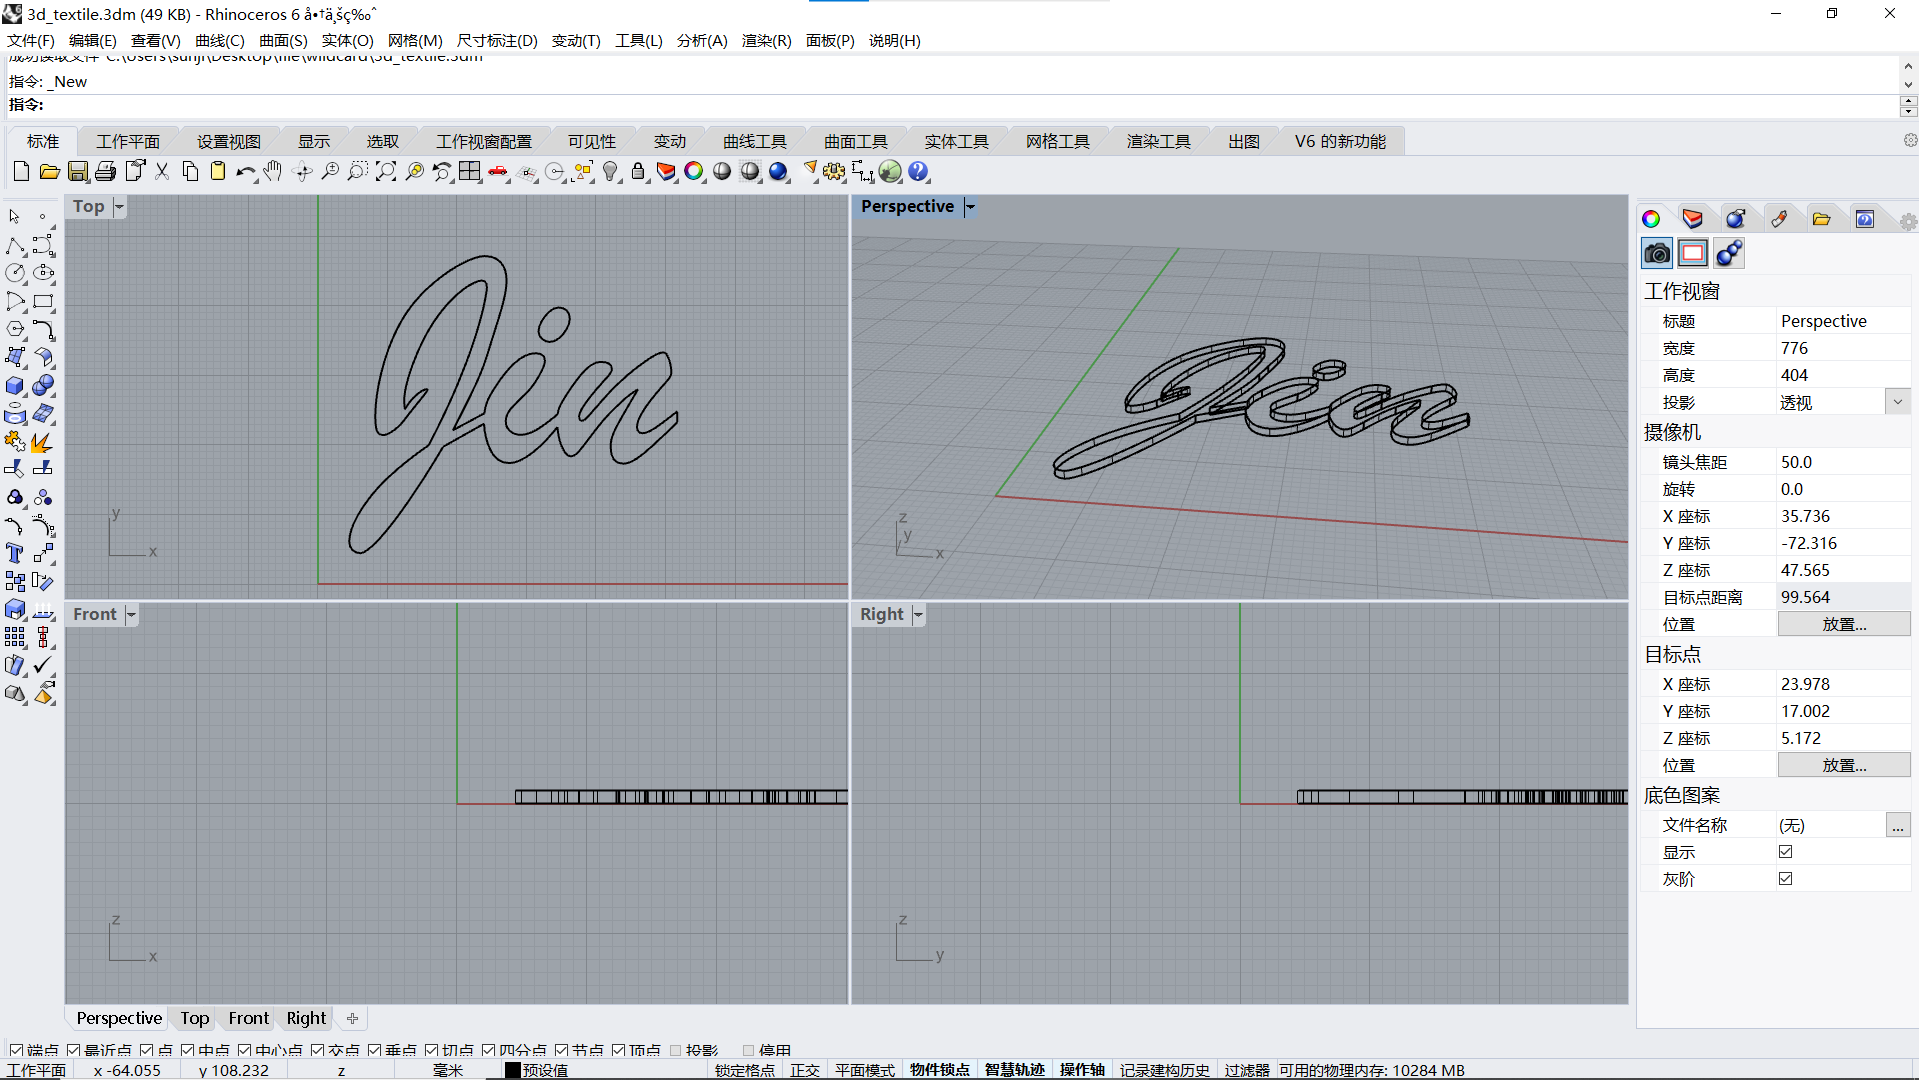
I design a simple name signature in Rhino. The grids are measured by millimeter. One of the reasons I choose to design by myself is, if there is something going wrong, I want to know whether the problem is coming from the design or the machine. I extrude the name by 1 millimeter thick.
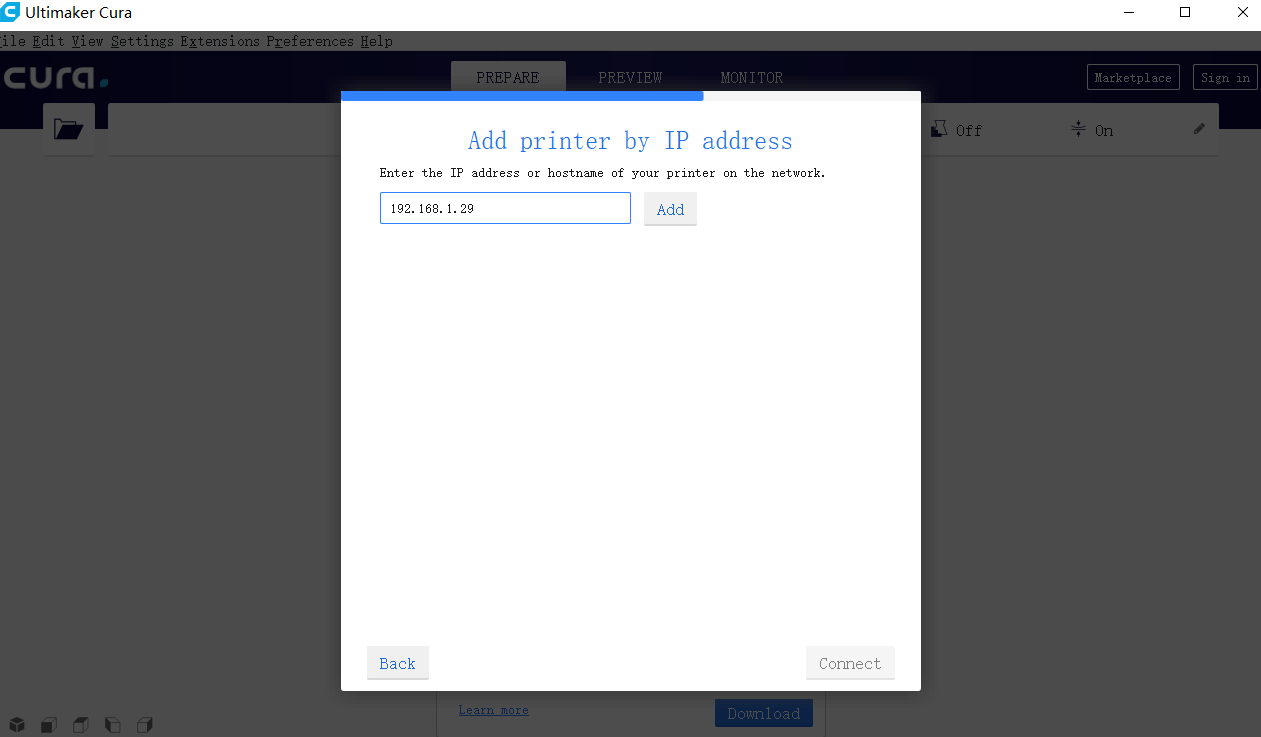
I export the file as stl format and import it into Cura, the software for Ultimaker. Add the printer by IP address. The IP address is set in the Ultimaker.
the actual size of the design should look the same as in the software. But you can double check the scale.
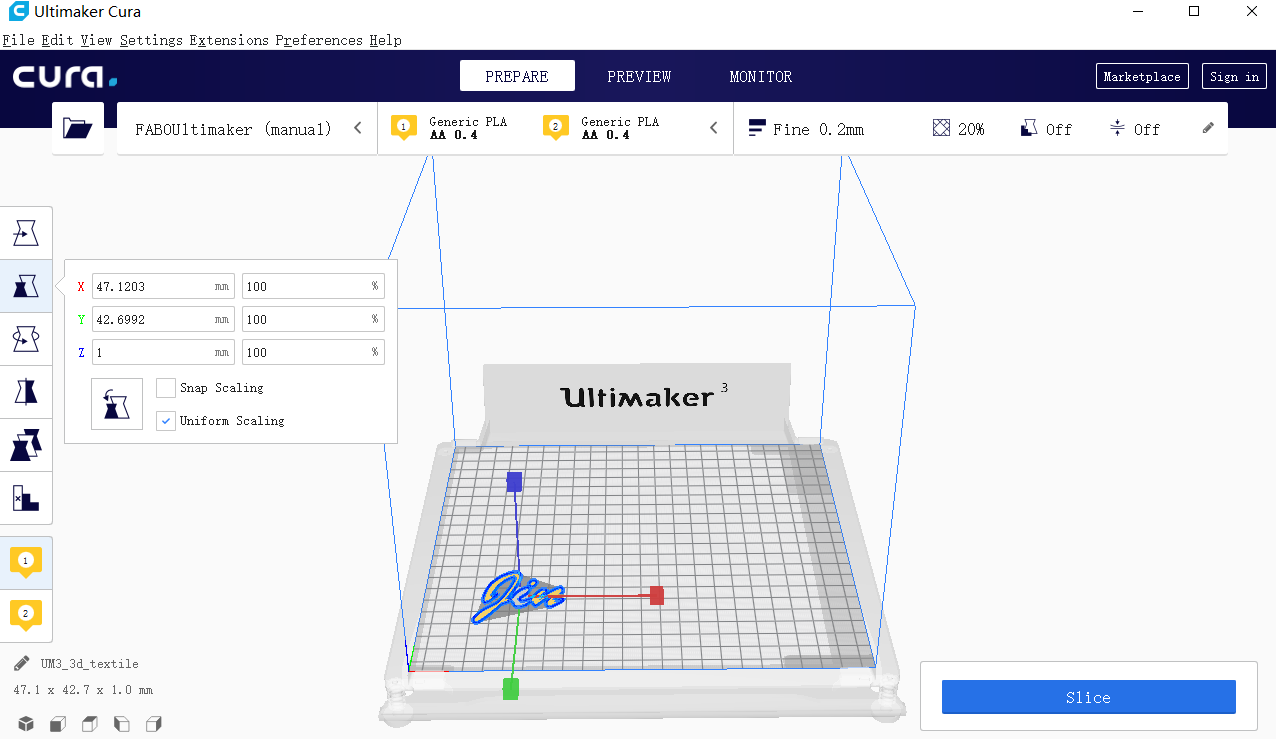
Here are some settings I use. I reduce Layer Height, Wall Line Count, Top Layers, Bottom Layers a little bit from its default settings. This will save me some time.
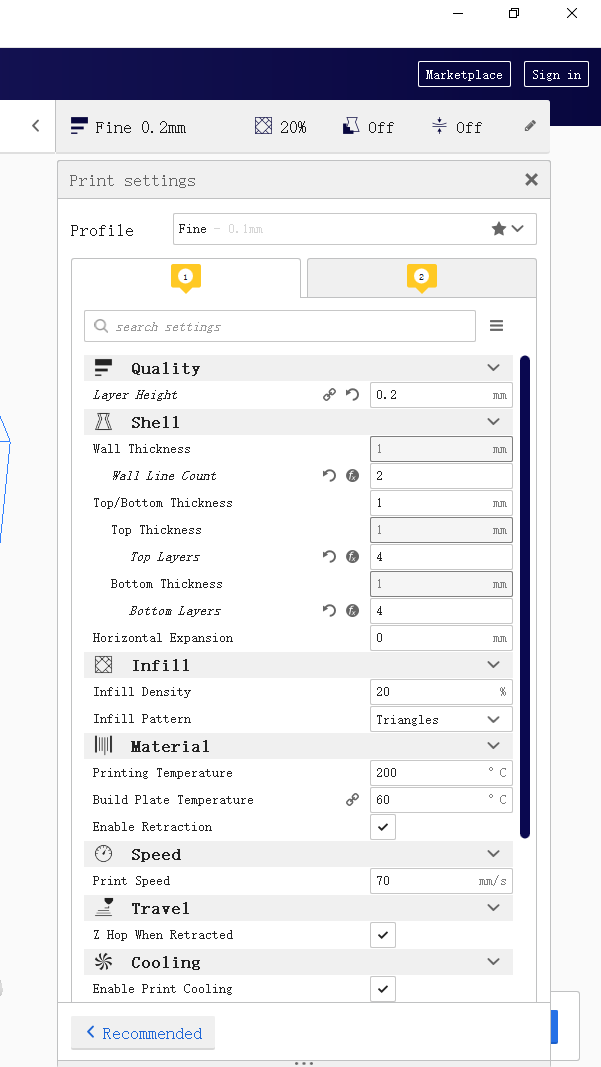
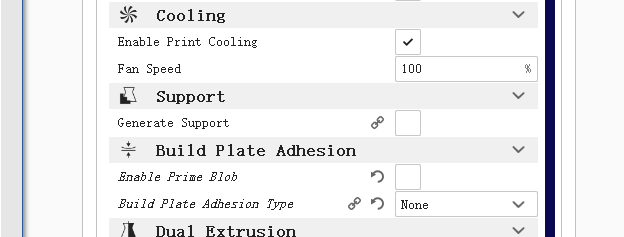
No need for Build Plate Adhesion. Uncheck the box and select “None”.
After all the settings, we still need to fix the textile onto the Ultimaker’s bed. One caution is, you can’t have any part of the textile under the bed when you try to fix it, because that will interfere with the calibration process of the machine, and push the nozzle to go deeper than needed. So we first try to stick the textile using double-face tape, the same tape we use during SRM 20.
The Ultimaker’s bed with tape. The reason we use this tape is because it’s easy to tear off, so it doesn’t leave traces like other tape.
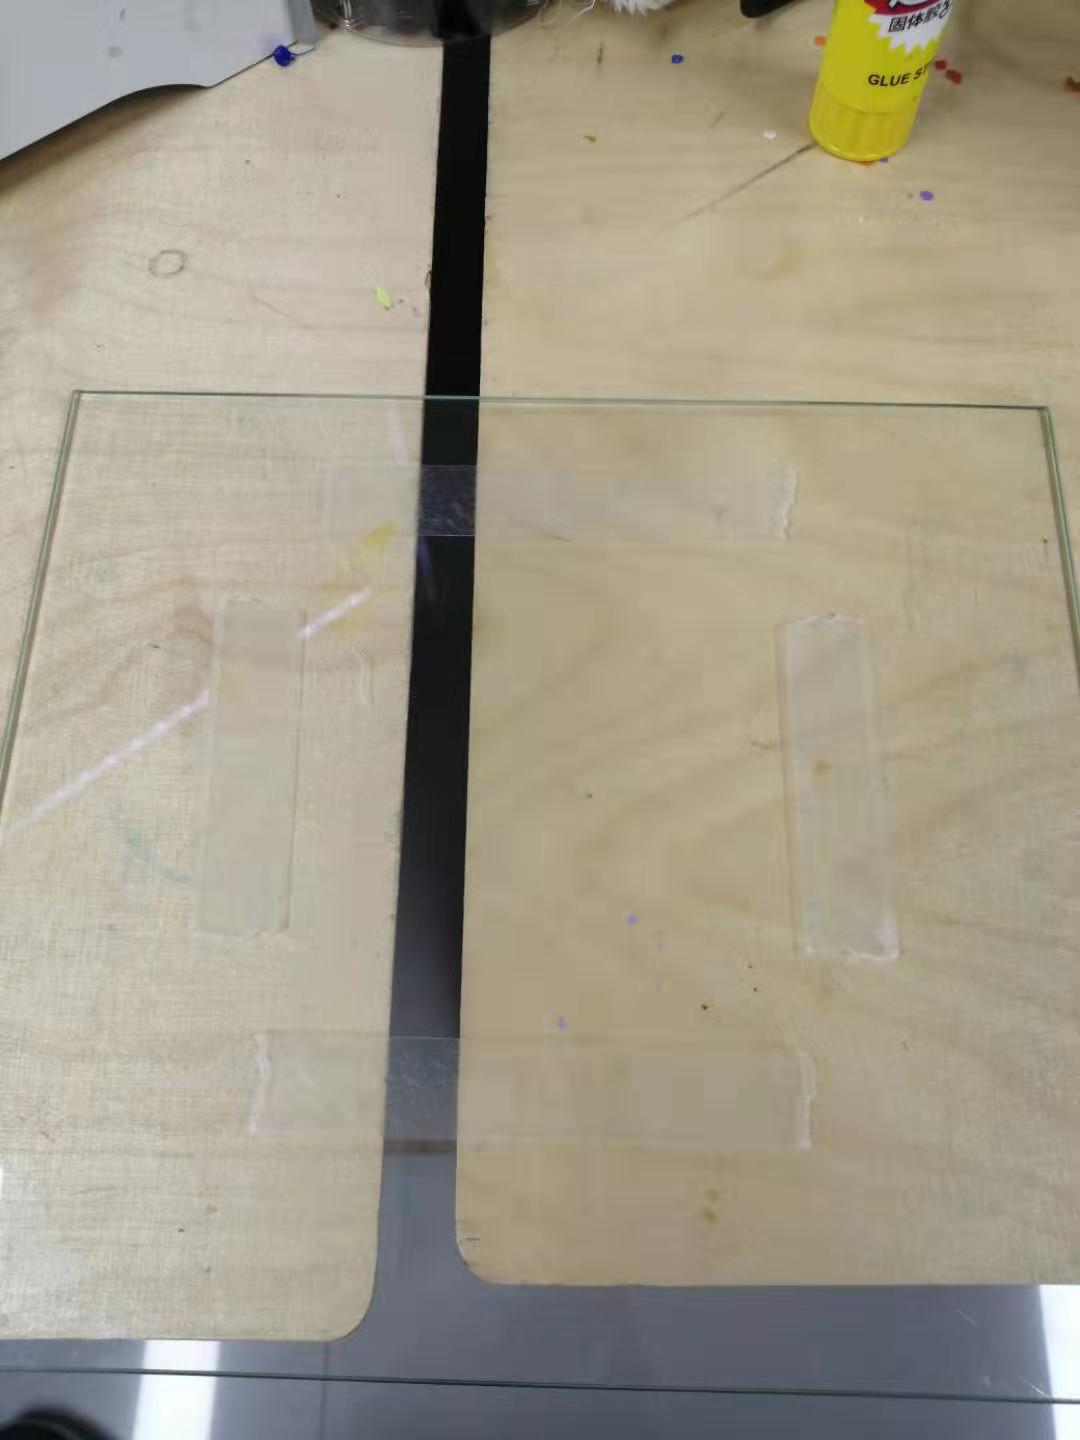
Then we further fix it with clippers around.

Now, go back to software and “slice”. The design is ready to print. It finally comes out well.
File: